carl63_99
-
Posts
304 -
Joined
-
Last visited
2 Followers


Recent Profile Visitors
4,786 profile views


carl63_99's Achievements
MCM Avid Poster (5/6)
-
"La Rosa" '70 Camaro with an Italian Heart
carl63_99 replied to carl63_99's topic in WIP: Model Cars
So the rear window didn't go so well. The mold cracked. I am now going with JB weld molded insert, which I will then sand and cover with some body filler to smooth out. Then try to heat and mold another piece of clear plastic over it. Fingers crossed. Then, as always happen when you let a project sit too long, I had a light-bulb moment. If the front bumper is split, why not do the rear? I have two bumper so I tried it out. Yep, going with this as is it a little controversial, but flows with the front when you think about it.
-
"La Rosa" '70 Camaro with an Italian Heart
carl63_99 replied to carl63_99's topic in WIP: Model Cars
Work, family and other endevours continue to distract me. However, I was able to make progress on the rear window. Since this is a 70 1/2 Camaro, the rear window didn't come down the sides. One mod I made was to cut it down so it looks more like later models. The problem is that I then have to create a new rear window to fit. I am NOT paying $100 for a later year just to get the rear glass, so I'm making a mold so I can make my own glass. First step after getting the body all nice and clean was to make a mold of the window. Because I am going with modern flush mount glass, i.e. no window frame, the mold is done smooth to the body. I used some 2x4s to make a stand to set the clay mold on. When the clay is dry, 2-4 days, I will sand it down smooth, test fit and adjust, then superglue it to the stand. When I make the window, I will heat some clear plastic and stretch it over the mold slowly and carefully so I get a good, clear window. then it's cut and sand the edges to make it fit. Then, I may be ready for paint.
-
"La Rosa" '70 Camaro with an Italian Heart
carl63_99 replied to carl63_99's topic in WIP: Model Cars
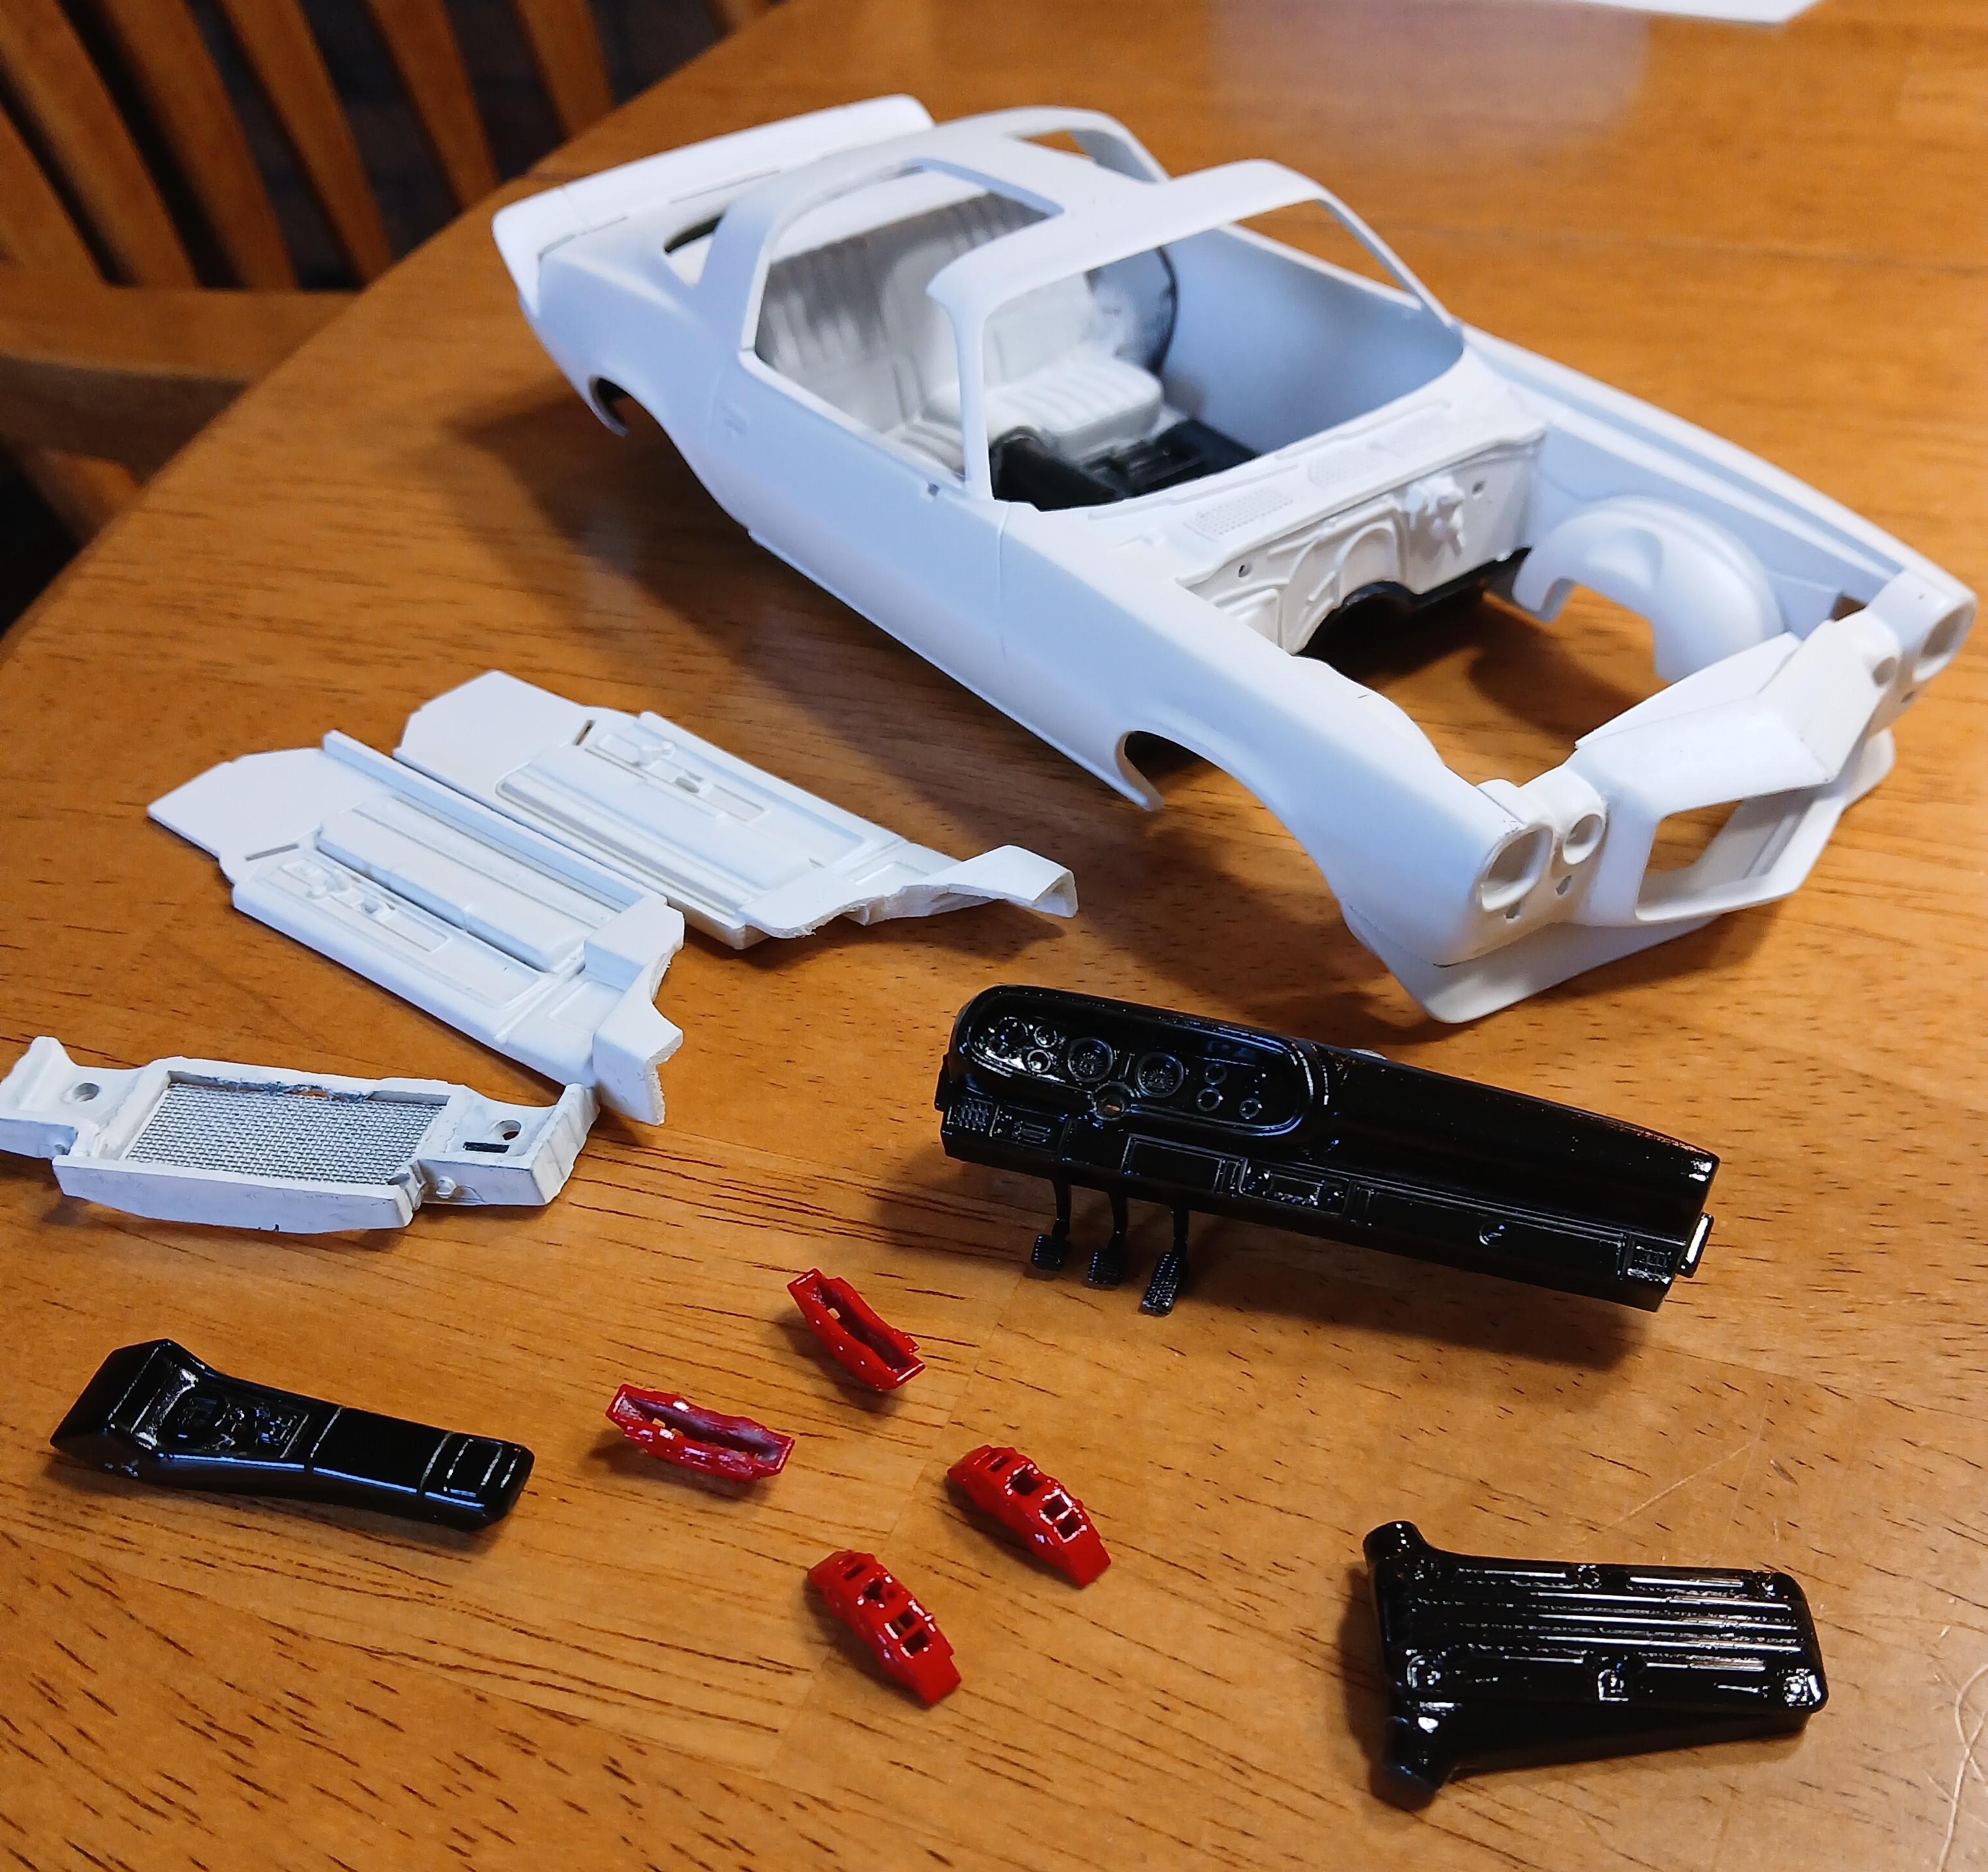
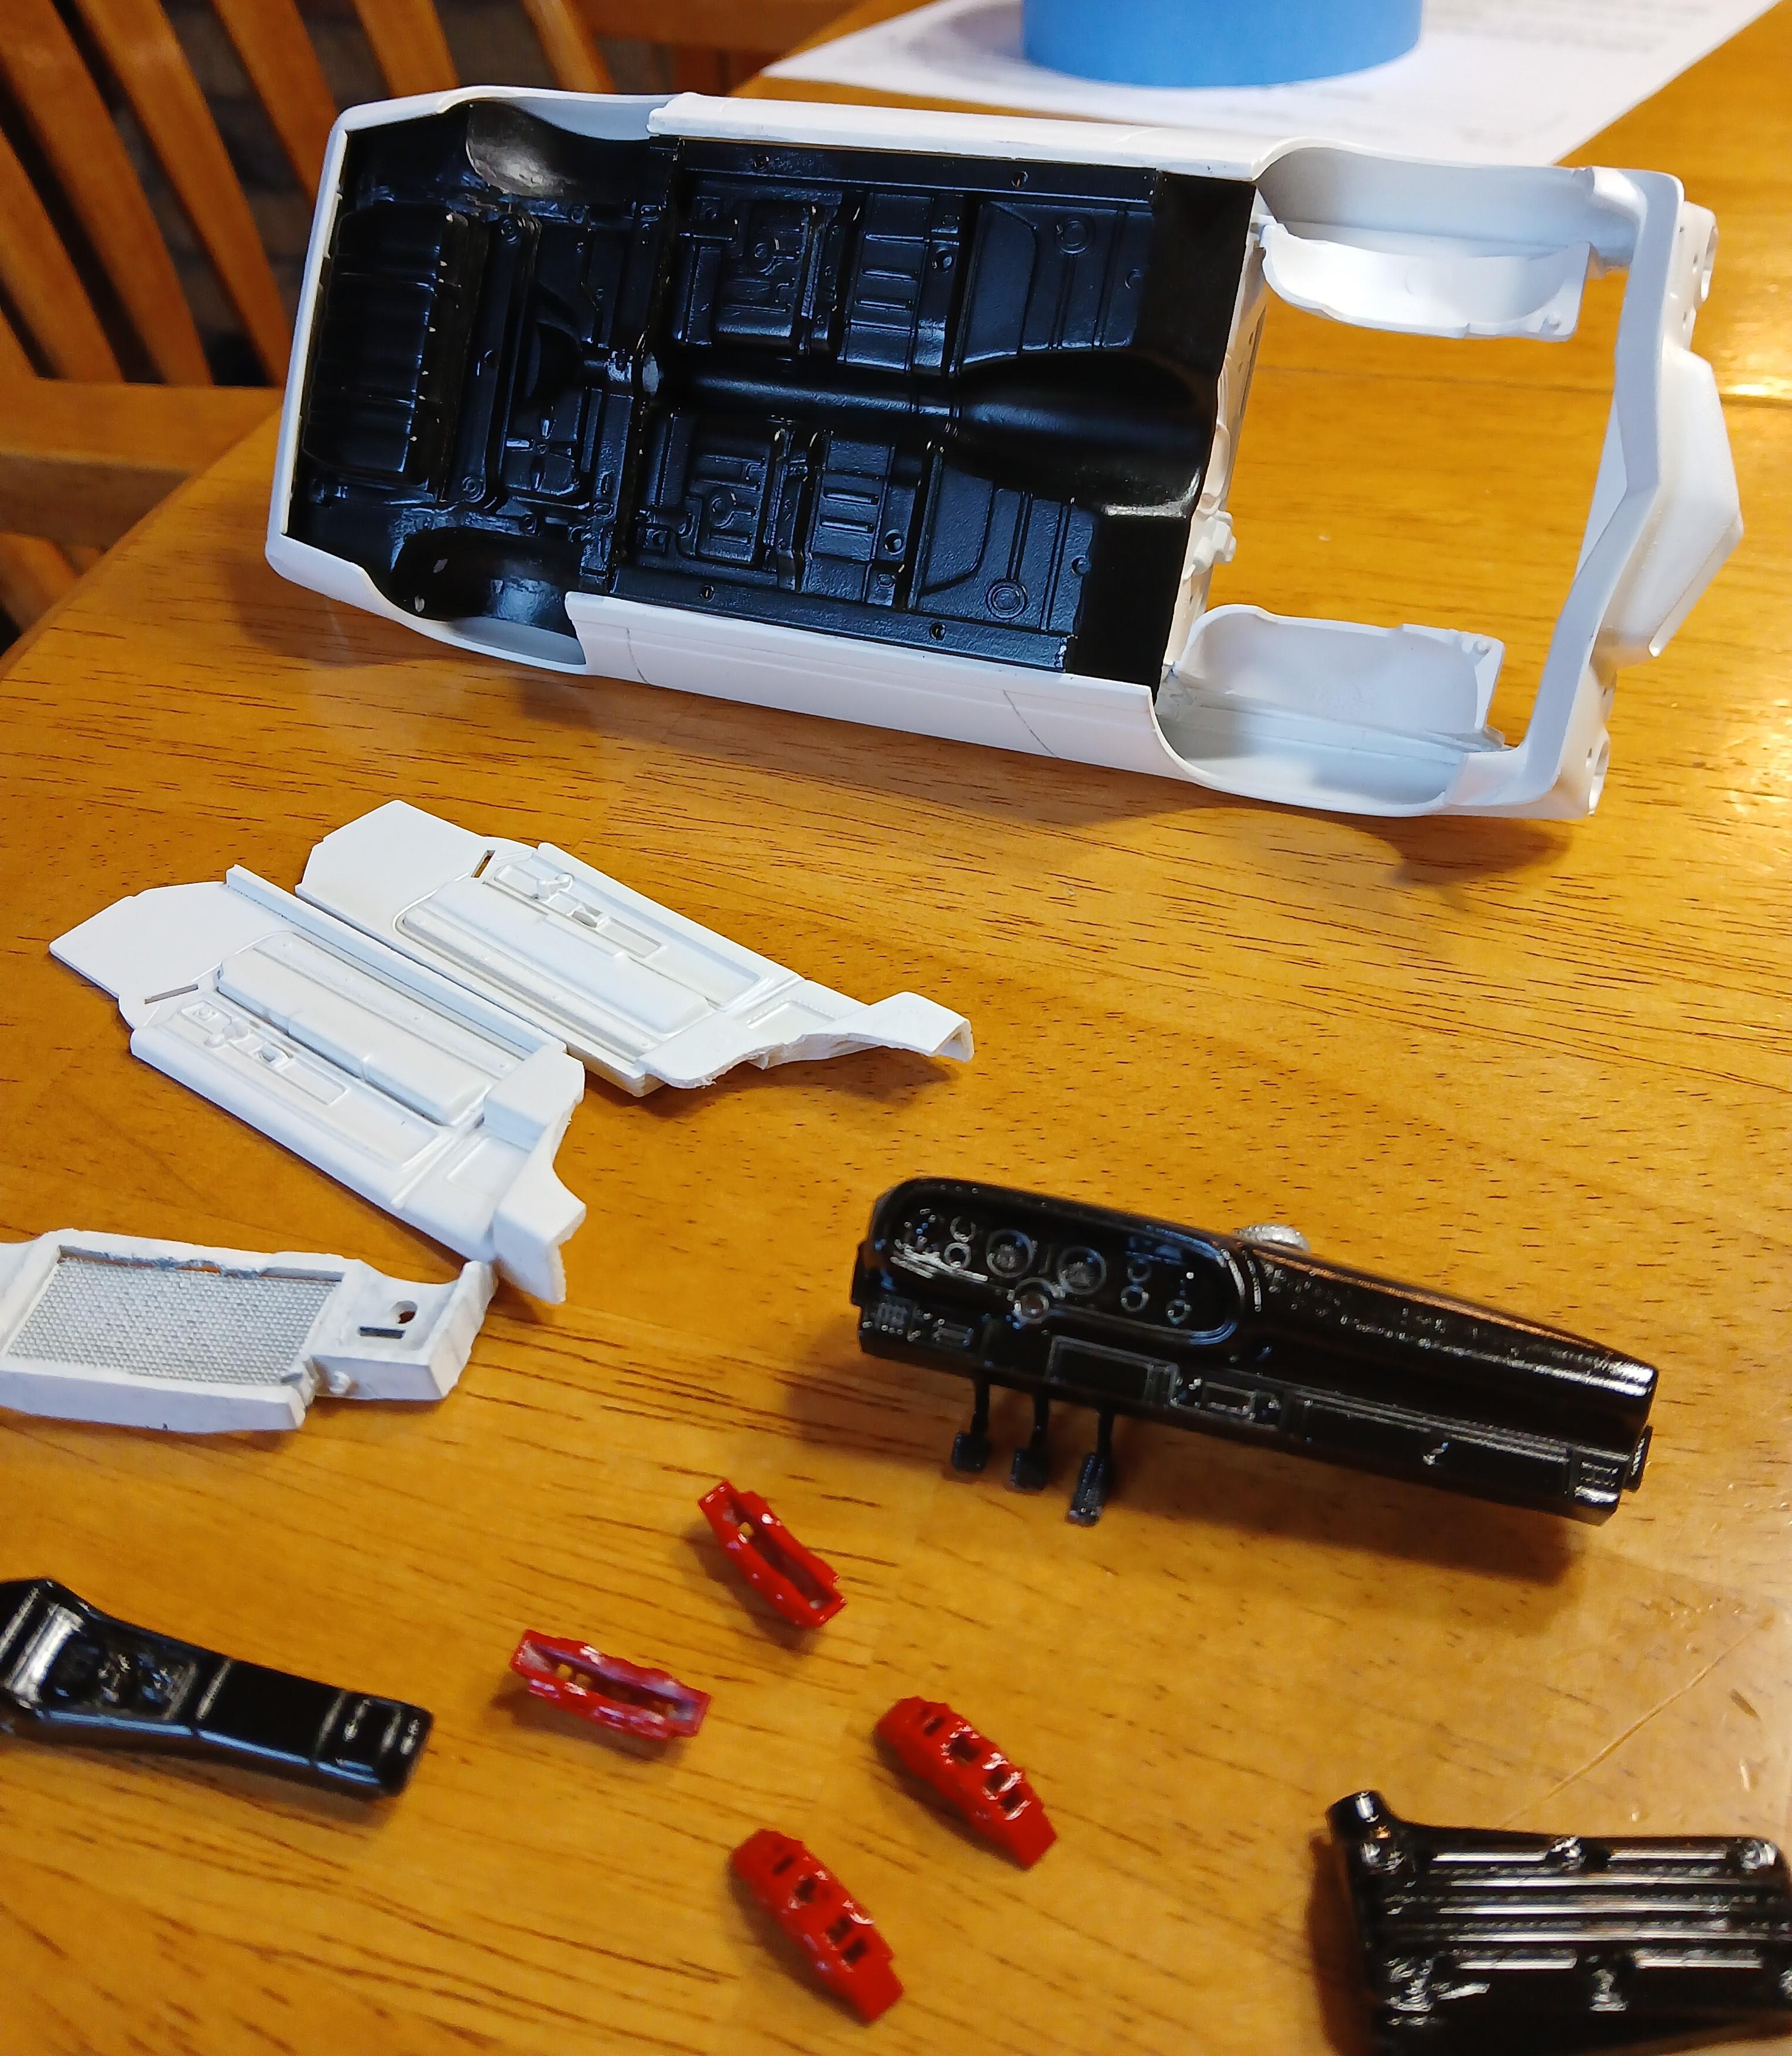
It's been a long, busy summer, but when I had the chance I've been sanding and priming the body to smooth out the side marker lights and mold lines. Yesterday I got some spray painting done on a few parts. I need to go shopping to get the body paints and will probably be doing that in the next week or so. In these pics, air intake, center console, and dash are ready for detail painting. Door cards need some sealer before I can do detail painting on them.
-
Show your iconic Custom Car/Hot Rod replicas
carl63_99 replied to Koellefornia Kid's topic in Model Cars
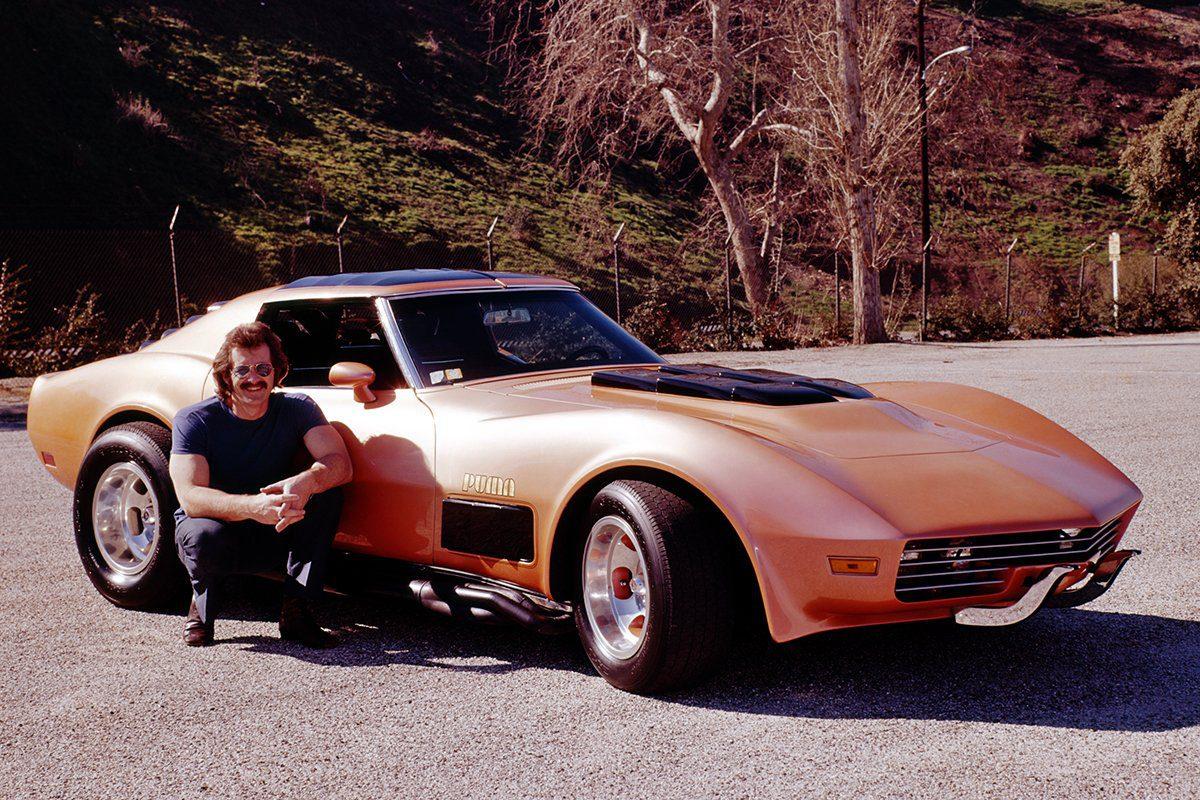
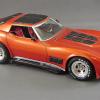
Tom Daniel's California Street Vette. I built it in 2000, won 3rd at the Dallas IPMS Nationals, then got an email from Tom saying how nice my version was.
-
"La Rosa" '70 Camaro with an Italian Heart
carl63_99 replied to carl63_99's topic in WIP: Model Cars
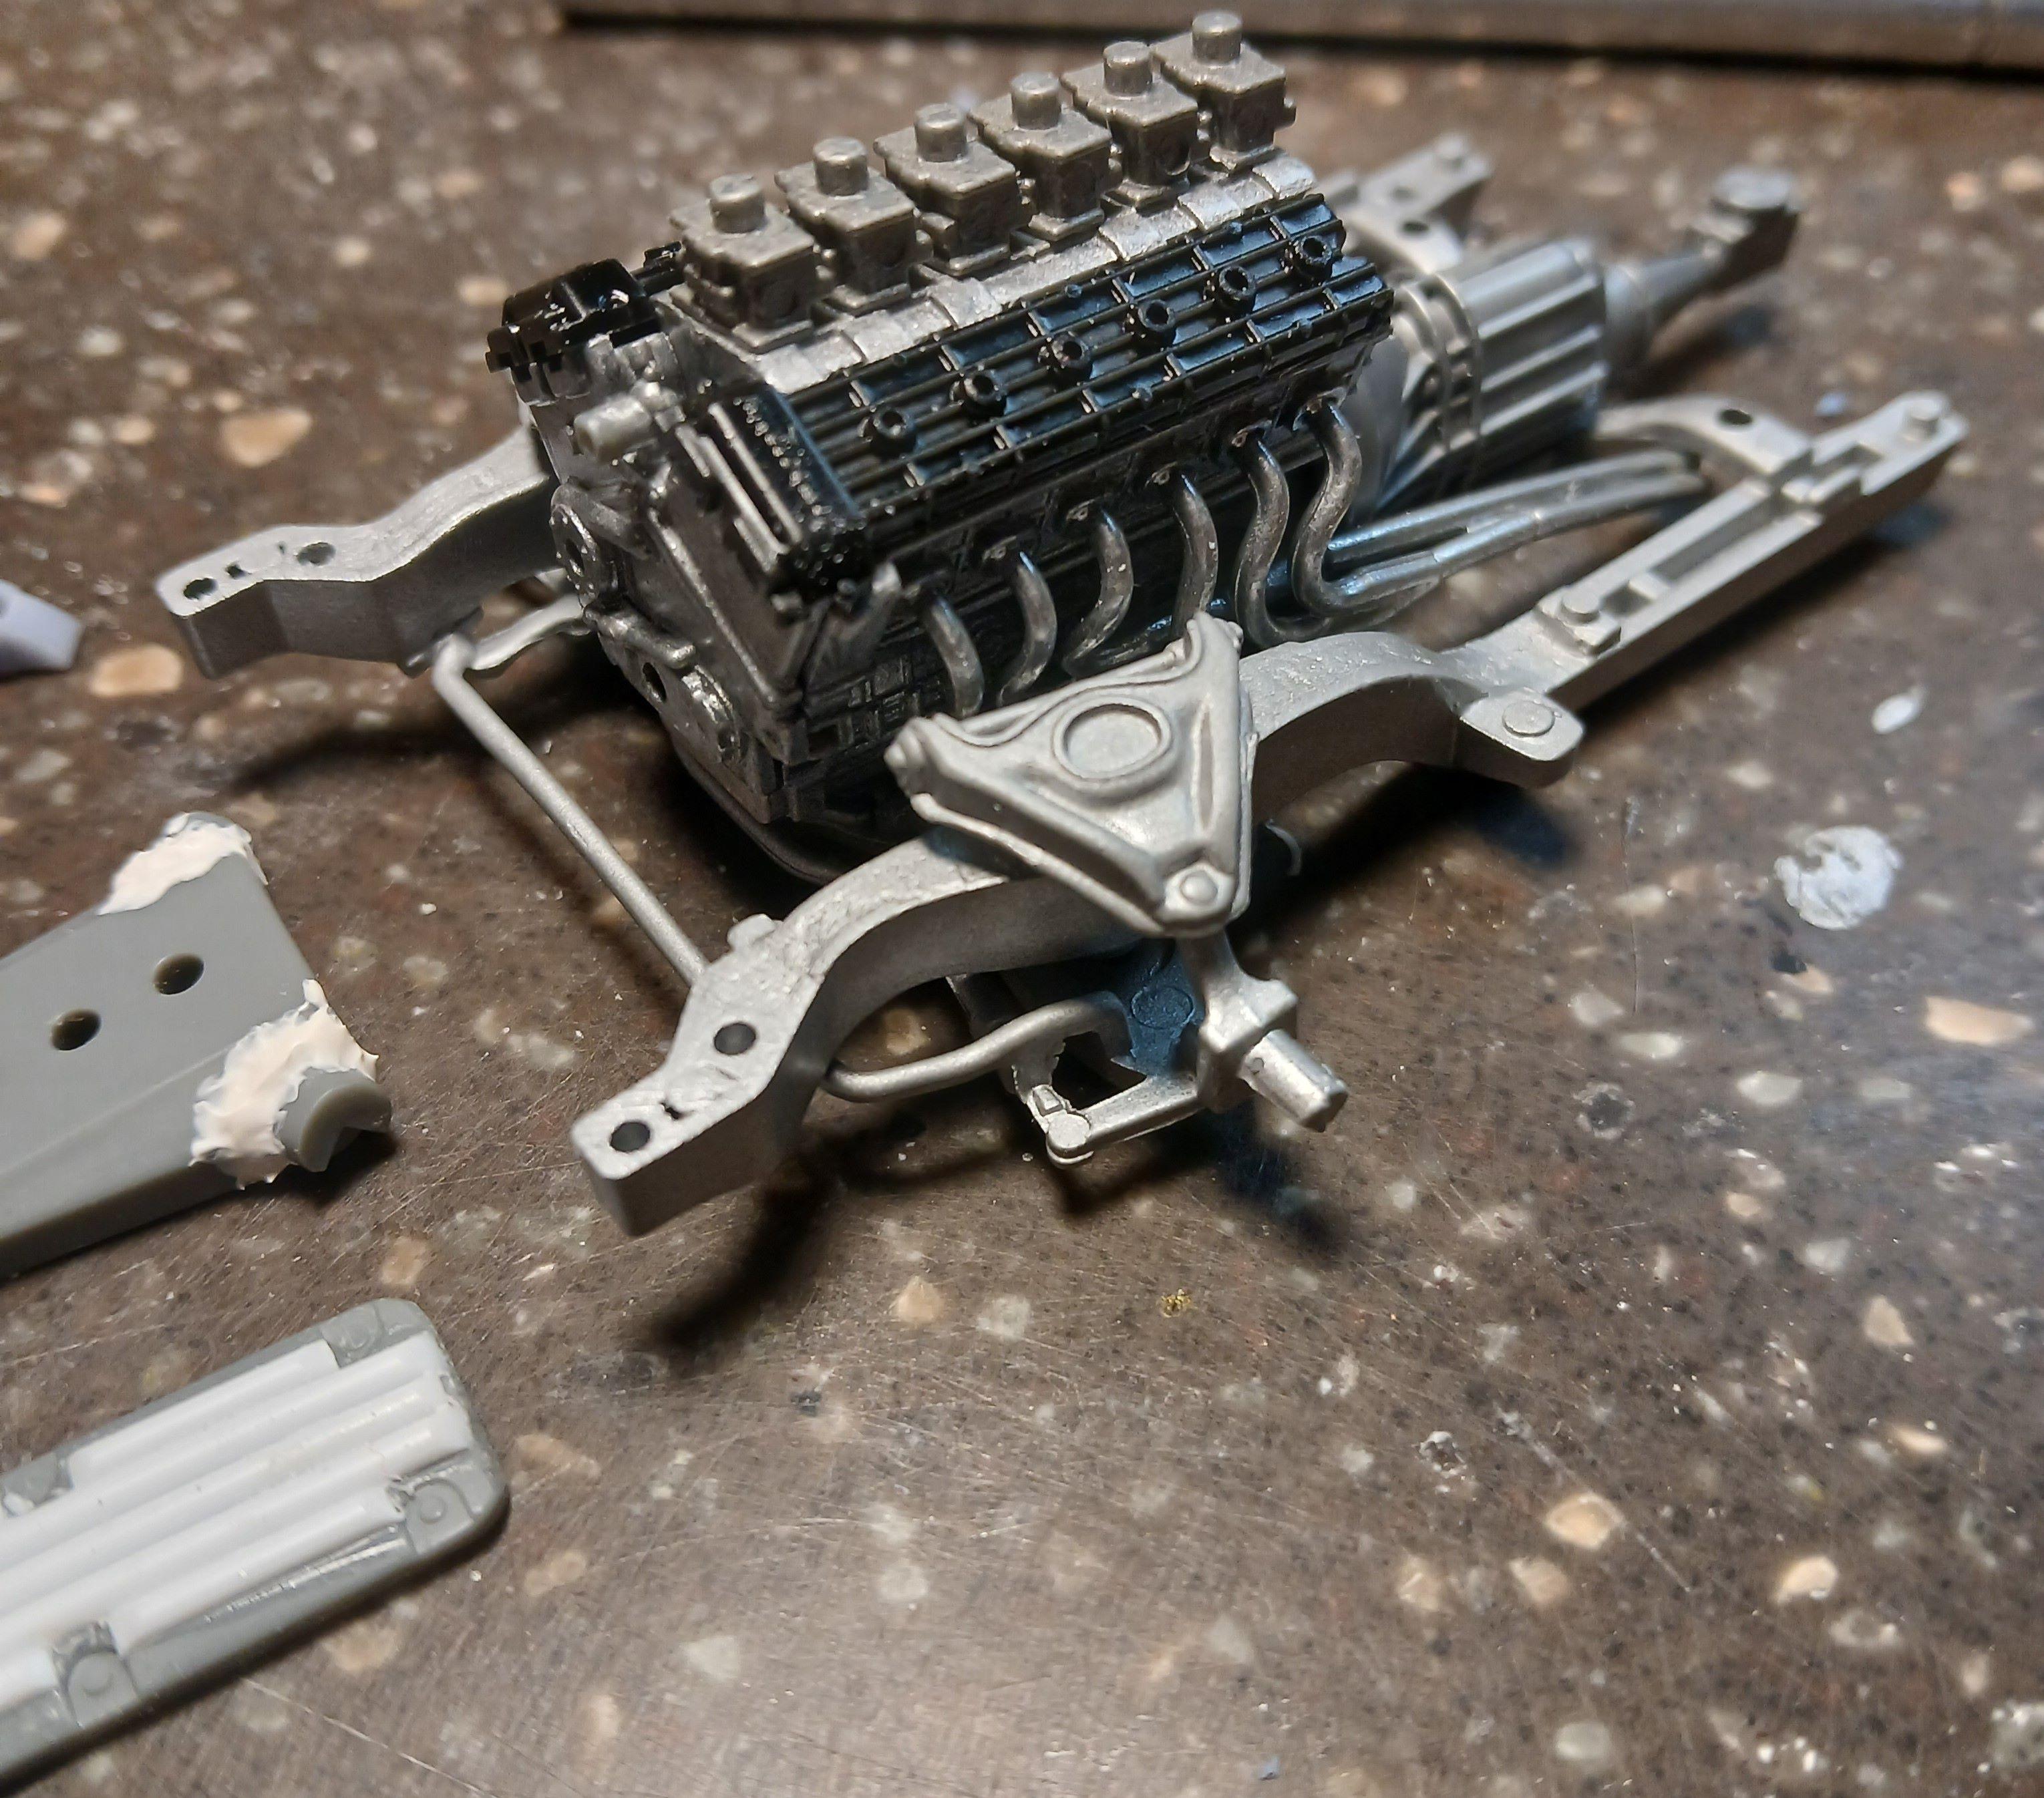
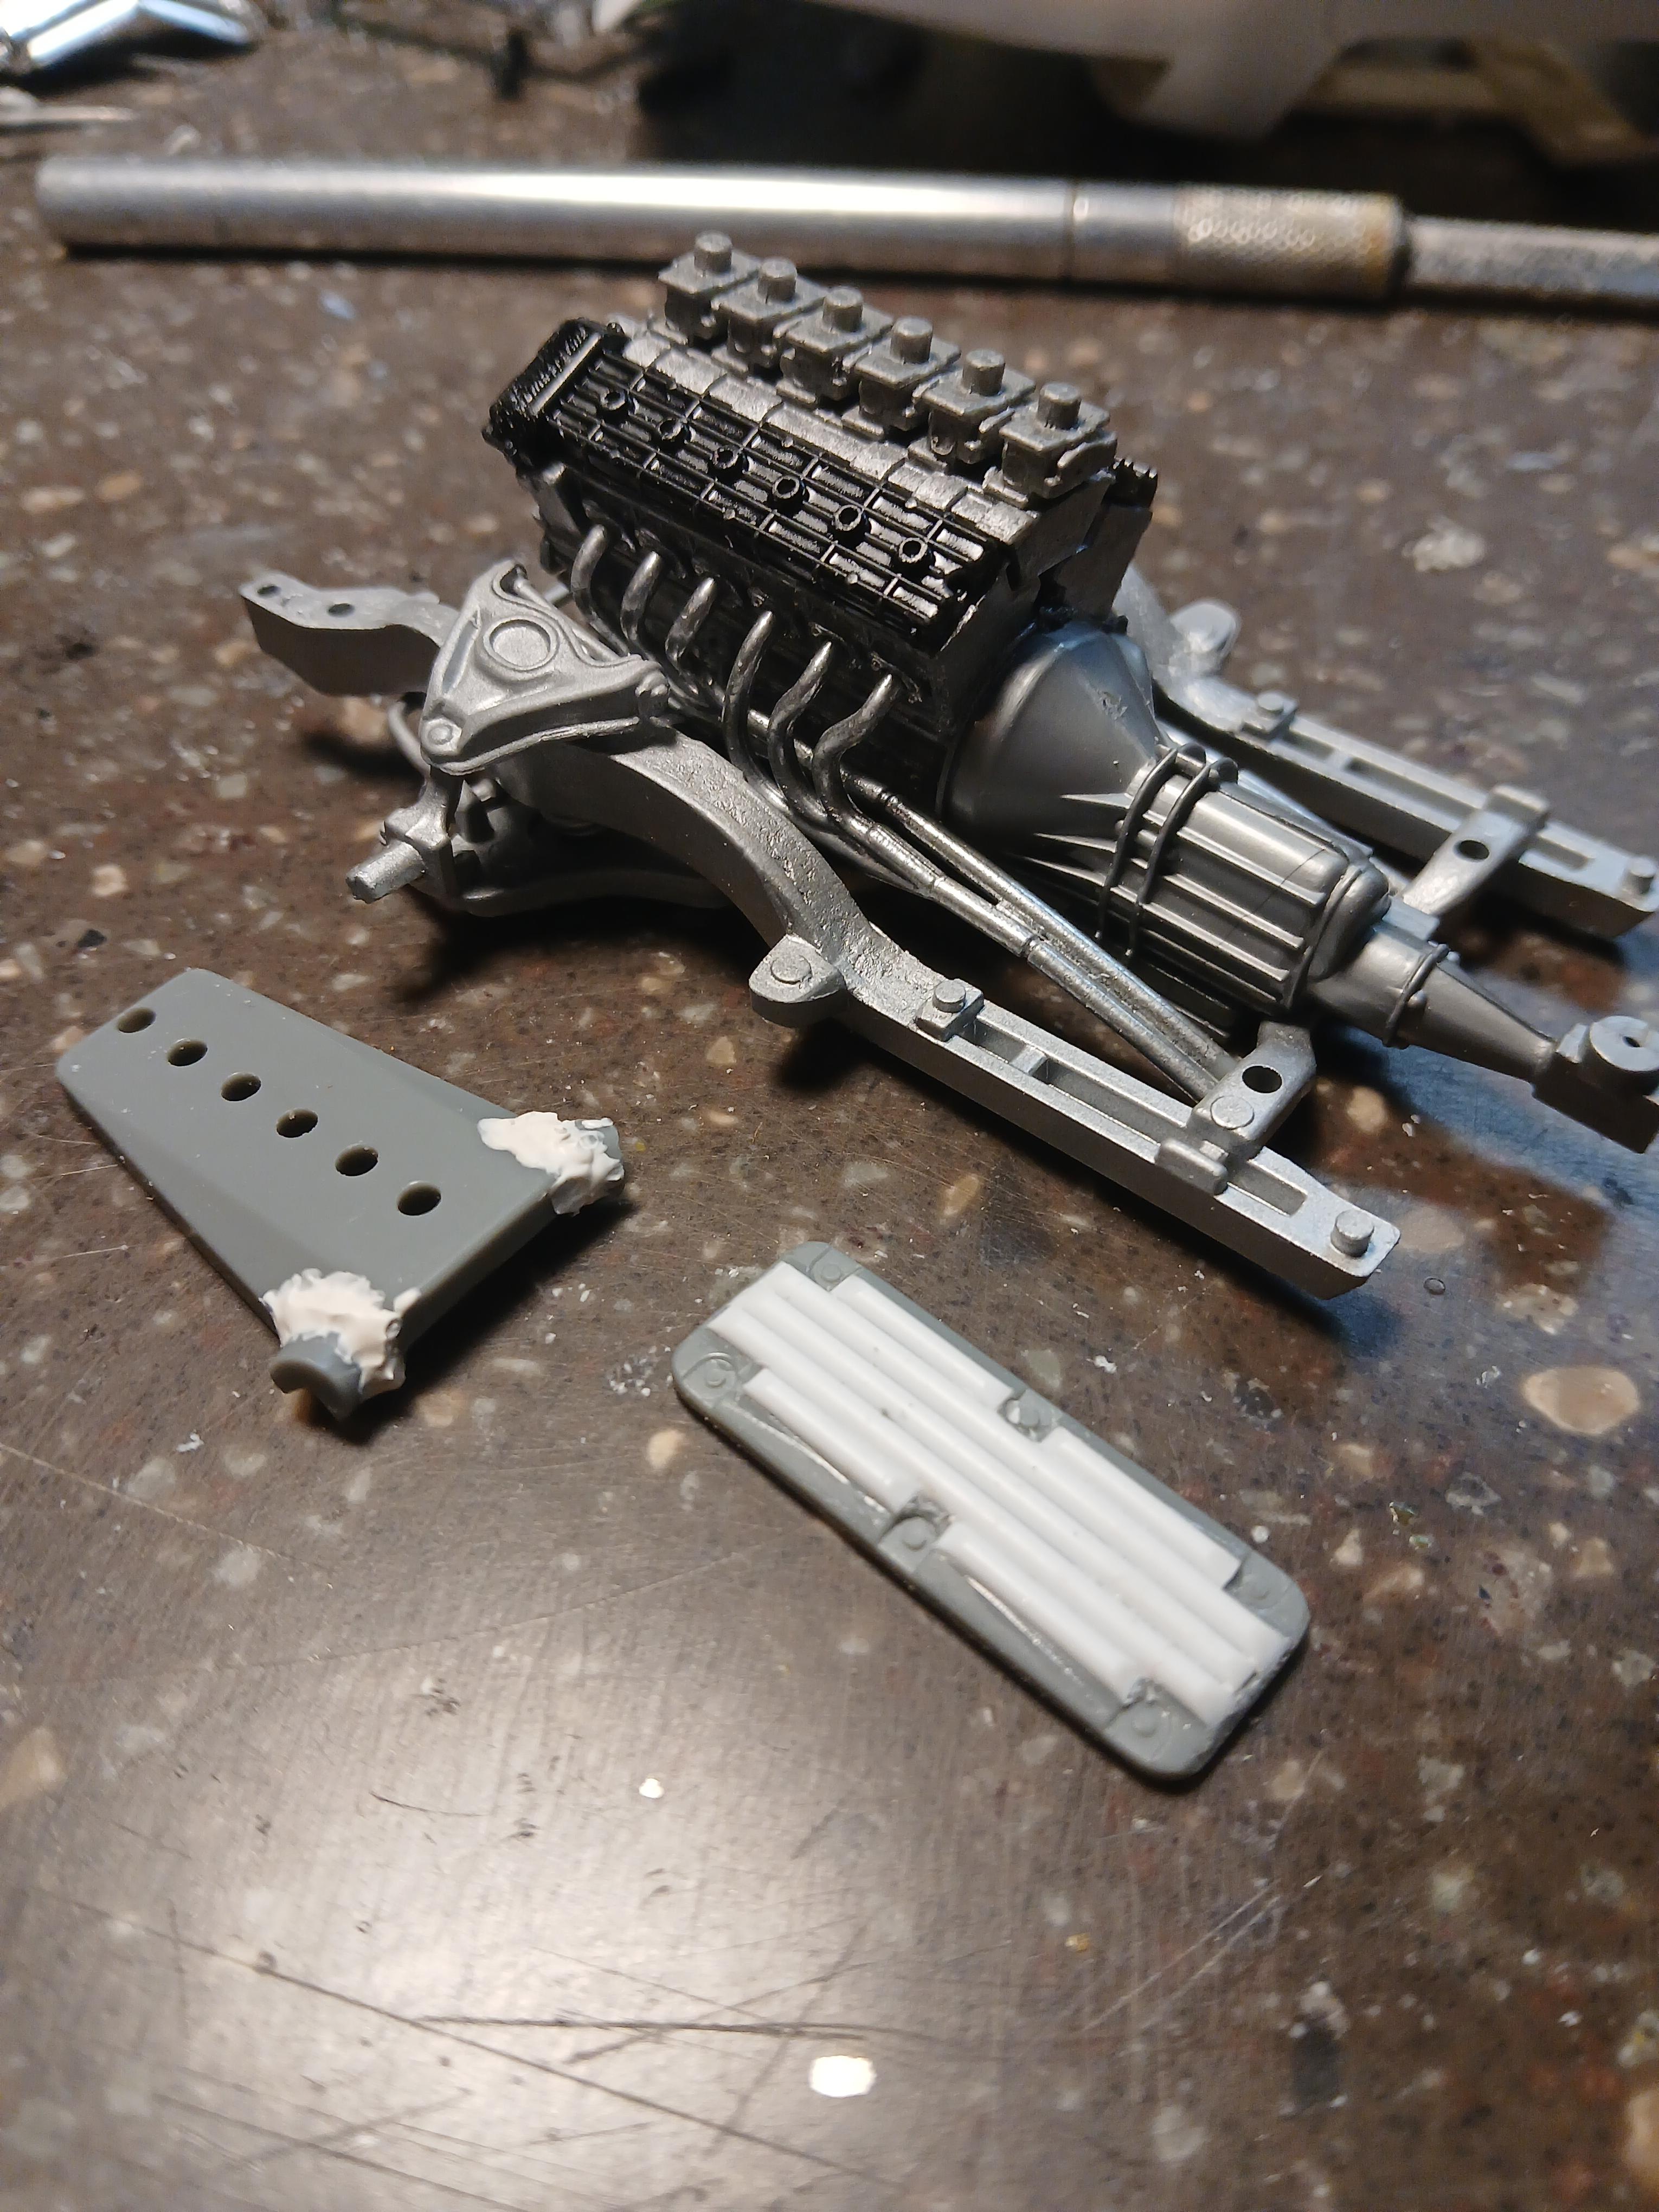
Engine work progresses. Going really slow because I will need all the room I can make when it comes to hooking up the accessories and intake. Speaking of intake, custom ribbing and adjusted intakes are evident.
-
"La Rosa" '70 Camaro with an Italian Heart
carl63_99 replied to carl63_99's topic in WIP: Model Cars
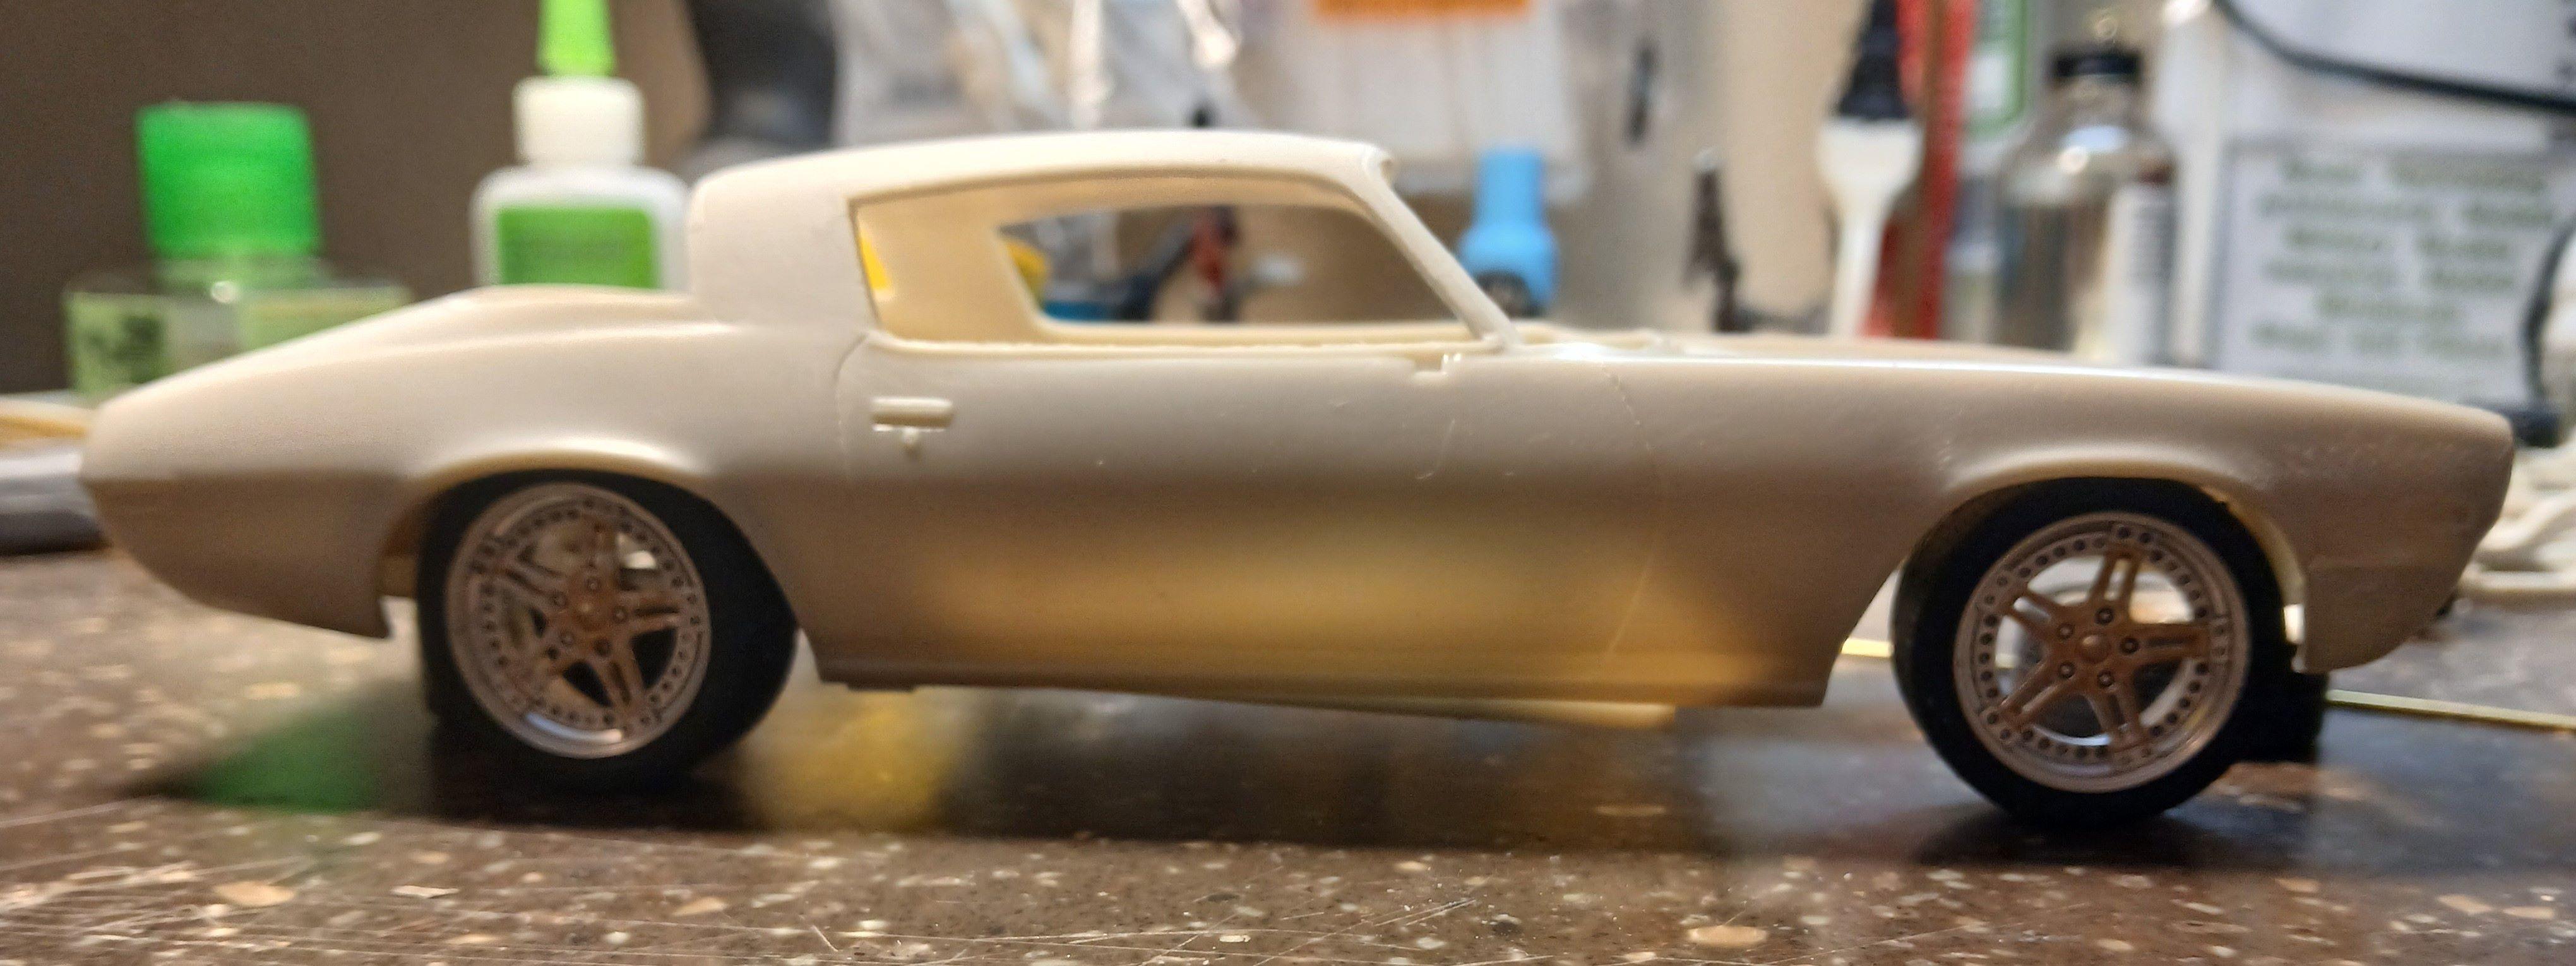
Brakes came in the other day and man they look sweet! Got the ride height set already. By flipping the rotors backwards I can easily mount them and the rims on the axles. Also working on subframe connectors.
-
Really nice job! This kit is a bit of a challenge to build, harder than the Fujimi I just finished. But, if you take your time, it comes out nice.
-
"La Rosa" '70 Camaro with an Italian Heart
carl63_99 replied to carl63_99's topic in WIP: Model Cars
Okay, fine! Lambo wheels it shall be! I had this set of wheels from the Aoshima Huracan, hoping someday to use them on something. Yielding to pressure, I searched and found low-profile tires that fit them. Didn't know I had 'em, dunno where they came from. But, this will be rolling stock for this project. Now to dig up some good brakes.
-
"La Rosa" '70 Camaro with an Italian Heart
carl63_99 replied to carl63_99's topic in WIP: Model Cars
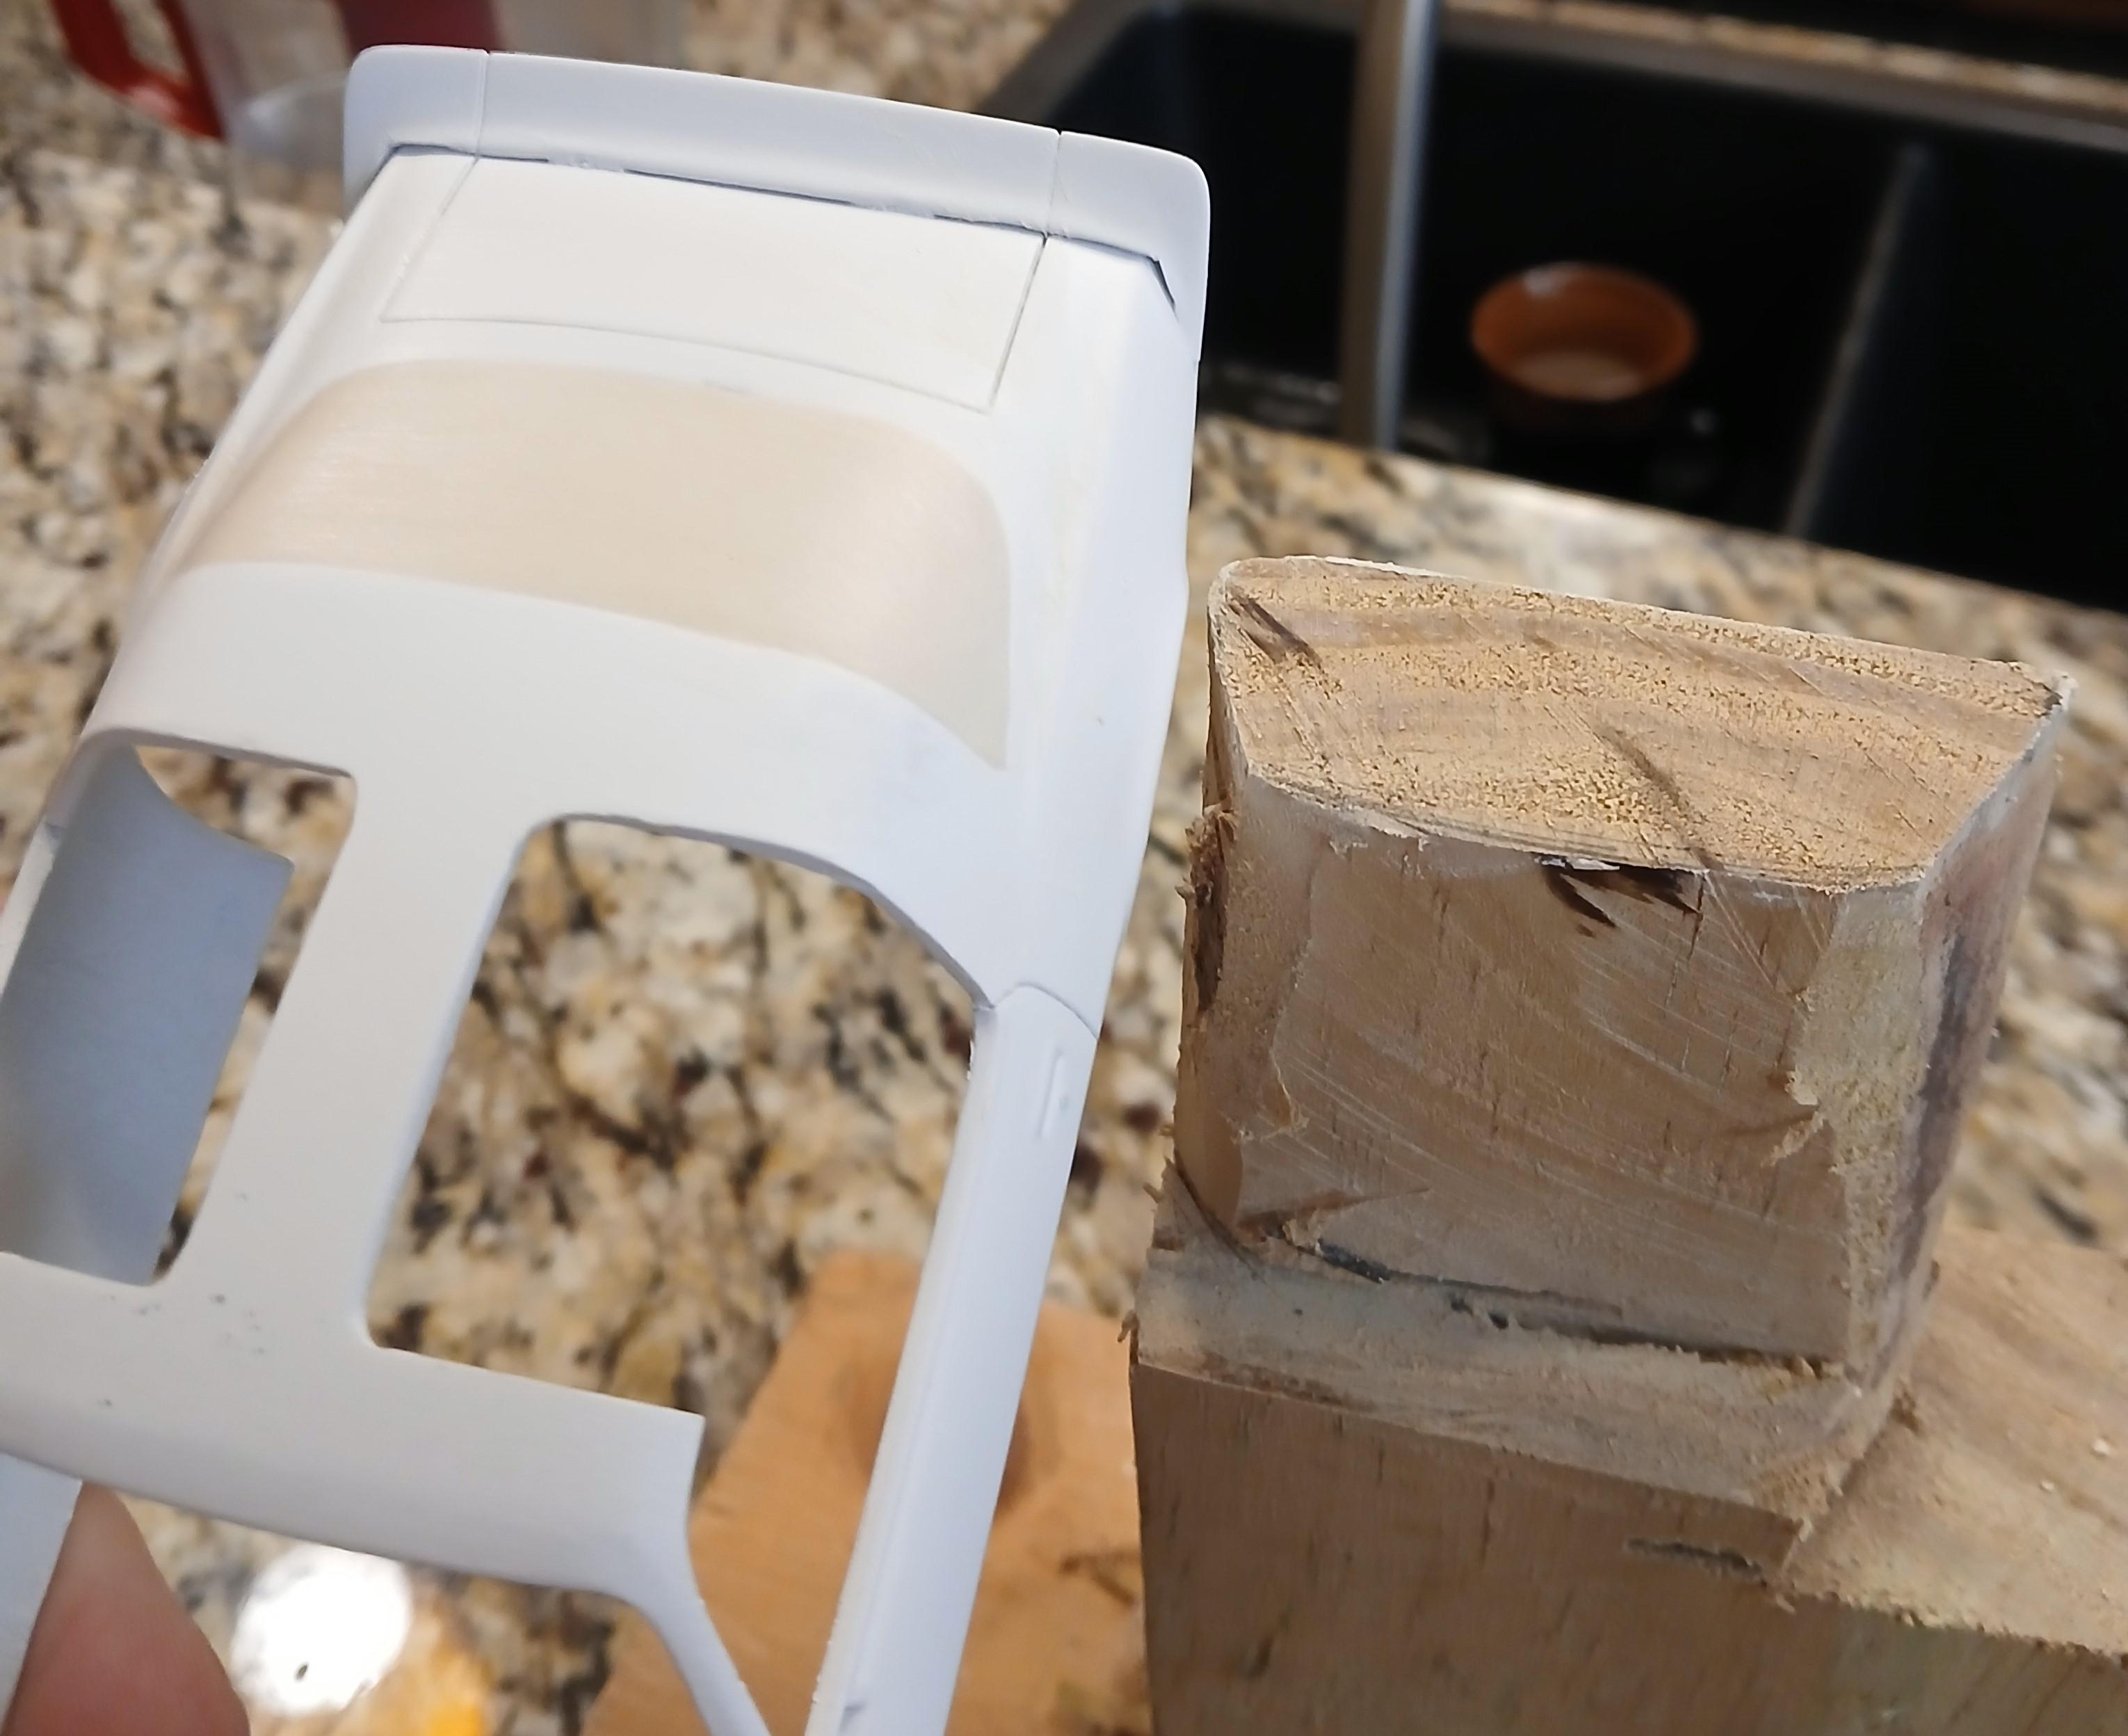
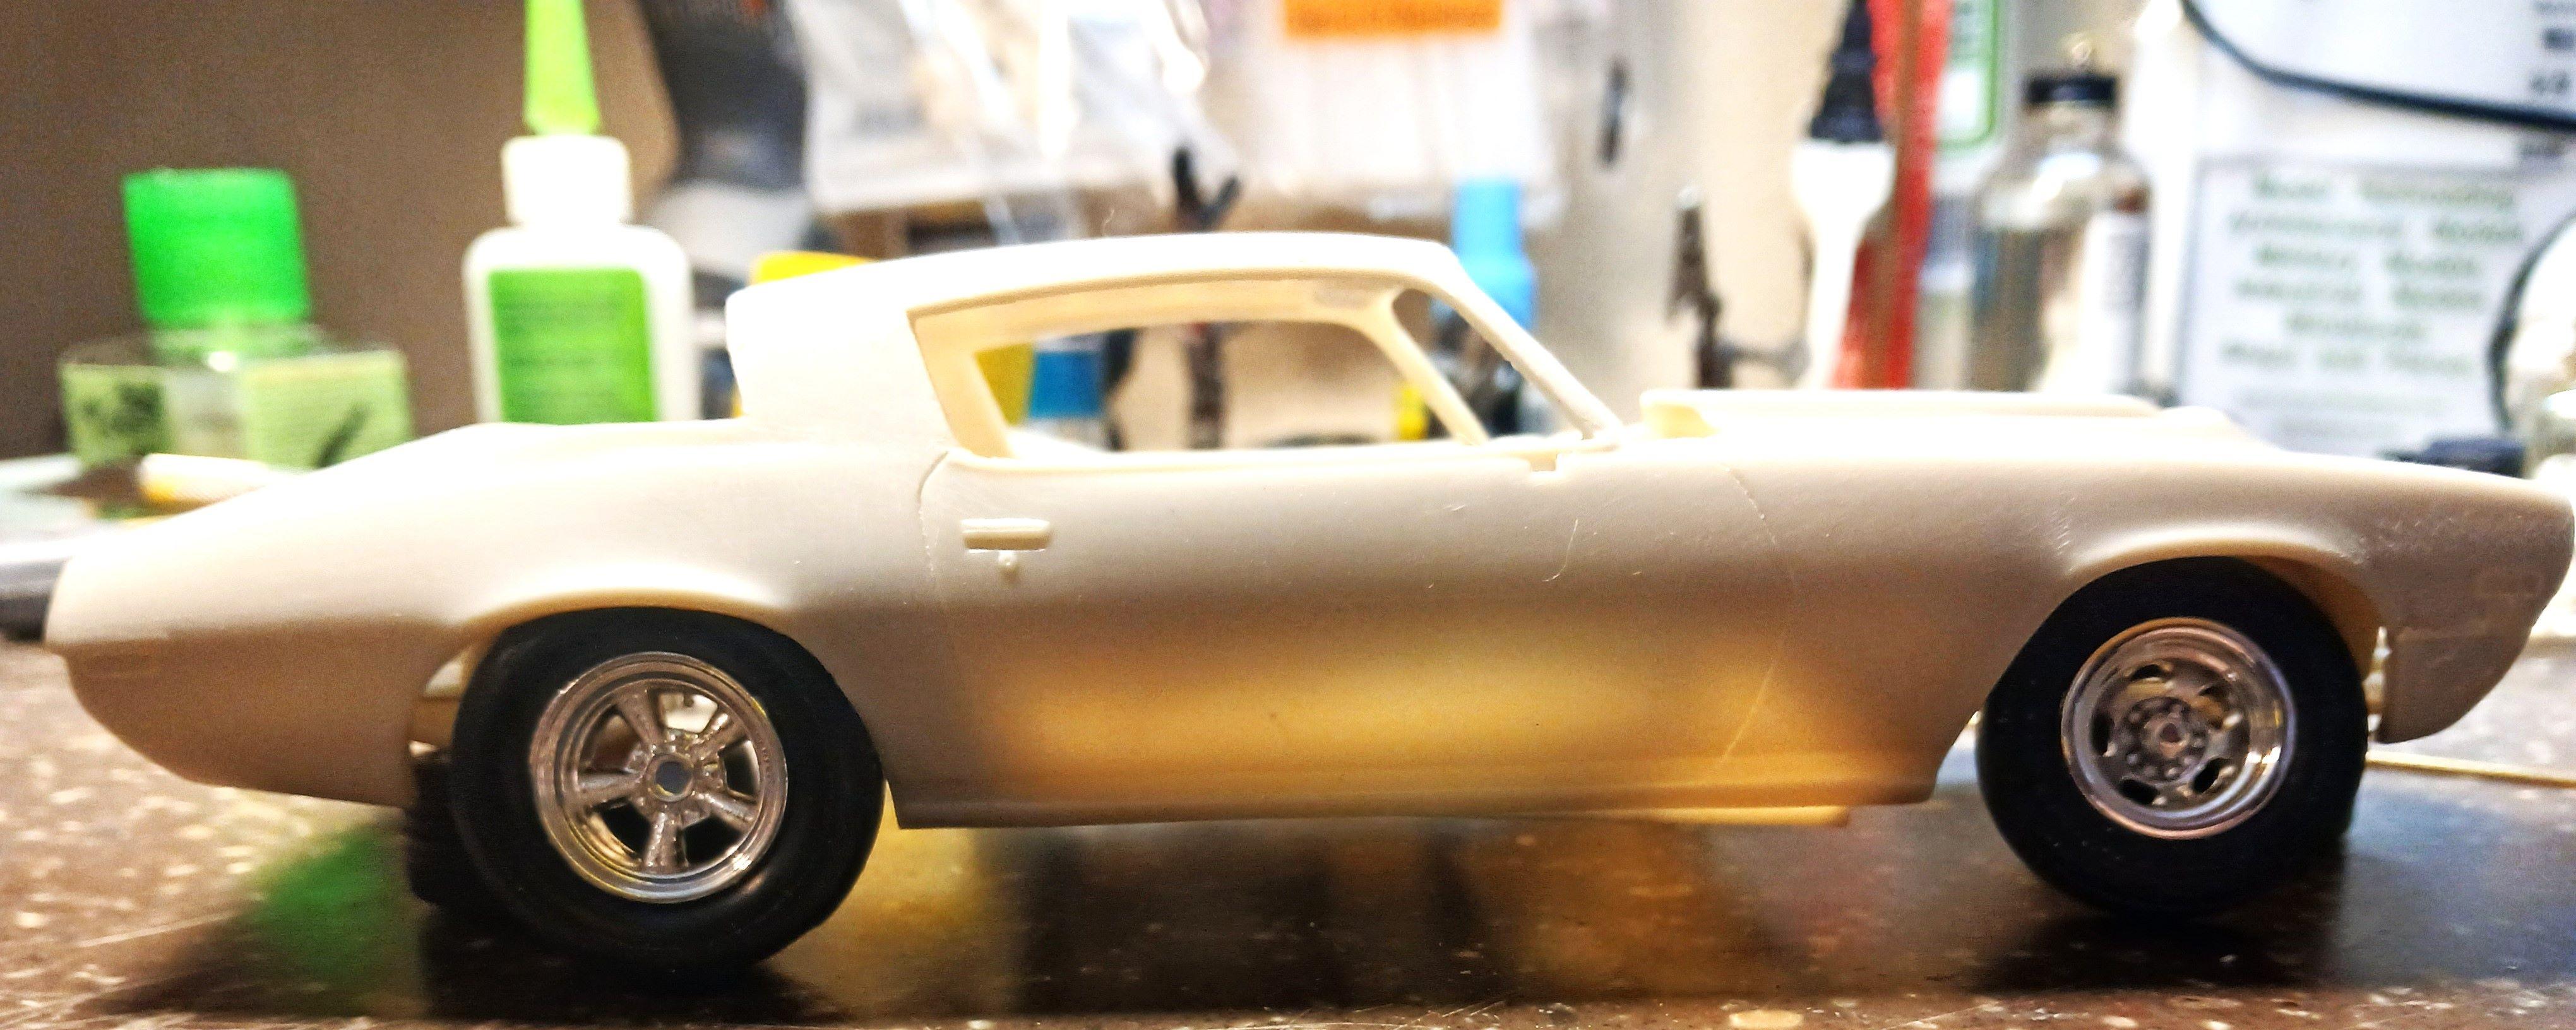
My new motto is, "Where there's a drill, there's a way!" Sit and look at your project long enough, the modification will reveal itself. So now this 1970 1/2 Camaro has T top roof. Just a little more sanding and fine tuning and this mod will be done.
-
"La Rosa" '70 Camaro with an Italian Heart
carl63_99 replied to carl63_99's topic in WIP: Model Cars
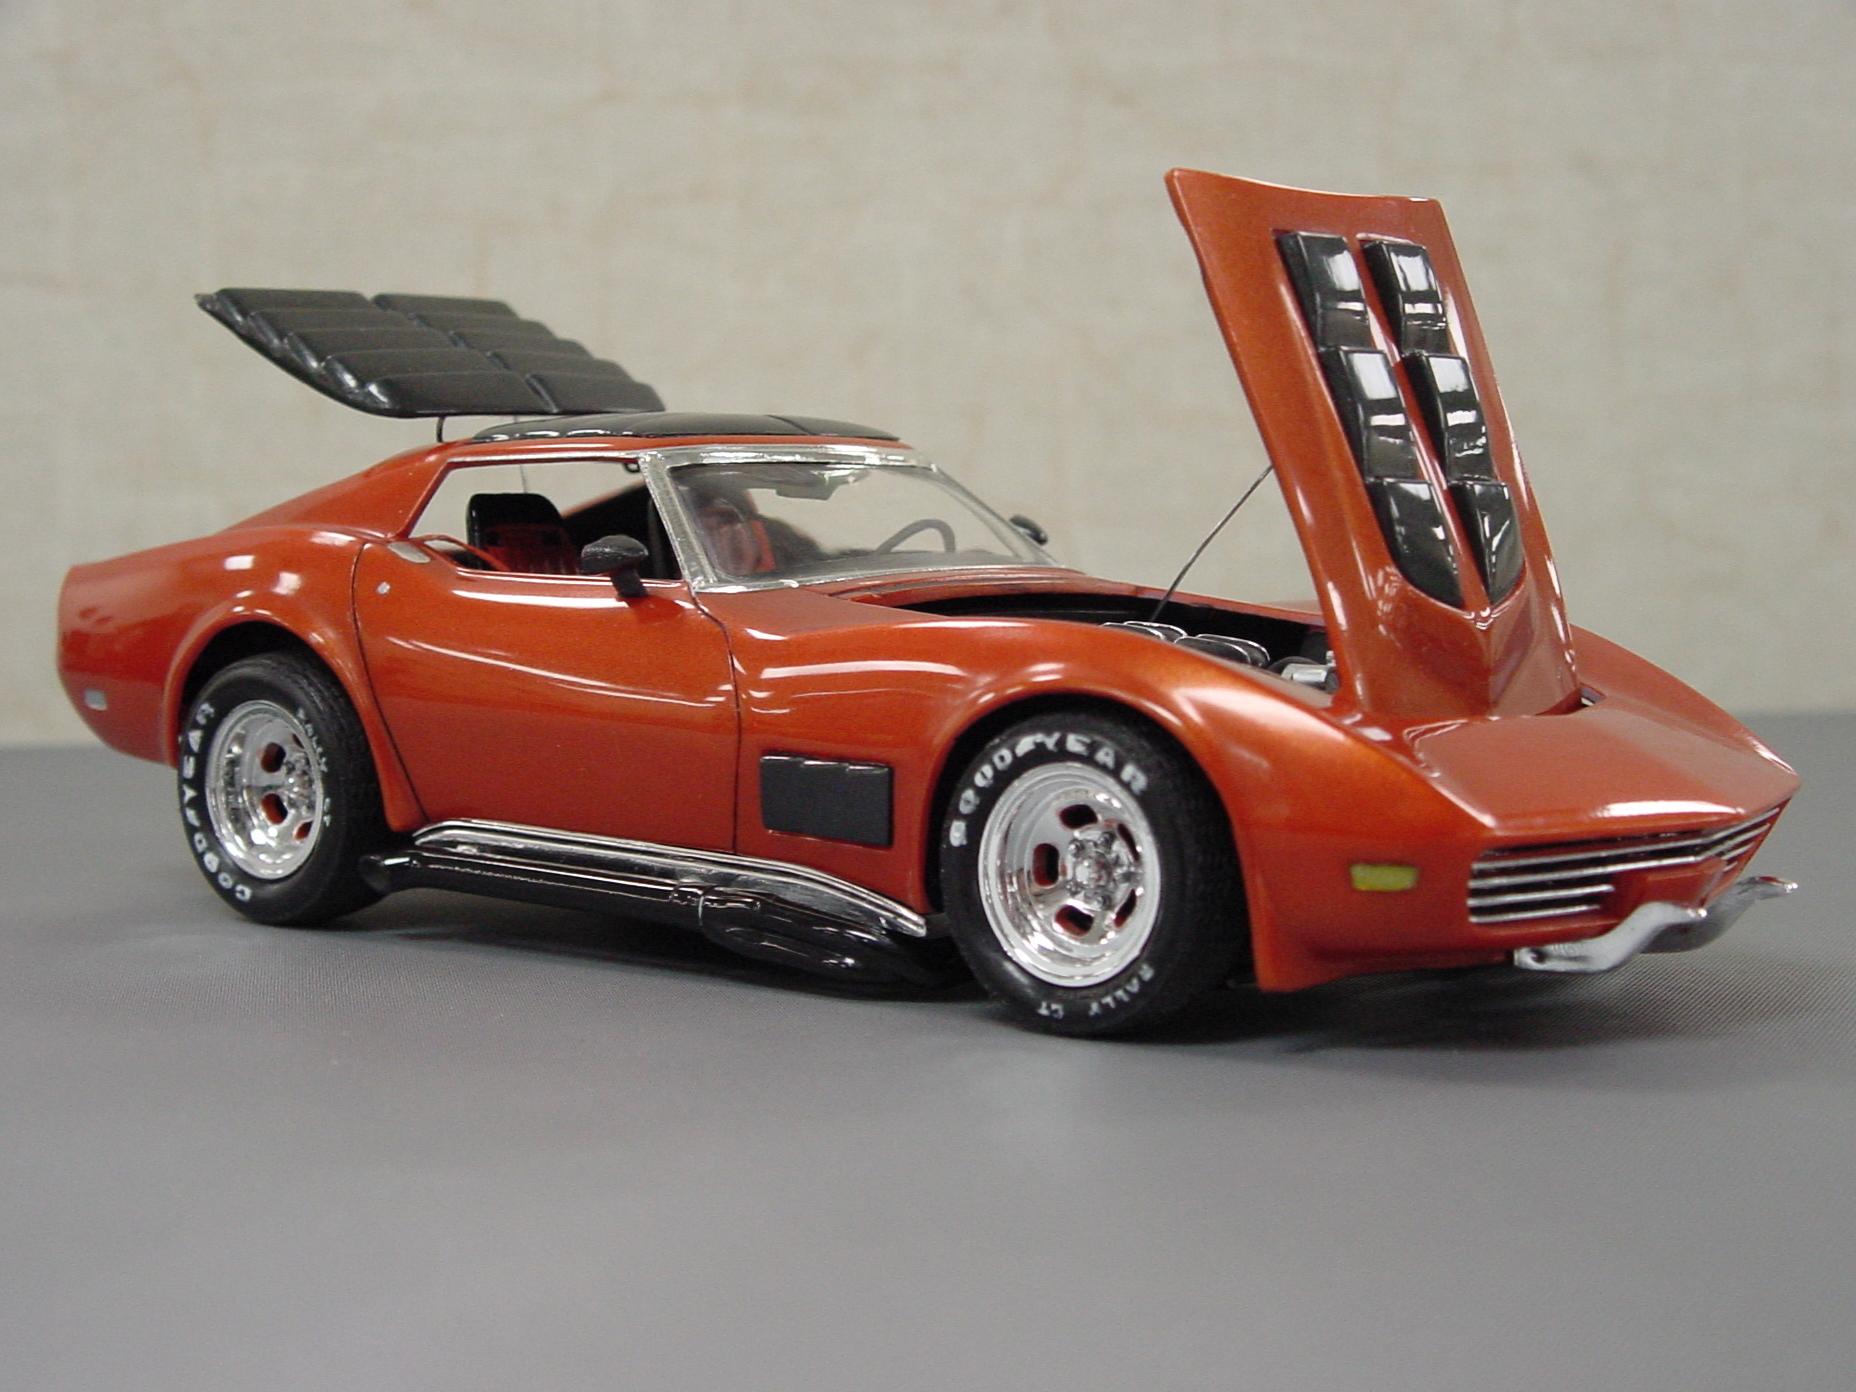
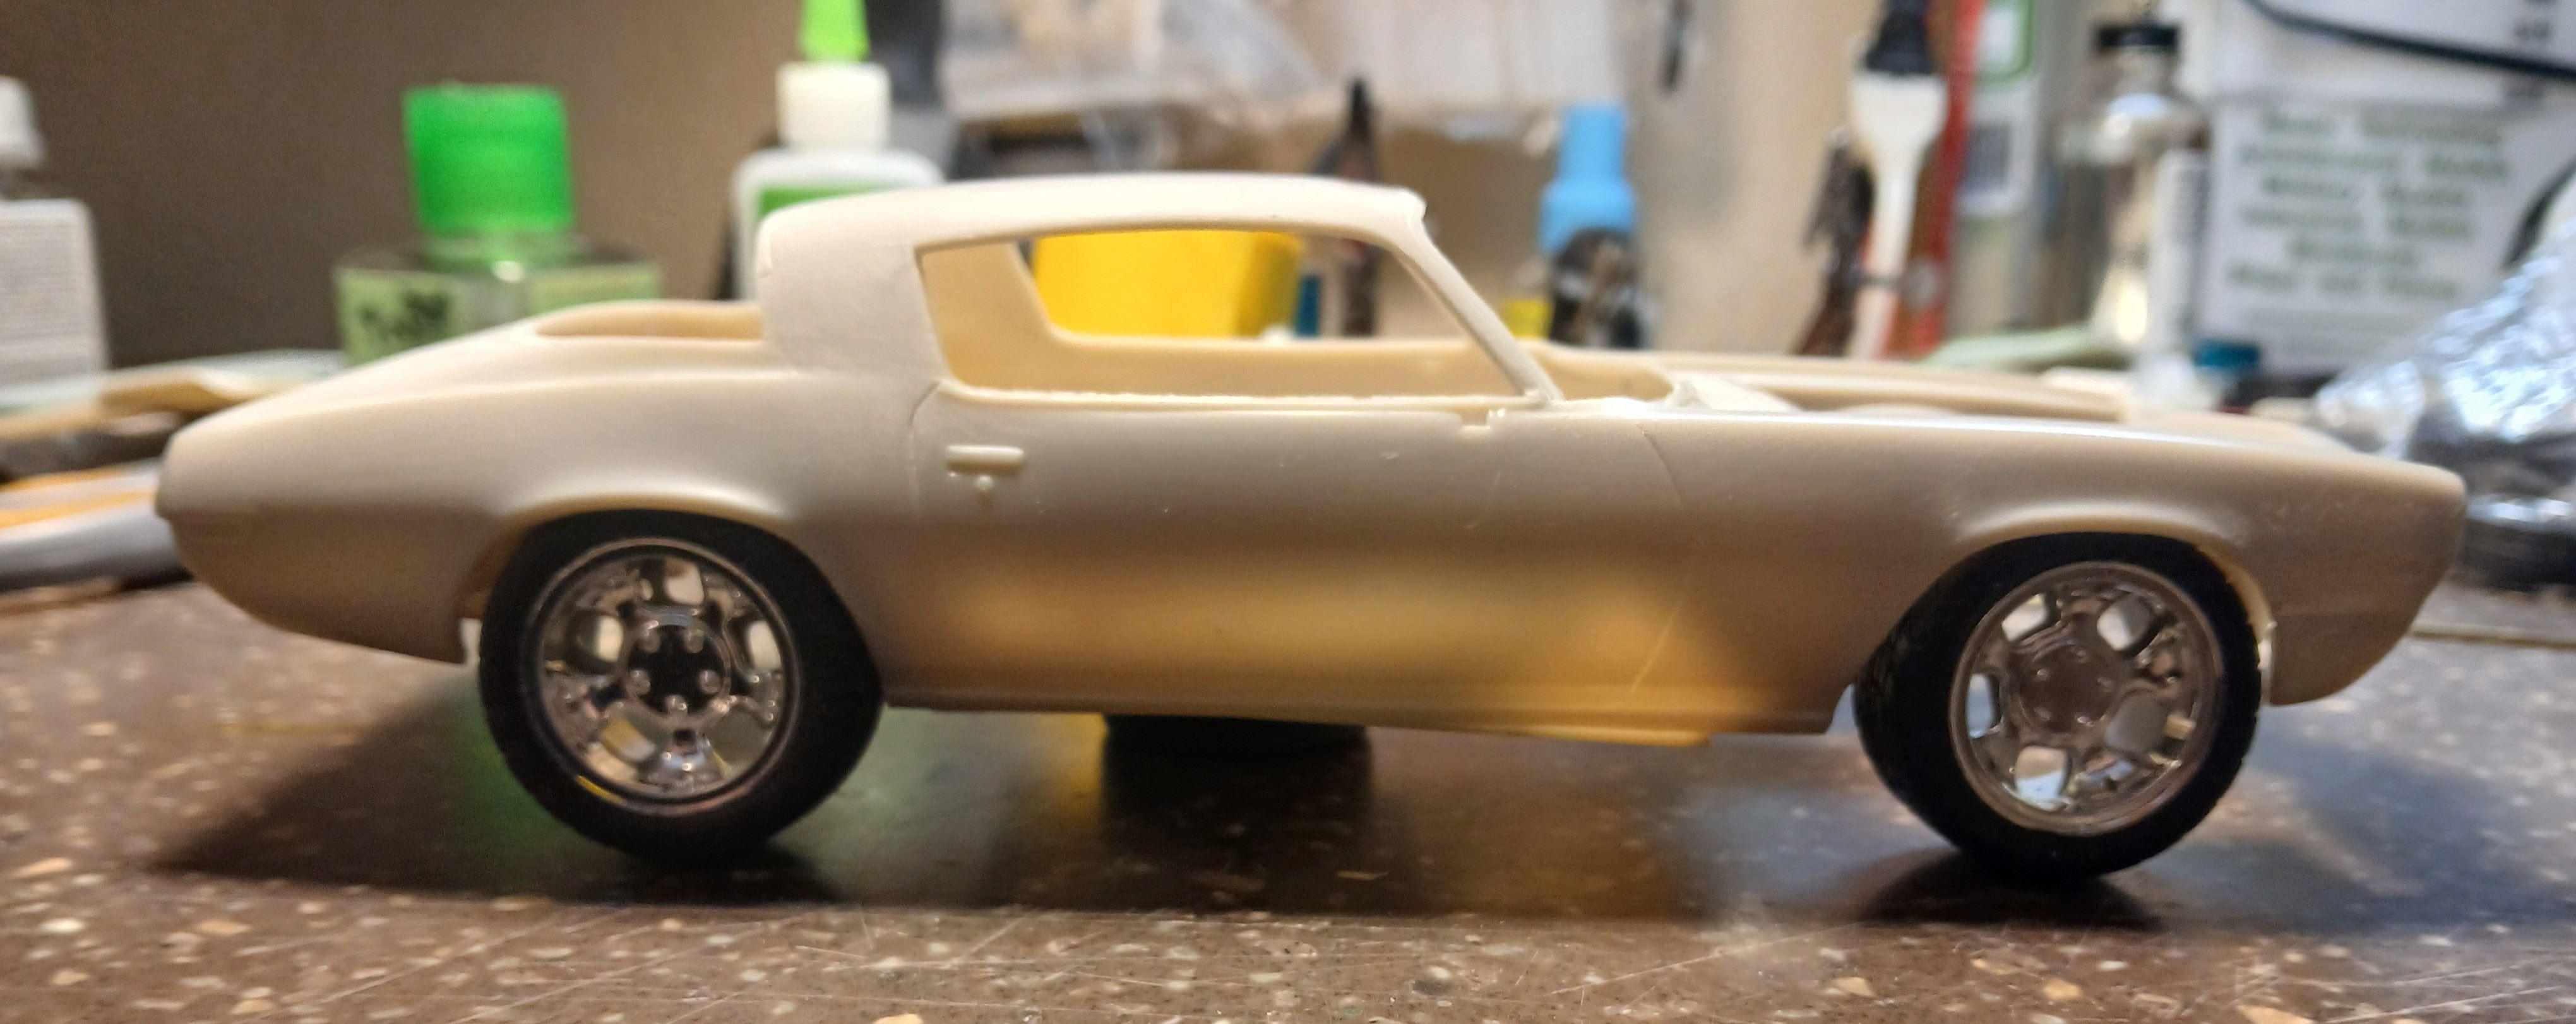
As I have several Lamborghini's on my shelf, and spare rims lying around. I tested these options and none of them look as good as a set of Corvette rims I have. Going with that for now. -
VERY nice work, David. Lots of challenges to getting this model together and looking decent and you got 'er done!
-
"La Rosa" '70 Camaro with an Italian Heart
carl63_99 replied to carl63_99's topic in WIP: Model Cars
Wheel and tire choices... So many and yet not sure if anything speaks to me. One pic here shows 5 slot mag wheel on front and American racing rims on the back. Both strong possibilities for the classic look. But, with a Lambo V12, maybe not so classic would be better? I am leaning toward the second one, late generation Corvette one, will show off disk brakes nicely. Then some other choices below.
-
Door issue is fixed. I used a brass rod, bent into a long curve so it goes almost all the way across under the dashboard. Then a 90 degree bend pointing straight up. The door slides on and looks closer to the correct prototype position. I can just slide it all apart to close the door. Done!
-
The build. And thanks all for the comments!
-