Q tip
-
Posts
248 -
Joined
-
Last visited
Content Type
Profiles
Forums
Events
Gallery
Everything posted by Q tip
-

V8 Cabover #2 FLA 104
Q tip replied to purepmd's topic in WIP: Model Trucks: Big Rigs and Heavy Equipment
wow I love it, i'm building the same truck the same way, I haven't seen too many 104's being built from this kit. the only difference between mine and your outstanding work is you went for the later model, I went backwards to the early 70's. ,,awesome work,keep the pics coming........john -
KW C500 OIL FIELD
Q tip replied to Swamp Dog's topic in WIP: Model Trucks: Big Rigs and Heavy Equipment
very nice build and I can first hand testify to the modeling recovery. I too just went through a c7 neck fusion for the second time.(first one was c5). so my work bench has been about the only place where I can honestly say has kept me from going crazy! -
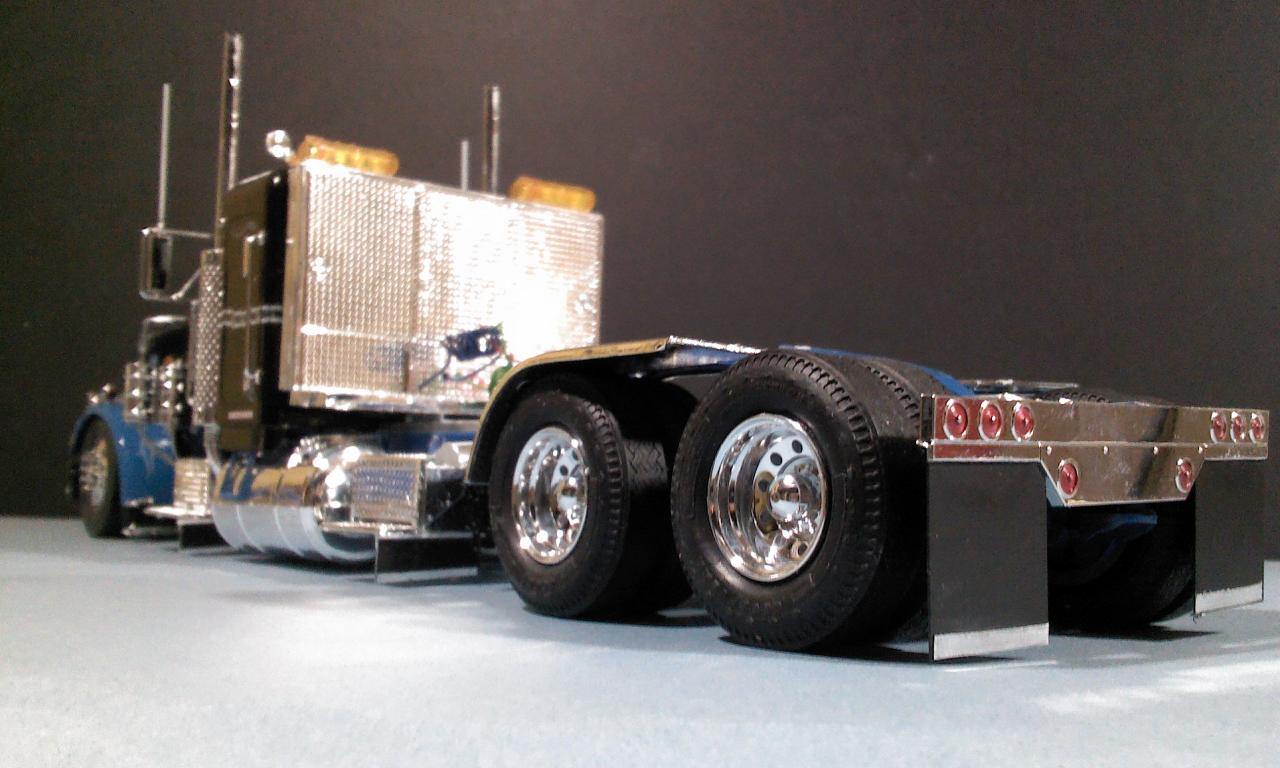
thanks for all the good come back, wasn't sure how things were going to turn out after the clear coat and respray problem. near all of the chrome and decals were left overs from the revell wrecker kit. i'll post a couple more pics with the step deck I scratched..thanks again..........john
-
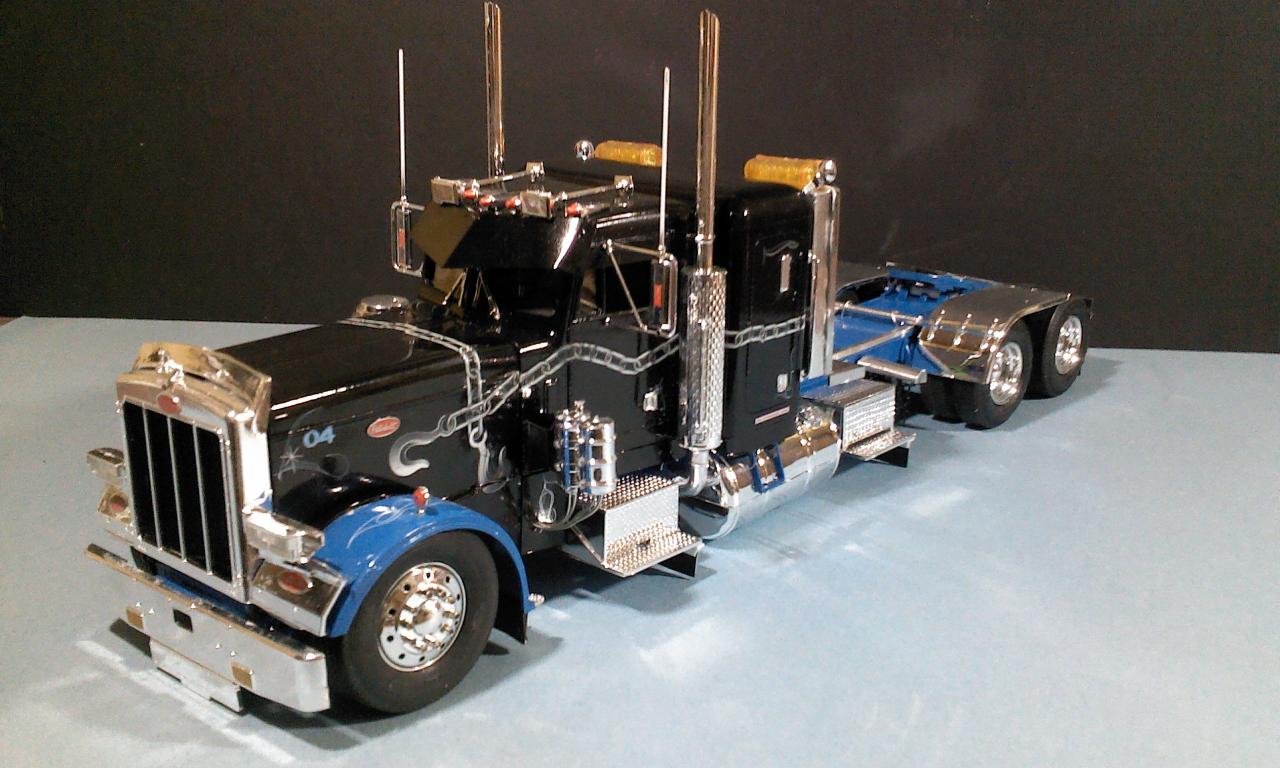
Here is my version of the revell snap Pete,turned out pretty good I think,but you be the judge,.....thanks john

-
revell 359 ext. hood
Q tip replied to Q tip's topic in WIP: Model Trucks: Big Rigs and Heavy Equipment
Few more pics to see,these should be the last ones before I move it over to the under glass section, thanks......john
-
revell 359 ext. hood
Q tip replied to Q tip's topic in WIP: Model Trucks: Big Rigs and Heavy Equipment
good eye jt, that seem would just not go away. so when I was looking at those decals, I thought "yep that will work". thanks for all the positive comments..........john -
revell 359 ext. hood
Q tip replied to Q tip's topic in WIP: Model Trucks: Big Rigs and Heavy Equipment
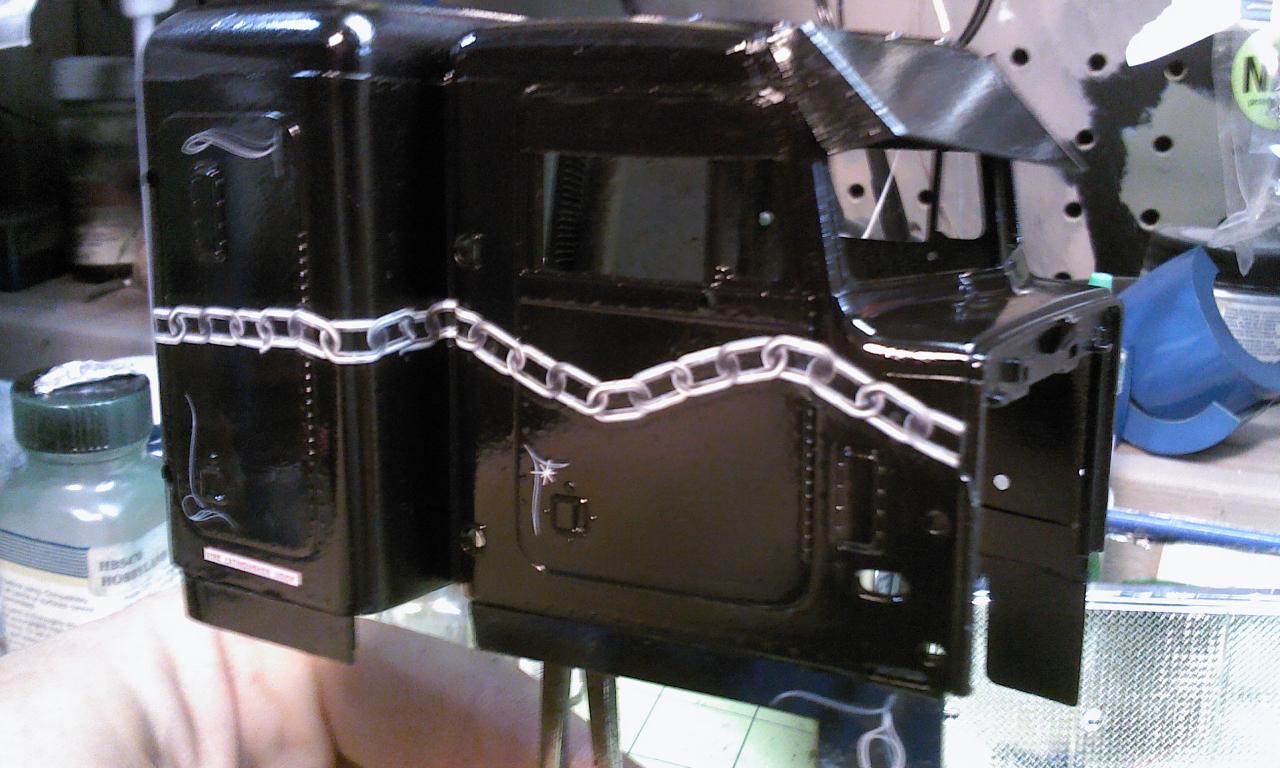
A little more progress, thanks for looking...john
-
the decals and extra chrome came from the revell wrecker.
-
kenworth aerodyne coe rebuild
Q tip replied to redneckrodder's topic in WIP: Model Trucks: Big Rigs and Heavy Equipment
not sure what caught my eye first, the kw or the peterbilt double bunk in the back ground,either way have fun! -
Peterbilt Model 359
Q tip replied to inskeep123's topic in WIP: Model Trucks: Big Rigs and Heavy Equipment
Cheyenne, I posted my pete and left the rear lowering separate, check it out,works great.......john -
revell 359 ext. hood
Q tip replied to Q tip's topic in WIP: Model Trucks: Big Rigs and Heavy Equipment
I struggled for a long time to buy one of these kits , but i'm hooked. the wrecker kit is loaded with extra parts and I think everyone knows where their going to end up. thanks john -
revell 359 ext. hood
Q tip replied to Q tip's topic in WIP: Model Trucks: Big Rigs and Heavy Equipment
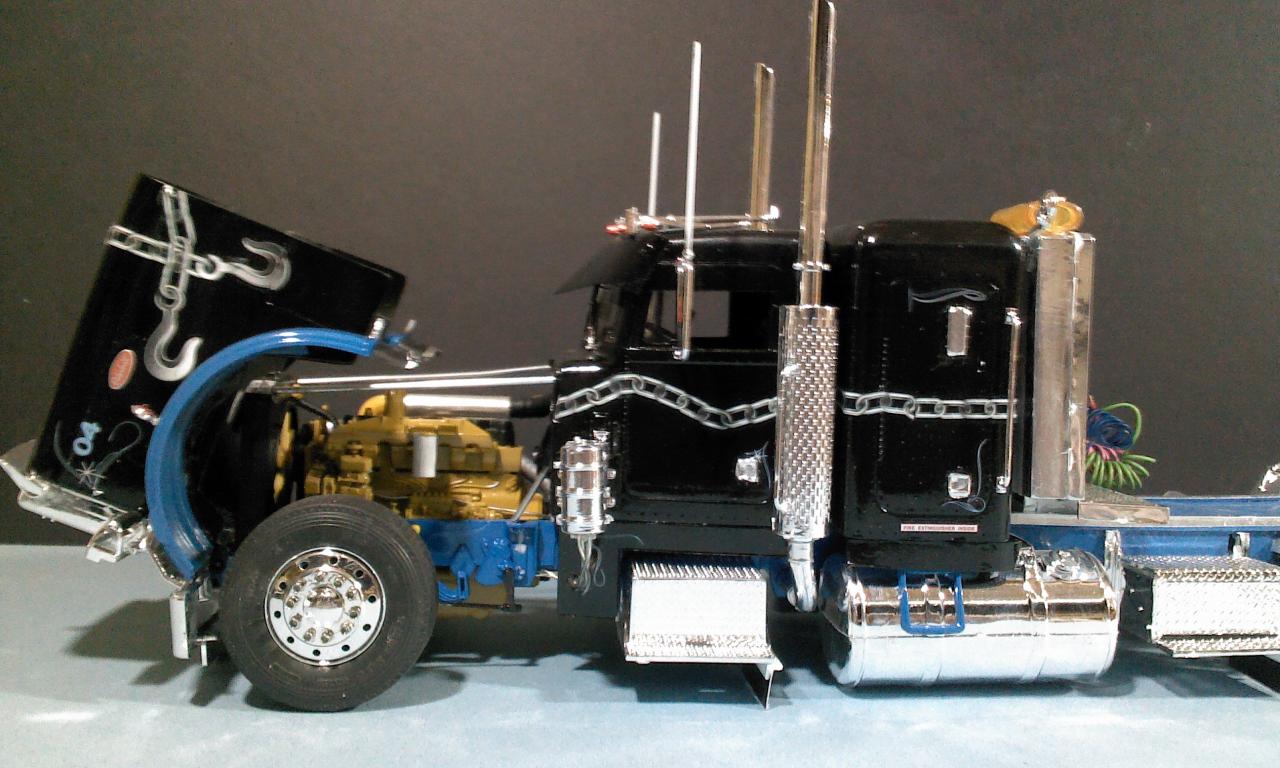
Visor and extra body panels...paint and clear coat problem and respray.
-
revell 359 ext. hood
Q tip replied to Q tip's topic in WIP: Model Trucks: Big Rigs and Heavy Equipment
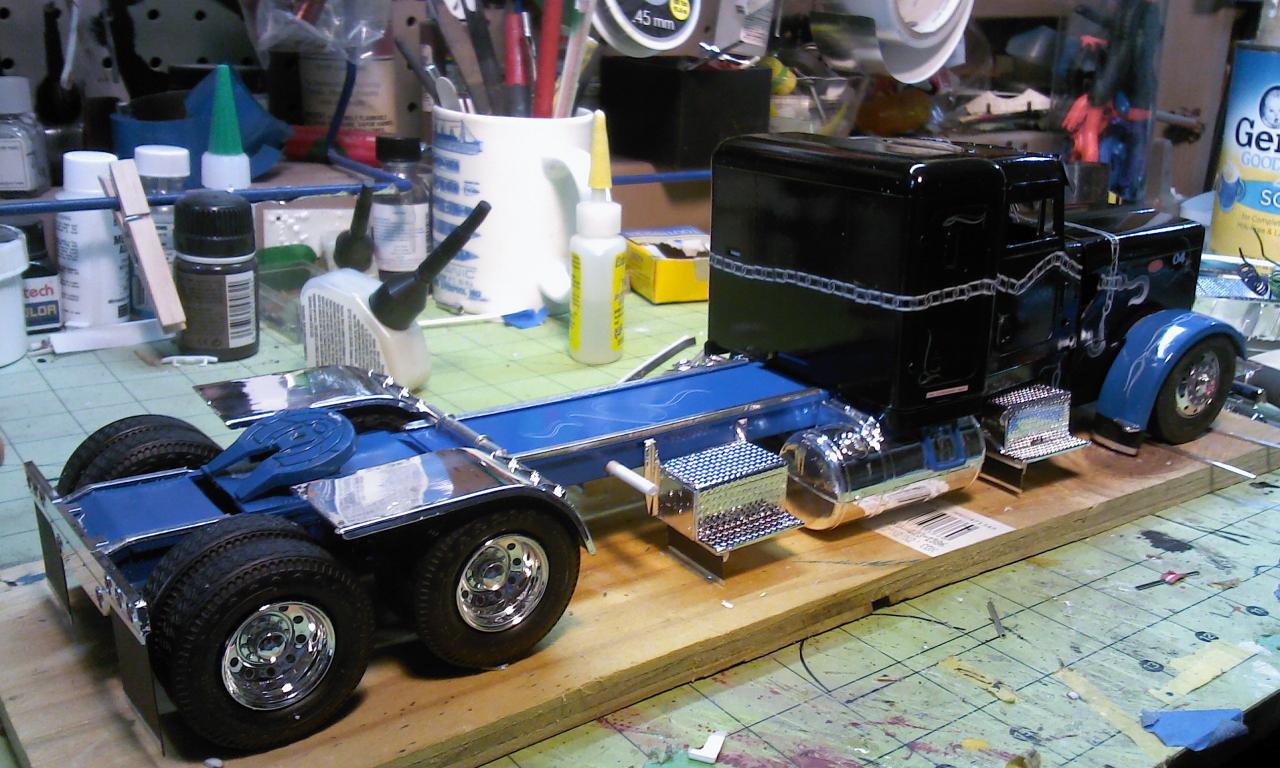
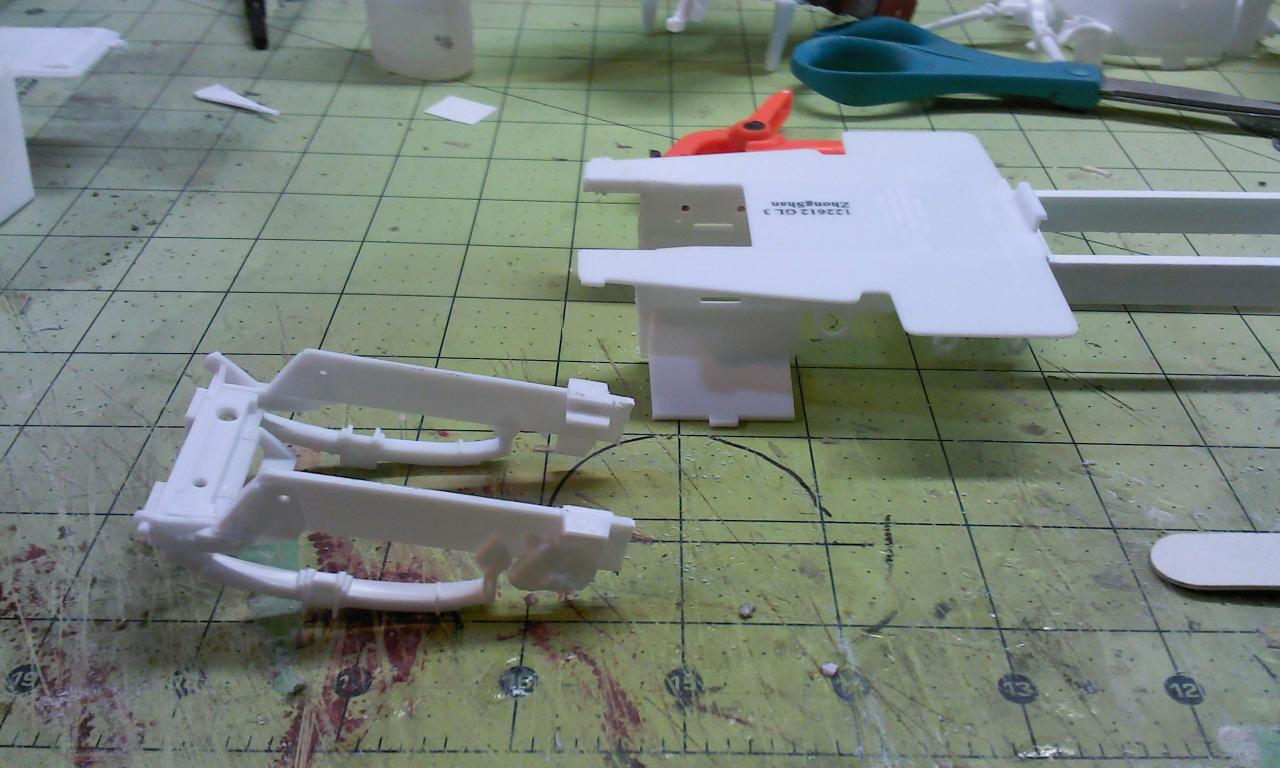
Lowering ....I cut the trailing arms off with the rearends and bags as one unit. You can use the lines on the air bags to choose how low you want to go.
-
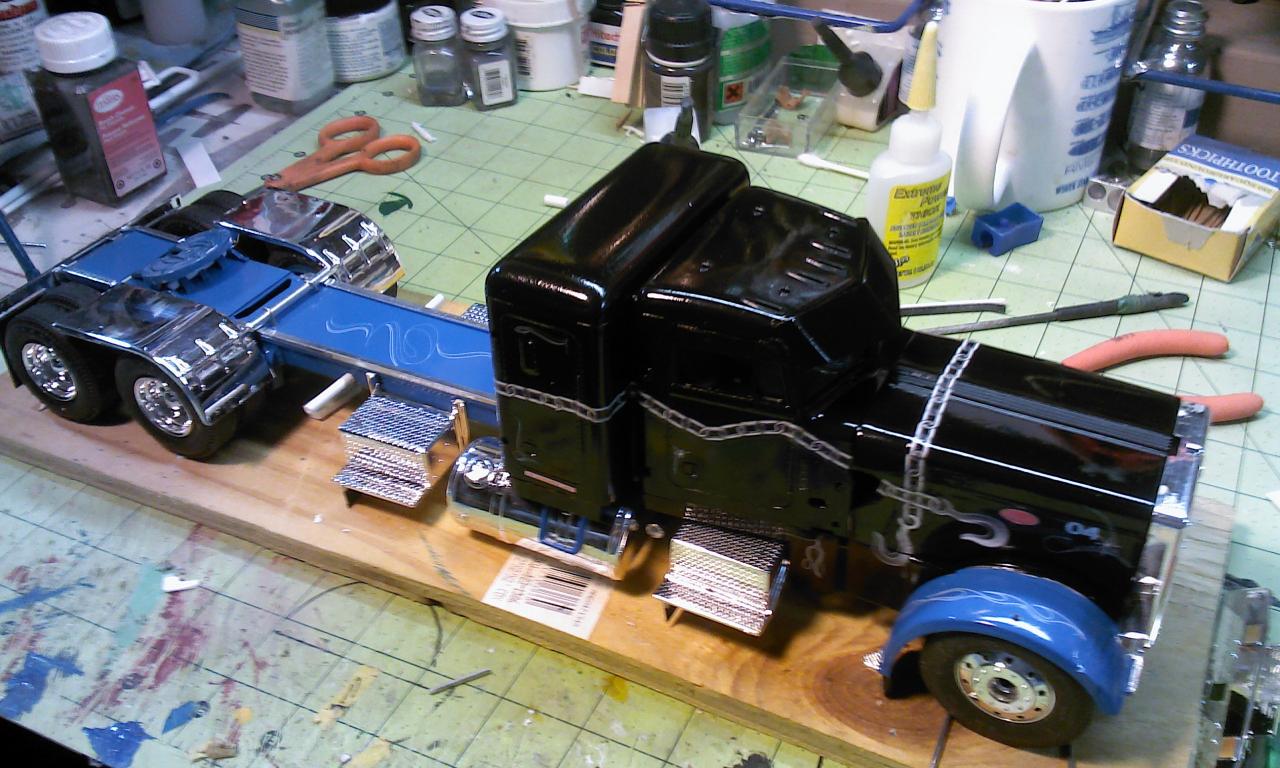
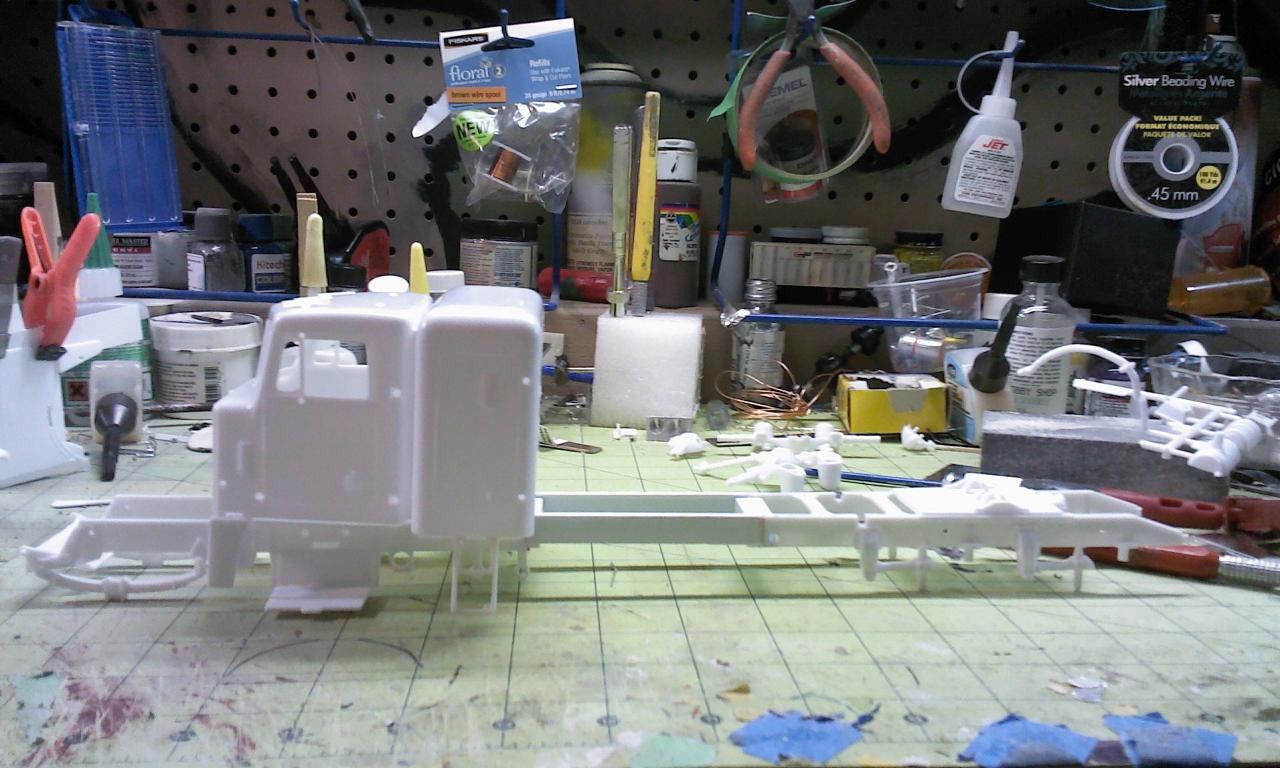
Here is the " oh no " Pete I have been working on, so here we go. Ext. the frame on both ends,normal for the rear,but with this kit after ext. the hood I had to pull the front end out also. Dropped it down for the lowrider look, and kit bashed some other items from other kits. Enjoy......john
-
Peterbilt Model 359
Q tip replied to inskeep123's topic in WIP: Model Trucks: Big Rigs and Heavy Equipment
i'm getting ready to post my revell pete I've been working on. I dropped it into the stones and have pics on how I done it, it quite easy and looks right. john -
Amt Pete 359 Restoration
Q tip replied to bandit1's topic in WIP: Model Trucks: Big Rigs and Heavy Equipment
it seems kind of strange , but I have gotten more enjoyment and satisfaction out of building or rebuilding something, no matter if its an ww2 aircraft or whatever , out of a big steaming pile of used plastic ! keep going ,your on the right path, looks good............john -
i'm going to get this around and post it on the workbench side to show the mods I had done to it, thanks for witnessing my forehead slapping moment, see you at the bench........john
-
Peterbilt 359 Wrecker
Q tip replied to Rudy2013's topic in WIP: Model Trucks: Big Rigs and Heavy Equipment
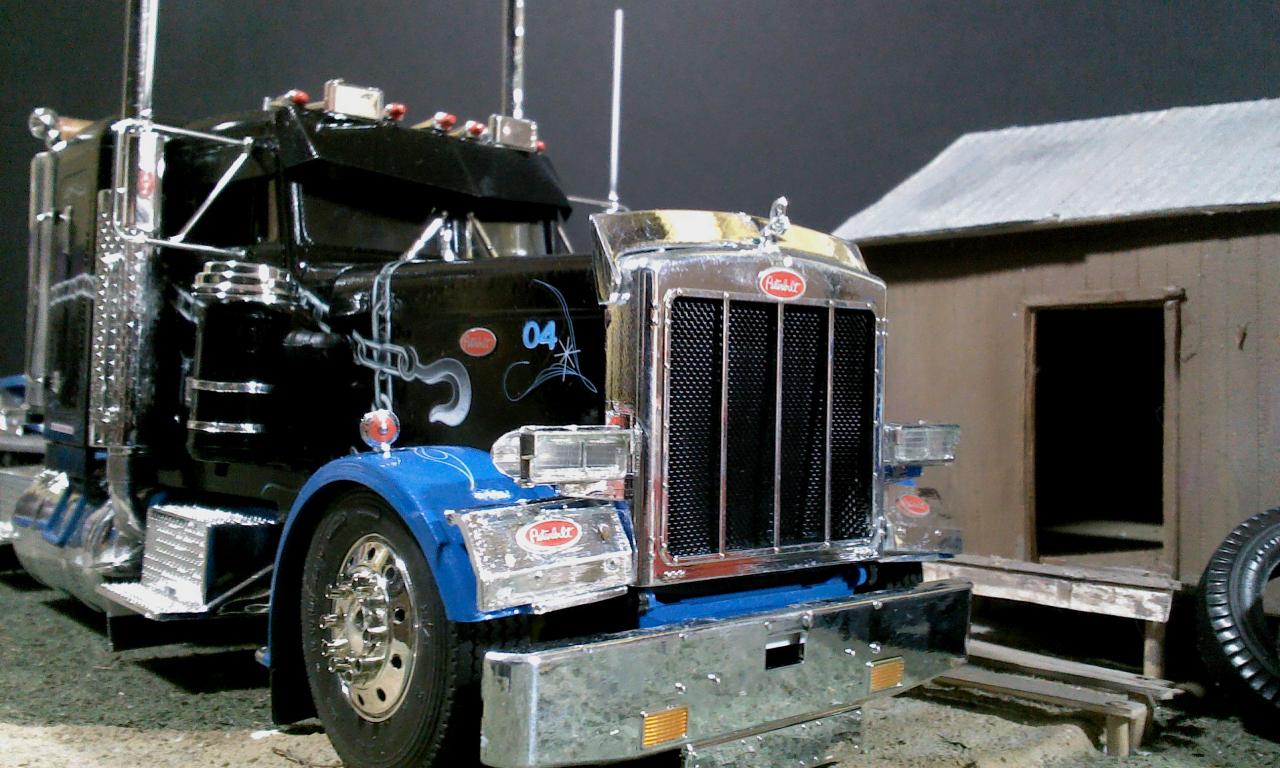
turn signal amber painted on the inside. this truck is based on the truck I operate a work, its a gift for the boss man this christmas -
Peterbilt 359 Wrecker
Q tip replied to Rudy2013's topic in WIP: Model Trucks: Big Rigs and Heavy Equipment
Looks good, I just about have mine done,didn't care much for the door hinges so I just glued them shut,among other mods. -
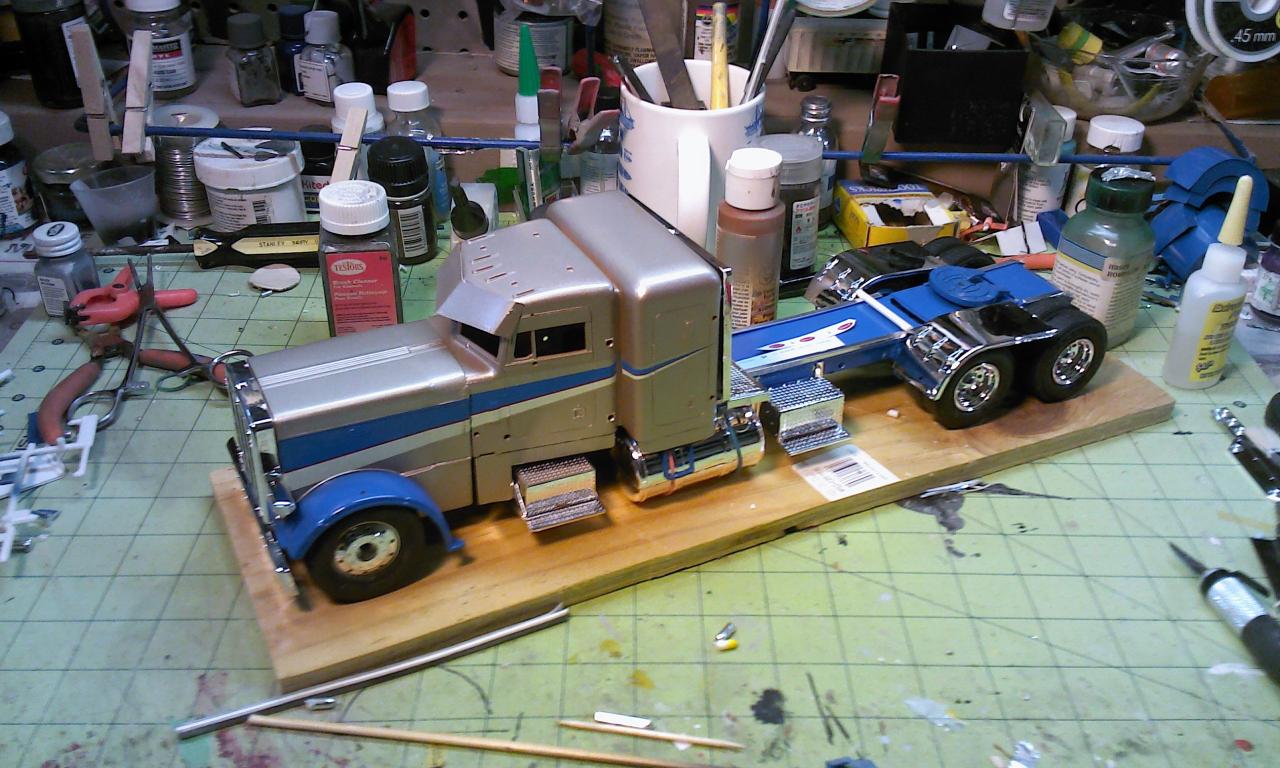
Here is the paint and decals prior to the oh no incident (steel gray) and post "_oh no" (black). I think the black turned out better.. John
-
Kyle Hennings 386 pete with cattle pot
Q tip replied to Chaser's topic in Model Trucks: Big Rigs and Heavy Equipment
nice ride! is that bull rack scratch built? -
back on track now, soaked it in brake fluid overnight and scrubbed down to bare plastic this morning. shes gonna look good when its done.
-
Modeltruckin.com
Q tip replied to Thatswhatshesaid's topic in Truck Aftermarket / Resin / 3D Printed
your decals are great now,cant wait to see them with new equiptment. are you going to have any new options like freightliner striping from the 80's? hint,hint. keep up the good work! -
had anyone gotten to the end of a project that was going to good to end up a nightmare? well, ive been watching everyone build the revel snap petes so I picked one up. figured if anything it would be a good source for parts for future builds seeing the price was right ($15.00). ok, picture this. the kit is just falling together even with all the mods I made to it. extended hood, long frame and setting in the grass. paint work went great,decals went on.........then came the clear coat to seal everything in place. I like to use future or pledge, been using it for years with out a problem unit now.it went on a little to thick so I go to the sink and rinse it off as I had done before but this time when it dried the cab had big white clouds everywhere. so its soaking in brake fluid right now, not giving up , just gonna start again.
-
there were two versions of the real truck, painted as it is pictured on the box and the rebuilt truck was /is all white with orange fenders and roof cap. had the opertunity to get right up and personal with it at an air show. what a machine! you have to see it go down a runway with the afterburners going cause the only words I can think of is amazing.