John Clutch
-
Posts
364 -
Joined
-
Last visited
Content Type
Profiles
Forums
Events
Gallery
Everything posted by John Clutch
-
It came out great !
-
Is there a rule of thumb of how long to use a blade when working with the foil?
-
Really nice job! Ive never done BMF and Im scared to death to try LOL
-
Very cool build!
-
 Years ago, a friend suggested on a RC plane....... Drill a blind hole the width of the rivet. Then fill the hole with gorilla glue and wipe it smooth. The gorilla glue will expand and form a rivet head I havent tried it yet but you can beat I will soon !
 -
Lucky me, they didnt finish packing the order and I was able to add to it. Thanks again Mooneyzs. I ordered a 000 and a 00000. Figure I can simulate rivets with the 00000
-
Thank you Mooneyzs. I literally got off the phone with McMaster less than 20 minutes ago. I wish I saw this before than LOL I didnt even think of center drills. Thank you very much. The only center drills i have is a 0 and 1, never thought to check for pieces smaller than that.
-

-
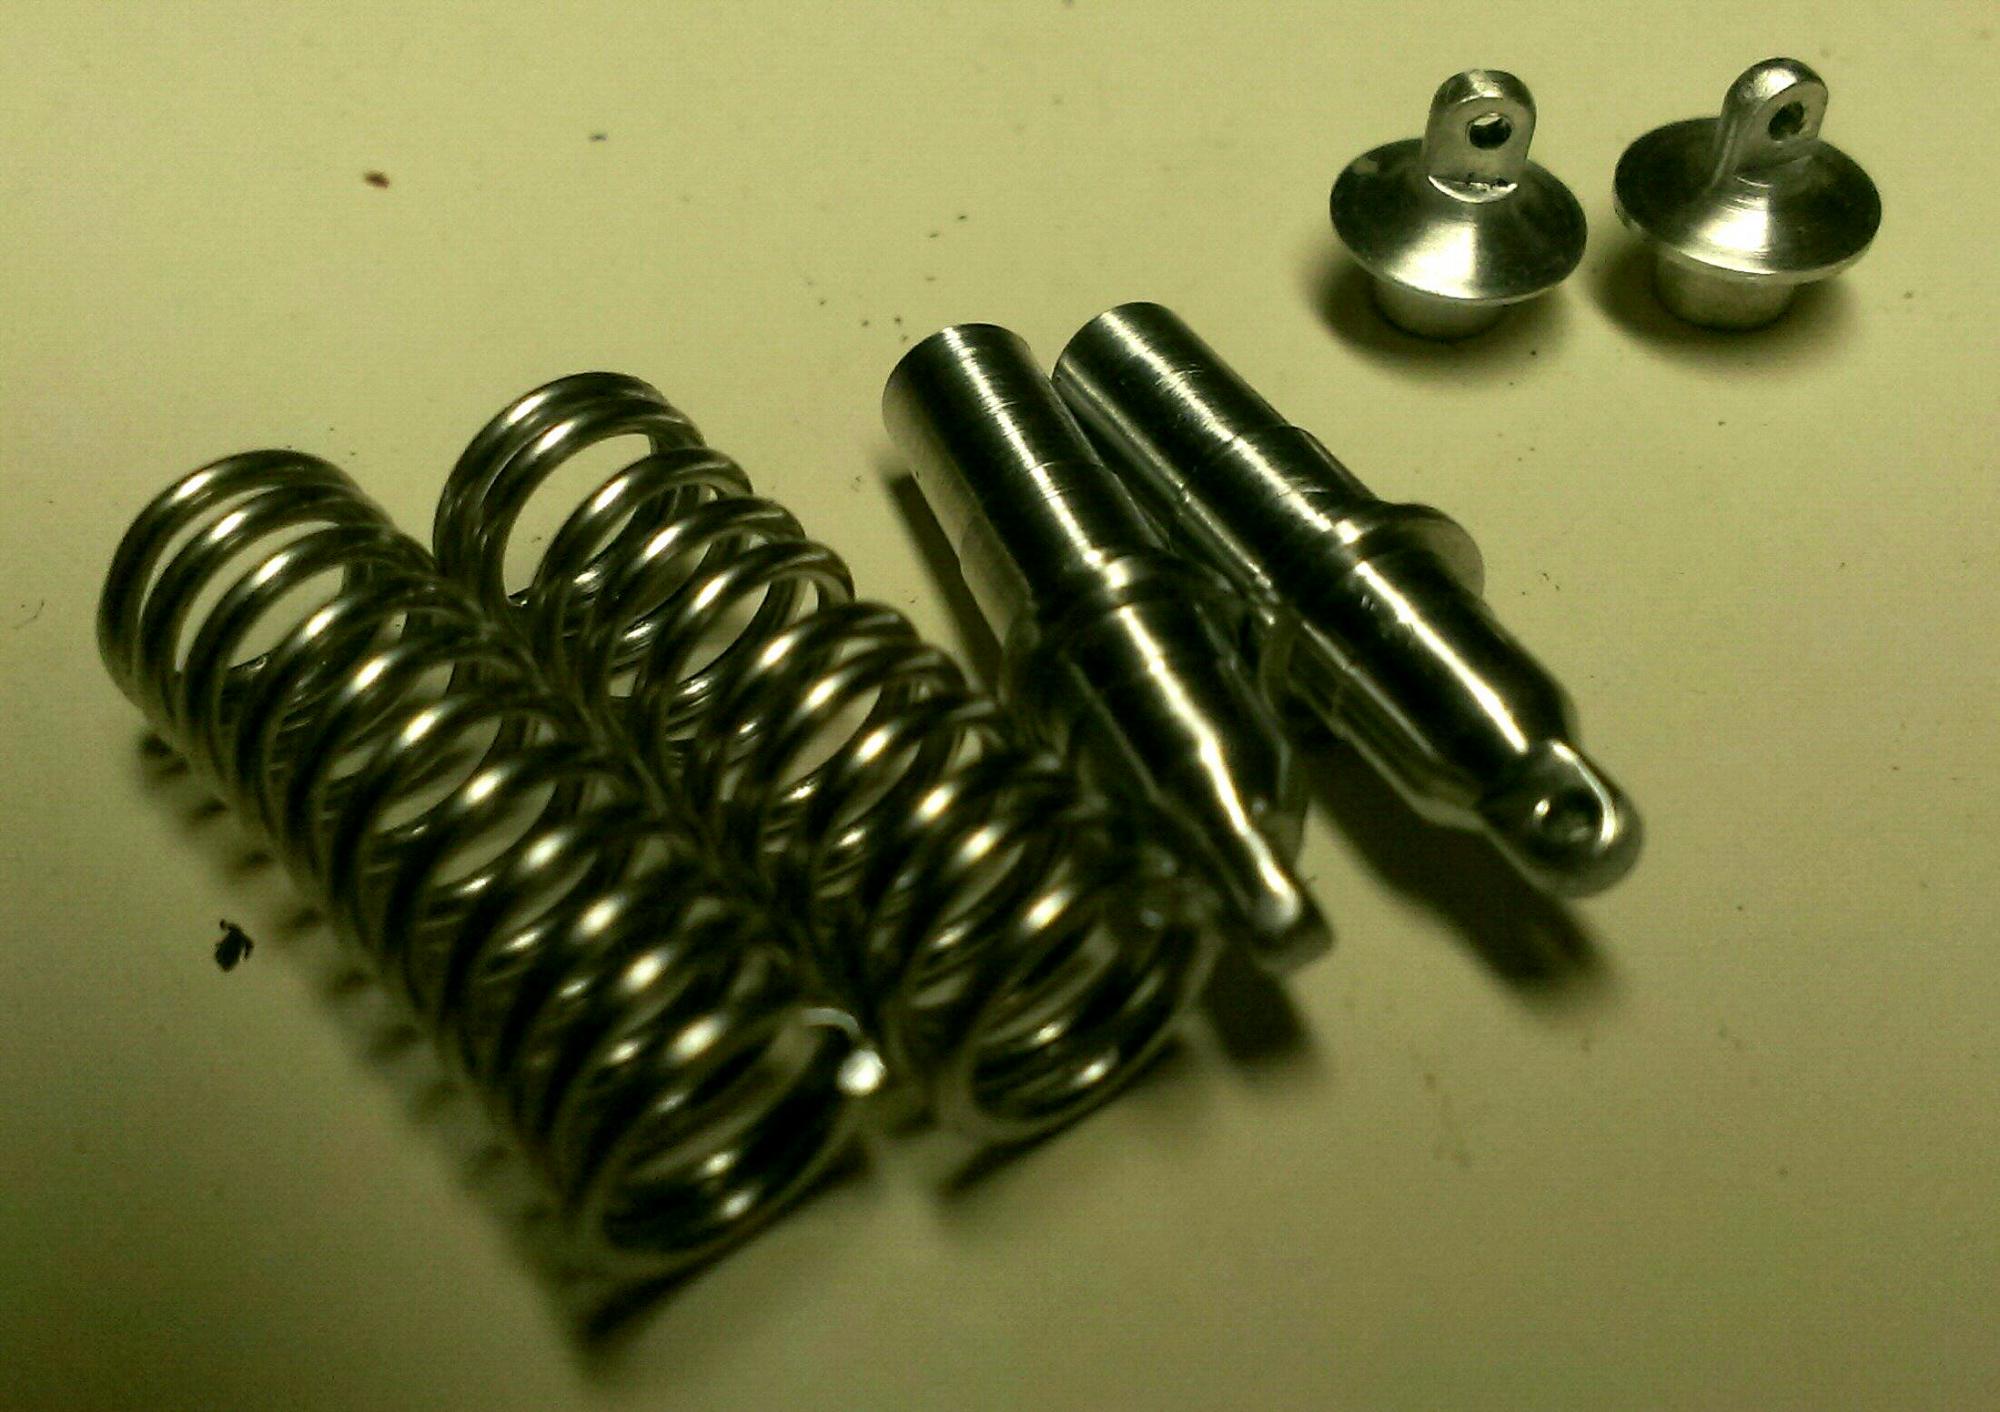
Here is the major components of the coil overs. Since the pic, I made a proper fixture for the springs, as these are hand wound here. I forgot I broke a few drill bits on other projects, so I couldnt get to drilling for the shafts yet. They will be similar to Koni's electric shocks when they are finished. Could someone refer me to a site where I can pick up 1/8" shank drill bits? Right now the only place ive been using is McMaster Carr and if I could find a place that sells them cheaper, that would be great. I had to drill these with a standard bits and you know what happens when you try that, they walk. Thanks. Thanks for looking and comments are always welcomed.
-
I like the 2nd and 4th sets
-
Looks great. And i like tge guitar string piece.
-
Gorgeous wheels. Im building a 1/12 scale X275 Camaro and im planning on taking a crack at making some "fantasy" wheels for the rear. 15x10 Weld Deltas. The fronts ill most likely buy.
-
Lookin good!!!!
-
Lookin great !
-
Thank you phantom1, I hope to have more pics soon.
-
Its looking great ! I really like the front wheel design.
-
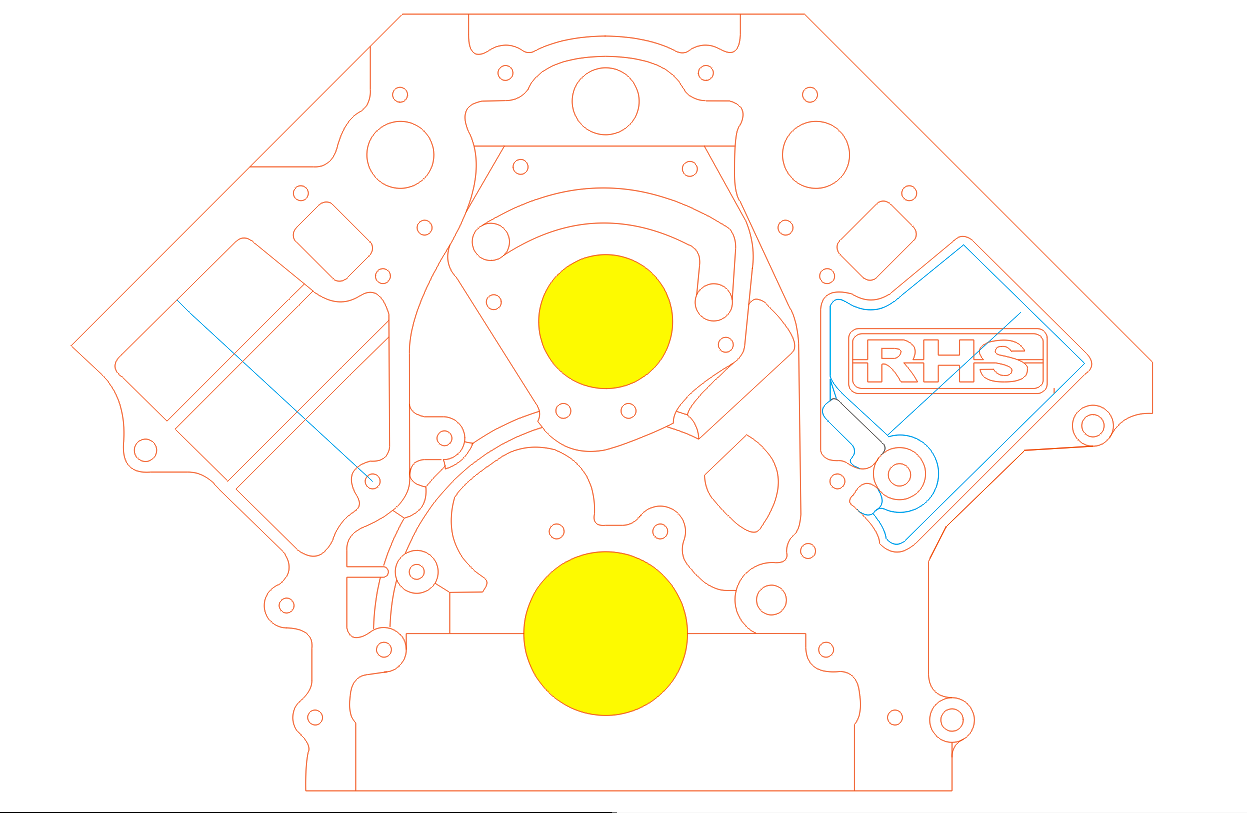
Also, Im looking into making a LS block based on RHS's 9.75 block. Right now Im just drawing it up and will see just how far I can push the details.
-
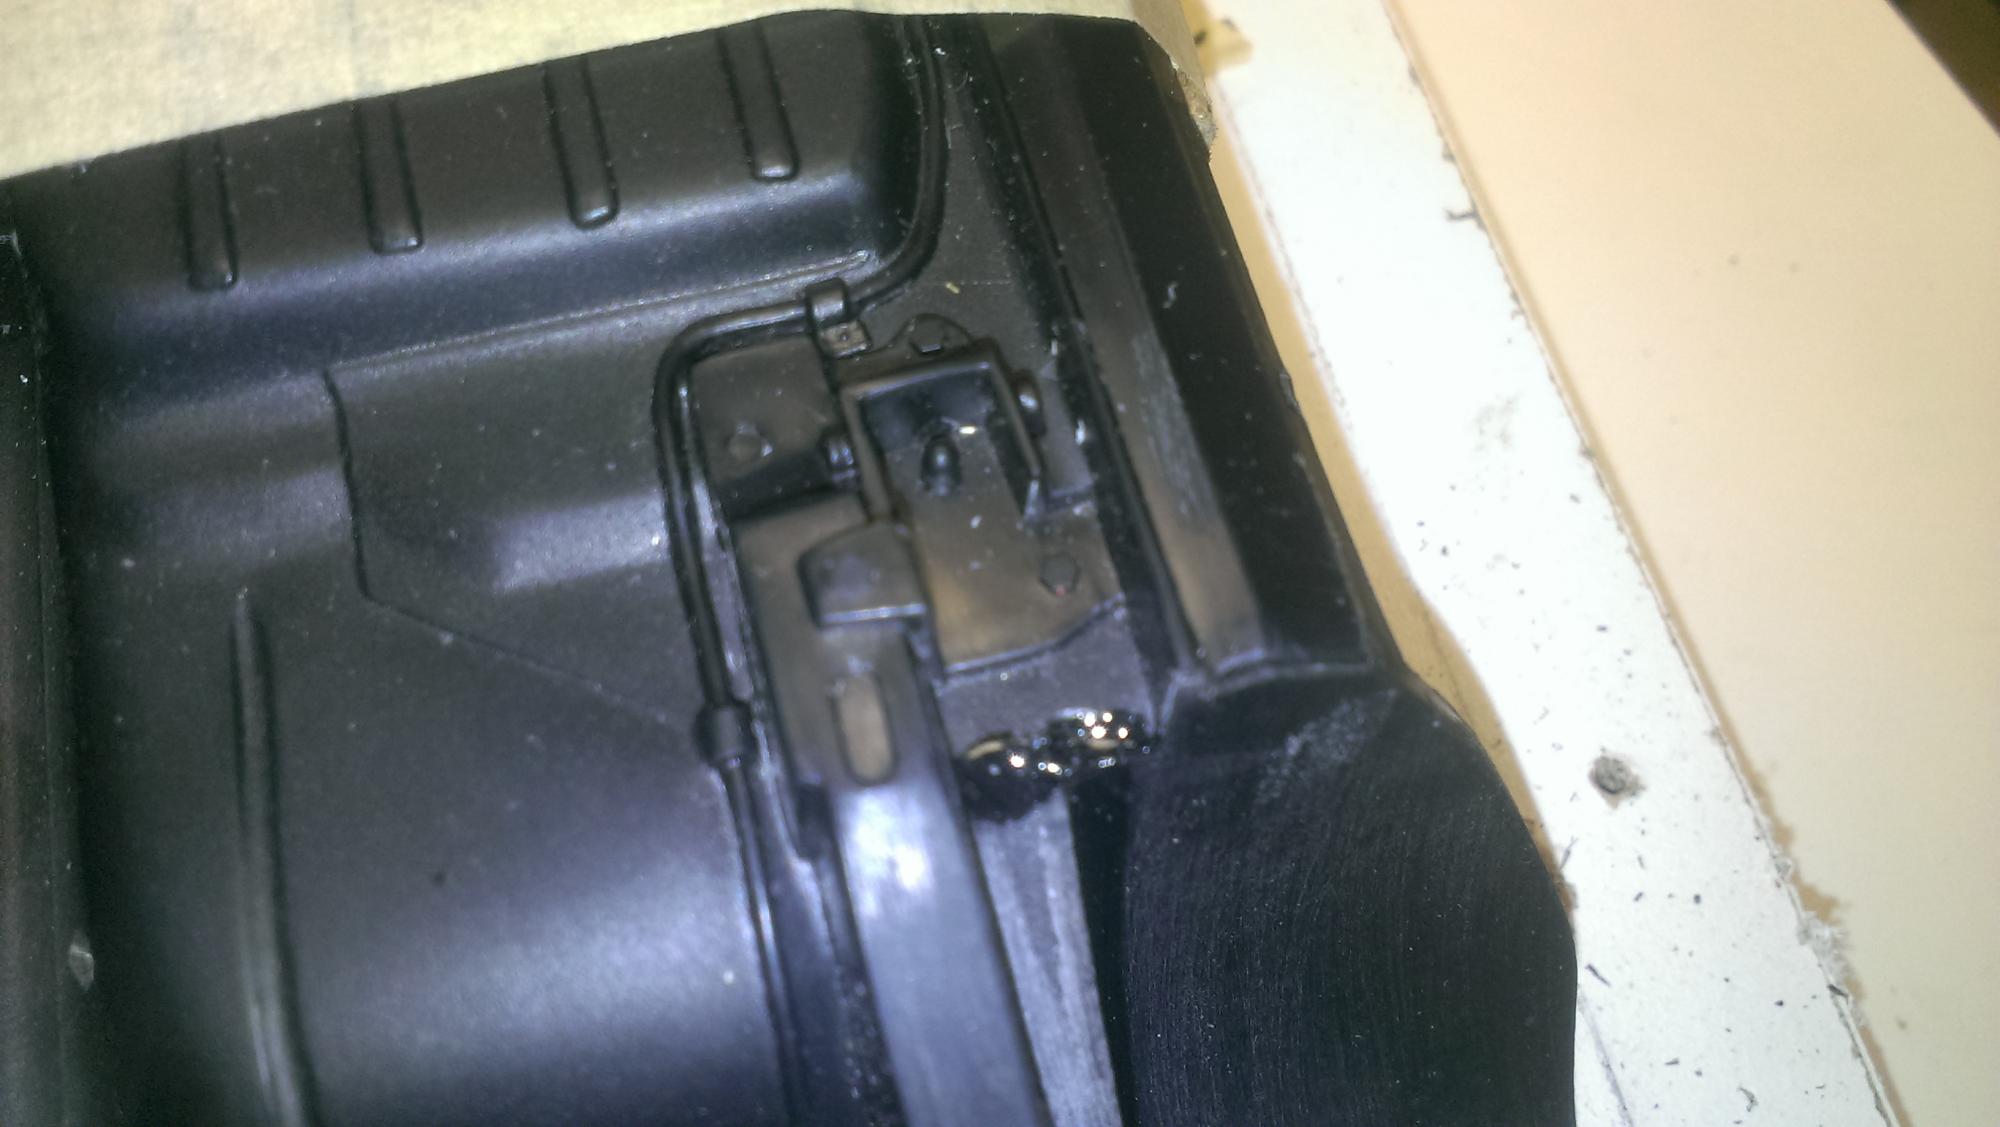
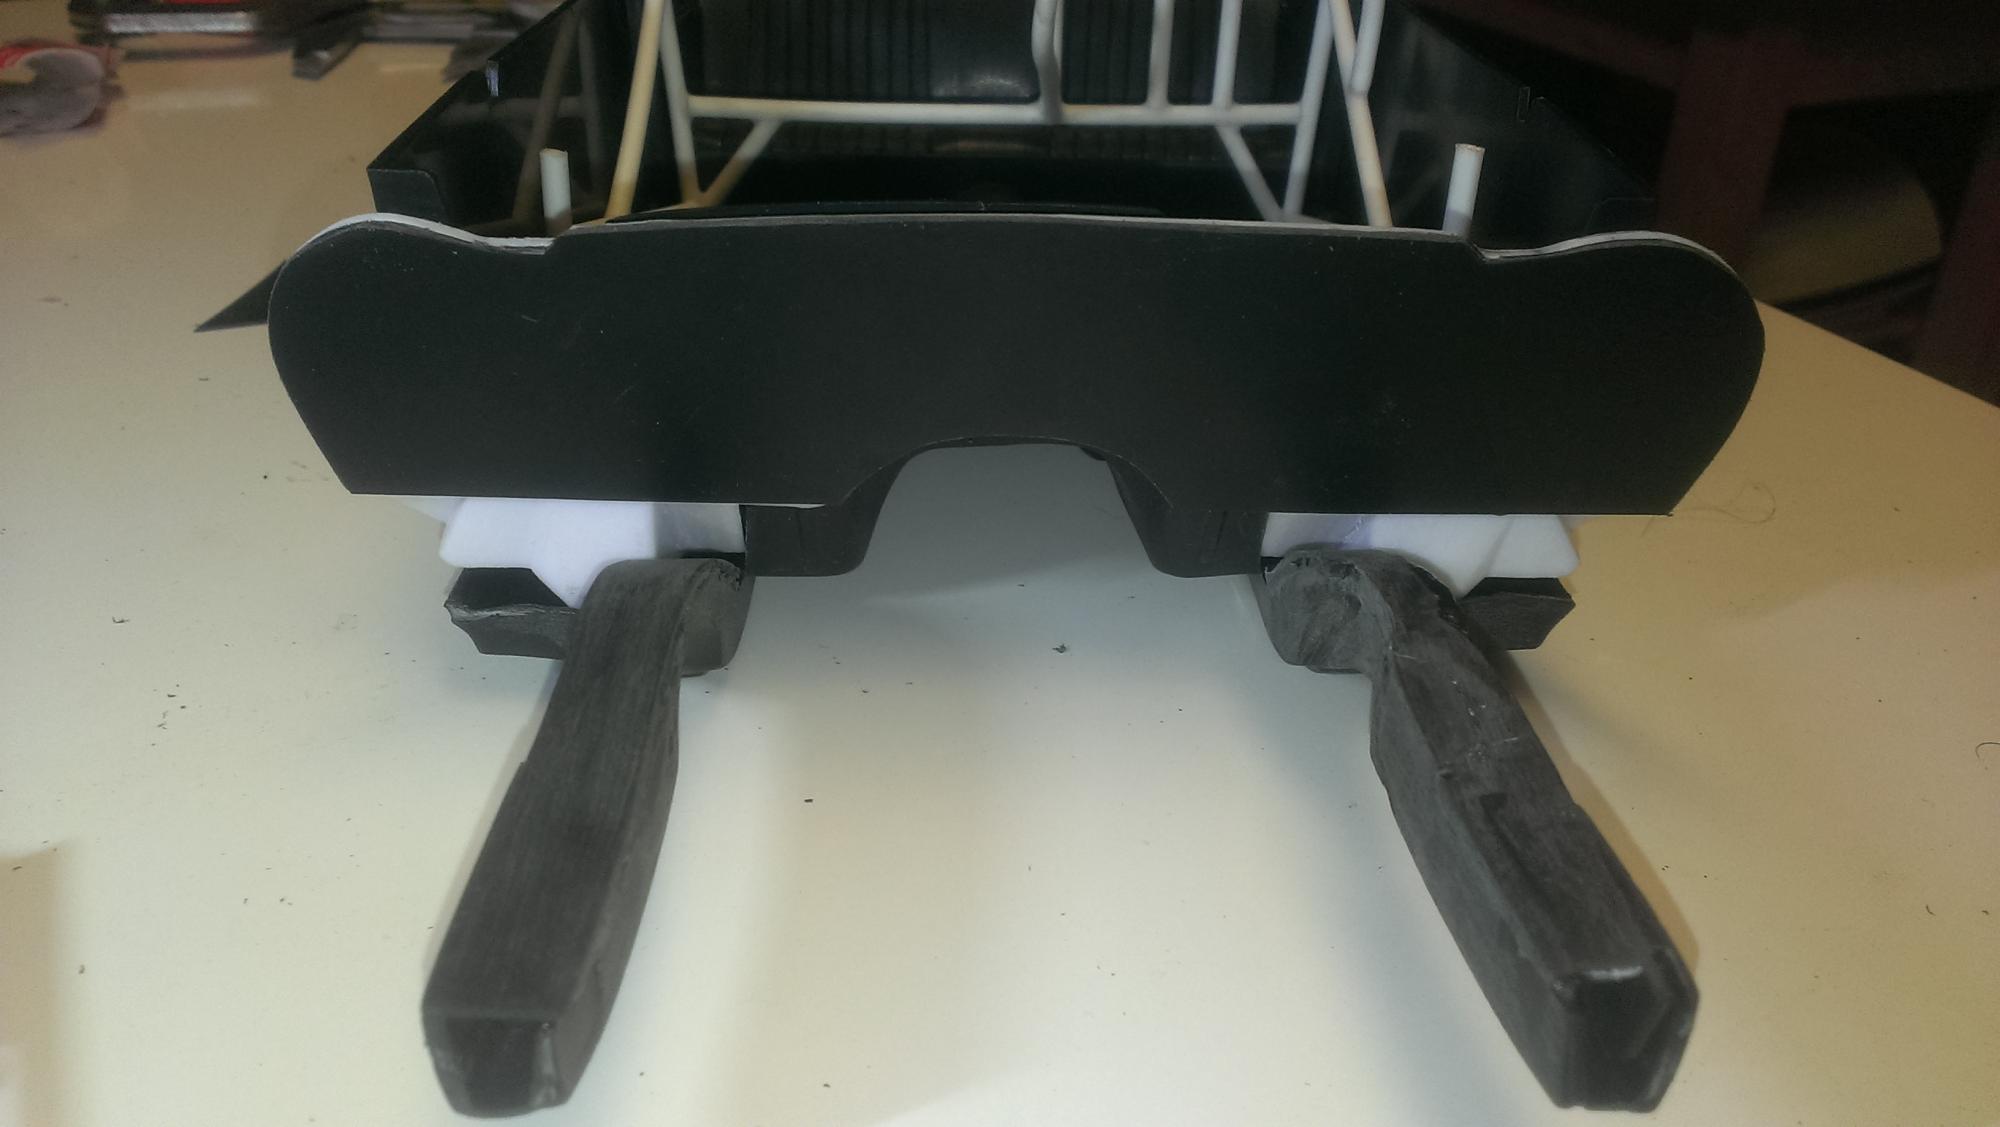
Hello everyone. Some of you might remember that last year I started a 1/16 Pro Touring 69 Charger as my first build after 30 years. I dived into the project by chopping the entire body apart, like I would a real car, which create a lot of work for me and I ran out of steam making jigs and templates for it. I also realized that plastics is NOT a easy media to work with and even though my heavy background in metal fabrications helps me a lot, its not enough. You just cant work plastics exactly like alloys. My biggest defeat was expecting plastics to hold its form like alloys do after working it. It does not. I ended up overheating some pieces and making them worse. The good news is all the important pieces, like the body, are fine and 99% of the work I did a year ago still looks great. I decided to box up the kit til Im ready to dedicate the time to building better fixtures and such........ So onto the Radial Tire Camaro we go. Ive been doing a lot of research for this car, as far as class specs and available parts. The main focal point of the car, the tires themselves have been a big issue. I want rubber tires. Period. And all I see thats available are 3d printed plastic versions, which look nice but they are not for me. Ive sent out a few emails to people who some of you have suggested for me, and I hope to do business with Joseph @ Fireball on them. Many details havent been ironed out yet, other than a single turbo smallblock, powerglide transmission and a ladder bar suspension. The front and rear tires/wheels are holding me up on getting the project really rolling, but there is plenty to do otherwise. The car will be based upon (for the most part) on the X275 class @ Budds Creek (Maryland) I started with the rear mini tubs. The rules state that the original chassis needs to be used from the front motor plate/front axle to just behind the rear wheel openings. Frame rails can be notched for tire clearance. So I pushed that spec right to the edge with the rear frame rails being notched to a point, just behind the rear opening. It look like I have plenty of clearance for a 315 tire if I choose to go that route. I used a drill press, 1/8" drill bit and a fixture that slides on a back stop, to cut the chassis for the mini tubs. I simply started with a drilled hole on one end, and then took a little bit off at a time til I had a good clean line. Then using the same drill bit, I "routed" the line smooth to mount the vertical section of the mini tub to. Then with a hacksaw, I cut the remainder of the existing wheelwell, leaving about 1/2" to attach the mini tub to. I used .040 styrene for the vertical section and .020 for the tub and glued it in place. The tubs are obviously .020 smaller now, but since this is a x275 project, the ride height will be close to original specs. This method saved me a lot of time and produced a cleaner look. Next was removing the leaf spring perches. I went the same method as the mini tubs by drilling them out and added a piece of .040 to the back to seal them up. Looks pretty much to what removing the perches would look like. Ill drill the mounting holes to finish them up. I wanted a smooth firewall, so I sand down the original firewall and then glued a sheet of .040 to it. The subframe has been striped down to the rails. In the class specs, this area has a lot of wiggle room for interruption. You can use a aftermarket subframe or k member, as long as the shock and control arms are in the original position. Wheelbase needs to be +/- 1" ( X275) or +/- 2" ( X315). So thats the rules. I will capitalize on the wheelbase and shorten the lower control arm a bit, to make more room between the framerails. x275 cars use very little suspension travel, usually around 1/2", so having a set of control arms that are closer to being equal, will not create a major handling issue for the most part. The original rails will be cut to the lower control arm mount, and a removeable front frame section will be fabbed. The frame section will support the nose of the car, turbo, intercooler and fuel cell. The front motor plate with support the dry sump system and the mid plate with support the transmission cooler, so that the whole assembly can be removed/installed in pretty much one piece. I hope to have the tire situation solved soon, as its holding up the majority of work that needs to be done. Thank you for looking and comments are always welcomed.
-
hahahaha
-
Very nice work, especally on getting the back of the car correct.
-
They look great!
-
Lookin good bro. I just started on the same kit. Building a drag radial car, either to x275 or X315 specs , if I can track down the right tires. Did you run across any fitting issues? So far for me, everything looks right.
-
Thank you BigTallDad. I will try that on a test piece and let you know it worked out for me.
-
Hello everyone. I know the modeling glue "burns" into the plastics which make for a strong connection point, similar to welding. I have some uneven surfaces that need to be straightened out before I attach other components to that surface. The area that Im referring to is the sub-frame on the 1/12 Foose Camaro. Im removing the K member and suspension mounts, and would like to have the frame rails cleaned up before adding the suspension mounts. Will modeling glue bond to a epoxy surface? The plan is to use 30 minute (or longer) epoxy to help strengthen the inside of the frame rails before sealing them closed with some styrene sheet. Will the modeling glue burn into the epoxy also? Or am I forced to use epoxy for bonding at this point? Thanks, Clutch
-
Torino - Updated RestoMod Starsky Hutch new ride
John Clutch replied to RestoModGuy's topic in Model Cars
Beautiful suddle touches. You really made a not-so attractive body (IMO) into a complete knock out.


.jpg.0a167933a653d61d4d9742824baa76a5.jpg)