Oliver77
-
Posts
135 -
Joined
-
Last visited
Content Type
Profiles
Forums
Events
Gallery
Everything posted by Oliver77
-
Who was building in the 60s?
Oliver77 replied to OldNYJim's topic in Model Building Questions and Answers
I started with Hawk airplane kits and Bachmann Birds! Man I wish Atlantis could get those tools. Then the 63 Corvette came out and I just had to have one. It was built and rebuilt, added felt upholstery, brush paint, woodburning pen to melt-weld plastic (those fumes omg) and conversion to slot car body. I have a bunch of parts from early kits, ( those that escaped firecrackers!) Regards, Jeff Oliver
-
AMT 1953 Ford Pickup
Oliver77 replied to Oliver77's topic in Model Trucks: Pickups, Vans, SUVs, Light Commercial
-
AMT 1953 Ford Pickup
Oliver77 replied to Oliver77's topic in Model Trucks: Pickups, Vans, SUVs, Light Commercial
Thanks for looking! Regards, Jeff Oliver
-
AMT 1953 Ford Pickup
Oliver77 replied to Oliver77's topic in Model Trucks: Pickups, Vans, SUVs, Light Commercial
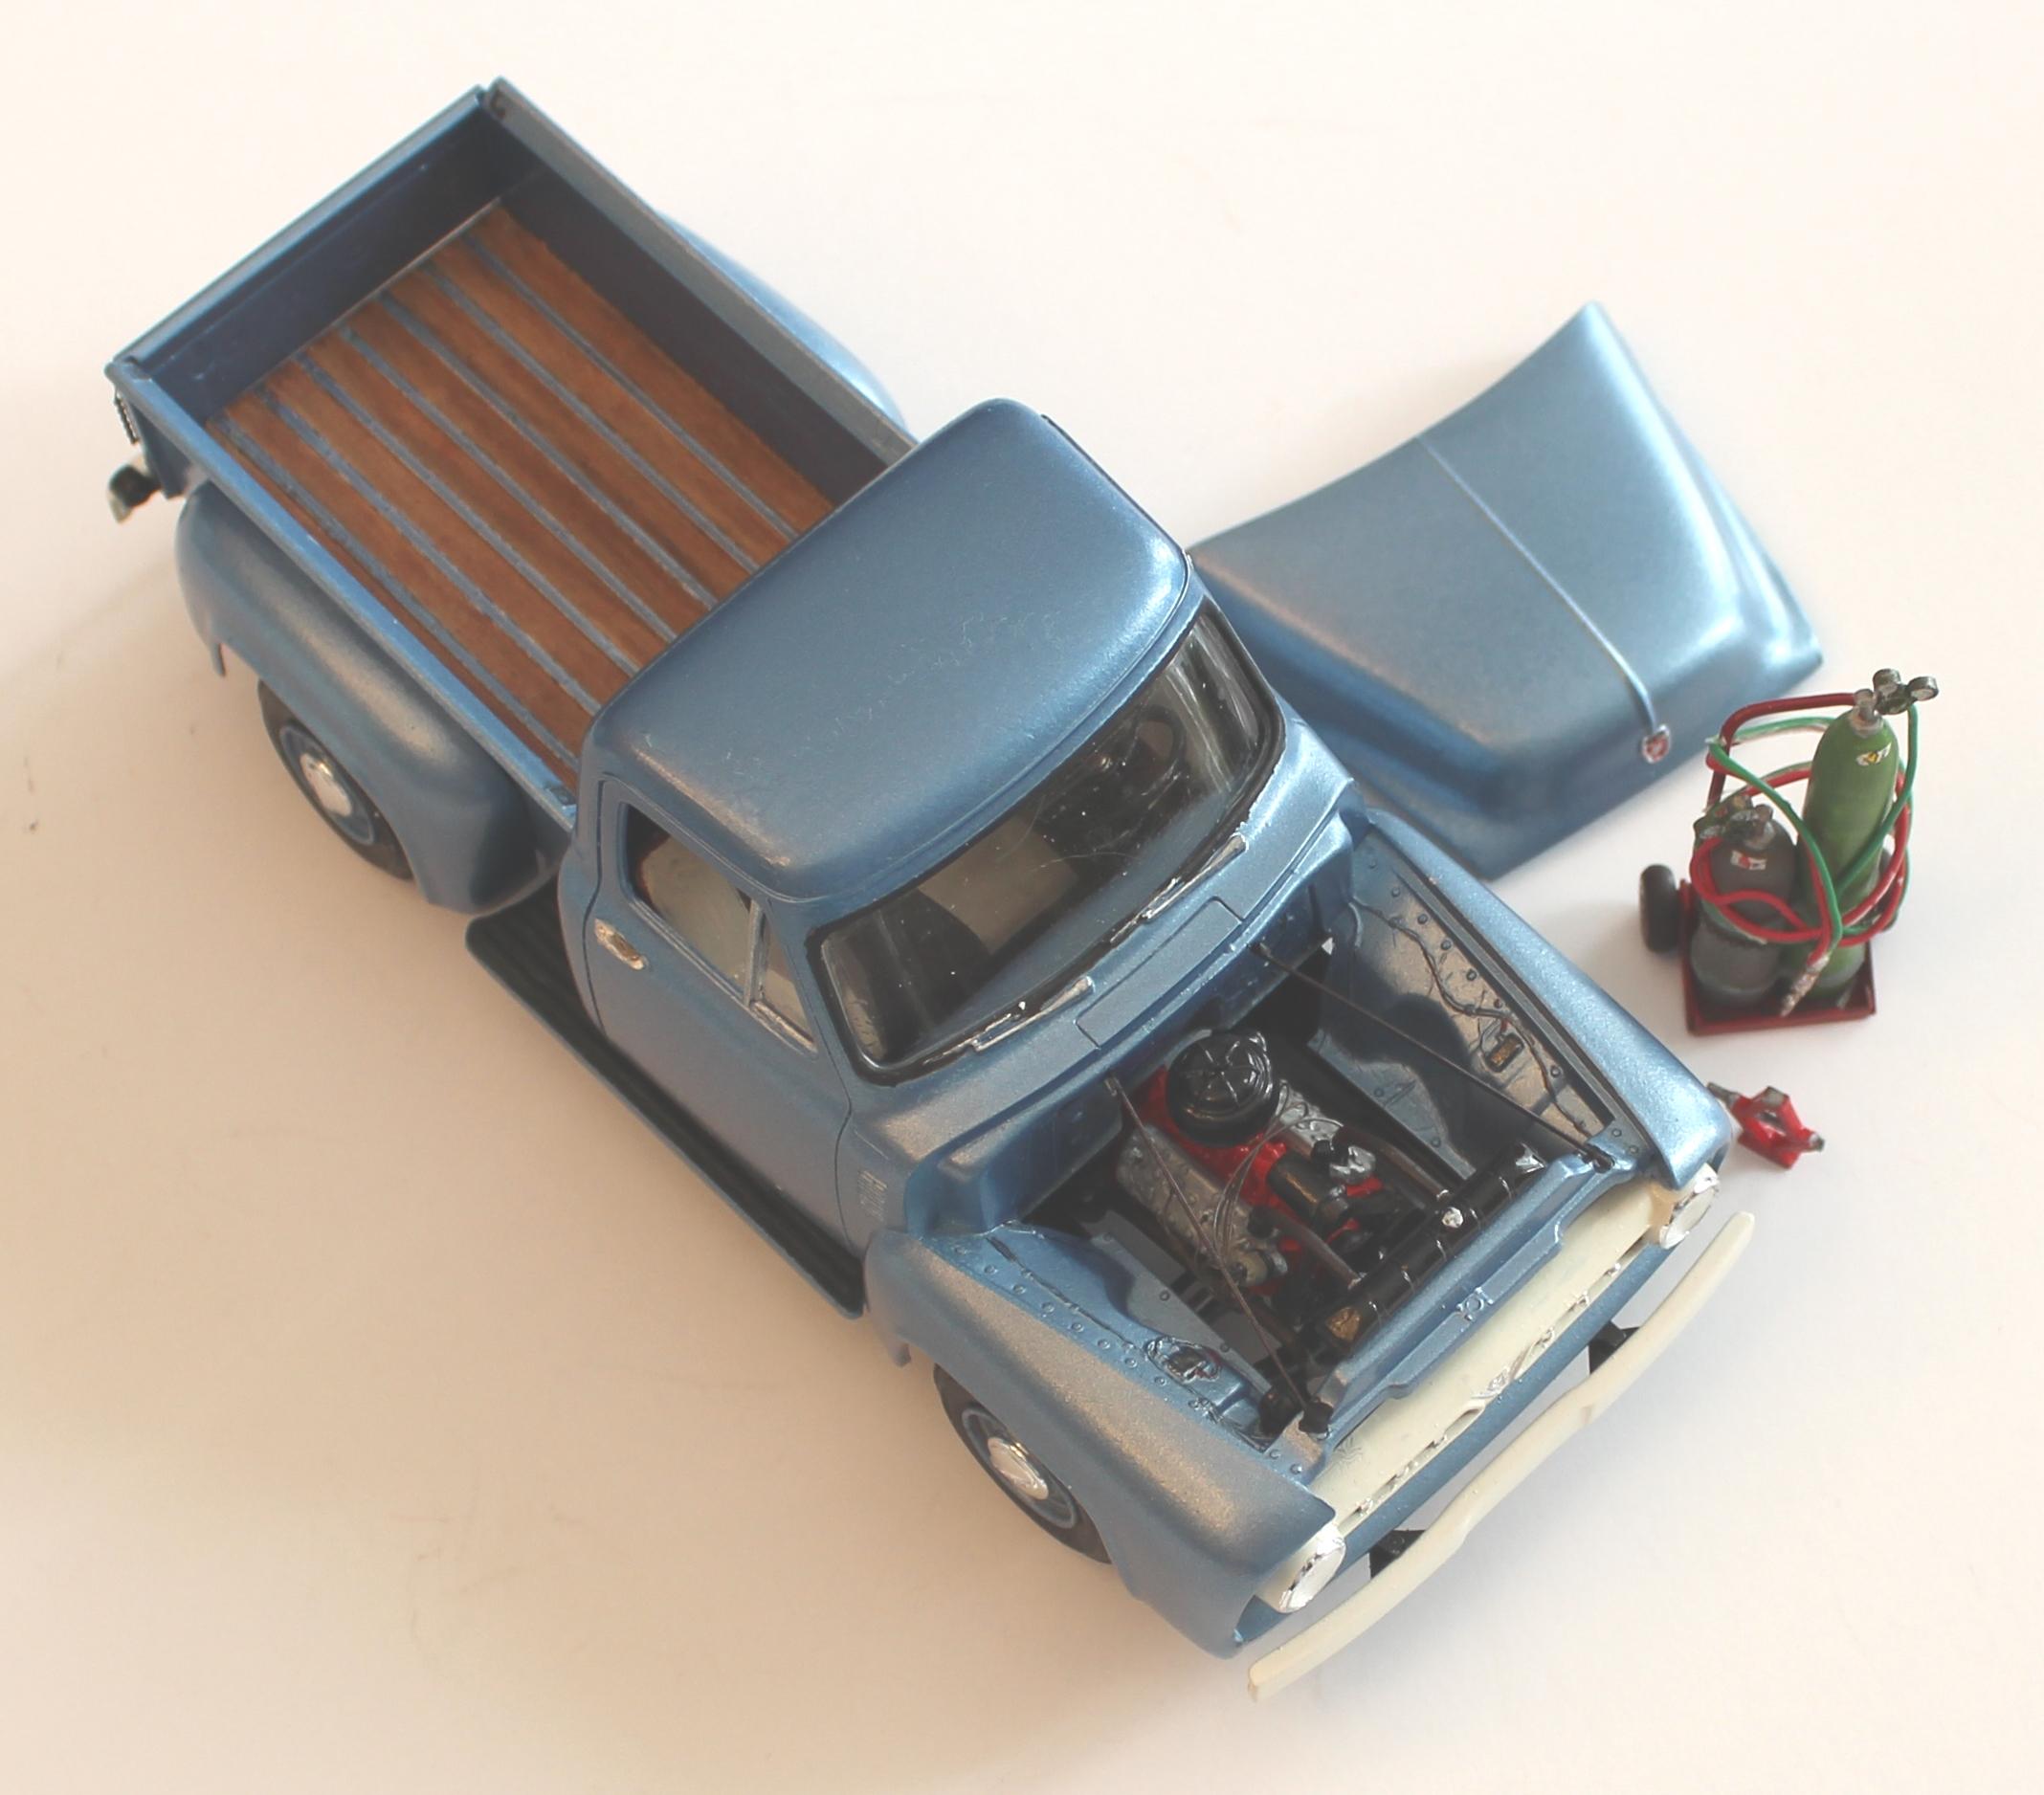
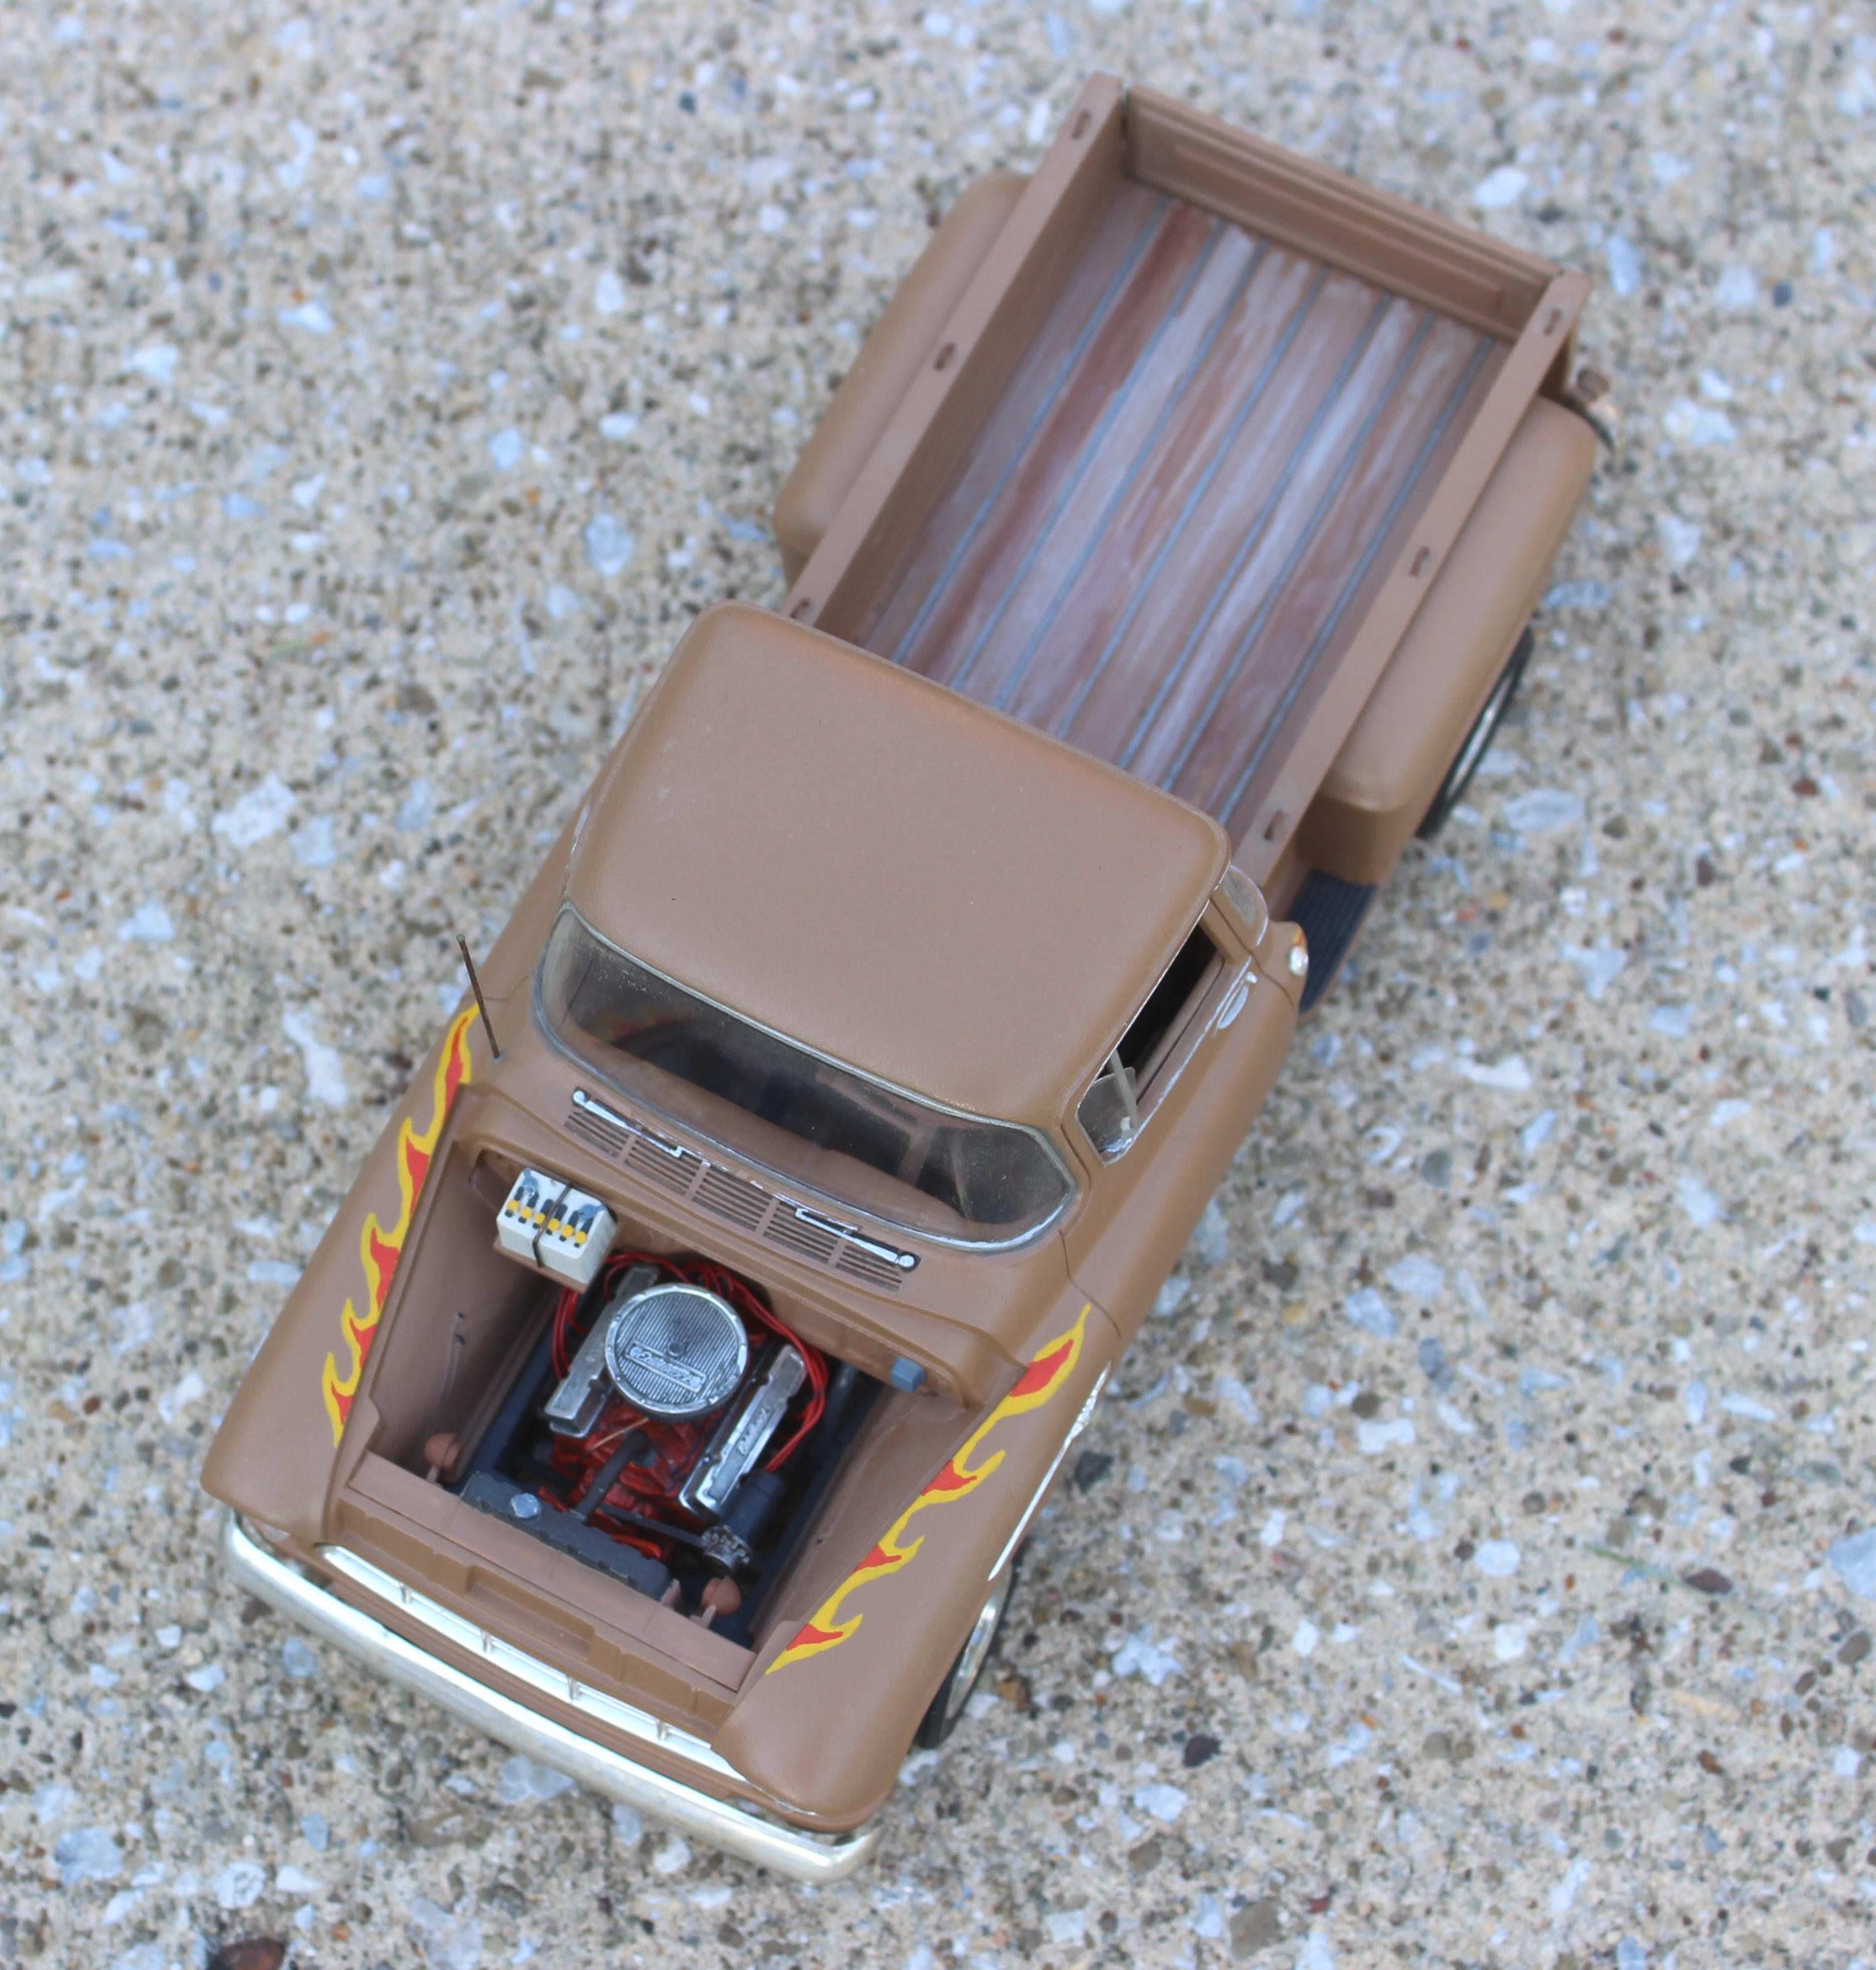
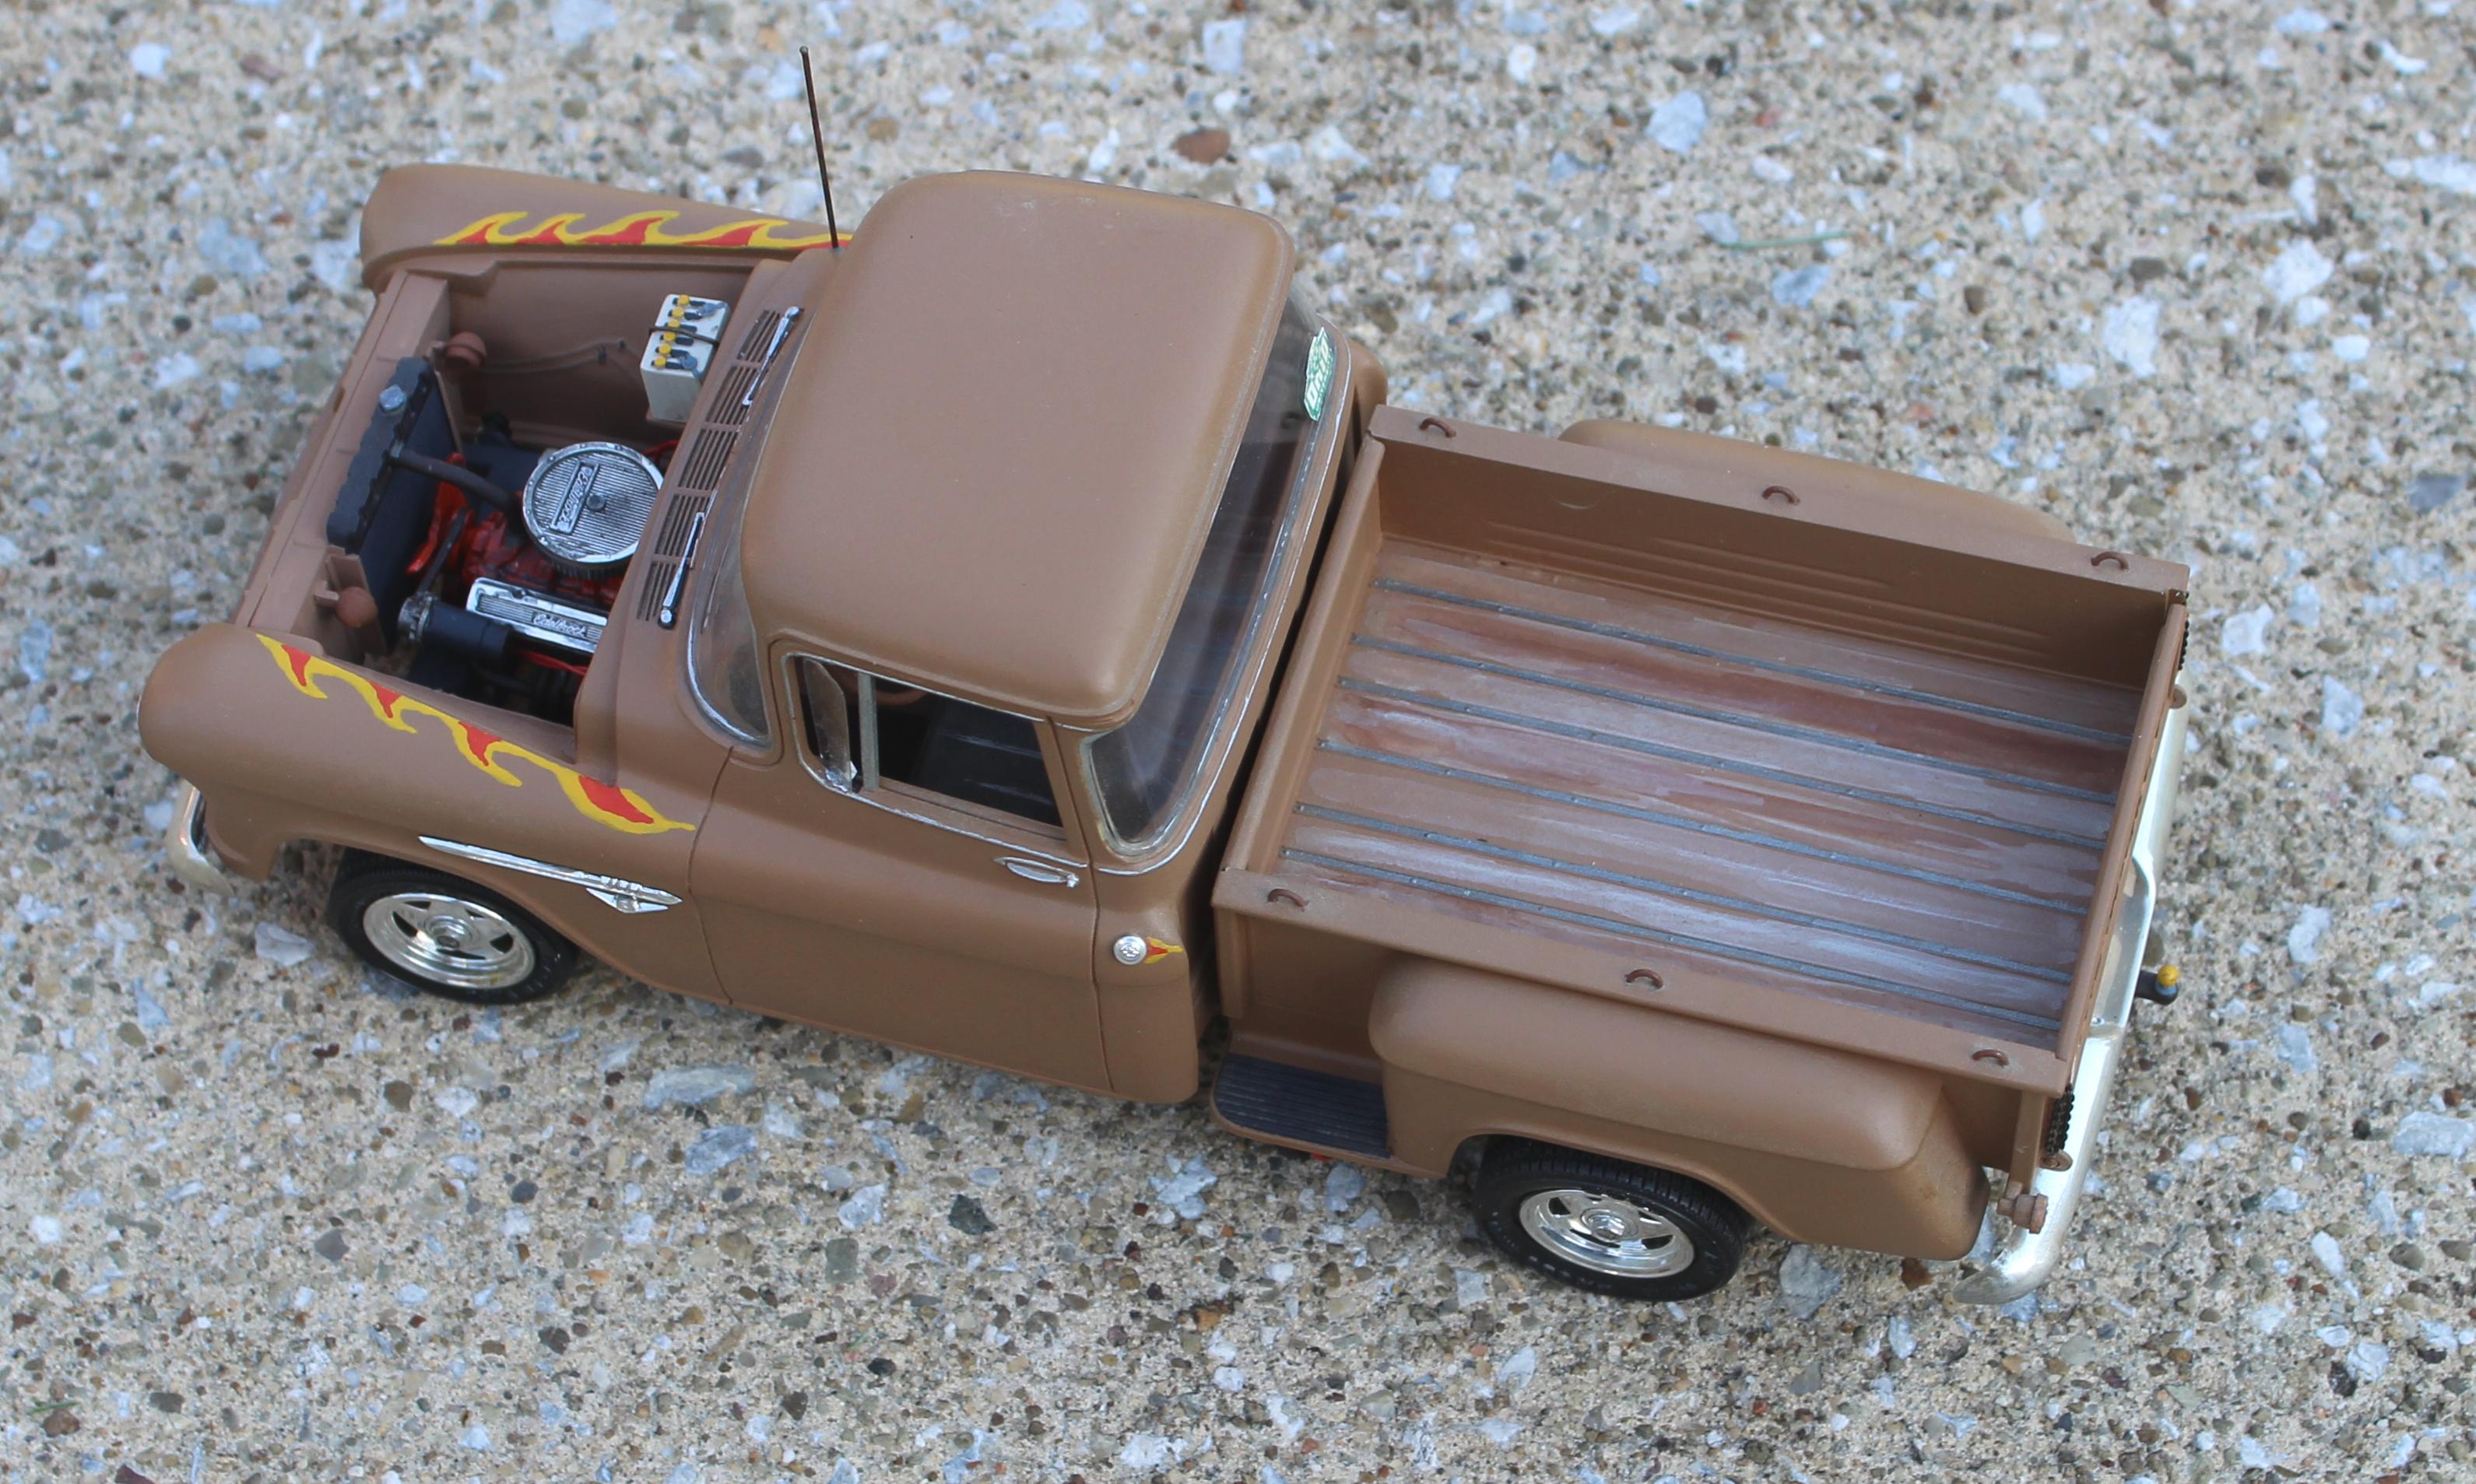
Motor is wired and weathered kit flathead.
-
AMT 1953 Ford Pickup
Oliver77 replied to Oliver77's topic in Model Trucks: Pickups, Vans, SUVs, Light Commercial
This is a cool old kit. Built a few, all fun.
-
AMT 1953 Ford Pickup
Oliver77 replied to Oliver77's topic in Model Trucks: Pickups, Vans, SUVs, Light Commercial
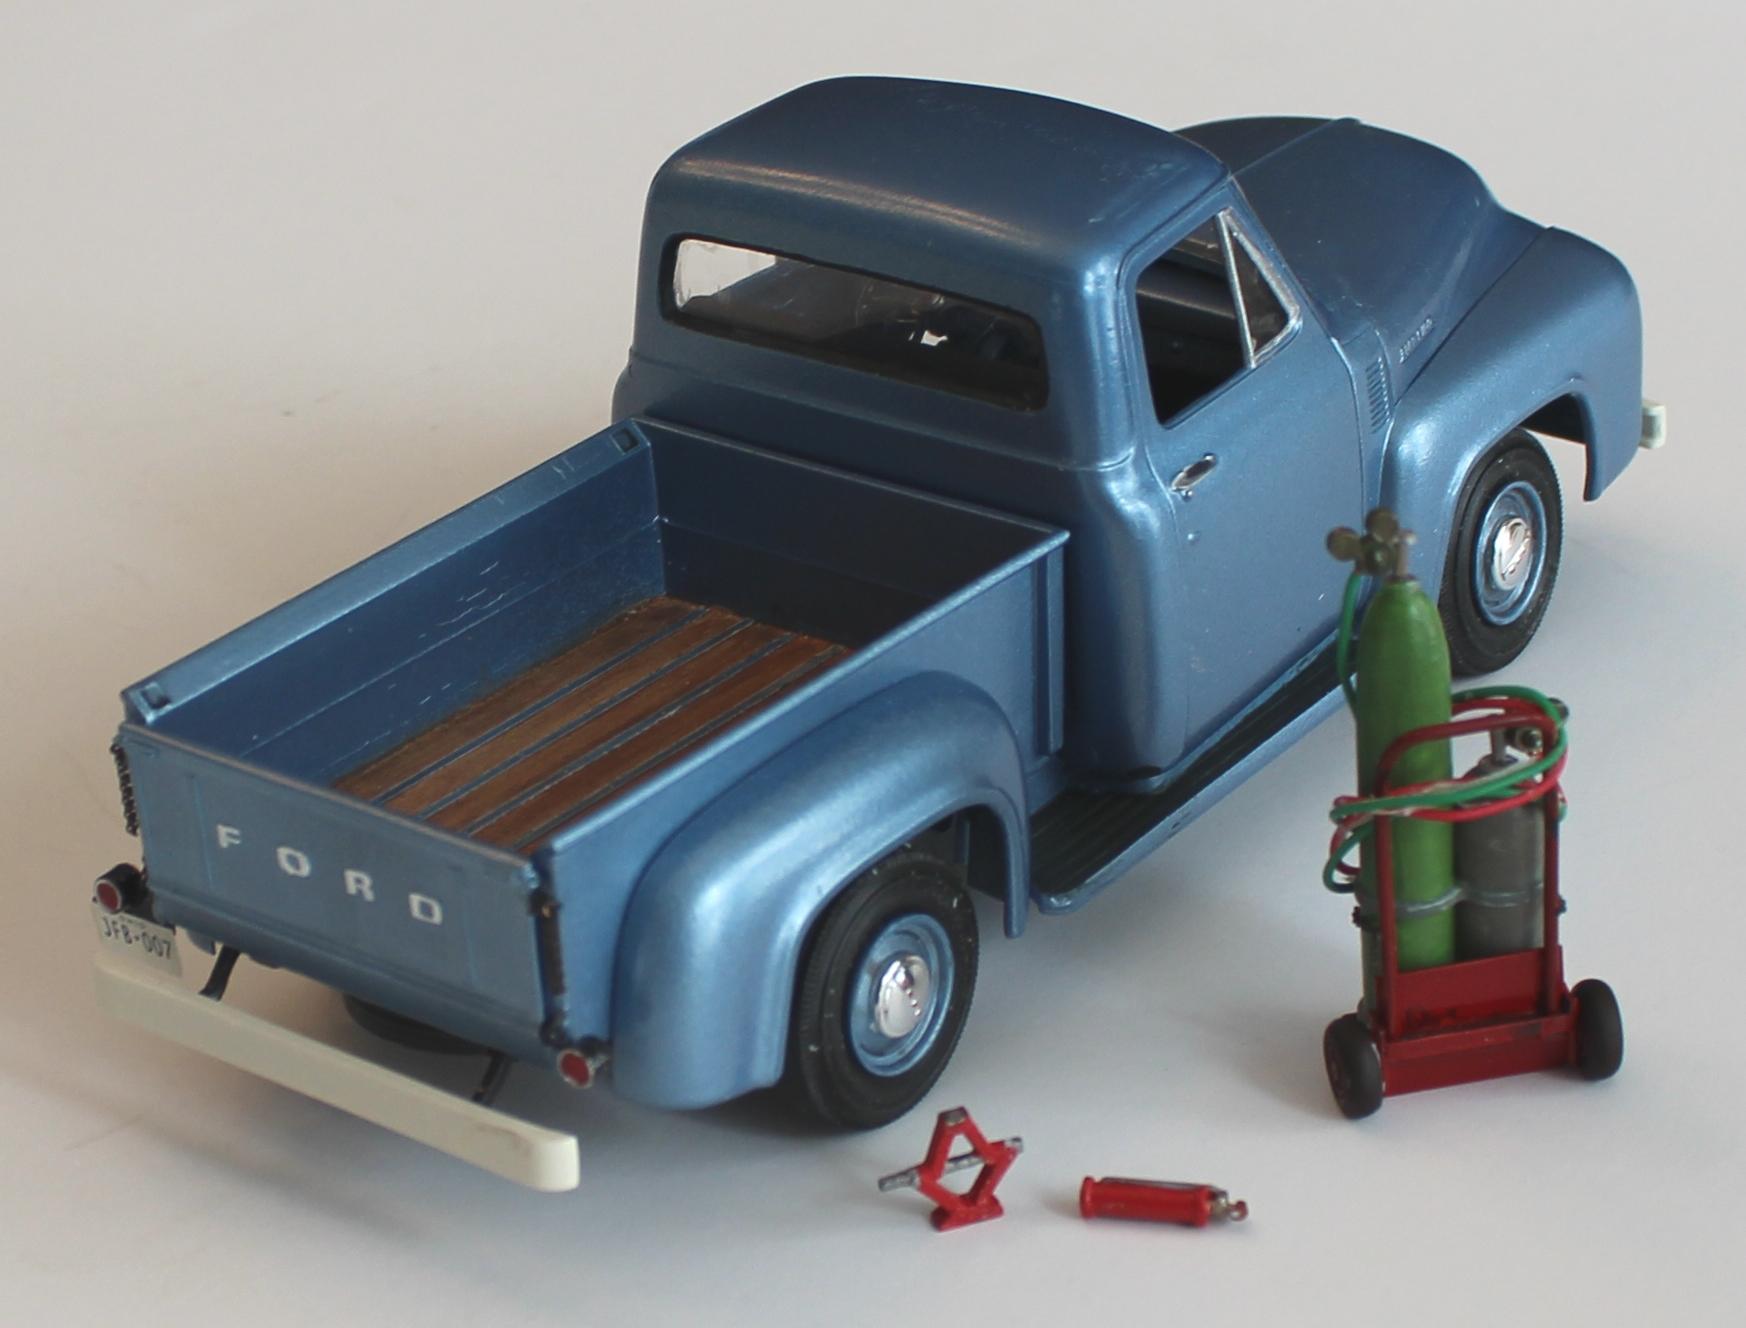
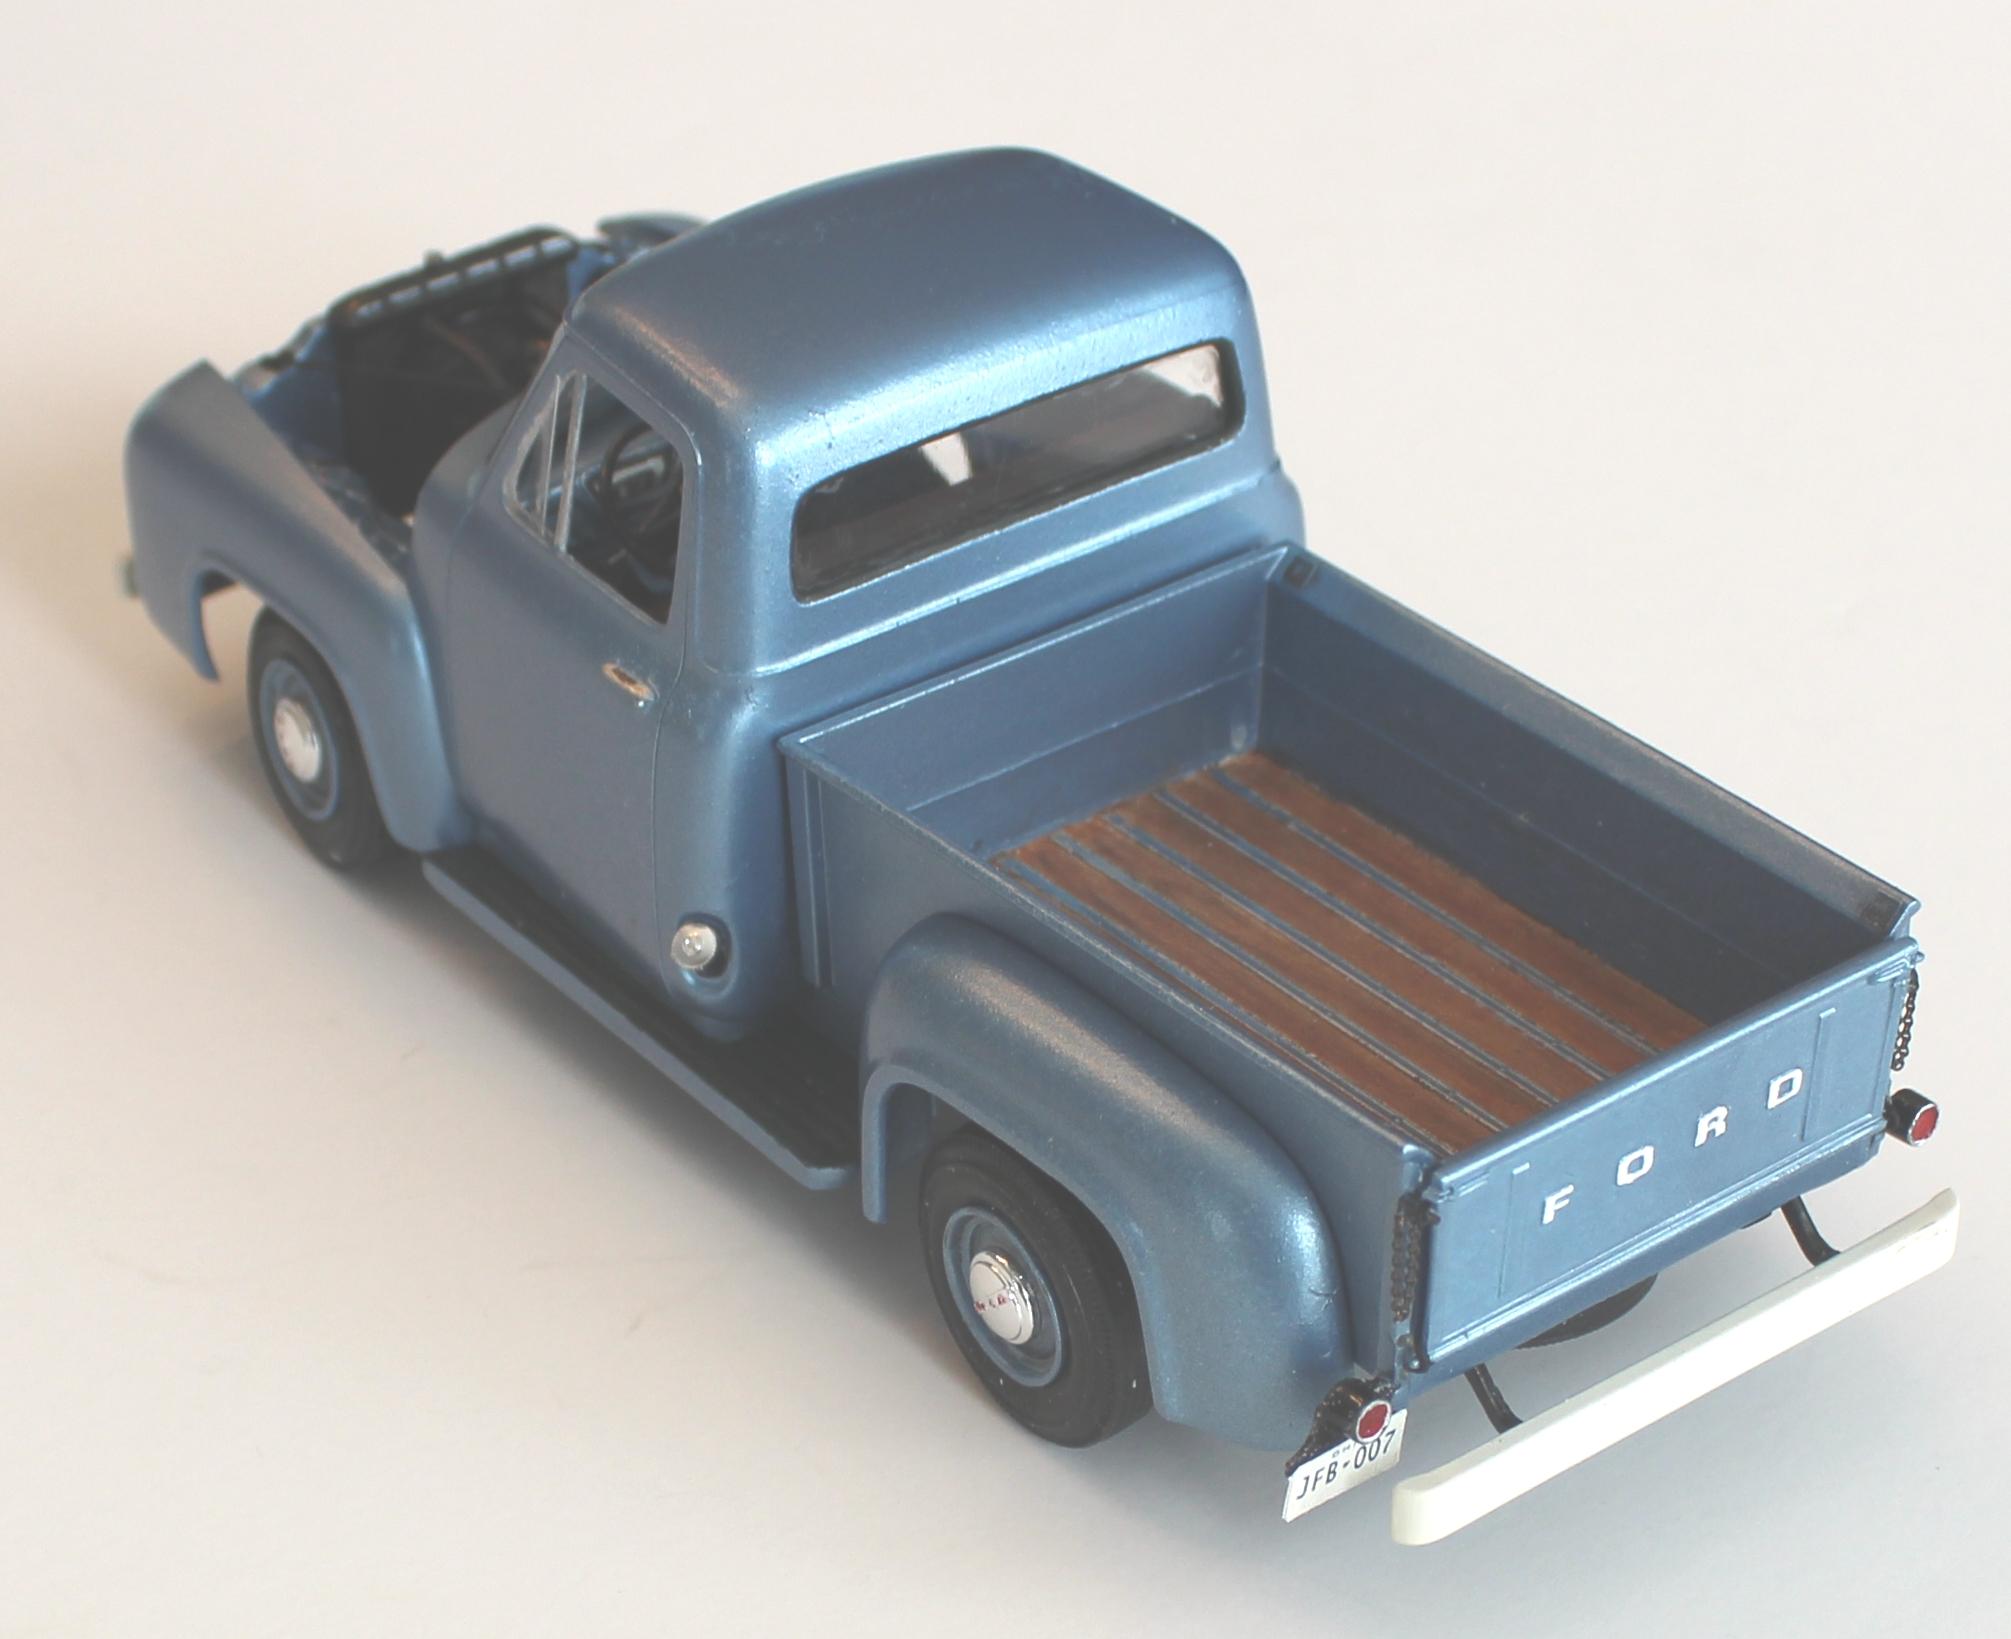
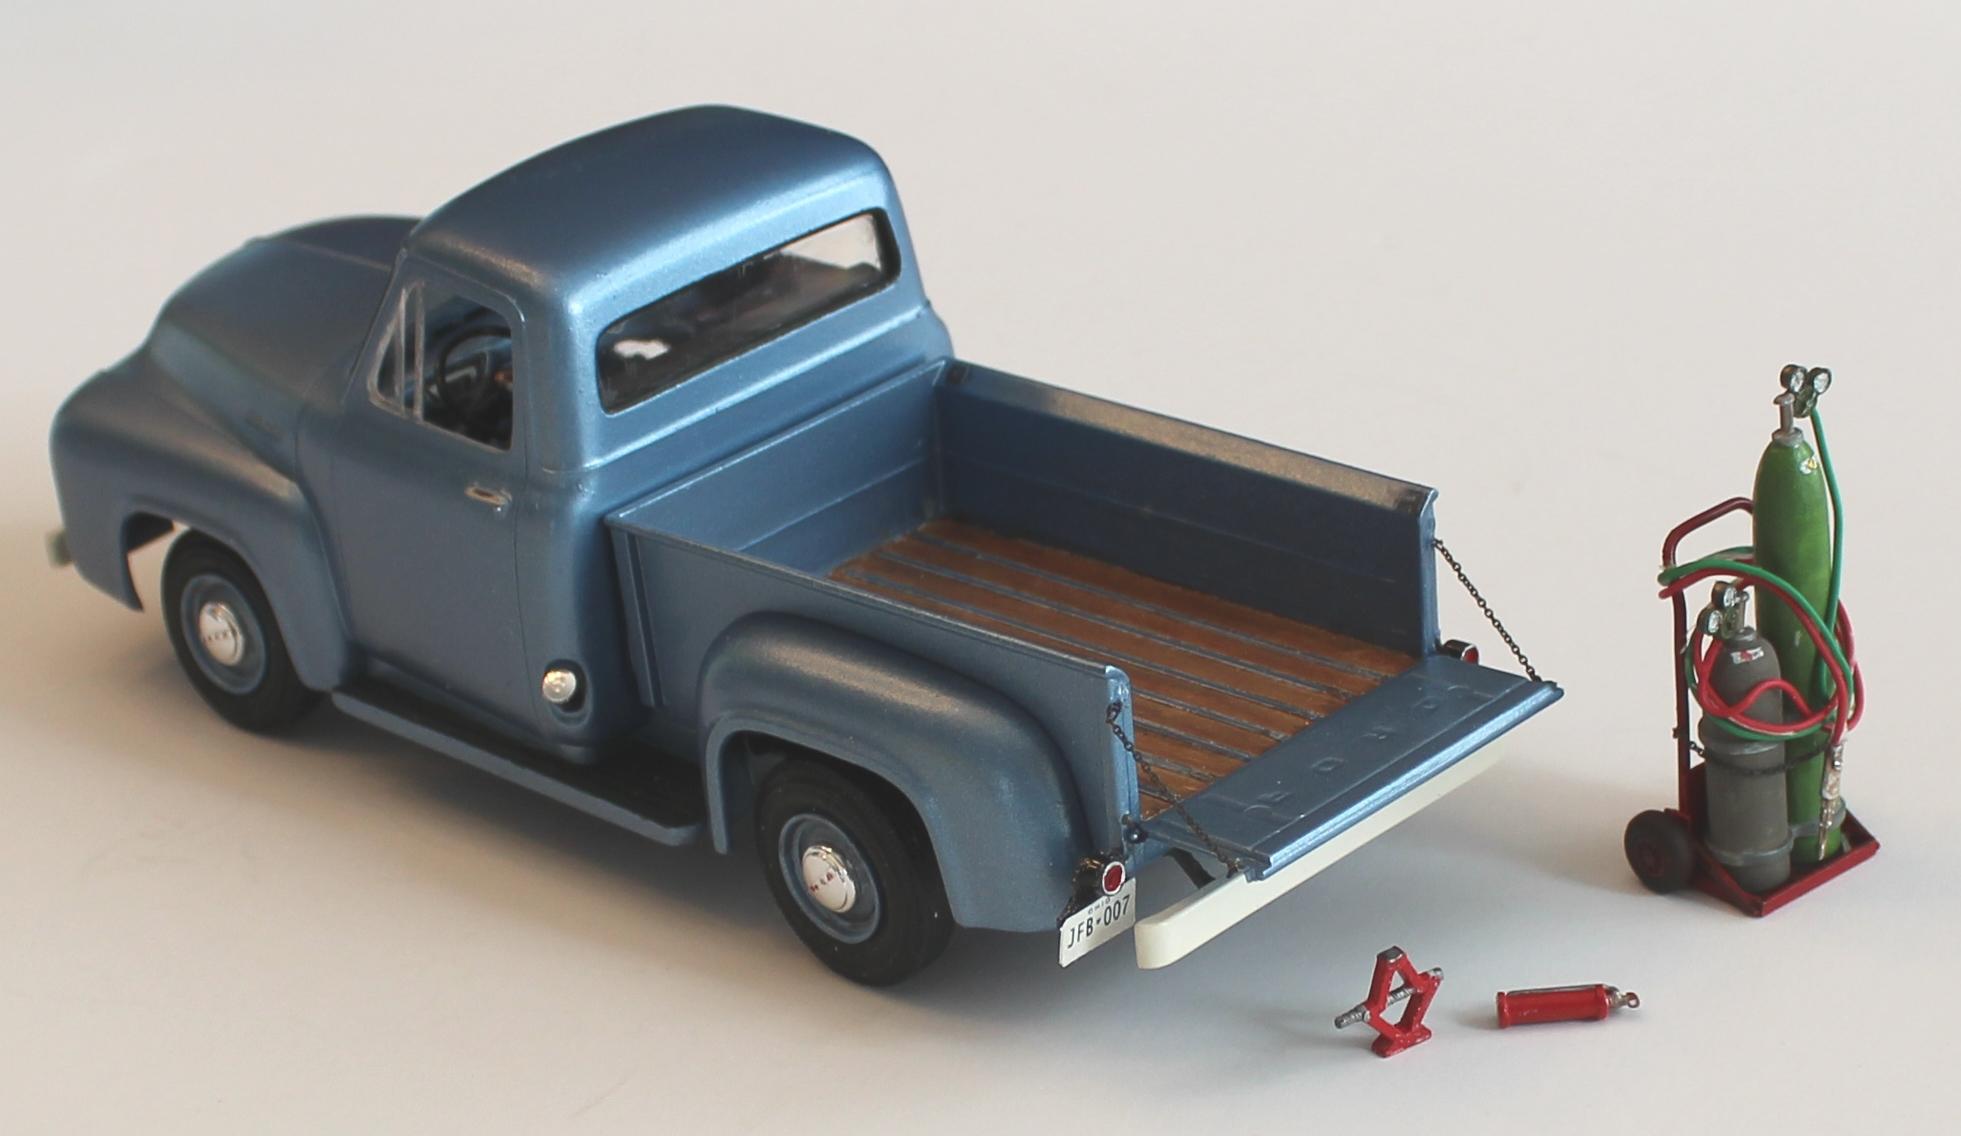
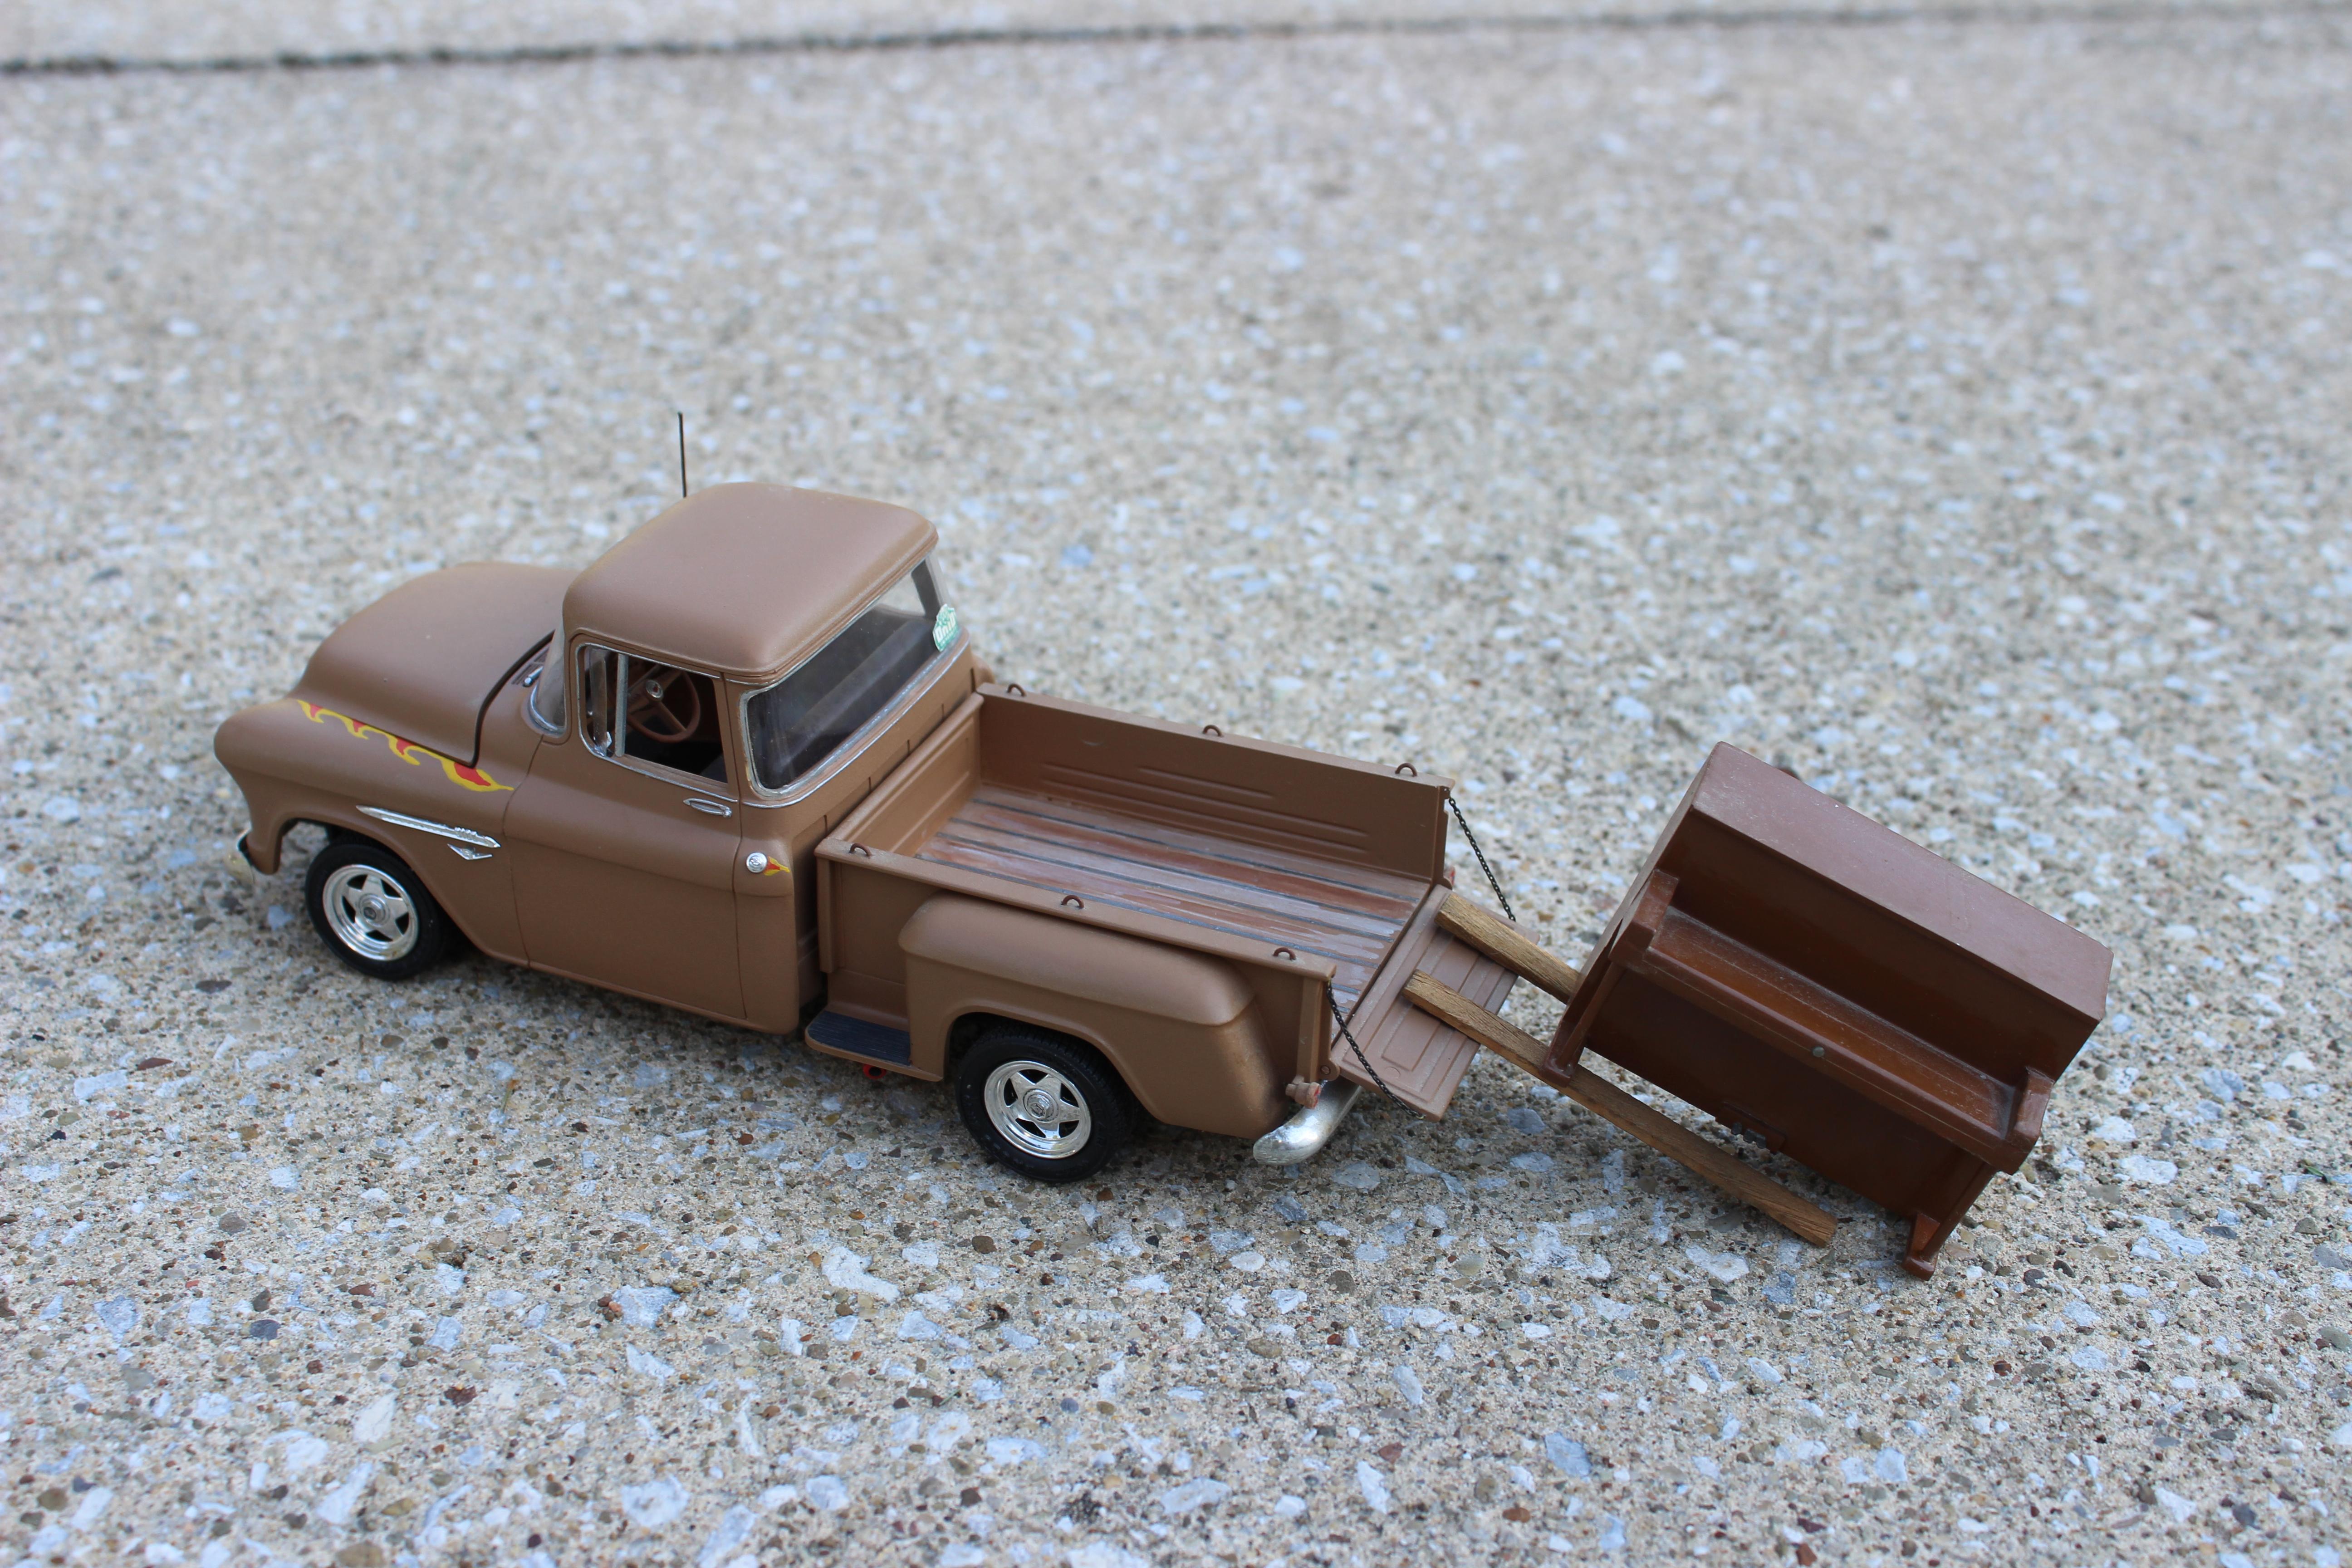
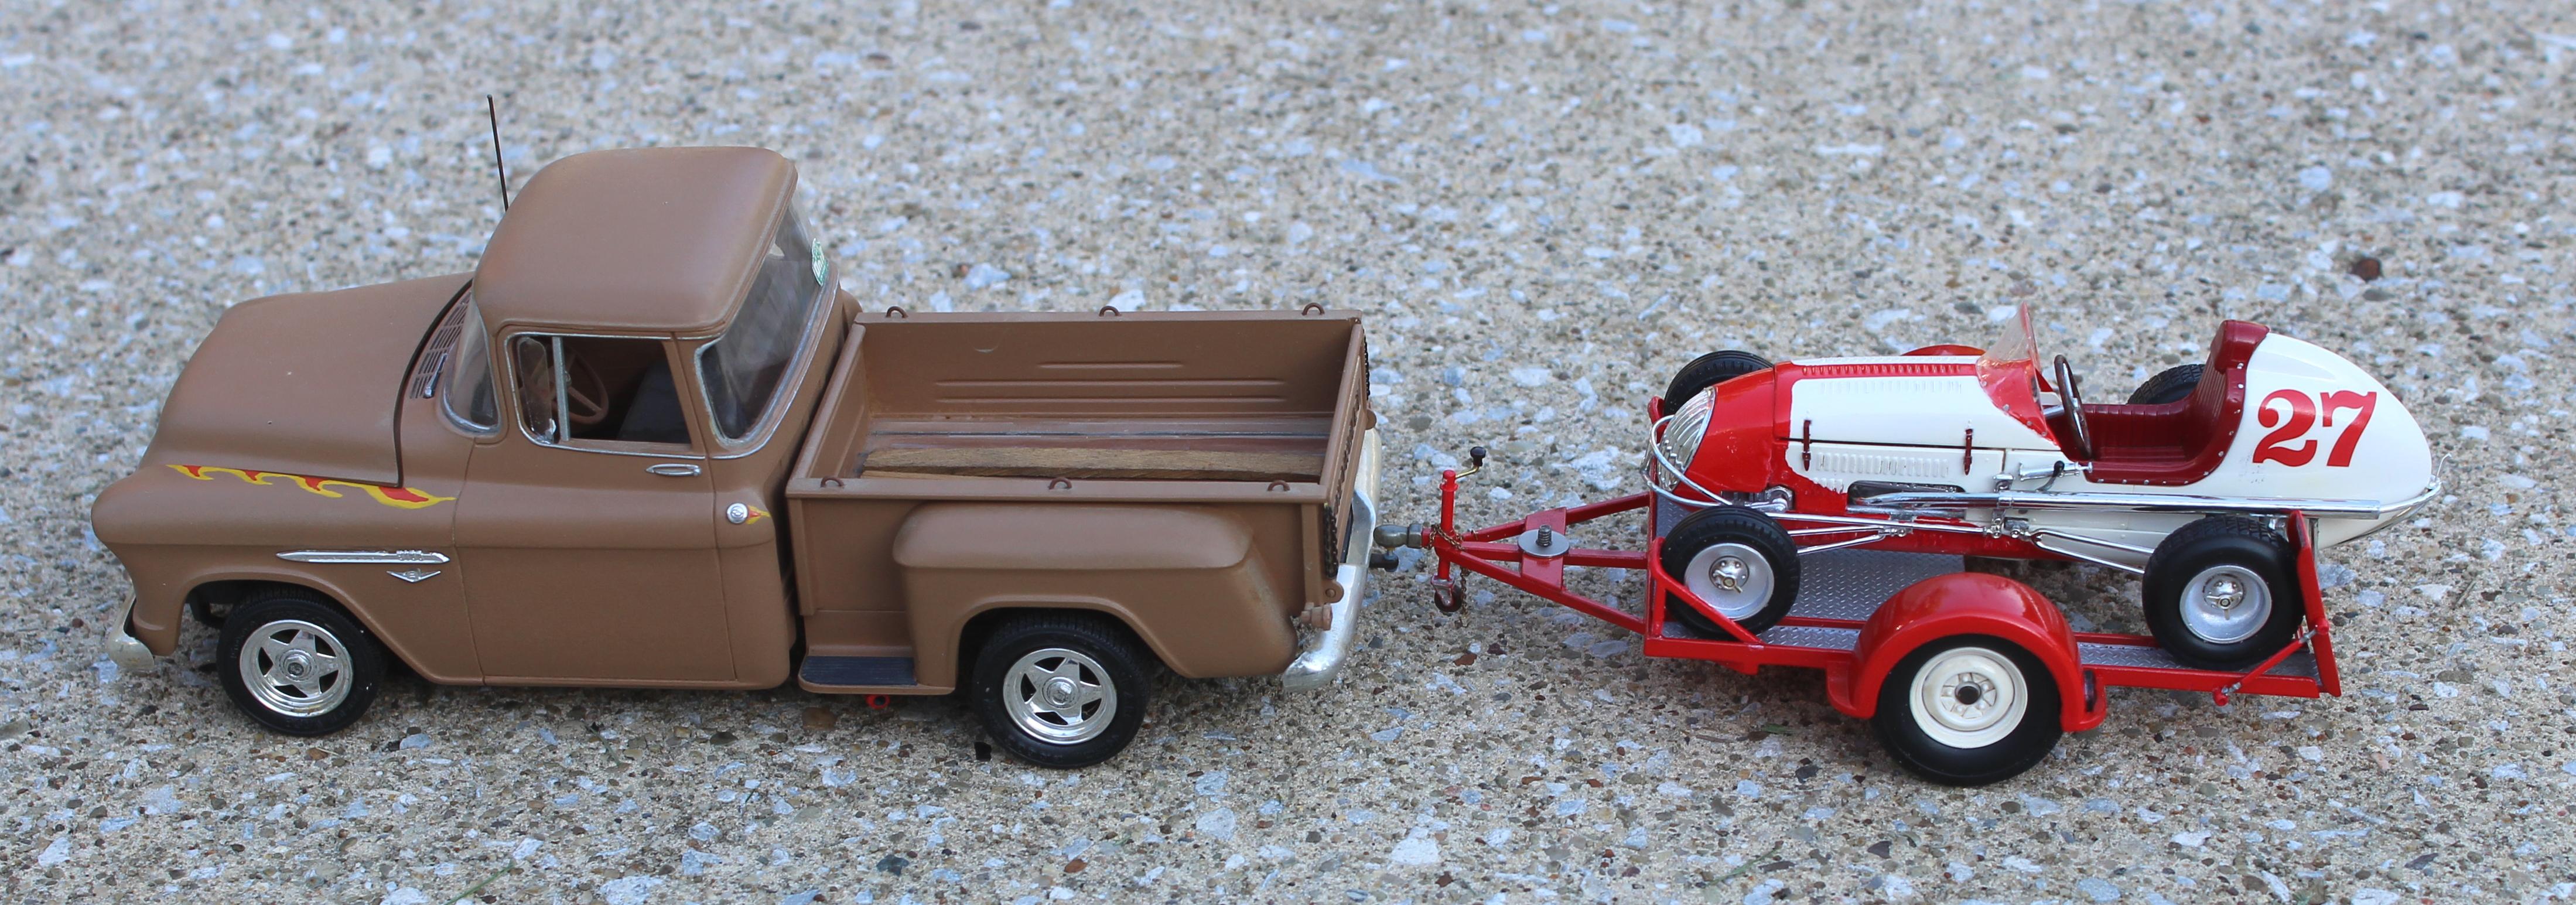
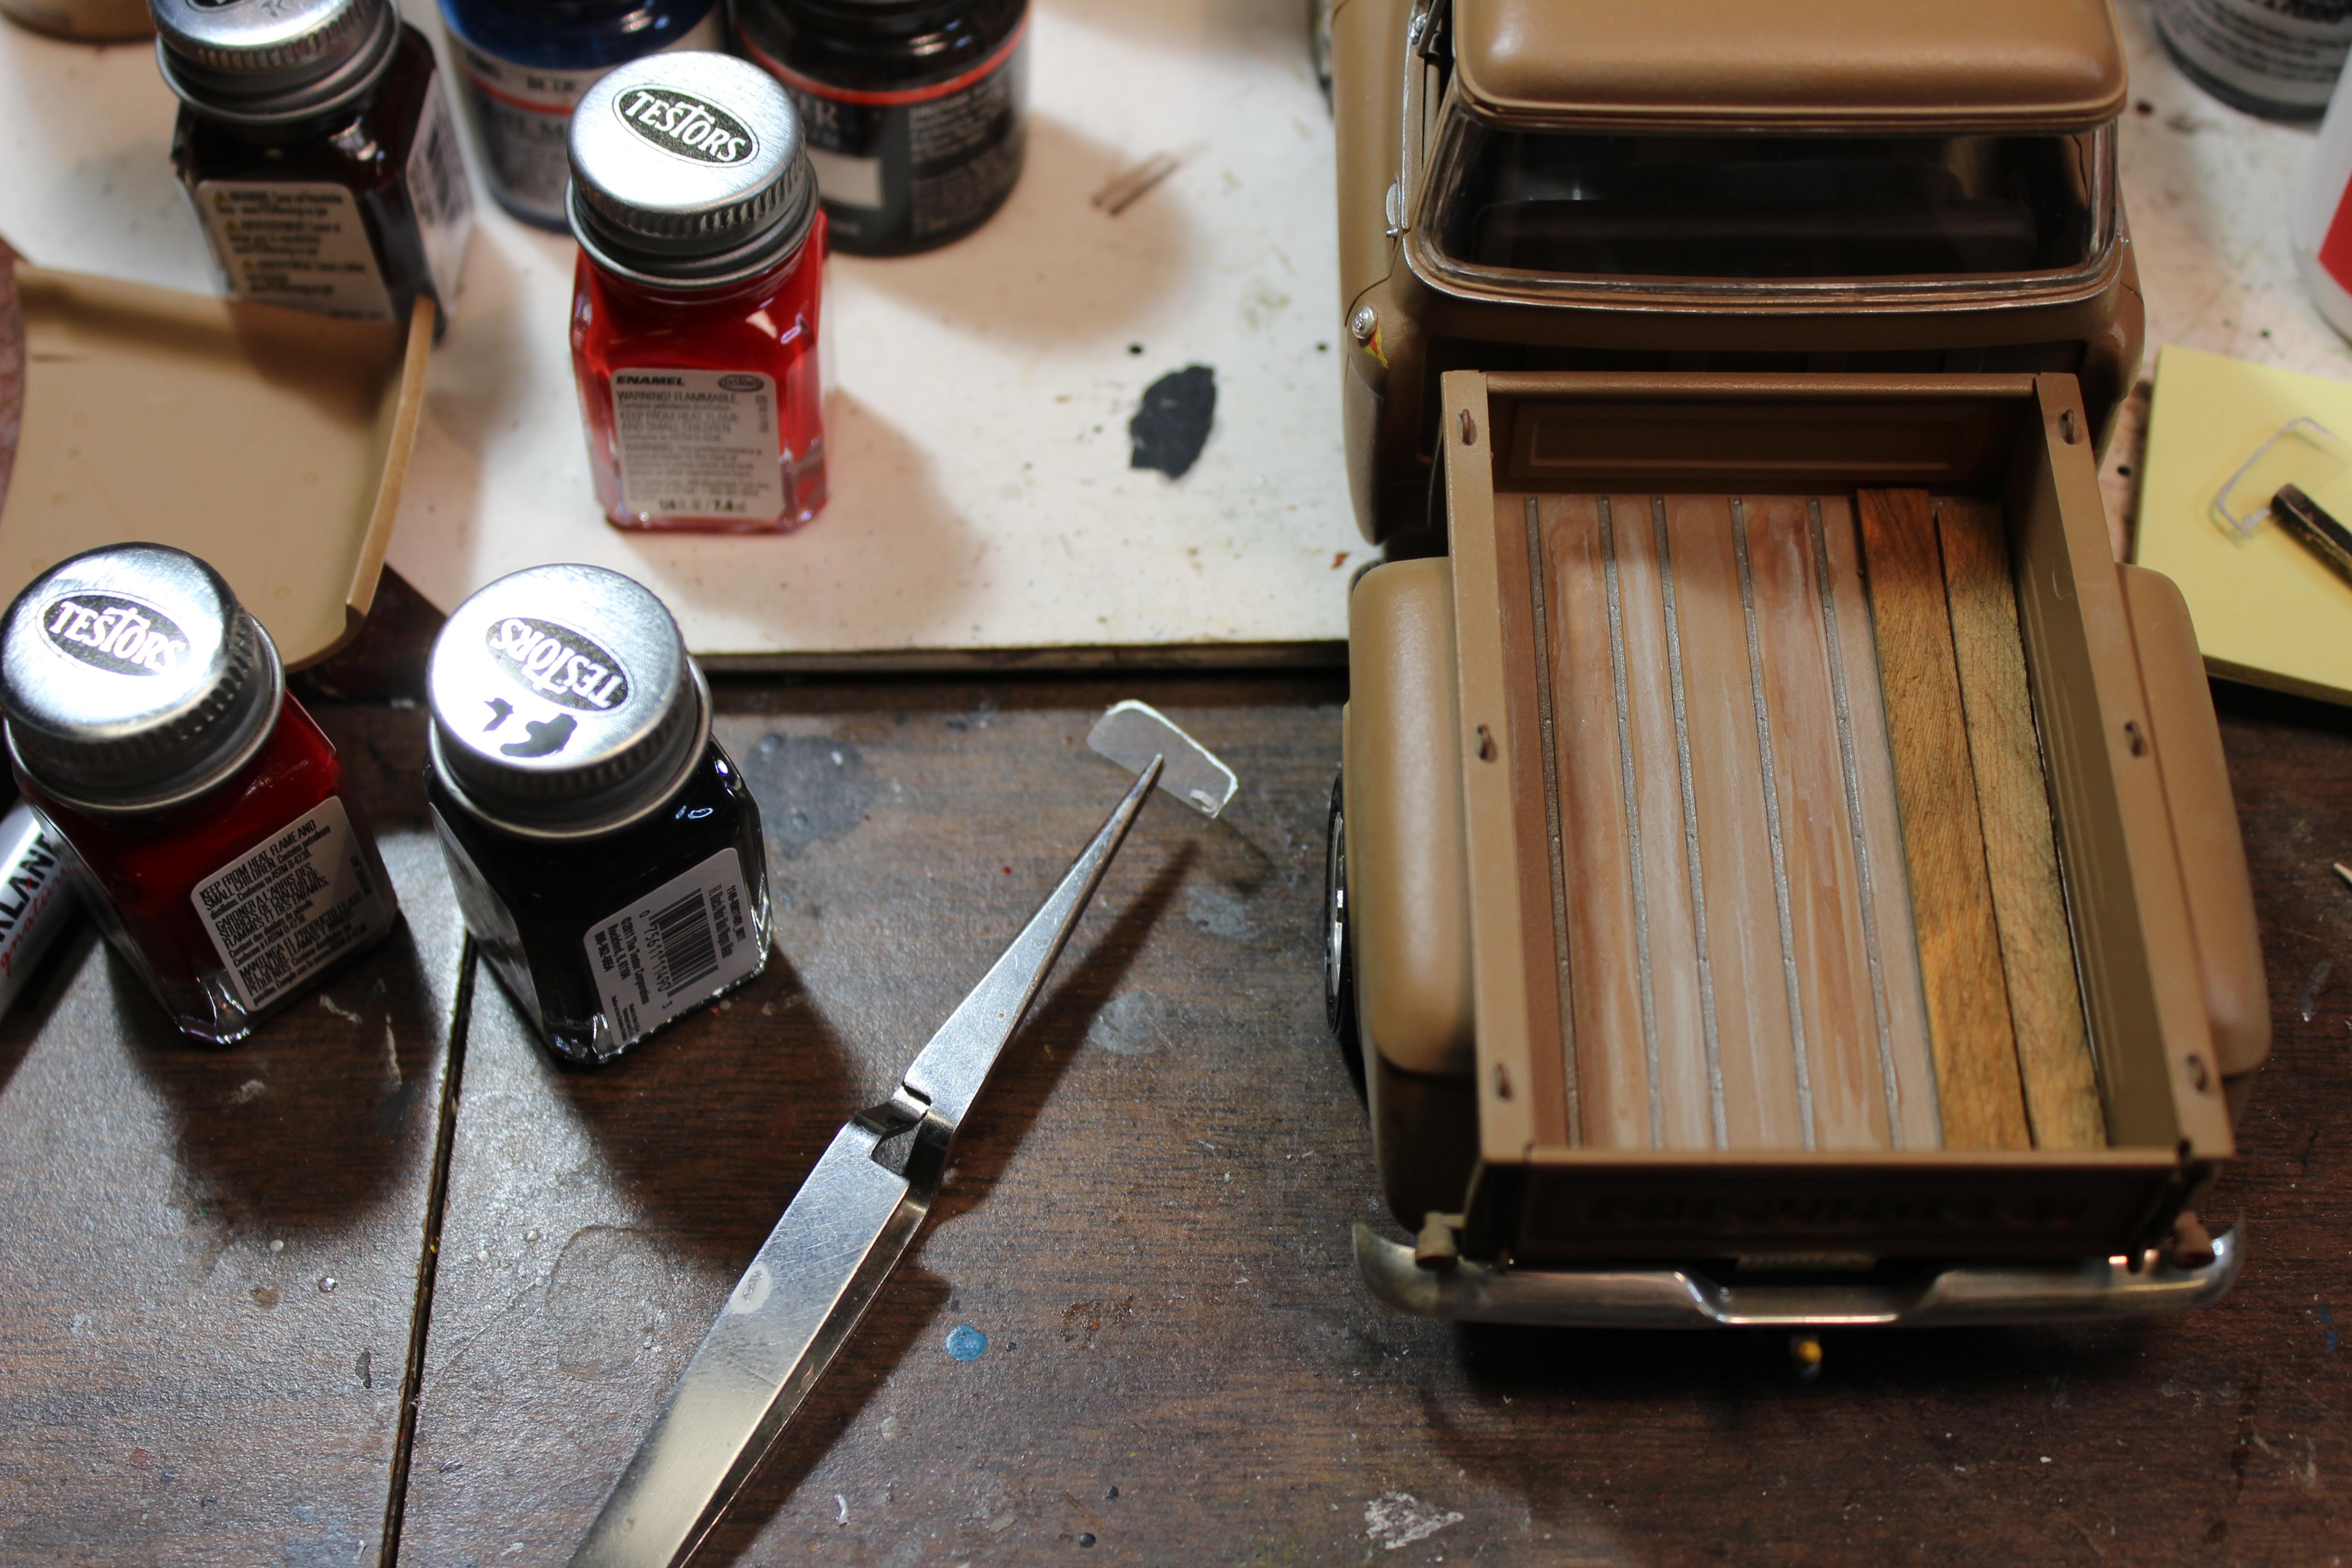
Real chain on the tailgate. Scratchbuilt cart for the tanks. Dupli-Color spray paint from the (old) can.
-
In-progress photos and descriptions in the WIP forum.
-
AMT 1953 Ford Pickup WIP
Oliver77 replied to Oliver77's topic in WIP: Model Trucks: Pickups, Vans, SUVs, Light Commercial
The wire came from some old telephone wire. Thanks for looking! Regards, Jeff Oliver
- 11 replies
-
- 10
-

-
AMT 1953 Ford Pickup WIP
Oliver77 replied to Oliver77's topic in WIP: Model Trucks: Pickups, Vans, SUVs, Light Commercial
More precision fixturing.
-
AMT 1953 Ford Pickup WIP
Oliver77 replied to Oliver77's topic in WIP: Model Trucks: Pickups, Vans, SUVs, Light Commercial
I have always been intrigued by the tanks in this kit, but what, I’m just going to pitch them in the bed? I found an image online of a tank cart, and decided to scratch one from some .010 styrene, a bit of copper wire, and some spare wheels off a model airplane.
-
AMT 1953 Ford Pickup WIP
Oliver77 replied to Oliver77's topic in WIP: Model Trucks: Pickups, Vans, SUVs, Light Commercial
High tech precision assembly fixture.
- 11 replies
-
- 10
-
-

-
AMT 1953 Ford Pickup WIP
Oliver77 replied to Oliver77's topic in WIP: Model Trucks: Pickups, Vans, SUVs, Light Commercial
Starting to come together. I had some minor frame warp, corrected with hot water and twist. I was unsure of the front axle position and had to rework when I test fit the body.
-
AMT 1953 Ford Pickup WIP
Oliver77 replied to Oliver77's topic in WIP: Model Trucks: Pickups, Vans, SUVs, Light Commercial
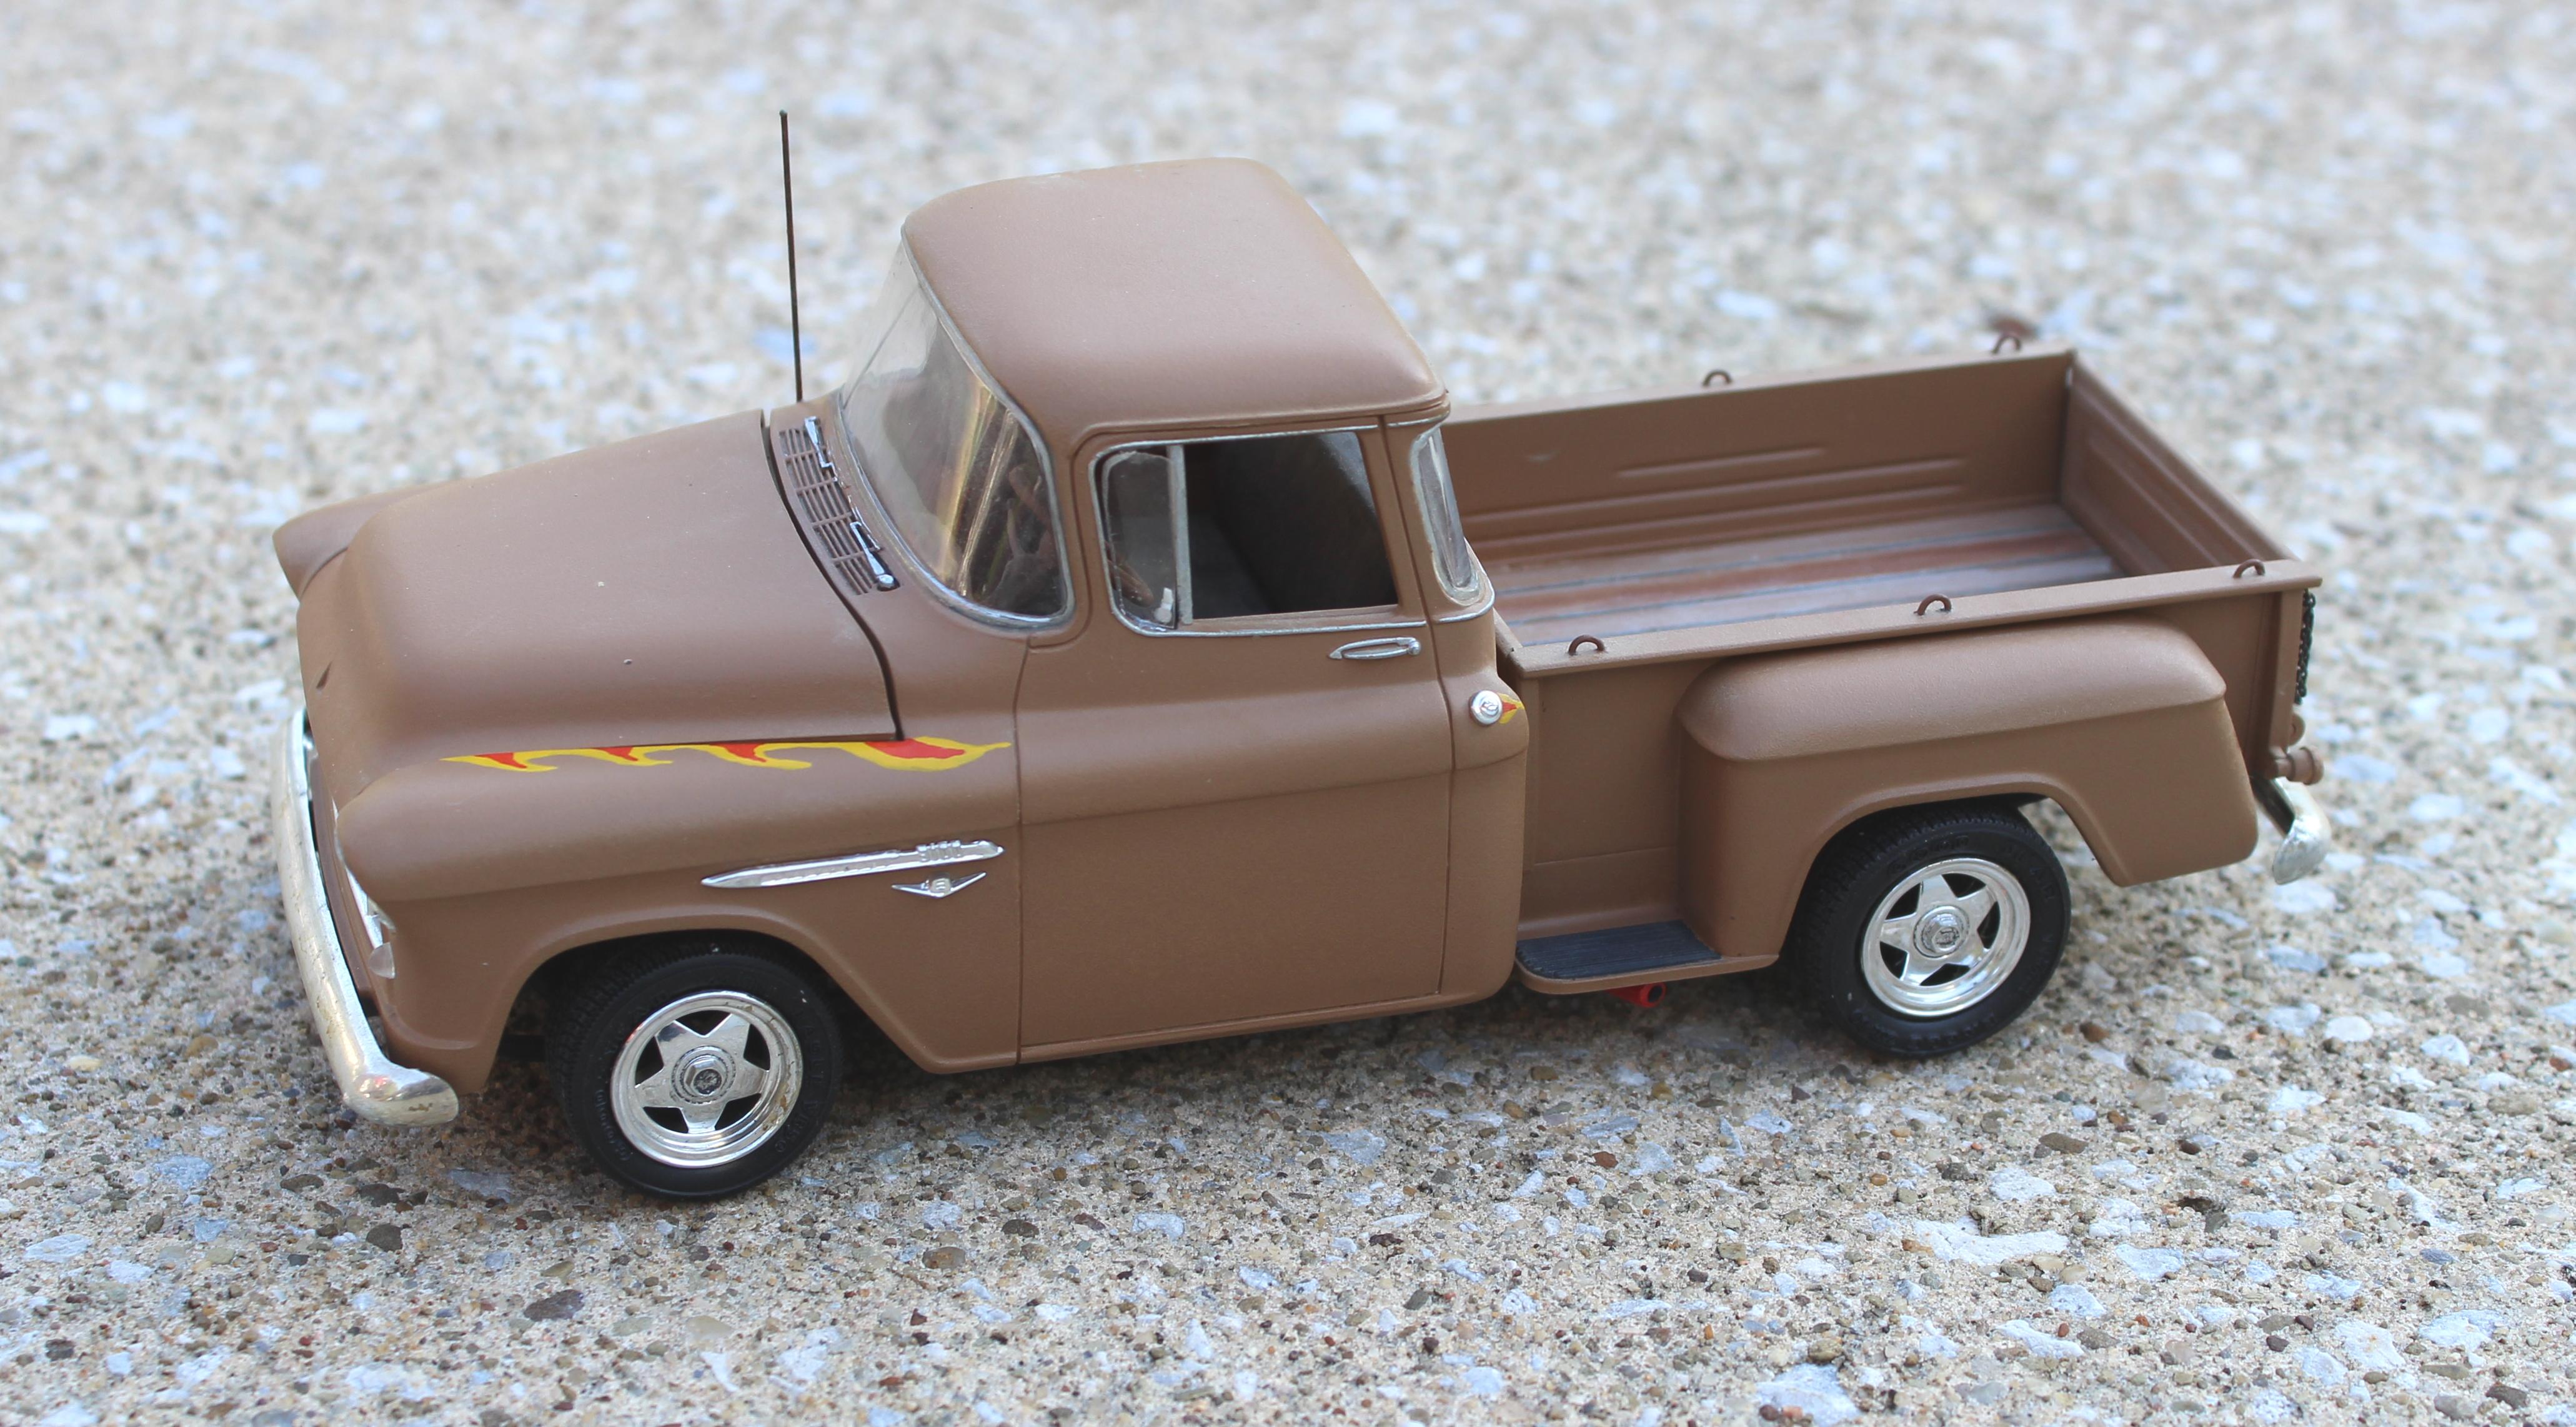
I had some Dupli-Color Light Blue M spray. Turned out a little crazy in places, plenty of sanding and careful re-spray. I’m going to say it resulted in a pleasant ‘patina’!
-
This is the 1985 Made in USA release of this classic kit, molded in light blue. I have had it sitting around for a while. 1985 minus 1953 equals 32 years. 2024 minus 1985 equals 39 years. And I was born in 1953. But I digress.
-
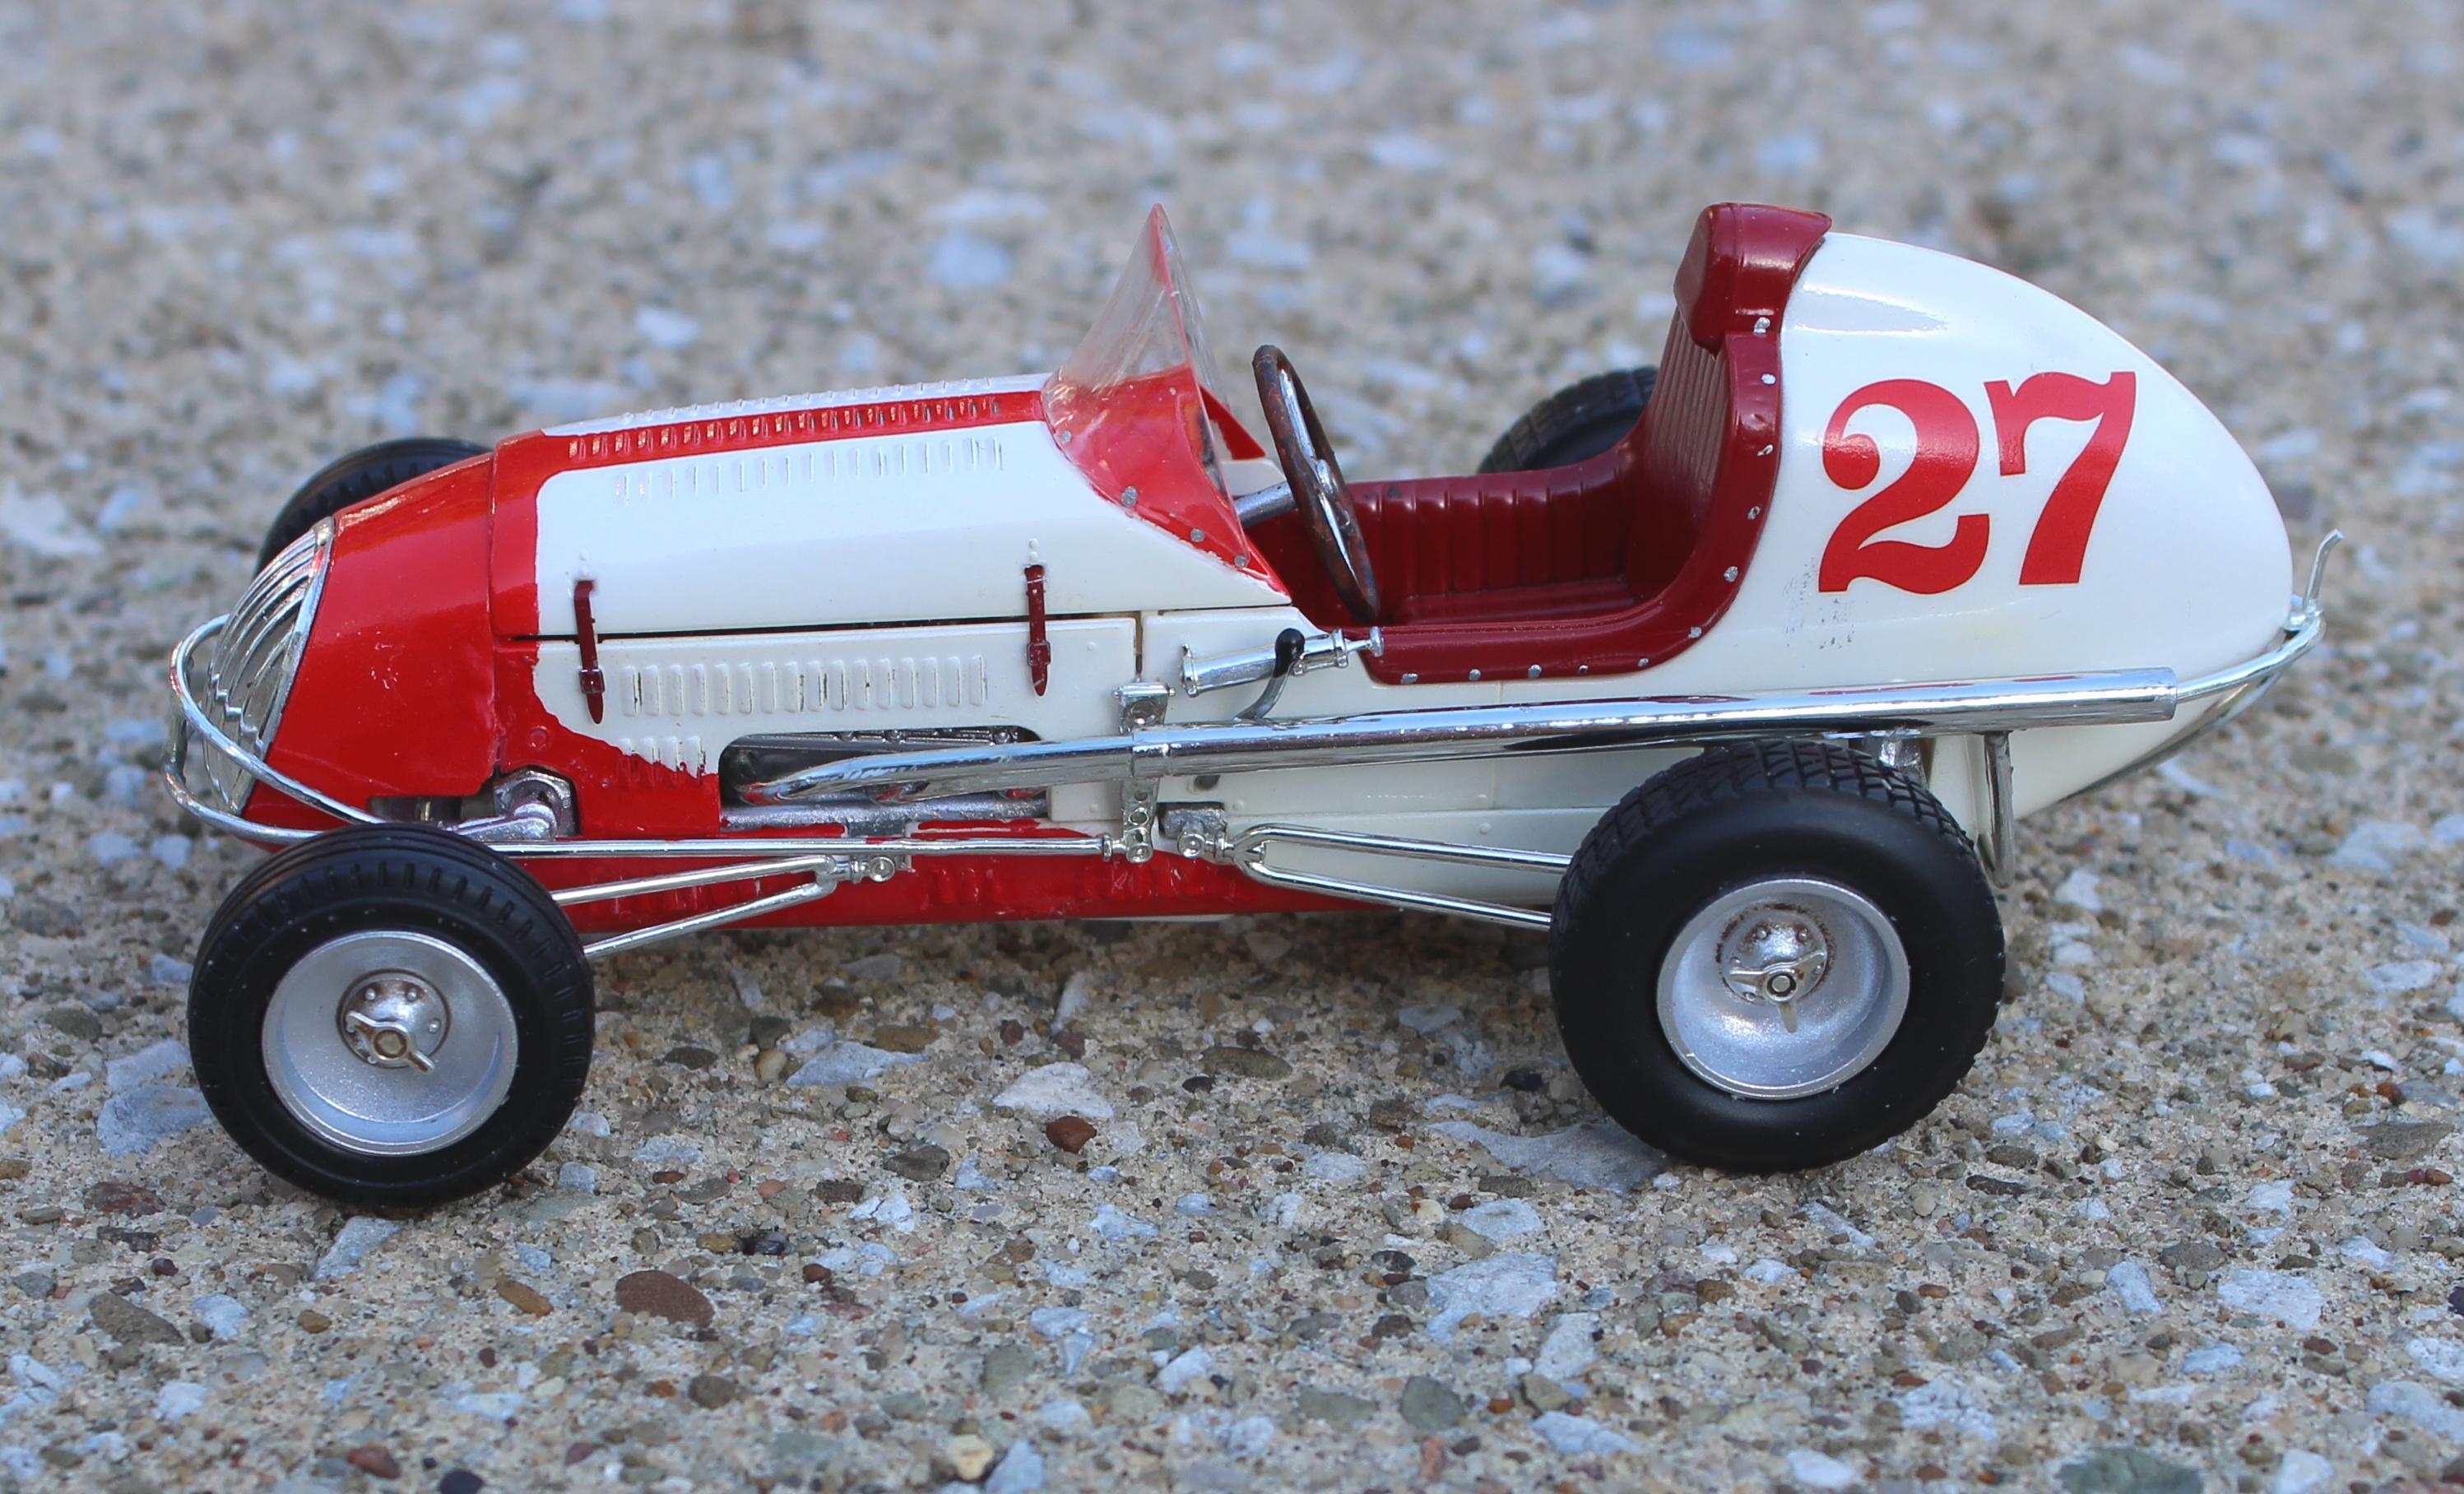
This is such a cool kit. The fine parts that can be so vexing to assemble make for a jewel of a car!
-
Oops wrong forum!
-
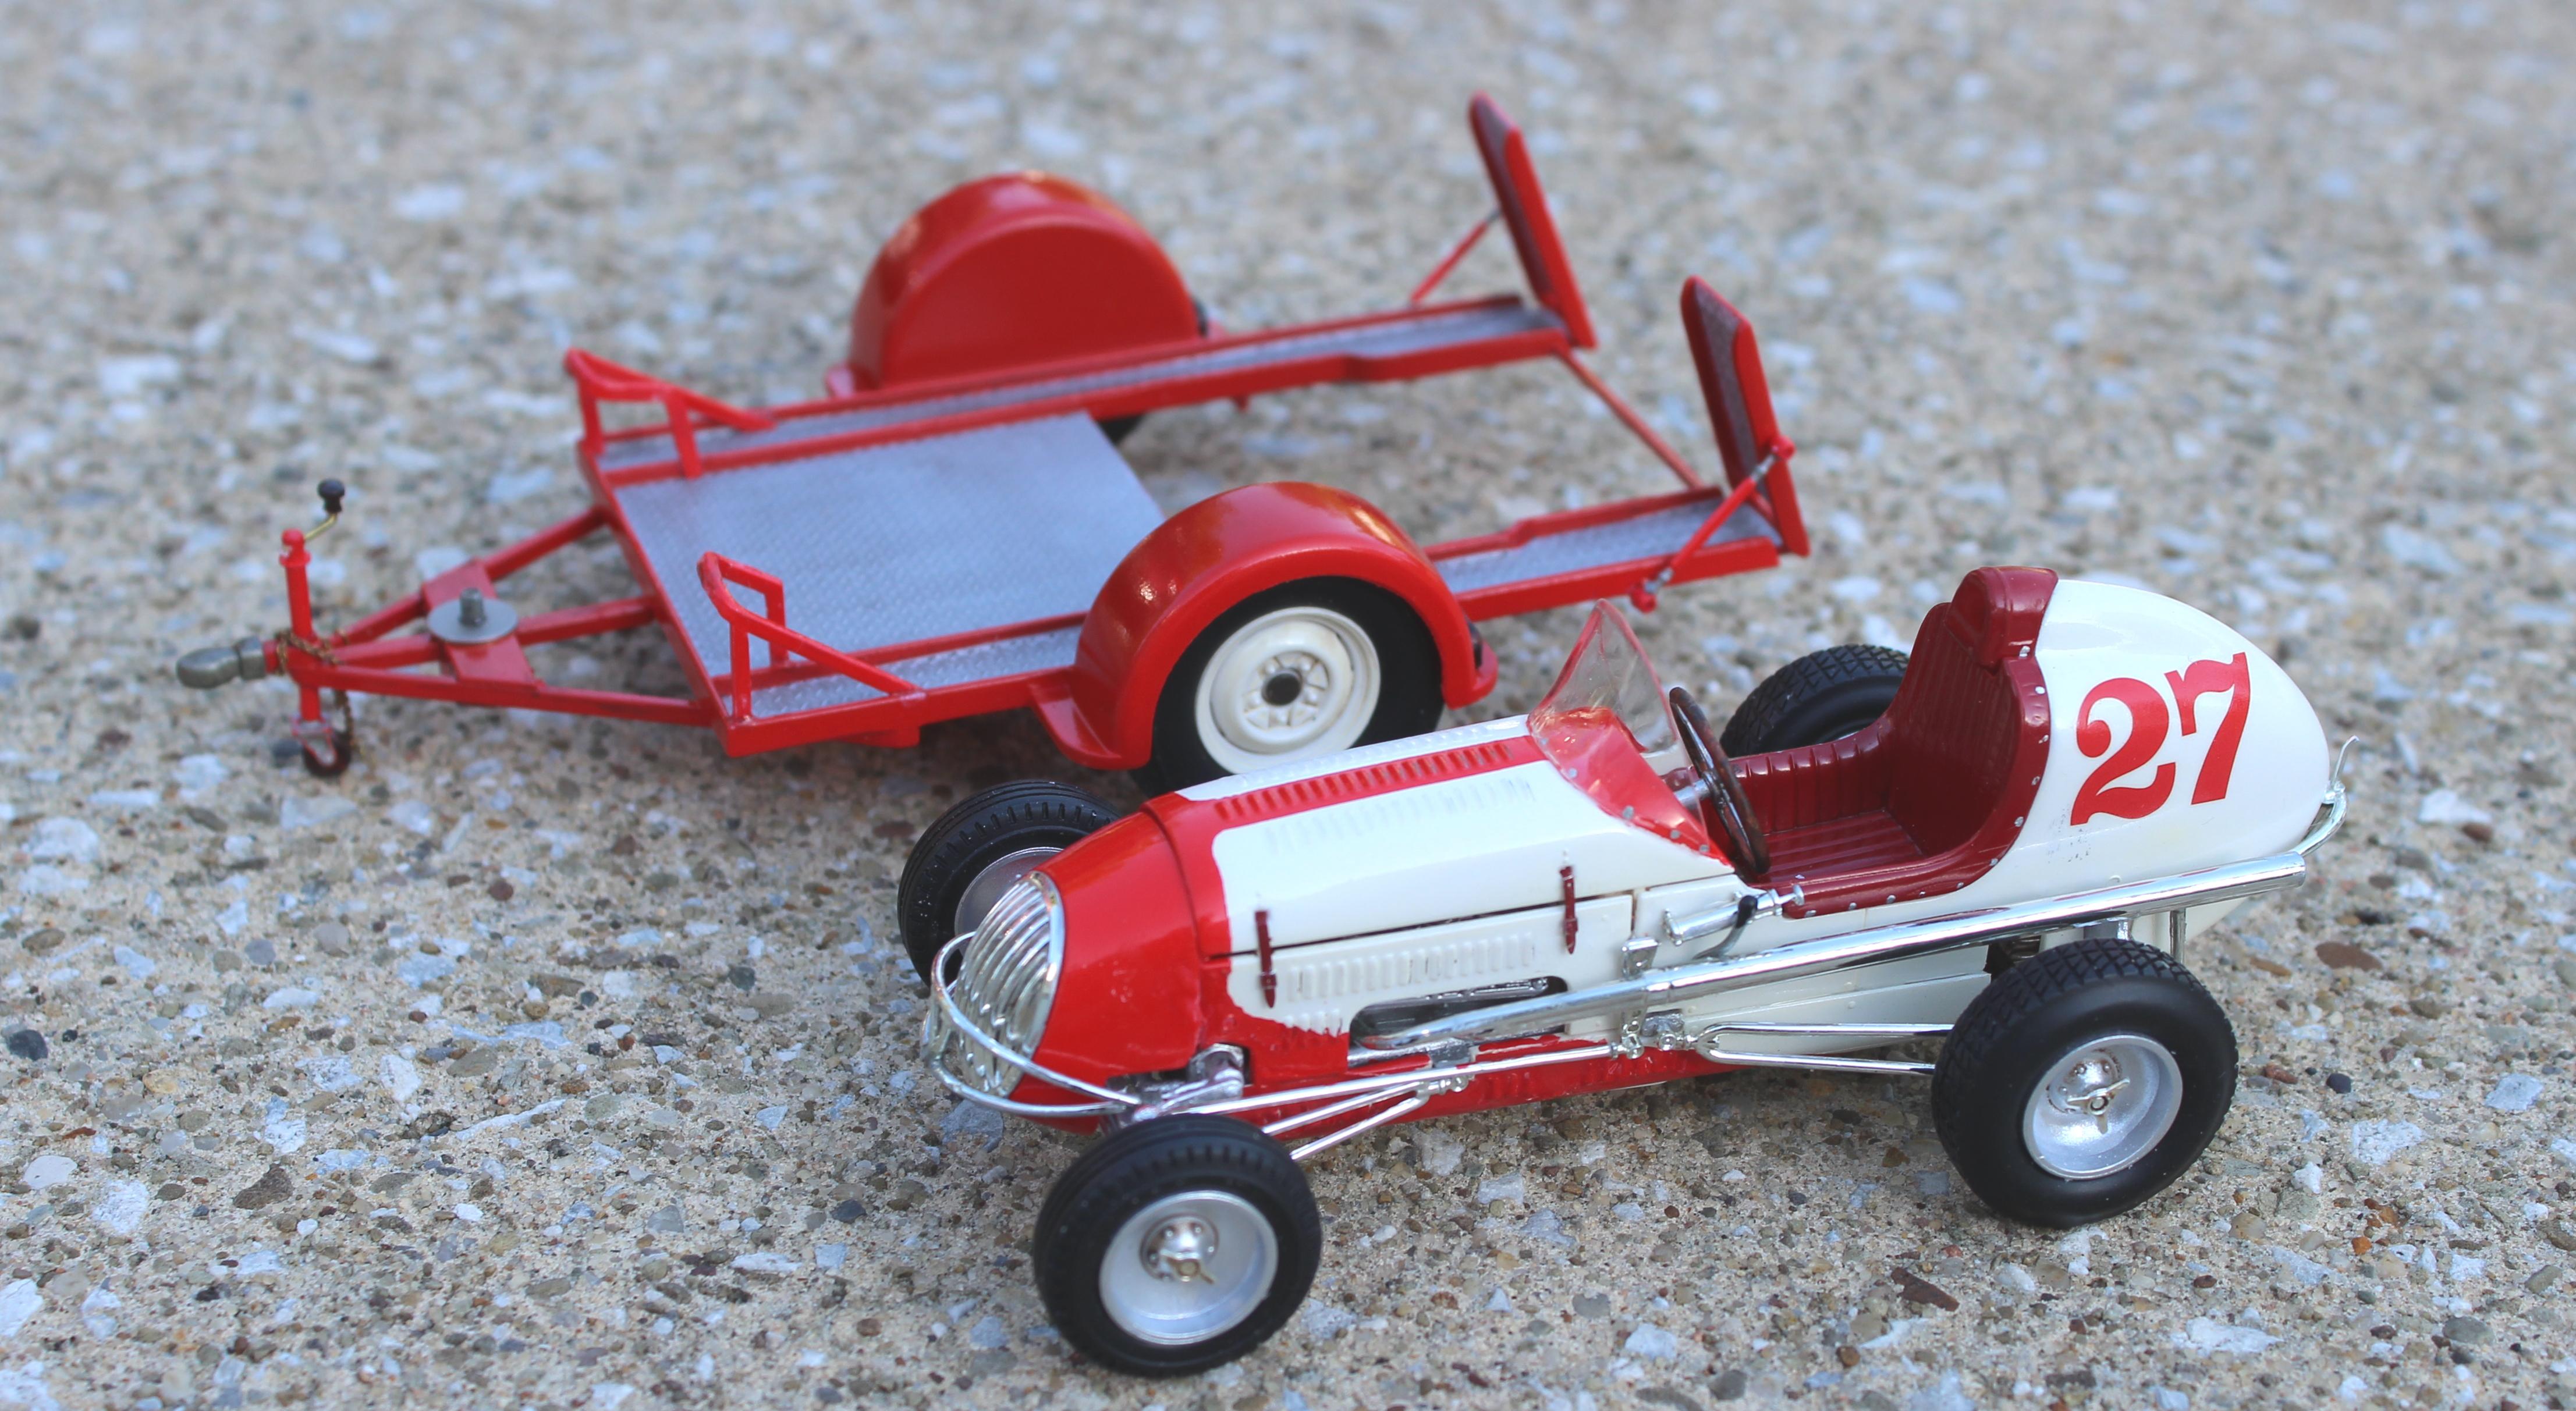
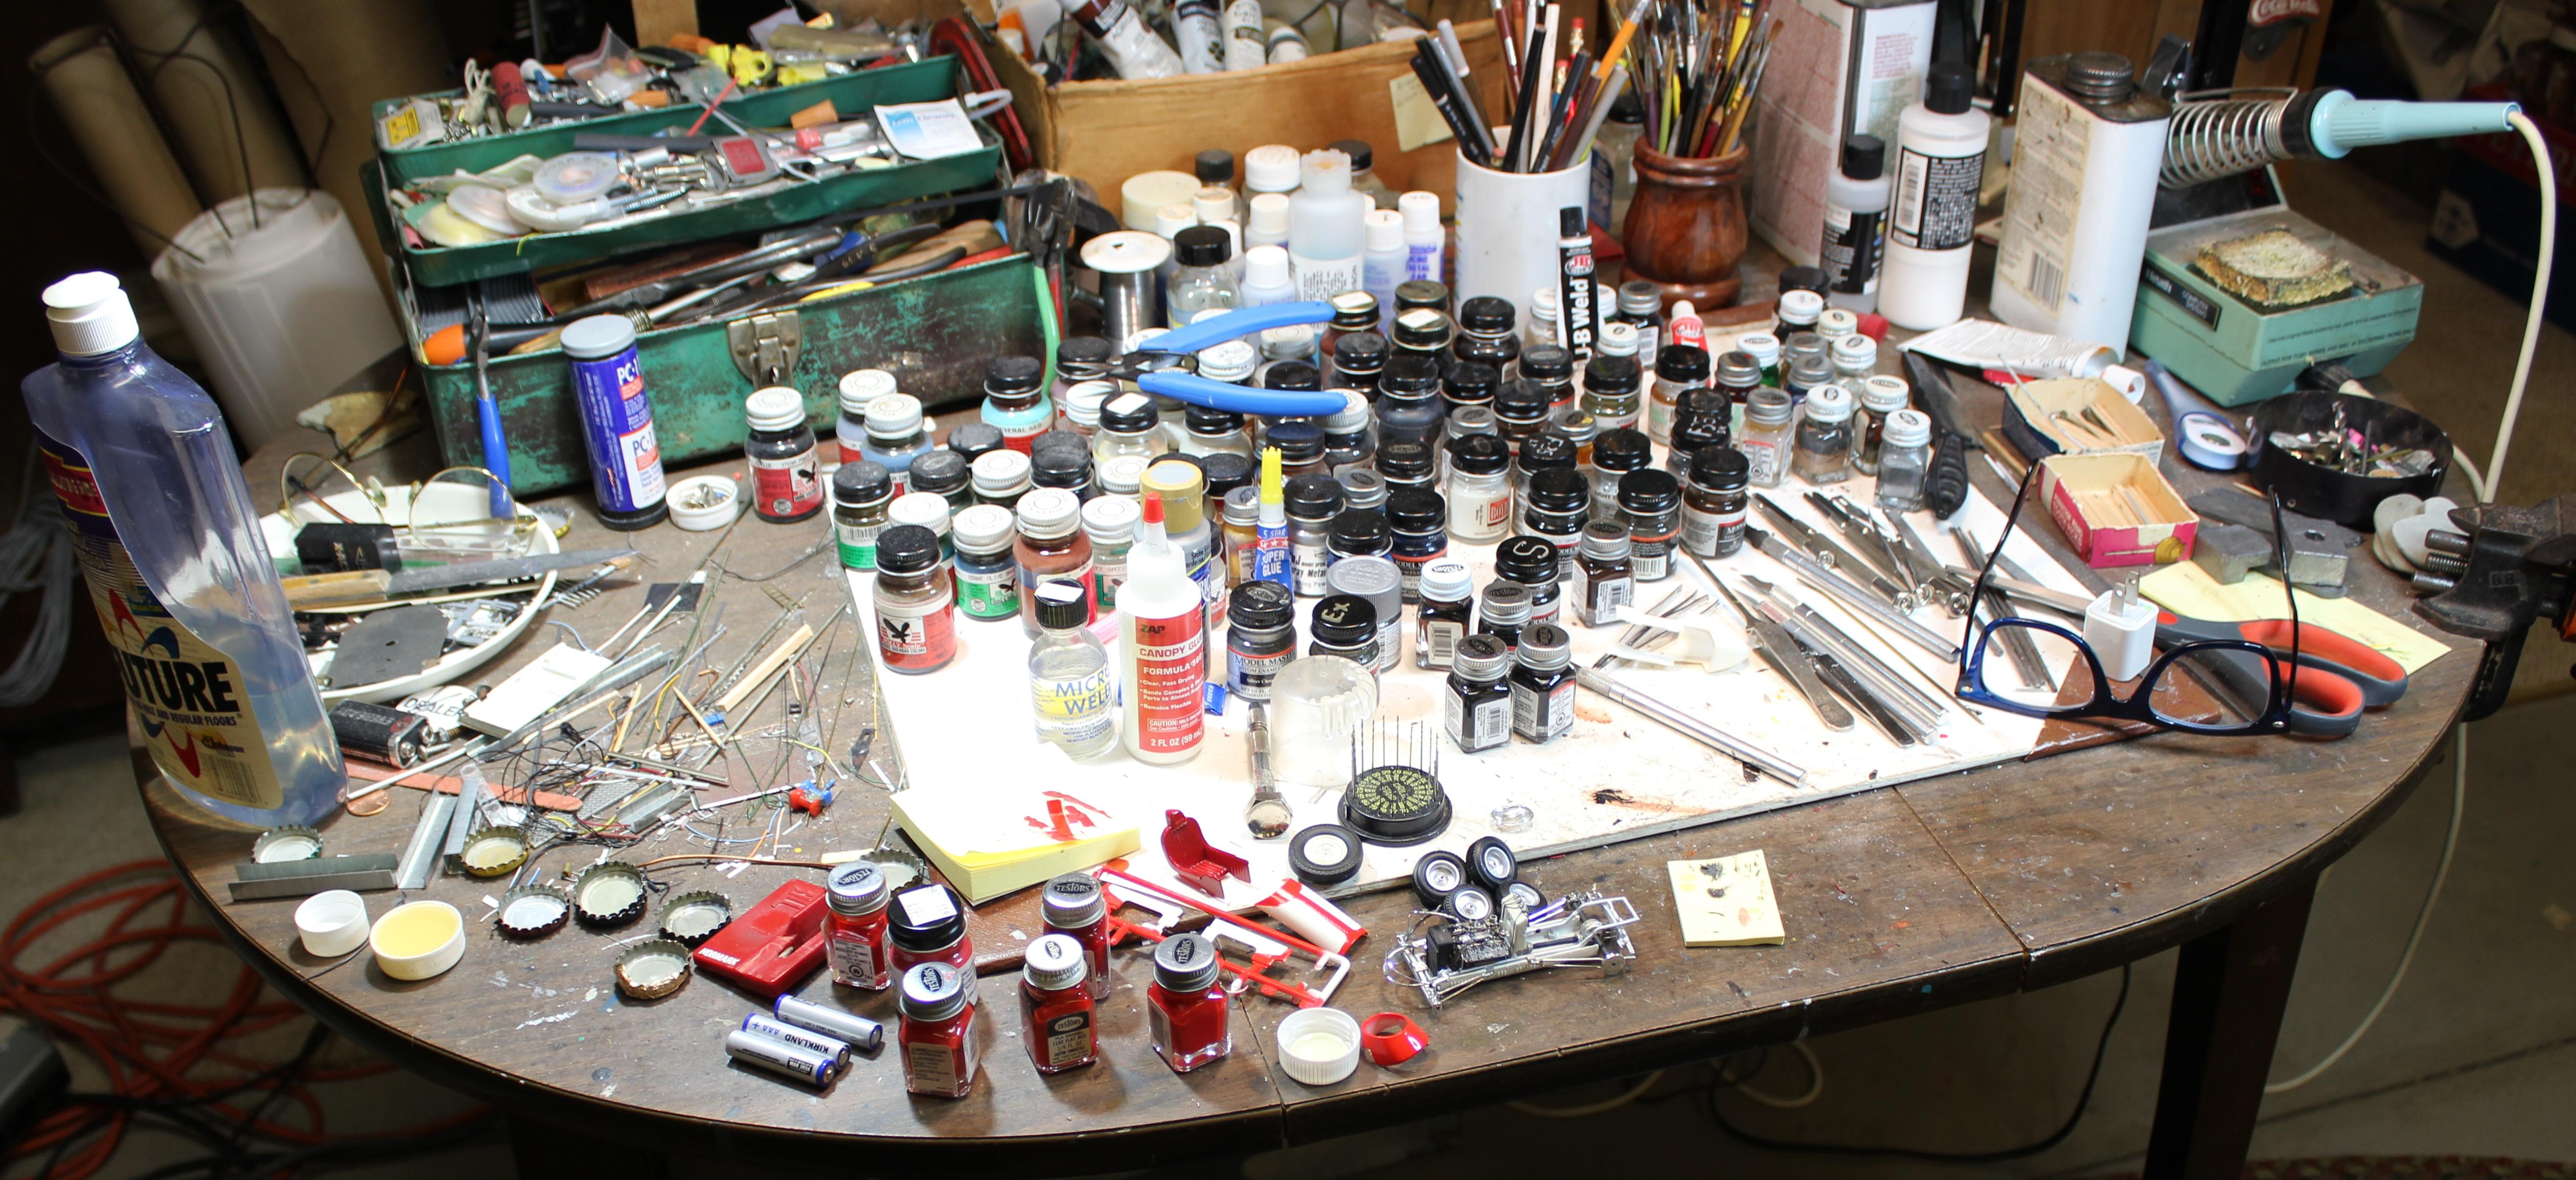
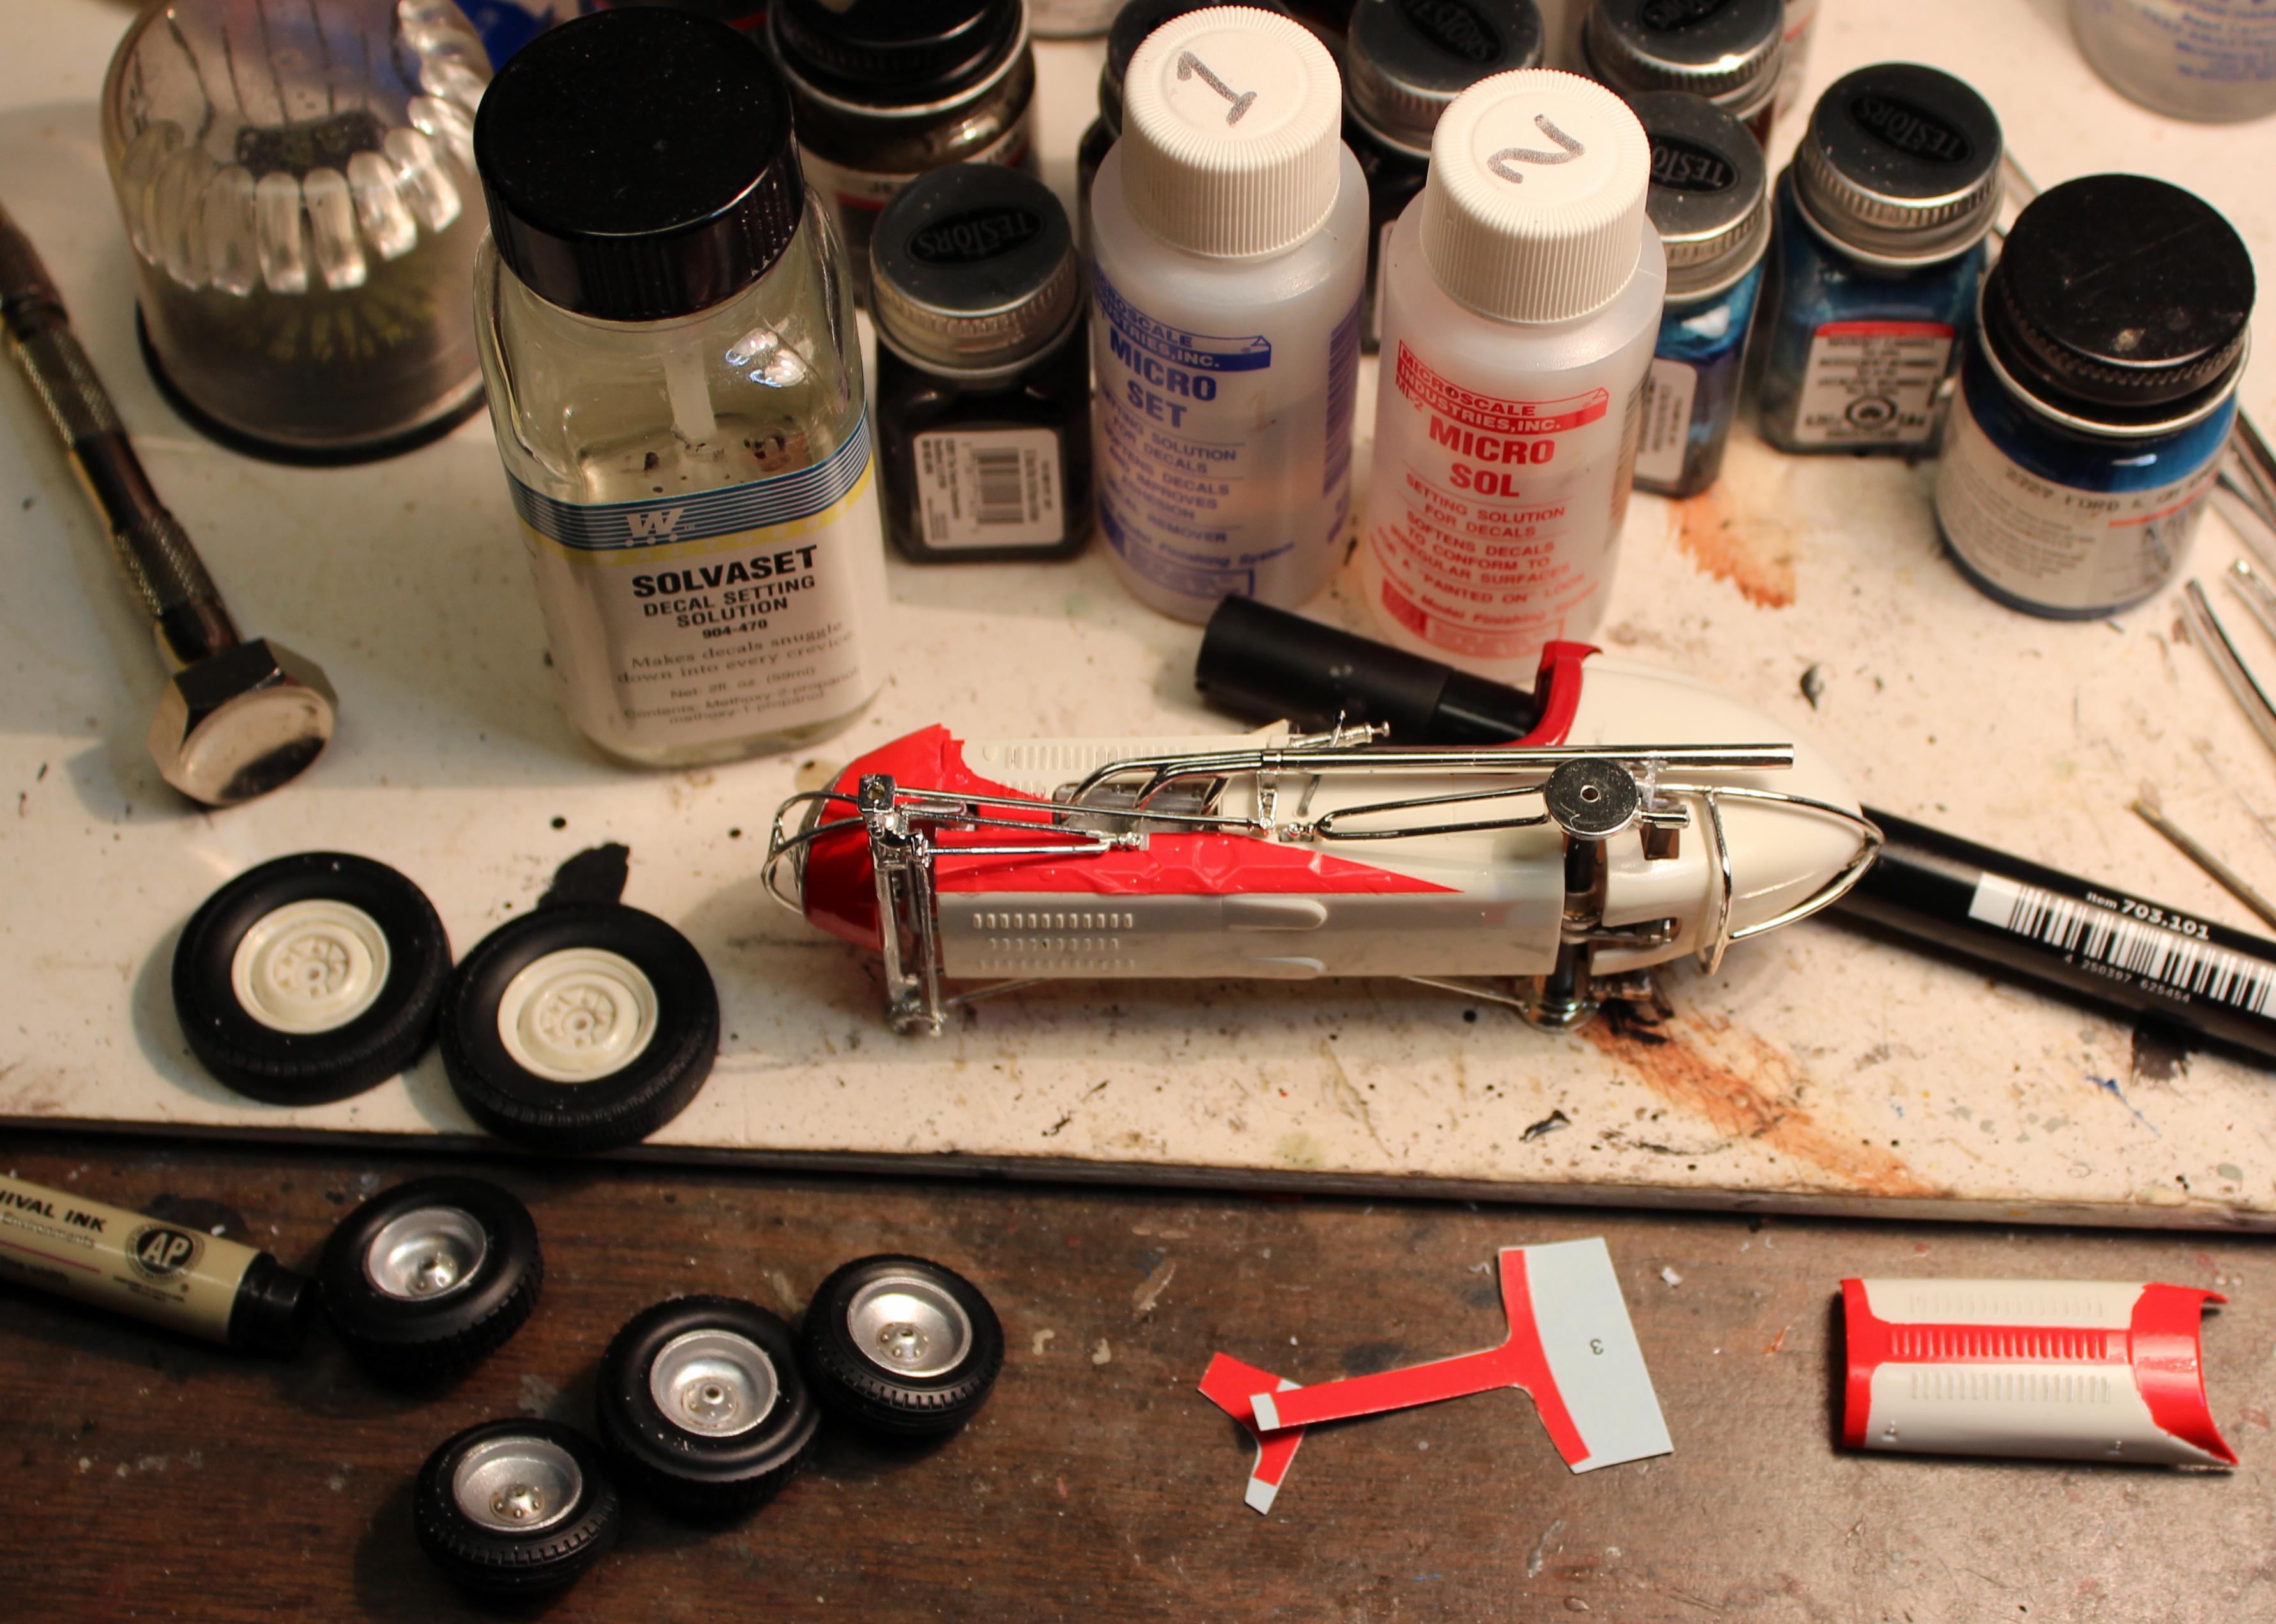
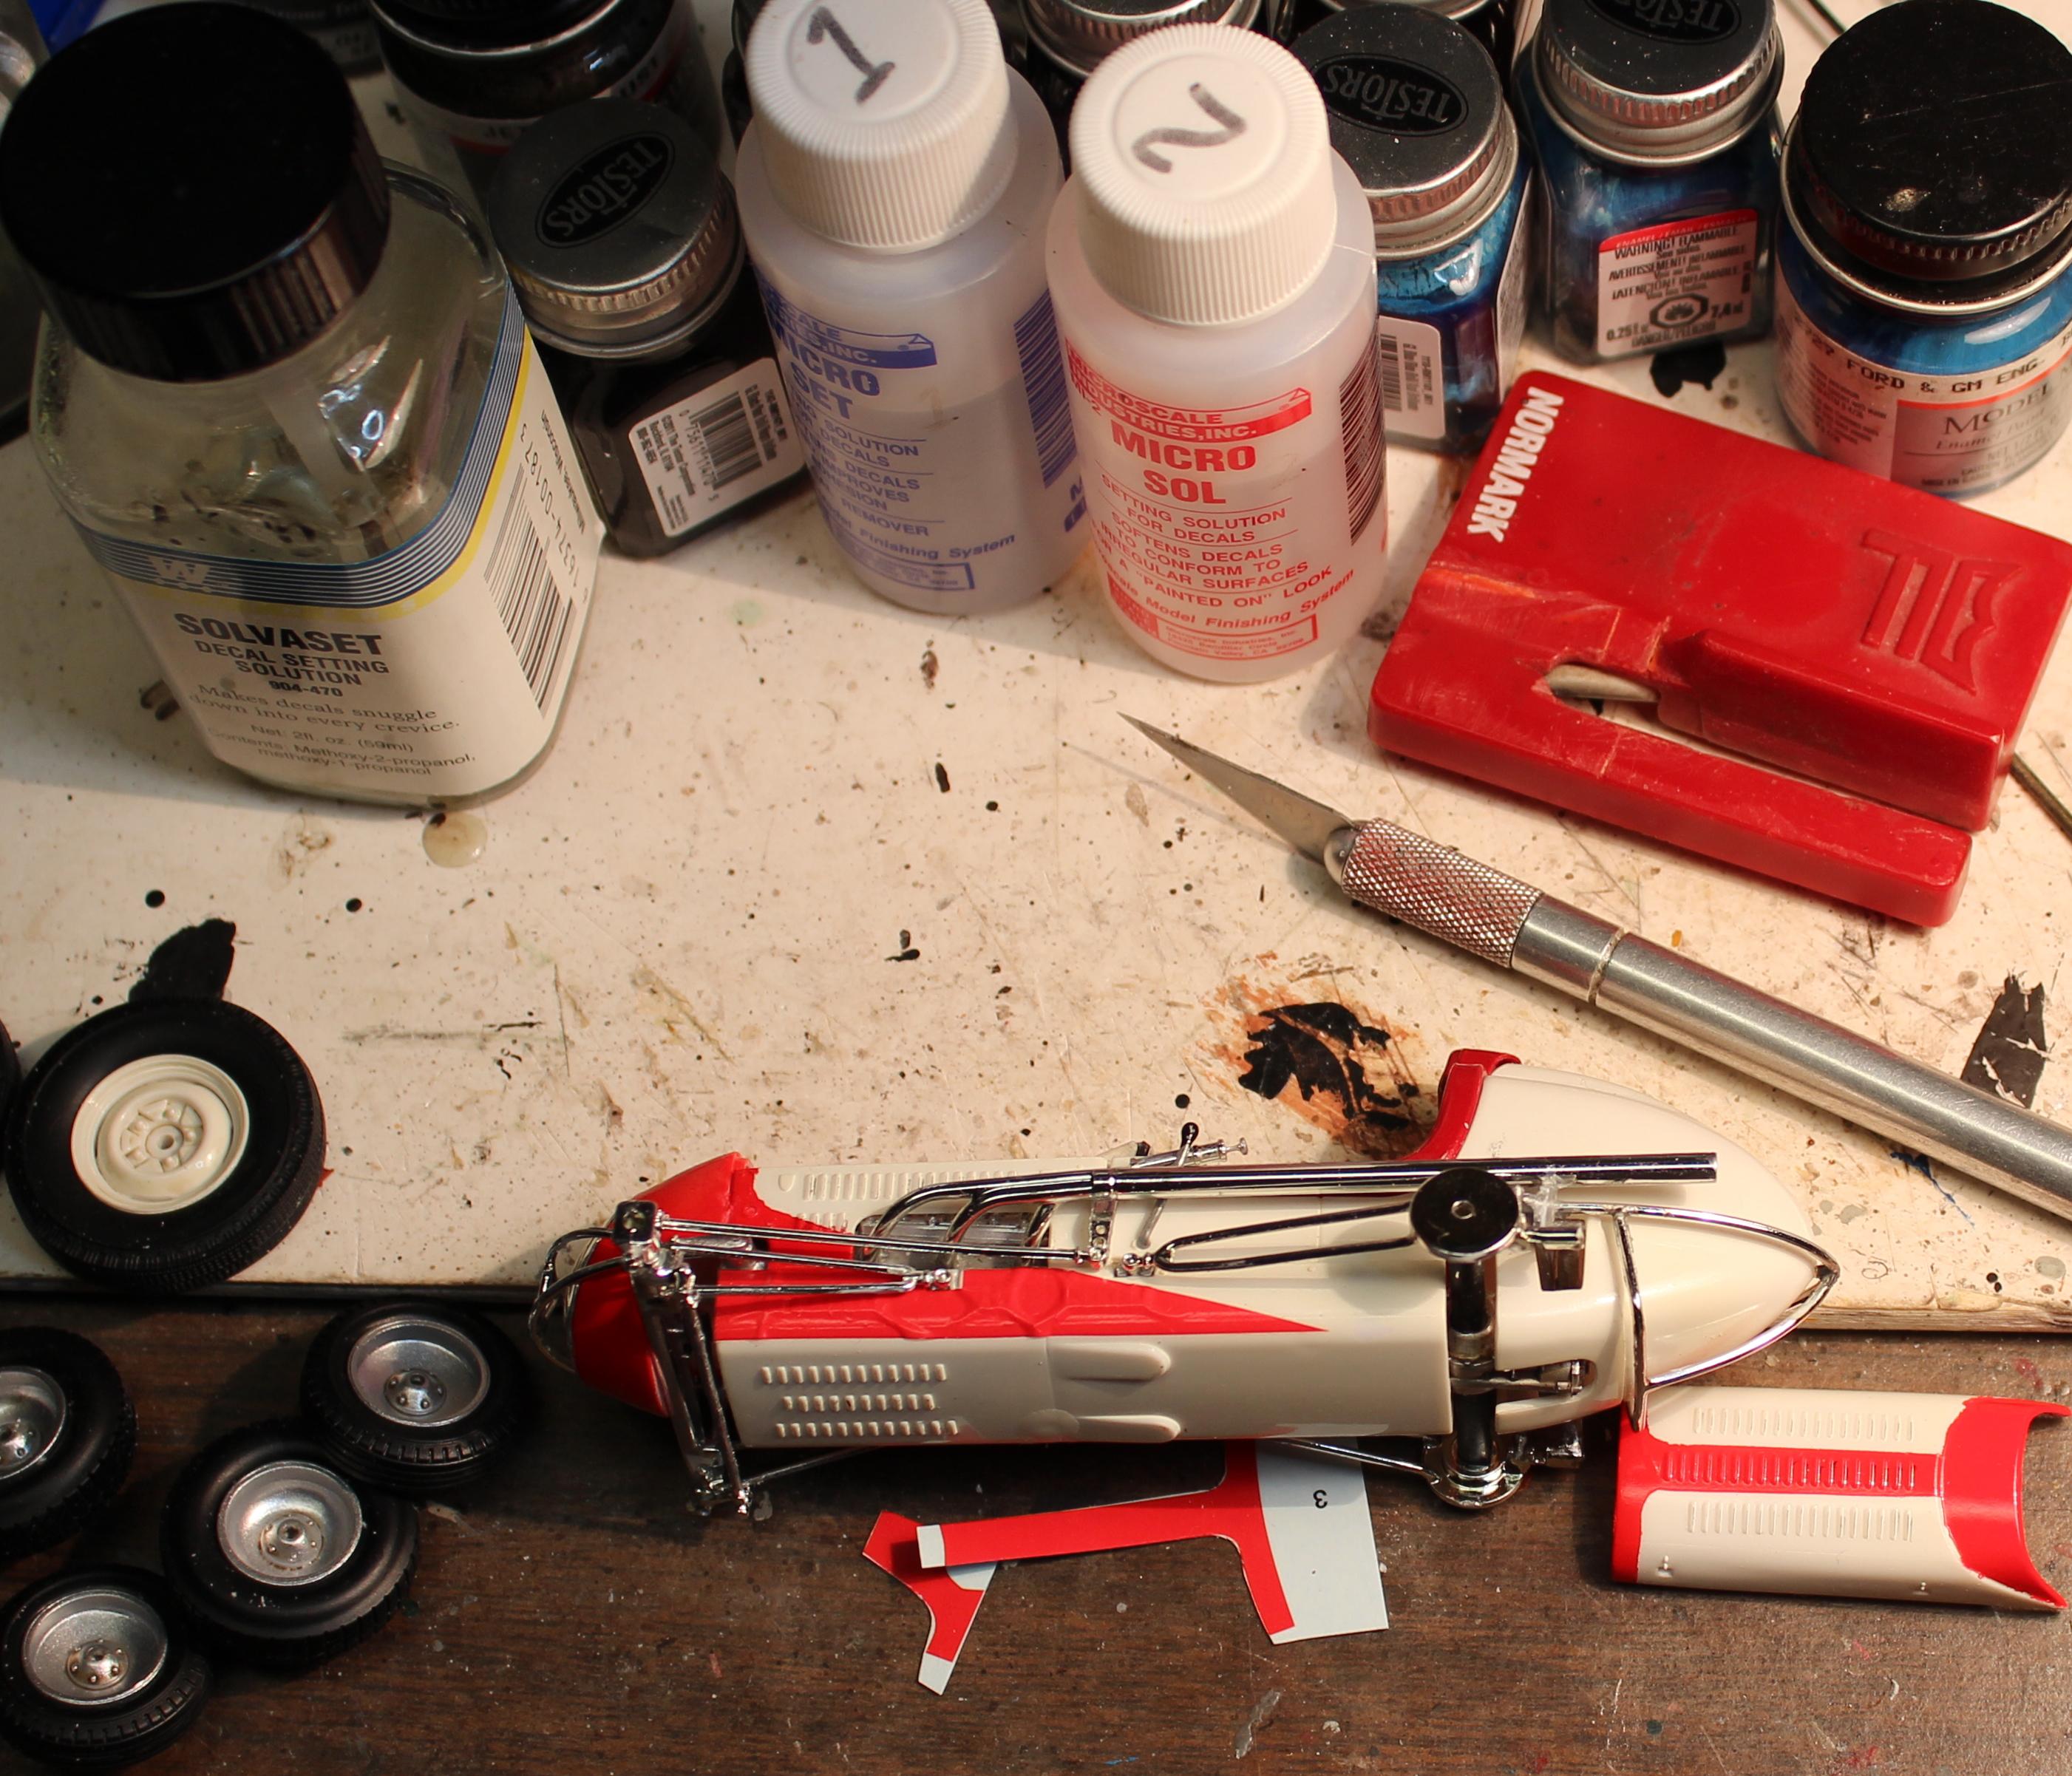
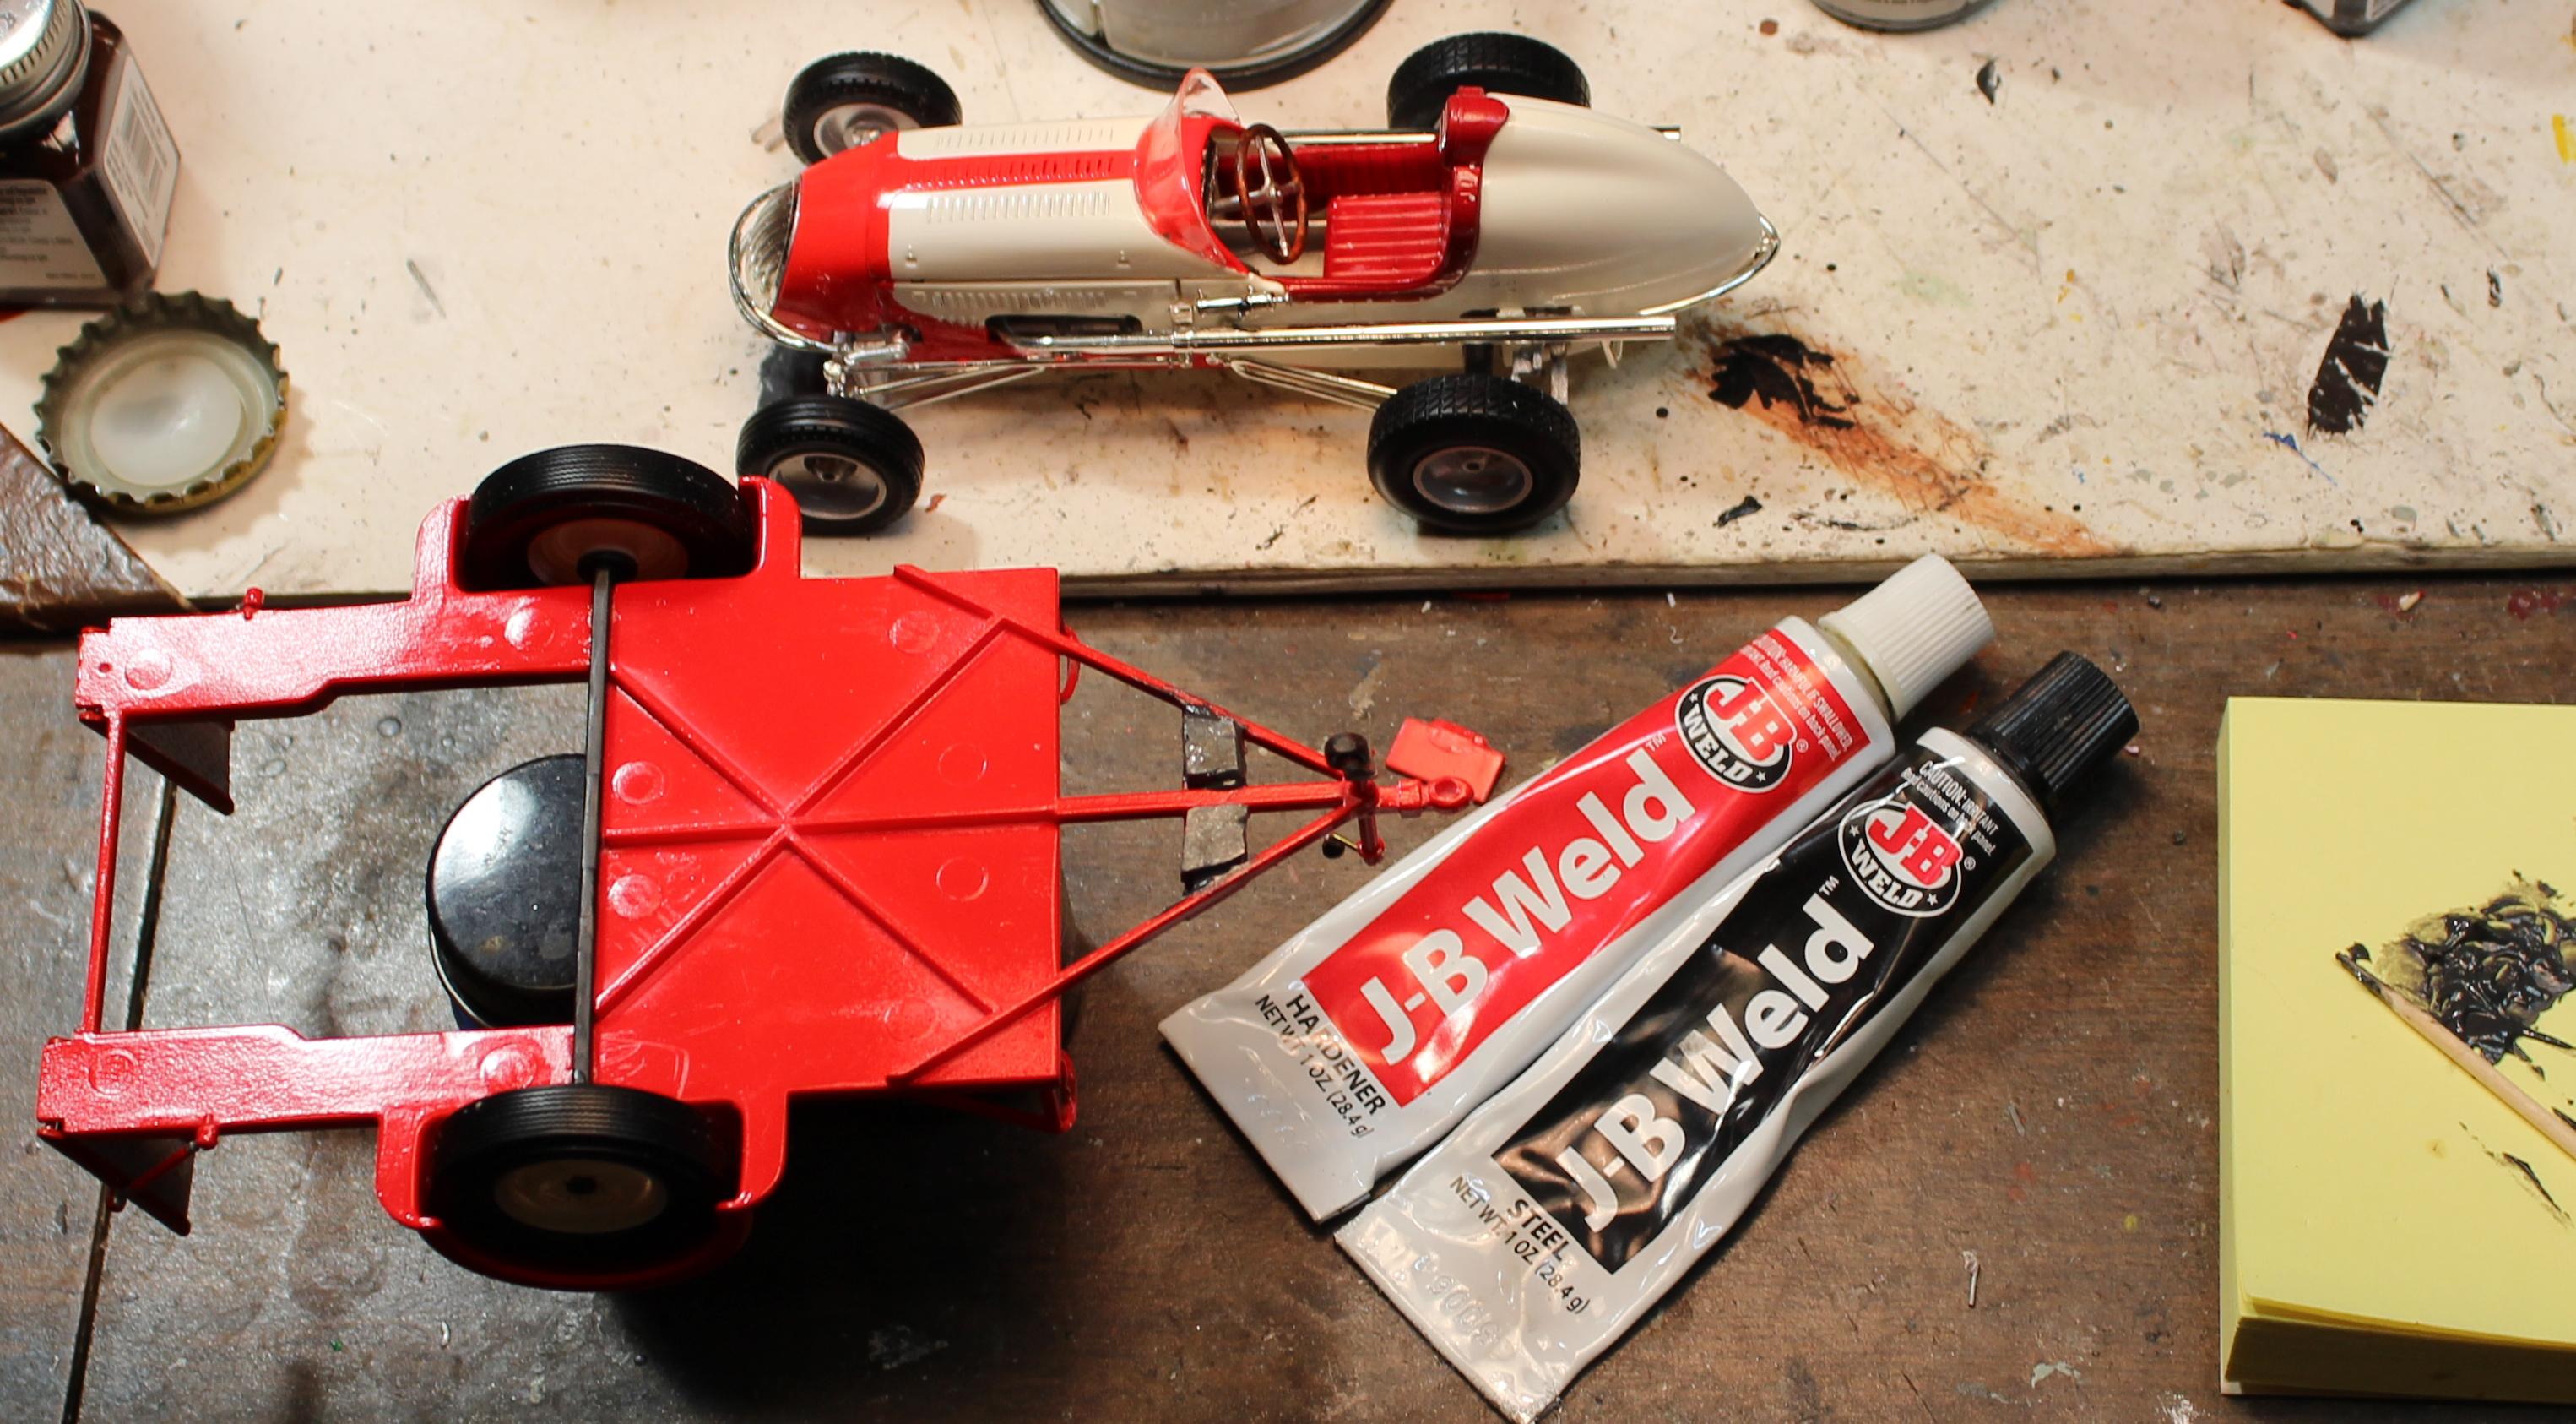
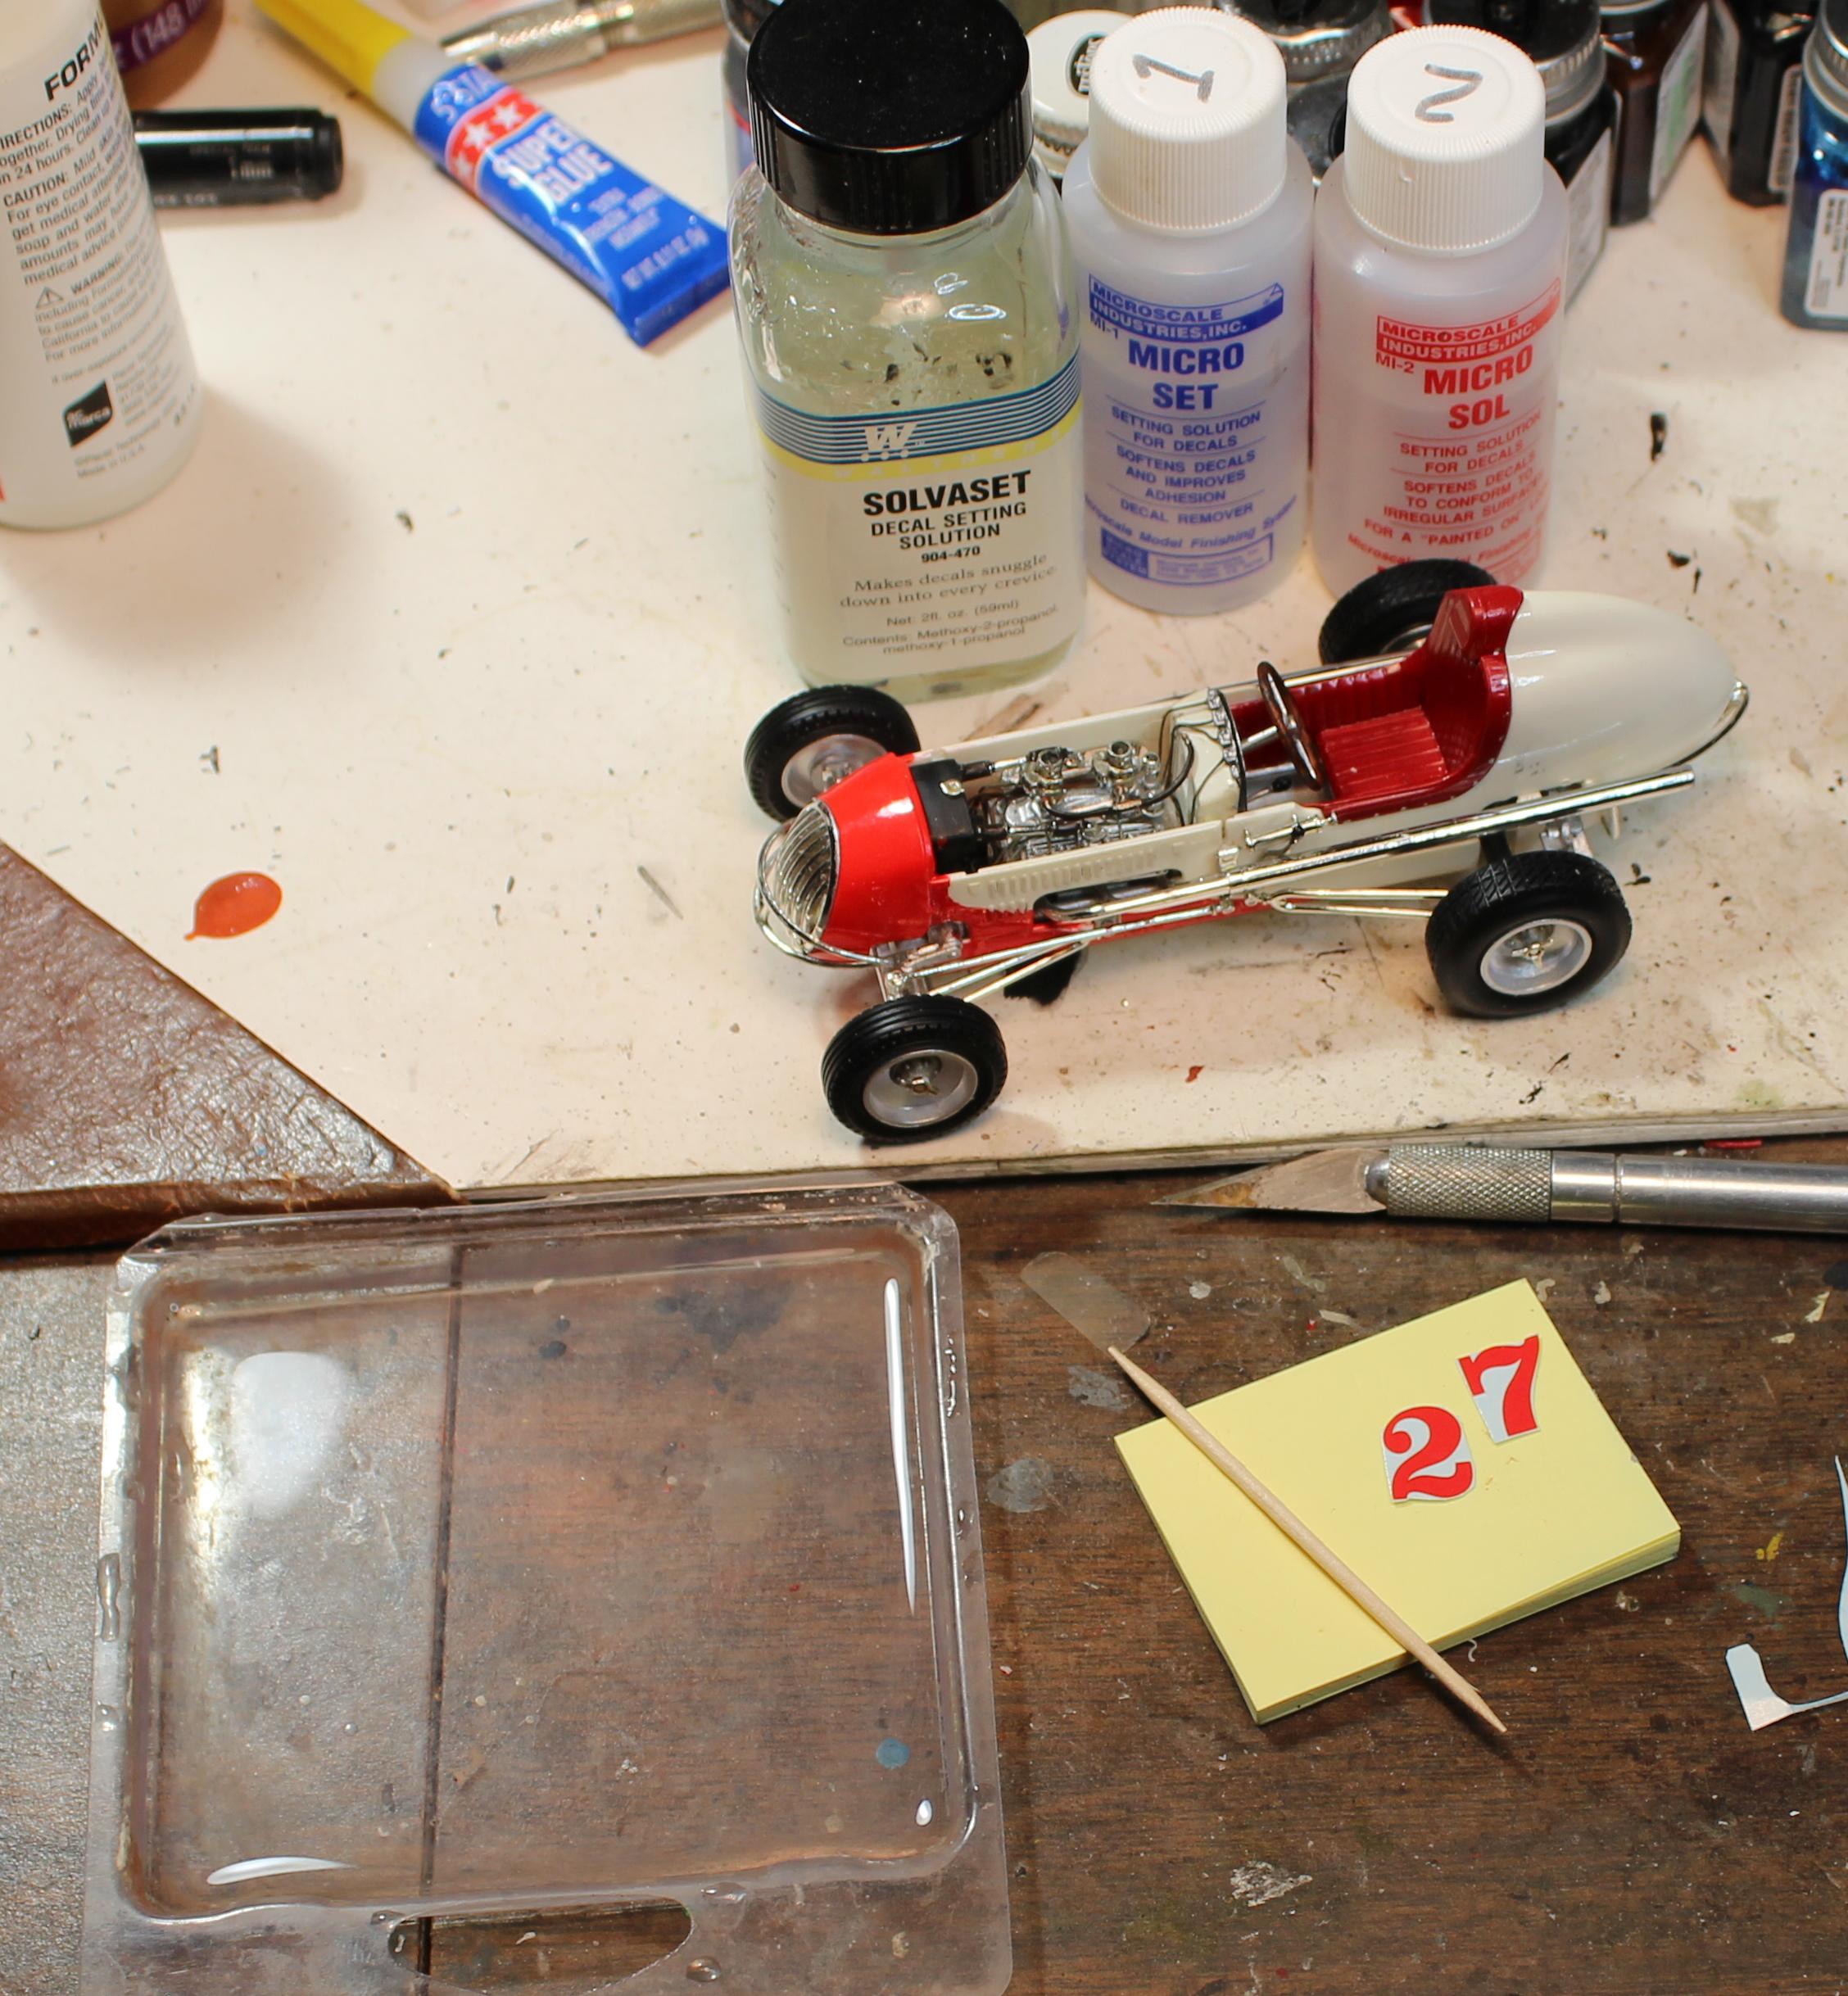
Well this kit finally made it to the bench. I took some photos during the build. I used Tamiya TS-7 Racing White for the body, a creamy off-white. I wired the engine using floral wire, and detail painted it. The parts kinda sorta all went together well. By that I mean they were delicate, and locating features are not well identified. The instructions are not necessarily misleading, but you really need to test fit. Nicely molded. Many of the parts are thin. cleaning the mold lines takes concentration and care. A Molotow chrome pen for touch up and good to go! I applied a wash to the wheels, motor, frame etc. I wasn’t sure which red to use, I wanted to match the decals. I really wanted to use the red kit decals, but those louvers! Bring on the 3M masking tape, cut using the decals as the pattern. I had a bunch of red to try, but dang that Tamiya TS-49 red sprays so nice! Testors 1103 Red is close too. I didn't plan ahead for the red on the belly pan, so I applied decals there. Sure enough, the louvers were difficult. MUCH Solvaset and slicing and poking etc. I used some calibrated clamps to align the side panels. I used Tamiya TS-17 Gloss Aluminum for the trailer treads, same Tamiya red. Assembling the front wheel guides was worth a few swears. With the car mounted, it is a tail-sitter so I epoxied some lead to the frame. The number 27 decals settled on easily. This is such a cool kit. The fine parts that can be so vexing to assemble make for a jewel of a car! That is 30 years of modeling bench, maybe one day I'll straighten up!
-
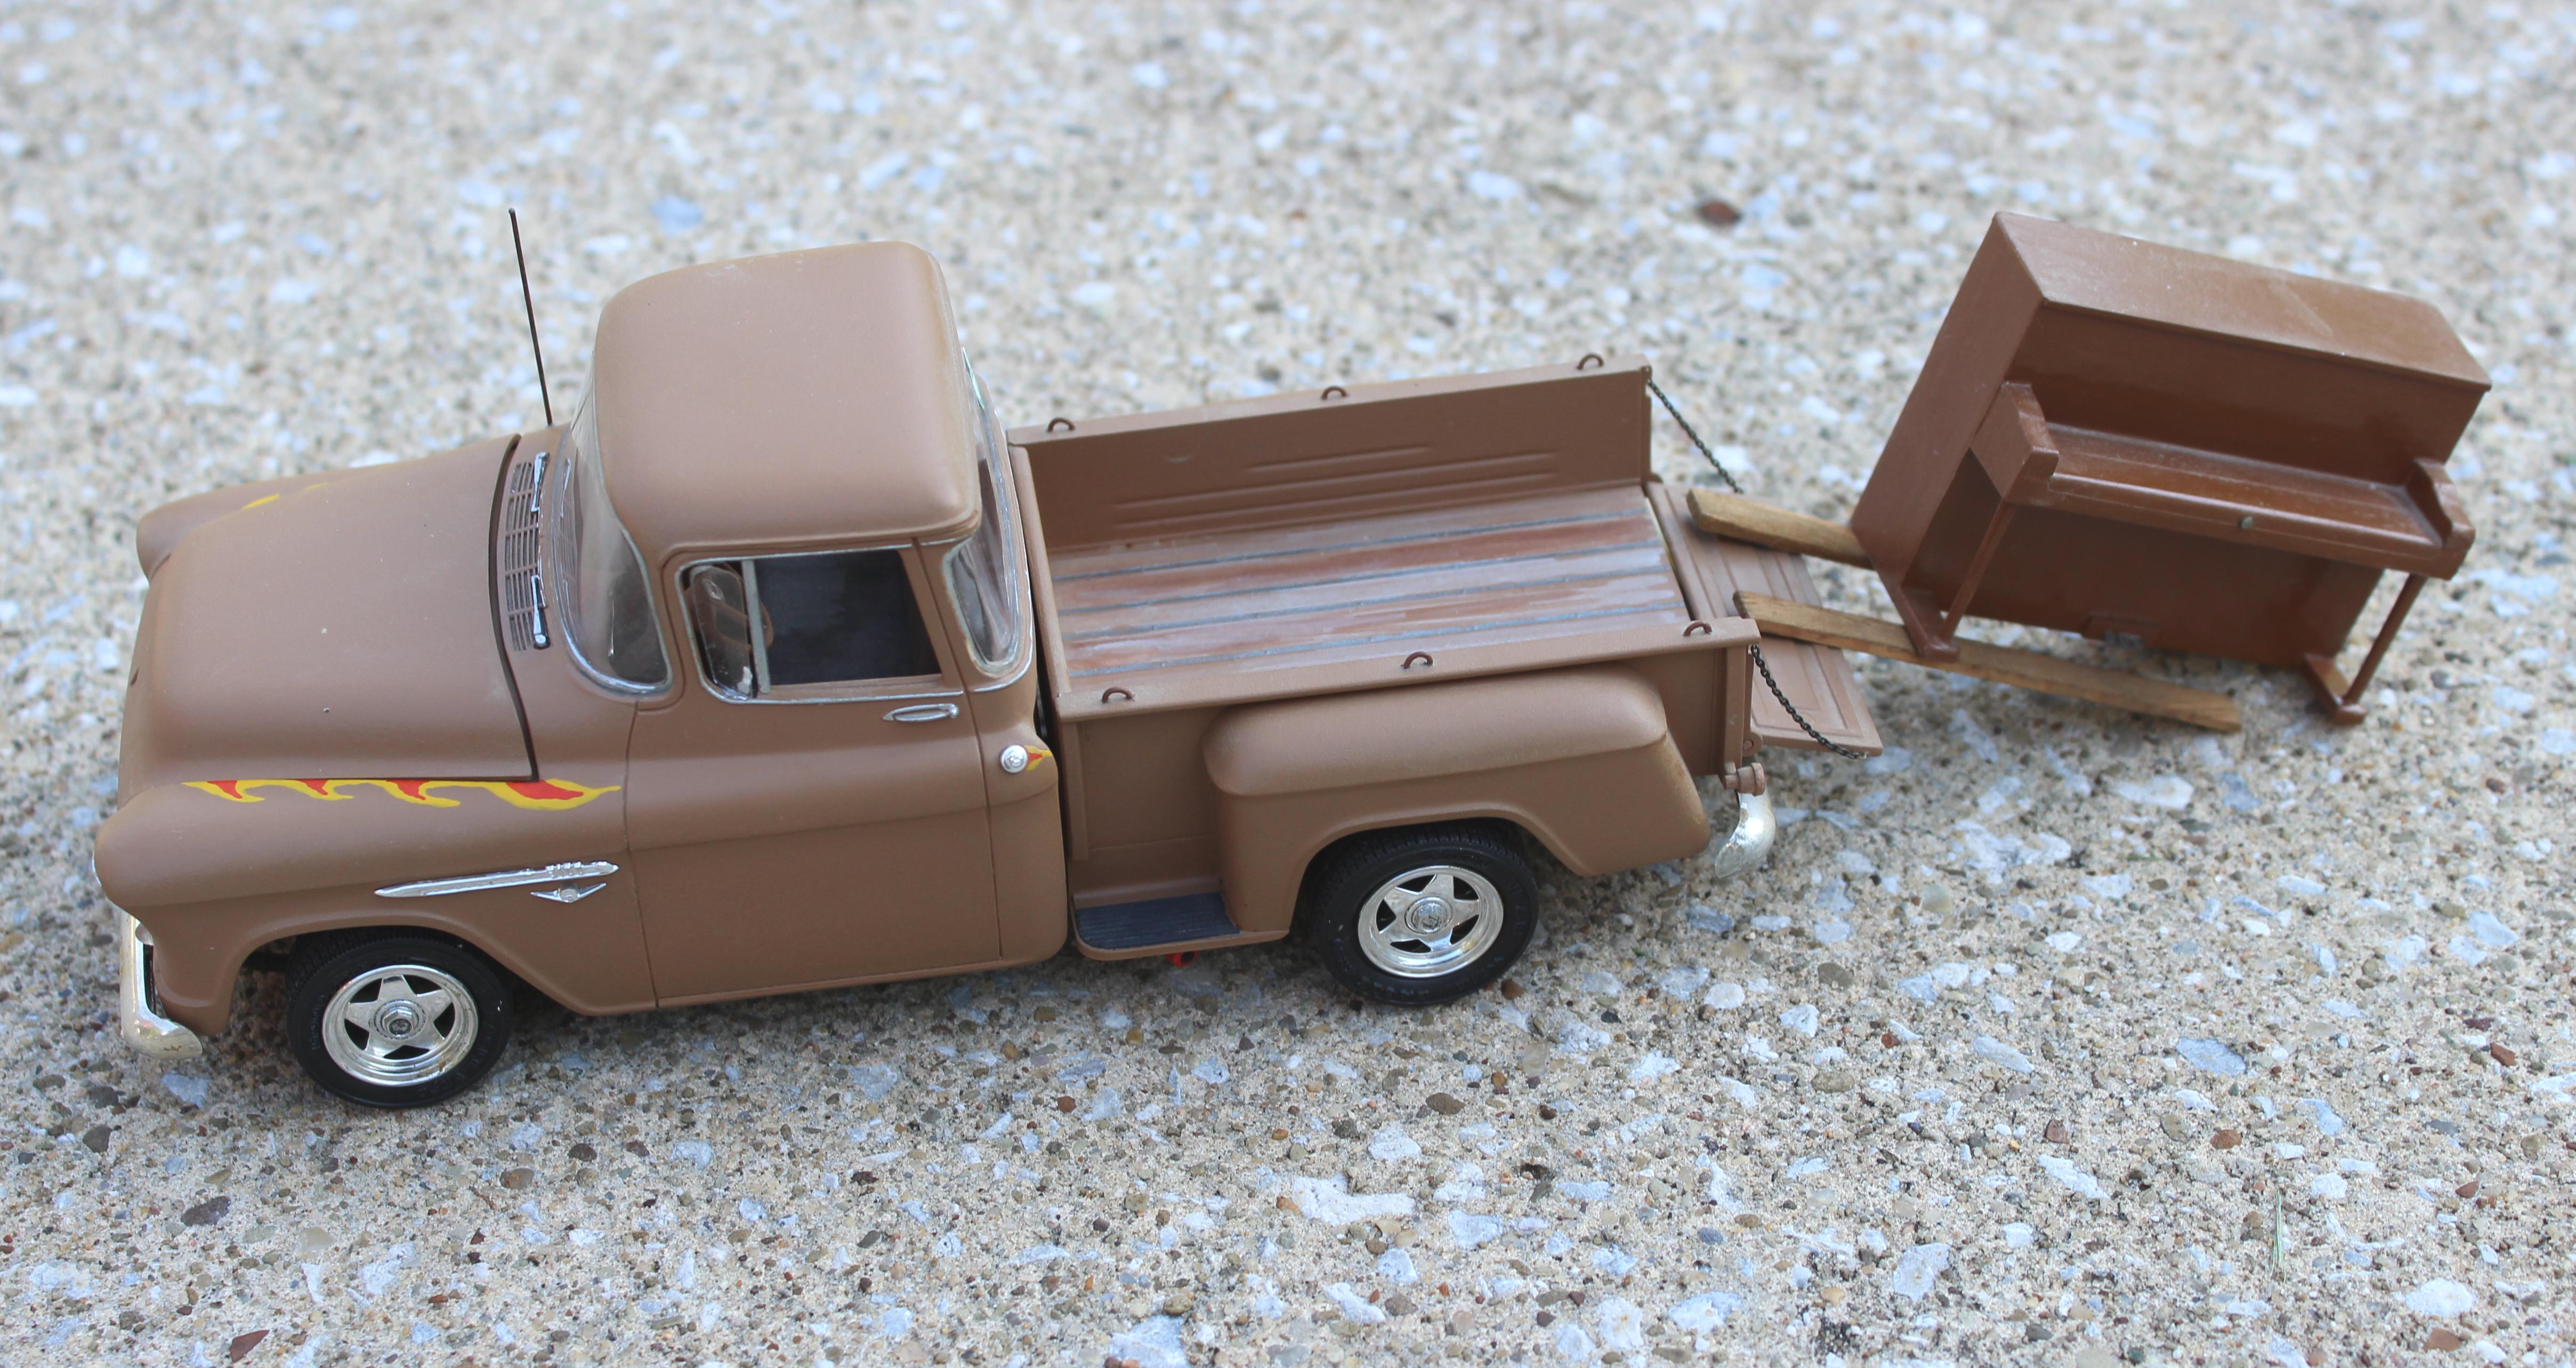
Some old guy probably once said “Some people play the piano, and some people load the piano.” I built this 25 years ago for exchange with my buddy Howie. Sadly I got it back last month. The engine is wired and weathered. Real chain on the tailgate. Yes the piano is scratchbuilt from styrene sheet and tube. Hand-painted flames.
-
Refurbish and repair on vent wing windows. This time I added some silver paint for the frame, and a little handle. Glued back in with a spot of tacky glue, then flowed a bit of canopy glue. Hope this holds for a while.
-
This is a cool kit and your clean build is great. Effective detailing on the motor makes it stand out!
-
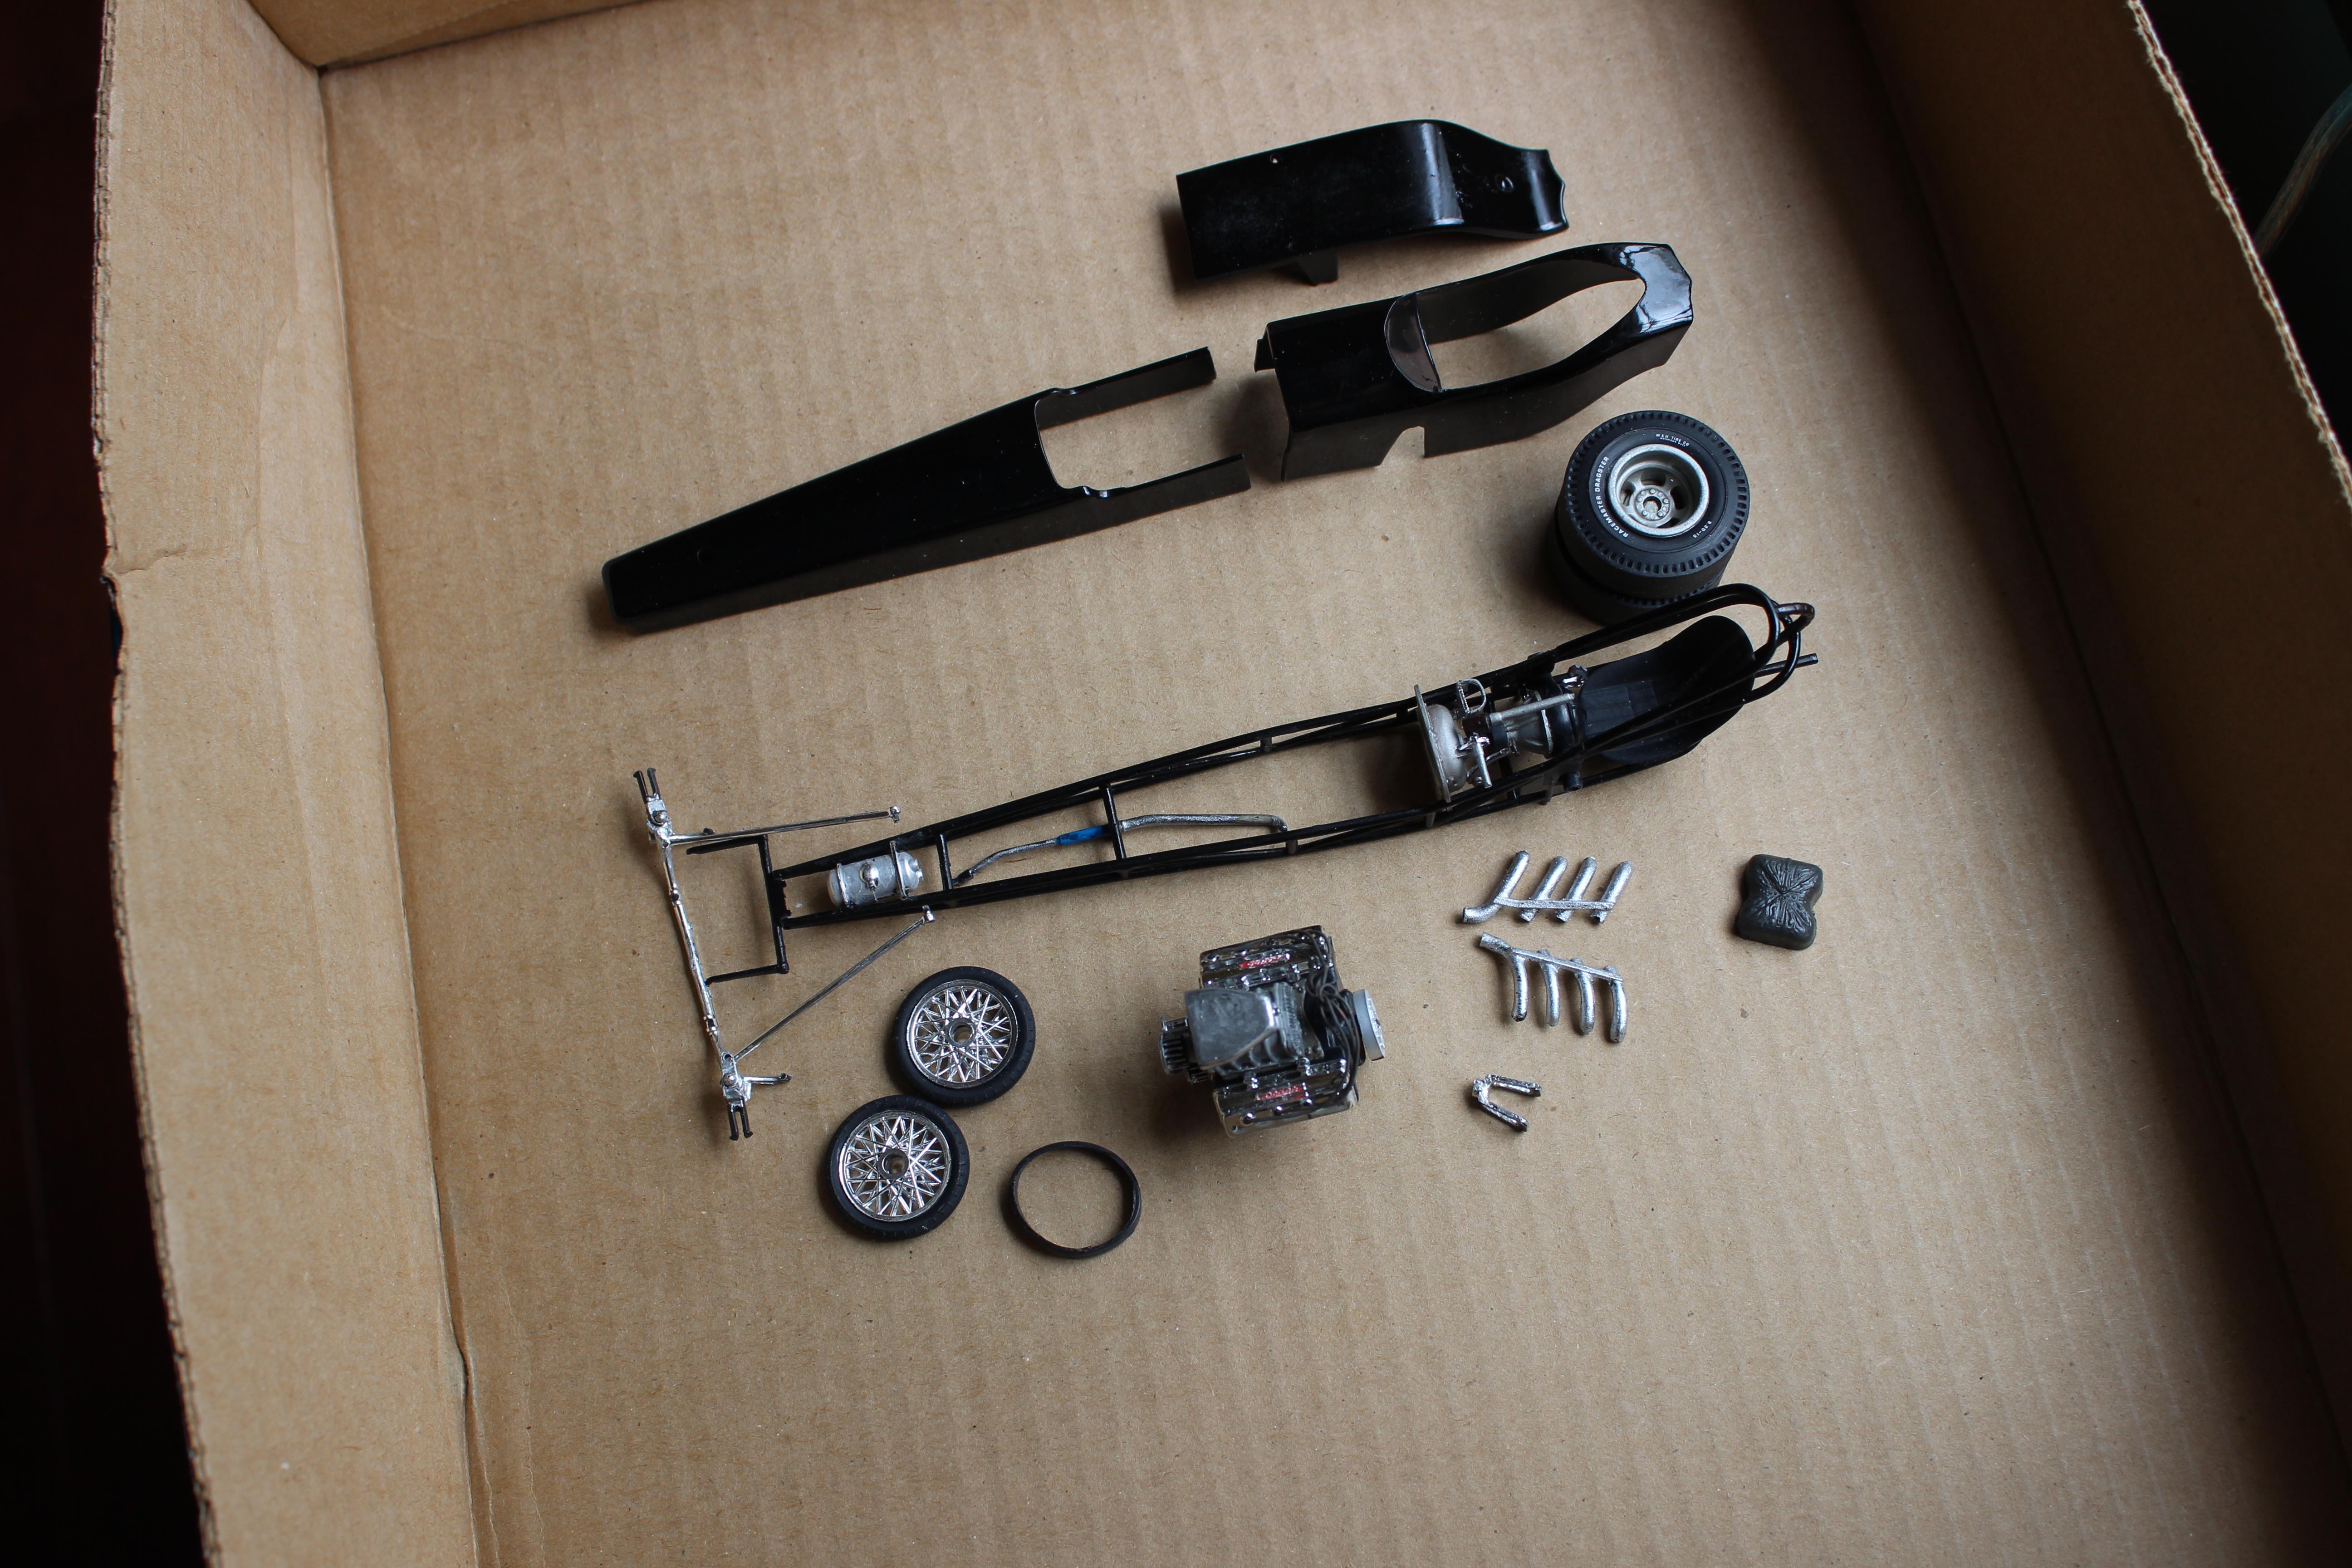
AMT 1:25 Garlits Swamp Rat 6b Wynn’s Jammer Dragster
Oliver77 replied to Oliver77's topic in WIP: Drag Racing Models
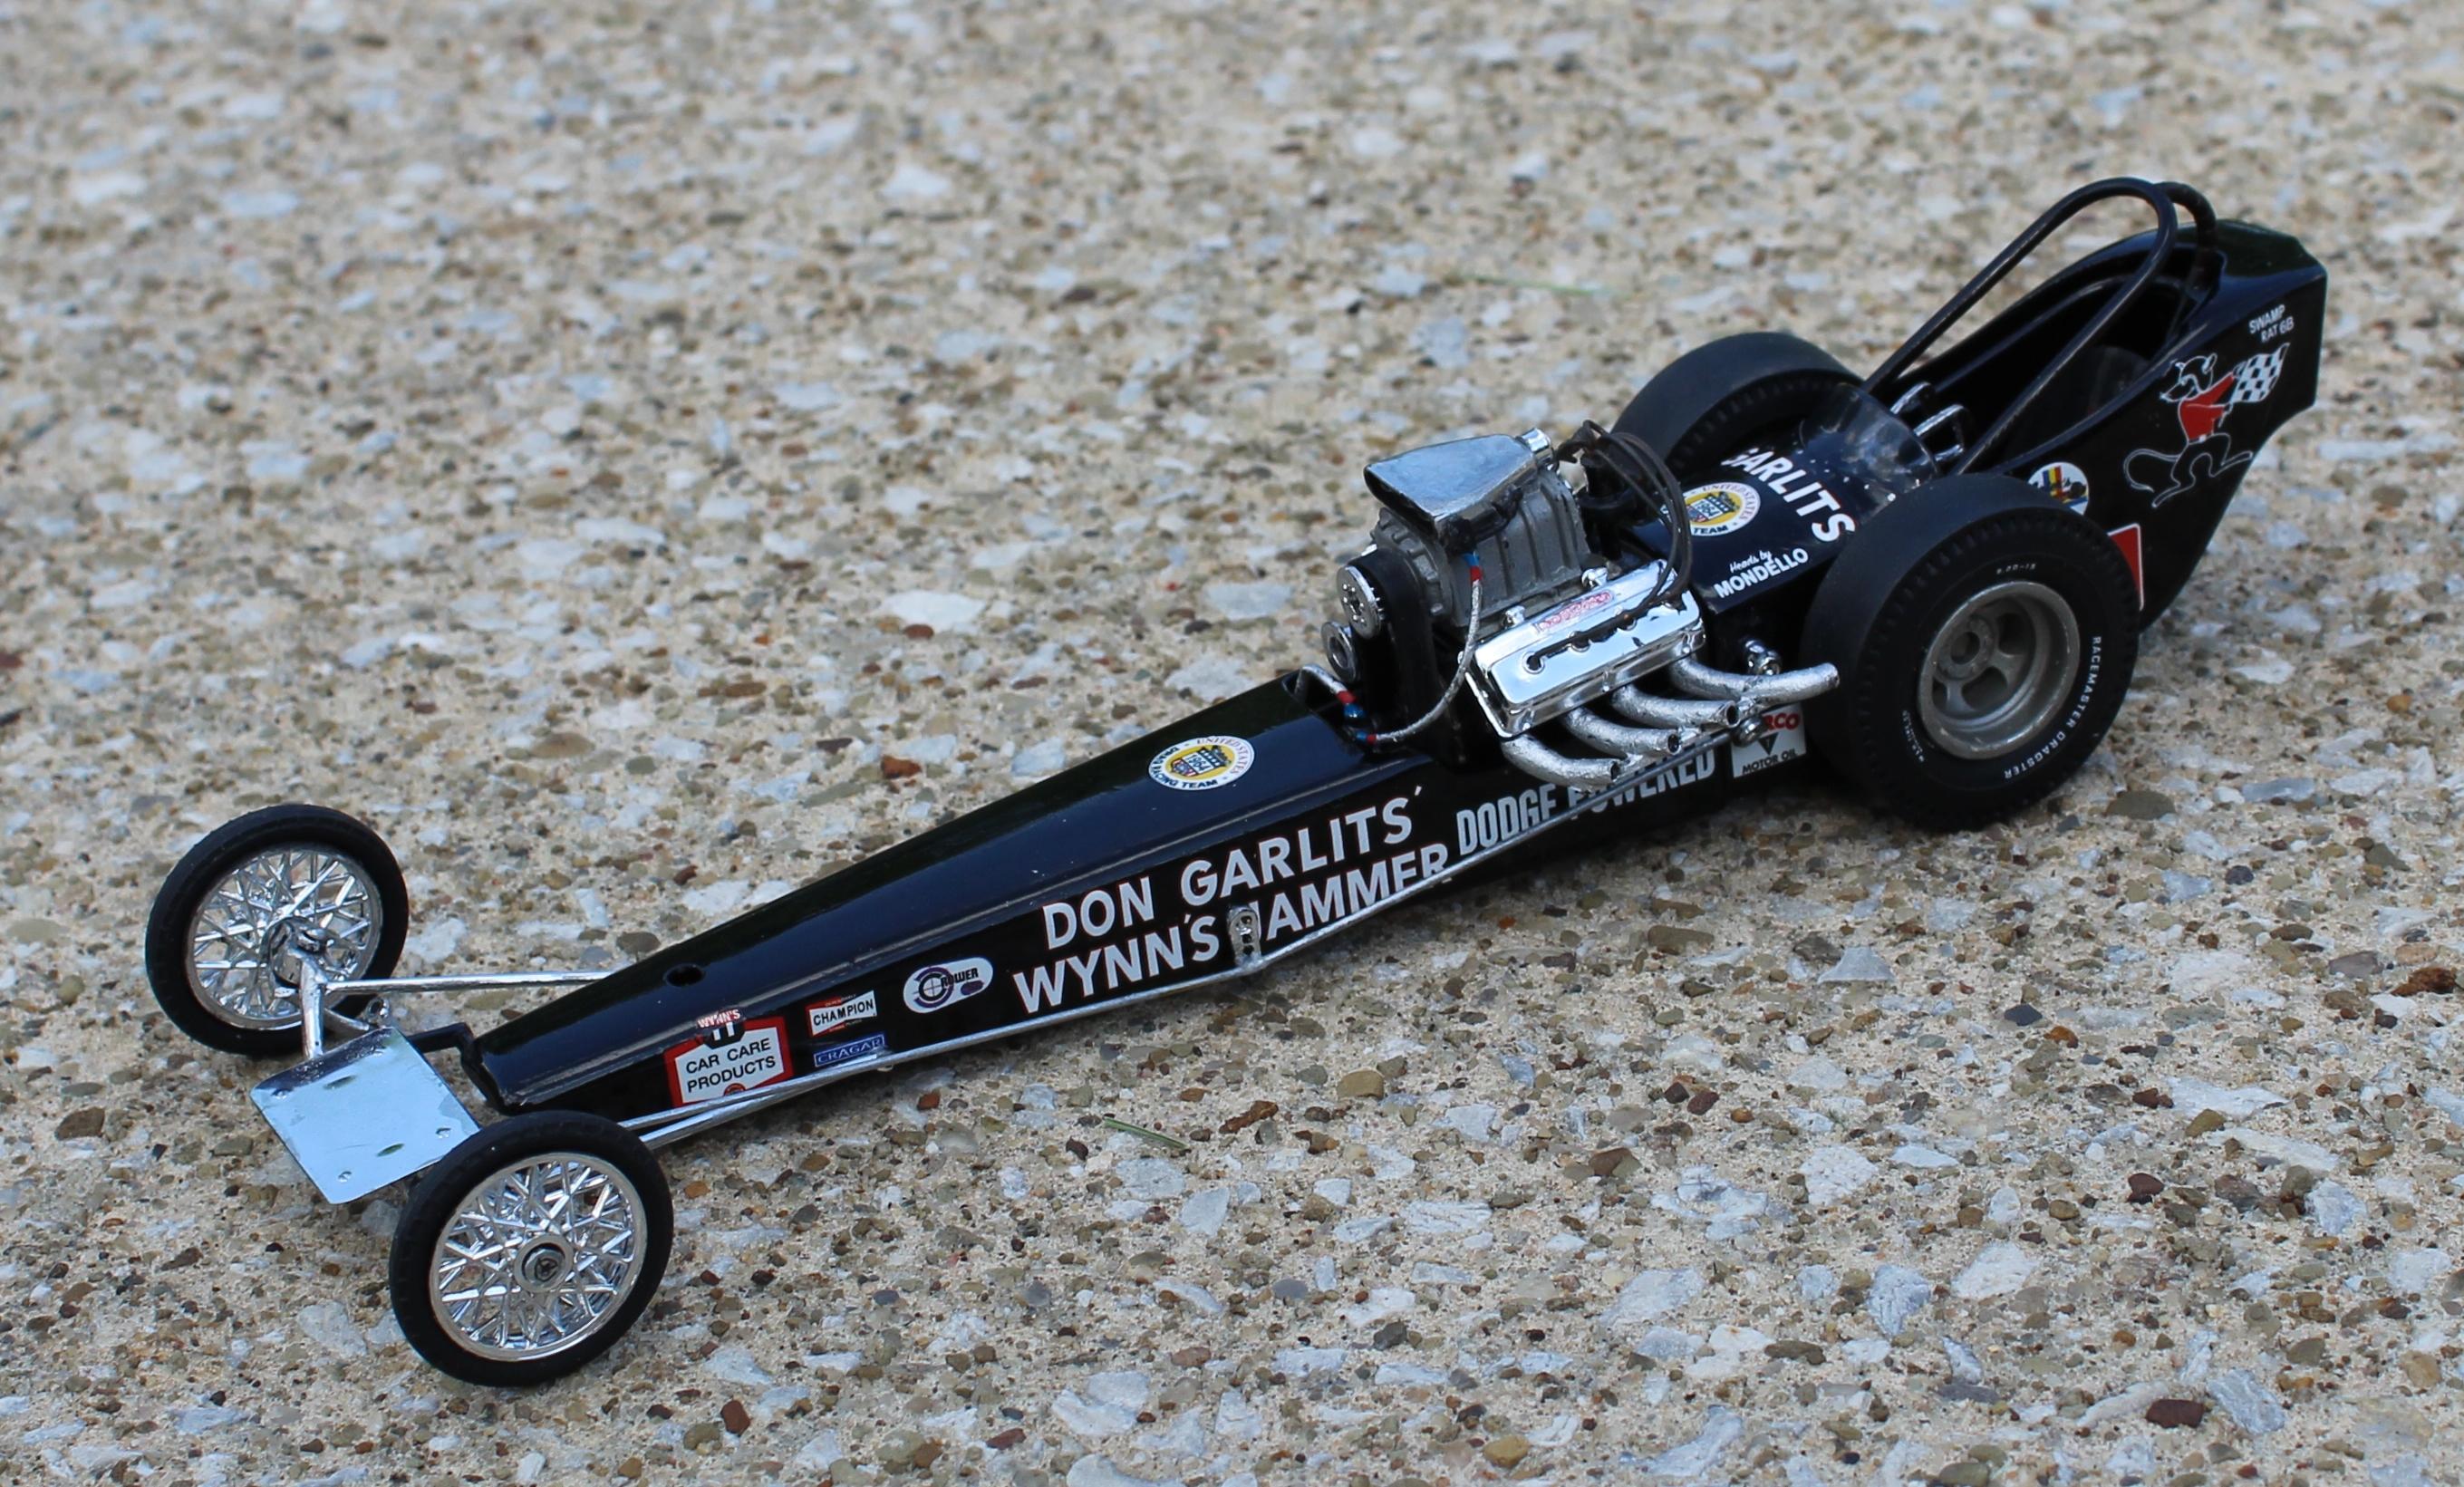
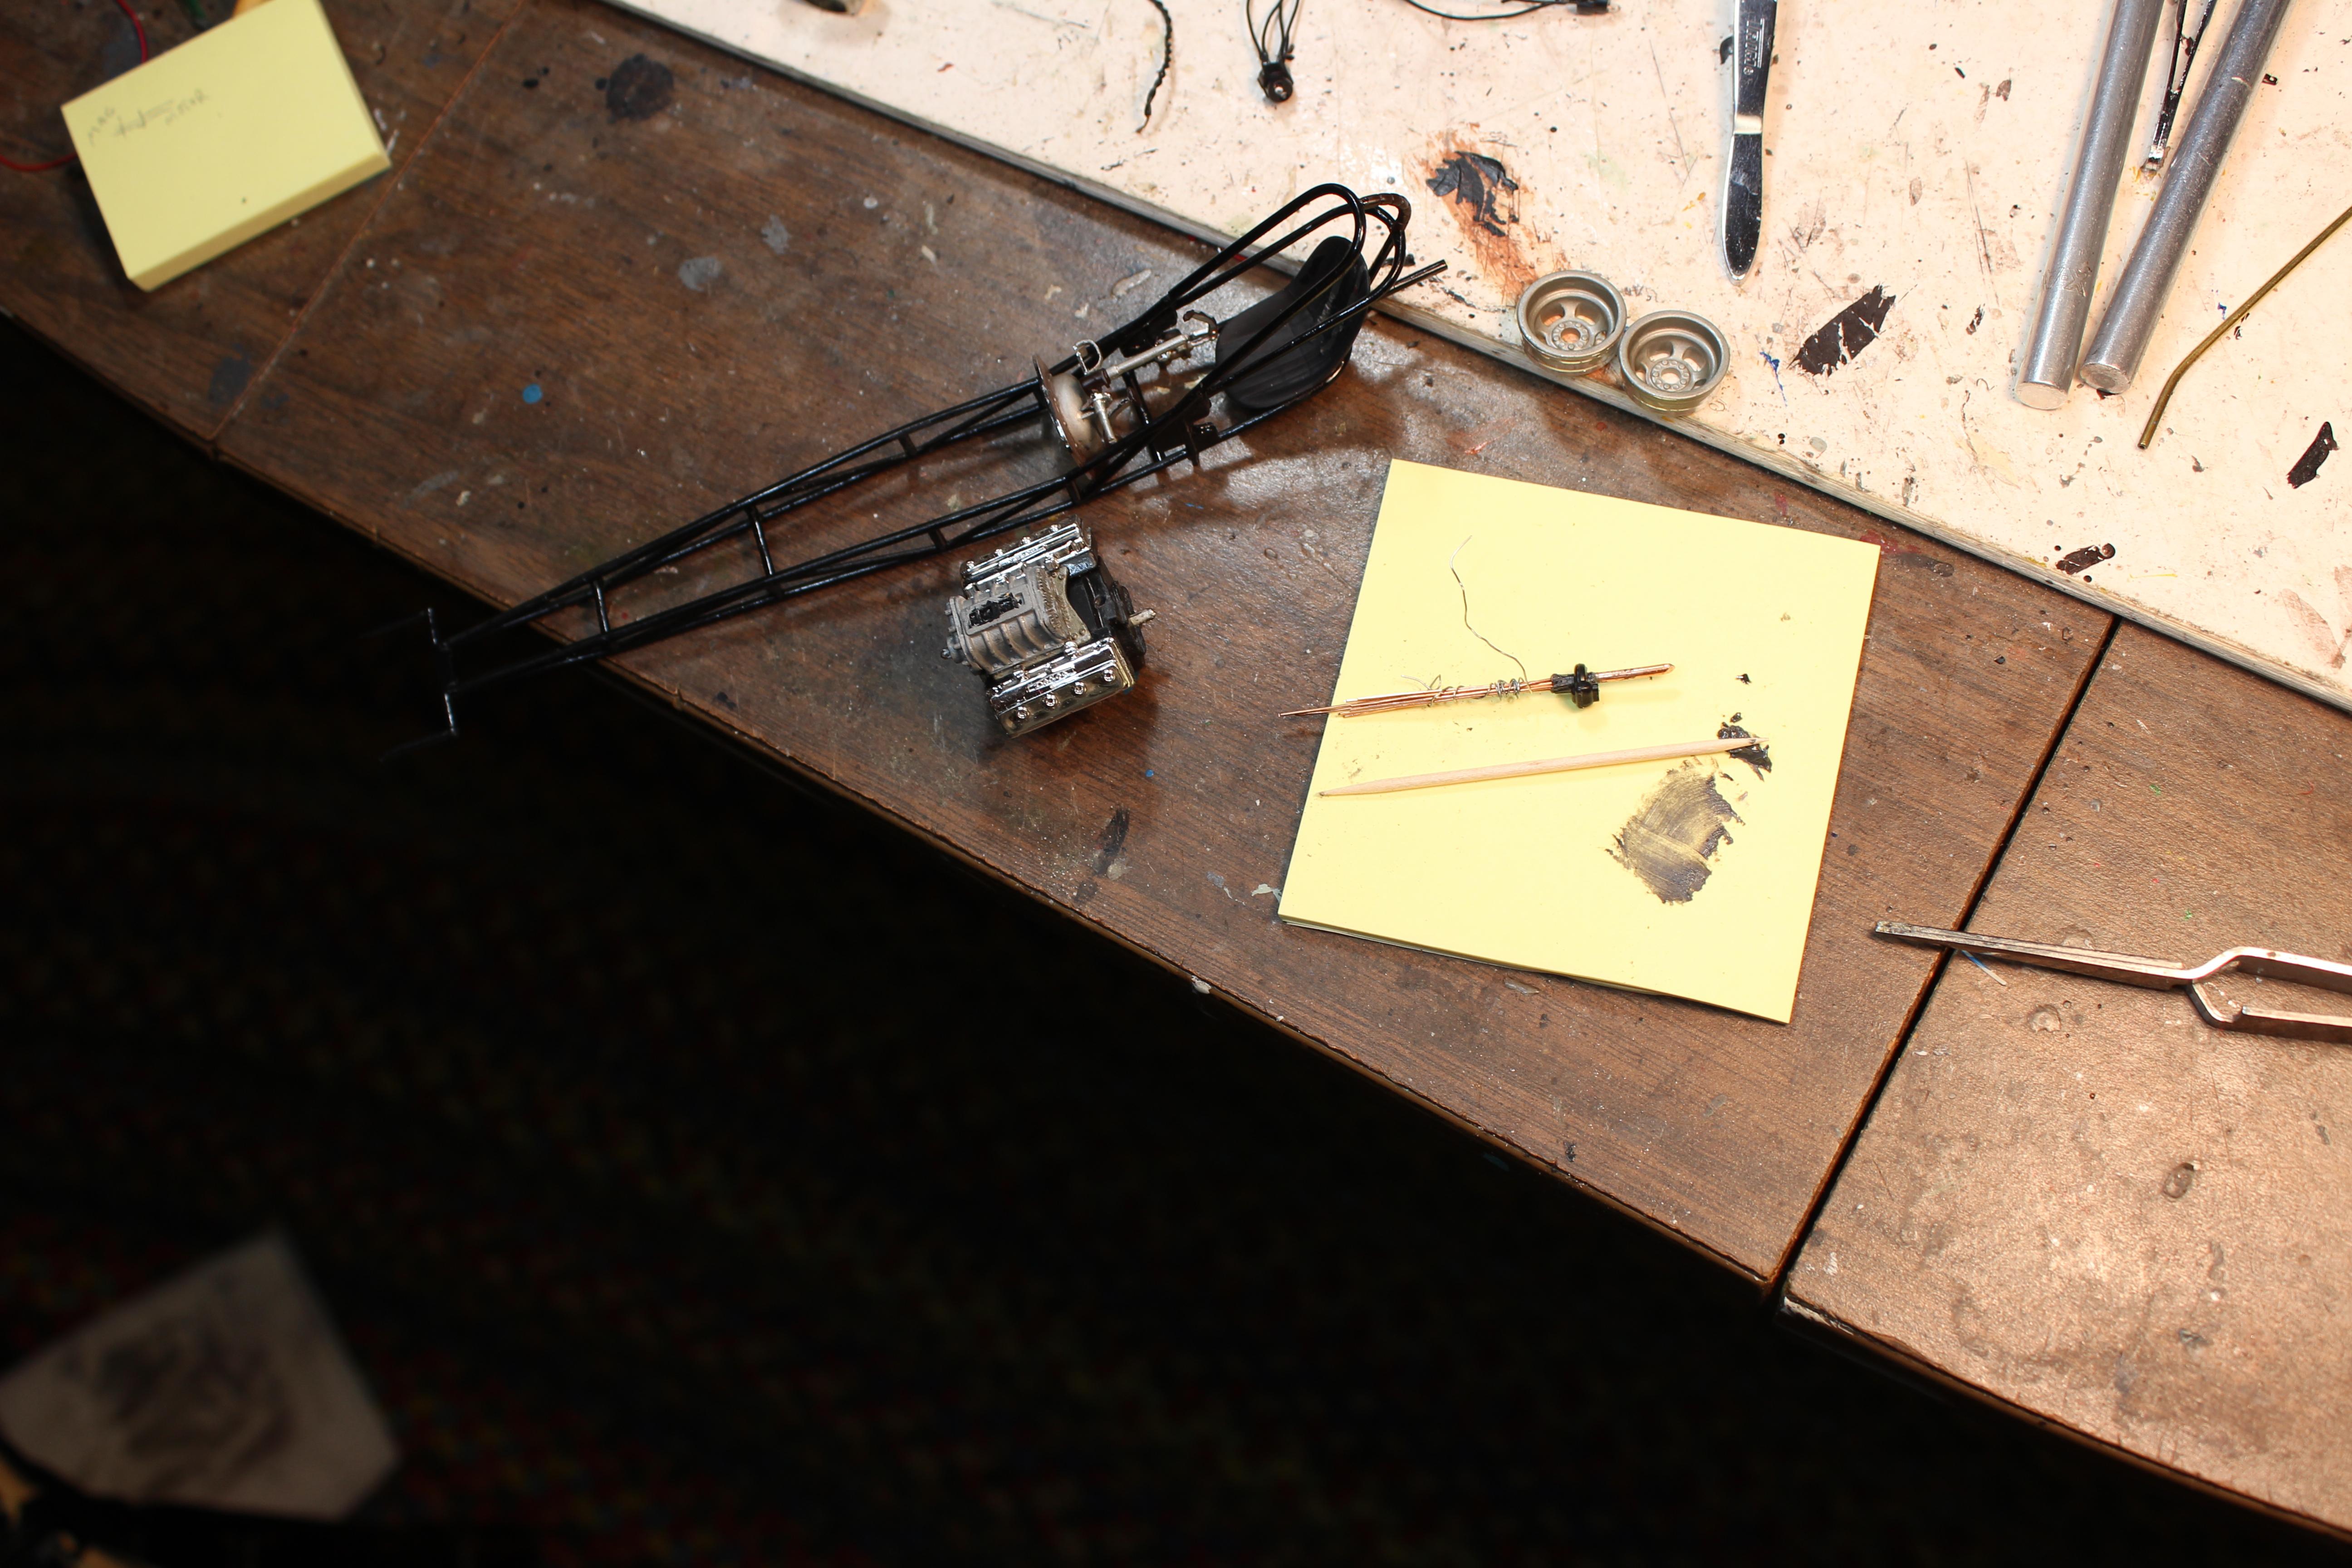
Thanks on the firing order! Really I was just slack not to do it right. The time consuming part of wiring the plugs like I did for this kit is to secure the individual bare copper wires, then epoxy (J B Weld steel slow set) the bundle in. I changed the magneto mounting shaft to metal, then epoxied it to the motor. It is way strong, I had no worries tugging wires into place. 10 minutes research and I could have done it correctly! OK next one! And I'll post close-ups so the eagle-eyes here can verify it LOL! -
It is good to think ahead to future accommodations, and since I 'specialize' in 48 and 72 aircraft, HO trains, as well as 1:25 cars and trucks...OH MY!
-
Might I respectfully suggest using round, pointed wood toothpicks instead of dowels for engine turning. Depending how long you trim the point, you can get different diameter tip. There are so many good ideas in this 'simple' build! Regards, Jeff Oliver
-
I had built the original release of this car so many years ago. A visit to the Garlits Museum in Ocala Florida really spurred this new build. SO many important machines and artifacts to see. Don himself was there, he really has the stories! Imagine going to Greenfield Village museum and out walks Edison!
-
After a careful assembly and cleanup to the frame and body panels, I sprayed Touch-Tone black enamel from a spray can. I stripped much of the chrome in purple Super Clean, and cleaned up the moldings to remove casting seams. I used Molotow chrome to recreate the shine. Other parts got Model Master or craft acrylic brush painted. Motor, transmission and blower have metal weight hidden inside to give a more realistic weight distribution. I drilled the magneto and epoxied fine copper wire for plug wires. The wires are individually solder tinned a bit on one end, then a drop of solder securely bonds the wires so they can resist being pulled and tugged. The bundle is then epoxied into a hole drilled in the magneto. Not sure about the firing order! I used metal wire to pin the magneto and blower belt pulleys. I use a primitive alignment fixture to square the axle positions. Instead of cleaning up the drag link rod, I replaced it with brass rod. Also, I placed decals without regard to center link location, so I was able to adjust that better. I like the way it looks with the front panels off, but I did not modify the shell to frame-mount radius rods and steering link, so it is glued in place. There are a variety of decal options depending on which reference photos you see, I kind of split the difference with England and Museum details.