Search the Community
Showing results for tags 'Grumpys Toy'.
-
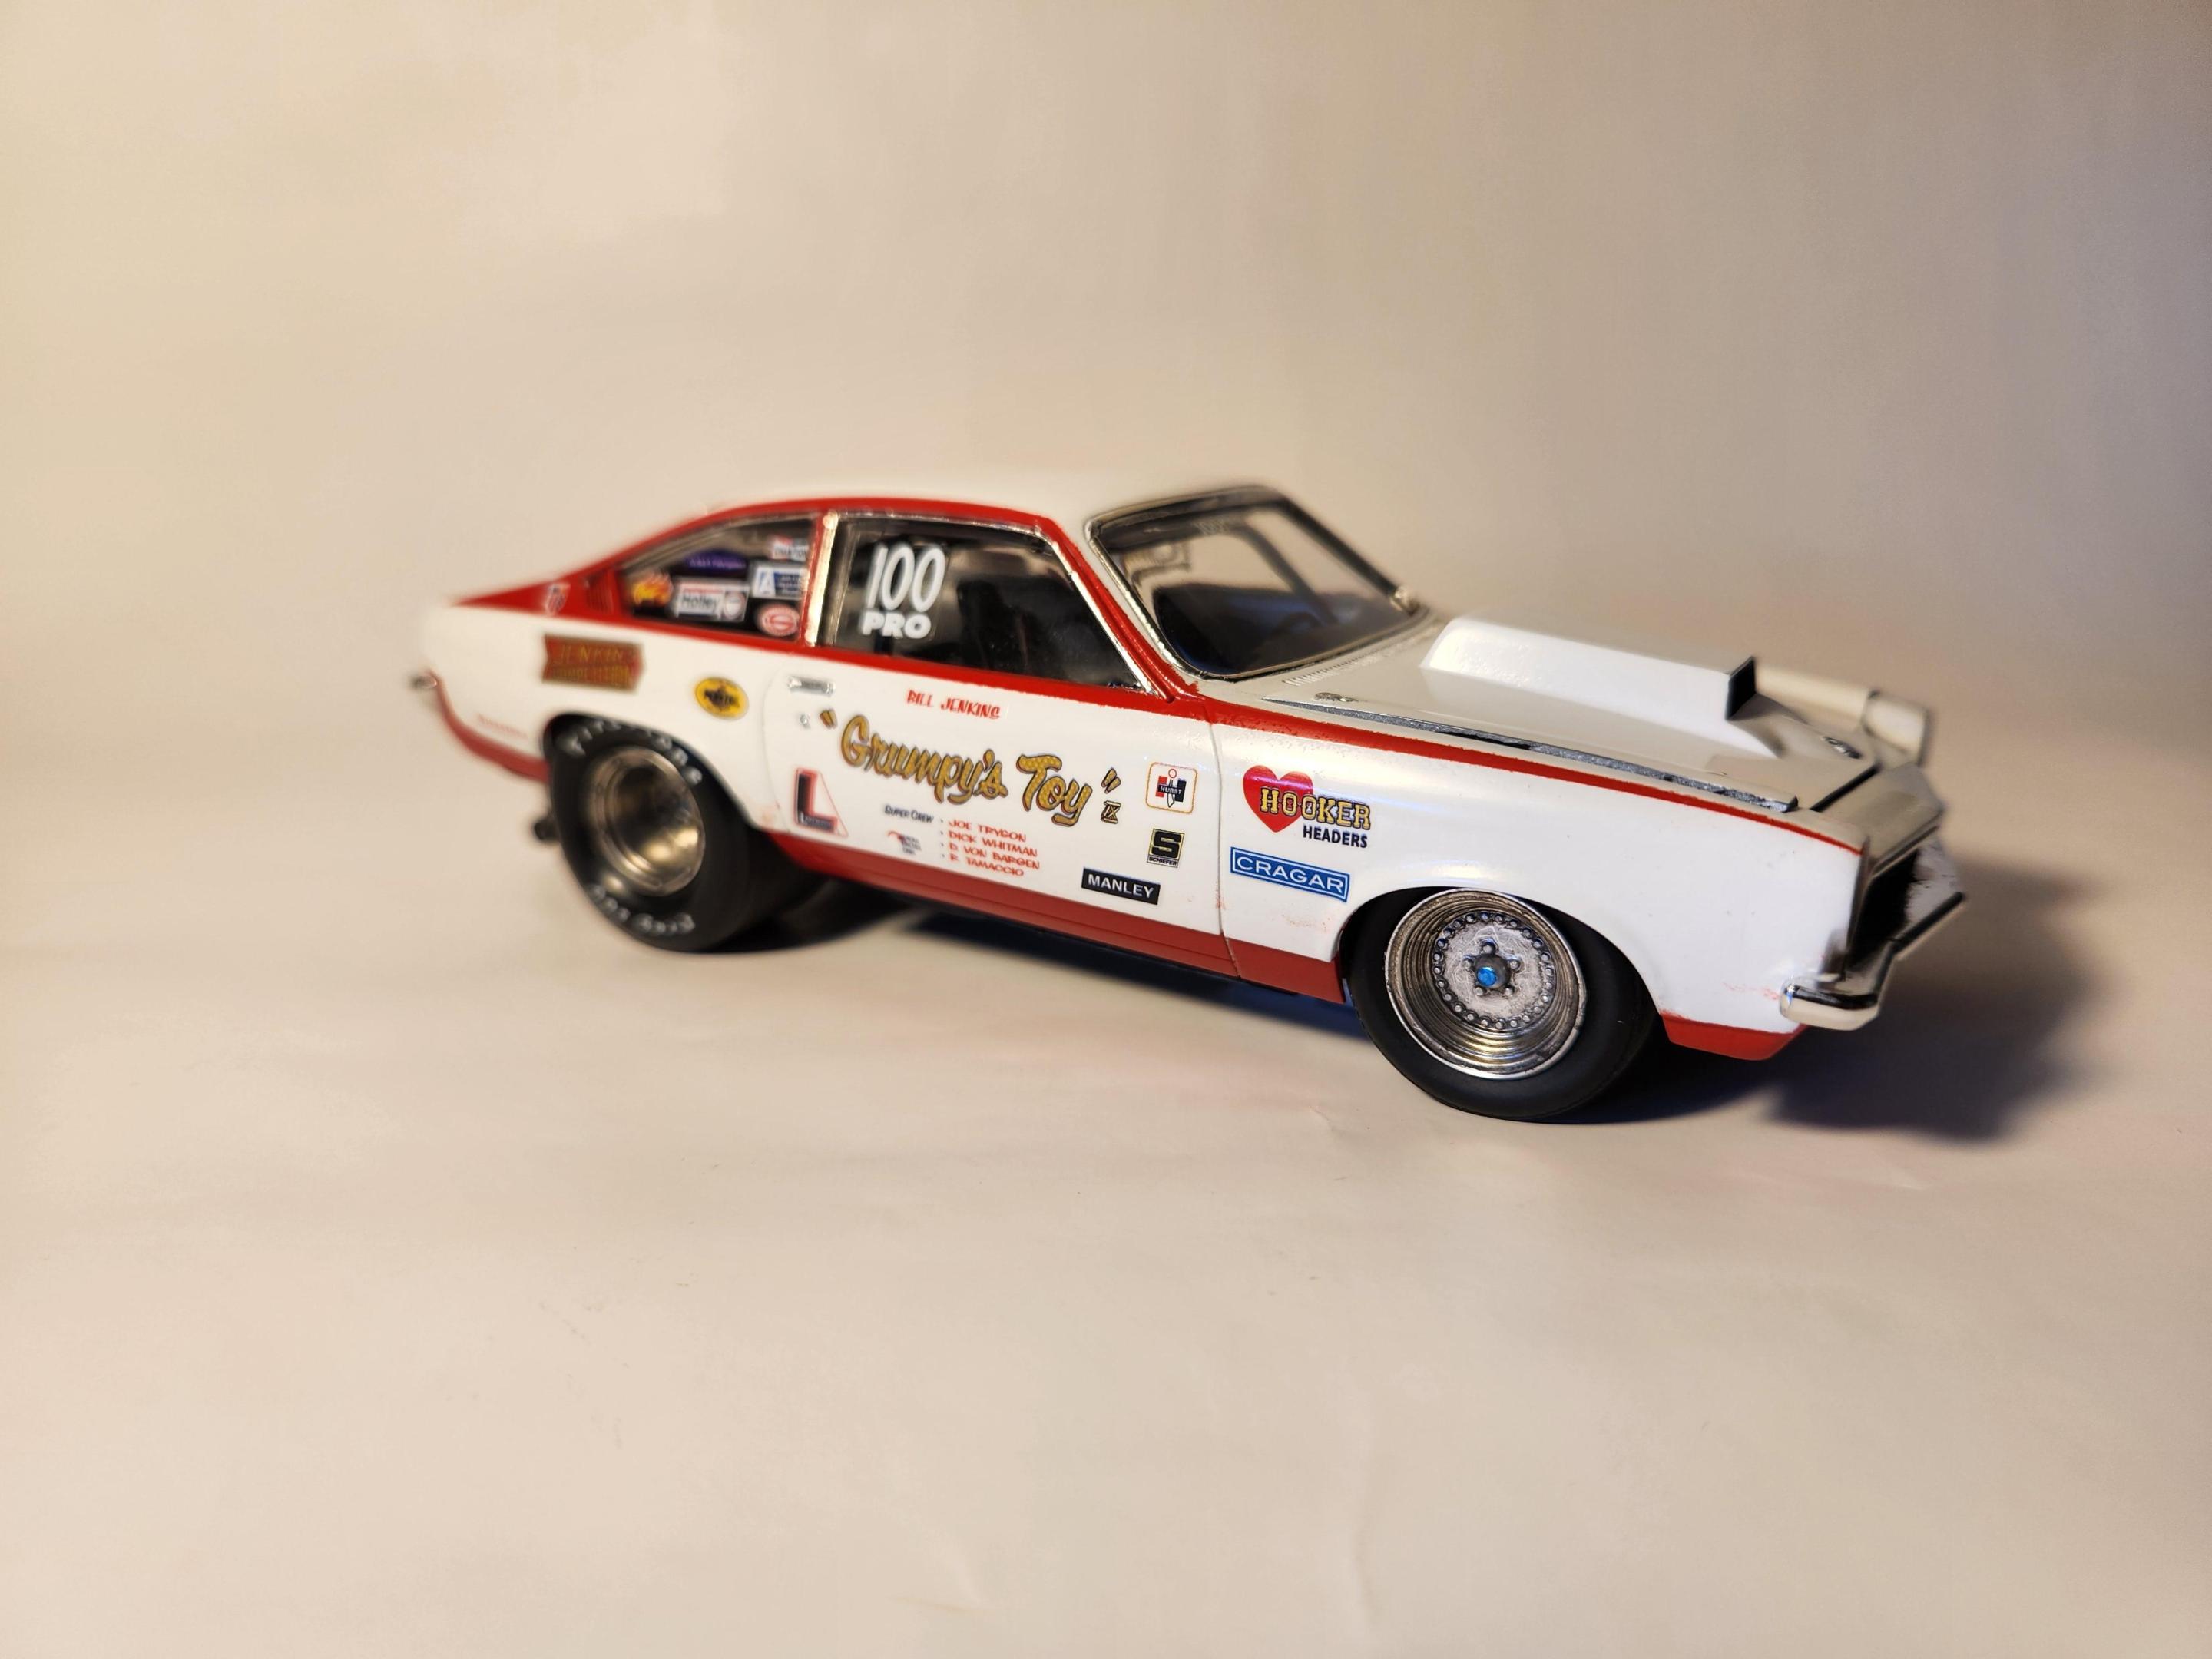
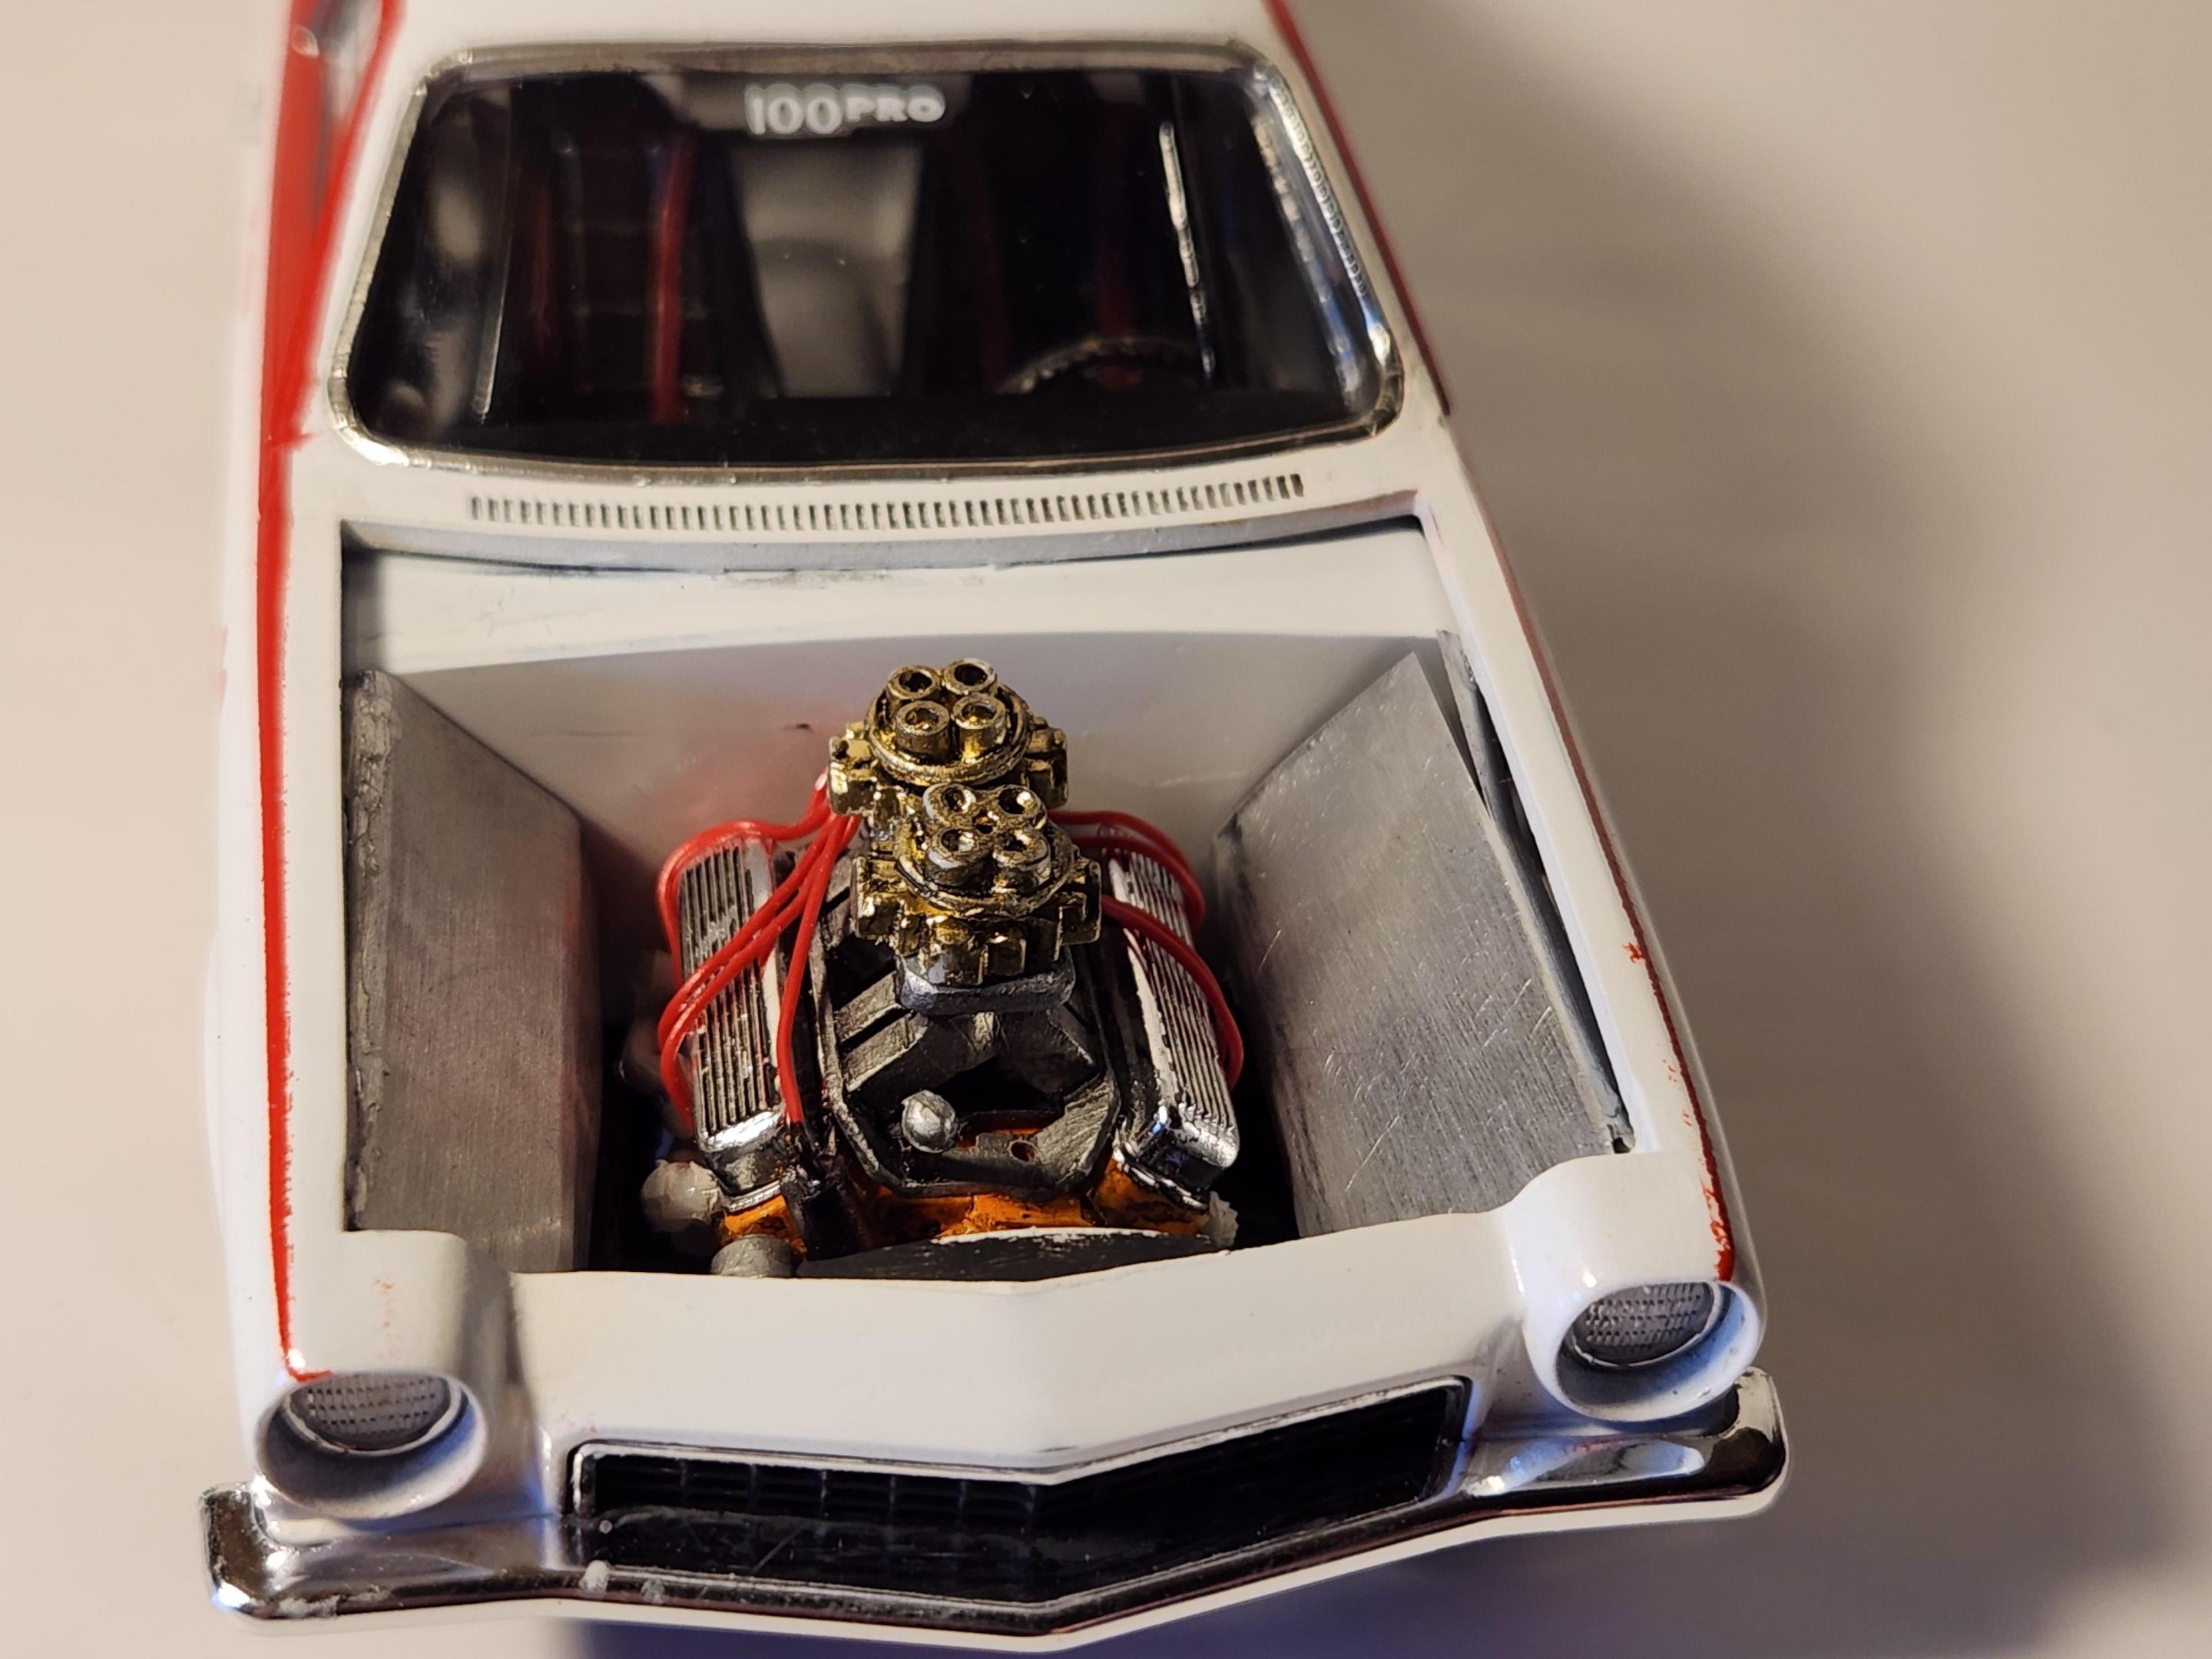
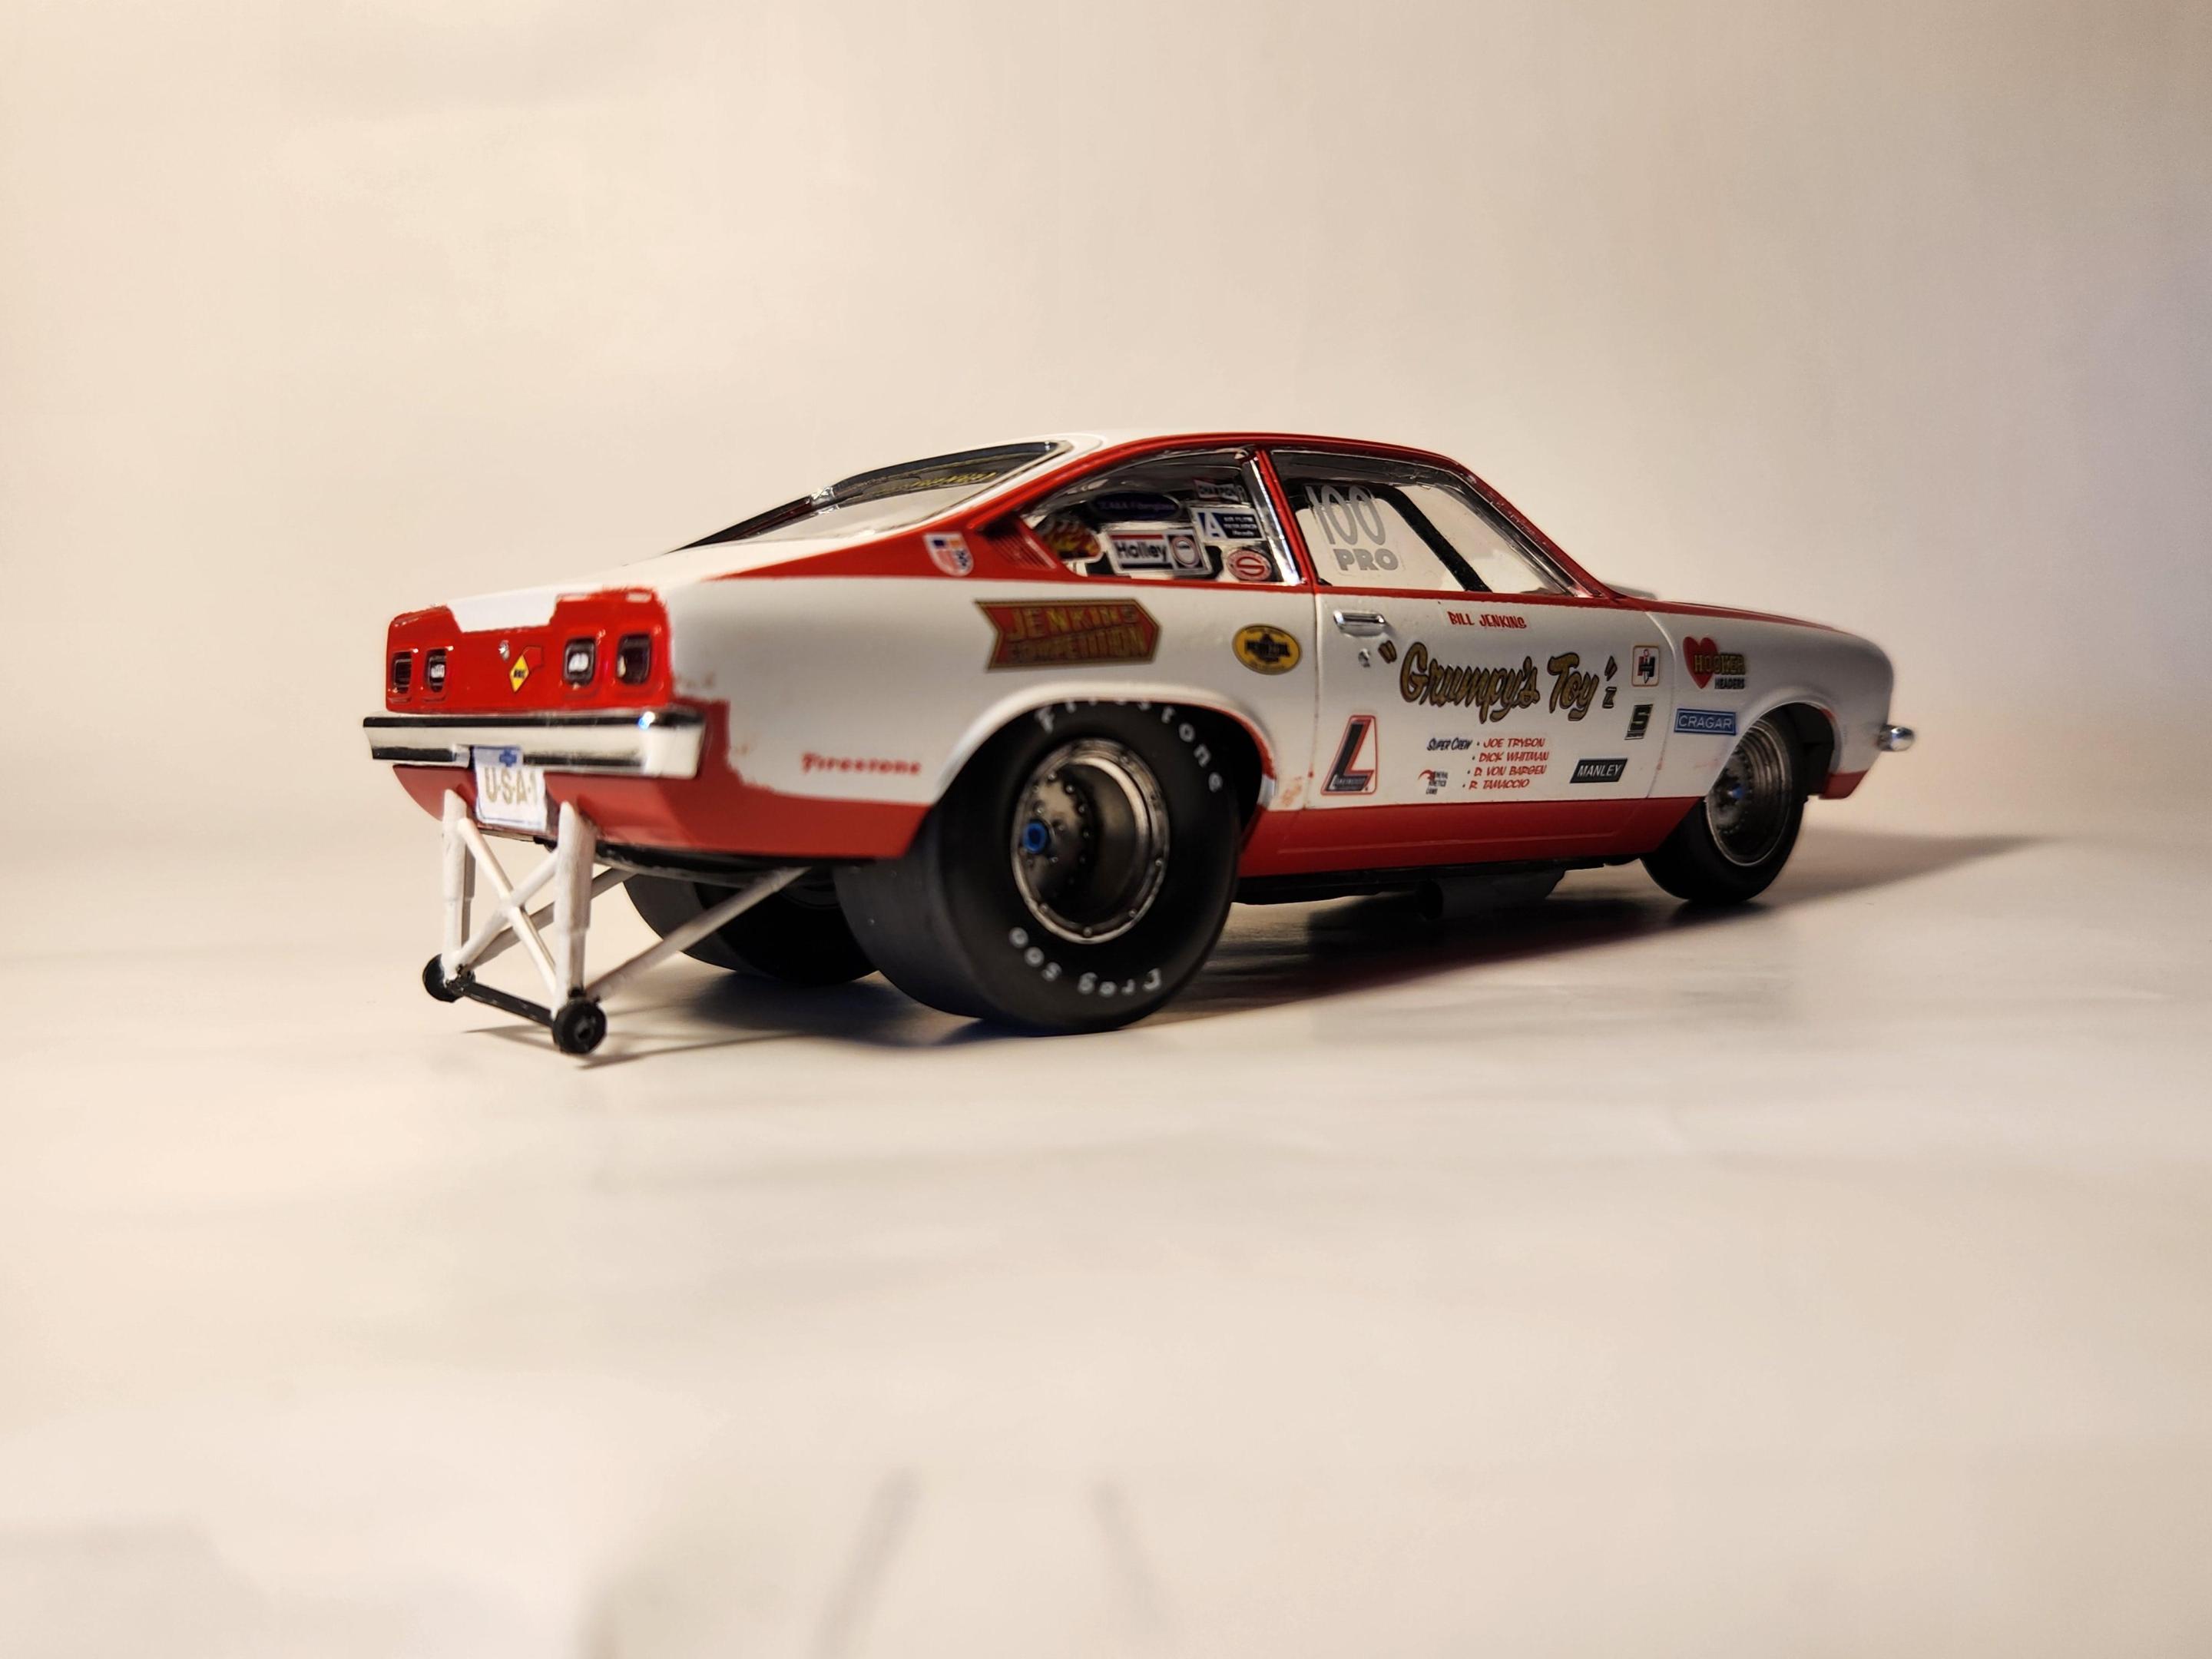
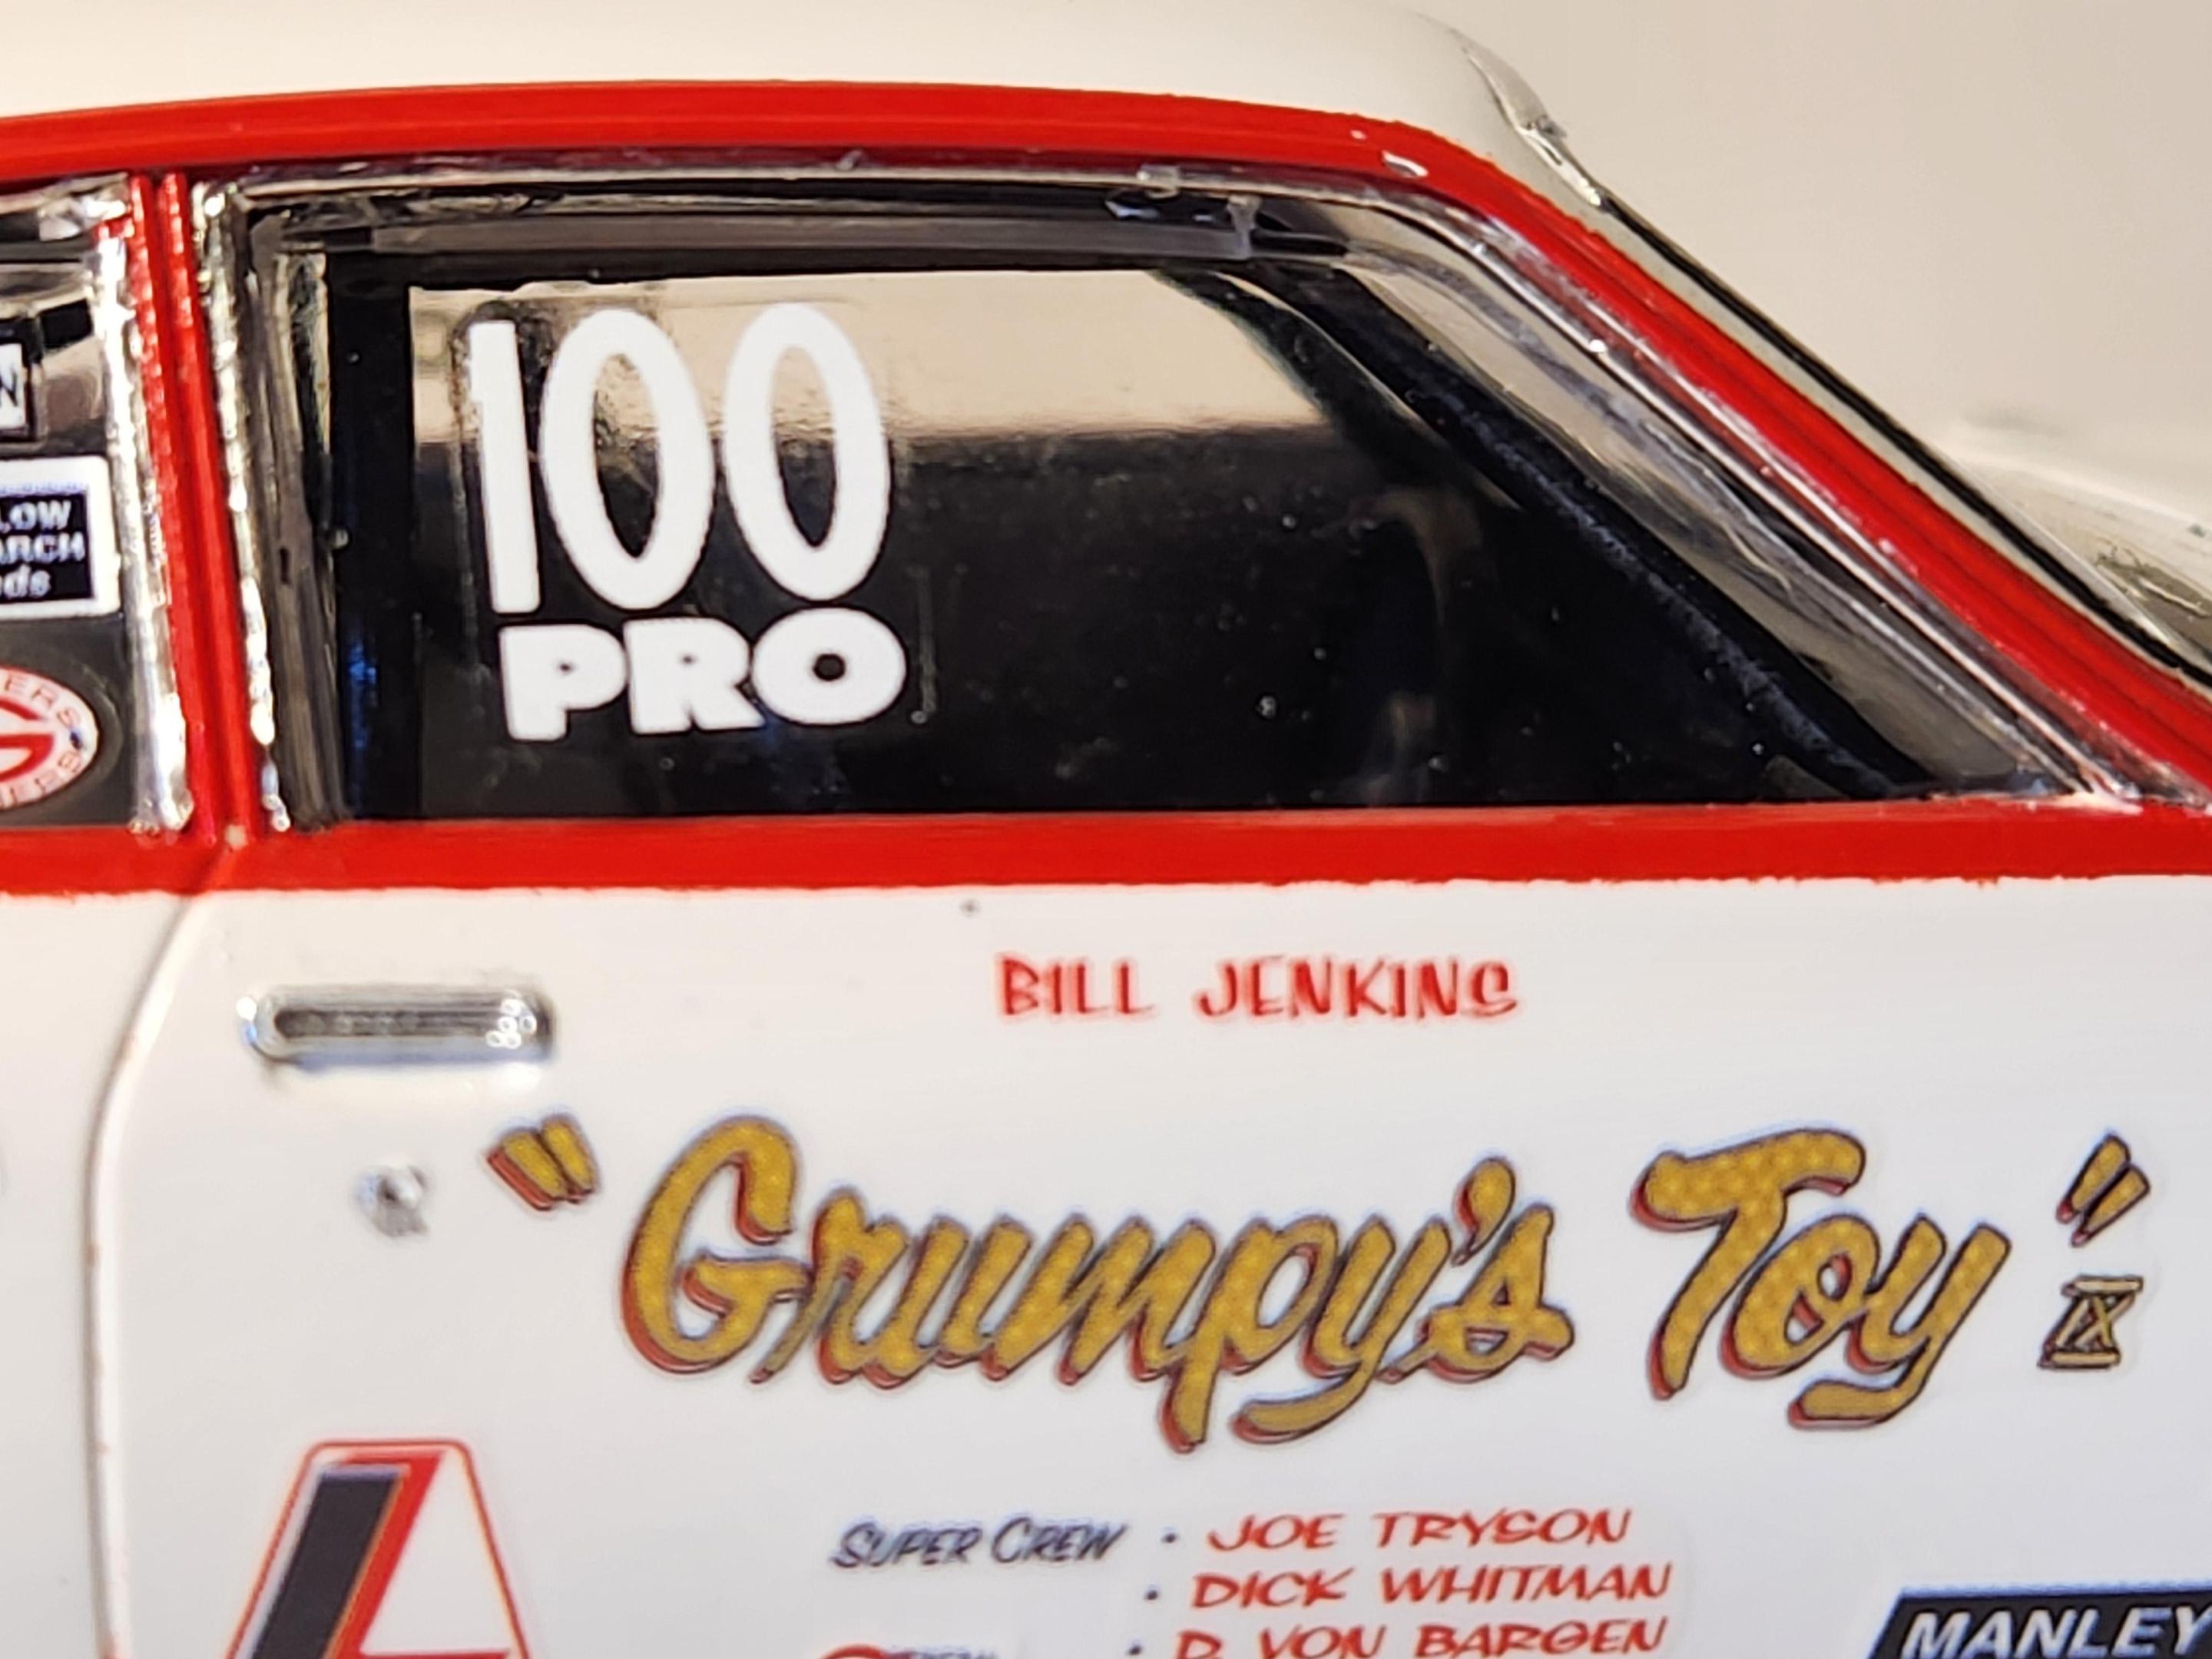
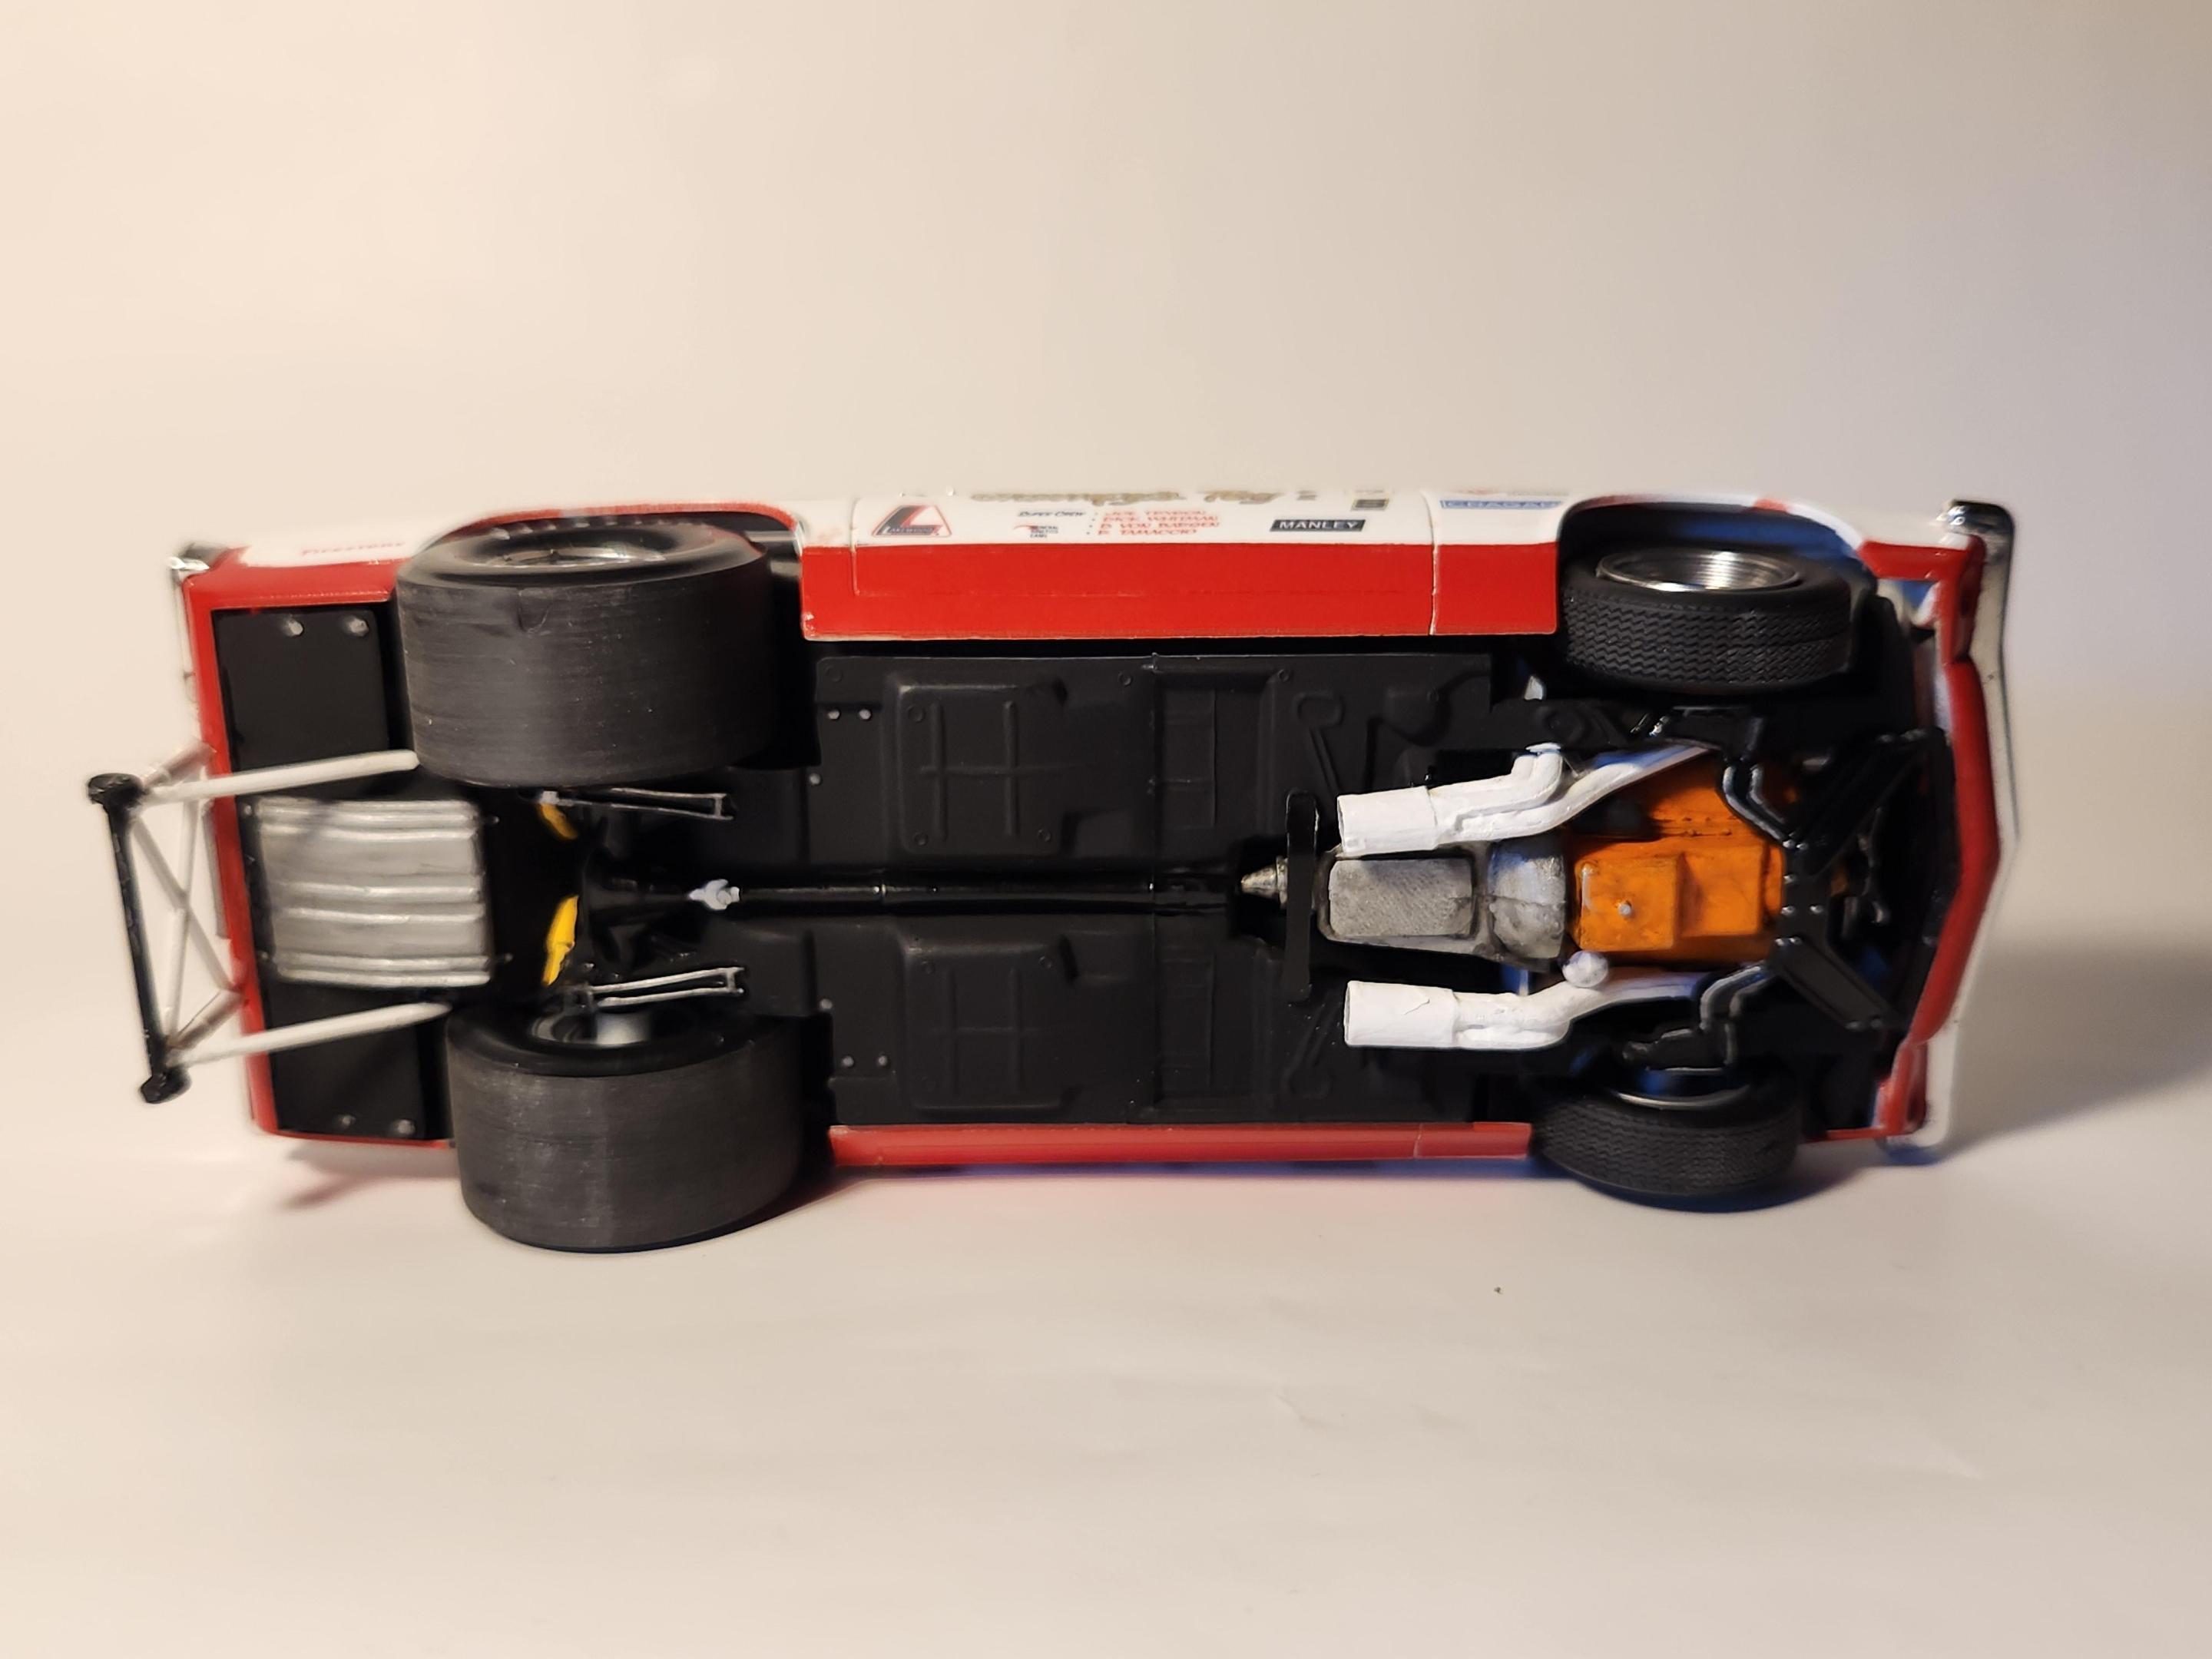
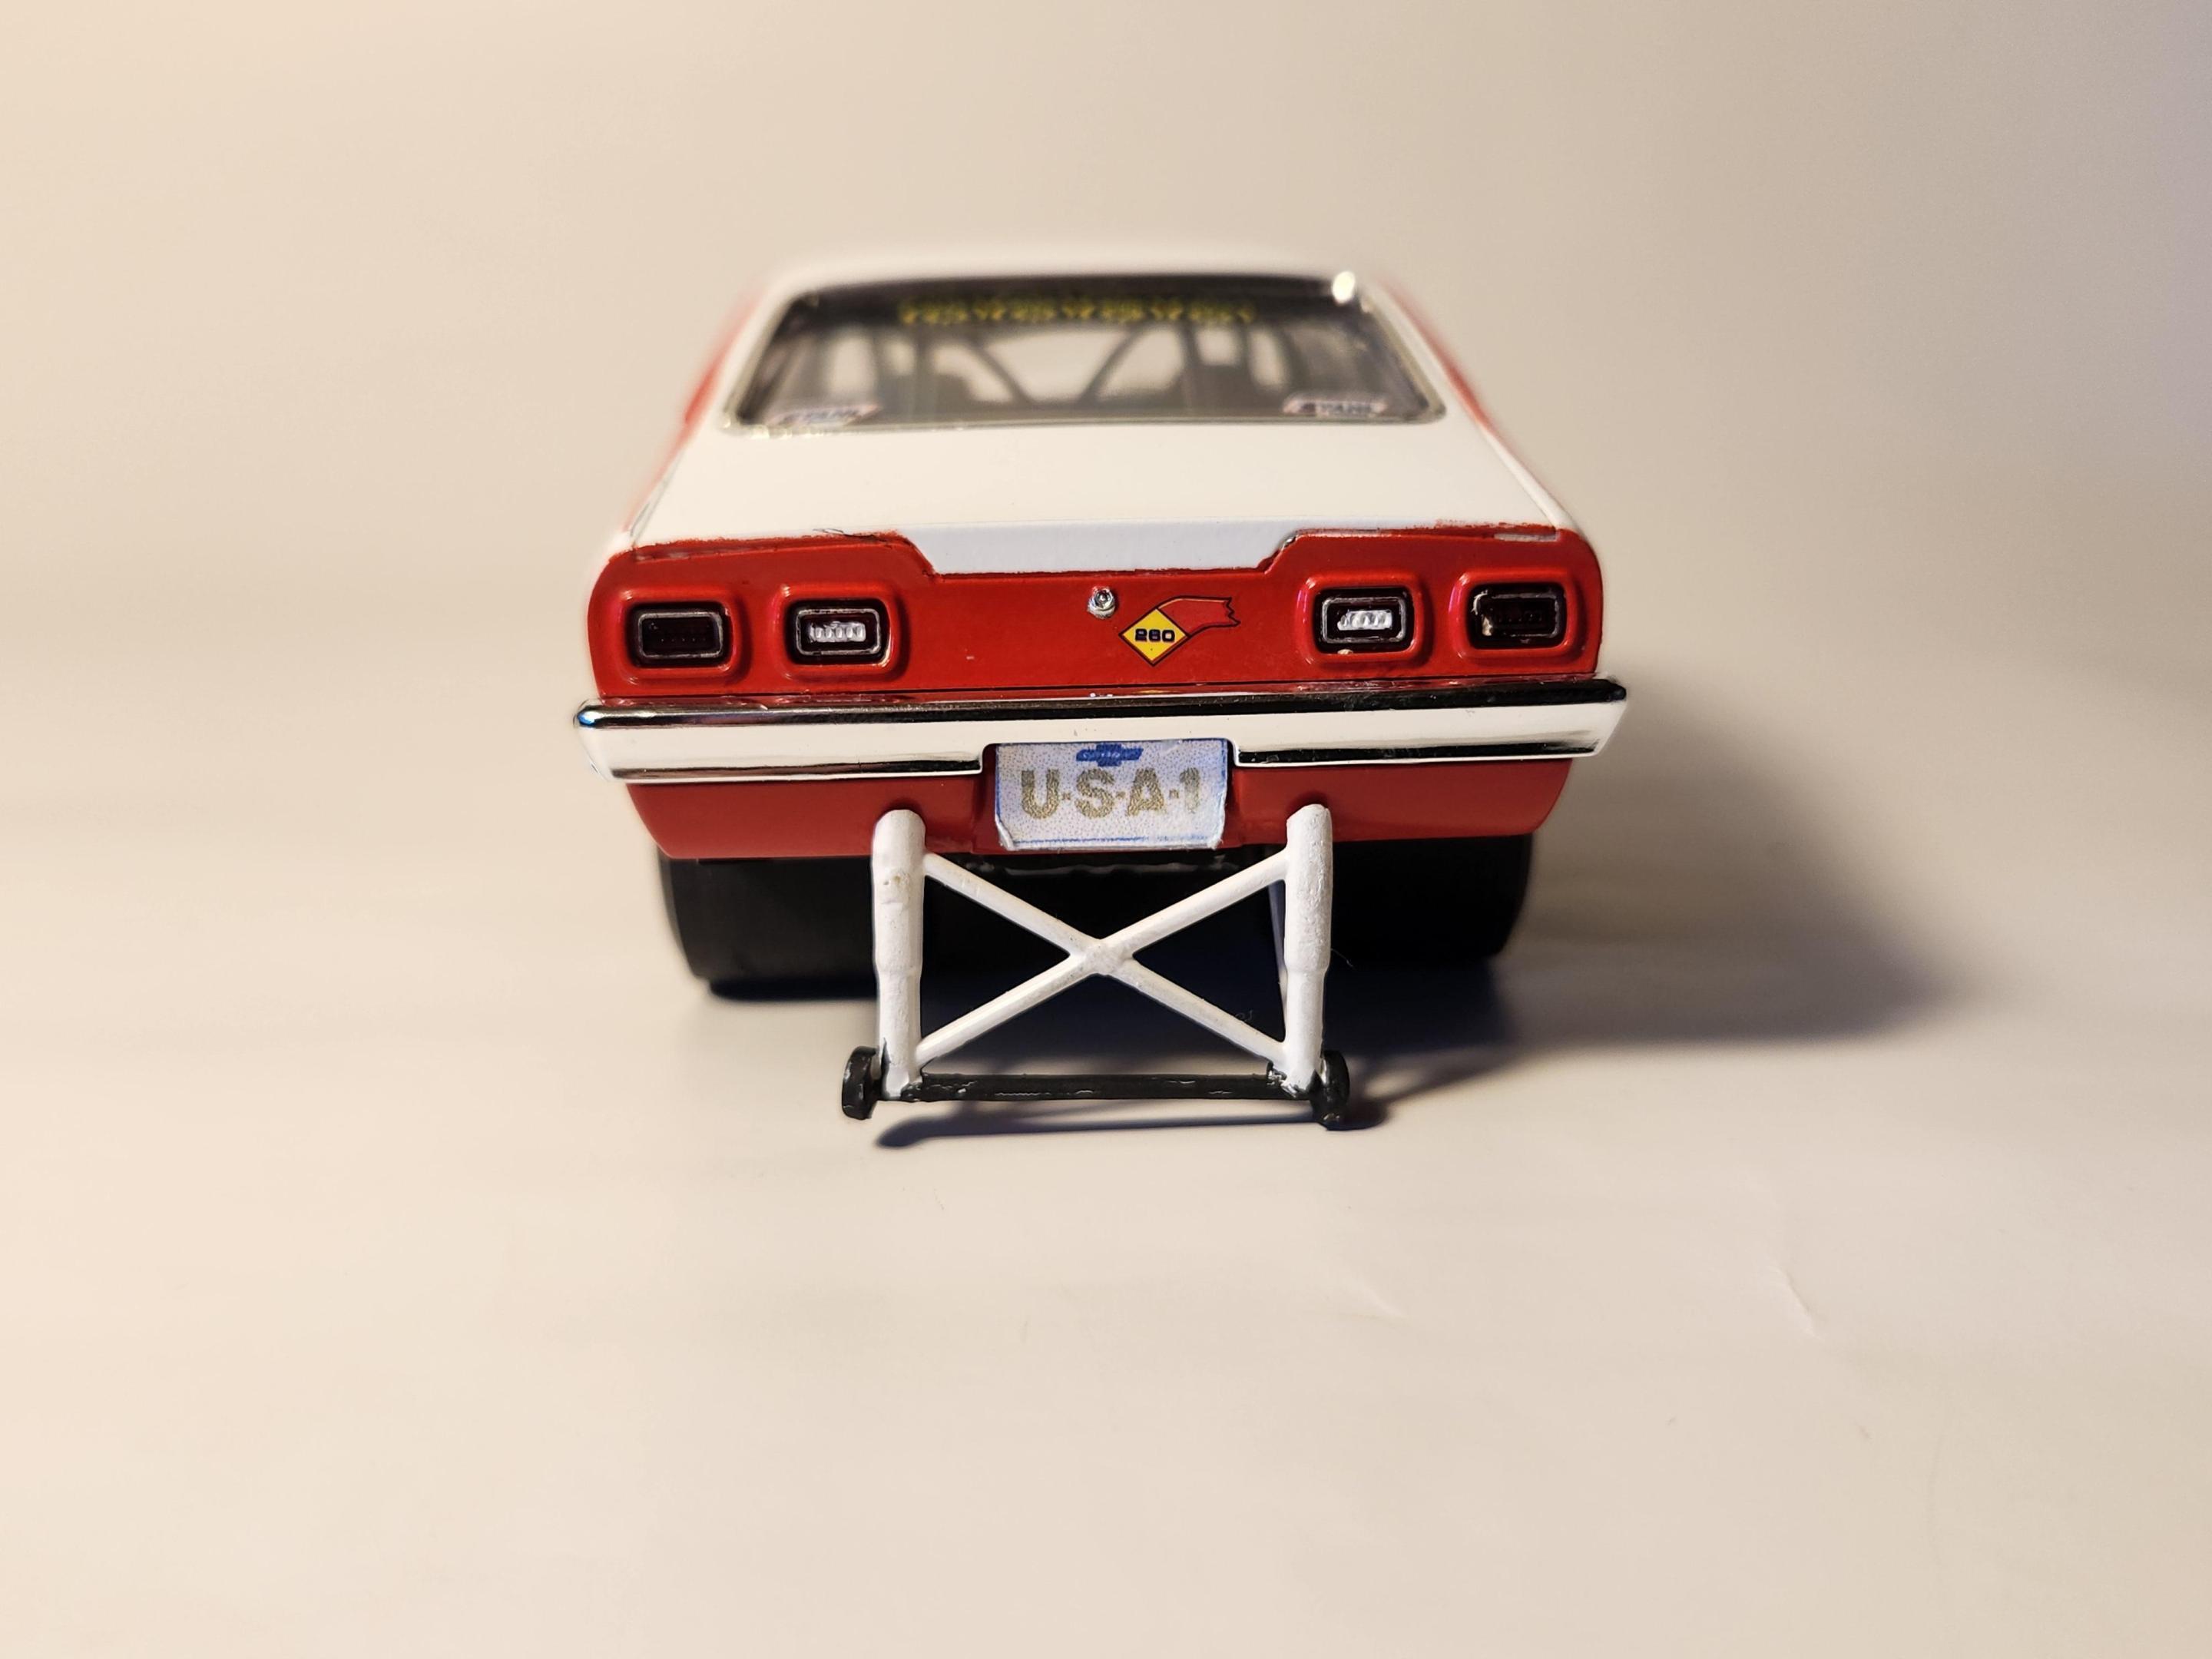
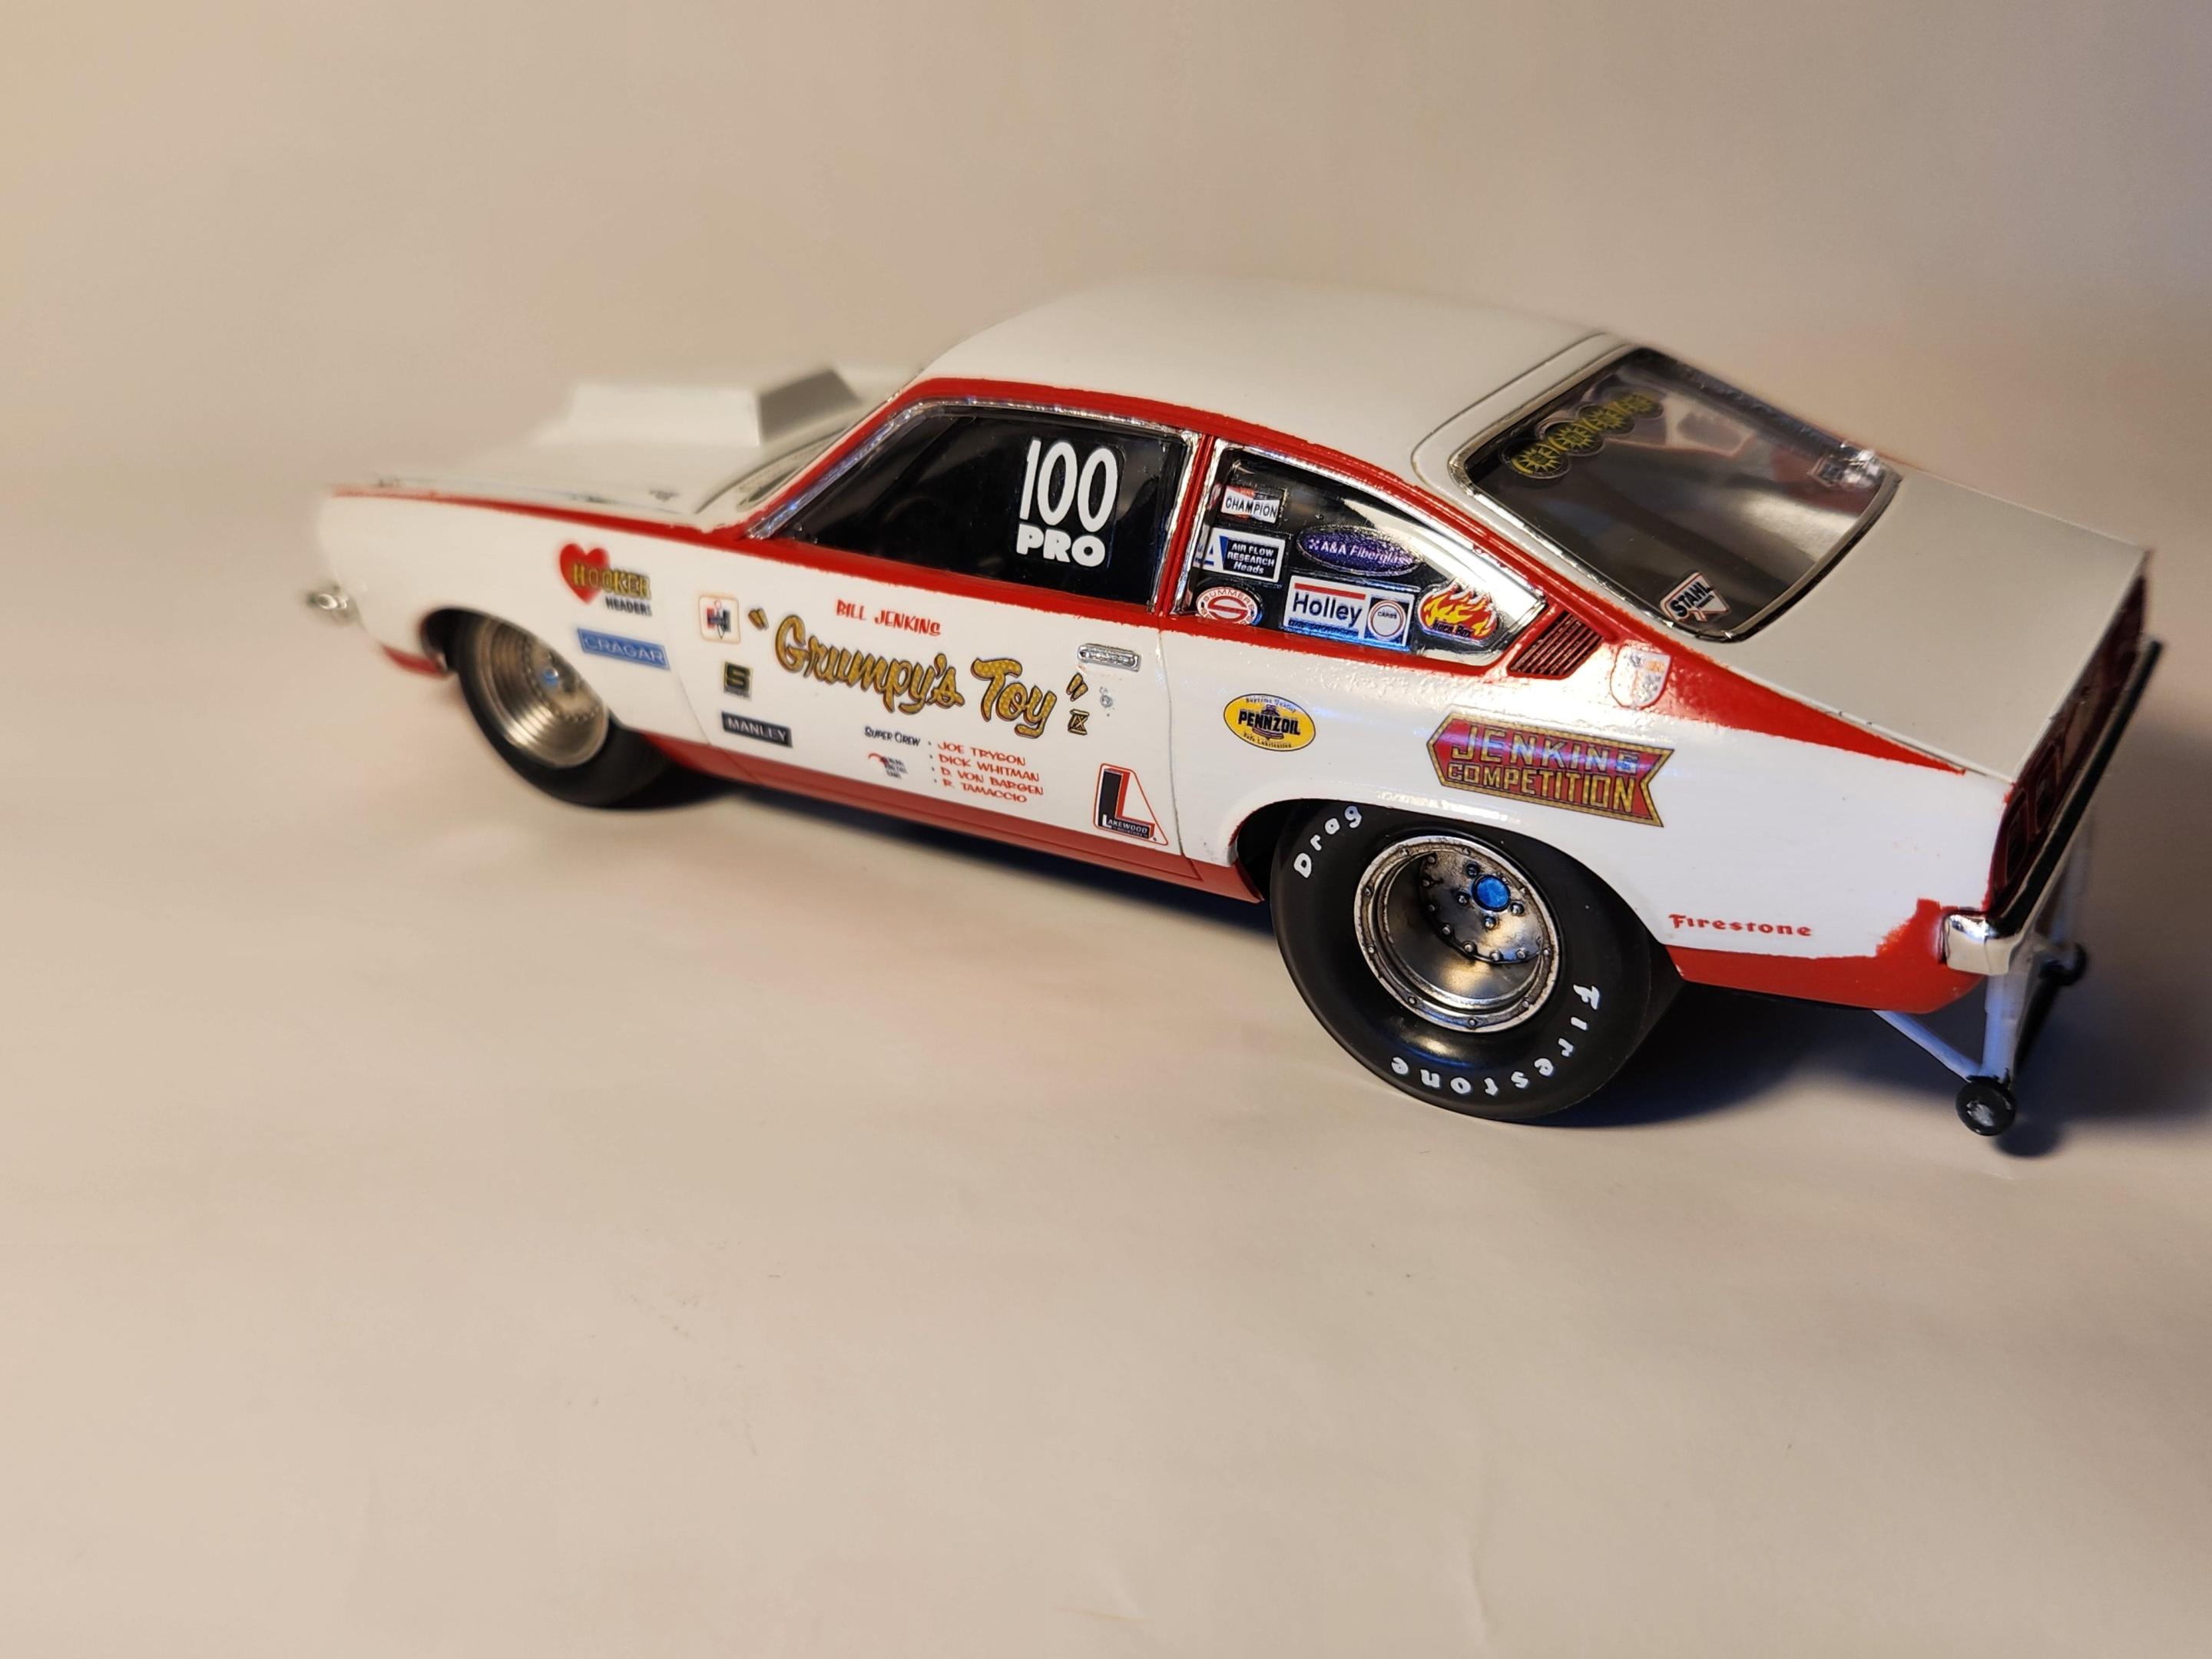
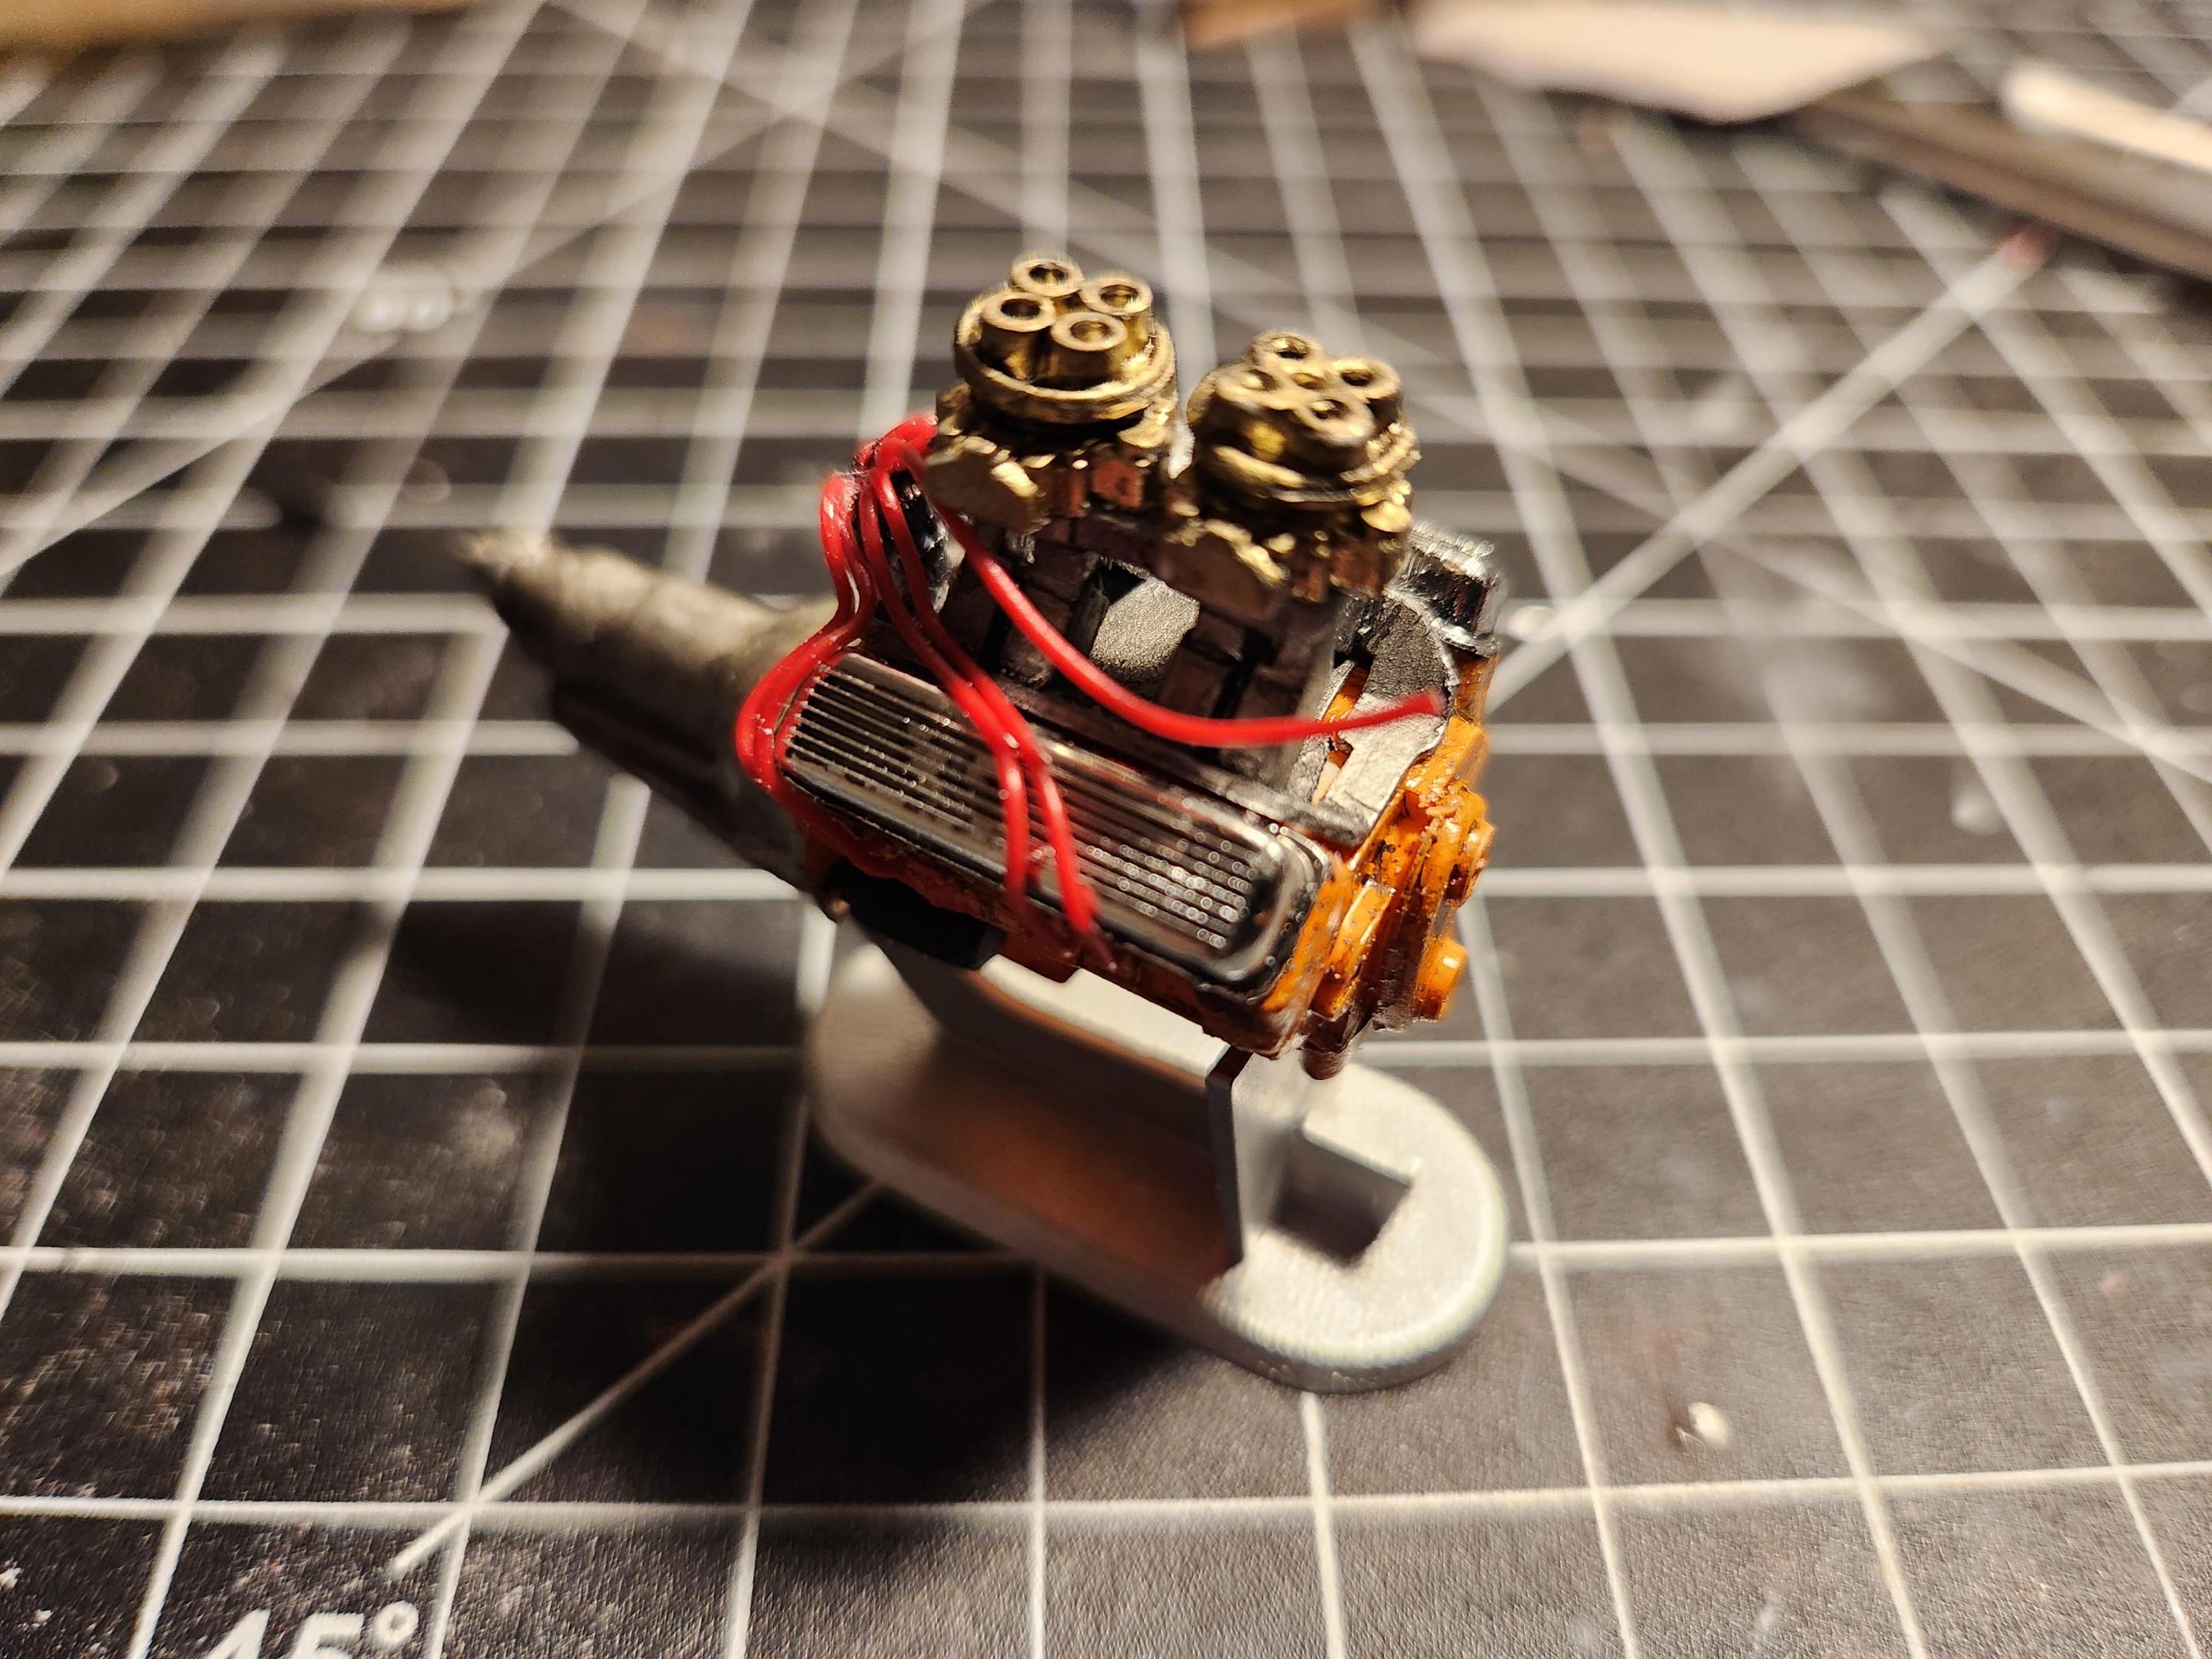
I just got this one rapped up this afternoon. I'm pretty proud of it, it was my first time ever polishing a paint job and I think it's not half bad. This is the re-issued MPC grumpy's vega. Upgraded with more accurate details, including the intake which came from the parts box. I adjusted the headers to make them correct for a SBC and put bigger collectors on them. The license plate was made with a pice of scrap plastic and a printed plate. I tried a new technique with the wheels where I put some matte clear on and some black-wash. I really like the effect. Here's the link to the WIP thread. https://www.modelcarsmag.com/forums/topic/191590-more-accurate-mpc-72-grumpys-vega/ Thanks for looking, and as always, comments are much appreciated. Elliot
- 11 replies
-
- 10
-

-
- pro stock
- grumpys toy
-
(and 1 more)
Tagged with:
-
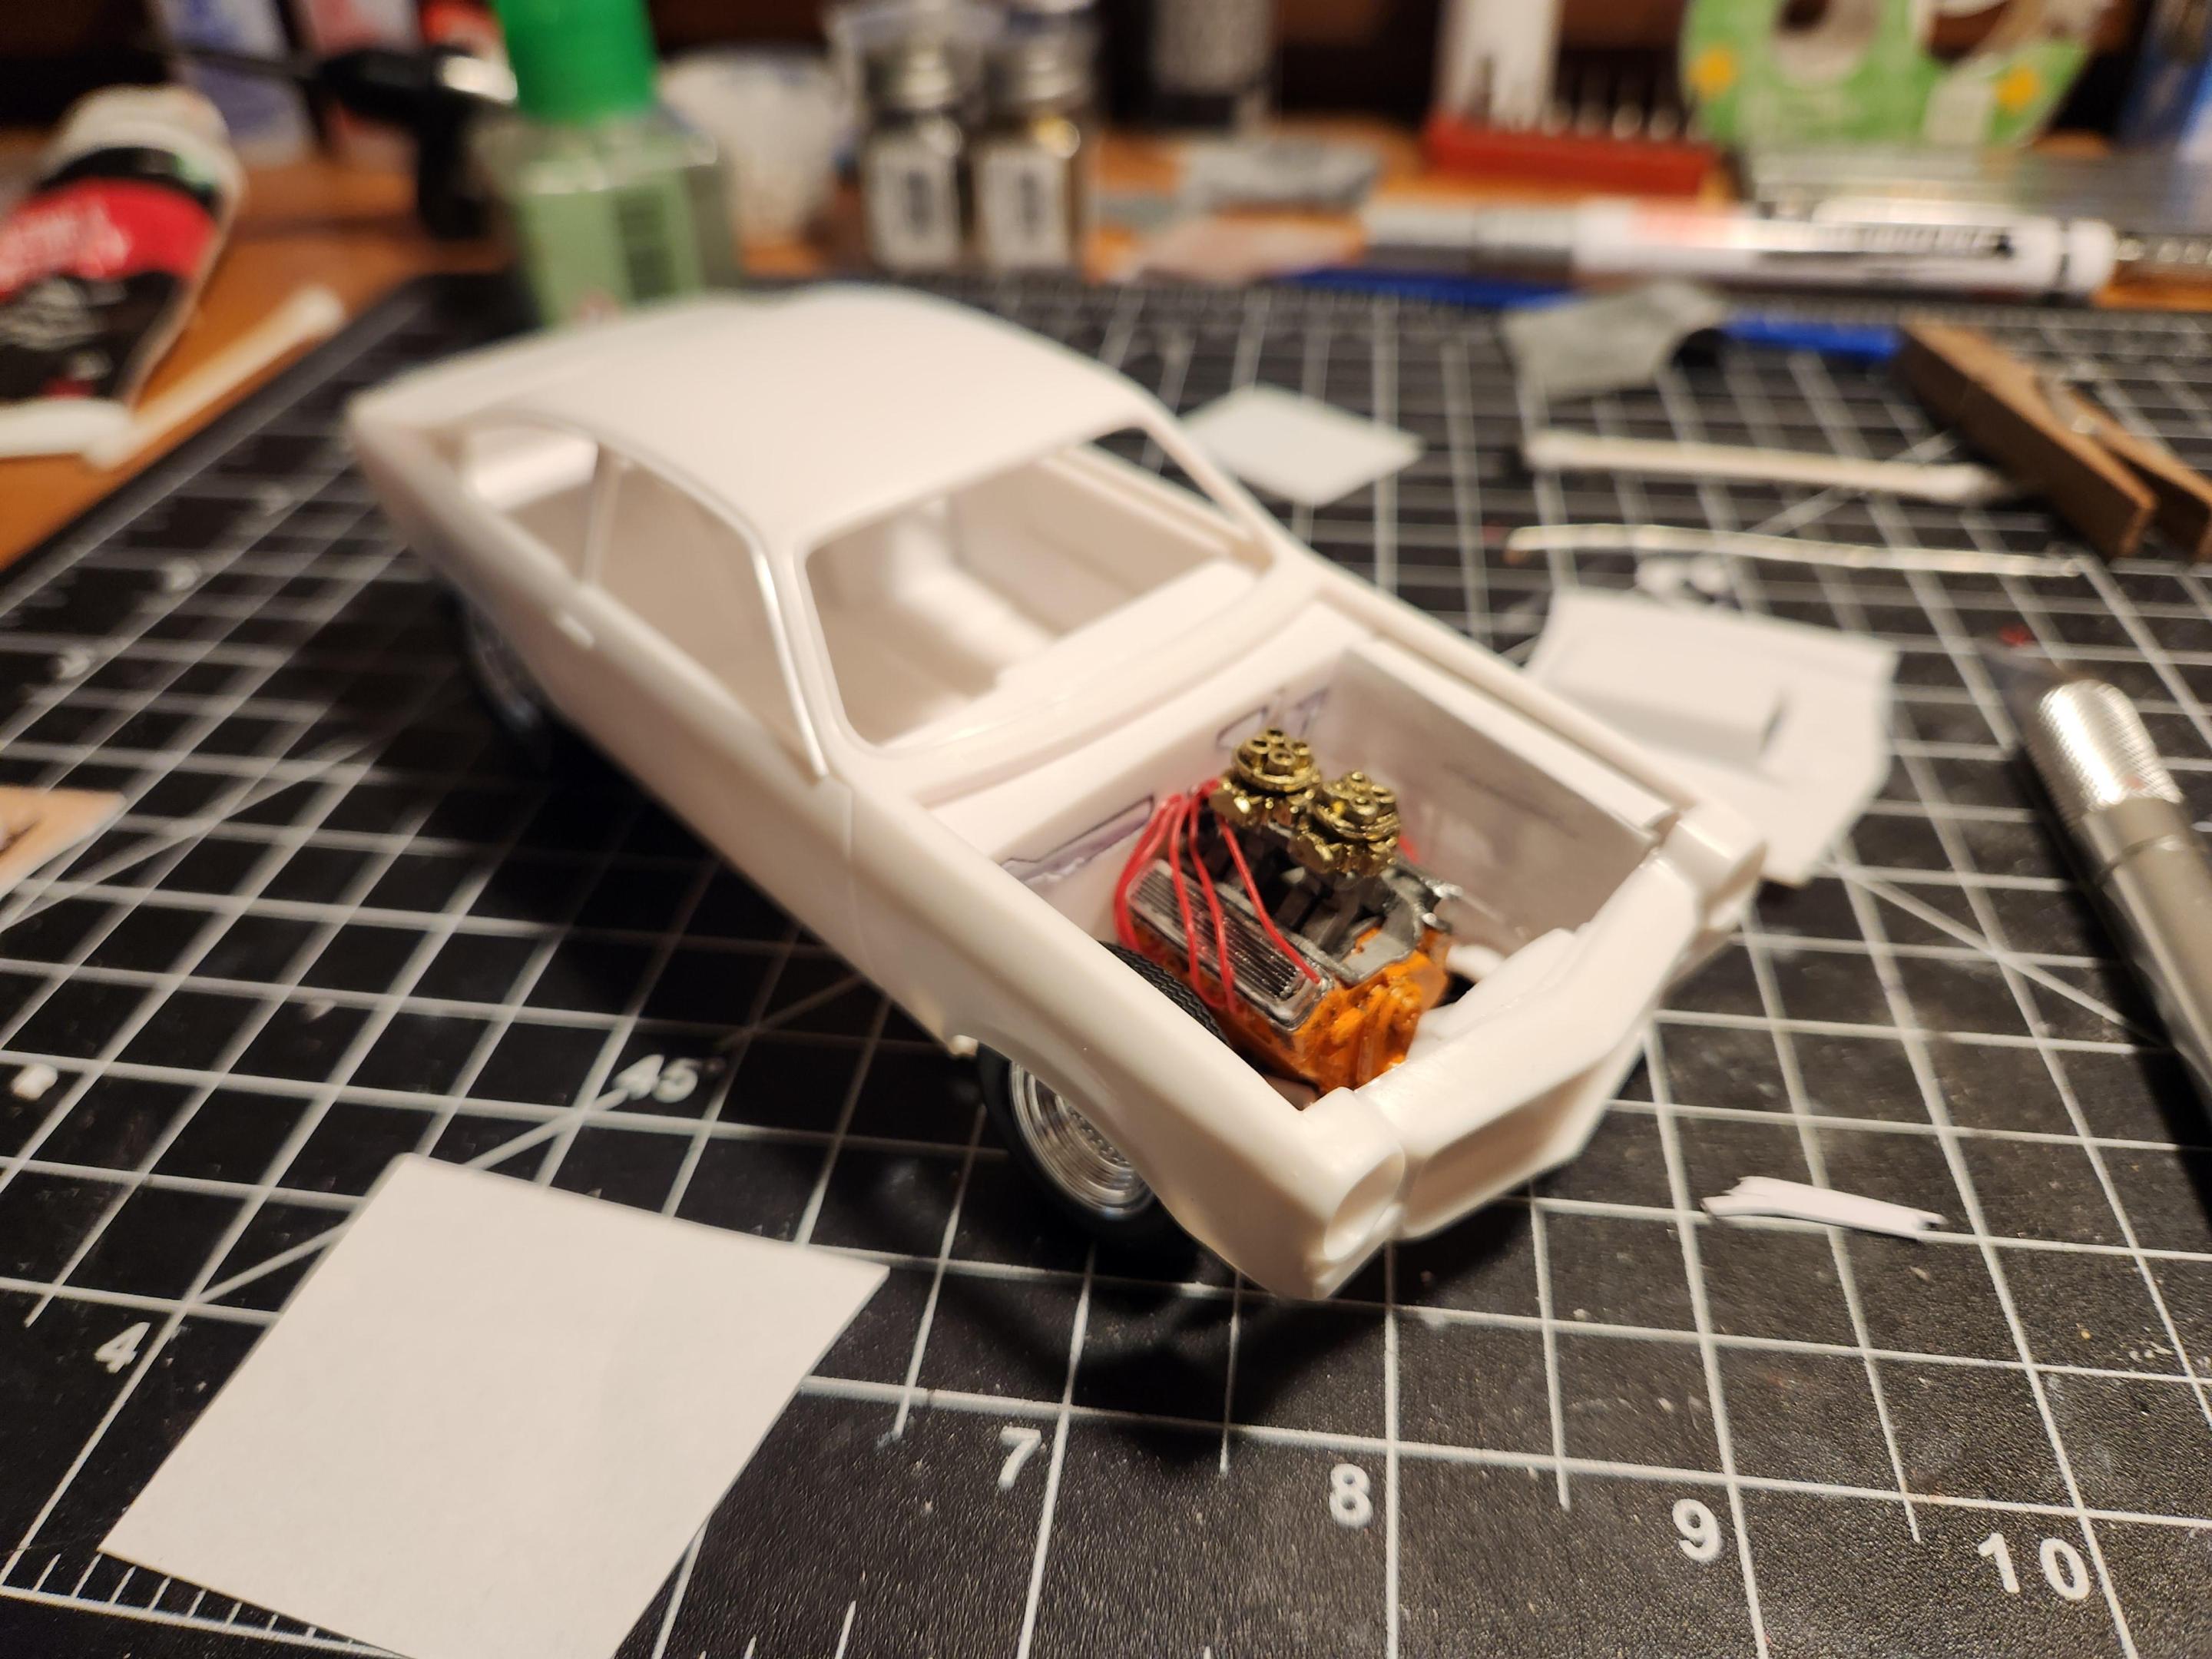
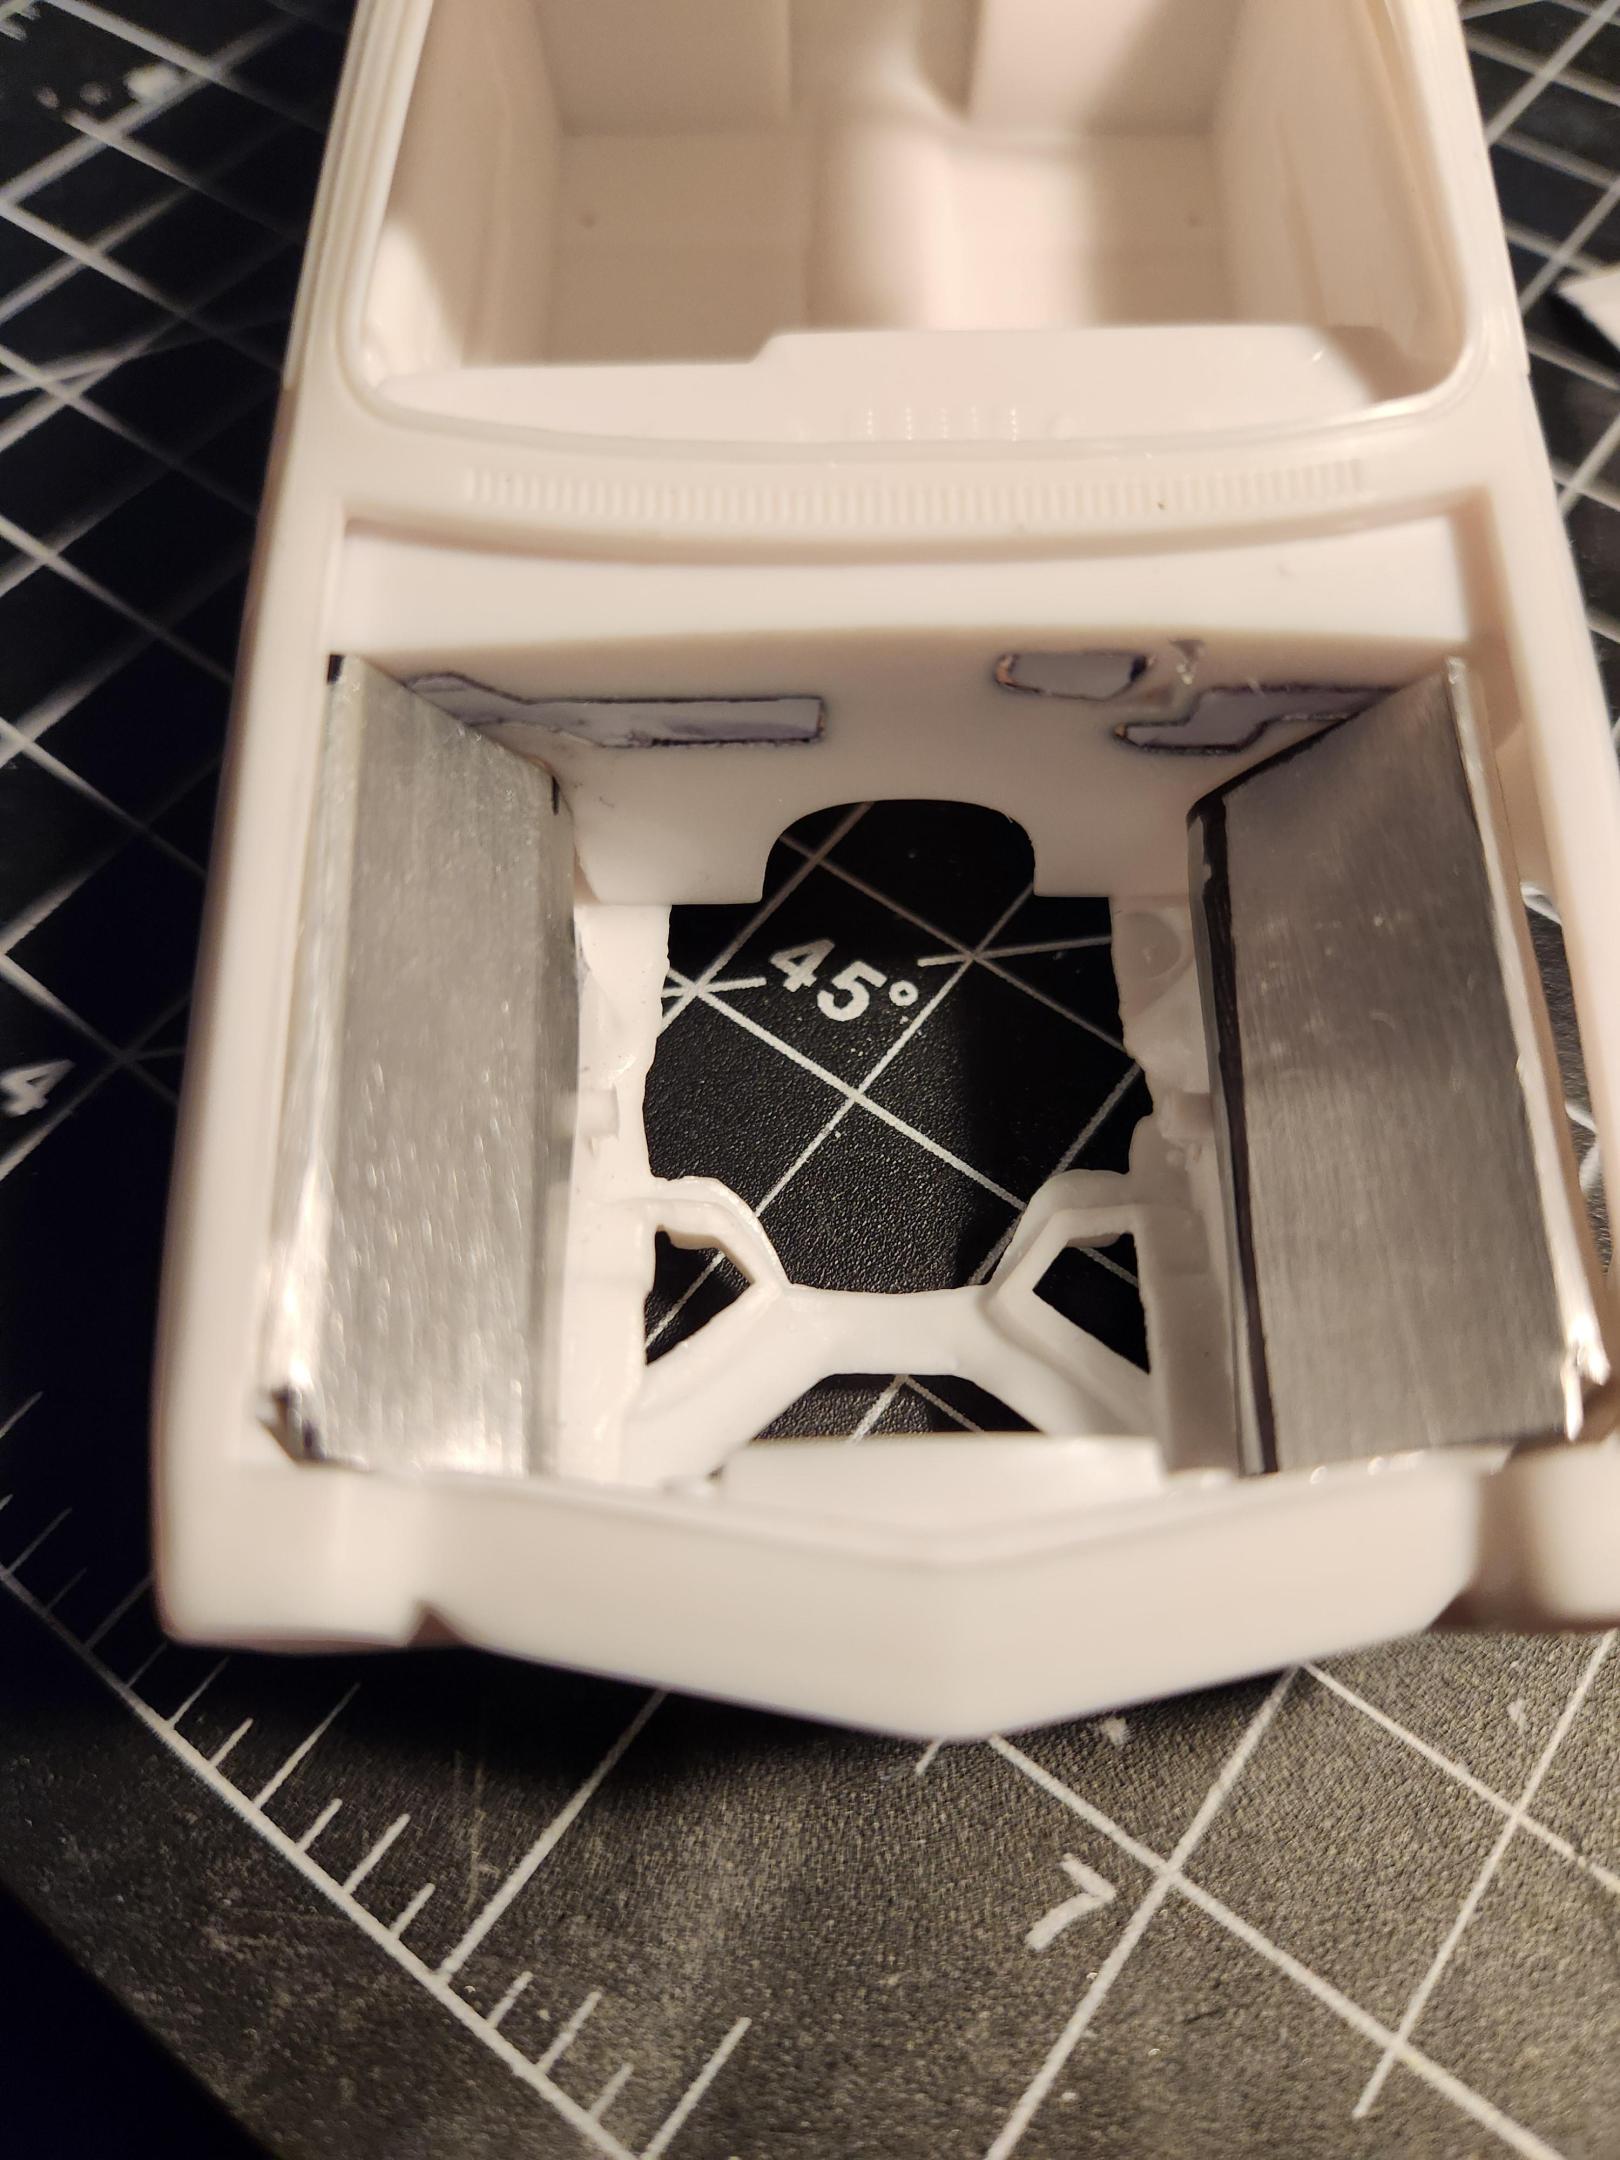
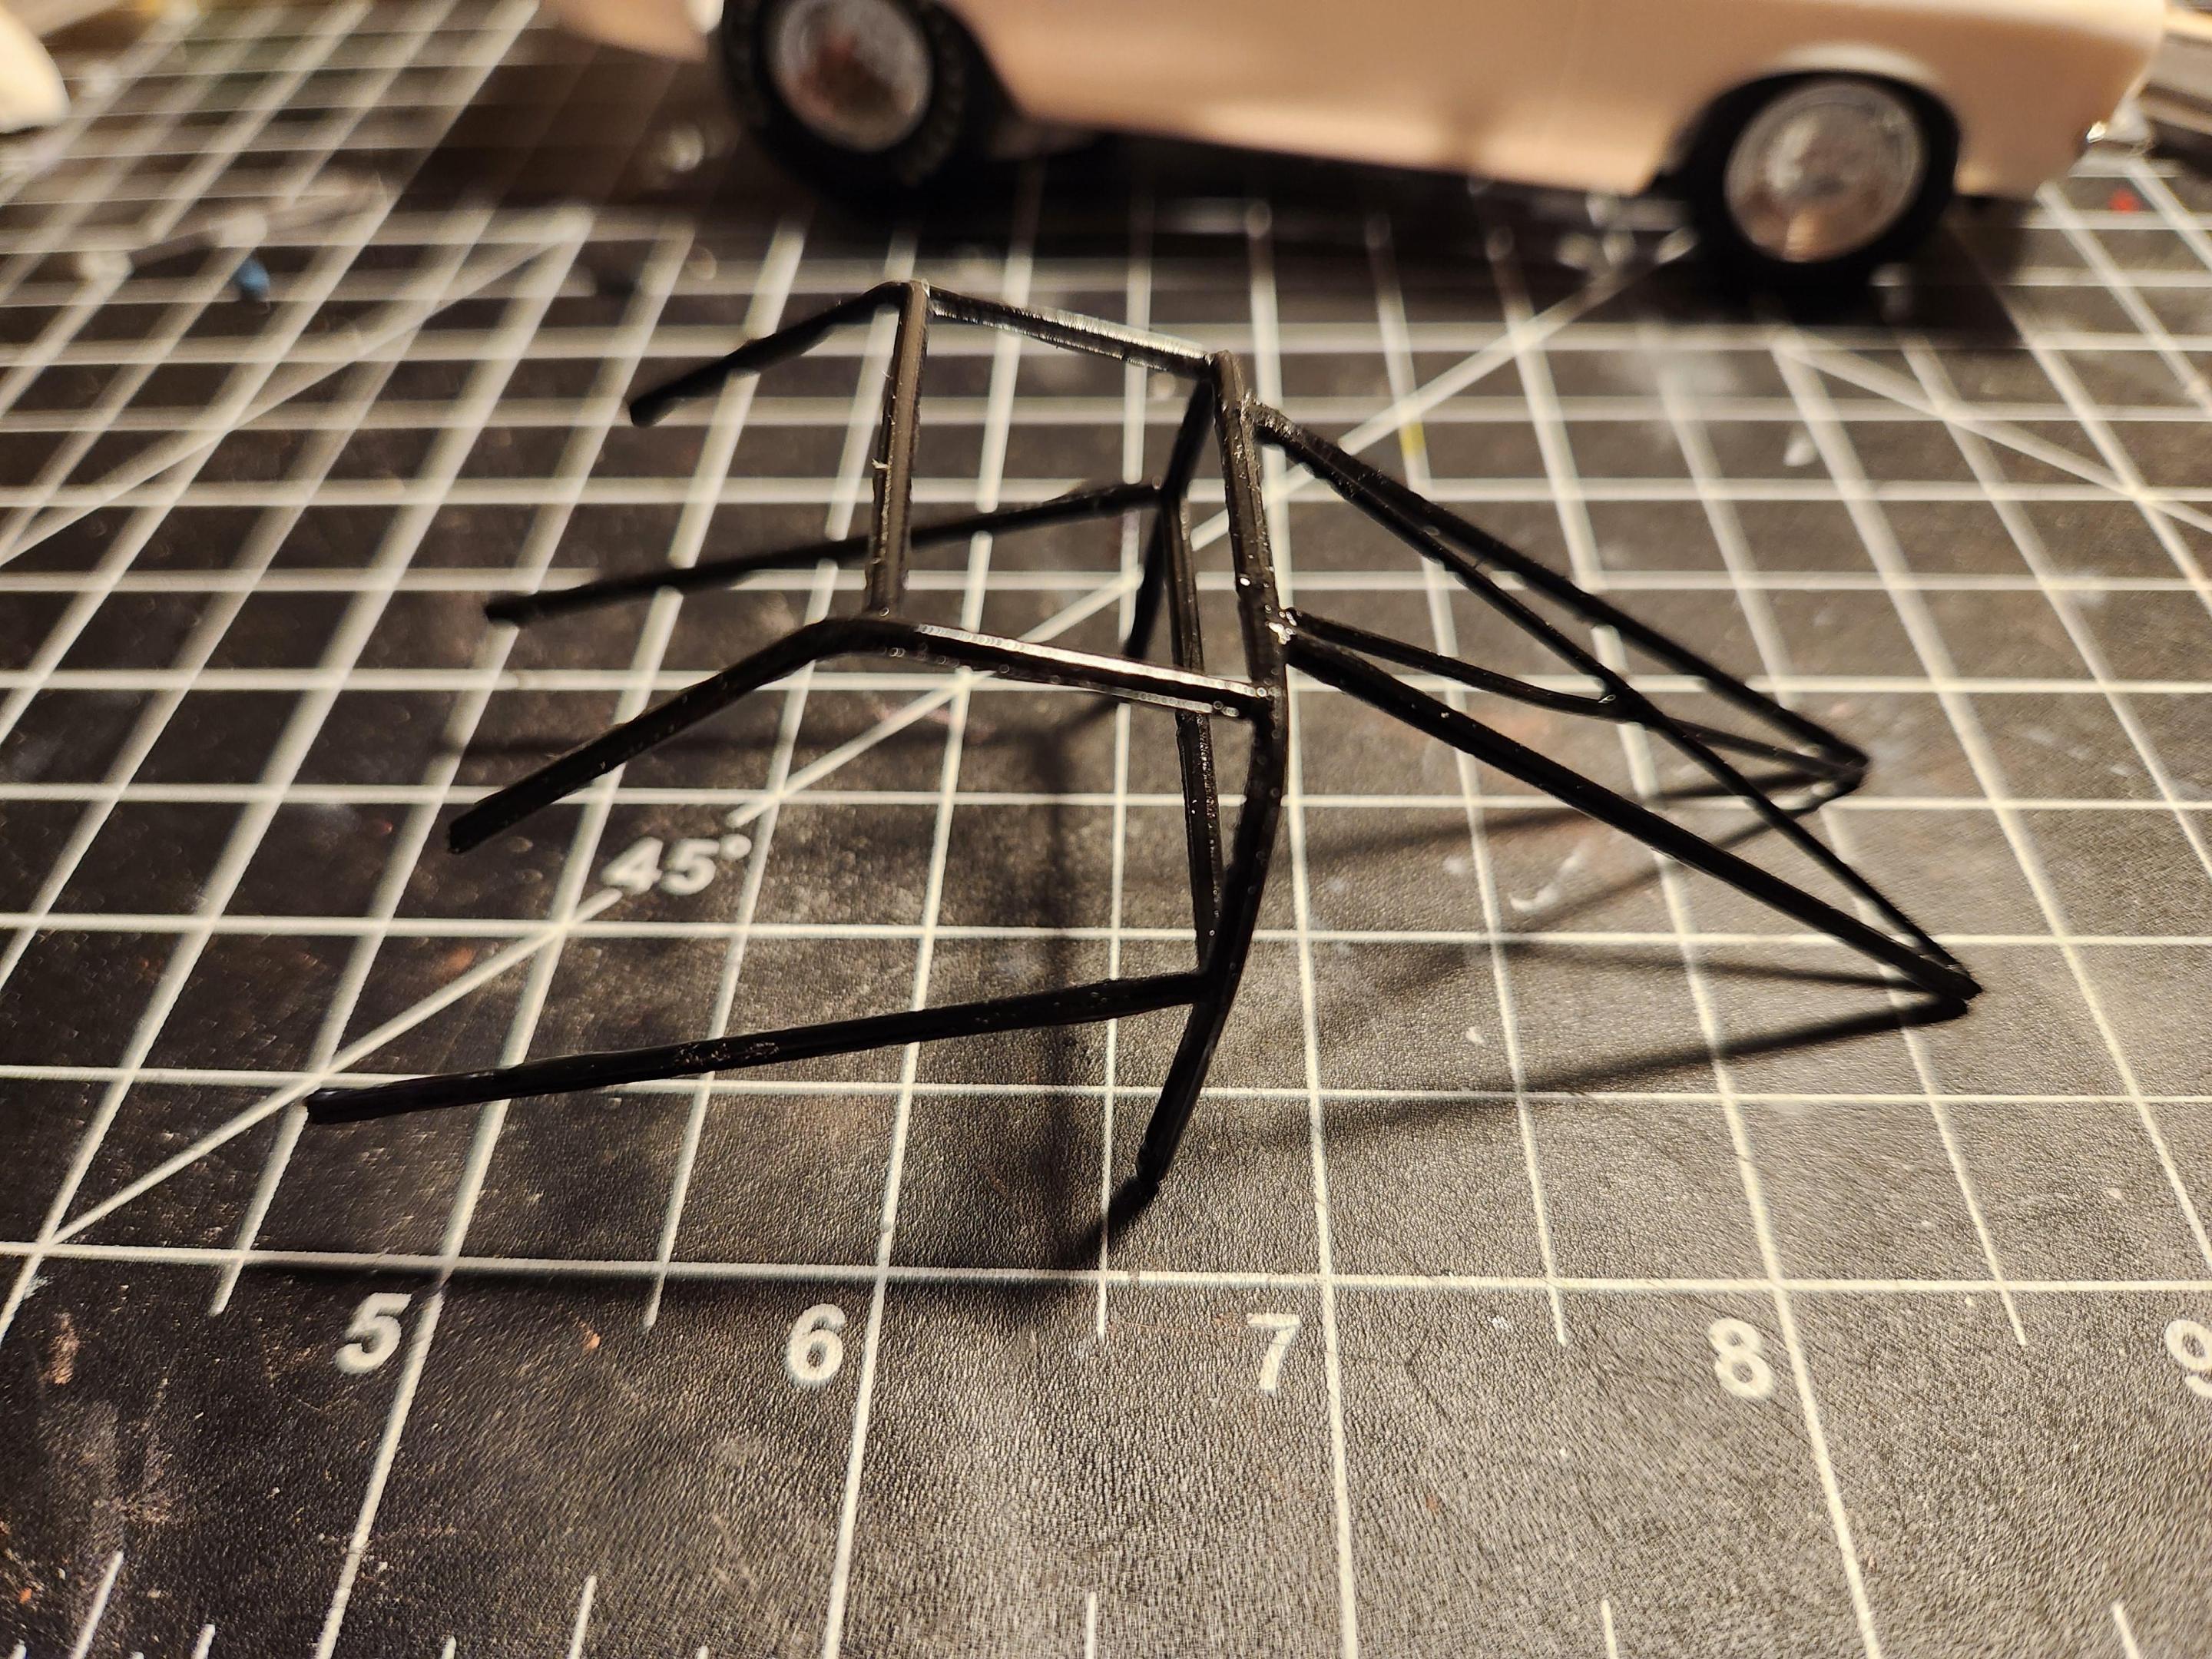
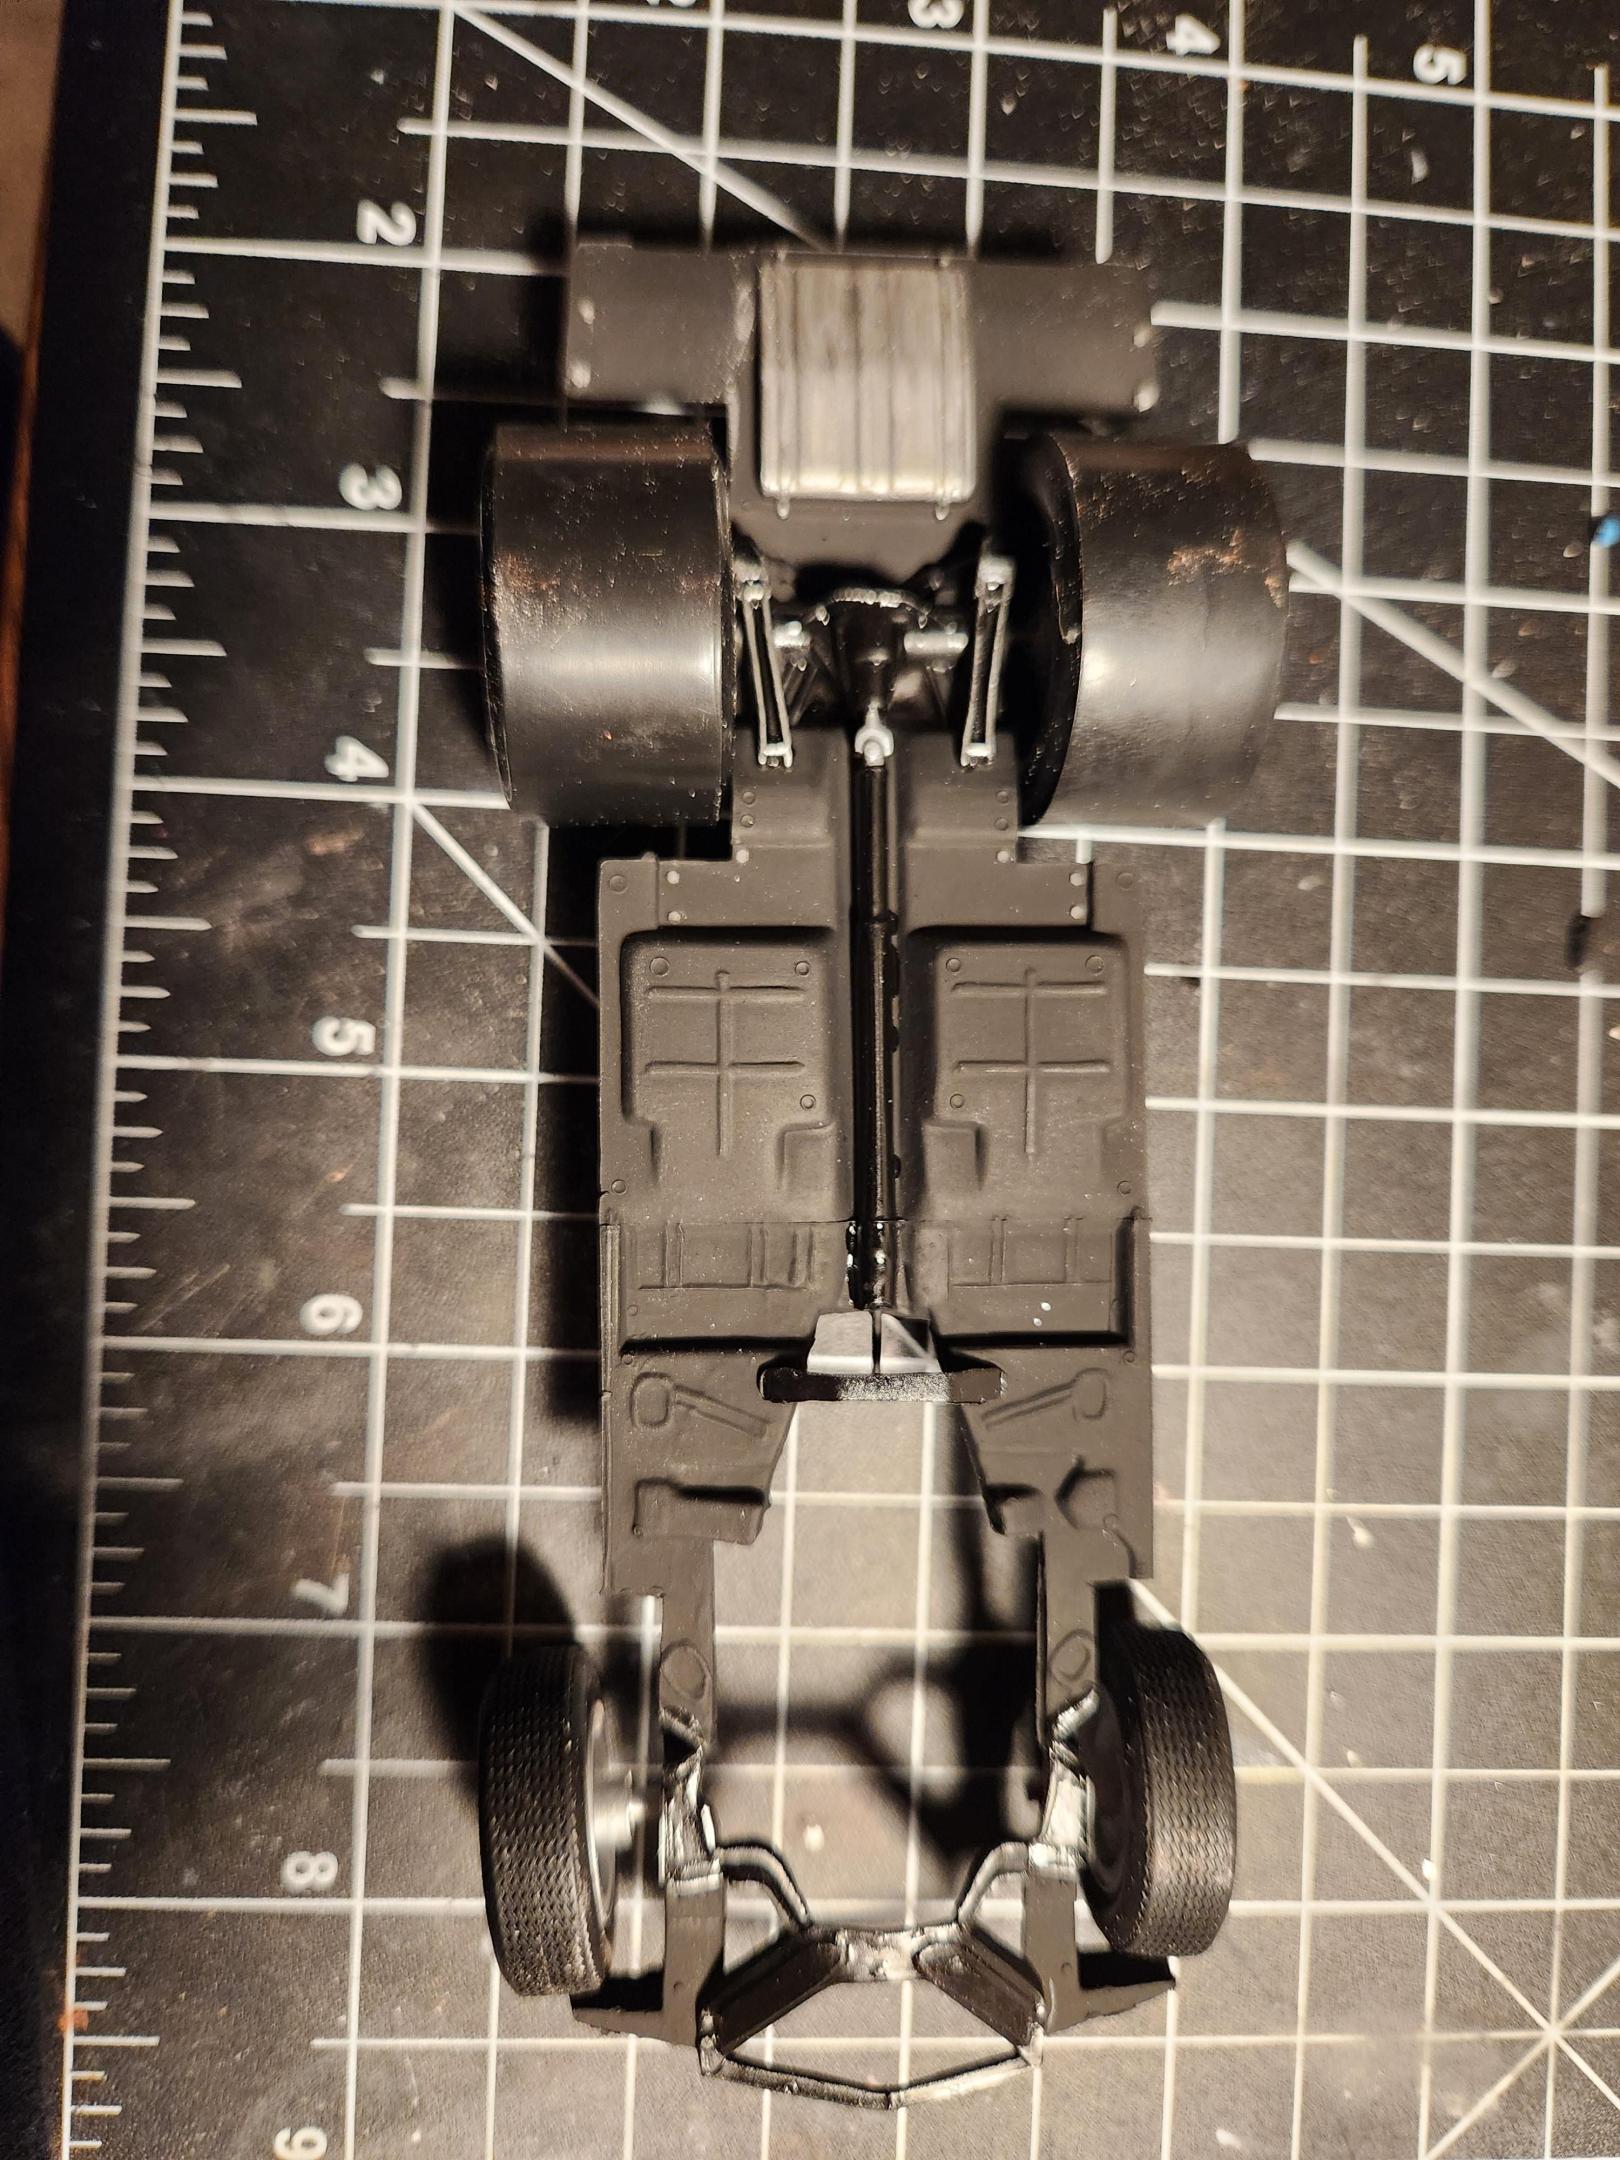
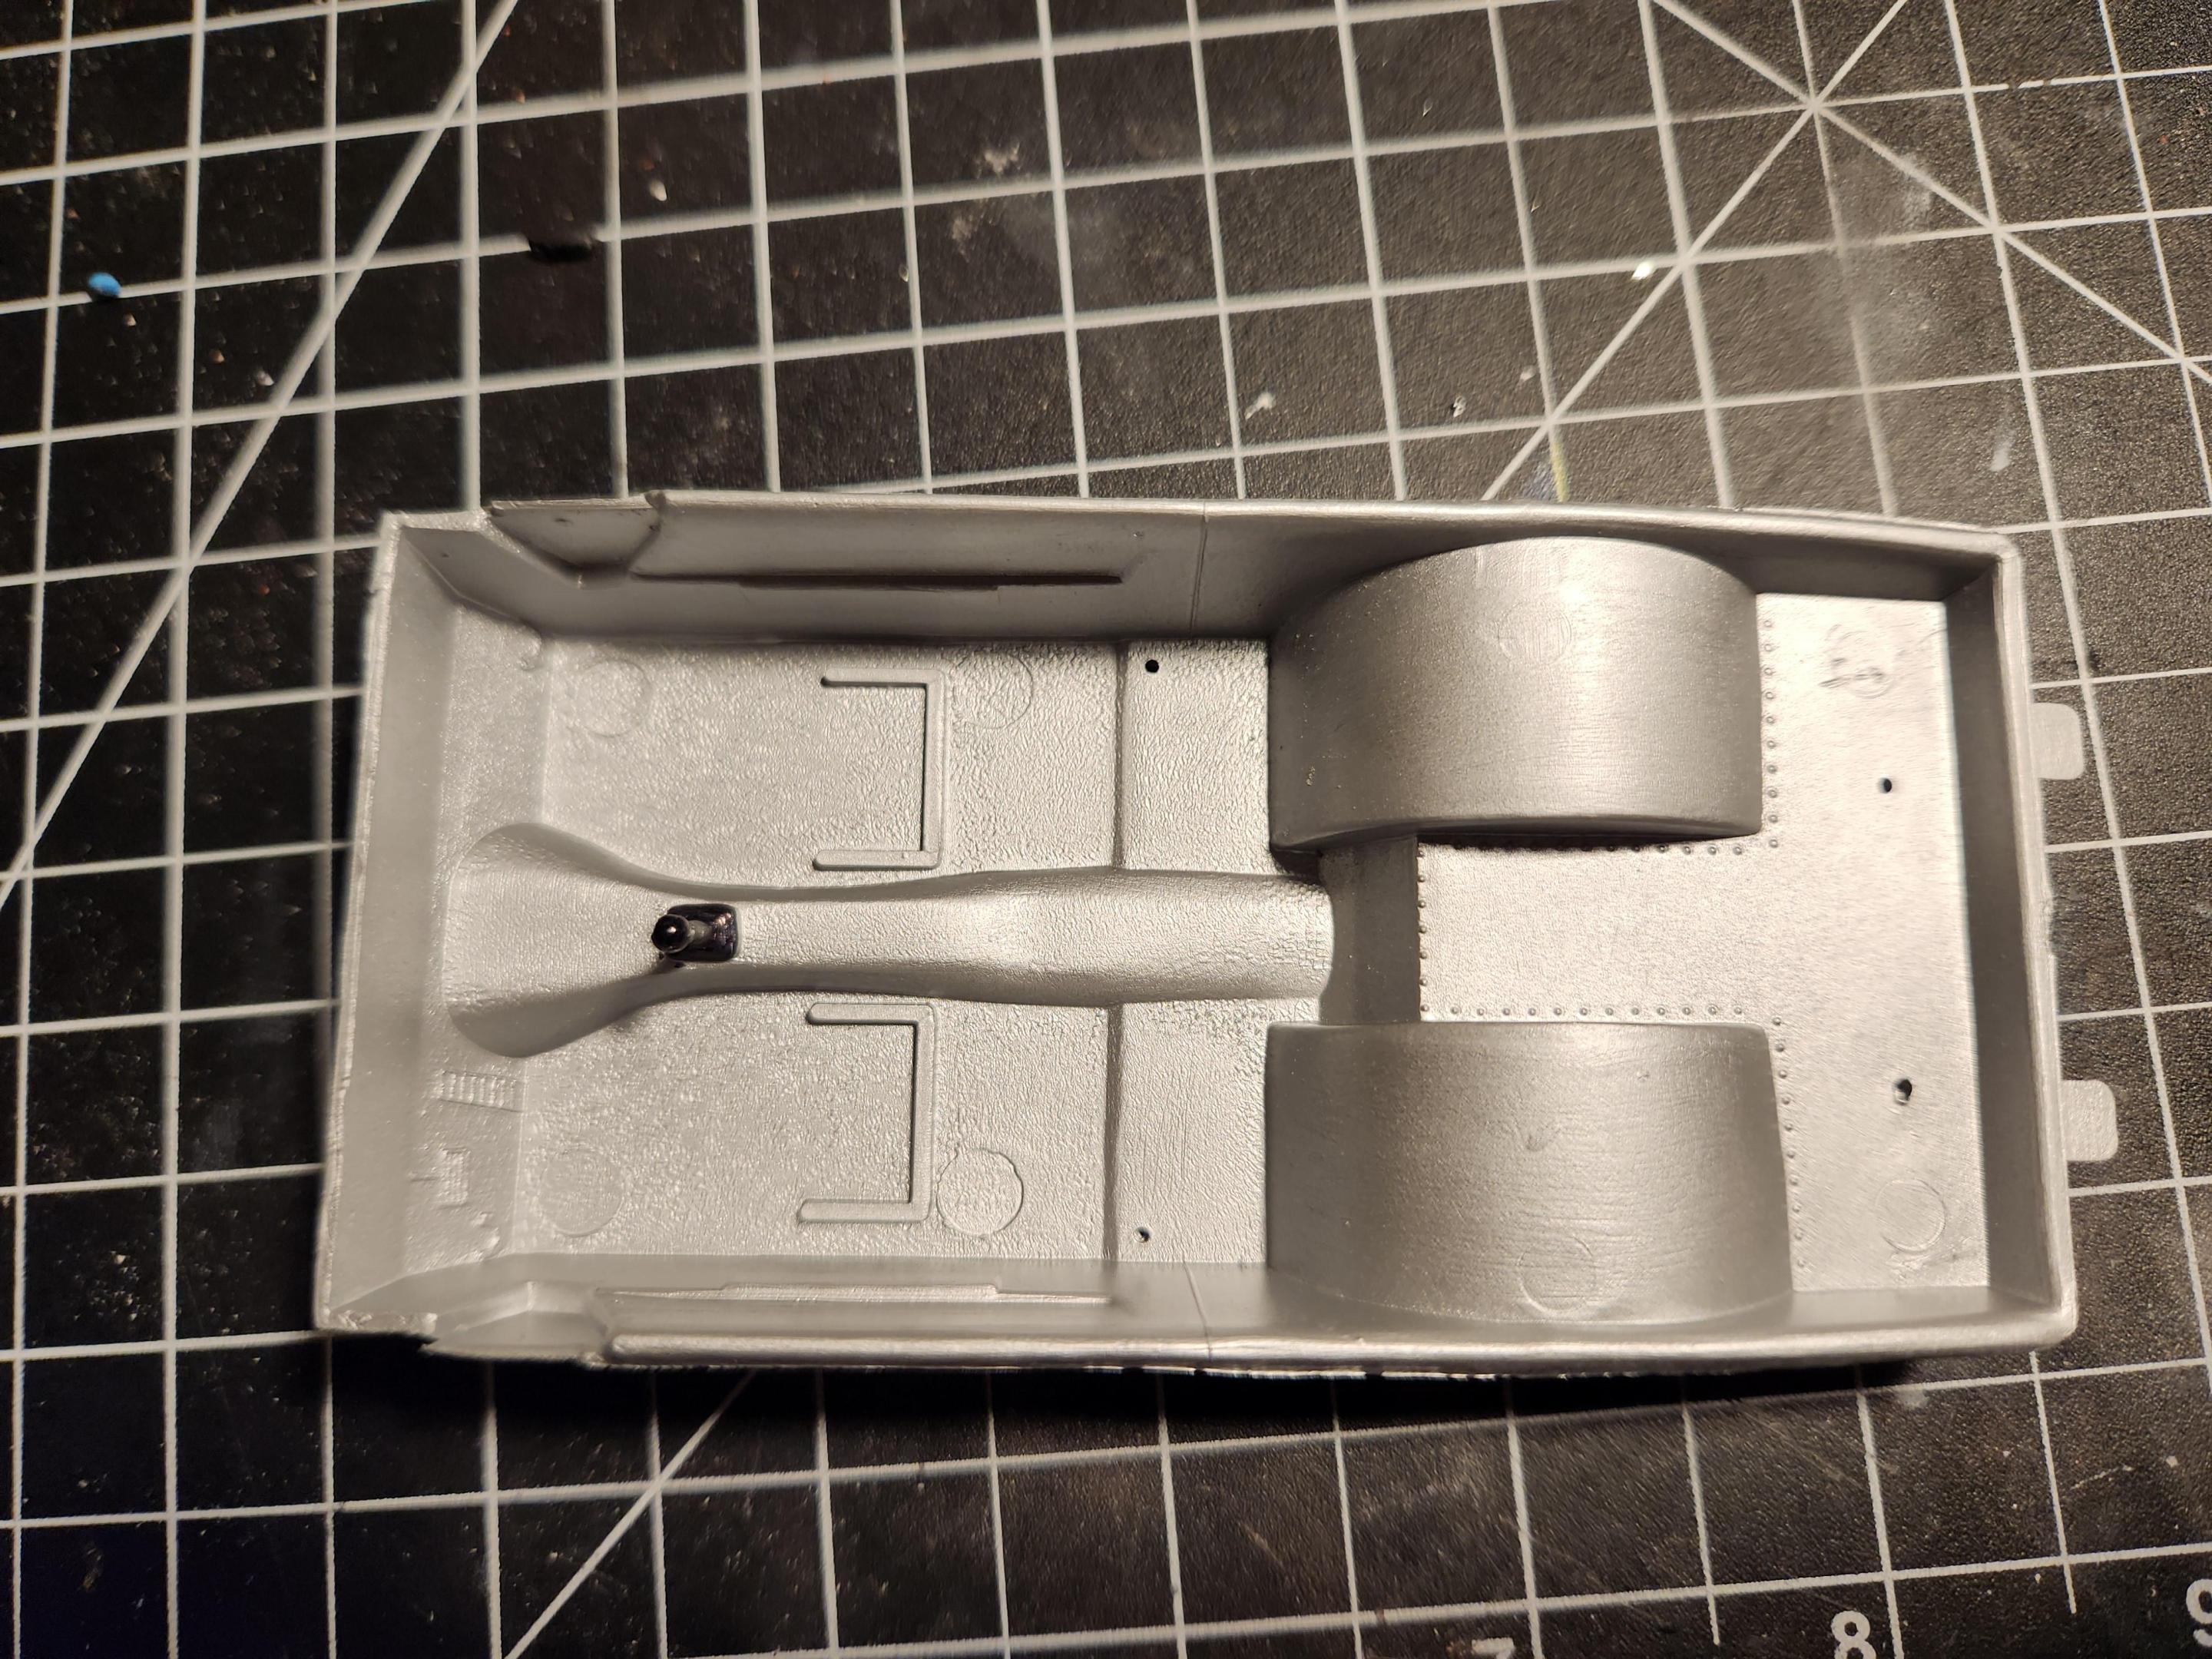
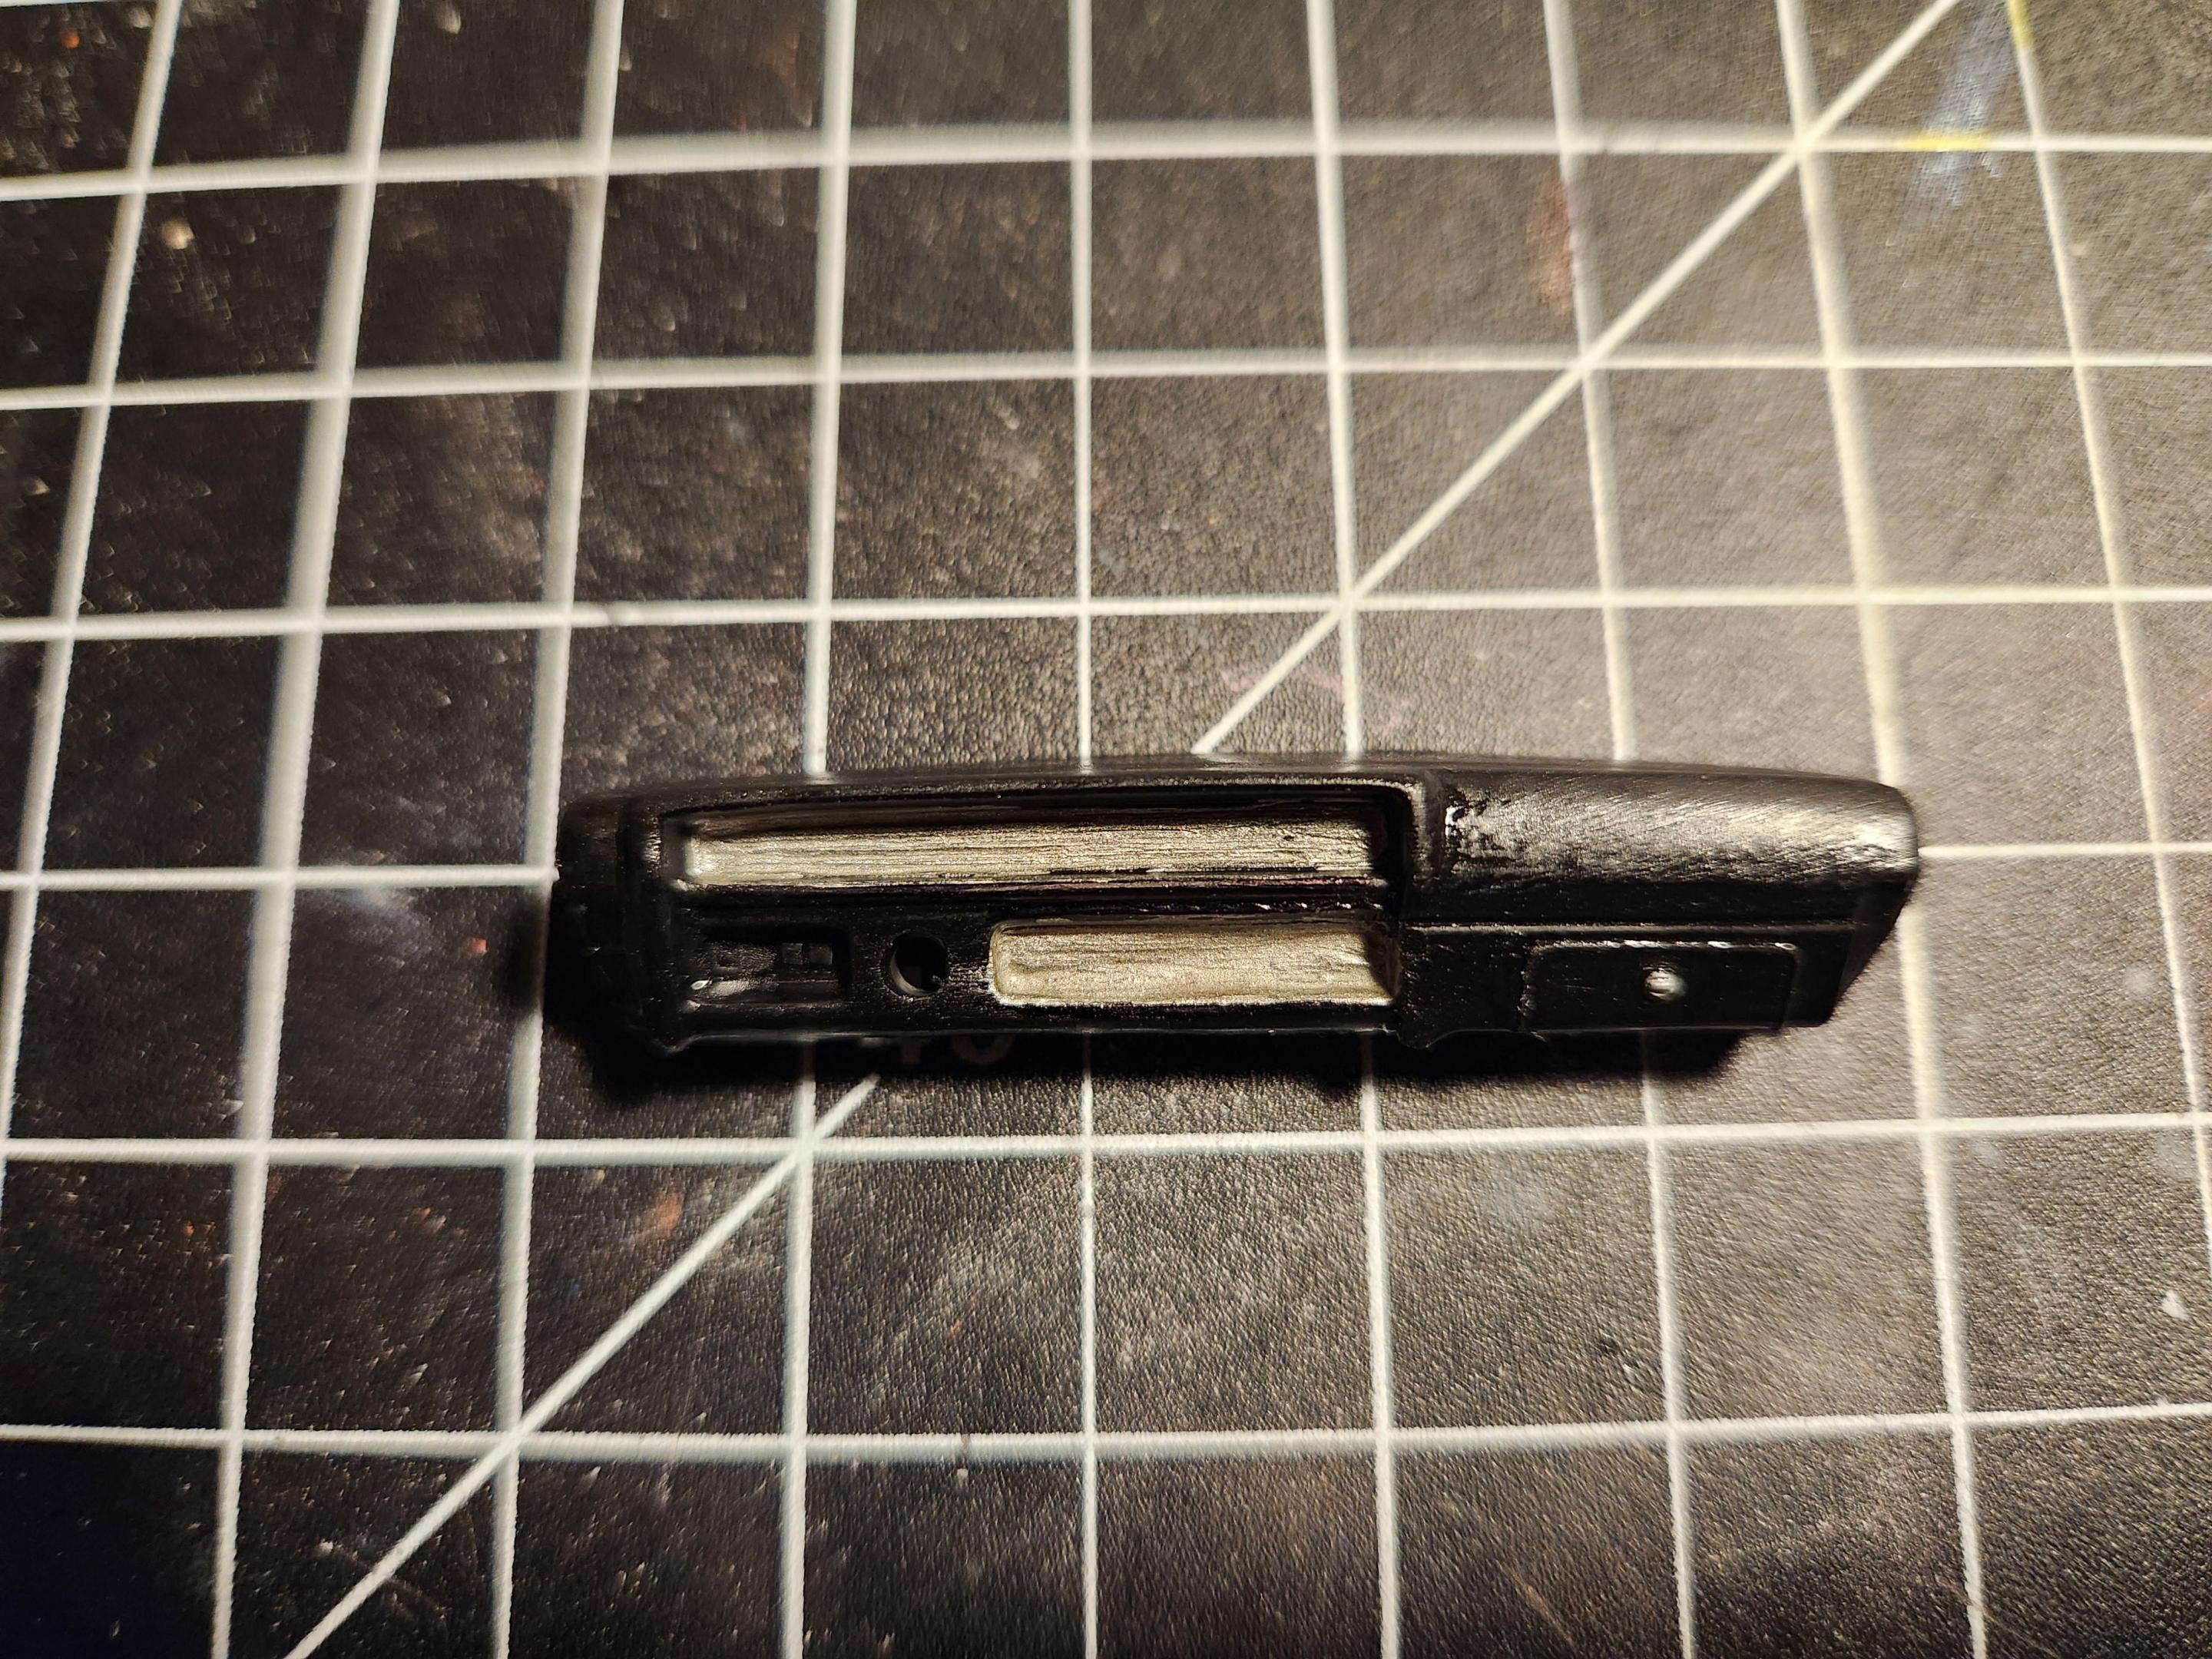
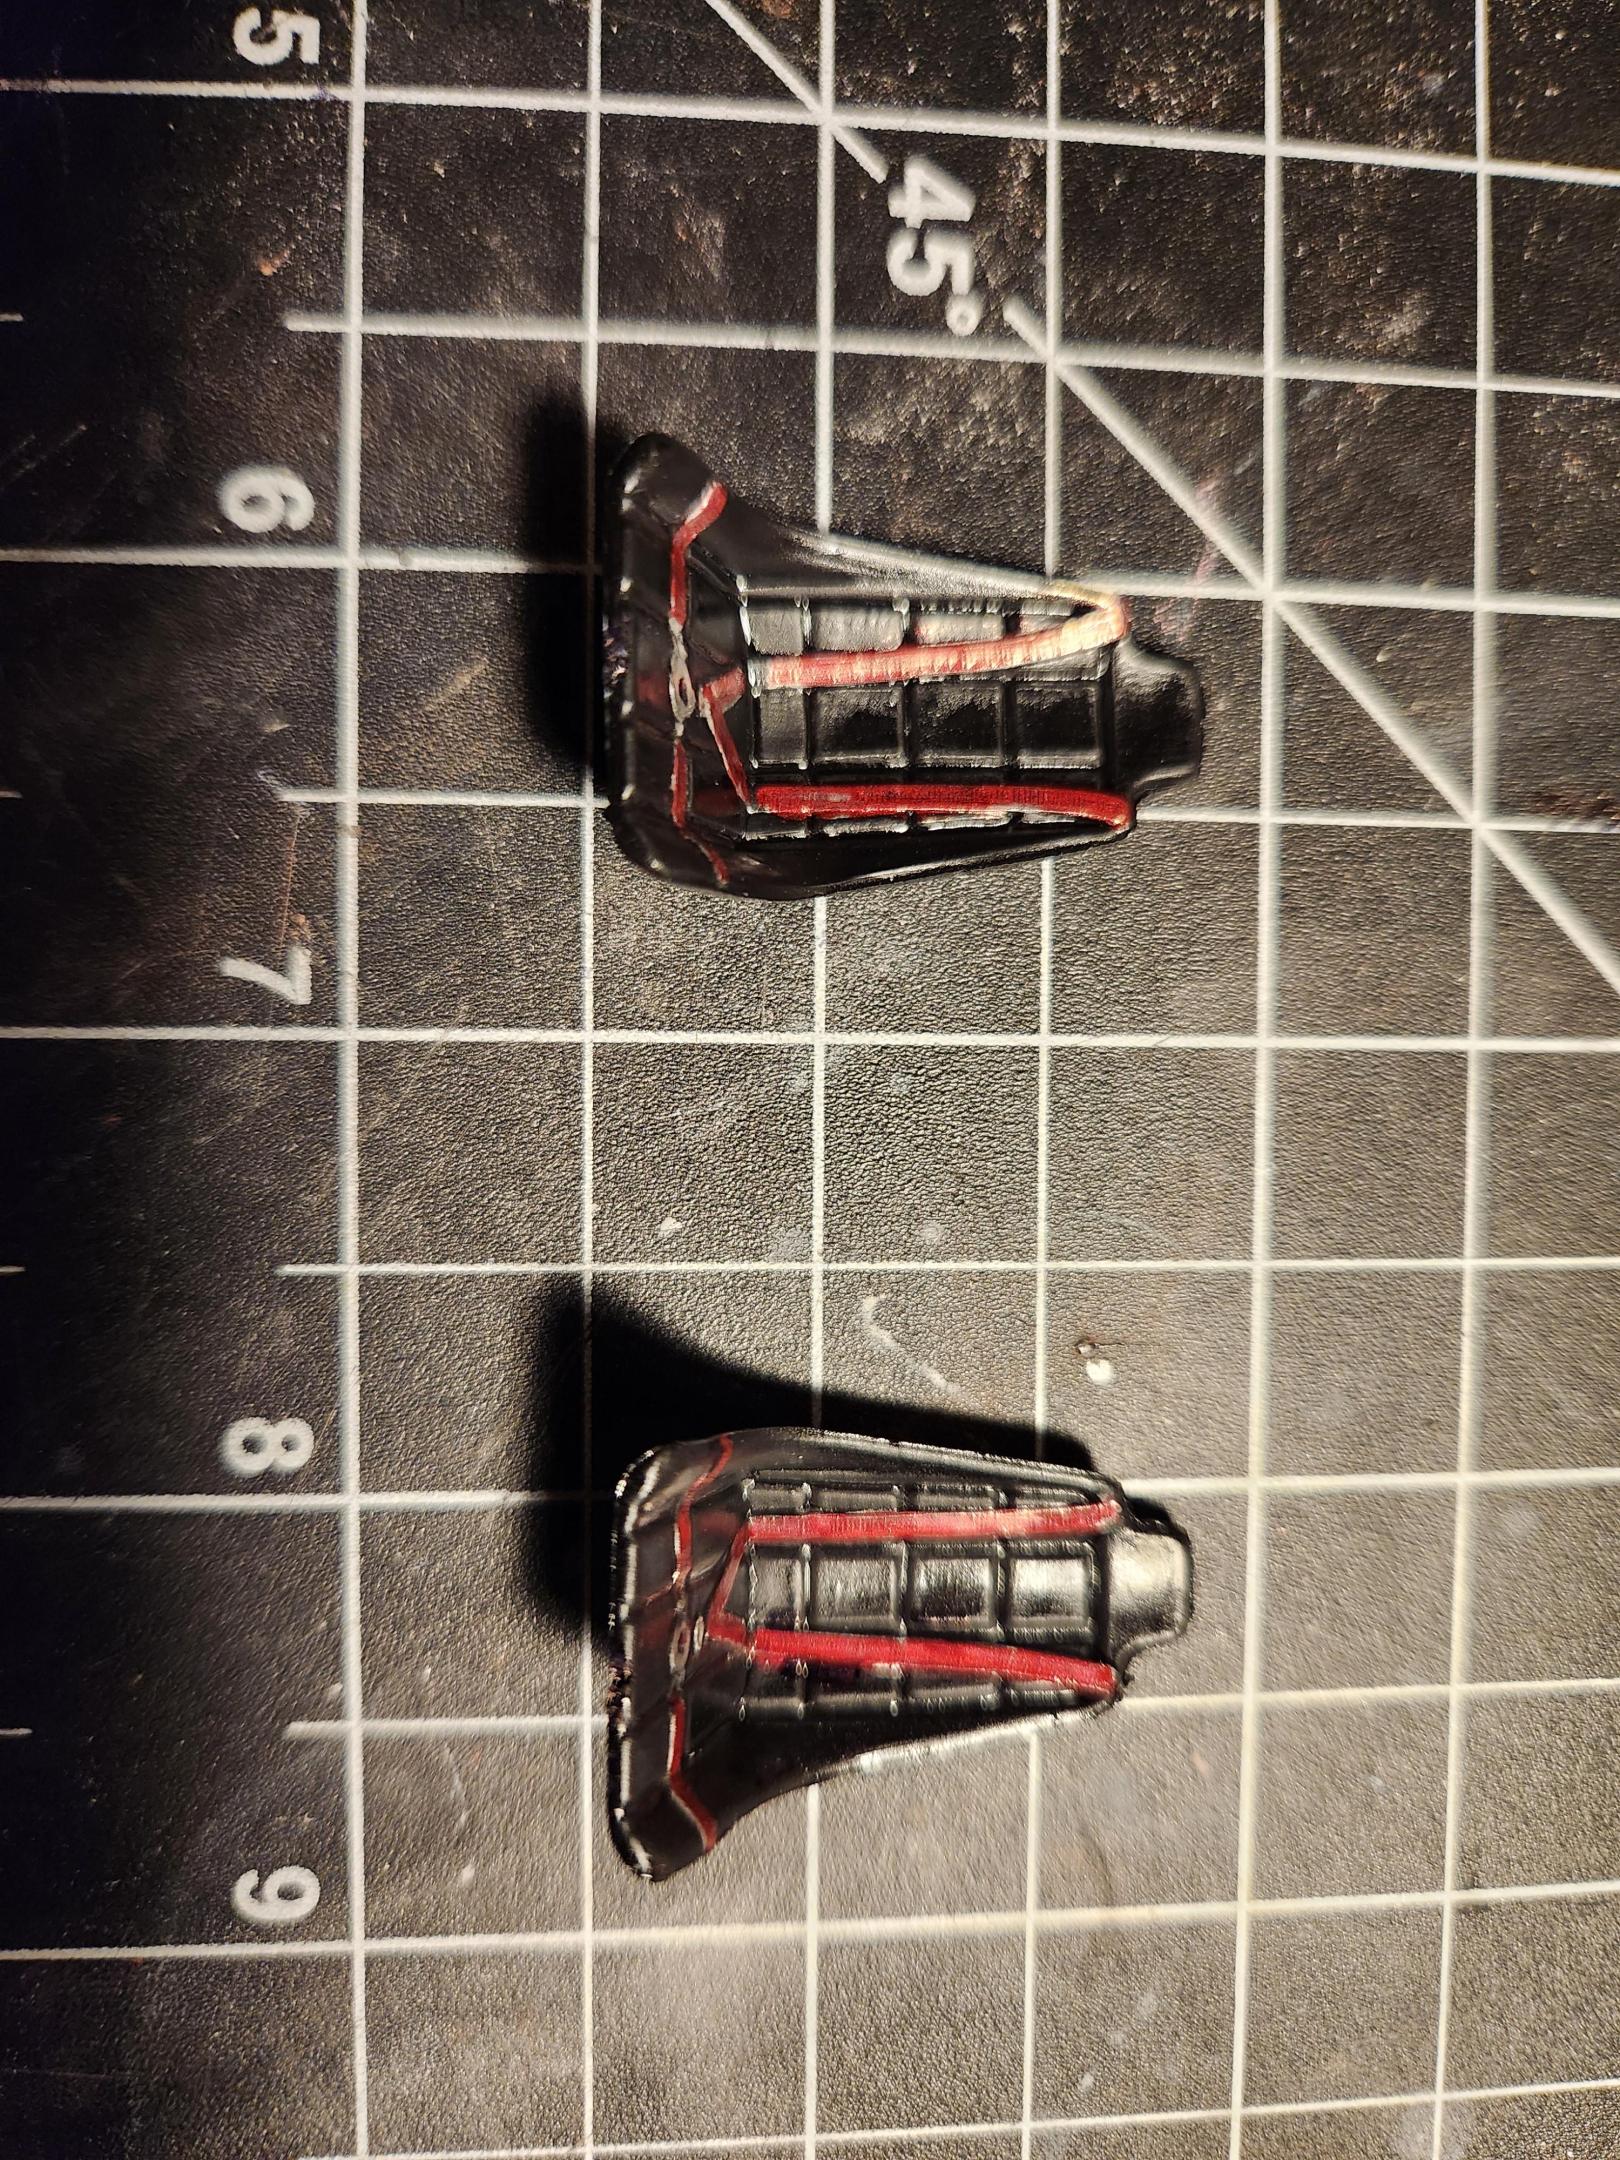
Hello everyone. As I'm working on finding bumpers for my sox and martin cuda I decided to start this project. I started it last week and got to work on cleaning up the body. I then worked on the engine and put a different. I decided to replace the tunnel ram intake the kit came with one that would be better suited for a hemi or a ford because of the equally spaced exhaust ports. I also cut out the inner fenders on the front because on the real car they were flat and not round. I then made the flat sheets to go on the inner fenders because they would be more accurate. I was deciding on whether or not I wanted to make the finder well headers that the car has, but I am now leaning towards just using the kit ones and just going for the flat inner fenders. i also sanded down the detail on the fire wall and filled in the gaps. I then started working on the roll cage and added a crossbar in the back because that is what the real car had. I just used some straightened out paper clip for this. Then I threw some black paint on it. I started to add some paint to the chassis. Painted it flat black and accented the rear differential and front suspension with glass black paint. Lastly i painted the interior, dash, and seats. I shaved all the detail off the dash and painted it silver because who needs a radio on a race car?. Then painted the intirior tub silver and added a shifter. And threw some semi-gloss black on the seats. Thanks for looking folks! Critiques and comments are welcome. FMC66
- 17 replies
-
- 3
-

-
I have a big bunch of projects on my bench, '62 Impala is waiting for the second clear coat to dry, '50 and '61 Oldsmobile Customs are waiting for paint to dry in the interior parts and then there is a '60 Fury Mild Custom on my bench as well. But this just had to get going. Santa brought this Yesterday and since it is '60s Stocker I started it immediately by searching reference material about this car. I found more information that usually when building something from this era, so I could start building right away. As I already posted on Car Kit Reviews section, my kit (as well as many others) had one Racemaster and one Good Year slick tire. I sanded the tire texts away with a 400 grit sandpaper. Then I sanded the tires up to 1,000 grit and they looked pretty good. I might finish them with 2,000 grit paper, but I'll have to think about that... Then I moved on to the engine. After some sanding and removing mold flash, I glued the block halves together. With some Liquid Glue by Tamiya and sanding, I got the seam smoothed out and then I painted the block and other parts with Humbrol's orange. The wheels were also painted with Humbrol Polished Aluminium. Here are Pictures of the parts trees... Here the first picture shows one sanded tire and other one as it came from the box. The other one shows both tires sanded smooth. Engine and Wheels. And last... One picture of the real car.
-
I was wondering if anyone makes the decals for the "Grumpys Toy" XVIII COPO Camaro? http://www.gkmotorsports.com/gallery/nhra-stock-eliminator-copo-camaro/ I'd like to build this model. I already mocked it up and it looks pretty sweet
-
- Grumpys Toy
- COPO
-
(and 1 more)
Tagged with:
