Search the Community
Showing results for tags 'chevrolet'.
-
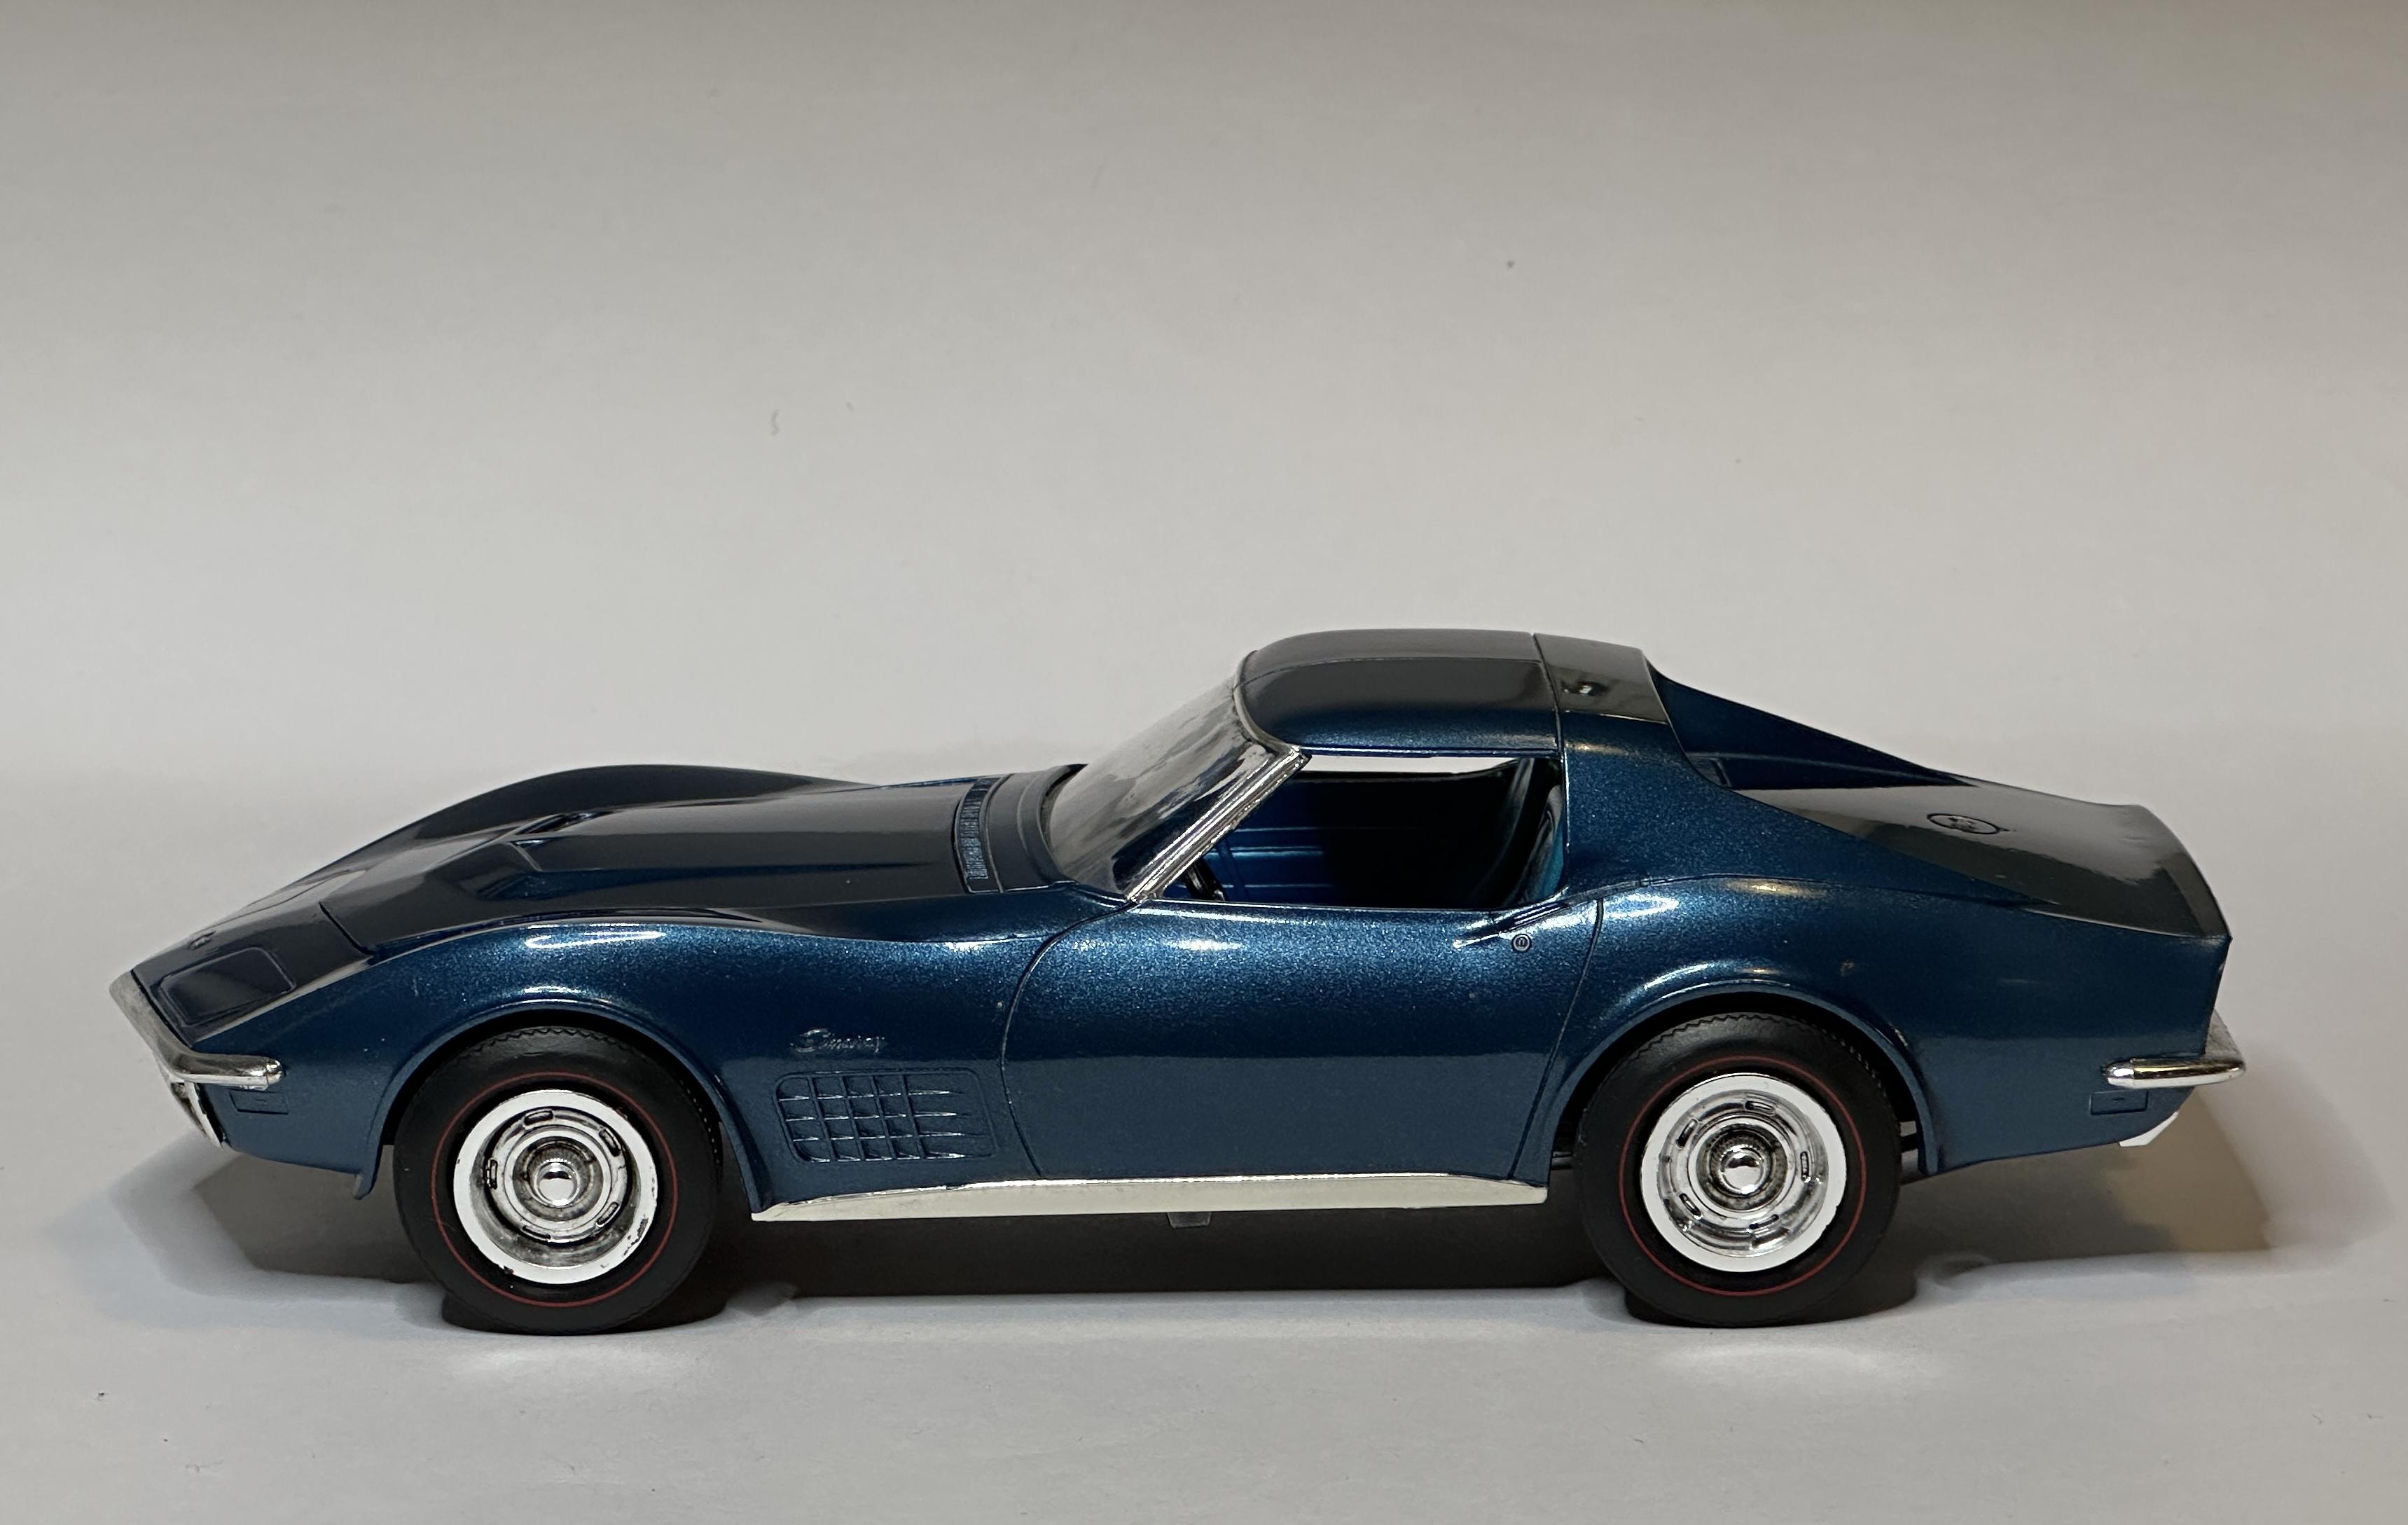
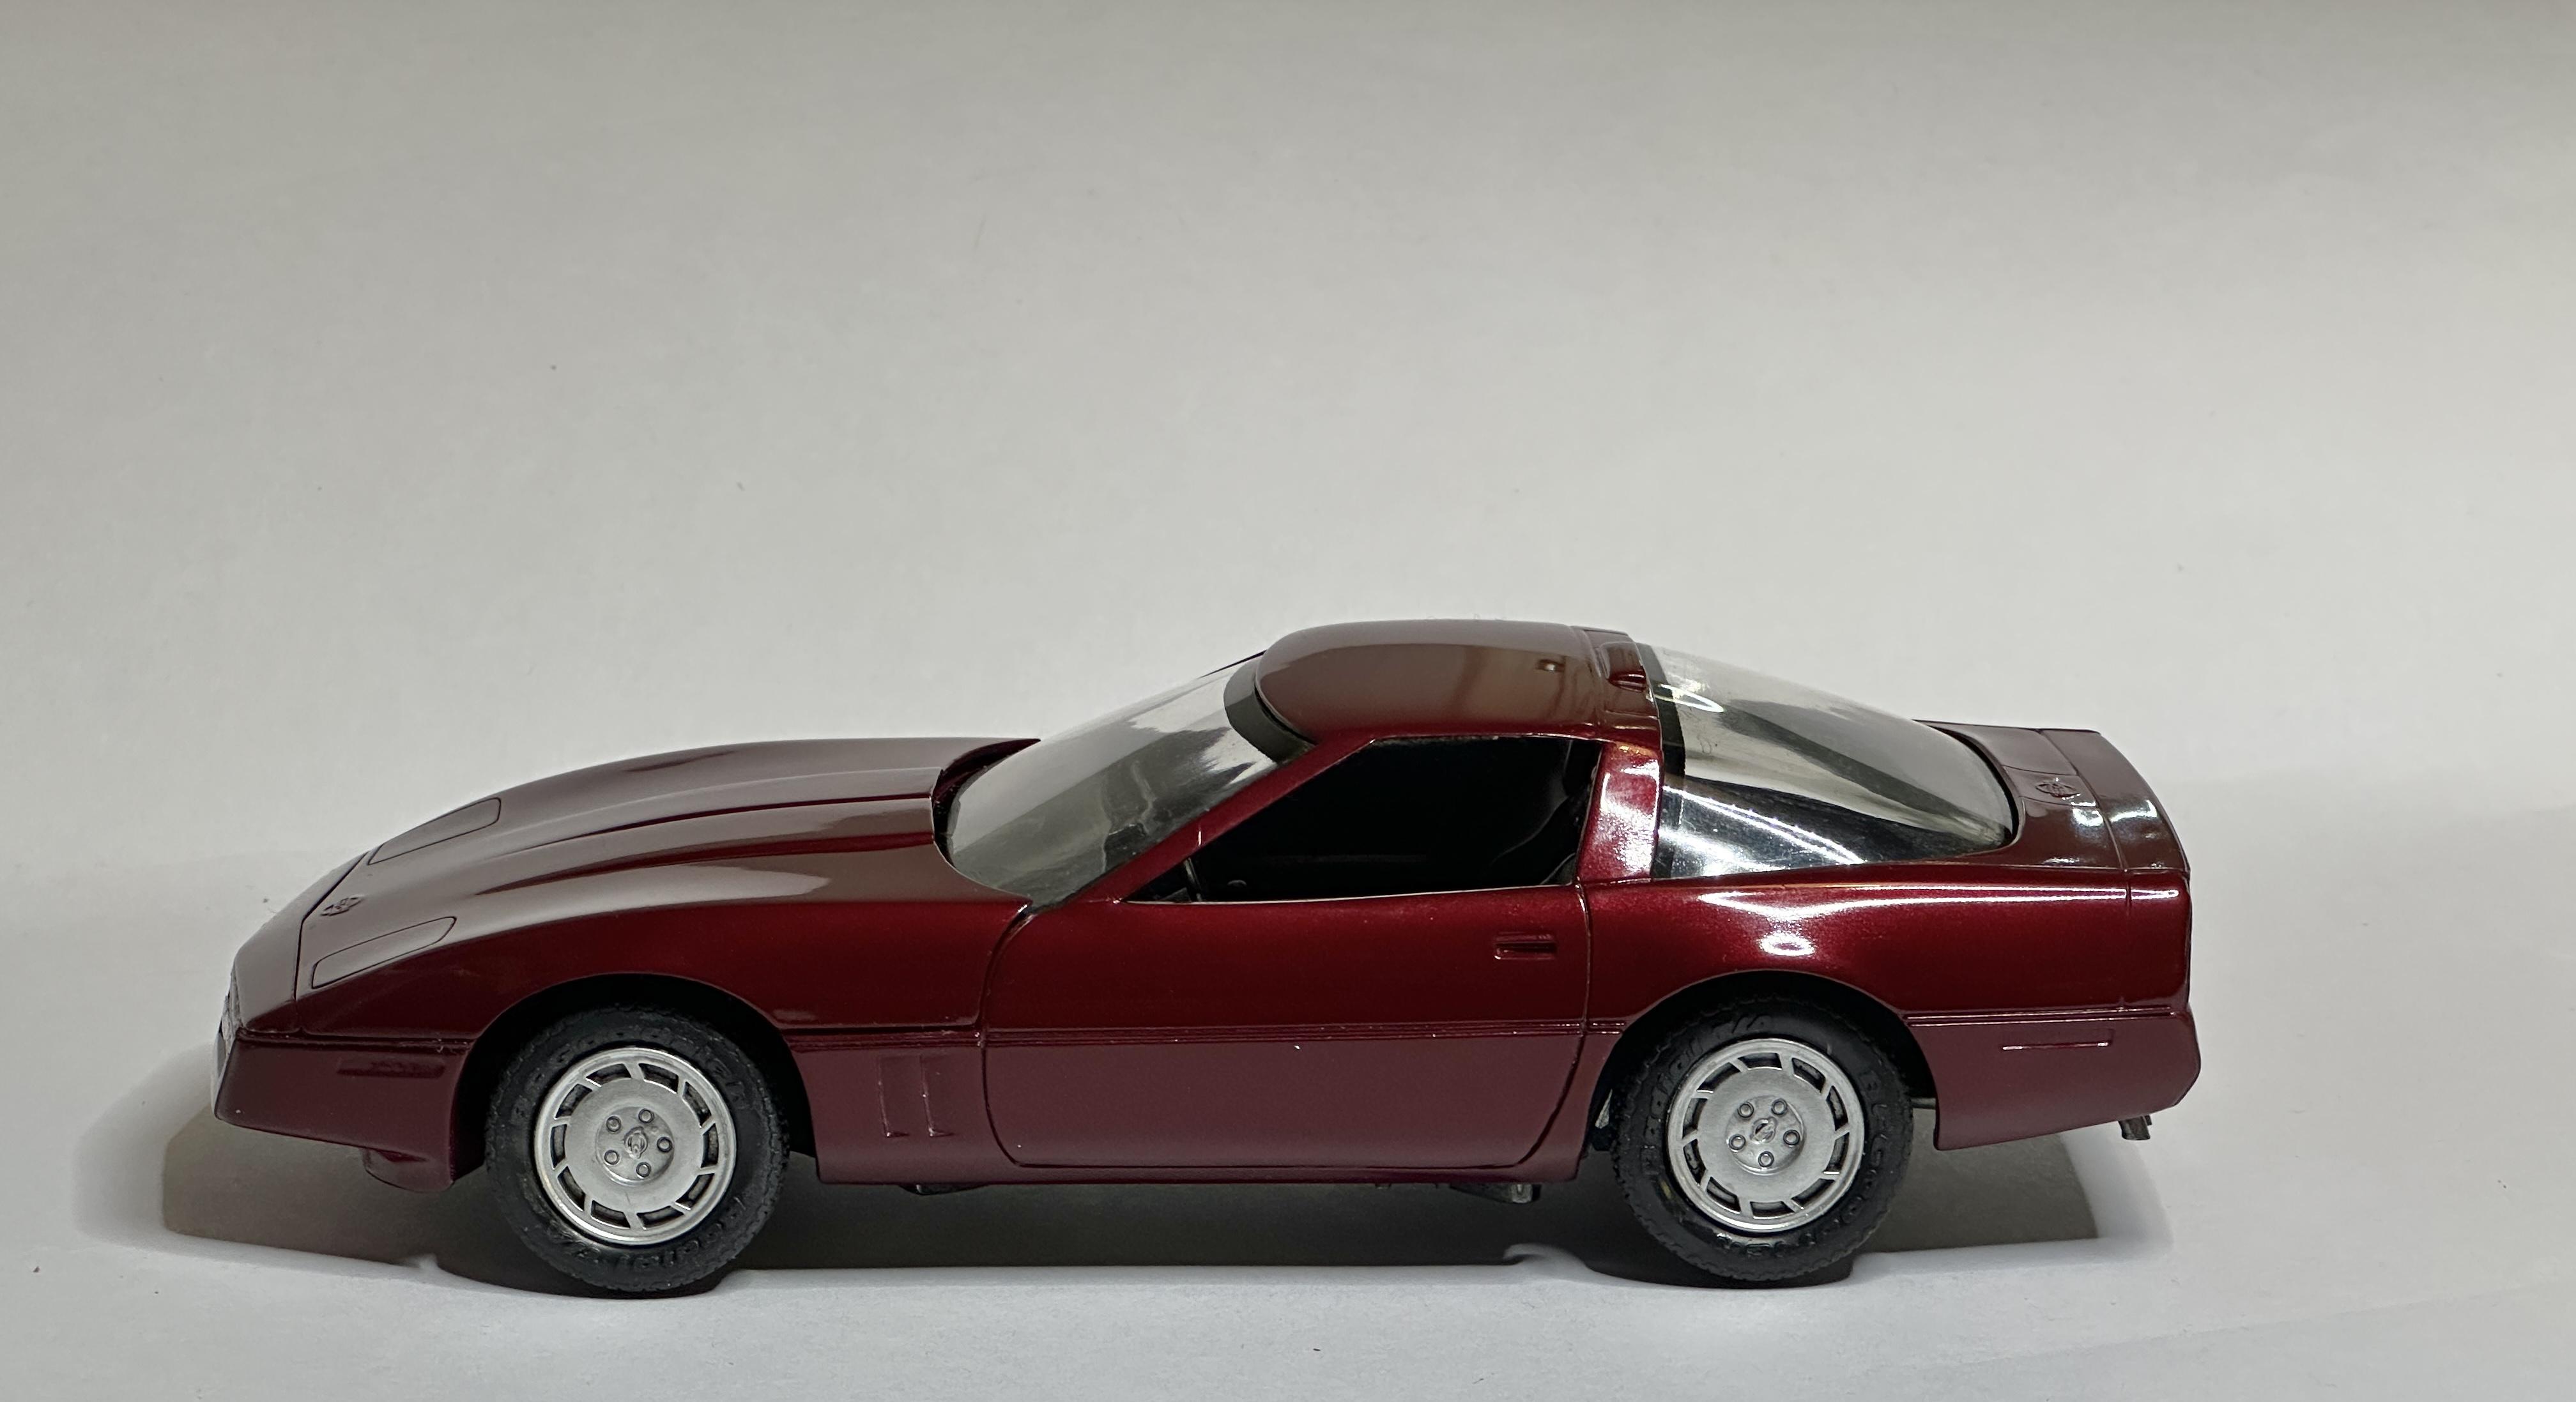
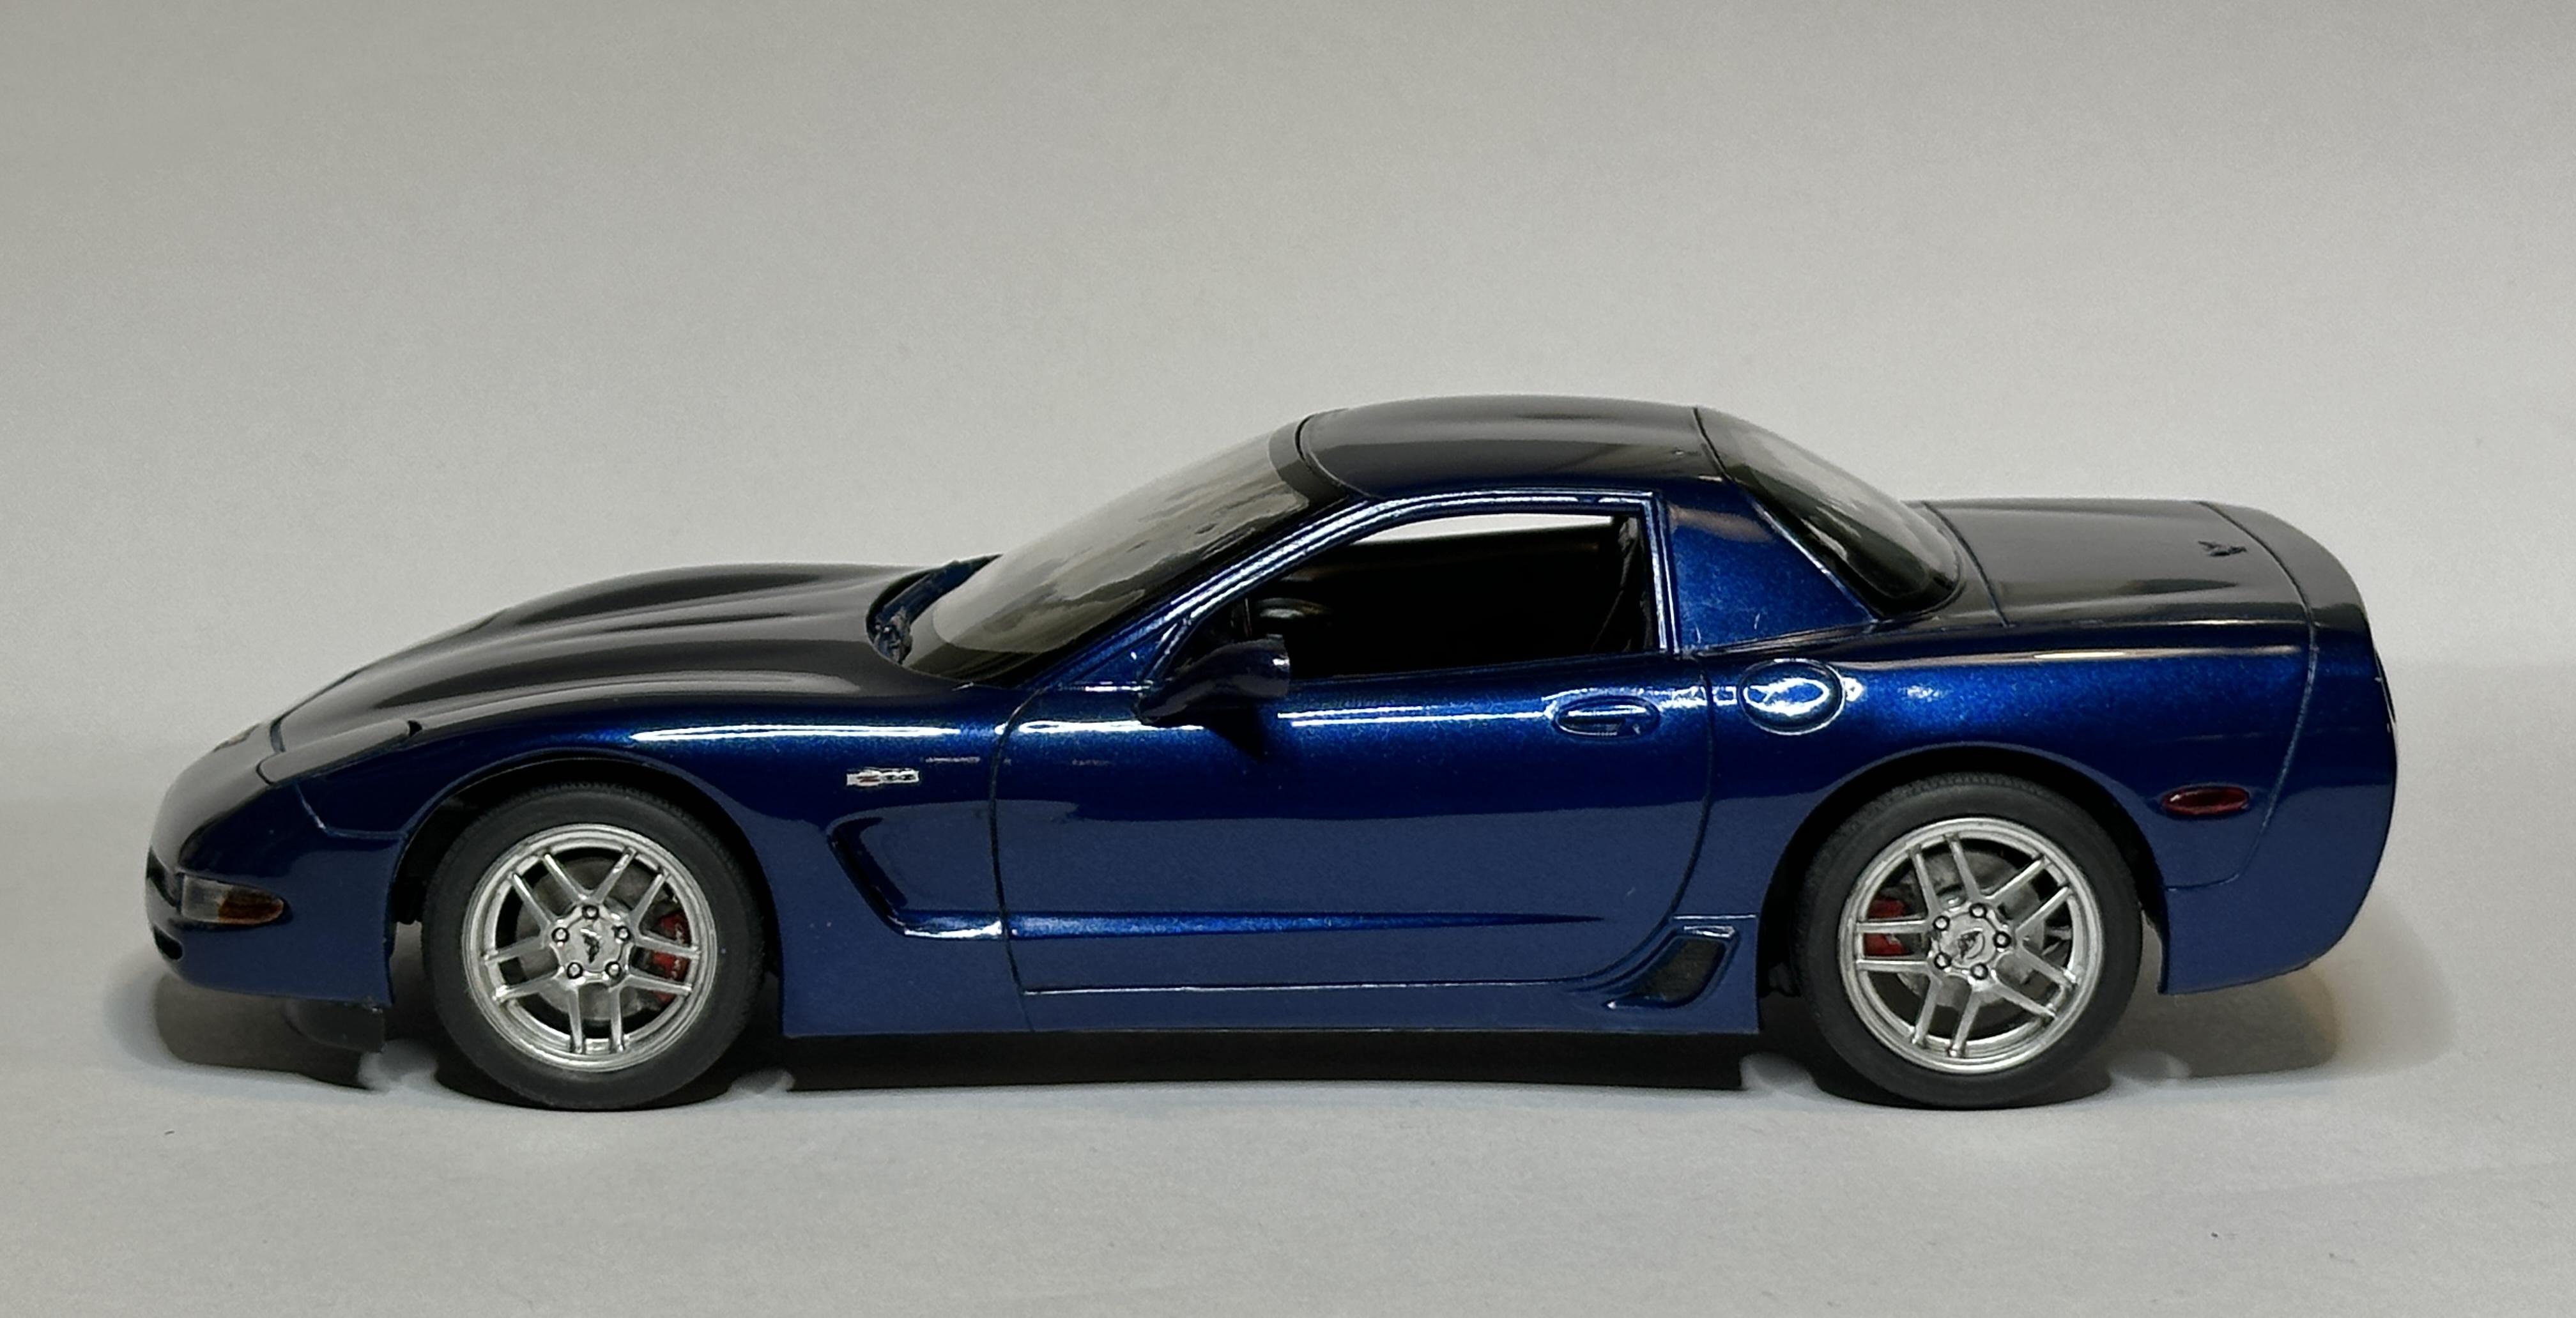
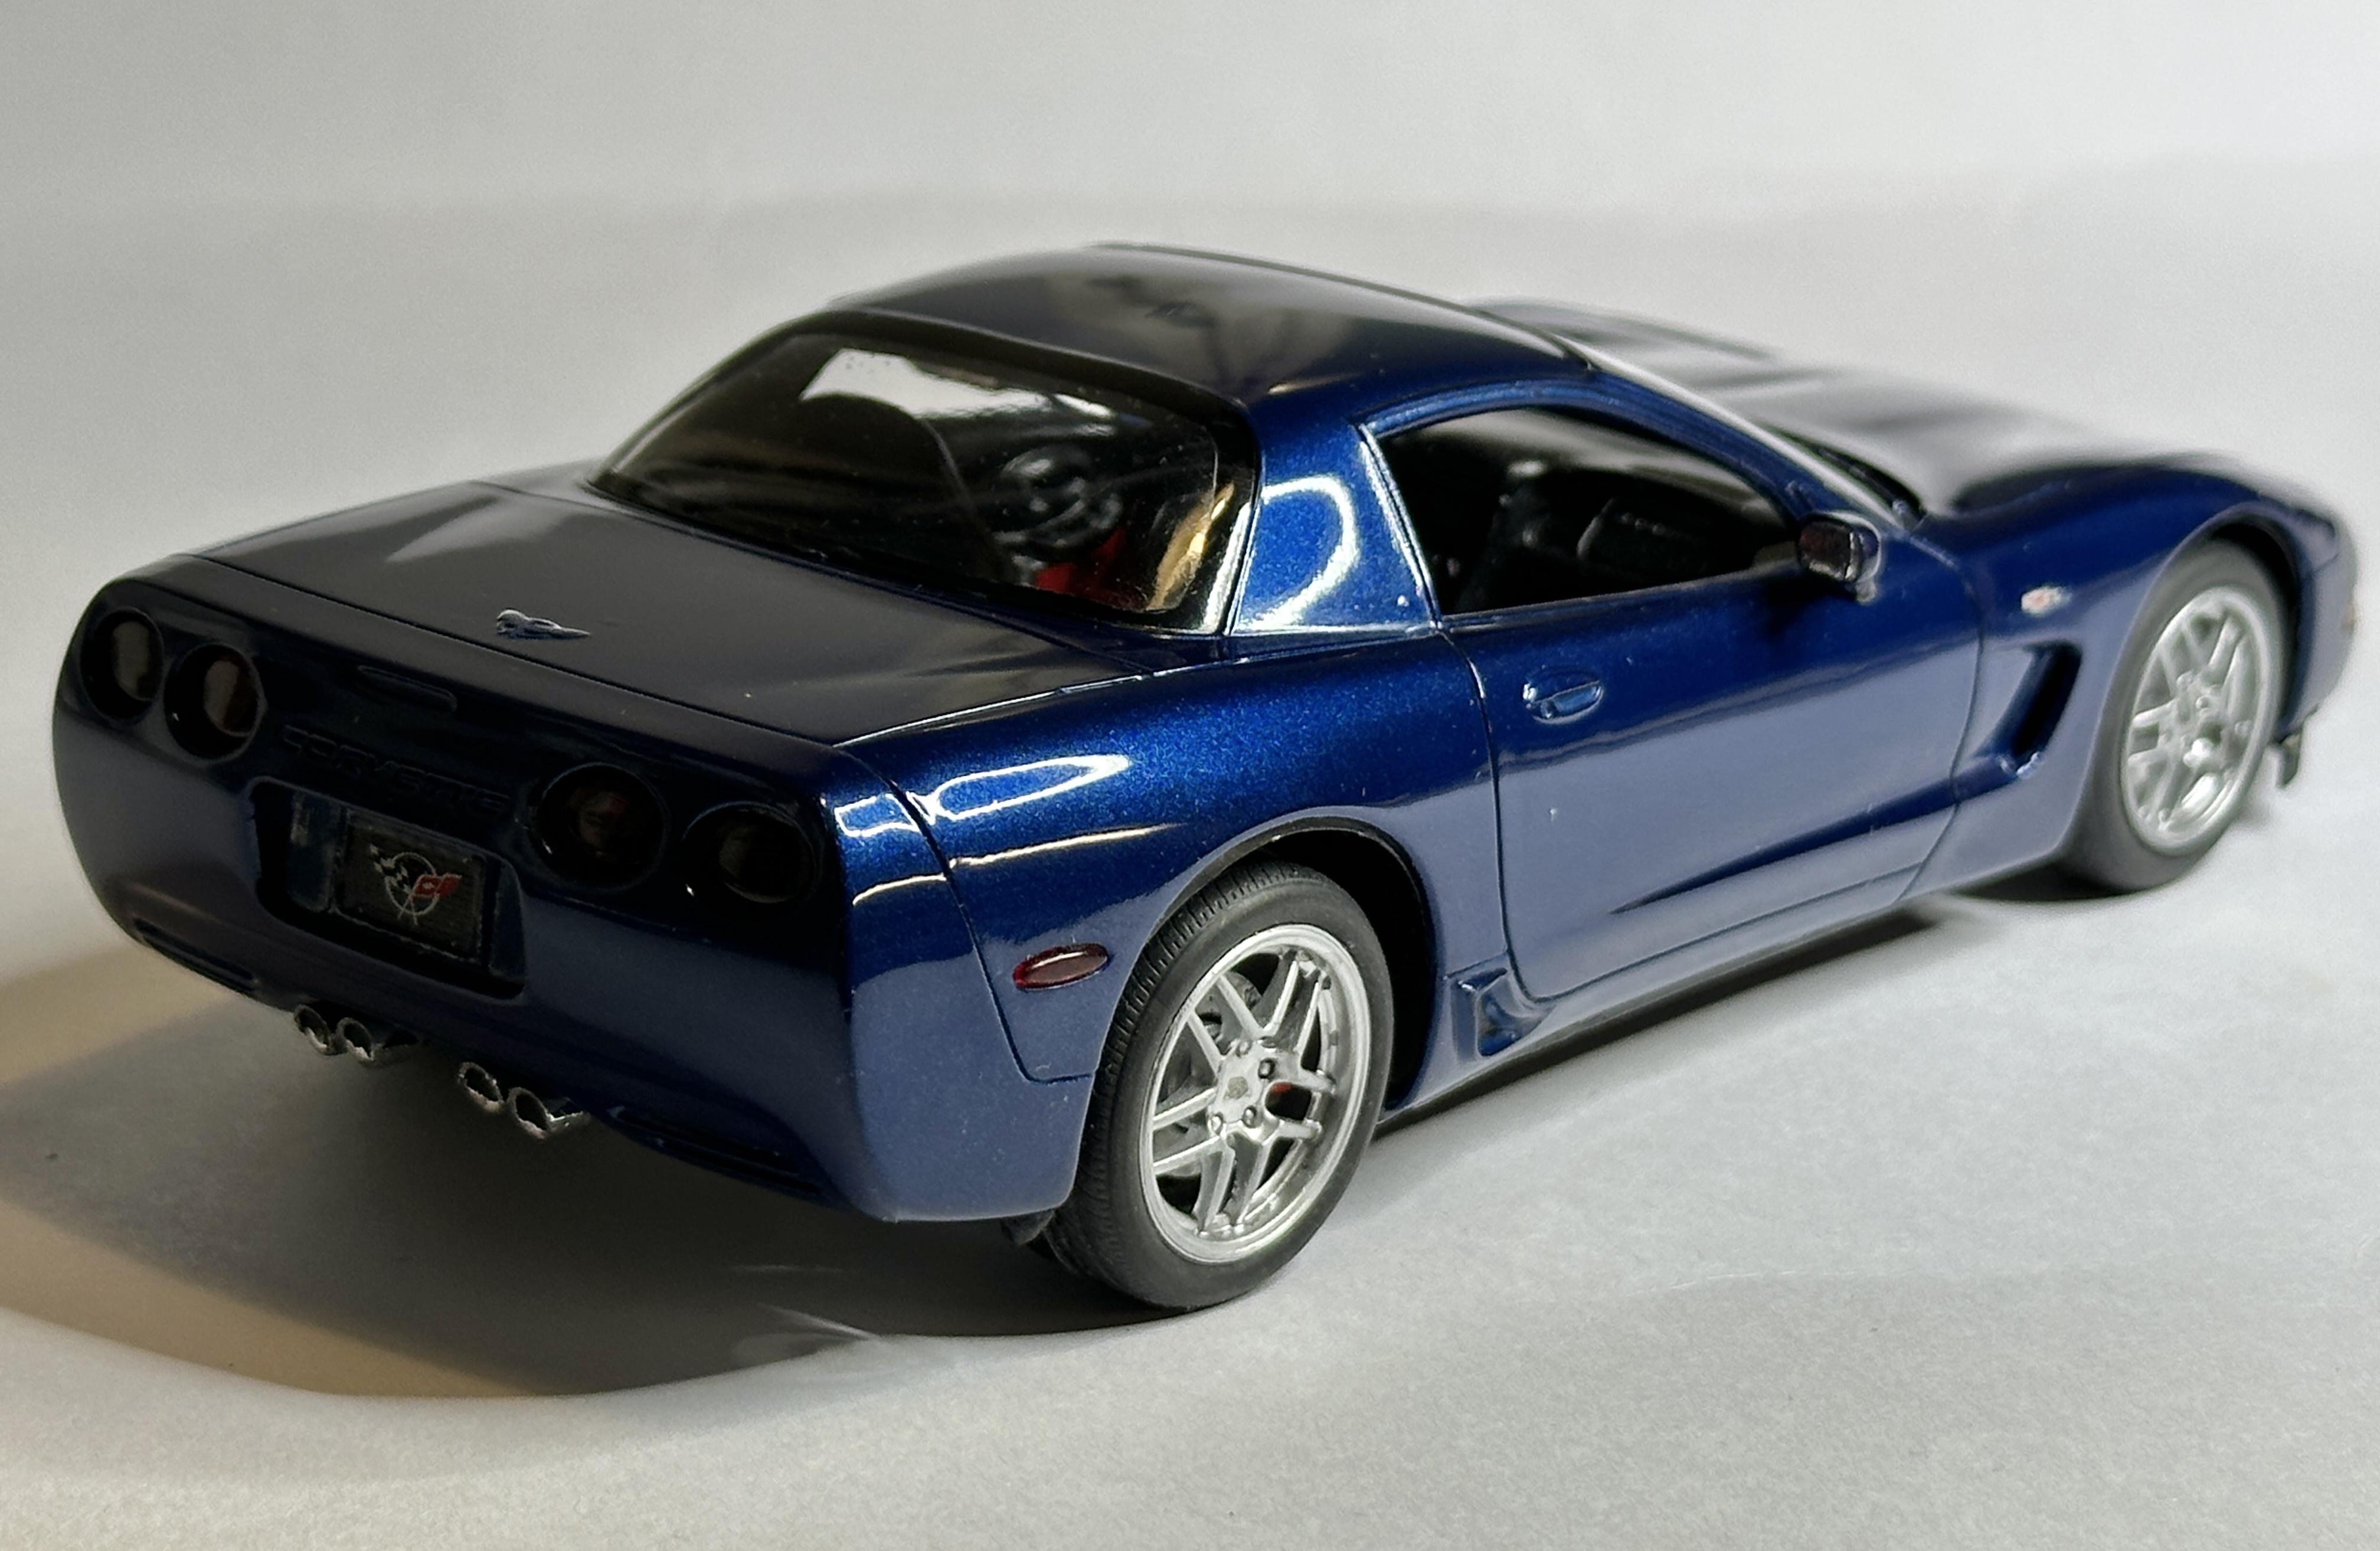
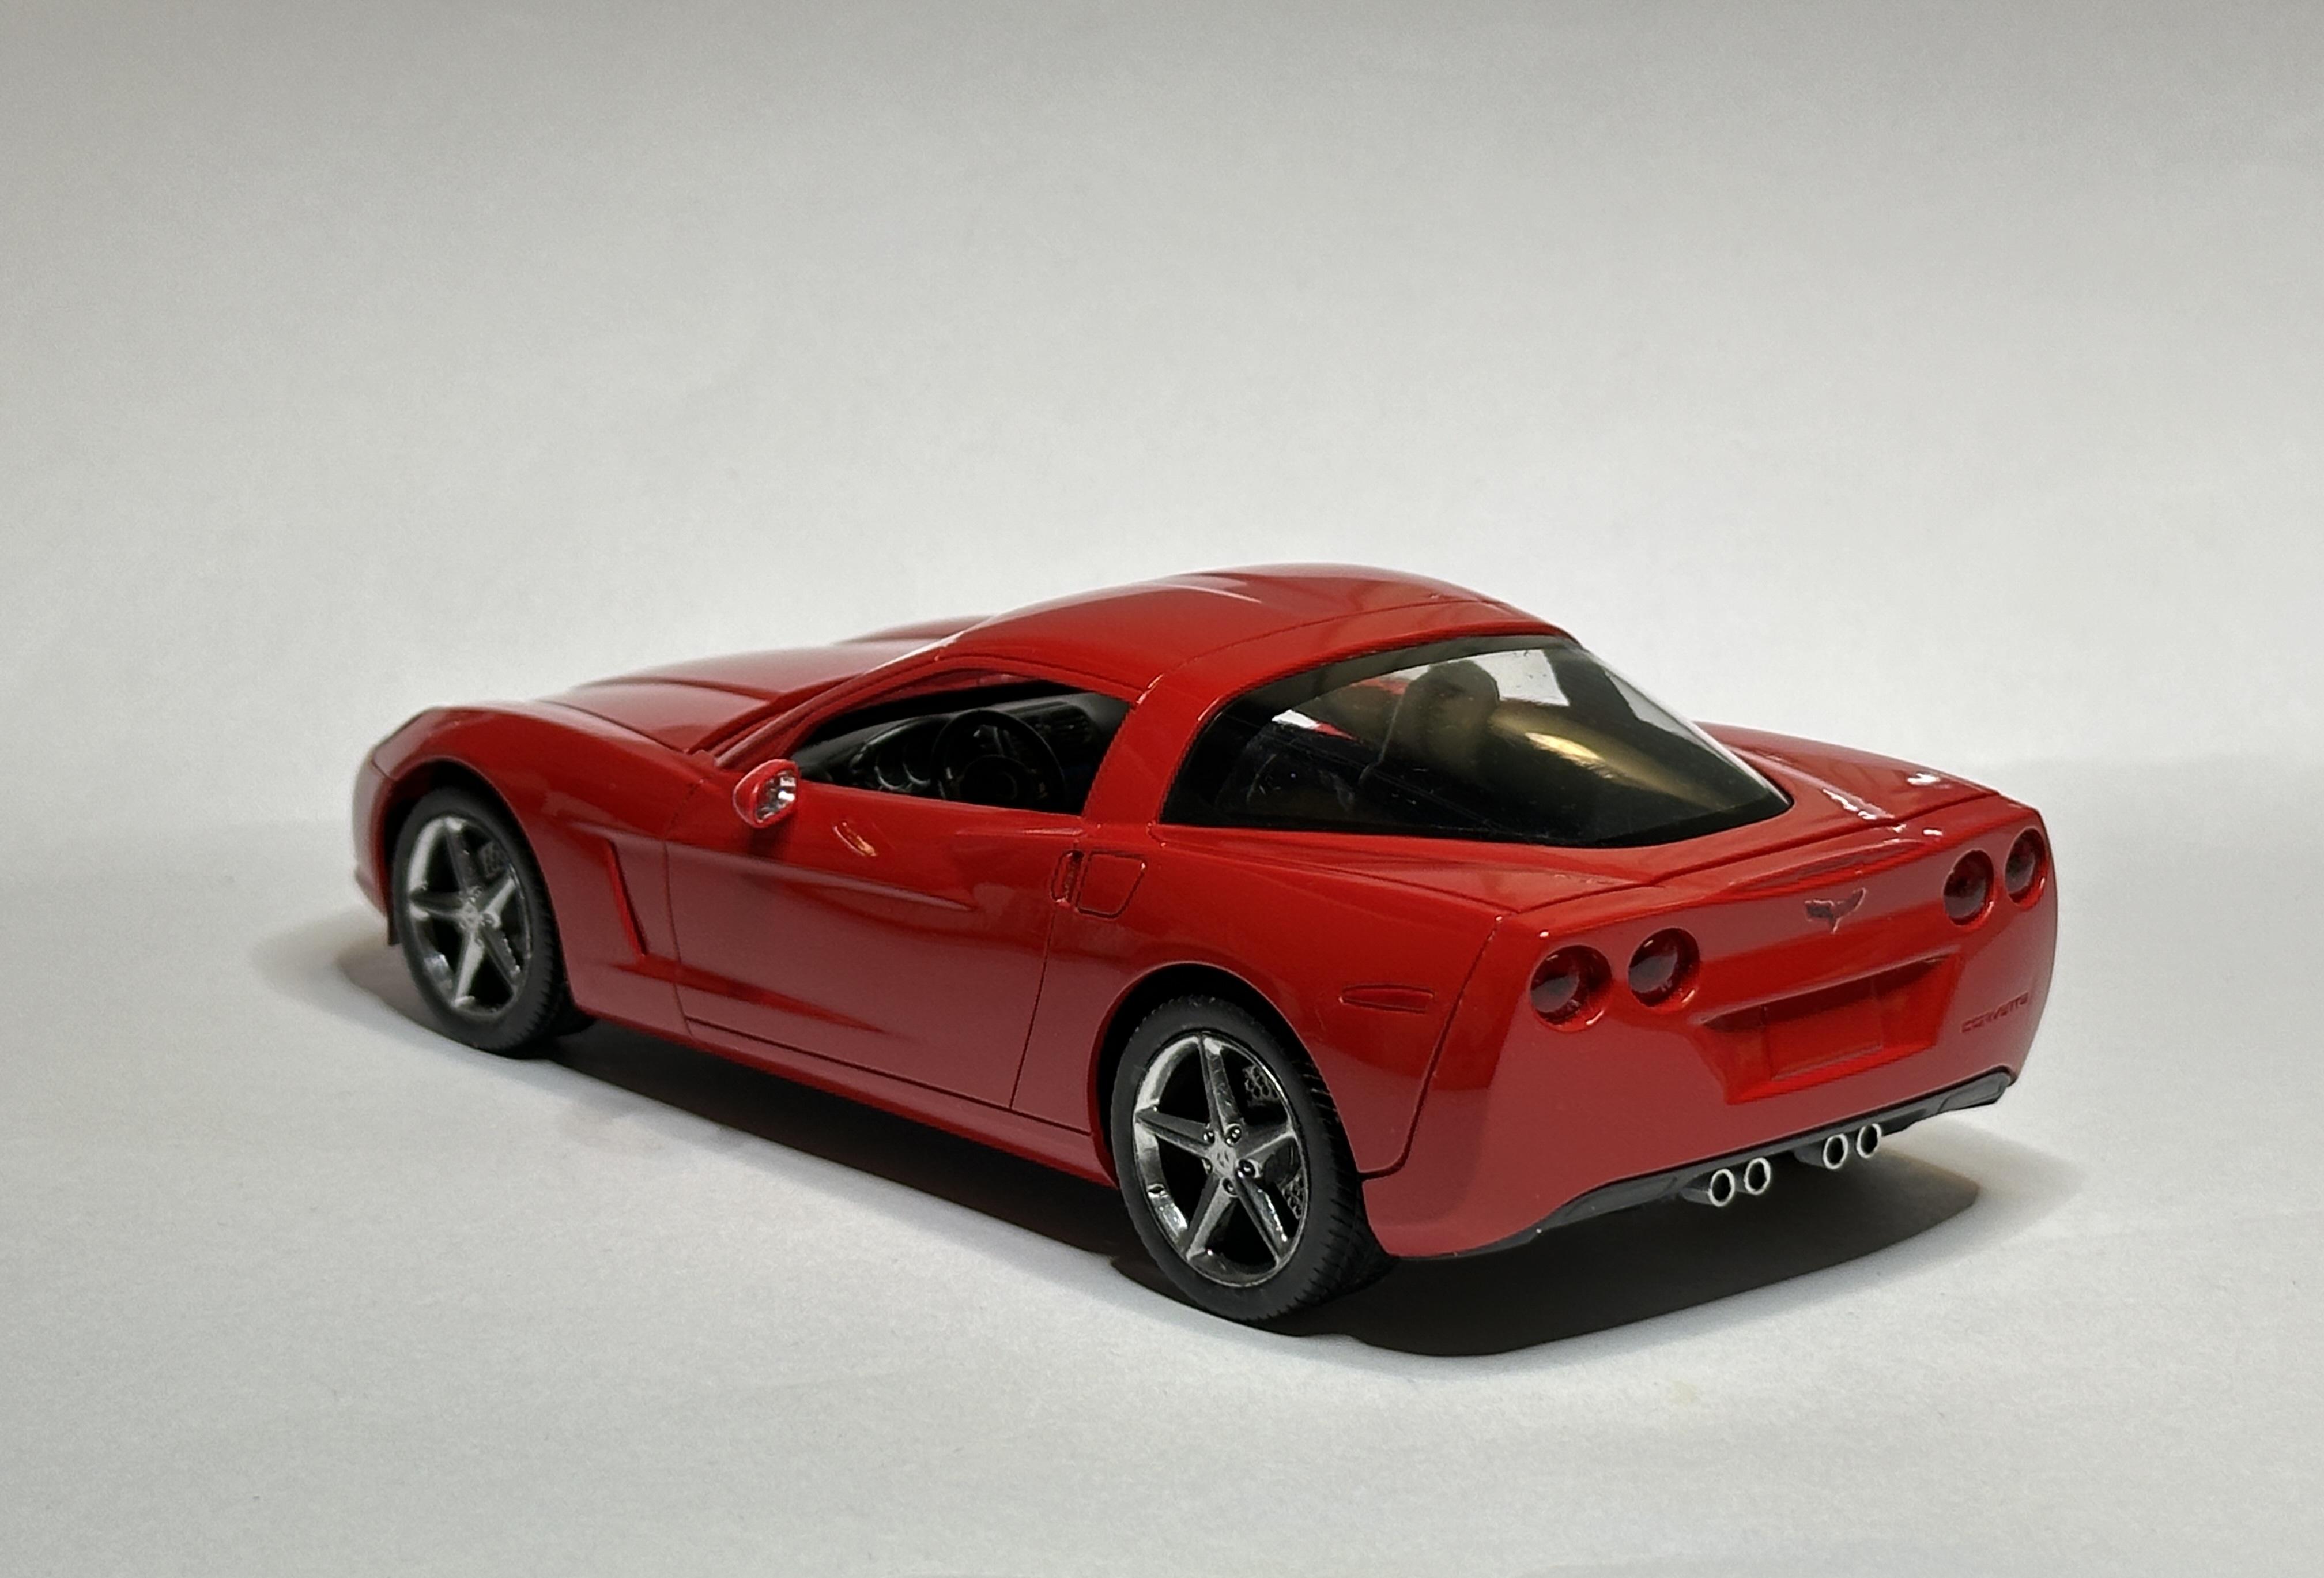
Chevrolet Corvette was the first car I decided (in 2020) to build every generation available of. After Revell´s release of the C8 it was finally possible to build all of them. So these models represent practically all main versions of Chevrolet Corvette - from the 1953 C1 to the 2020 C8. As the photos reveal, build quality varies somewhat which is a good enough reason to start over from C1 some day..
- 19 replies
-
- 14
-

-
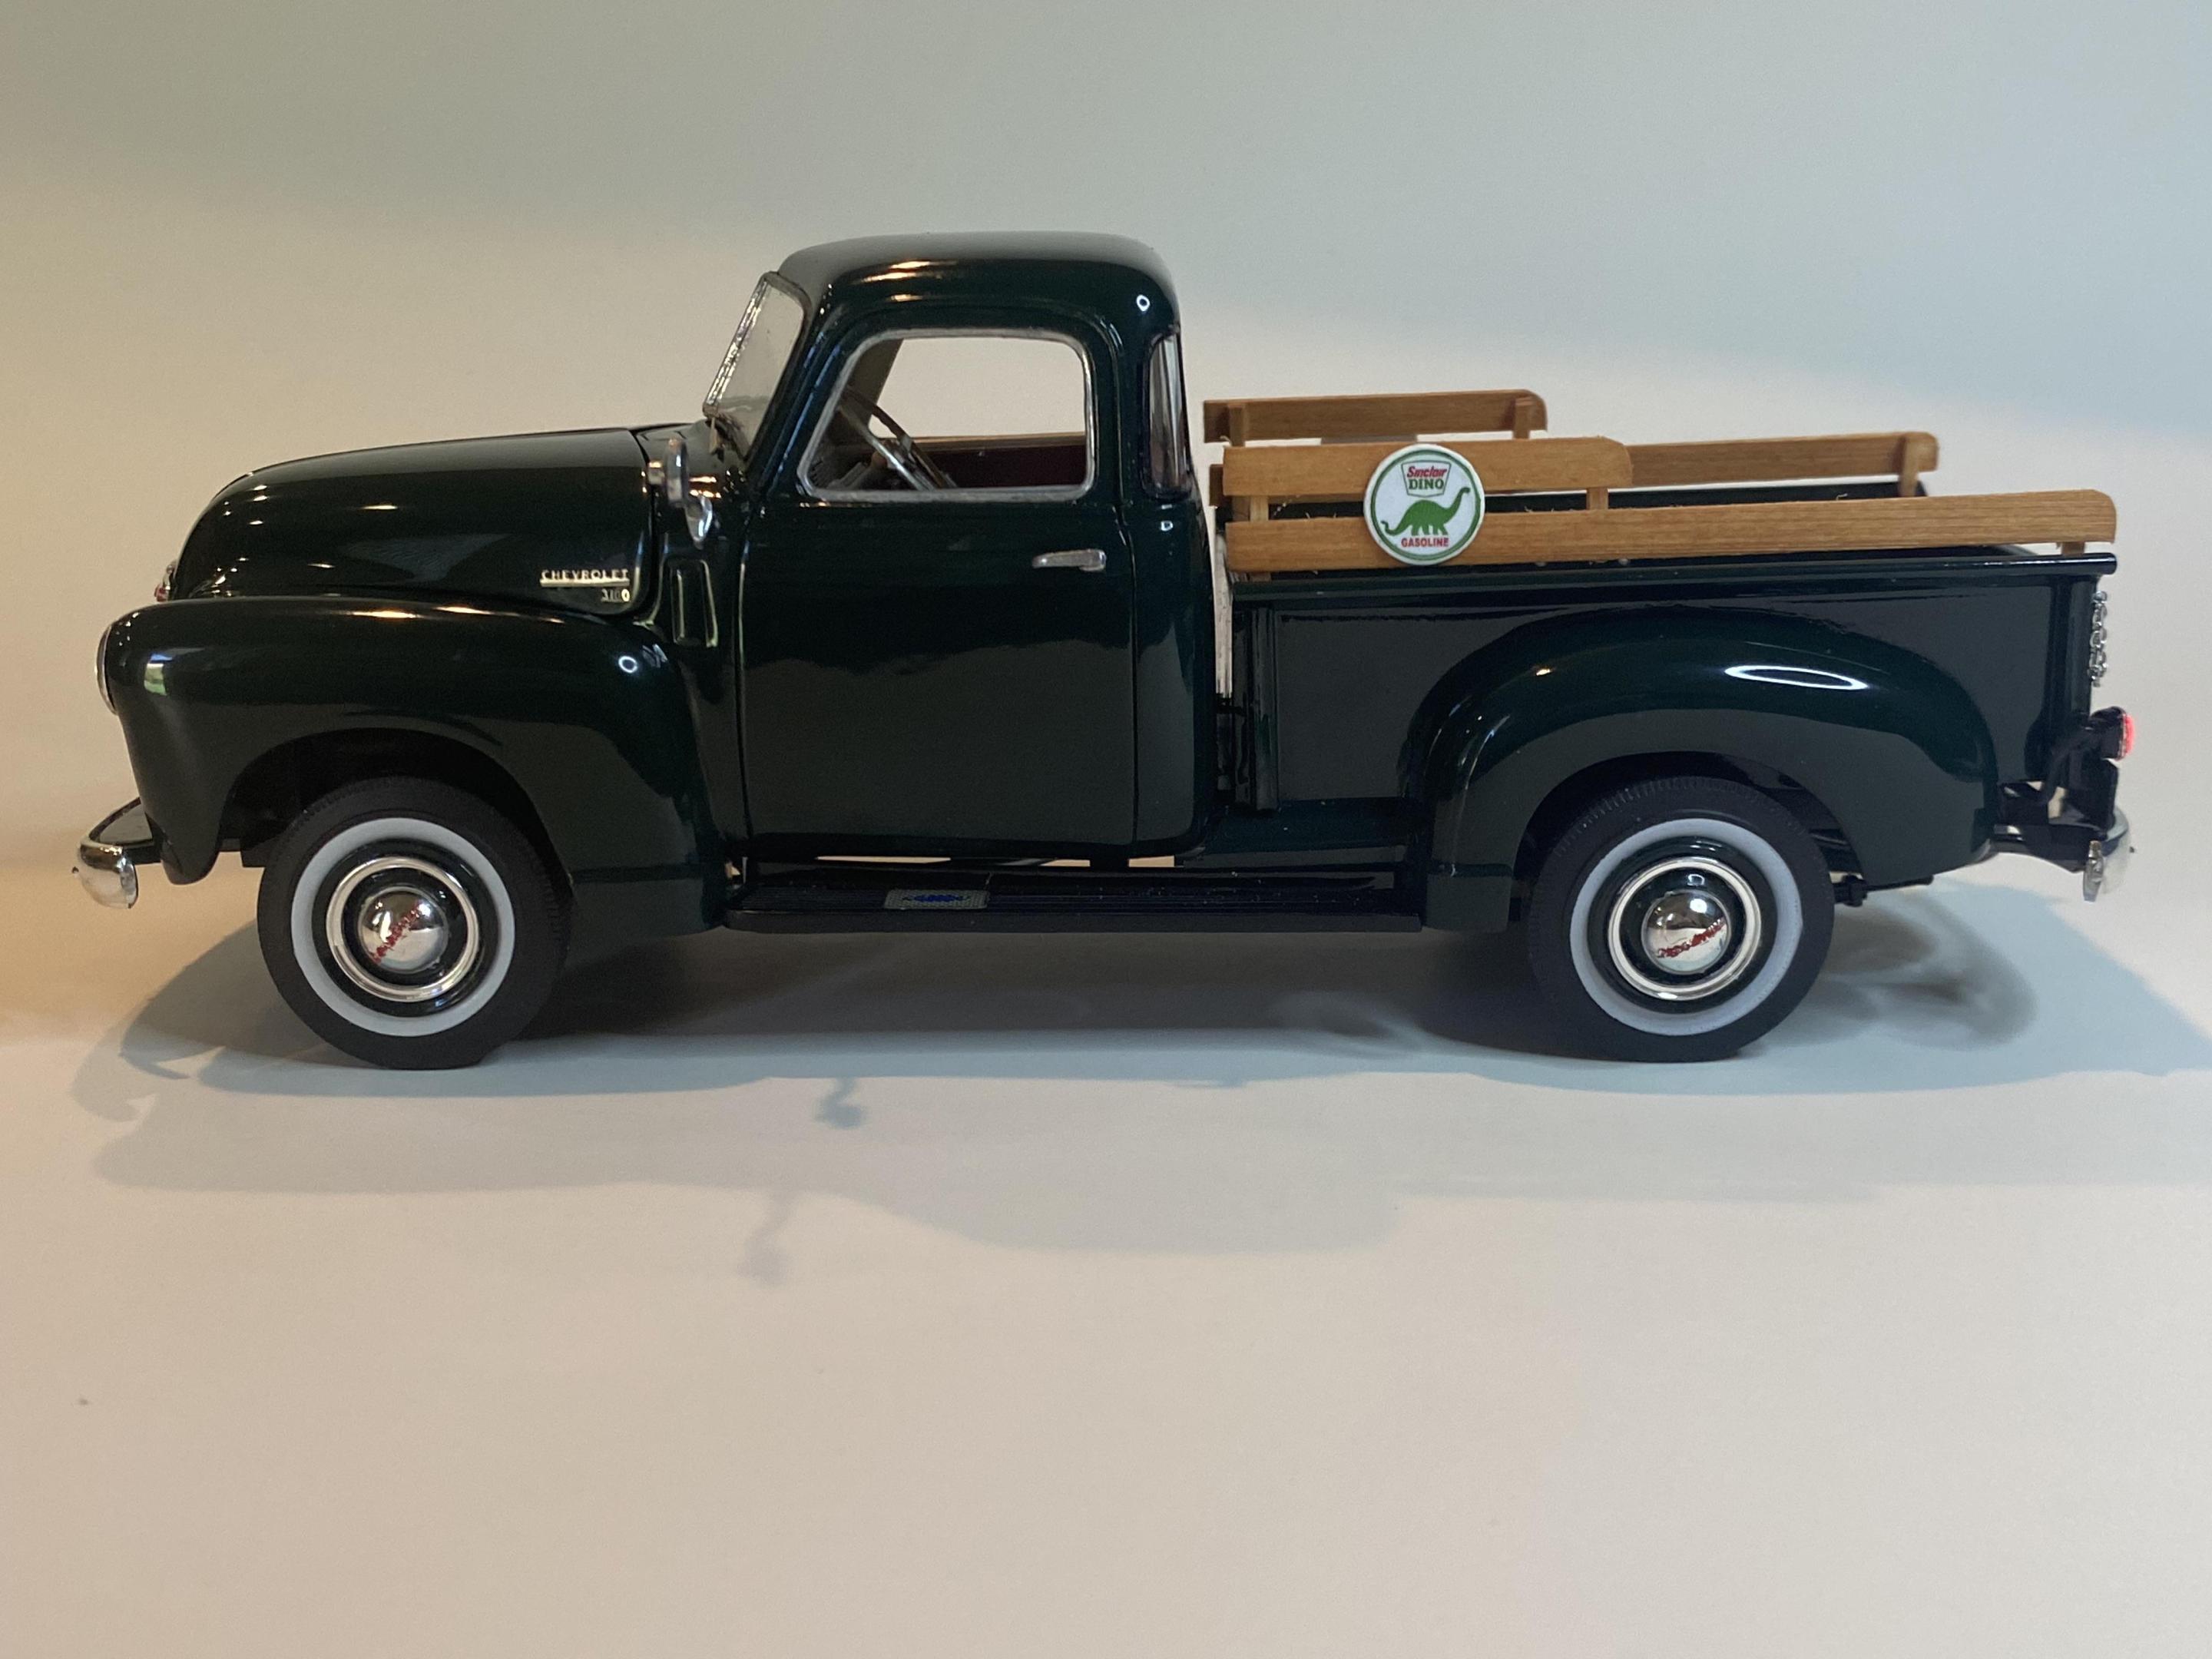
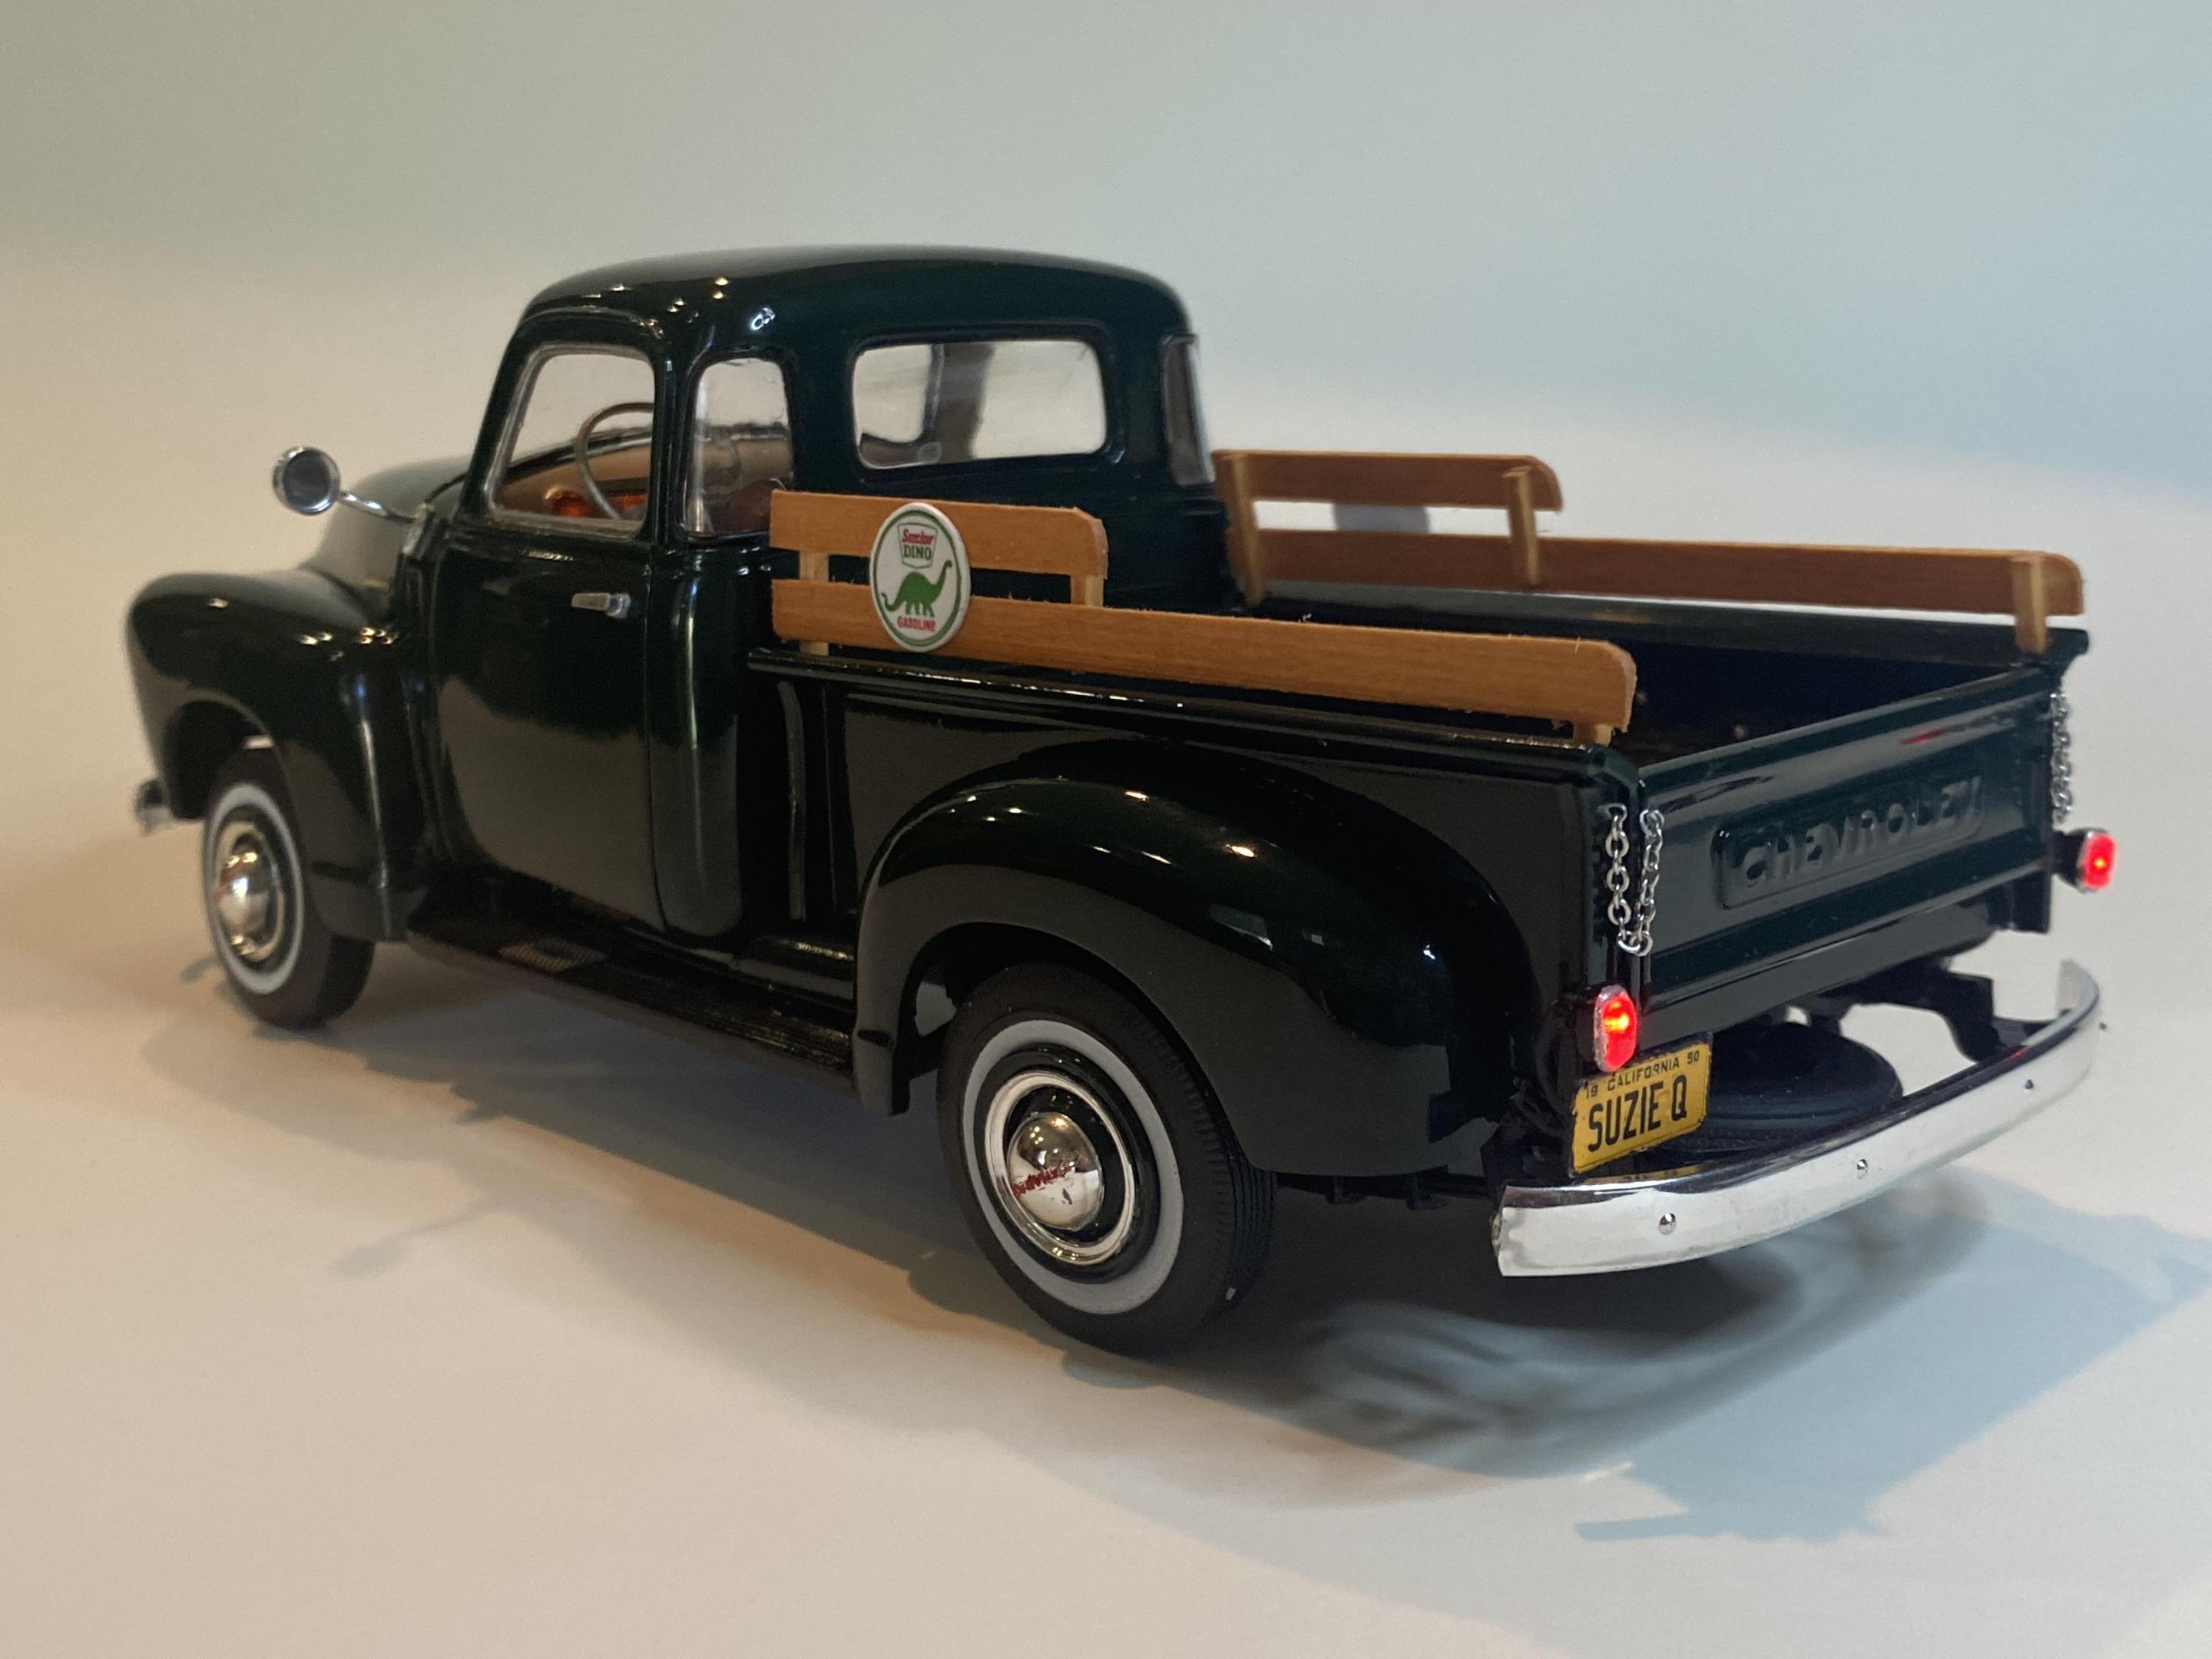
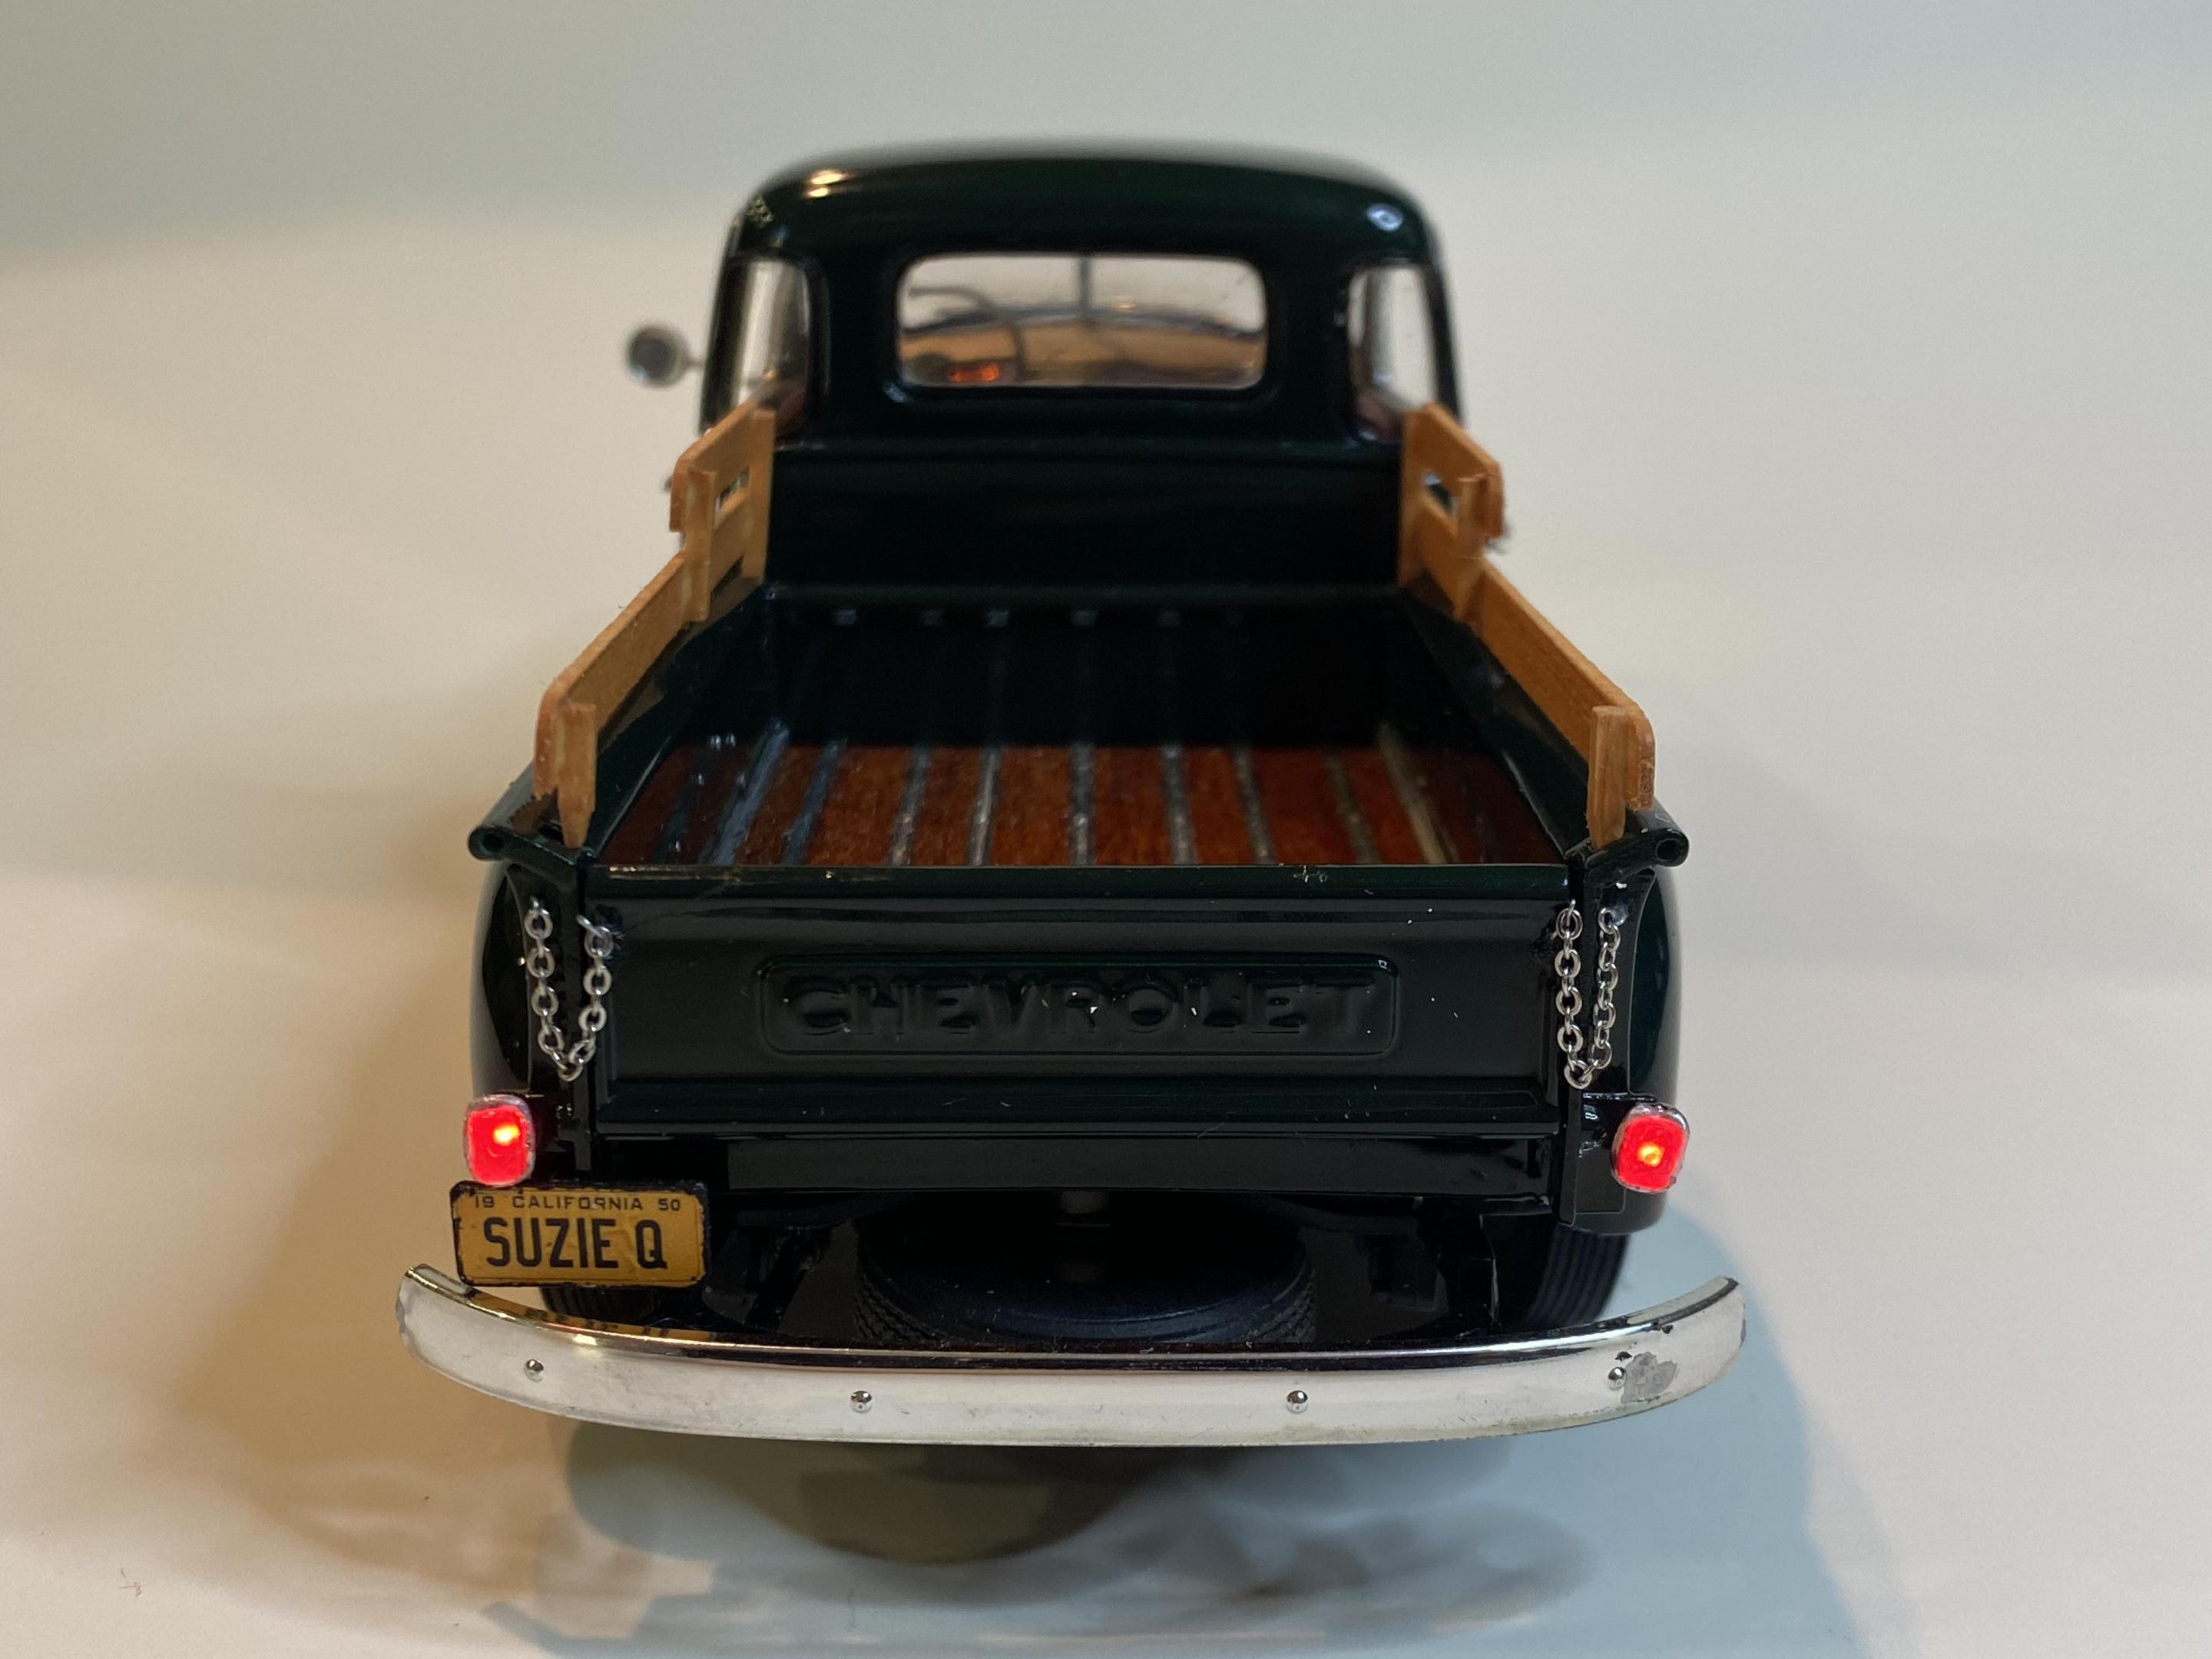
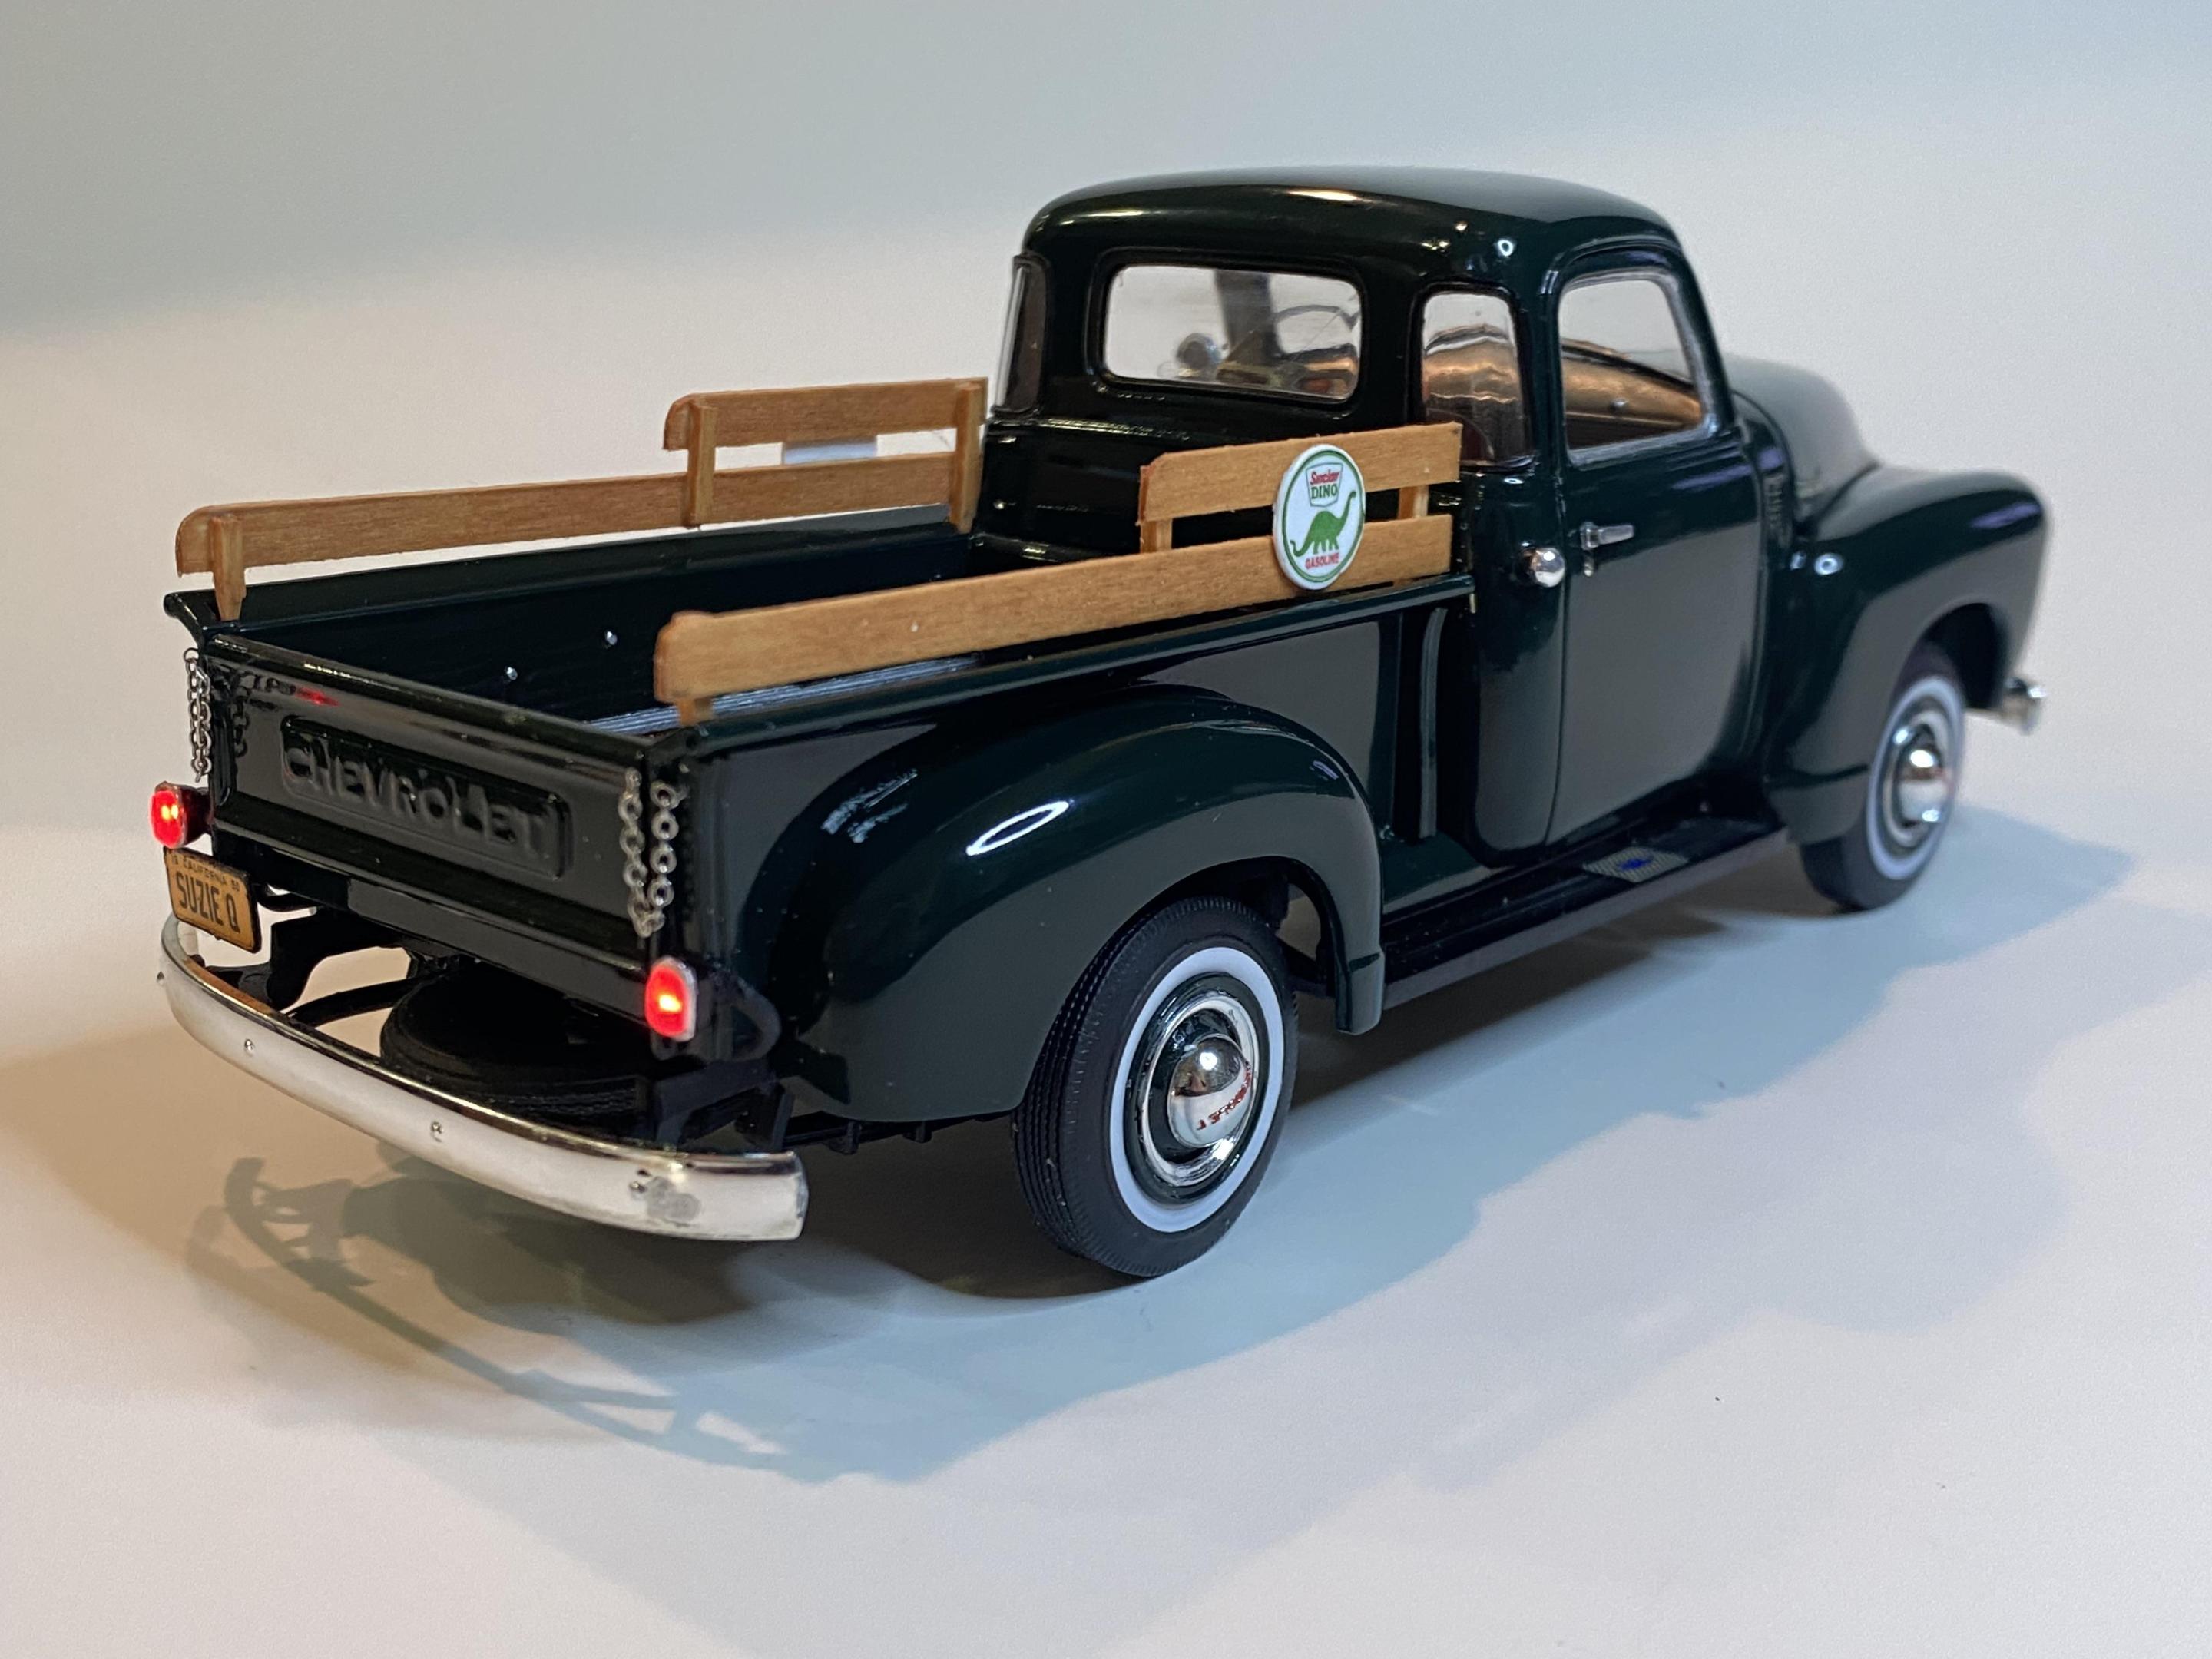
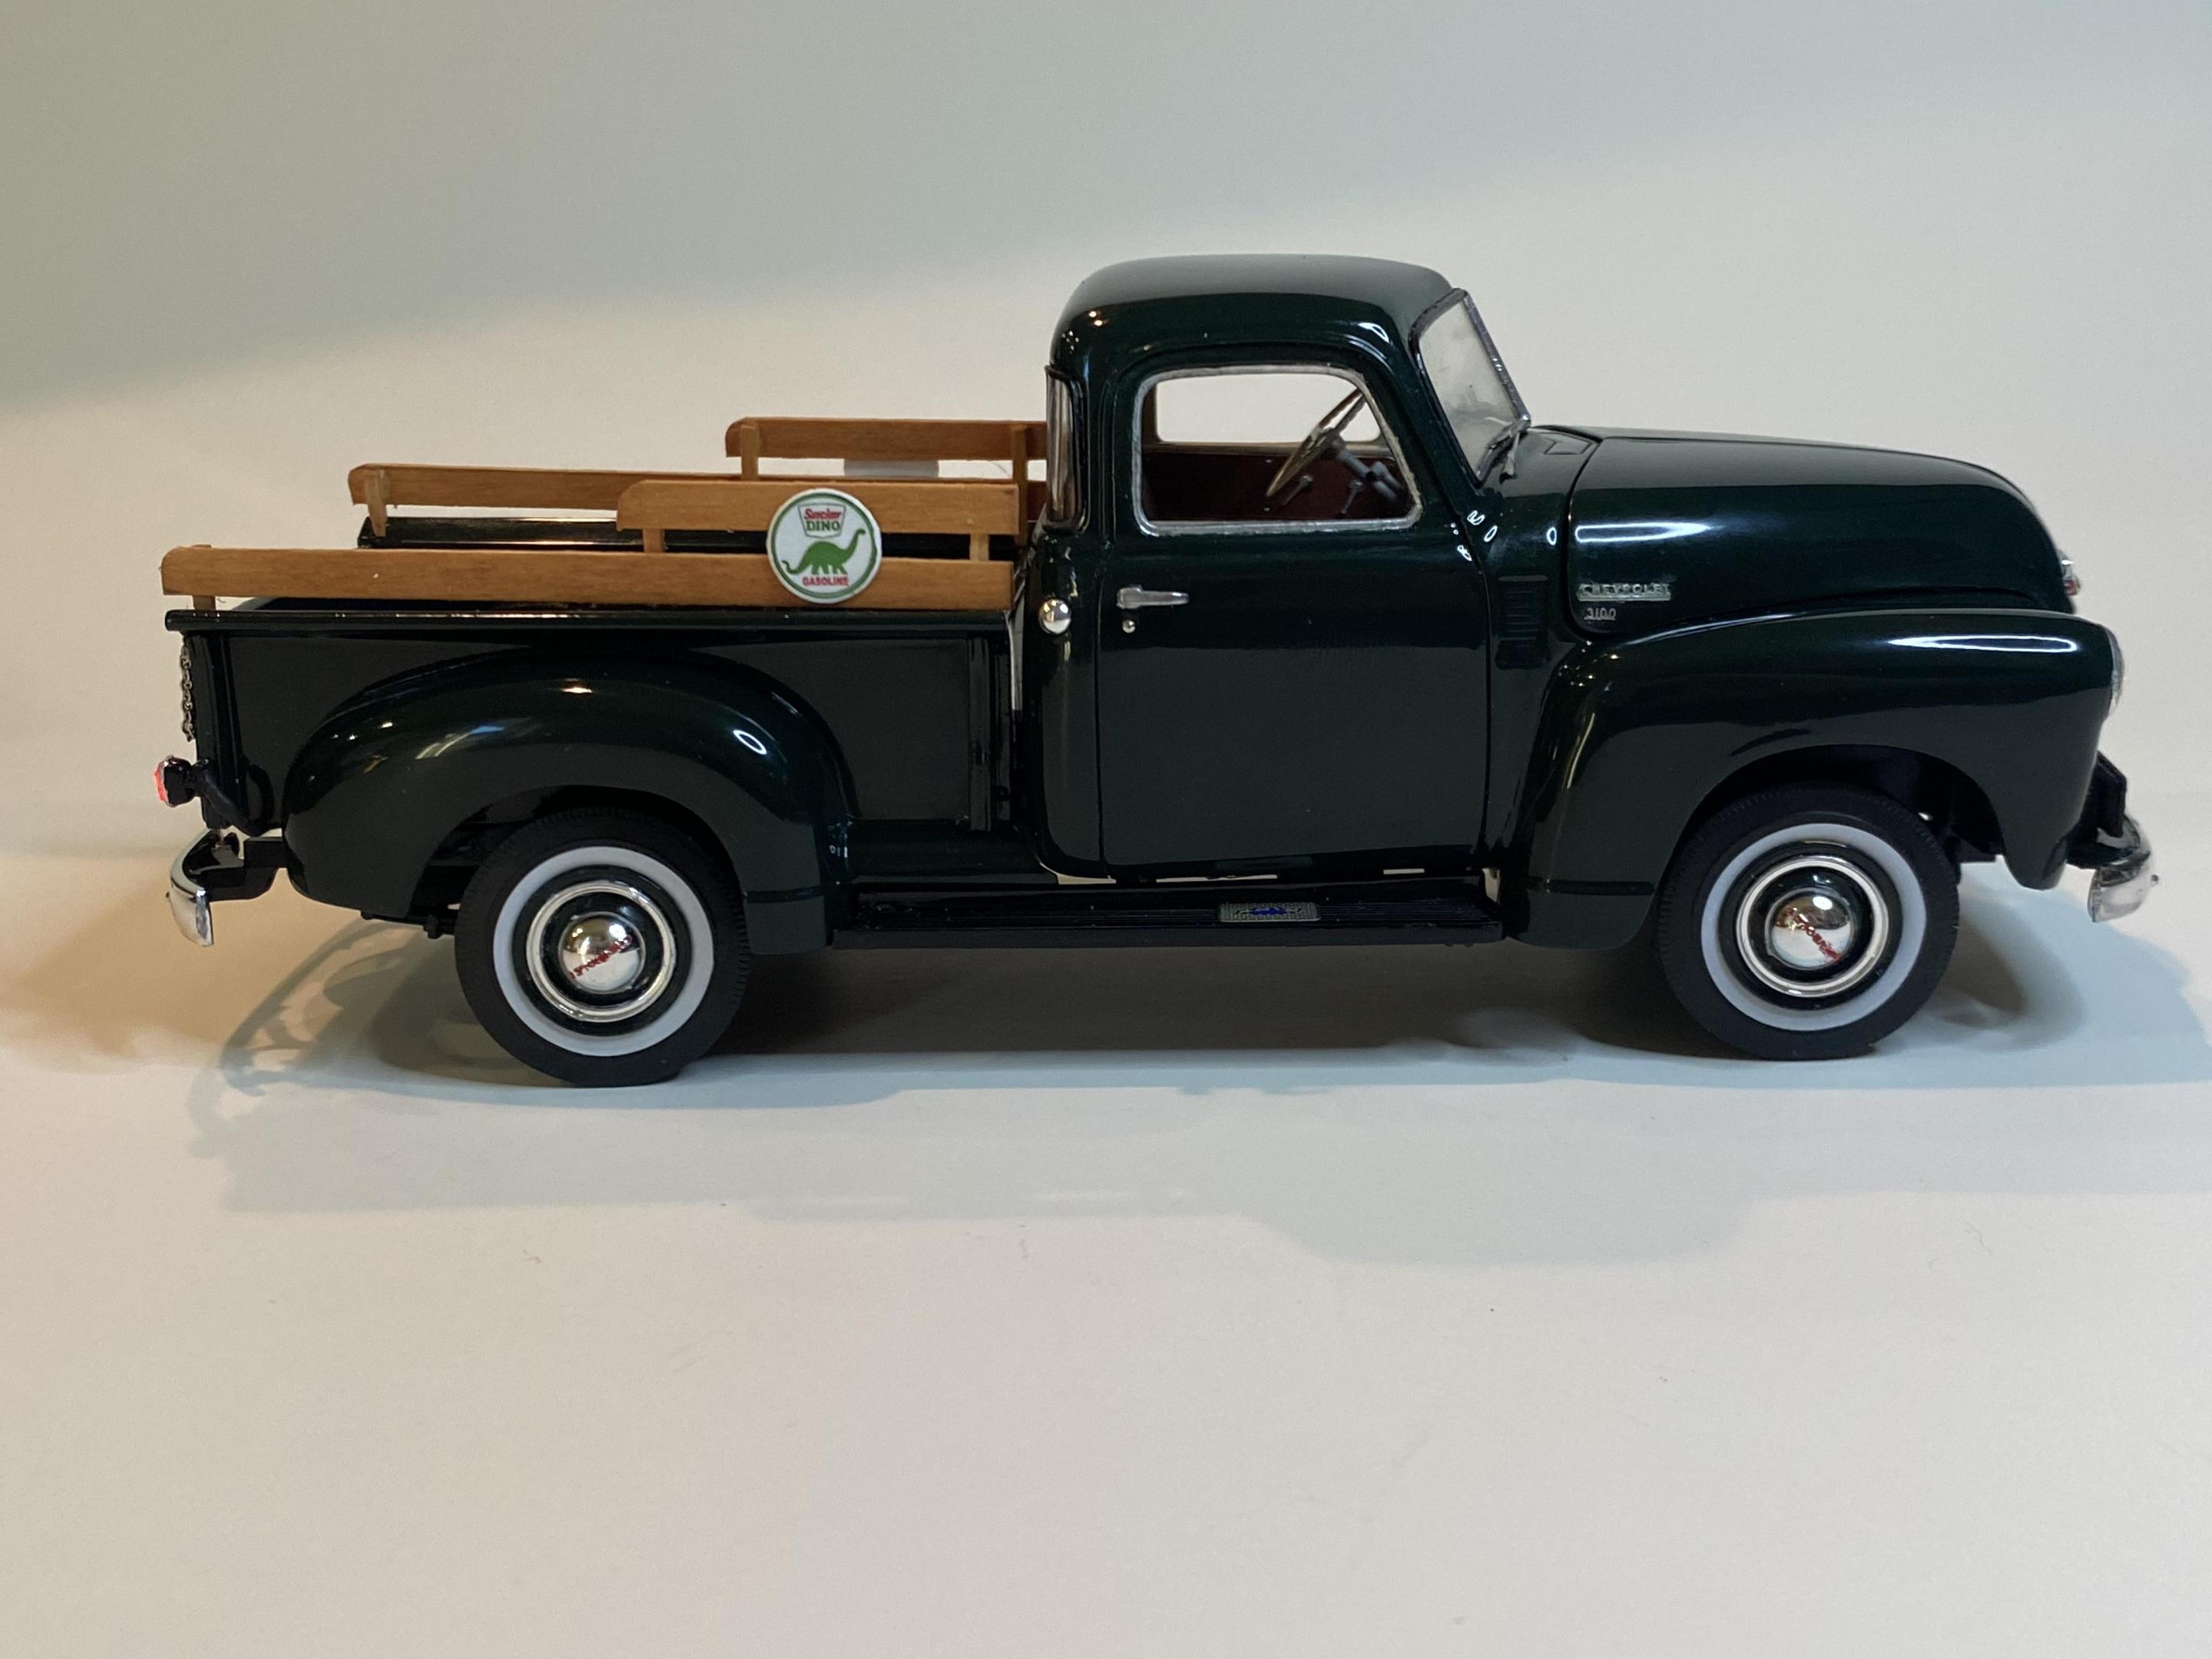
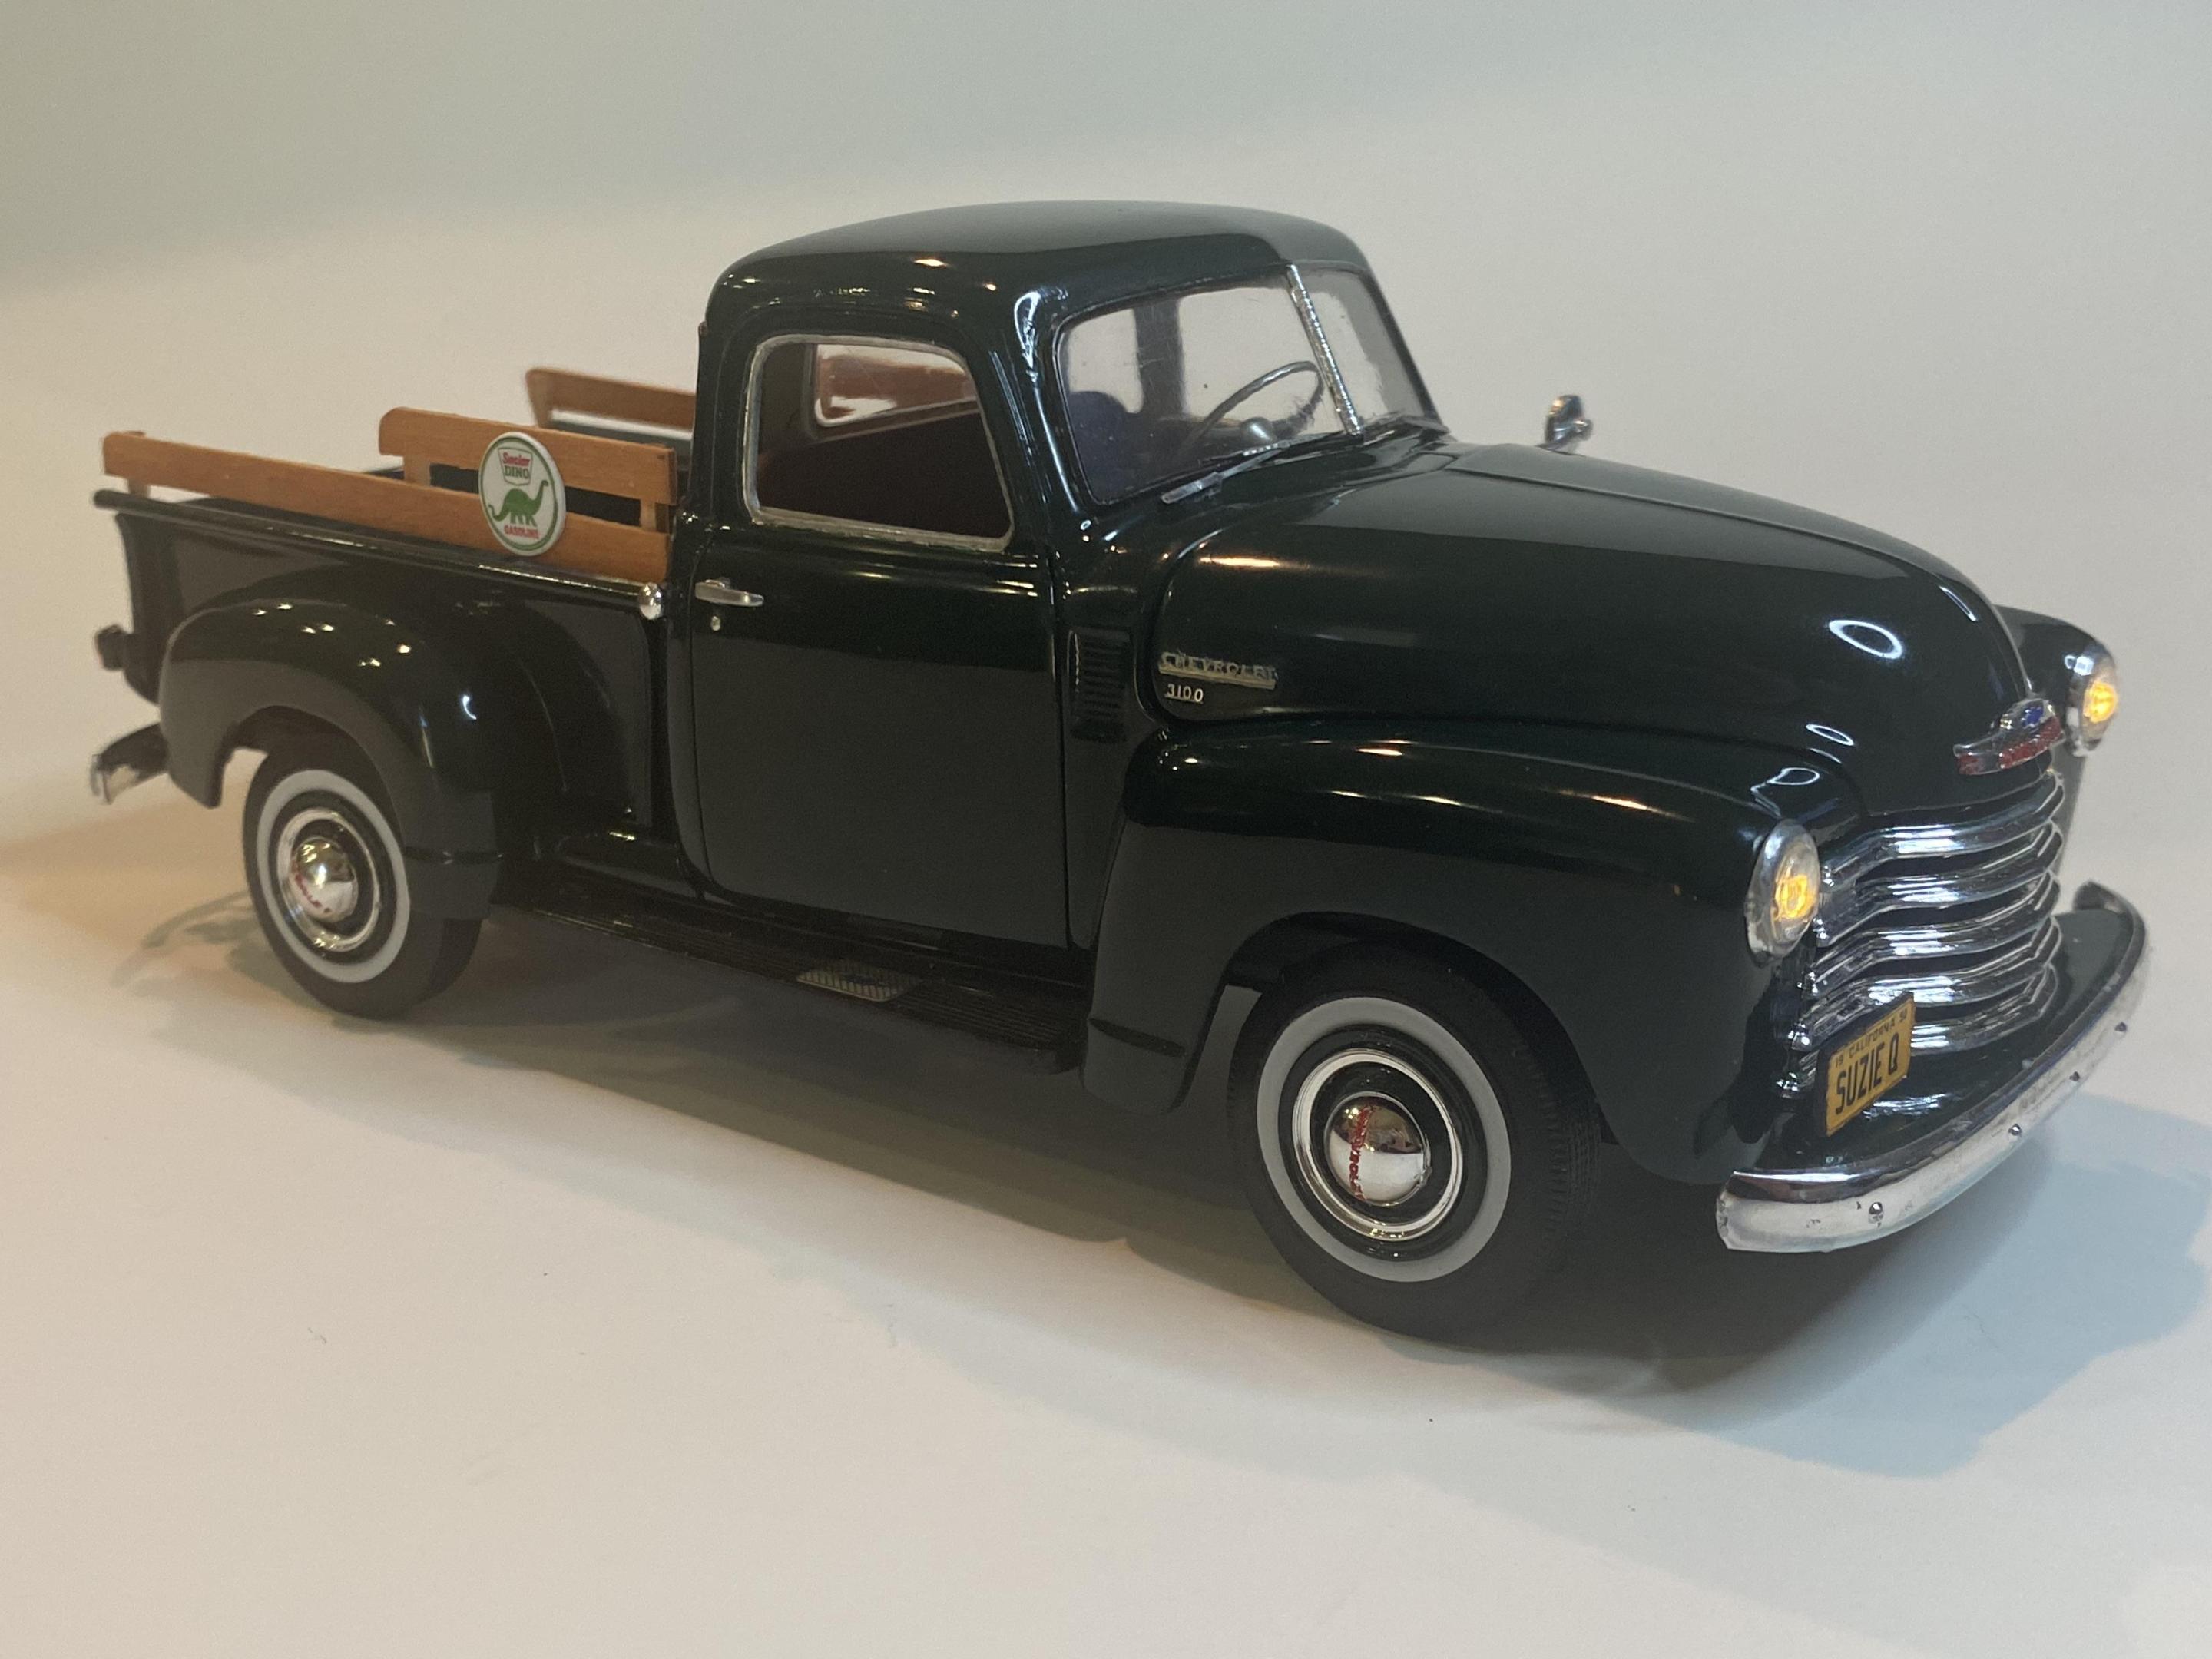
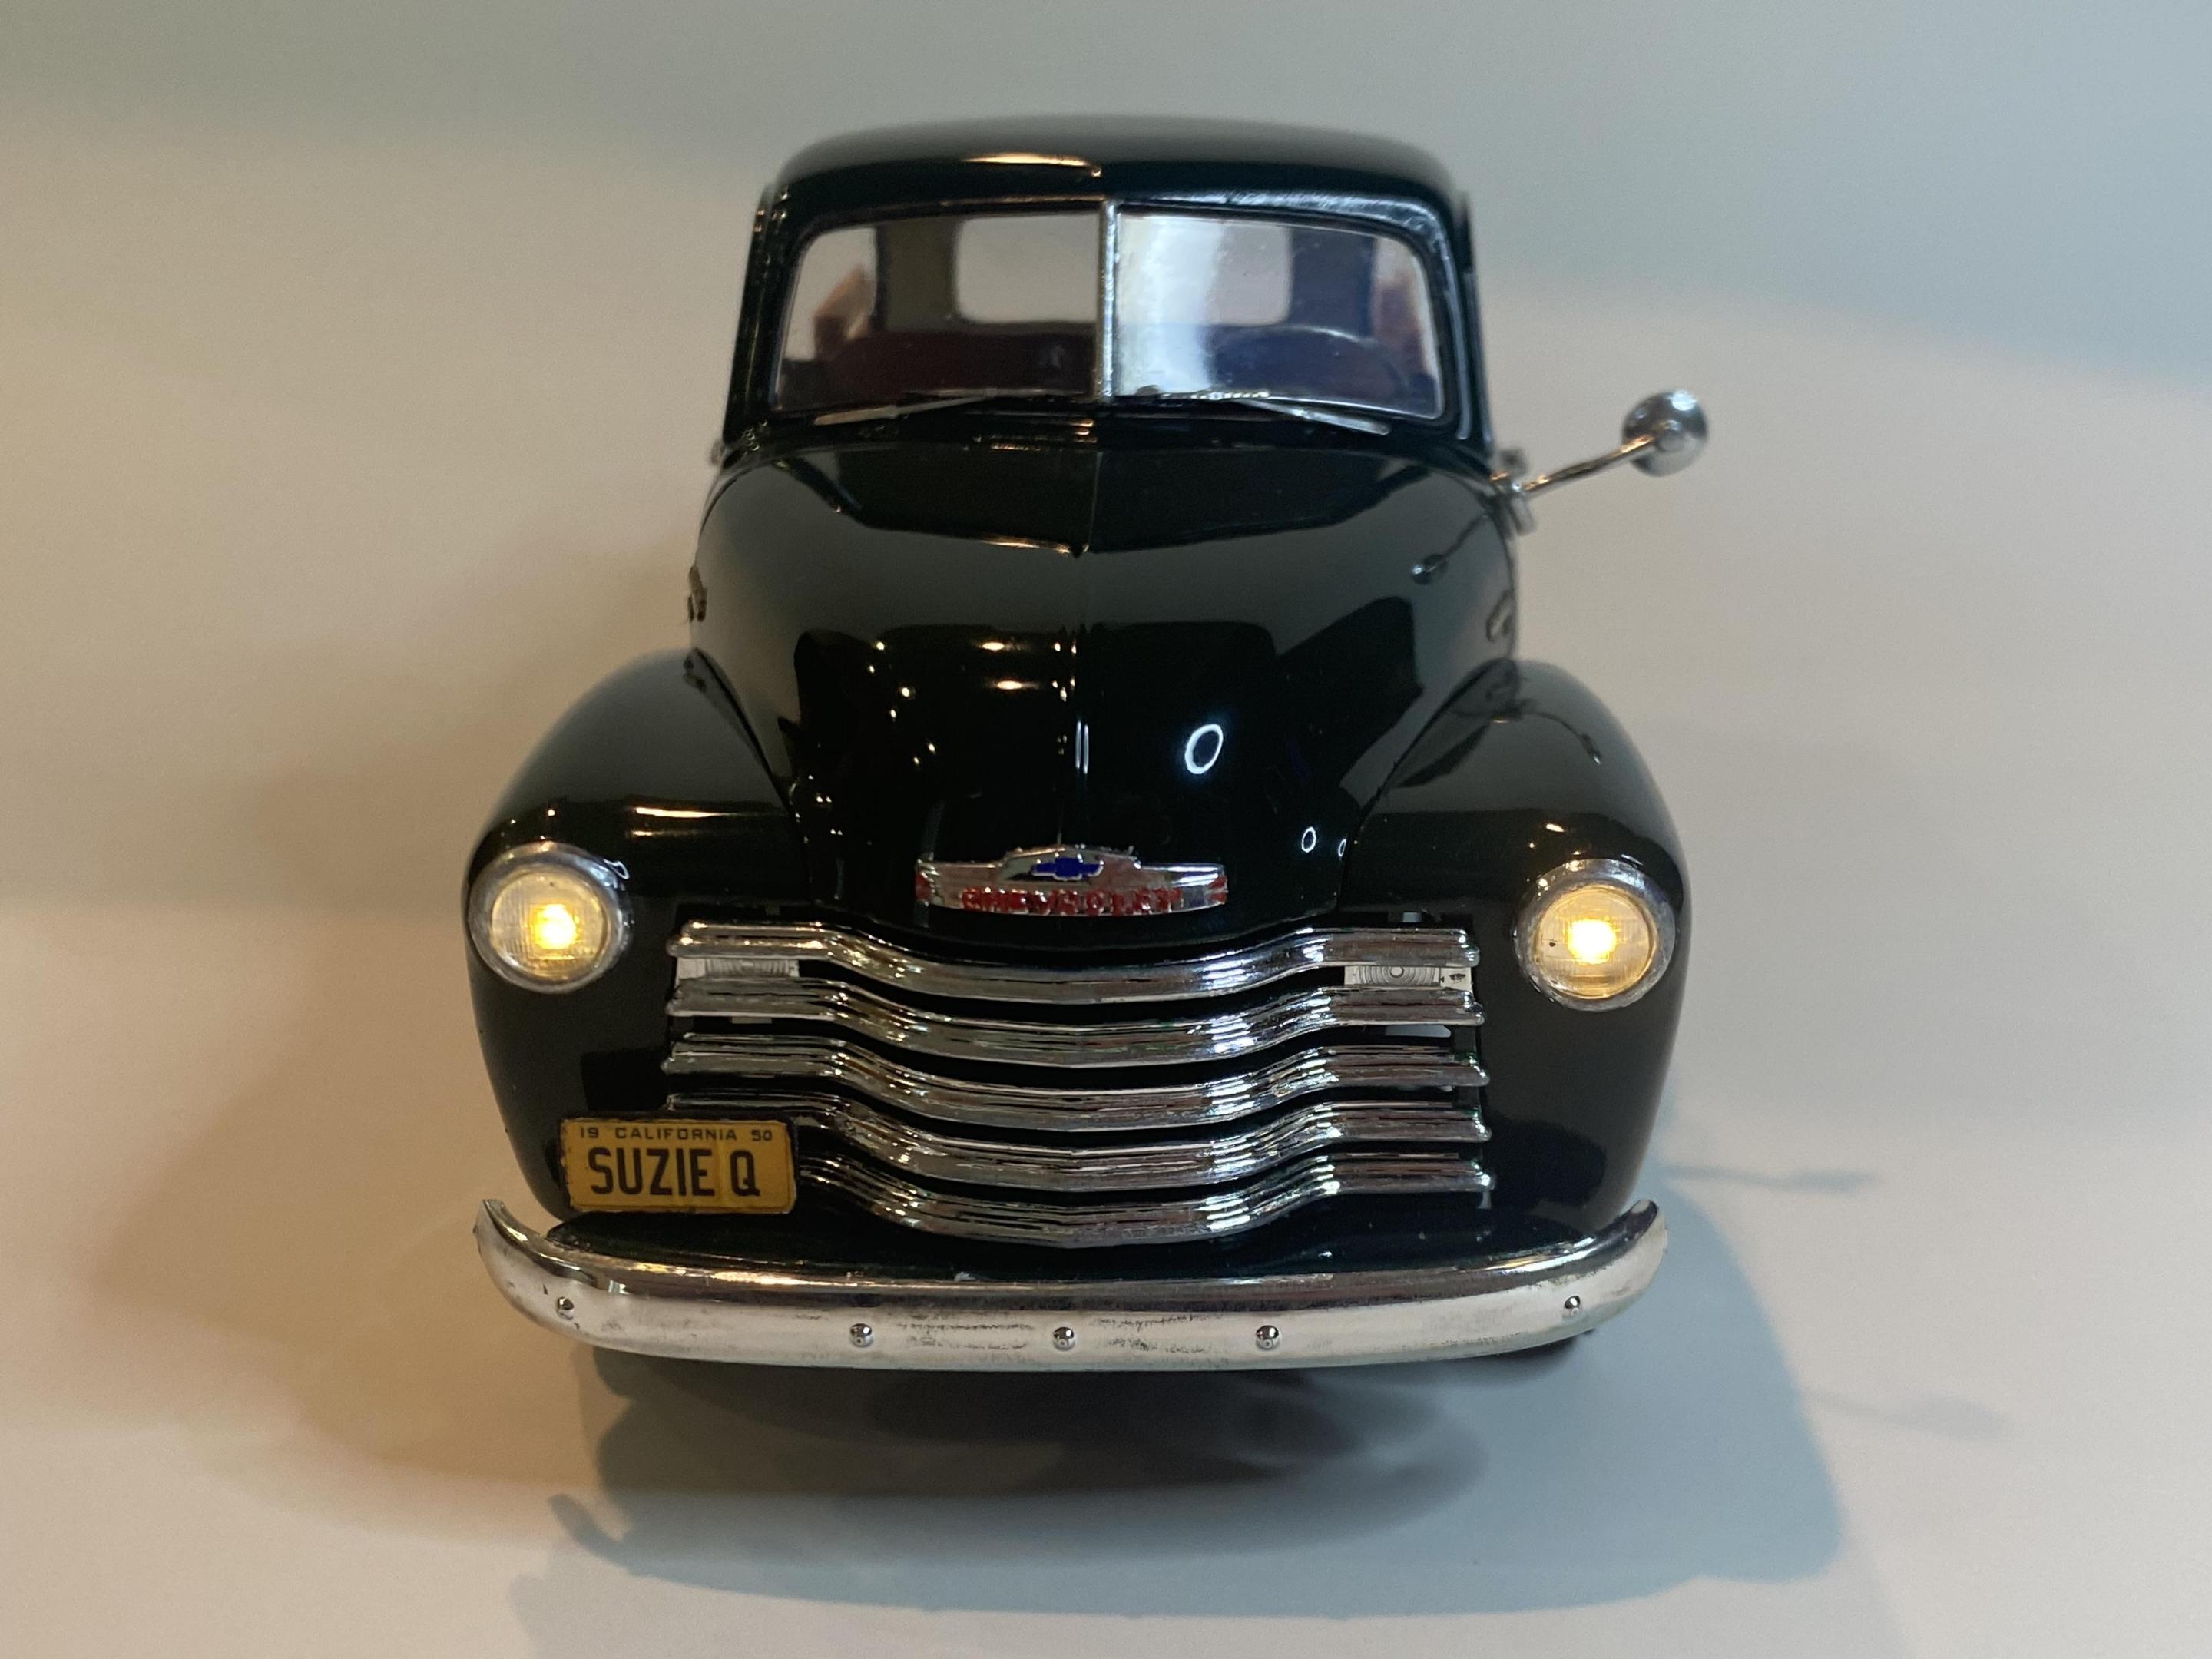
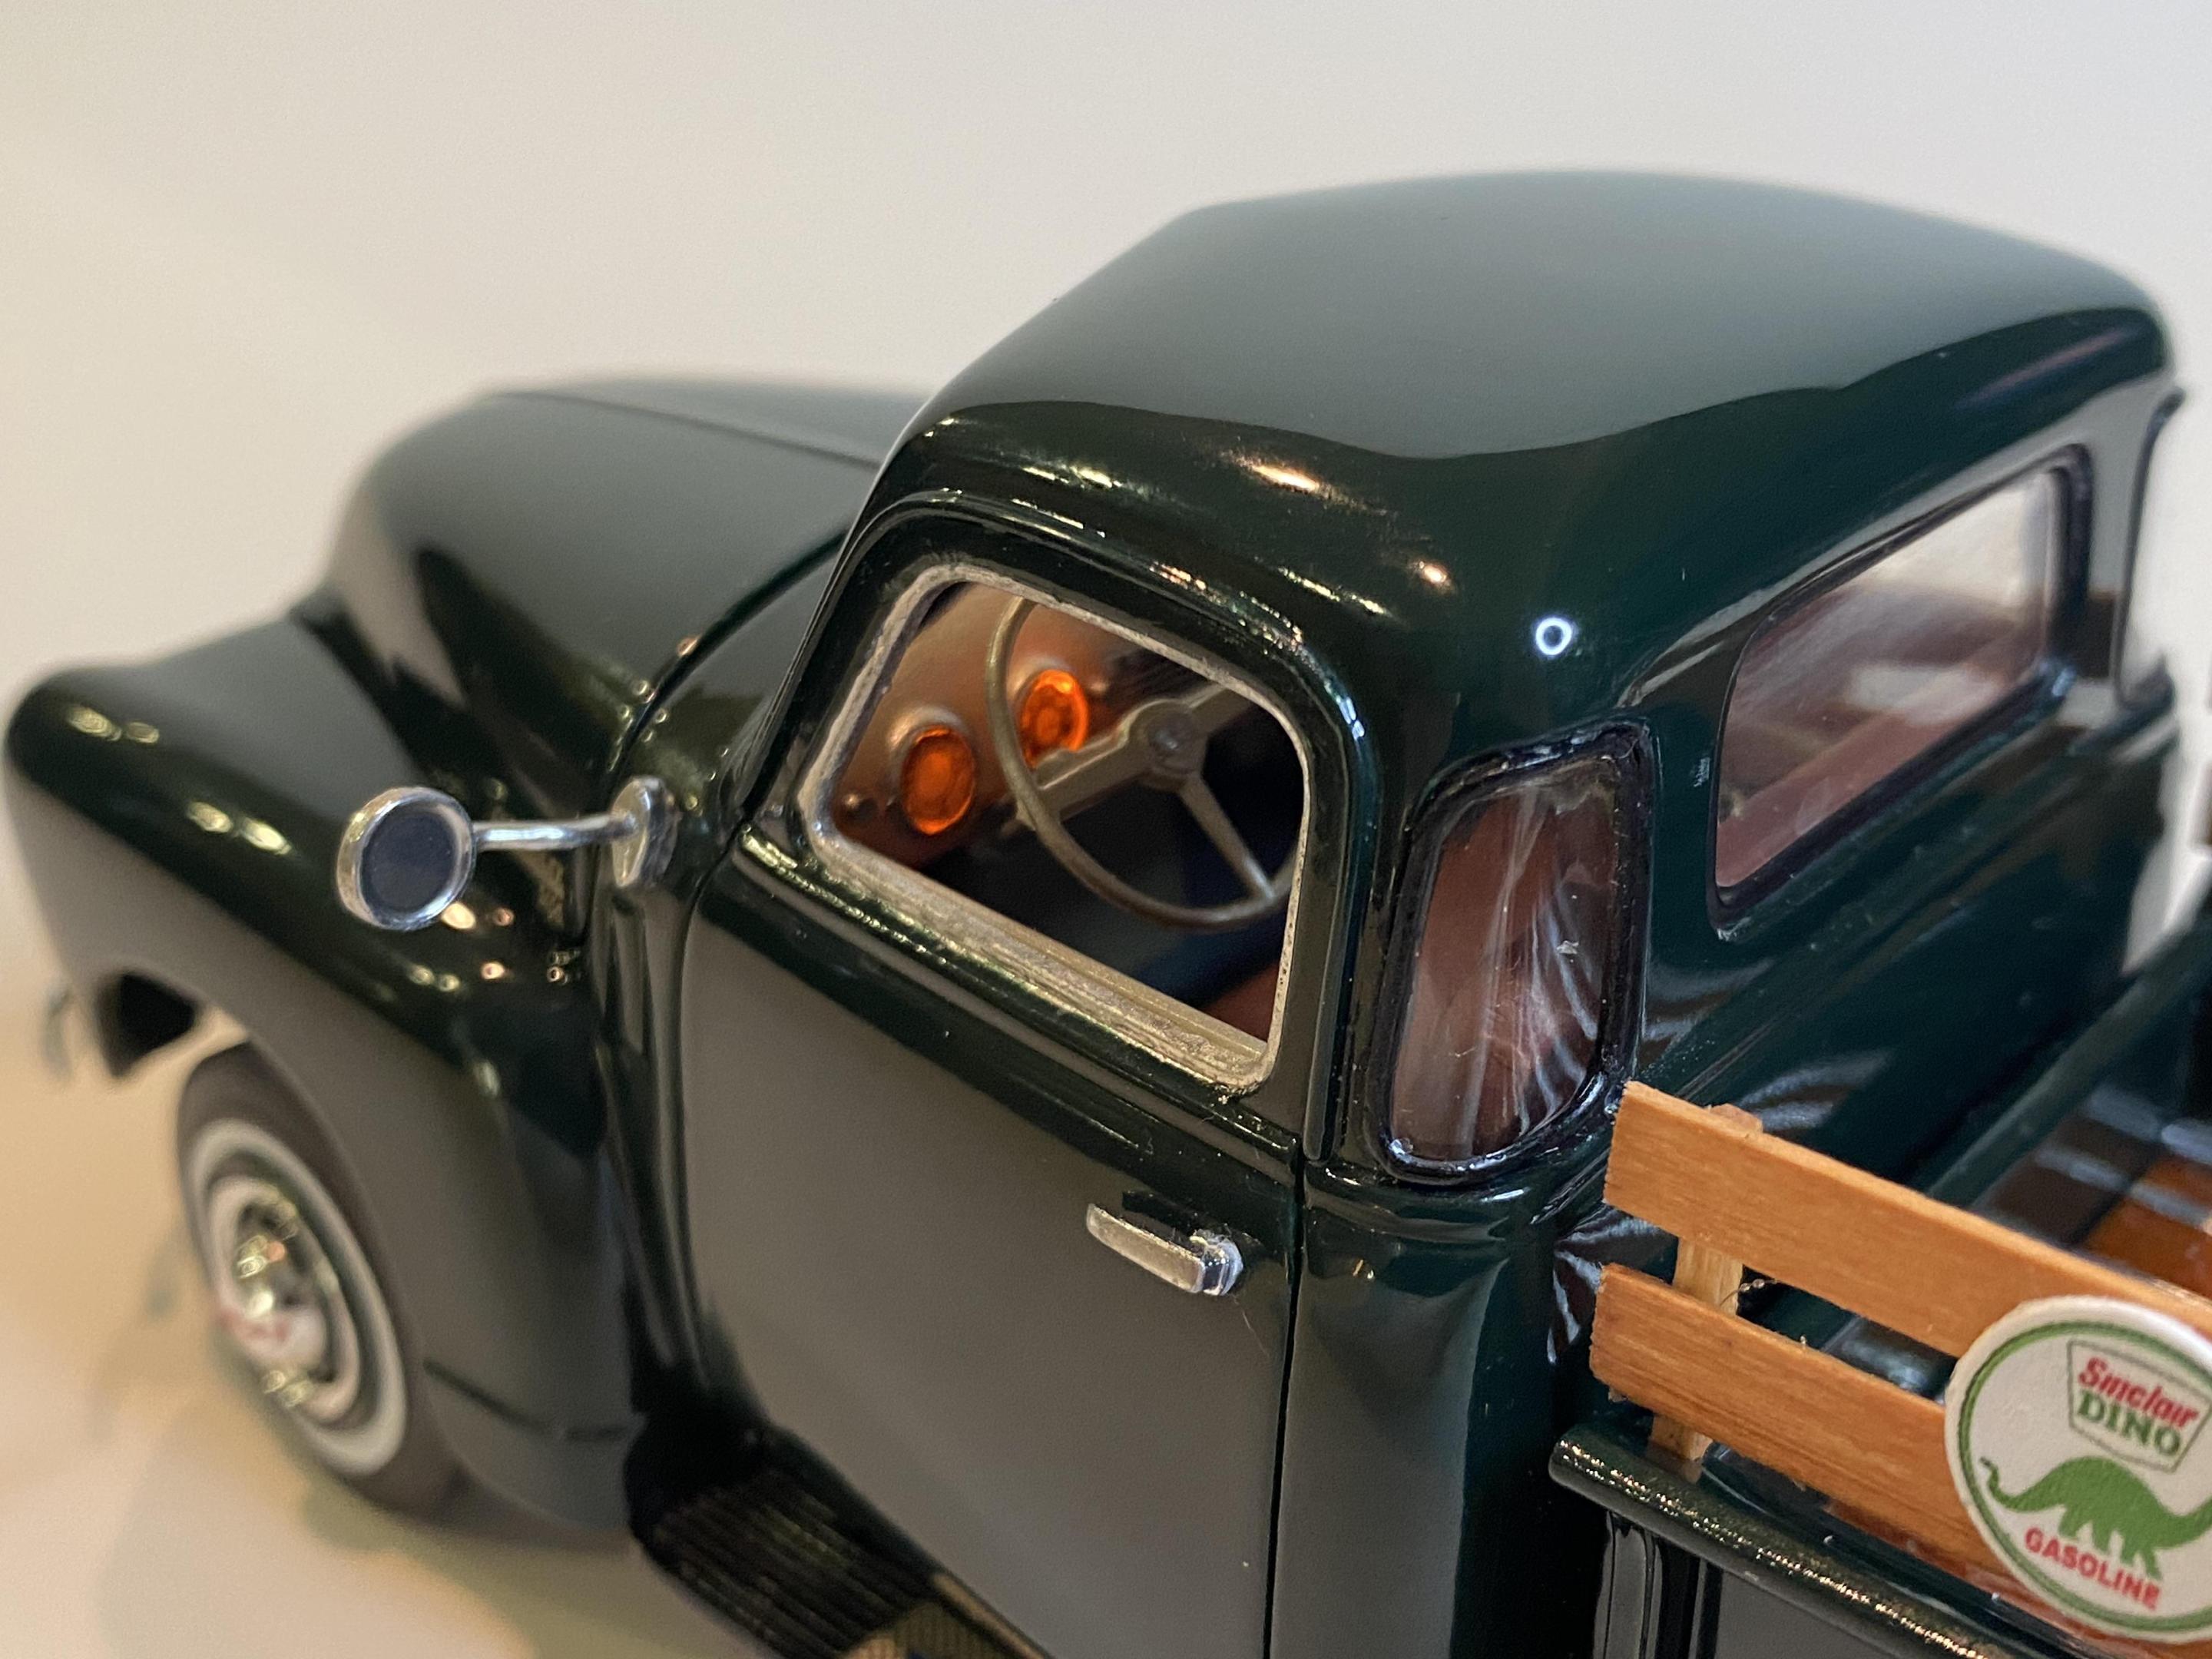
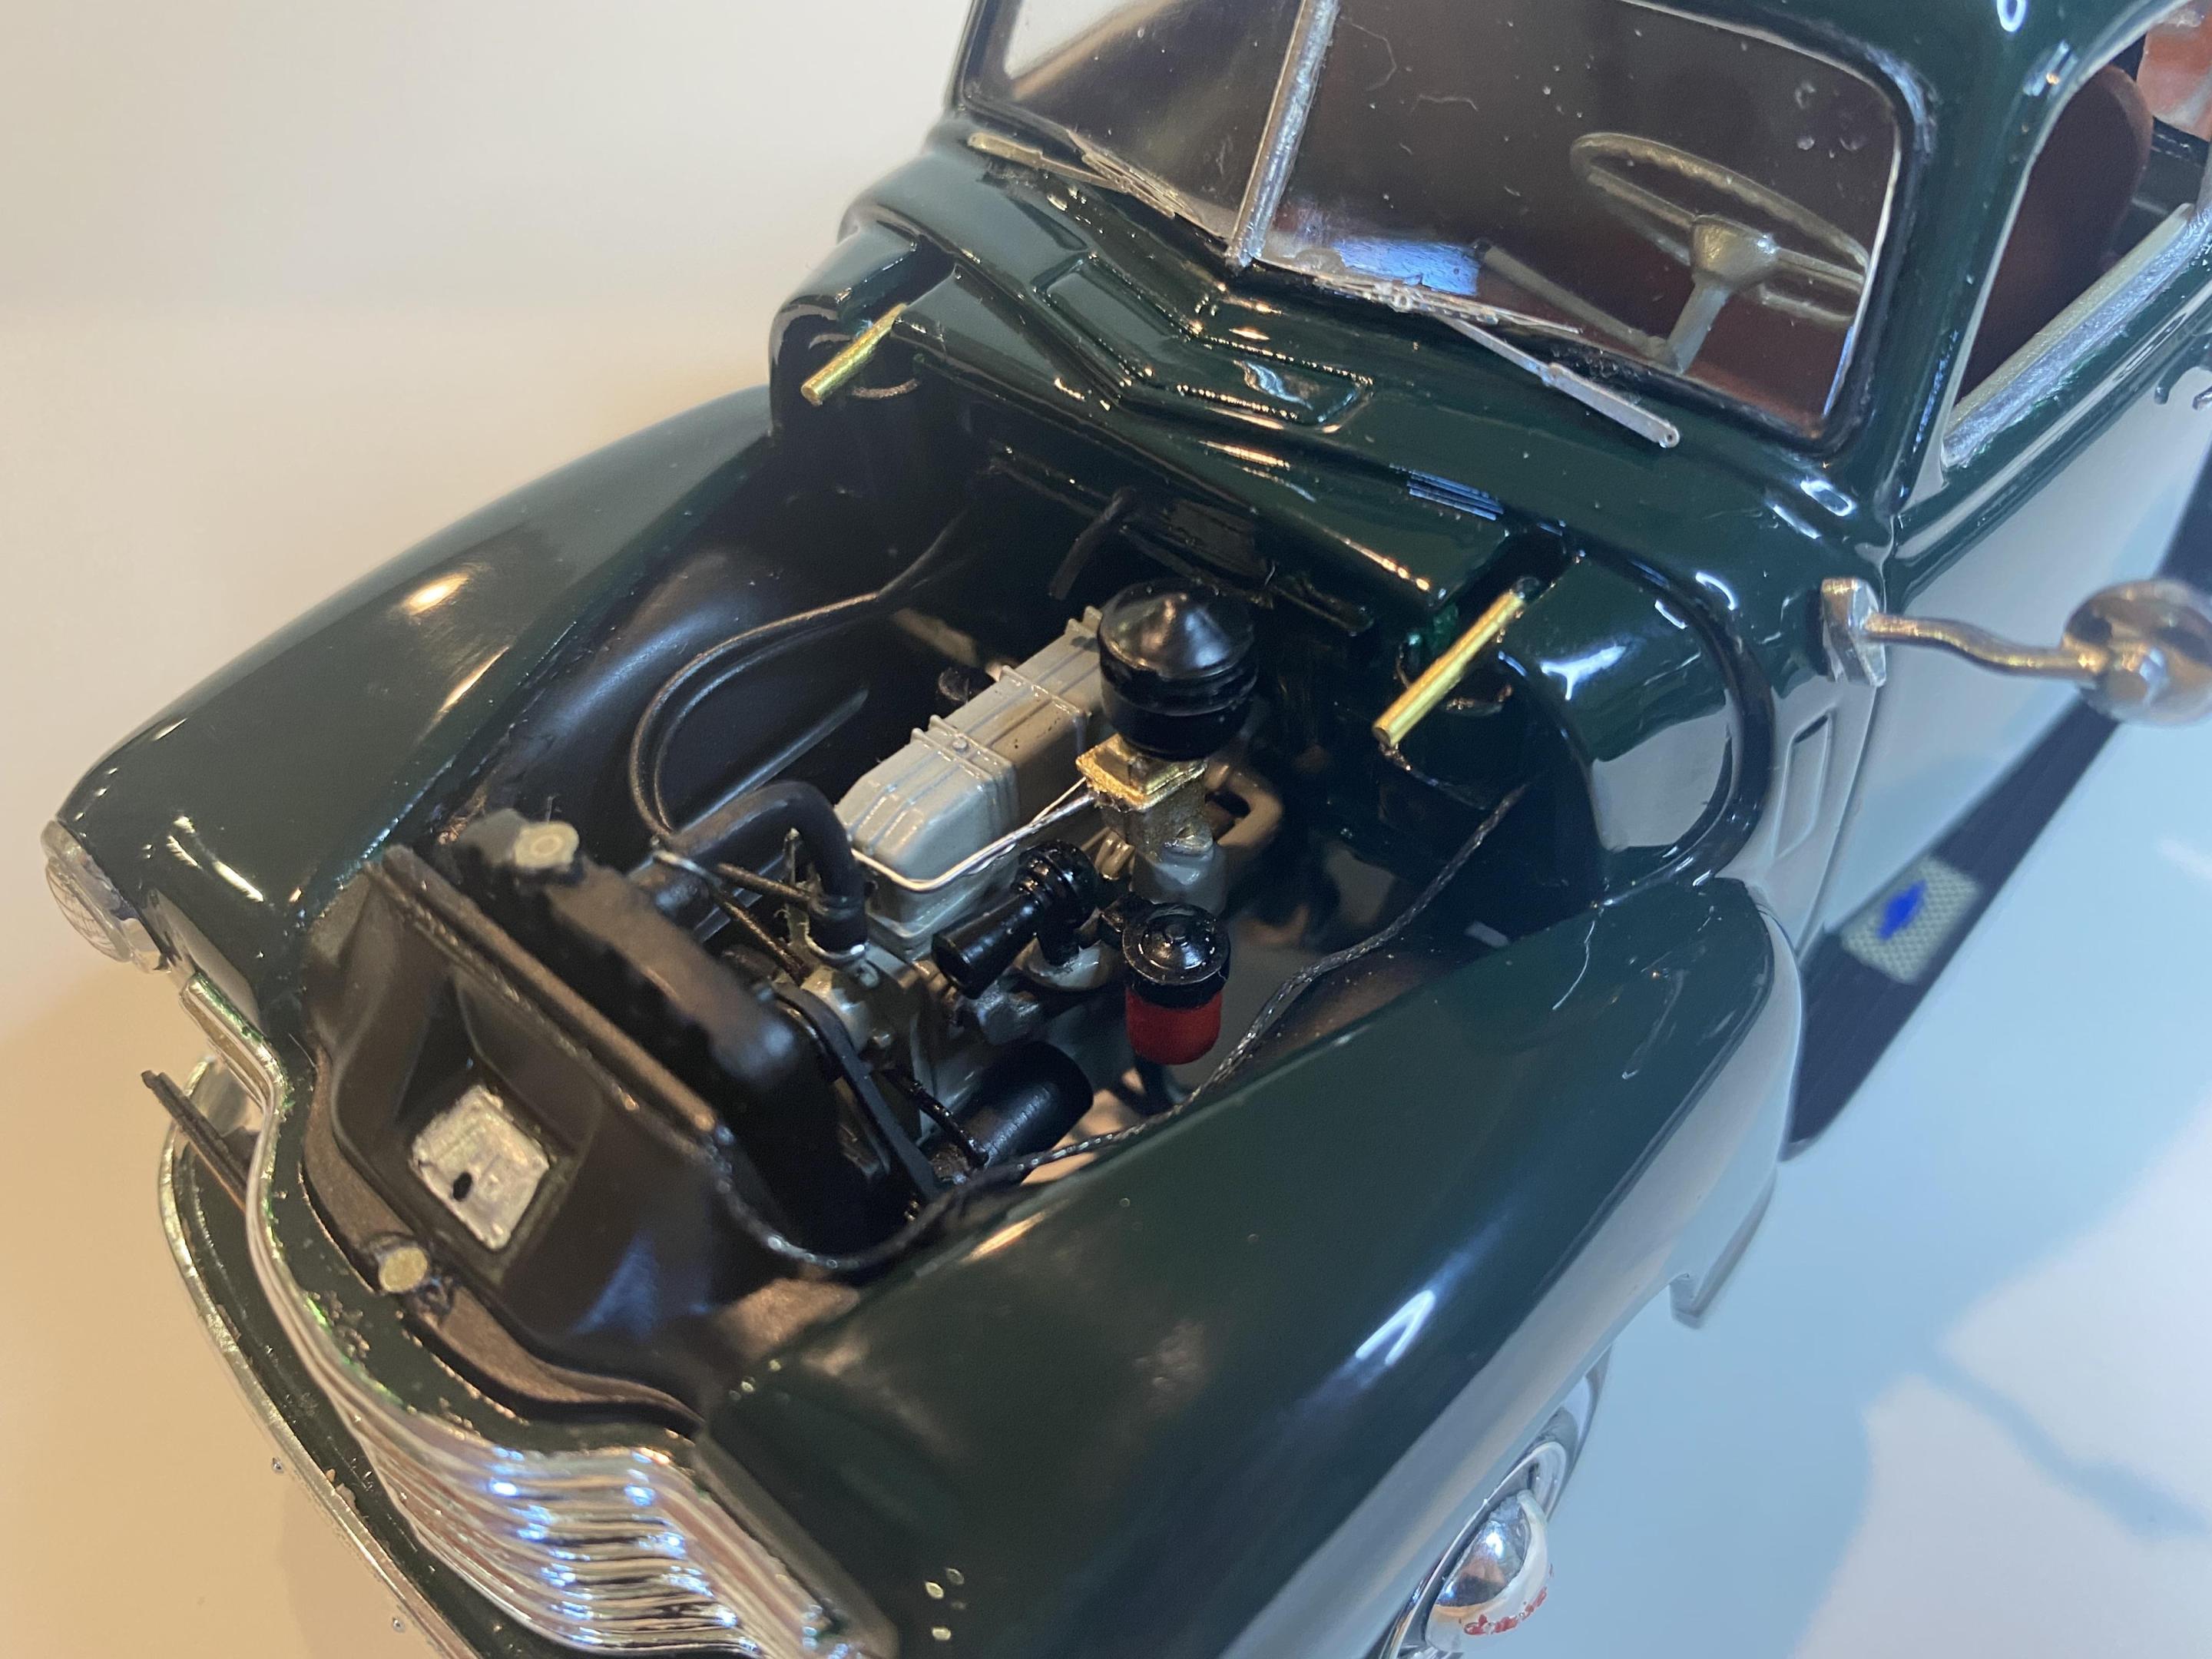
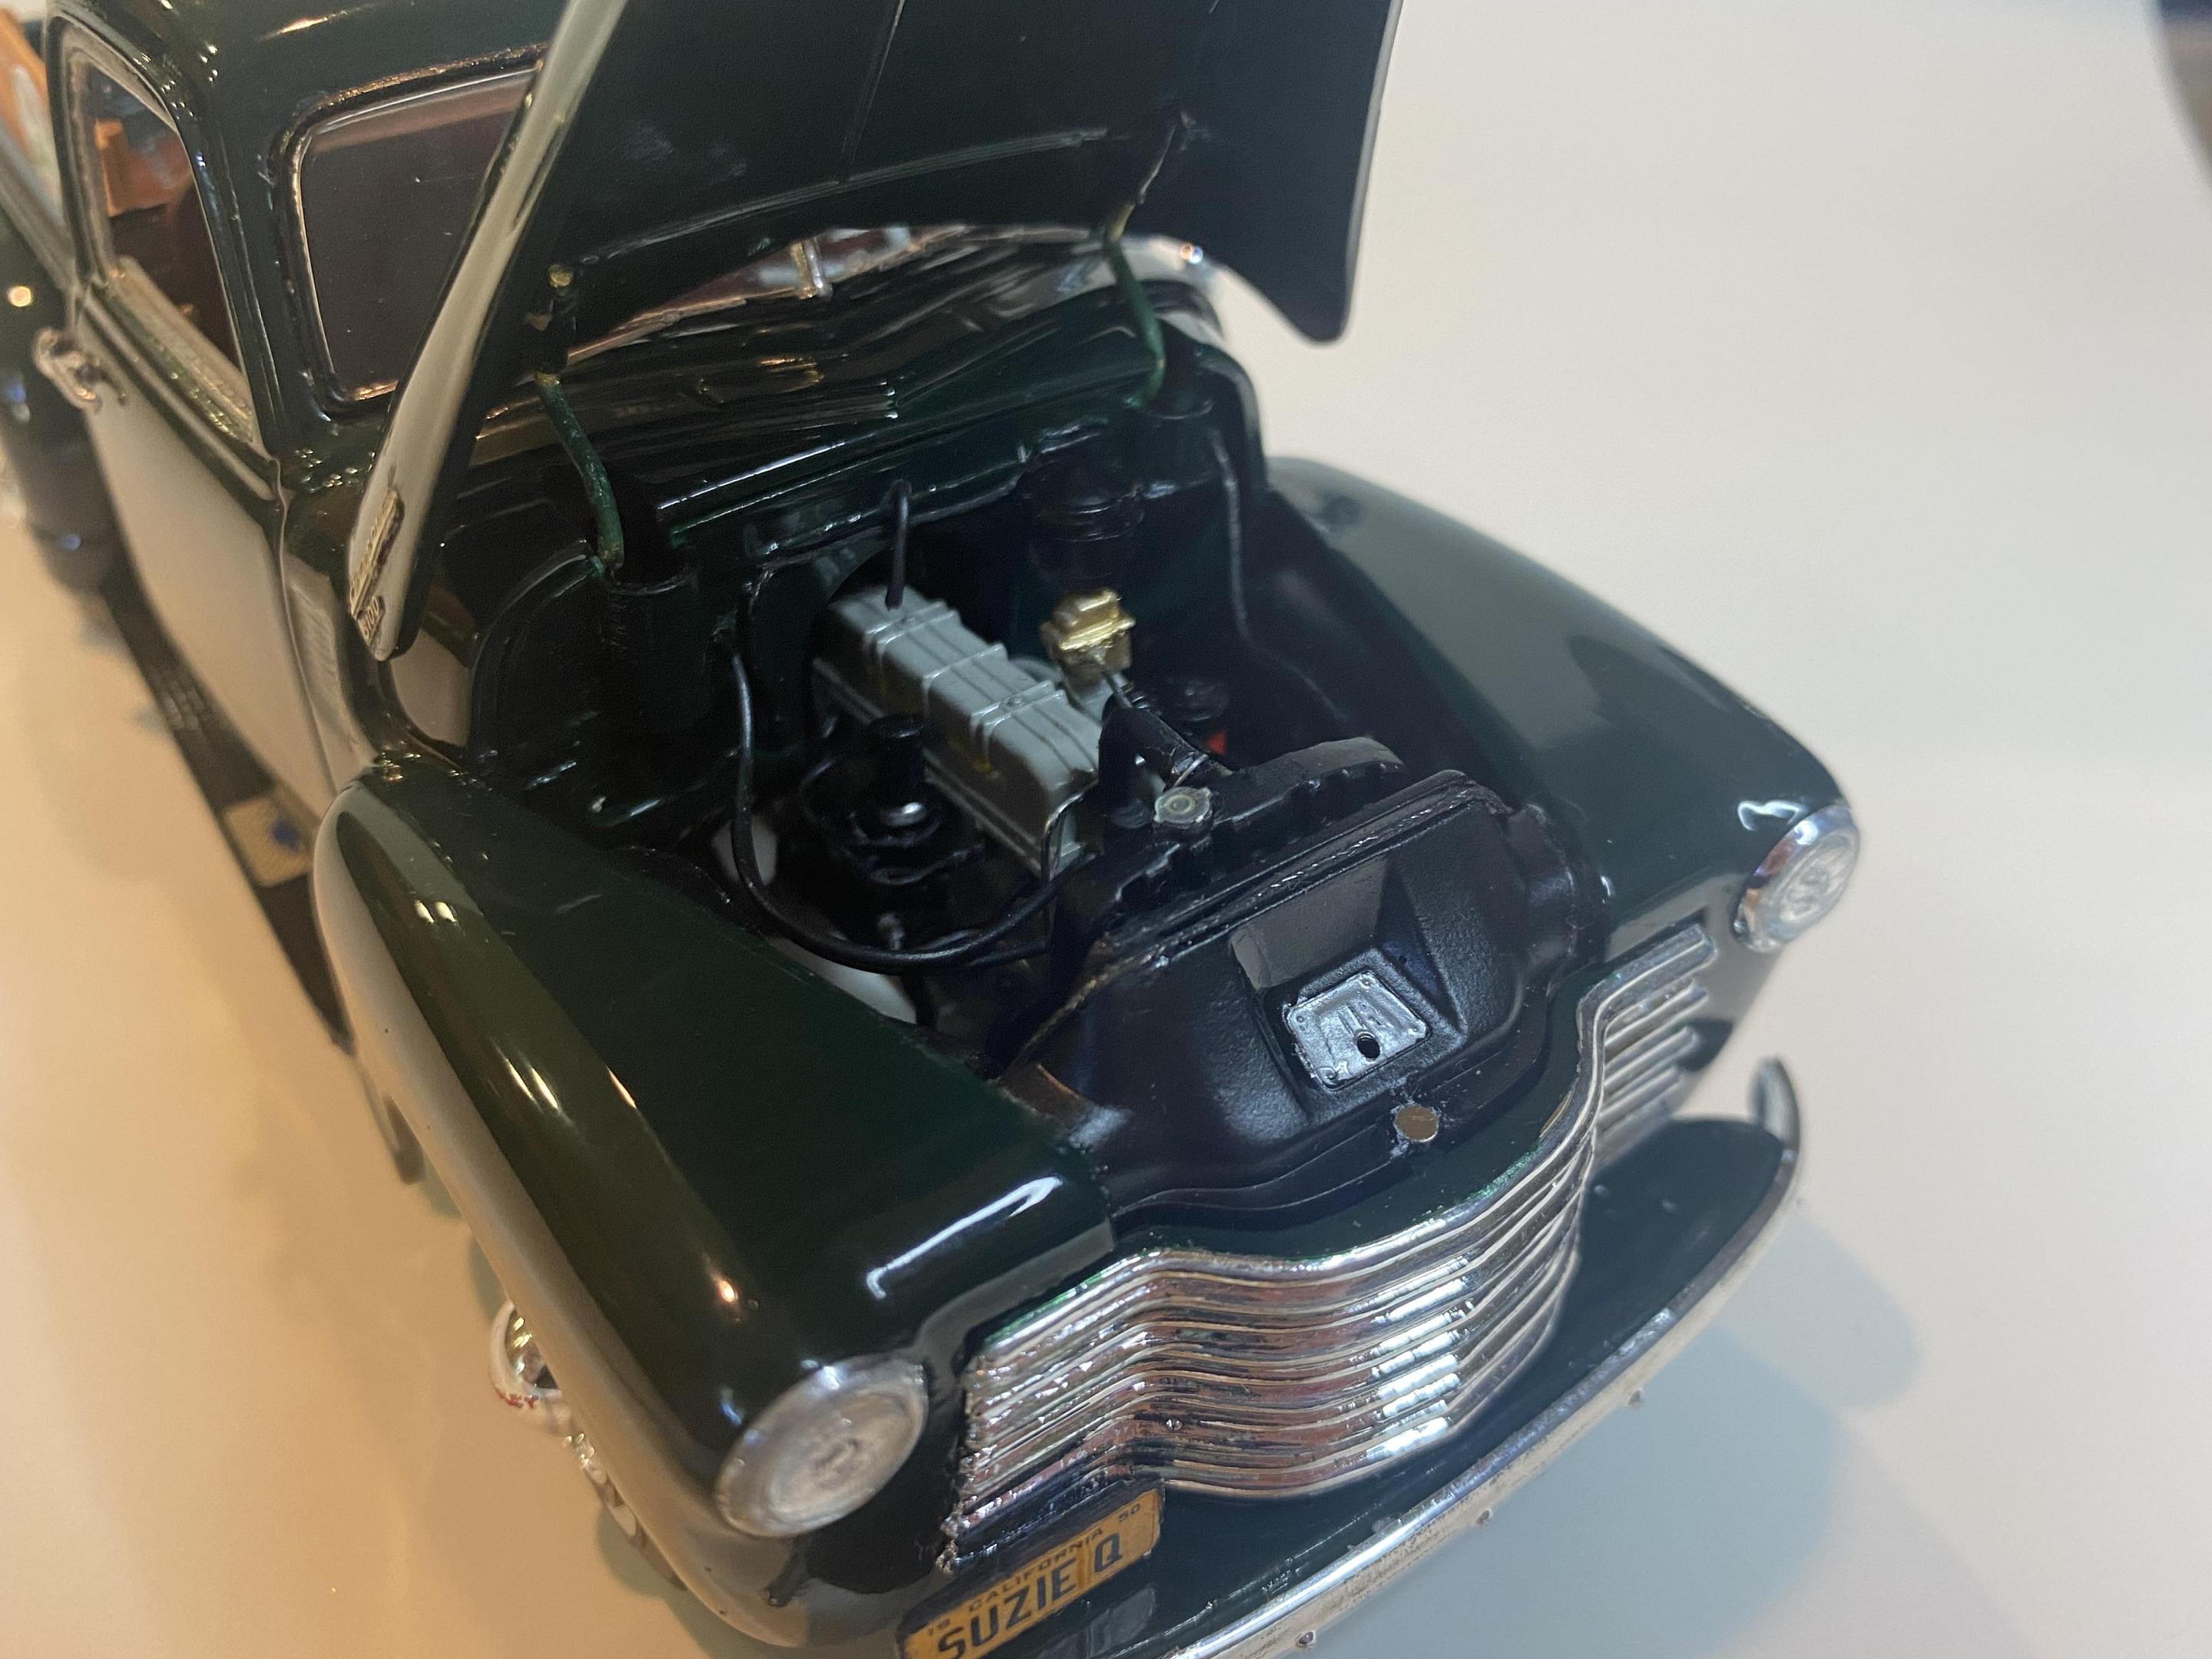
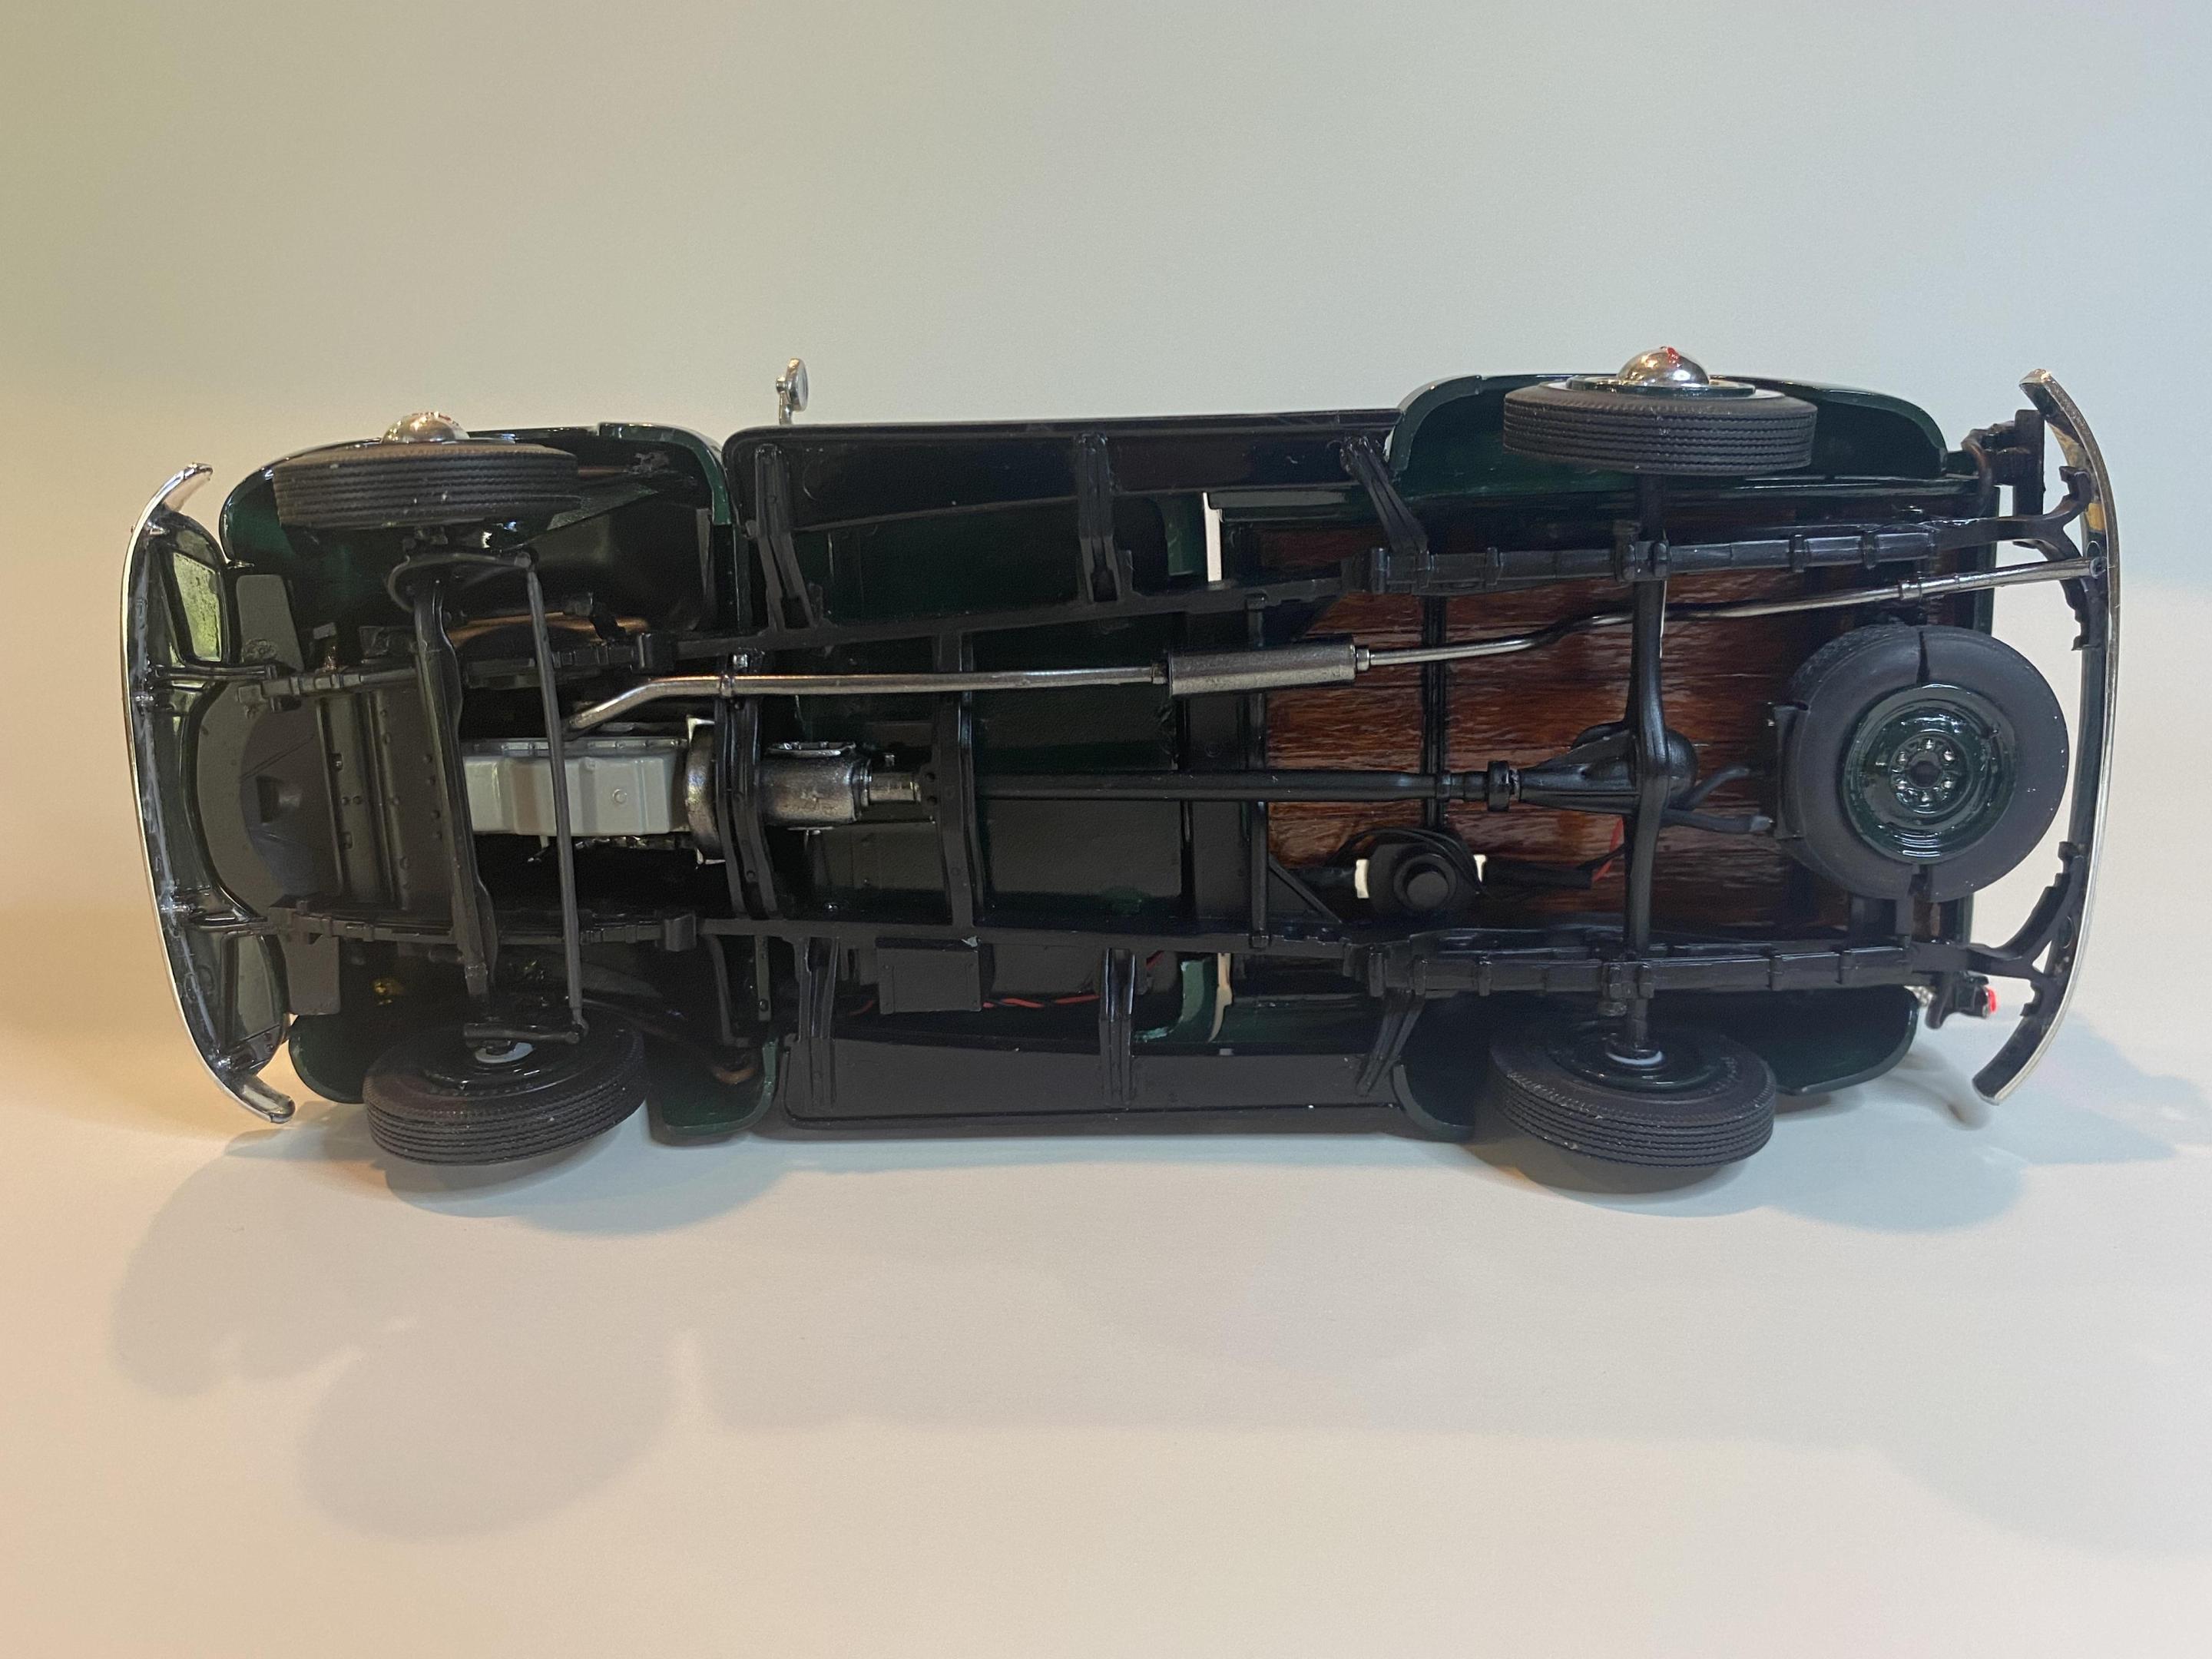
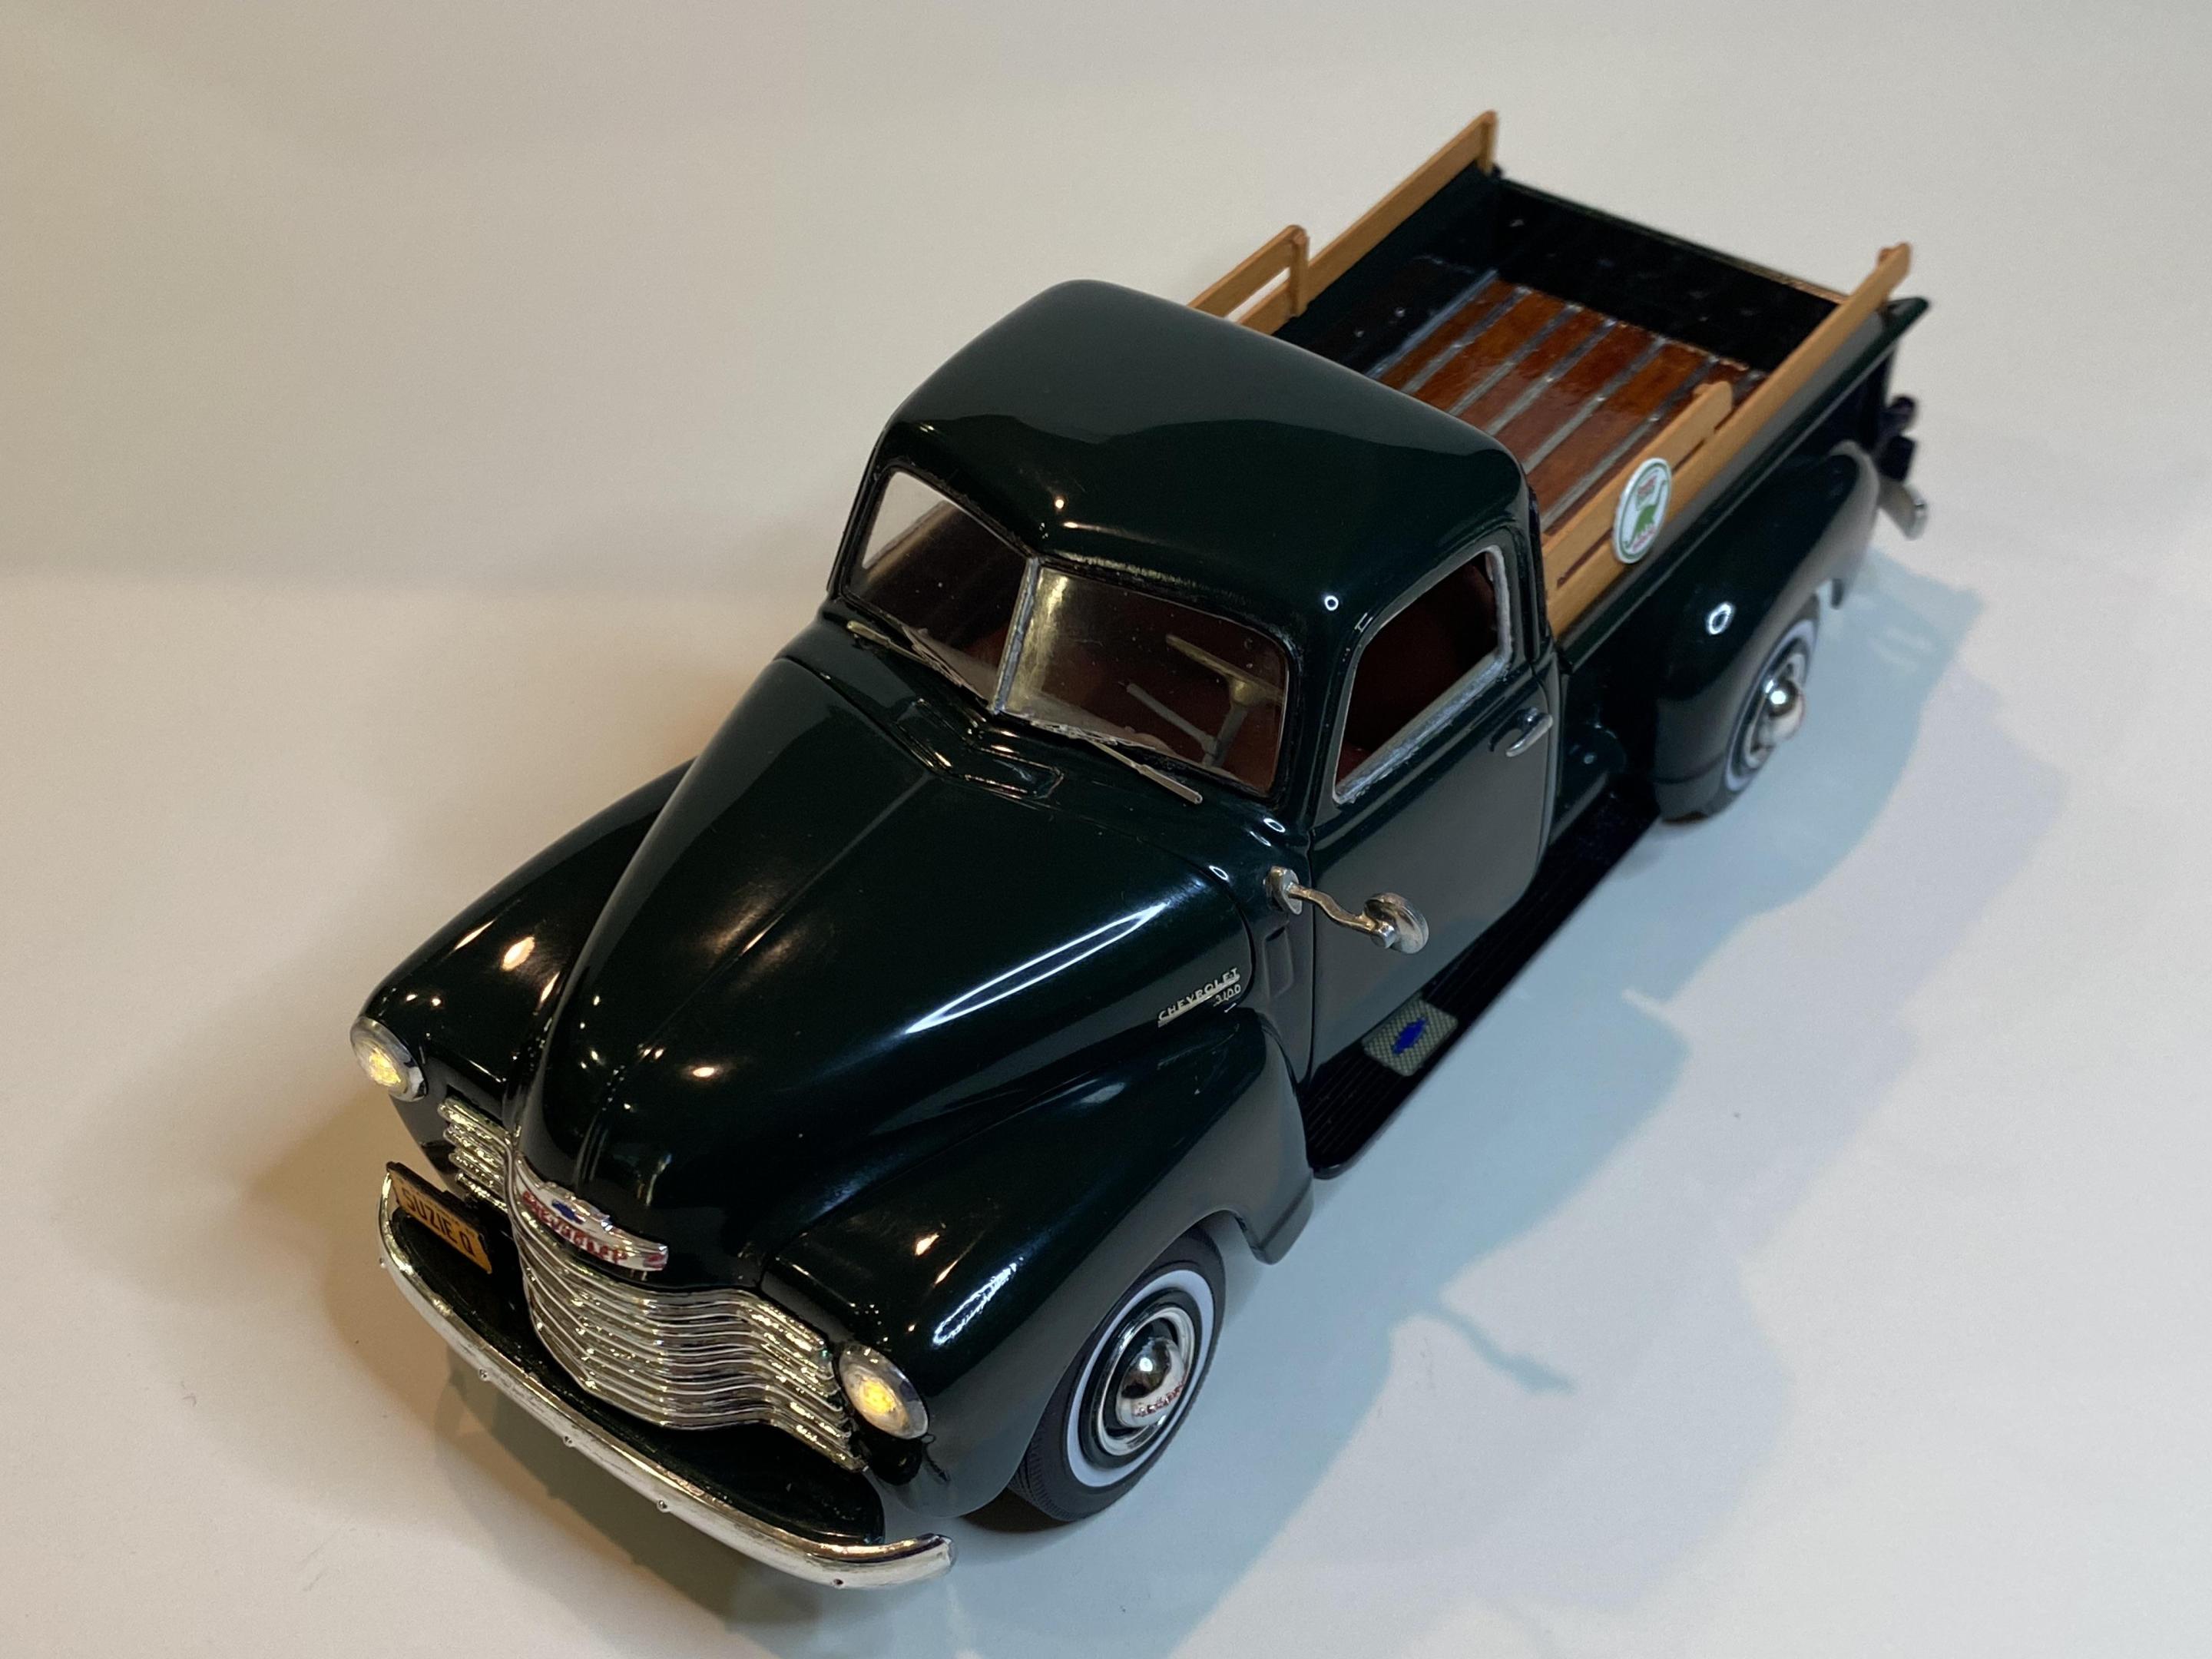
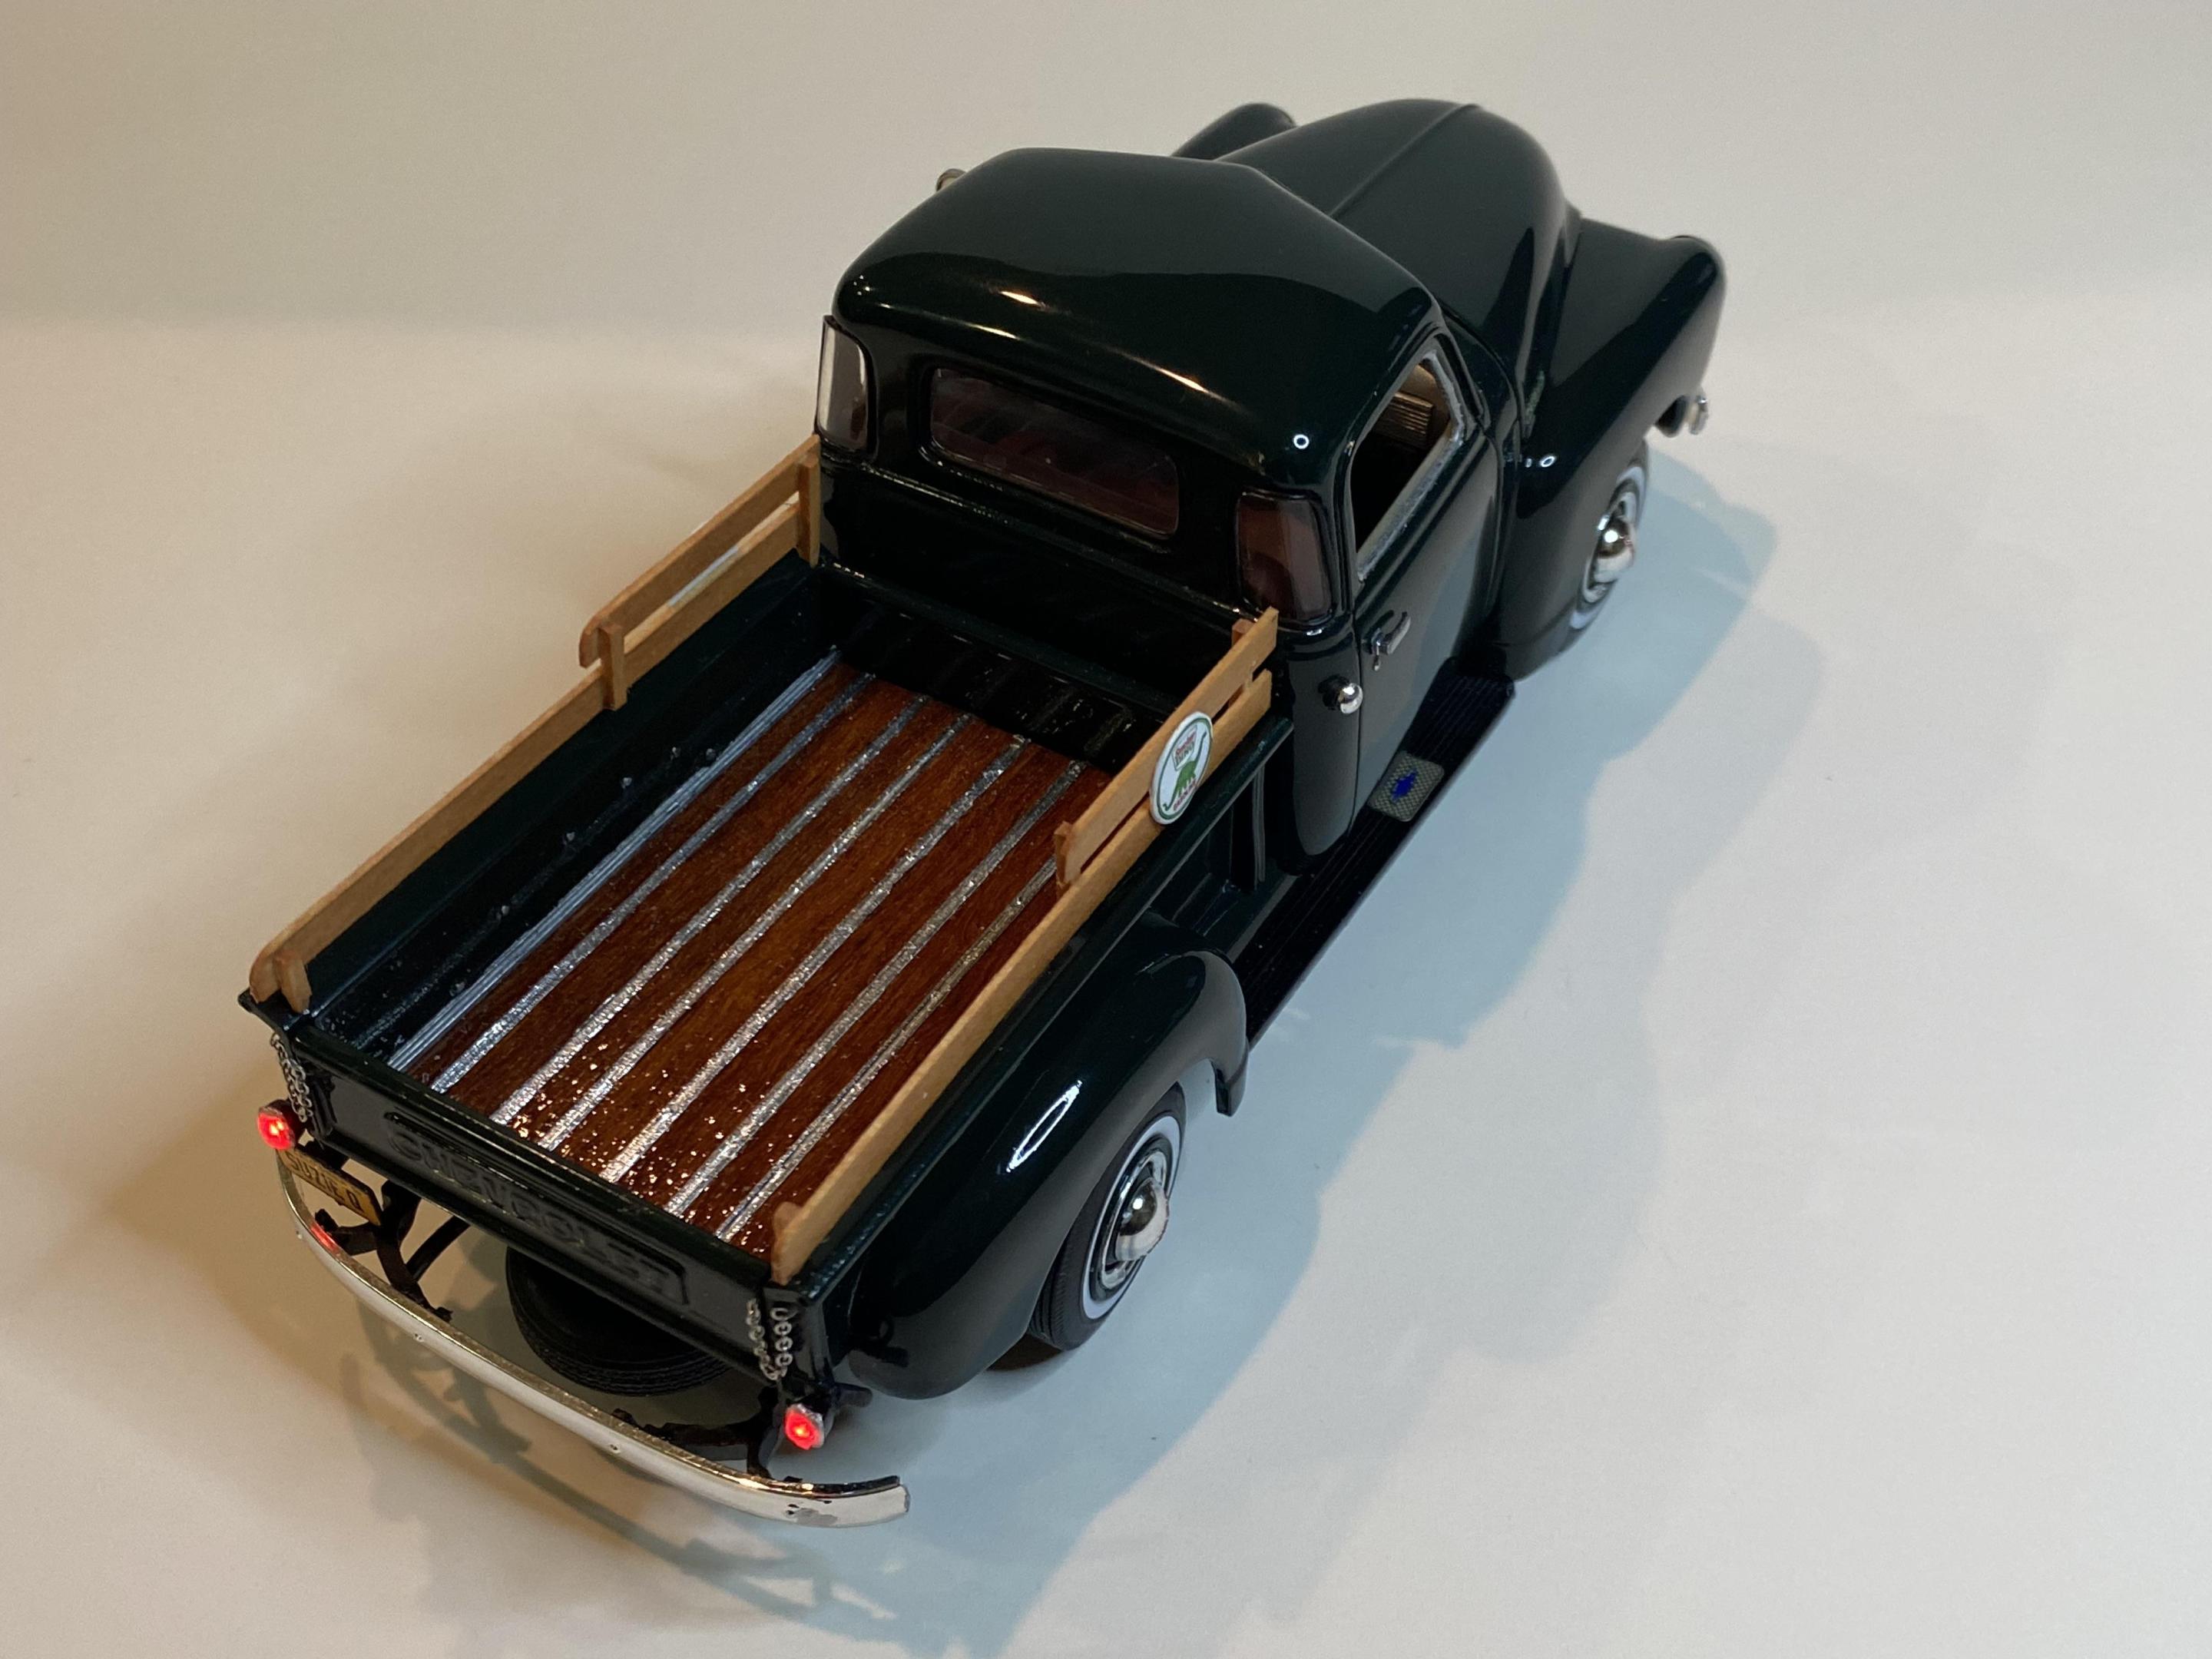
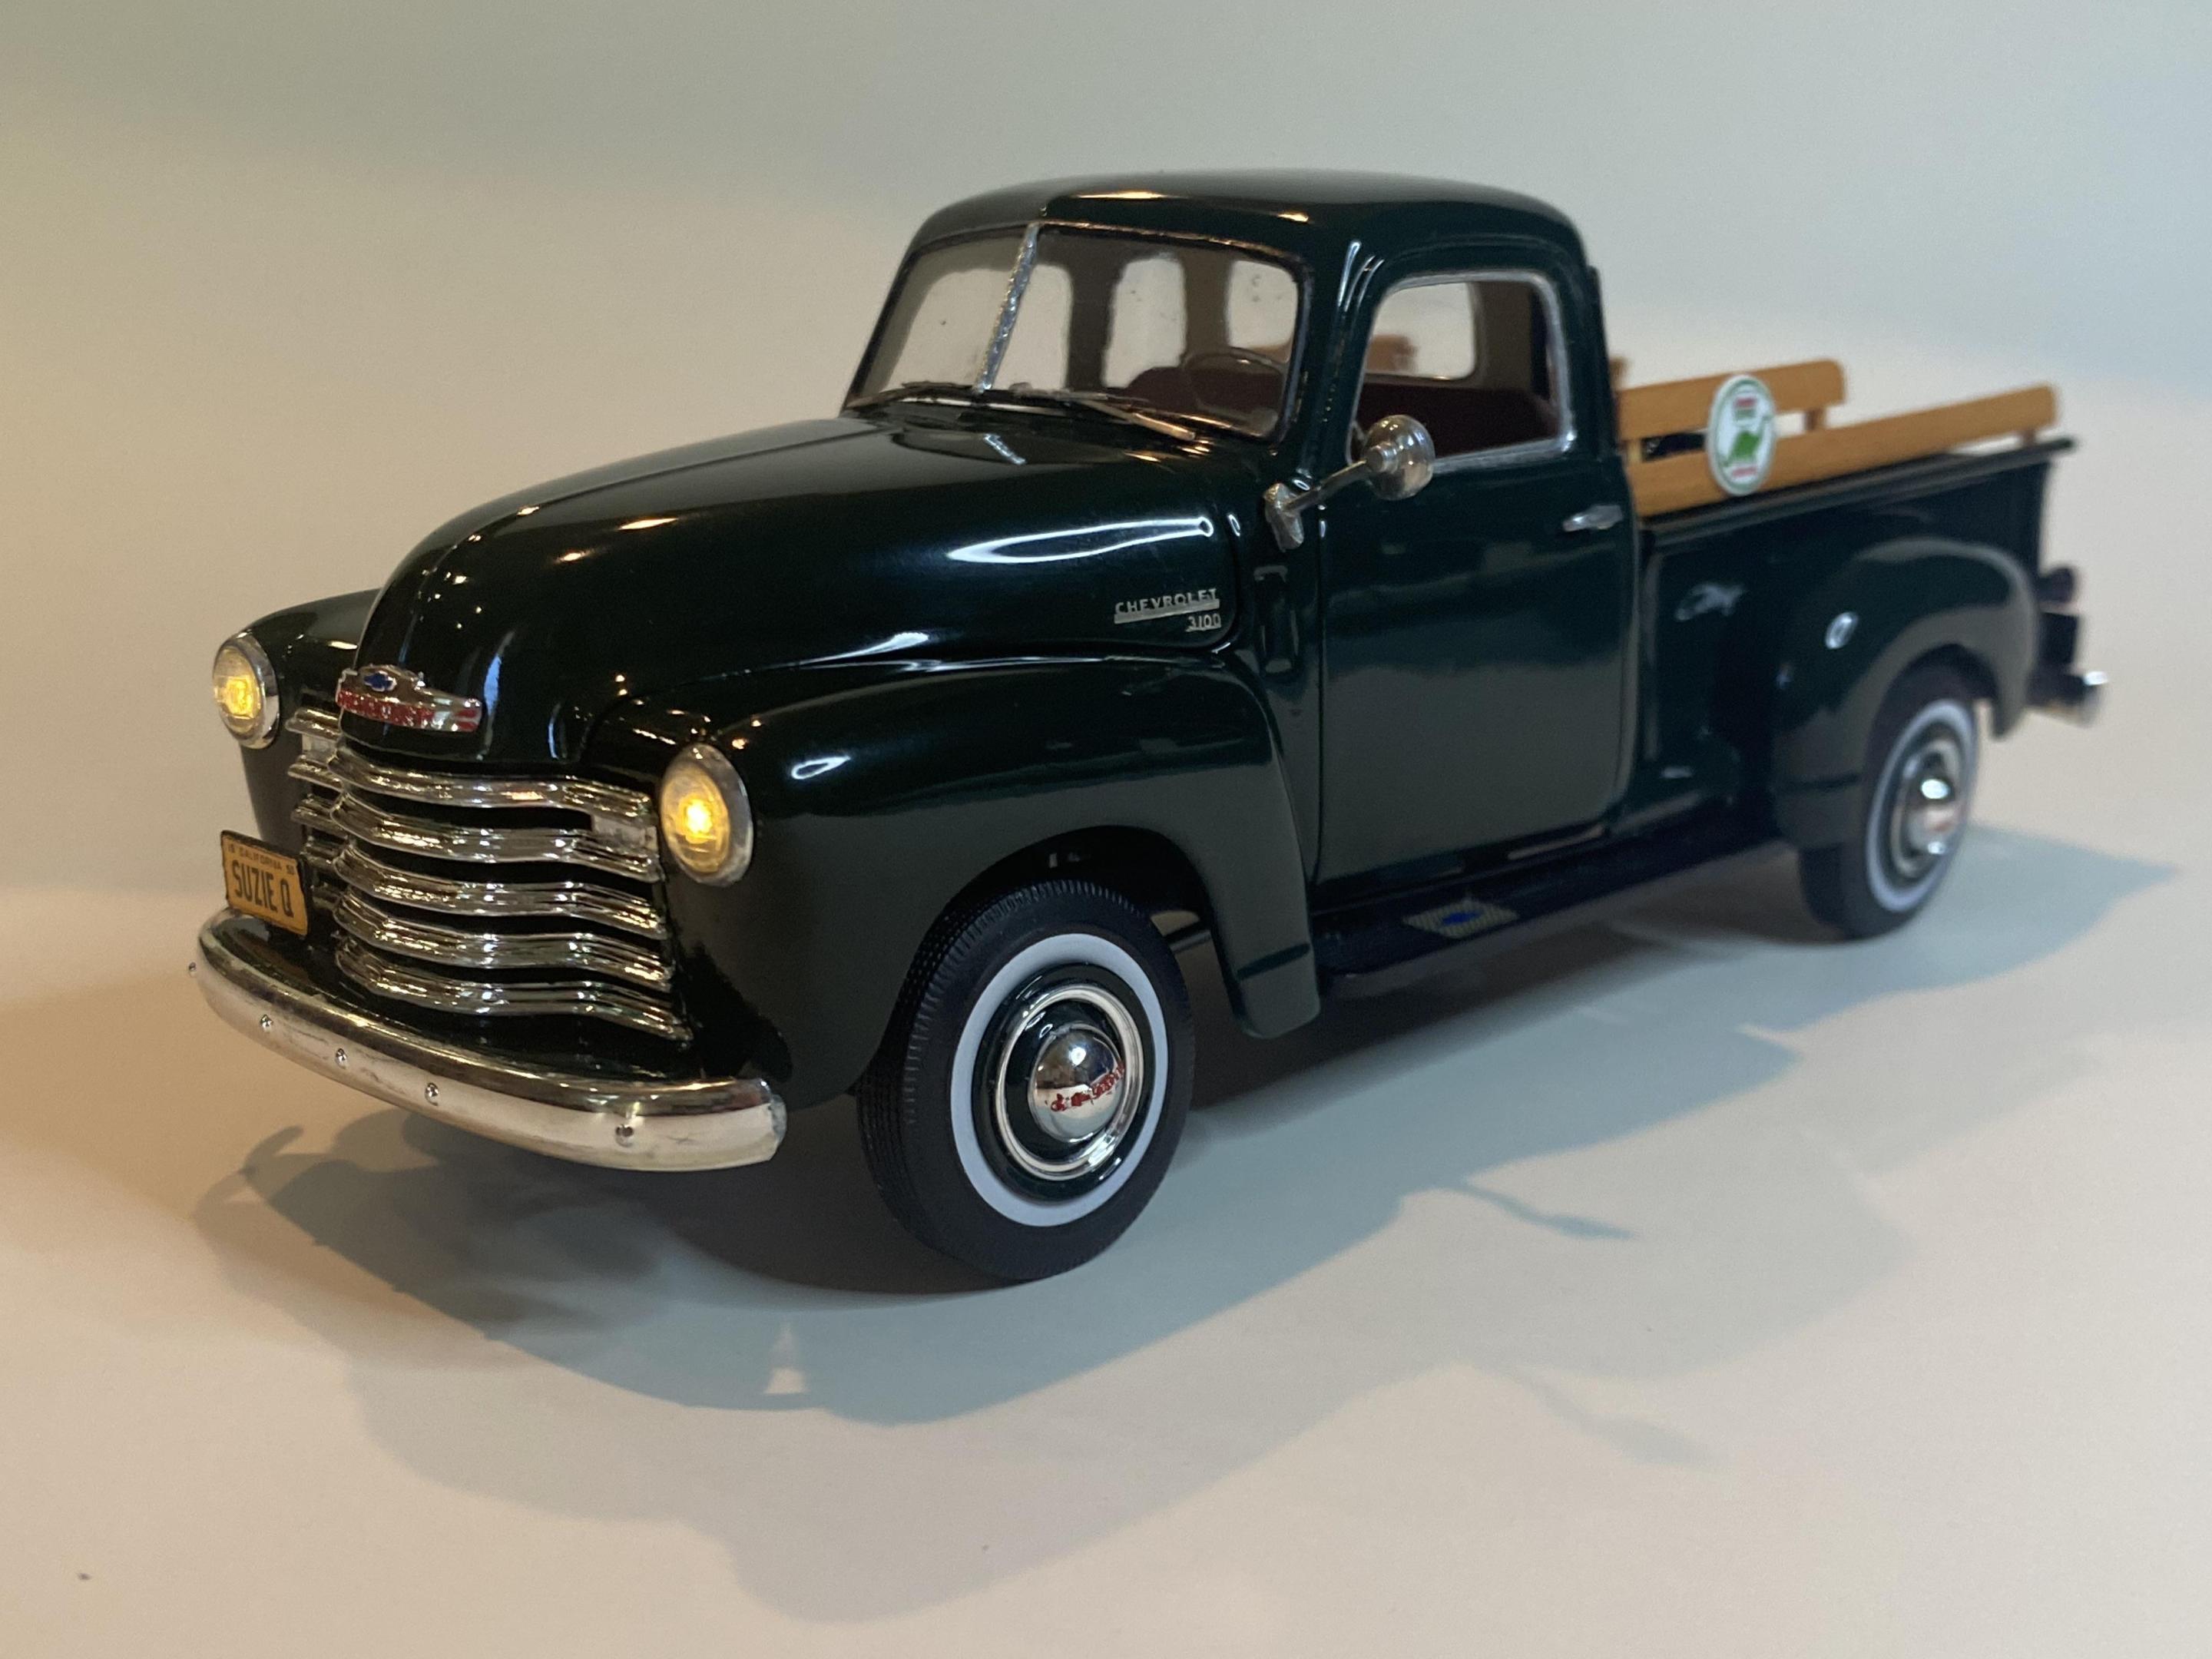
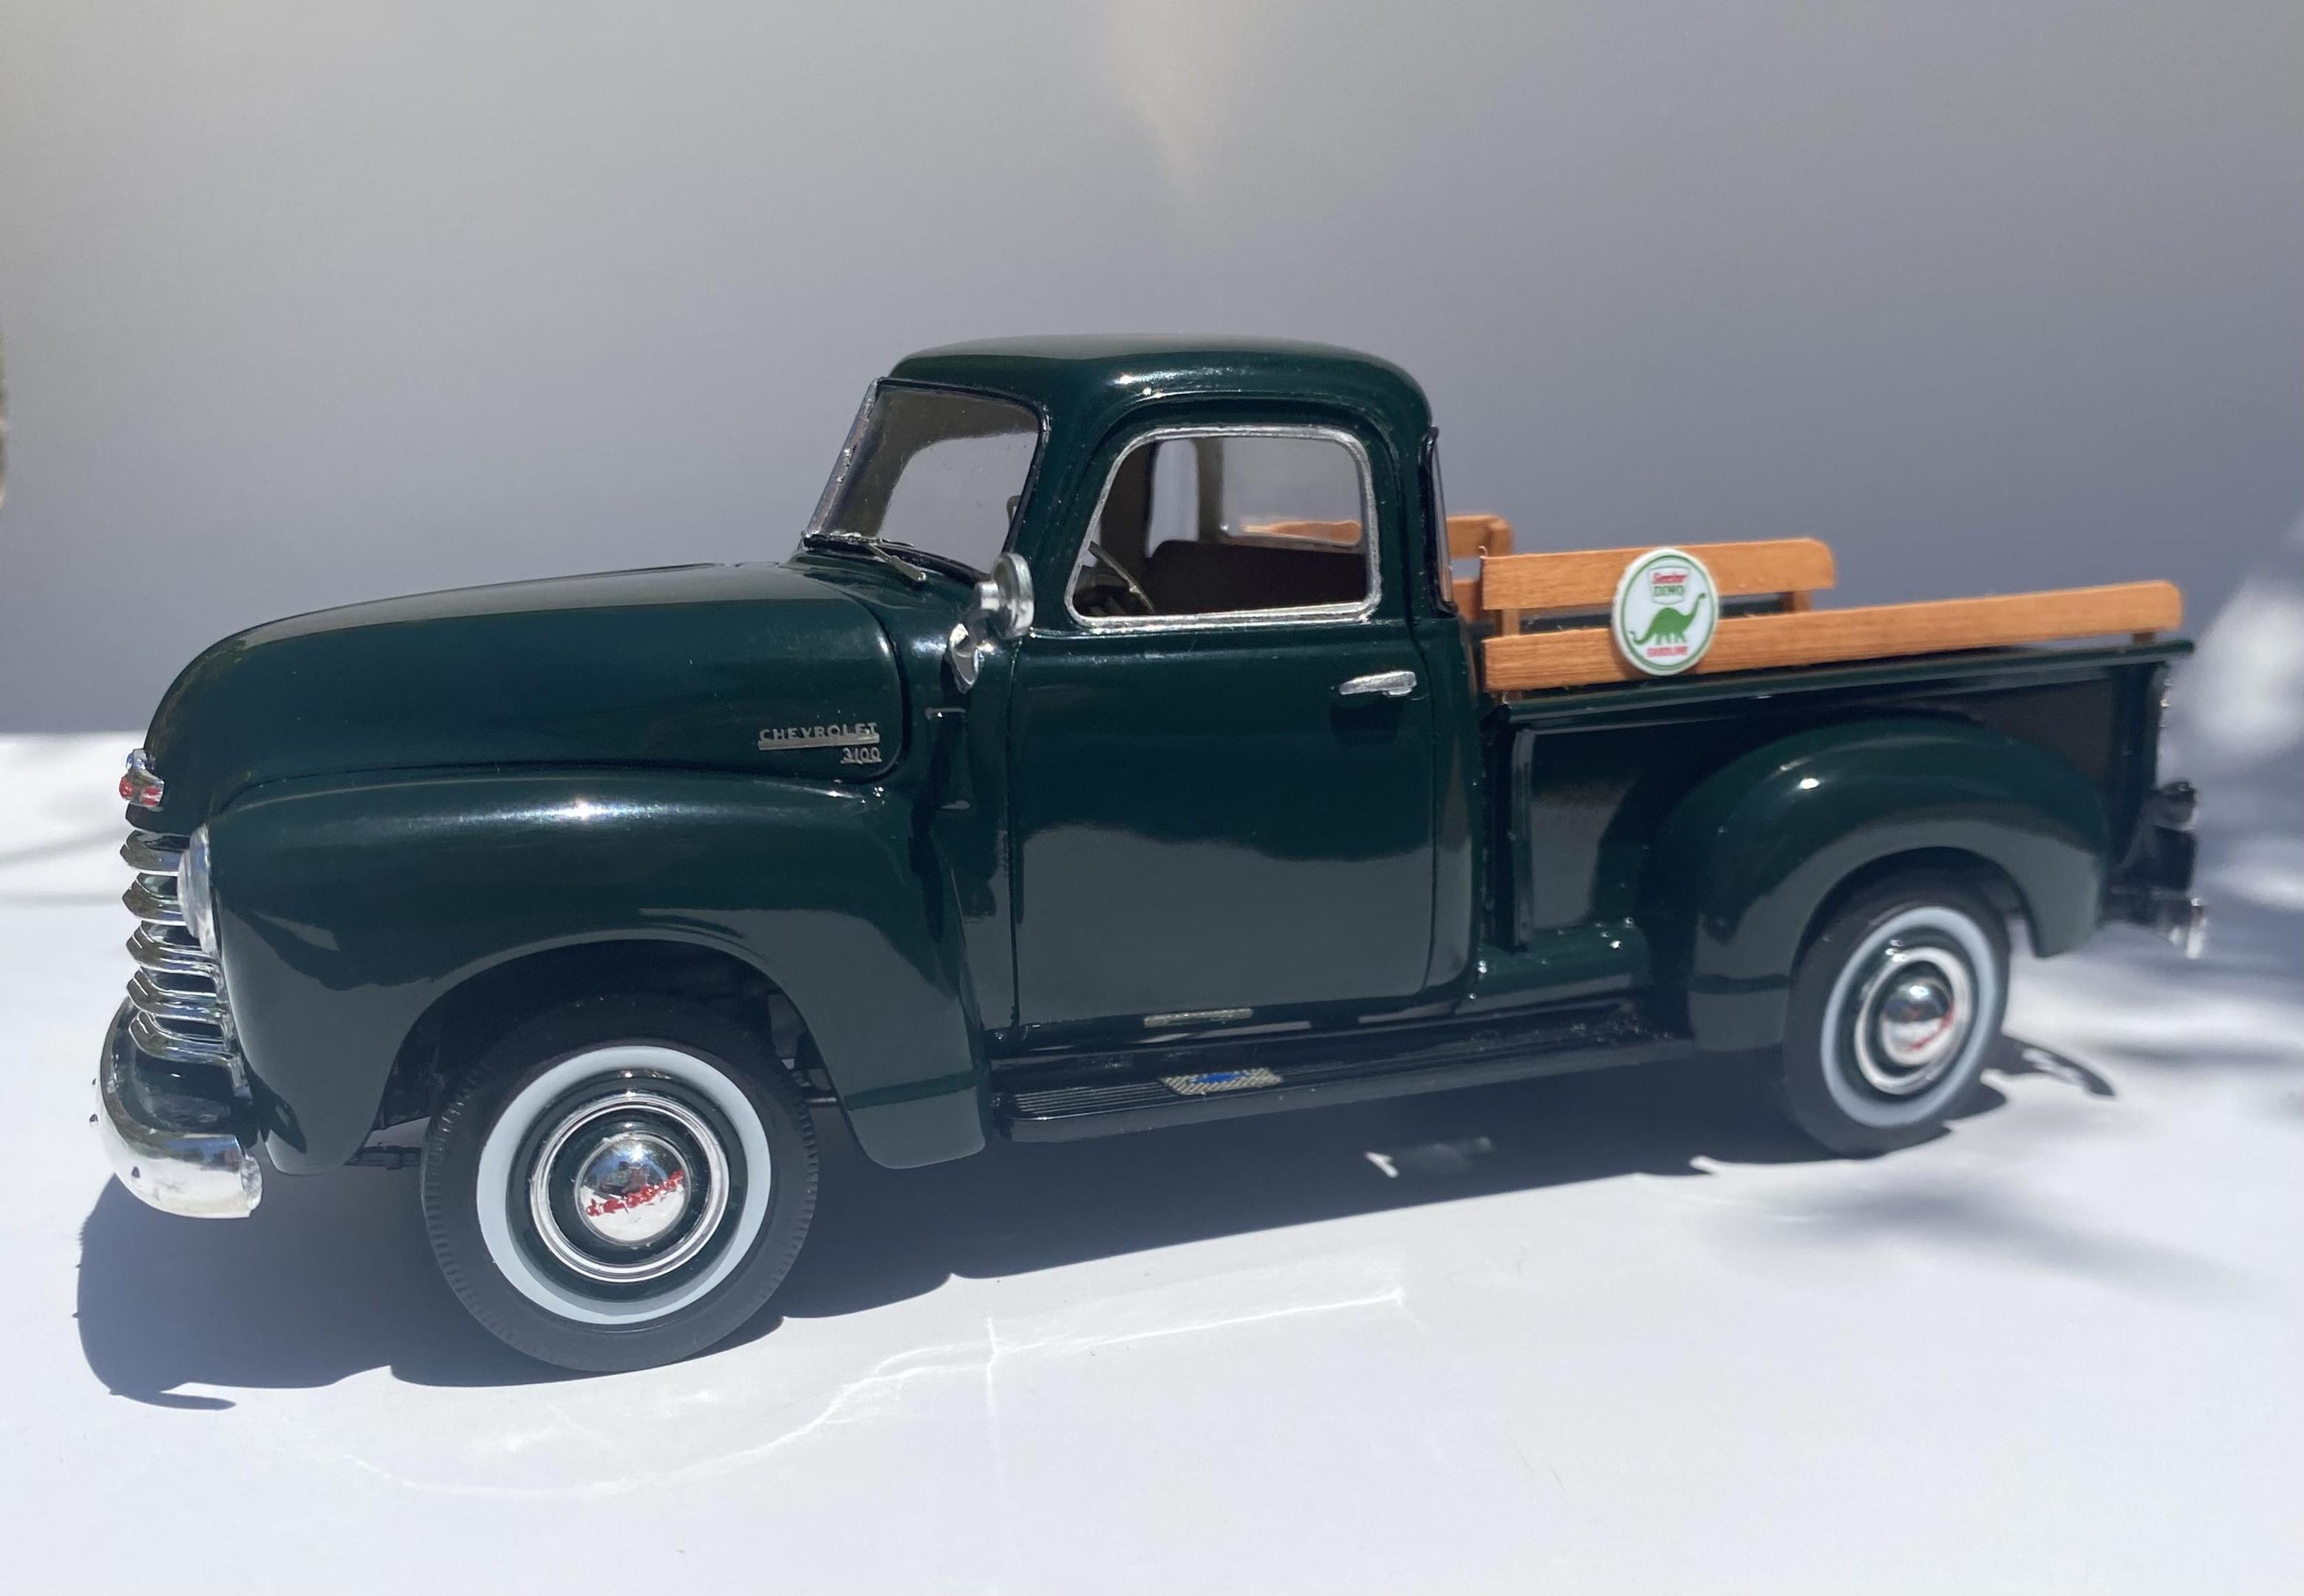
I finally finished the build of a 1950 Chevy 3100 under my wife’s specs so I of course had to name it Suzie Q. As with all my builds working LEDs for headlights, tail lights and gauge lights. The LED coin cell battery is hidden as the spare under the truck bed. My son has a Sinclair gas pump globe as a light in his room that is the same design as the bed slat sign to tie it to him as well. Detailed engine compartment with plug wires in correct firing order, heater lines and wiring. And one shot in the sun if you missed the WIP thread check it out here:
-
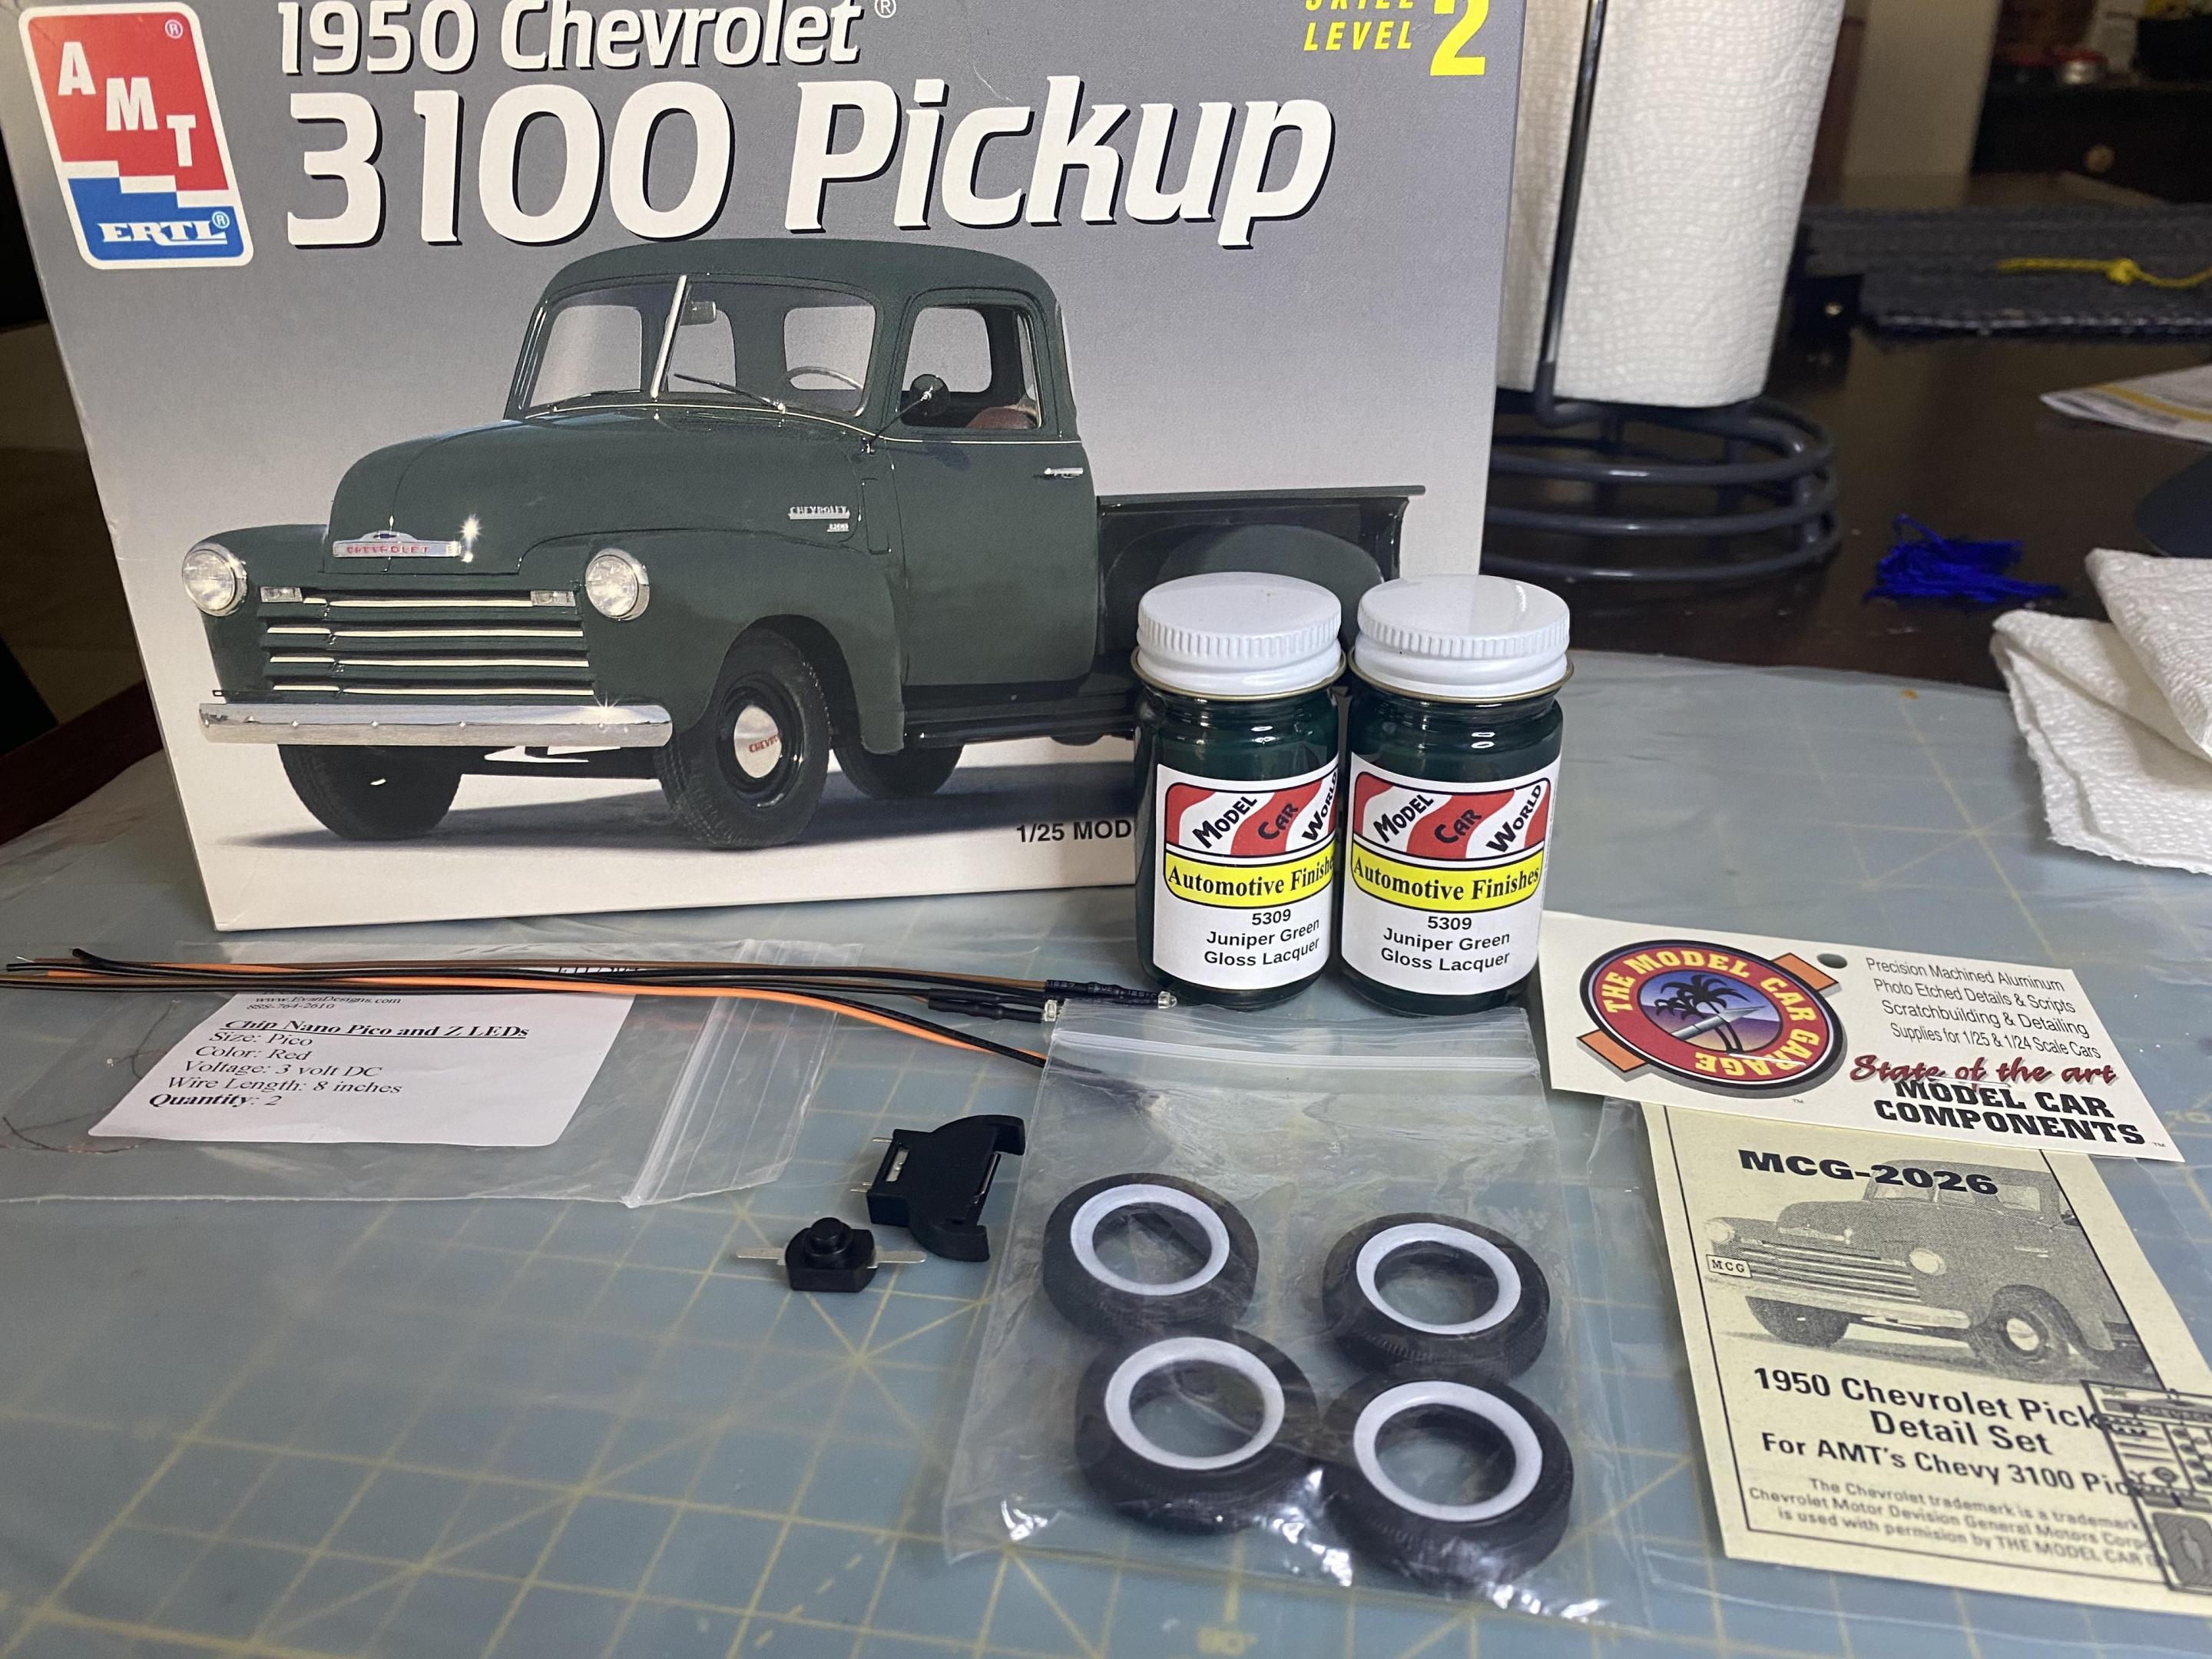
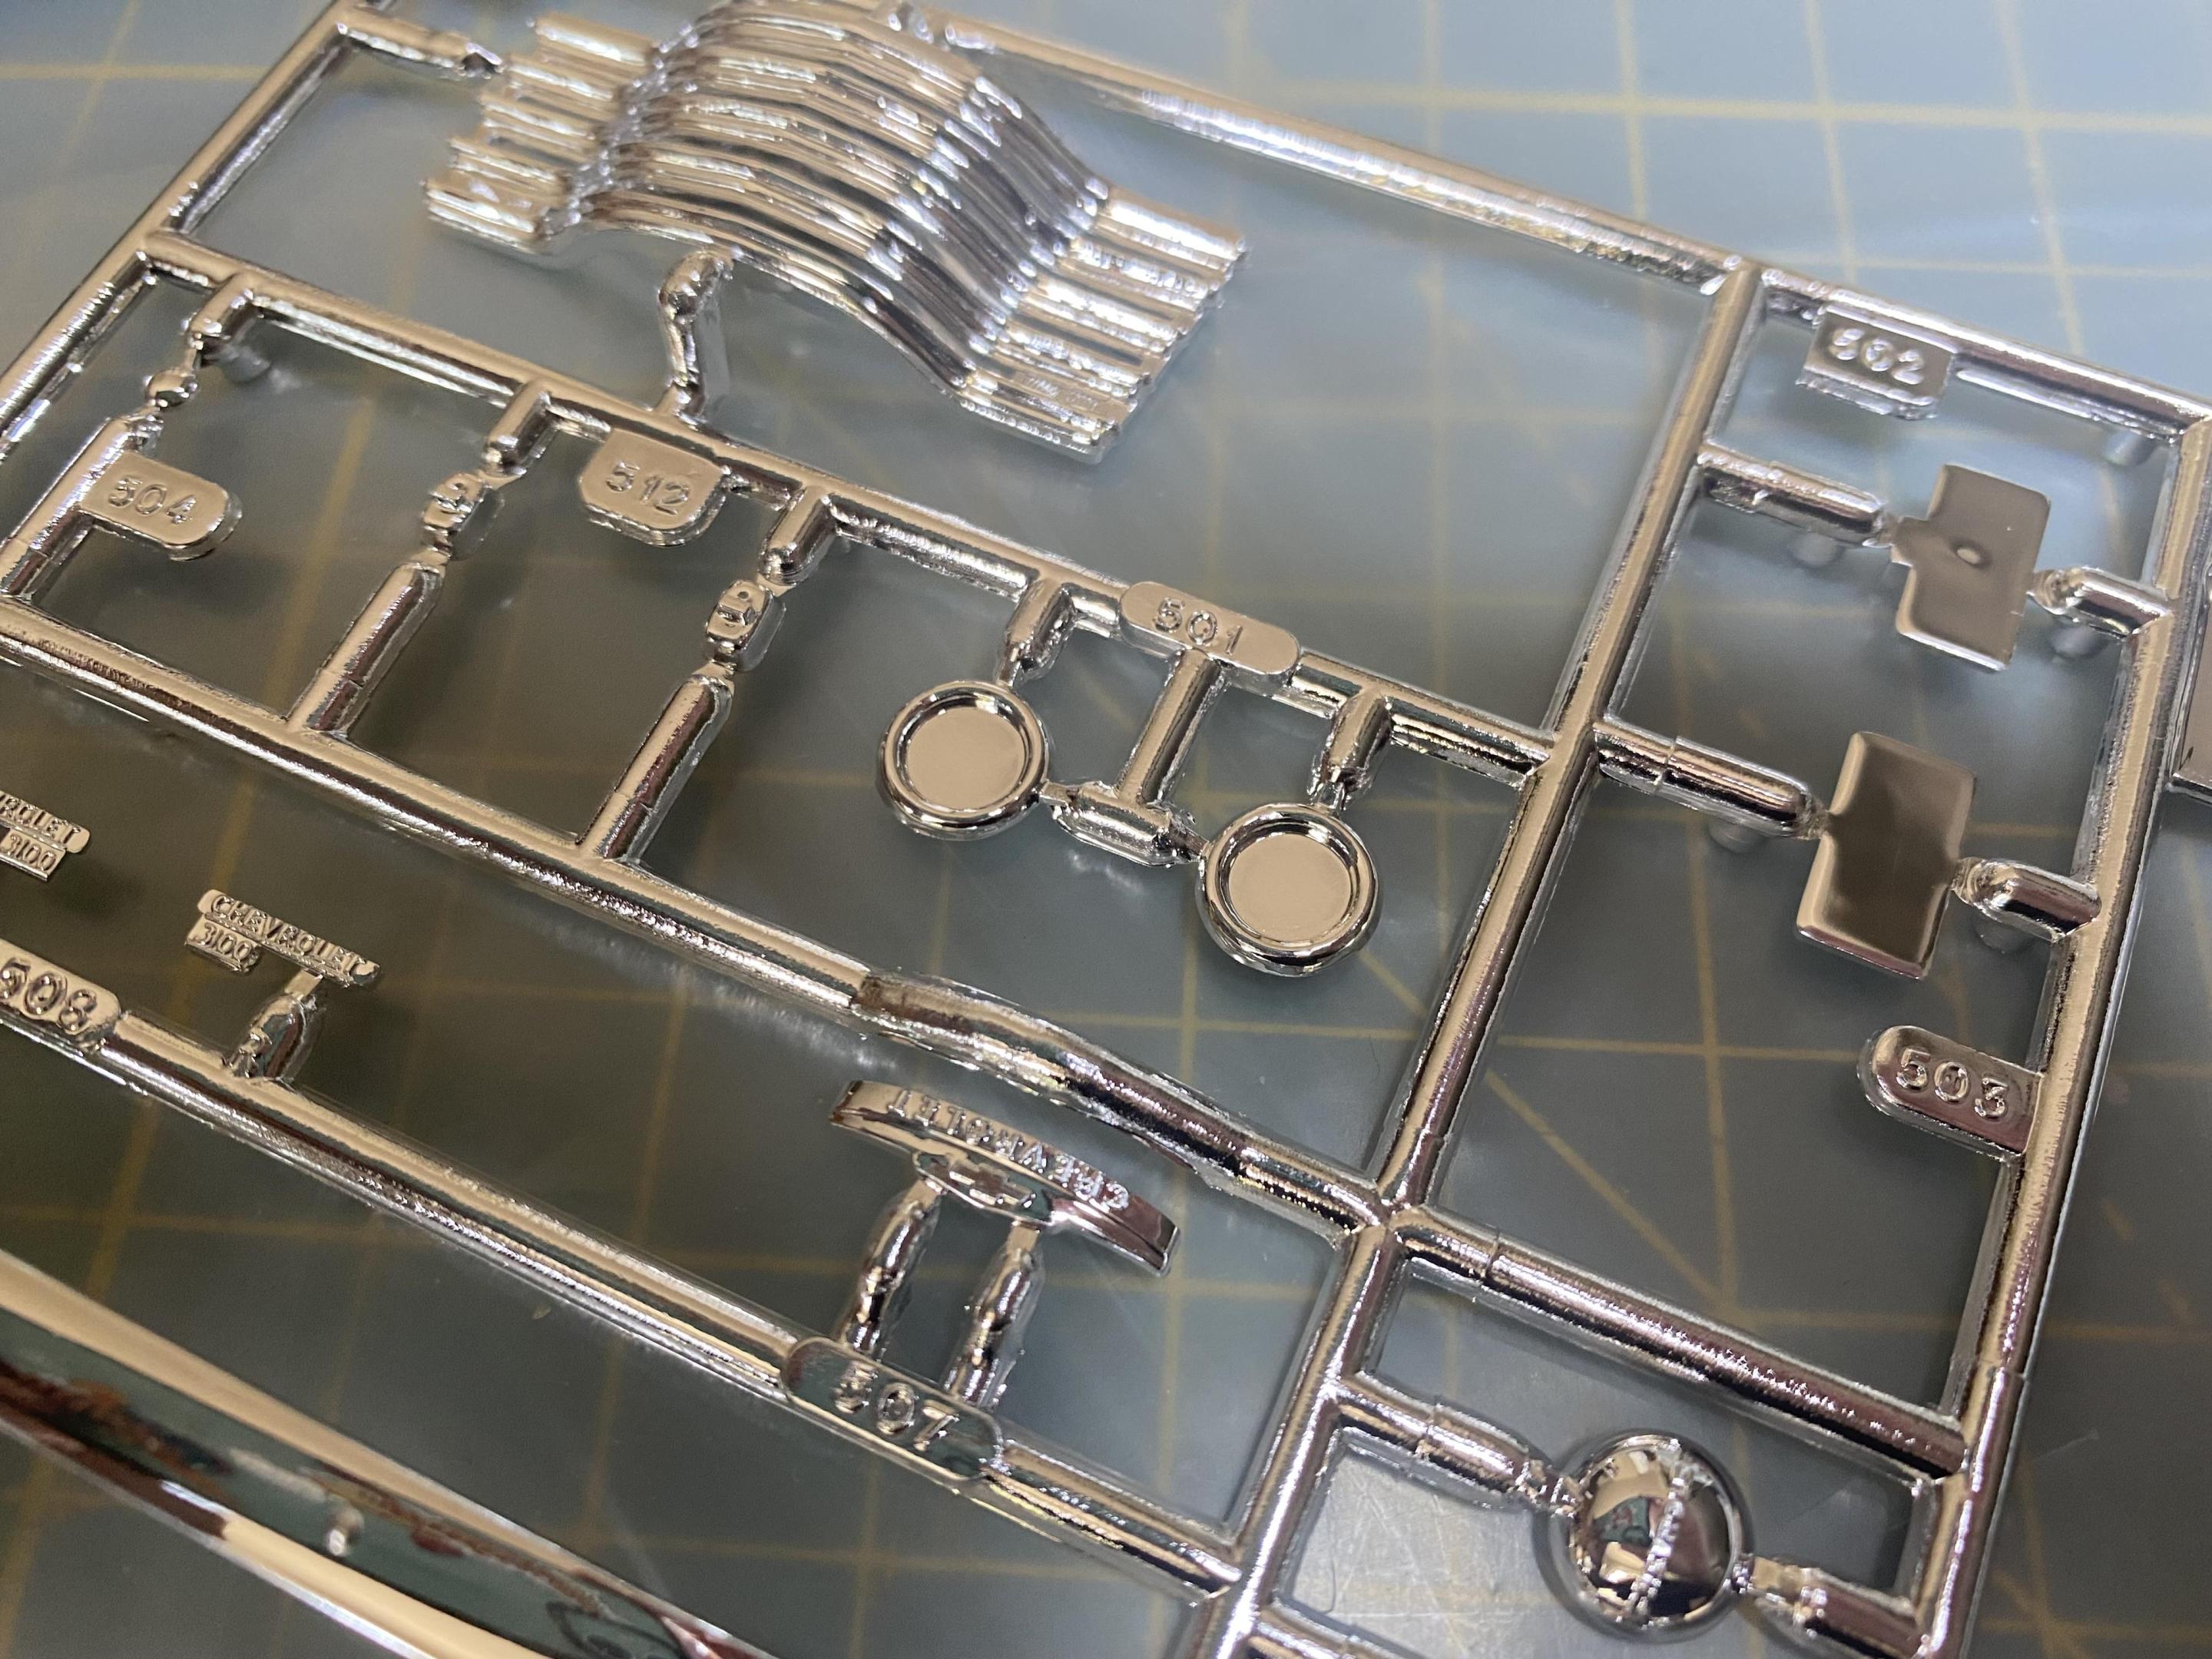
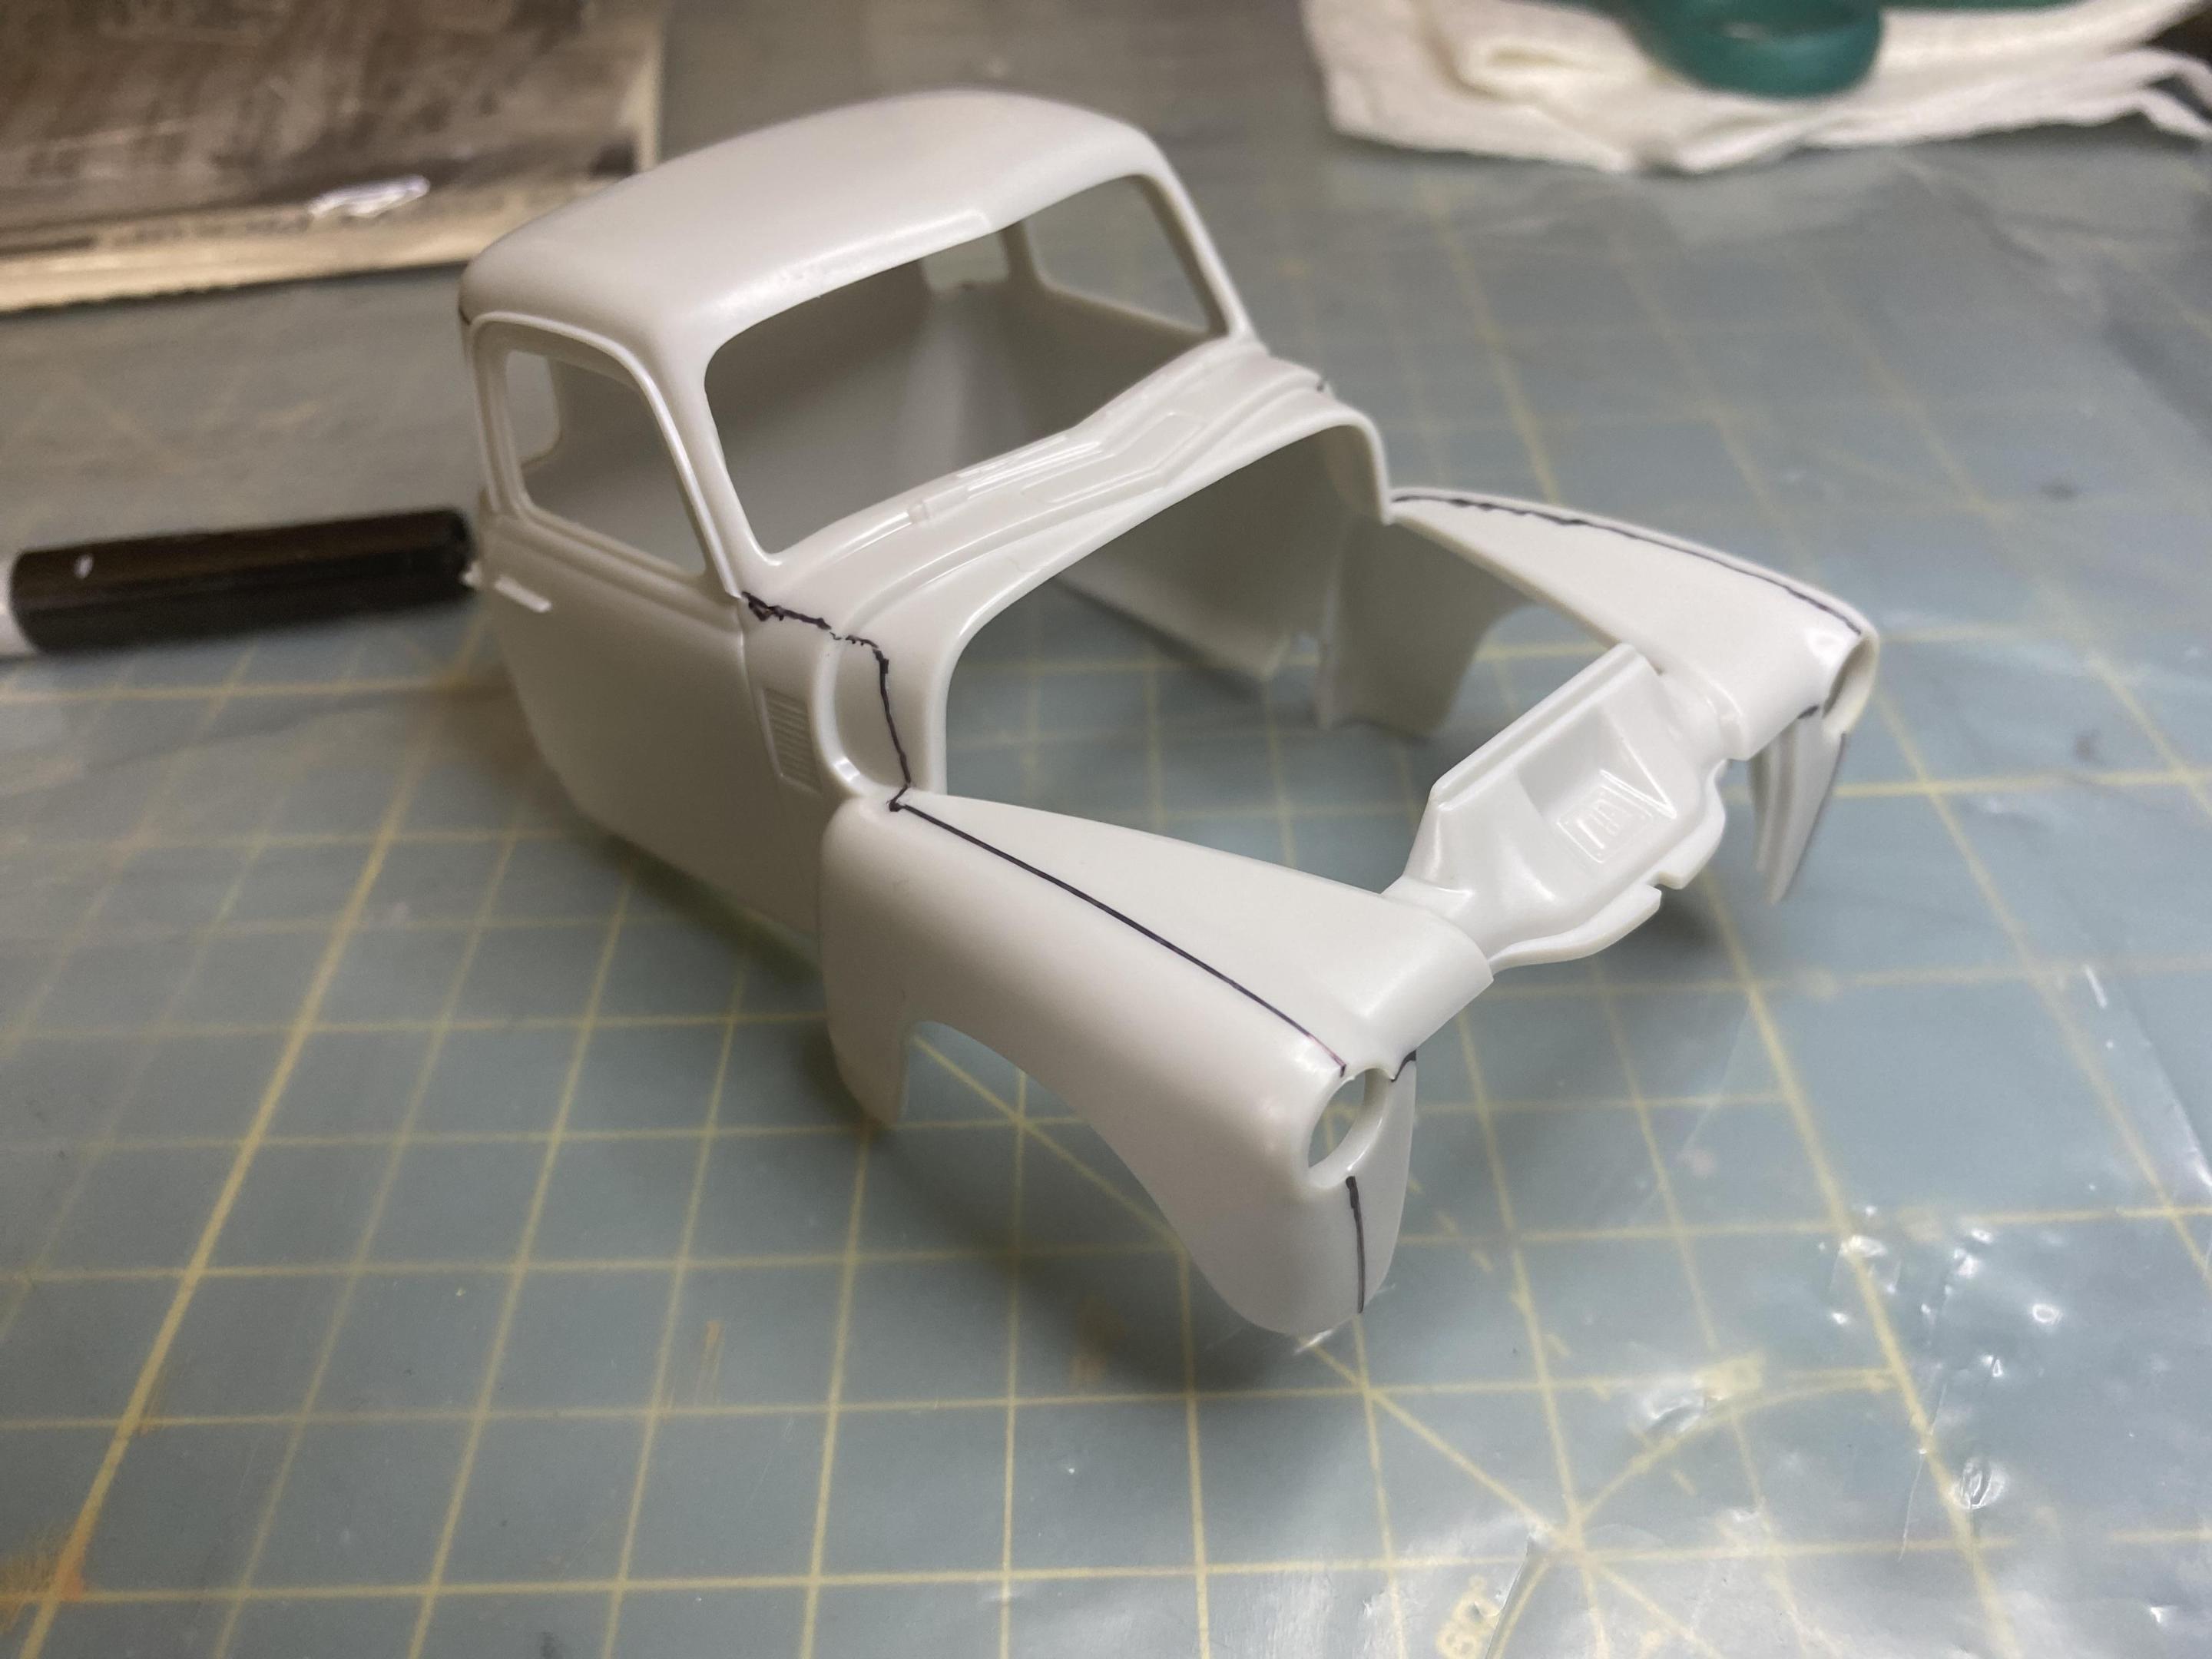
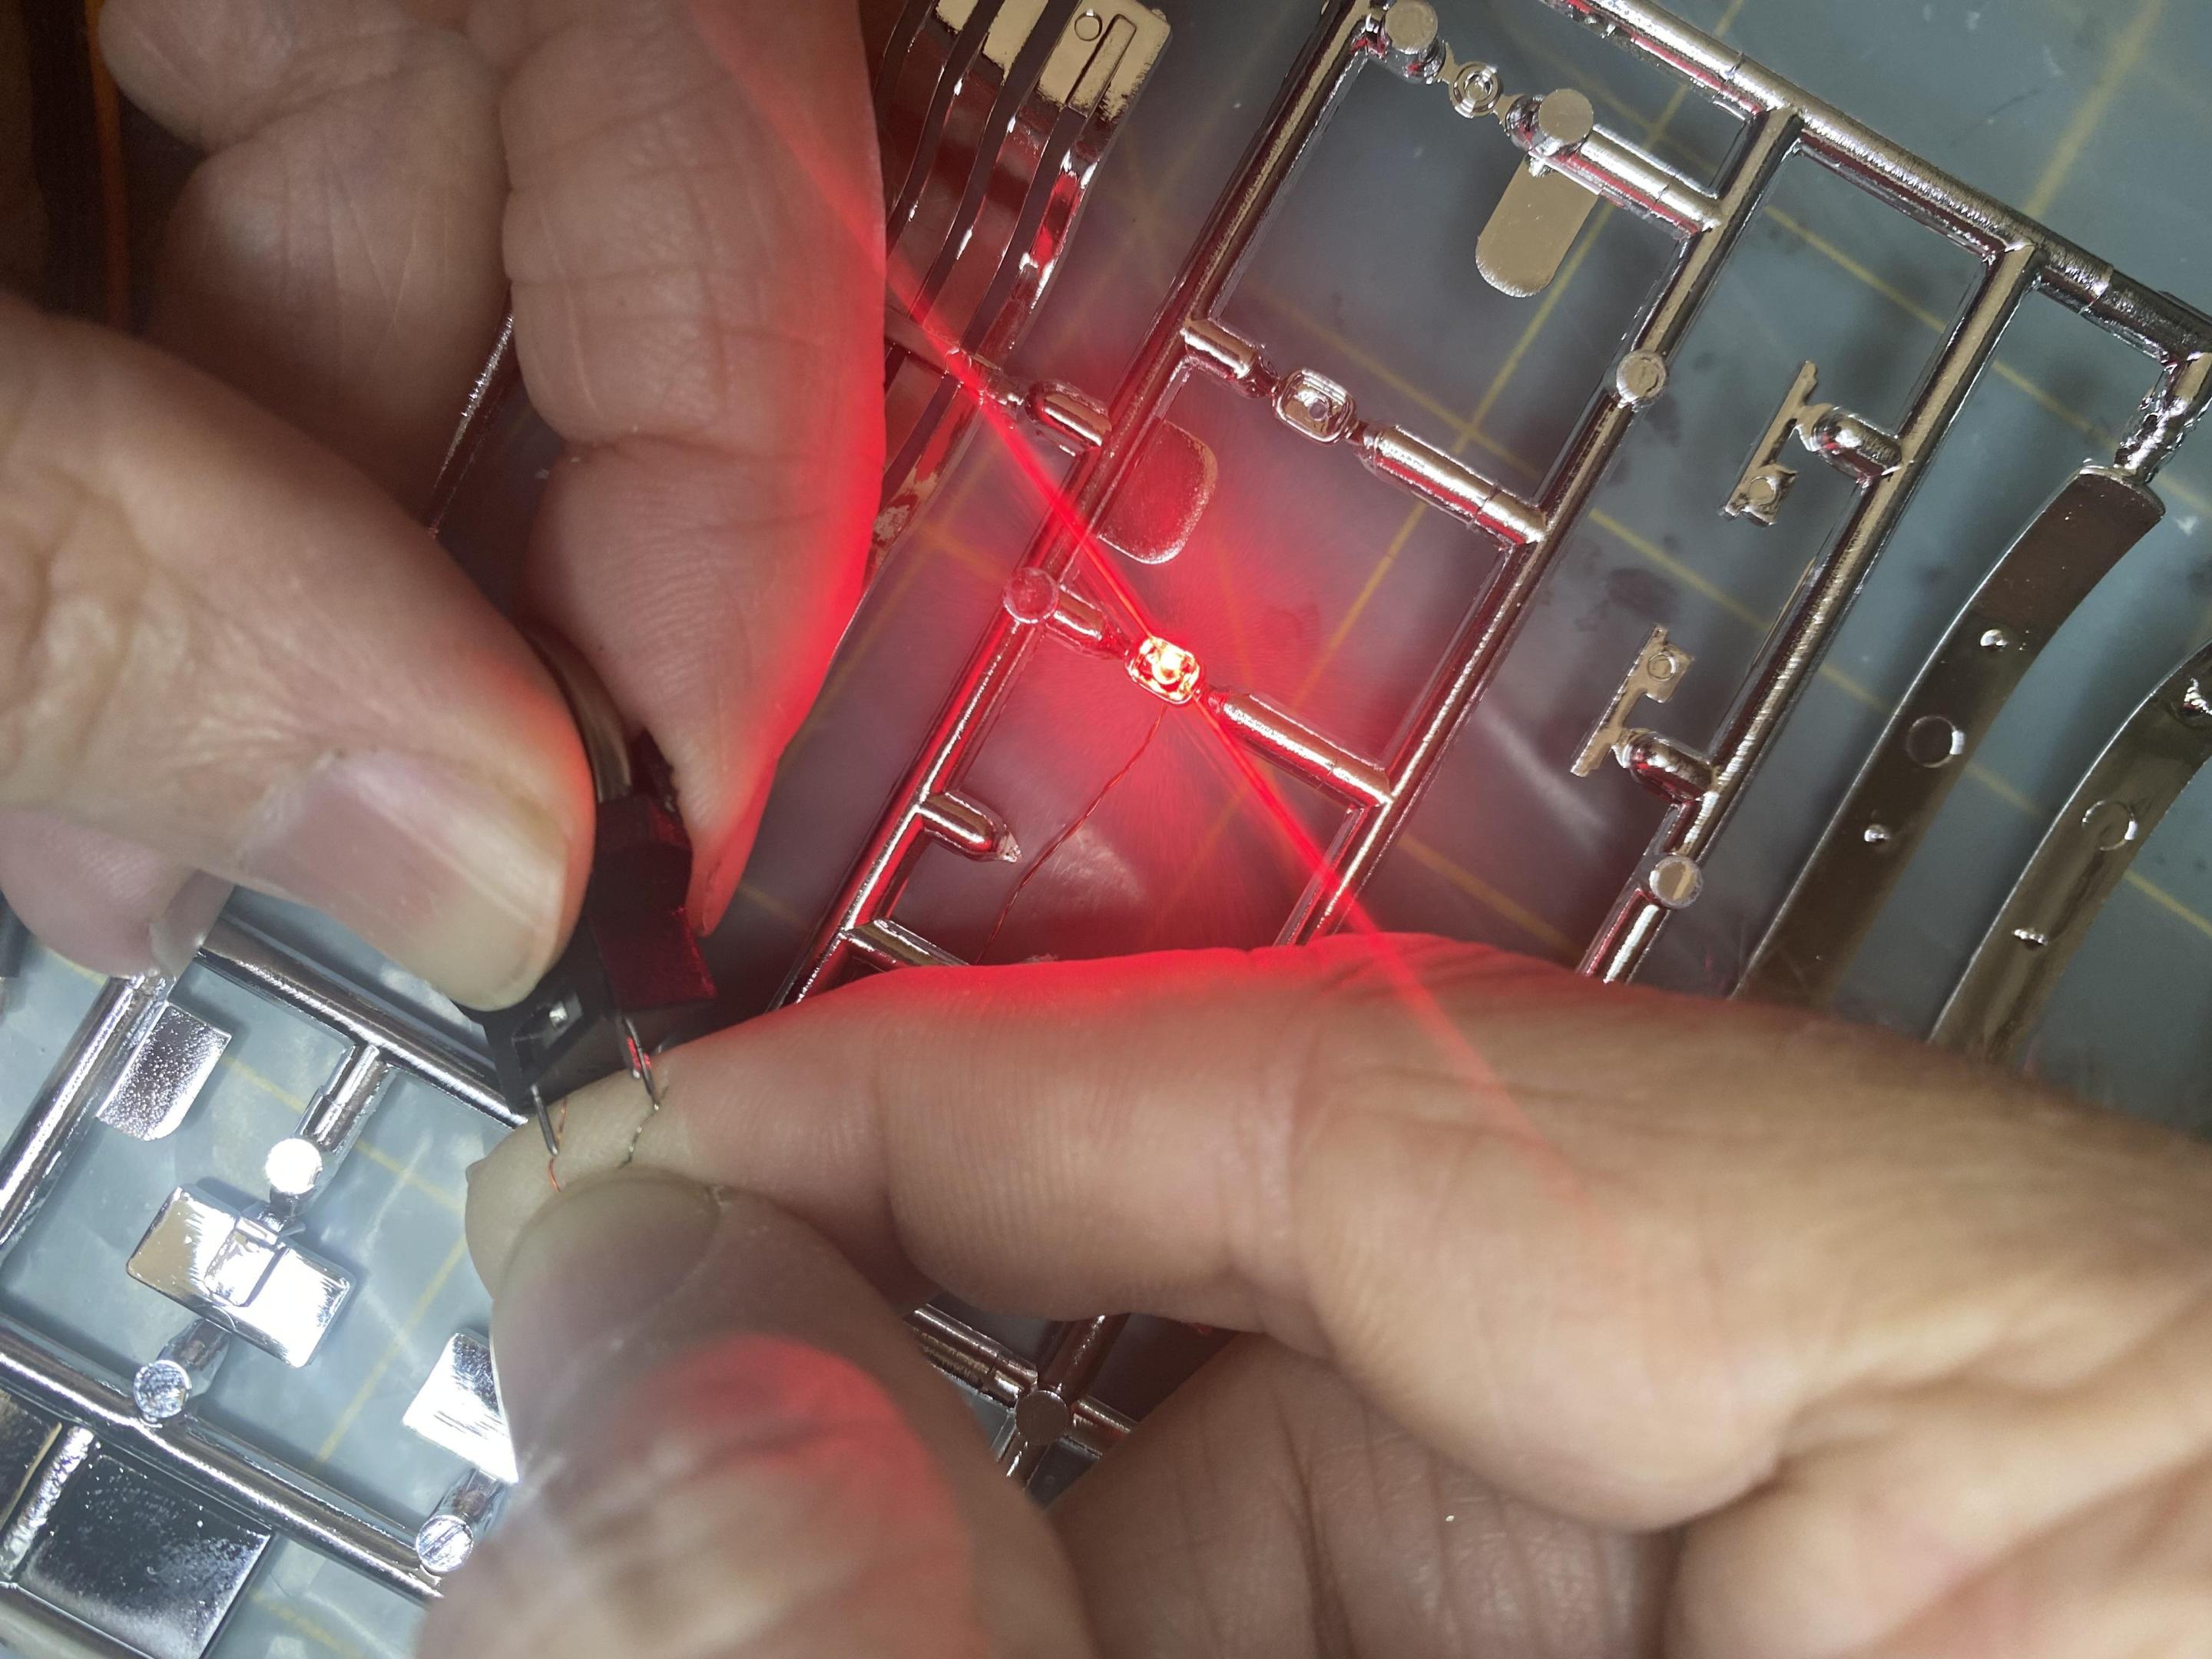
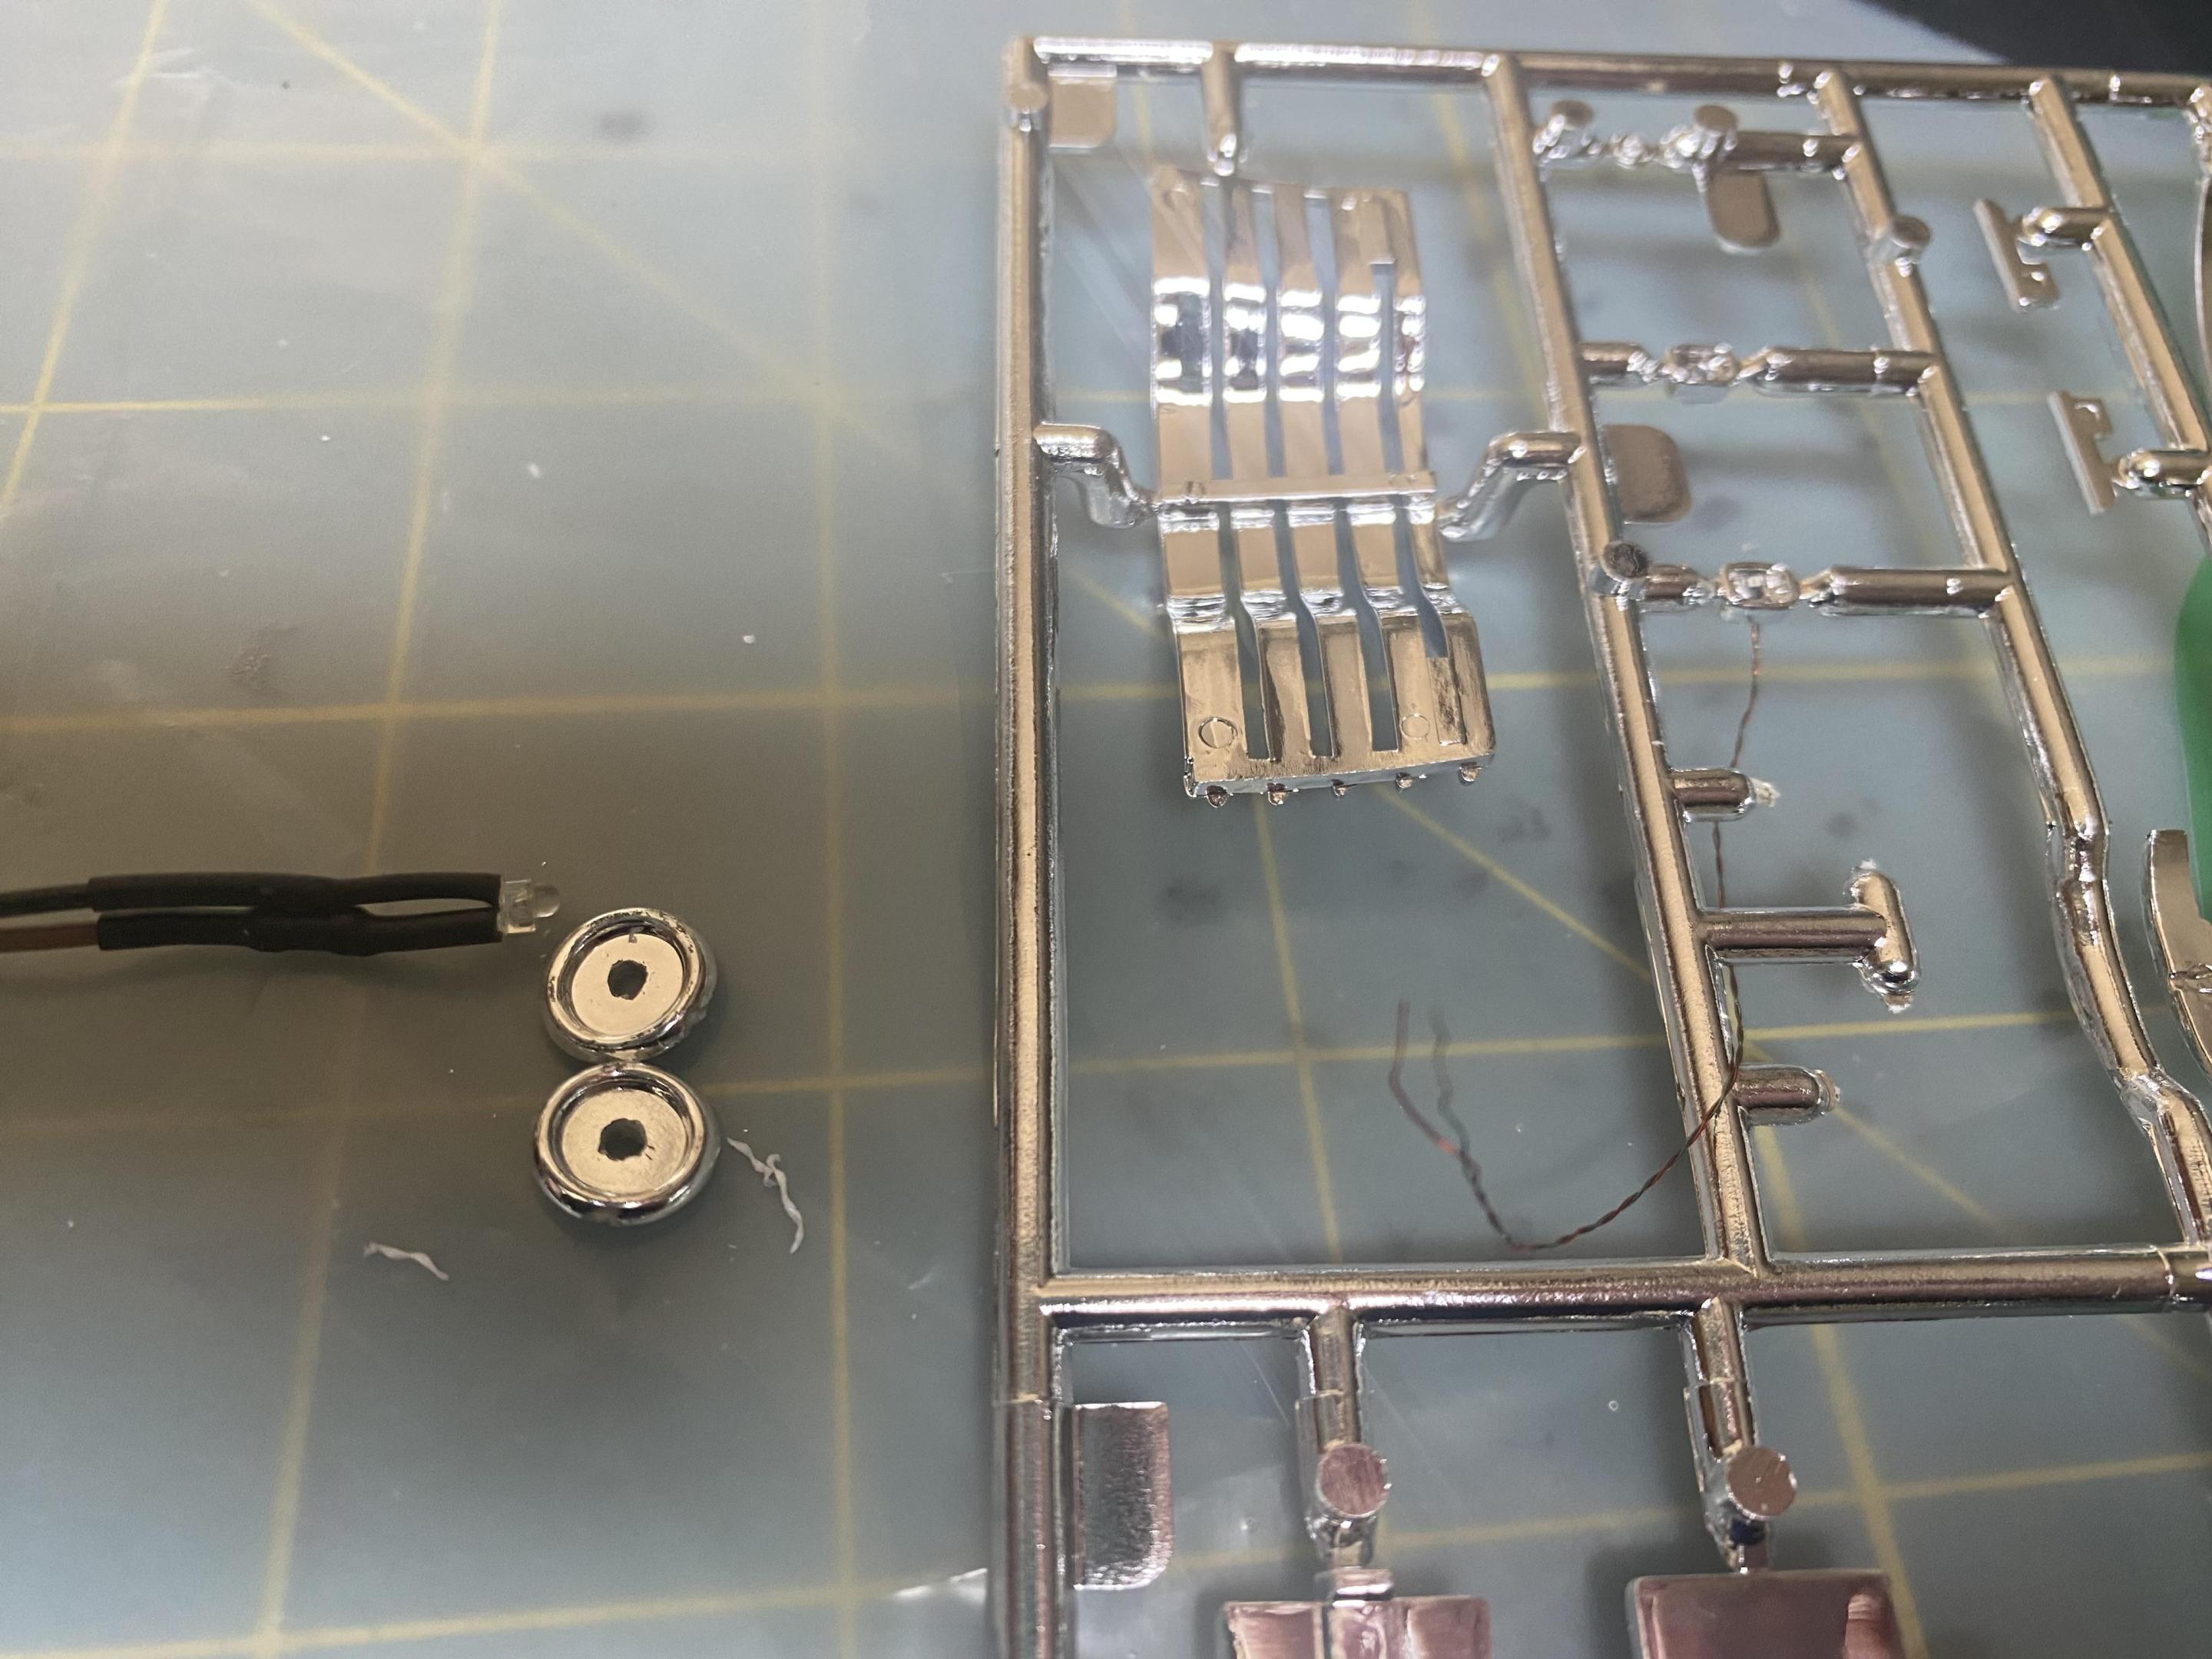
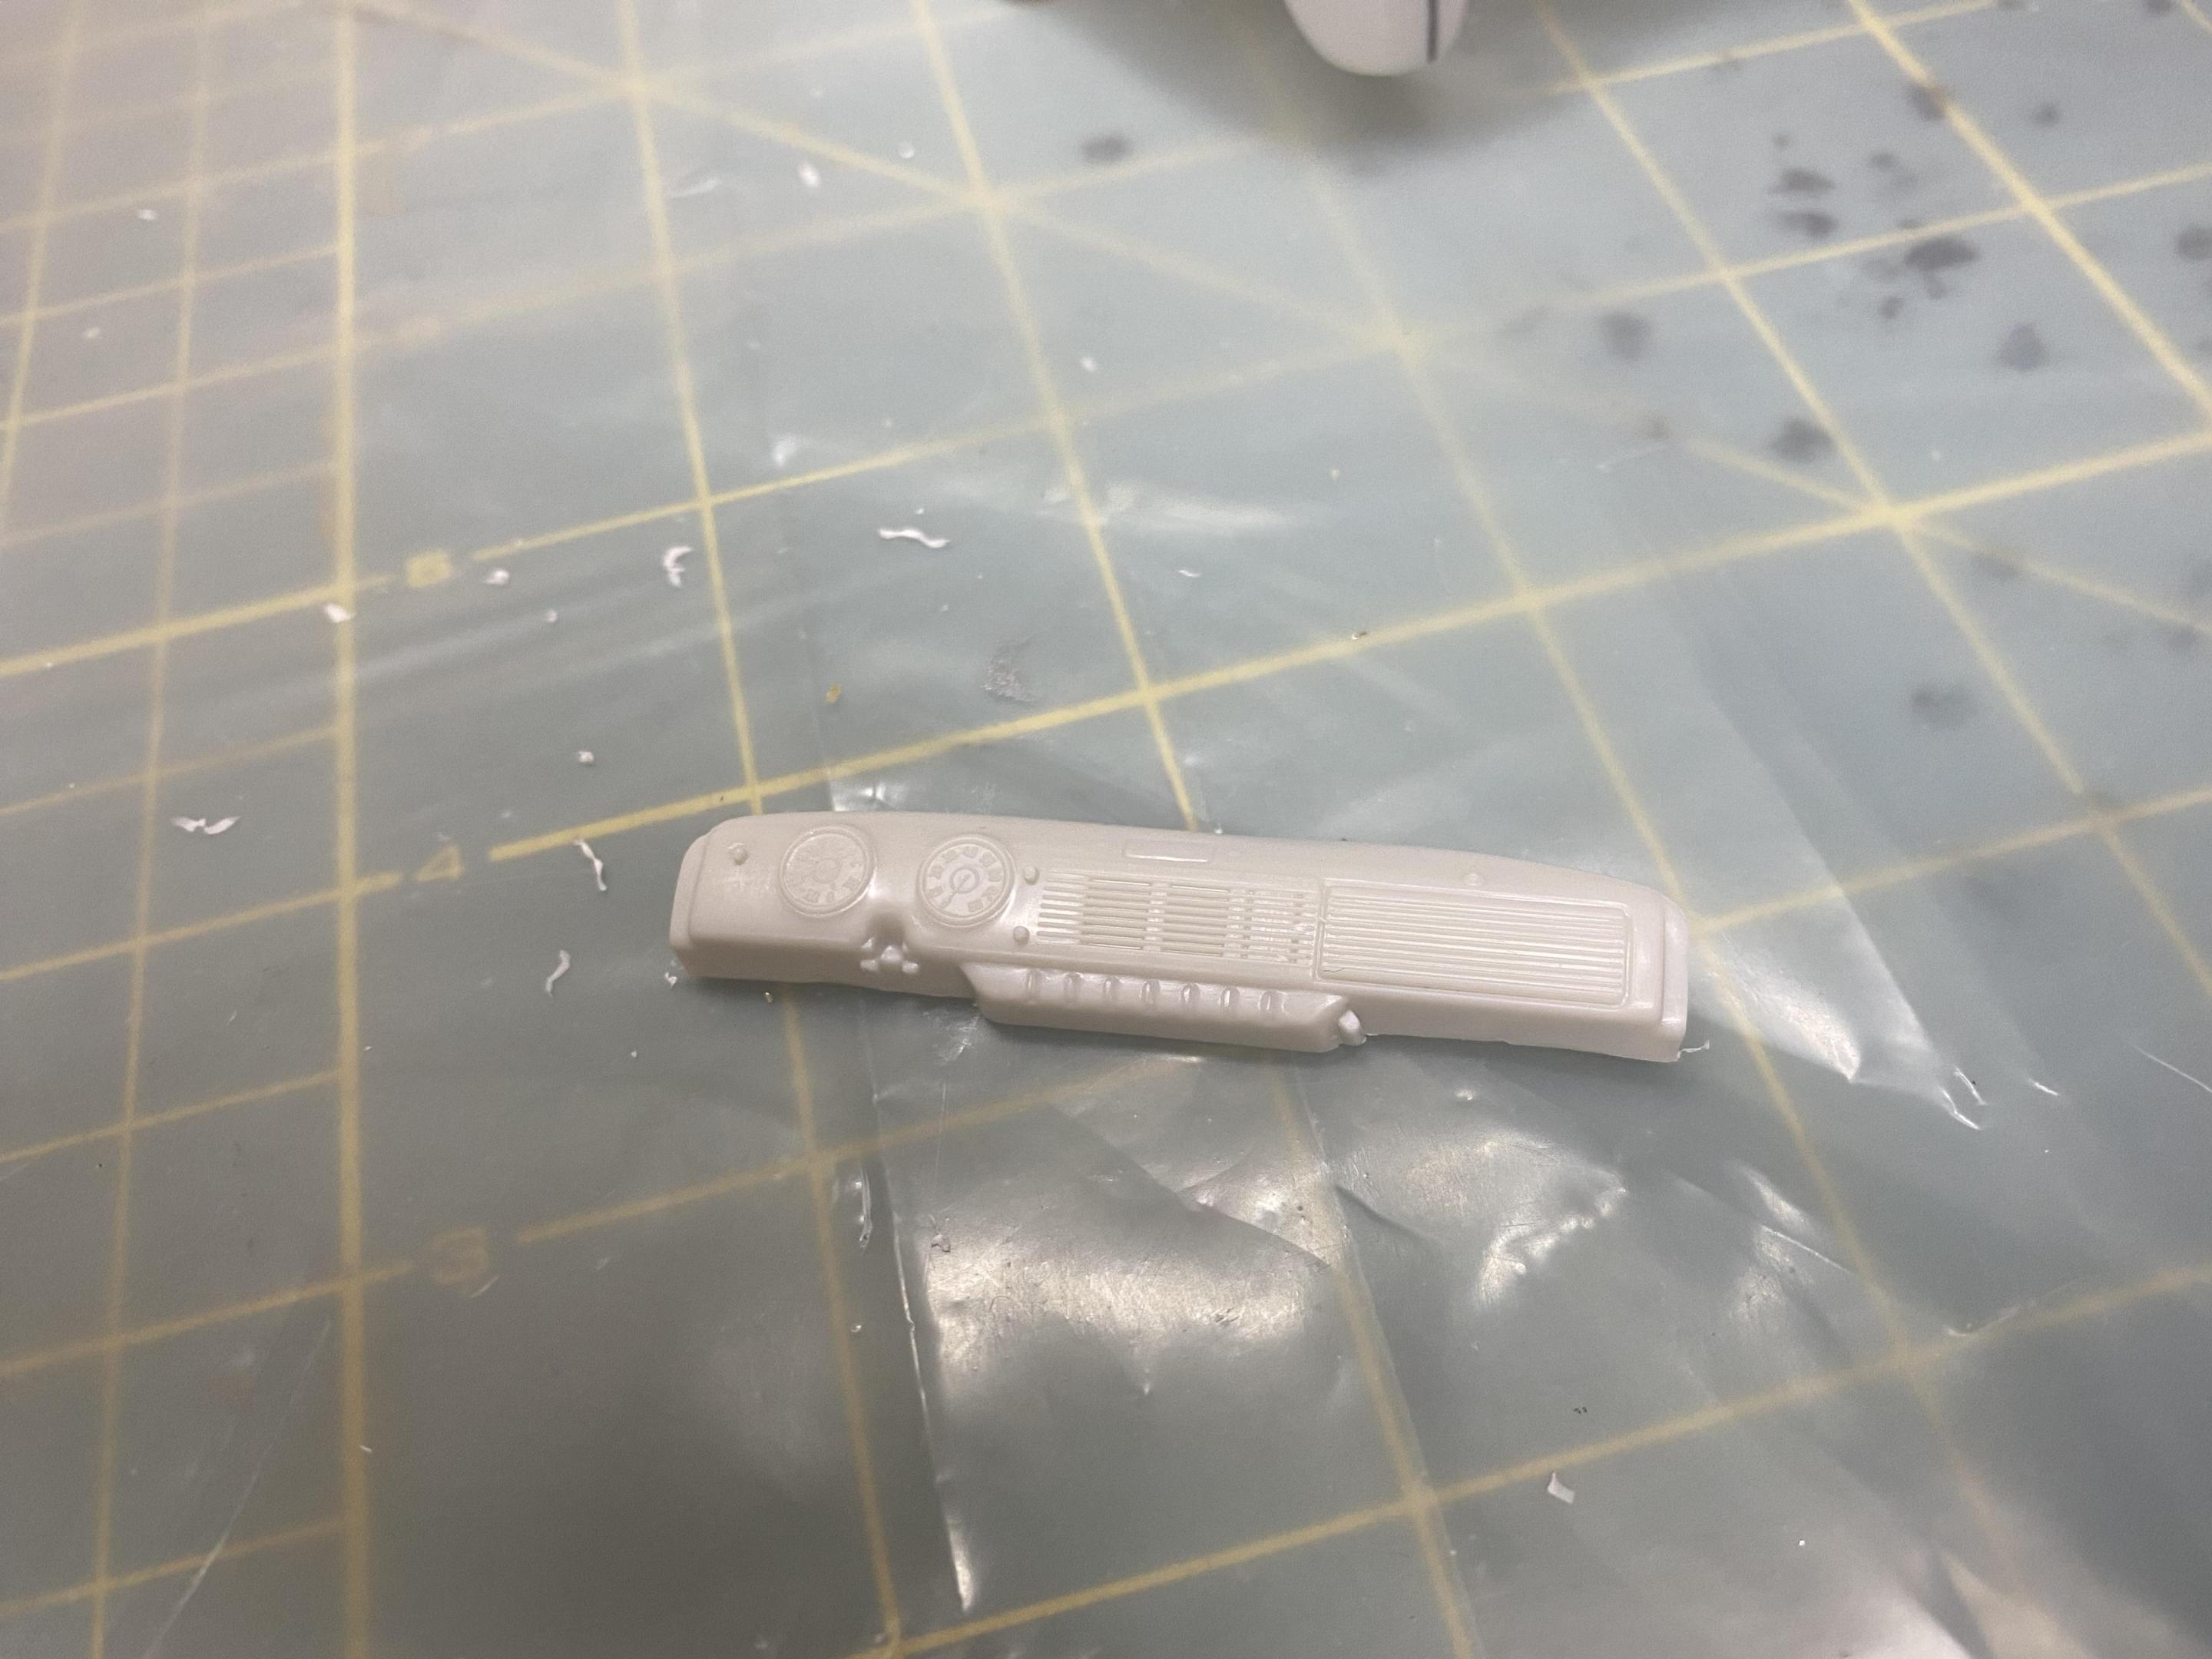
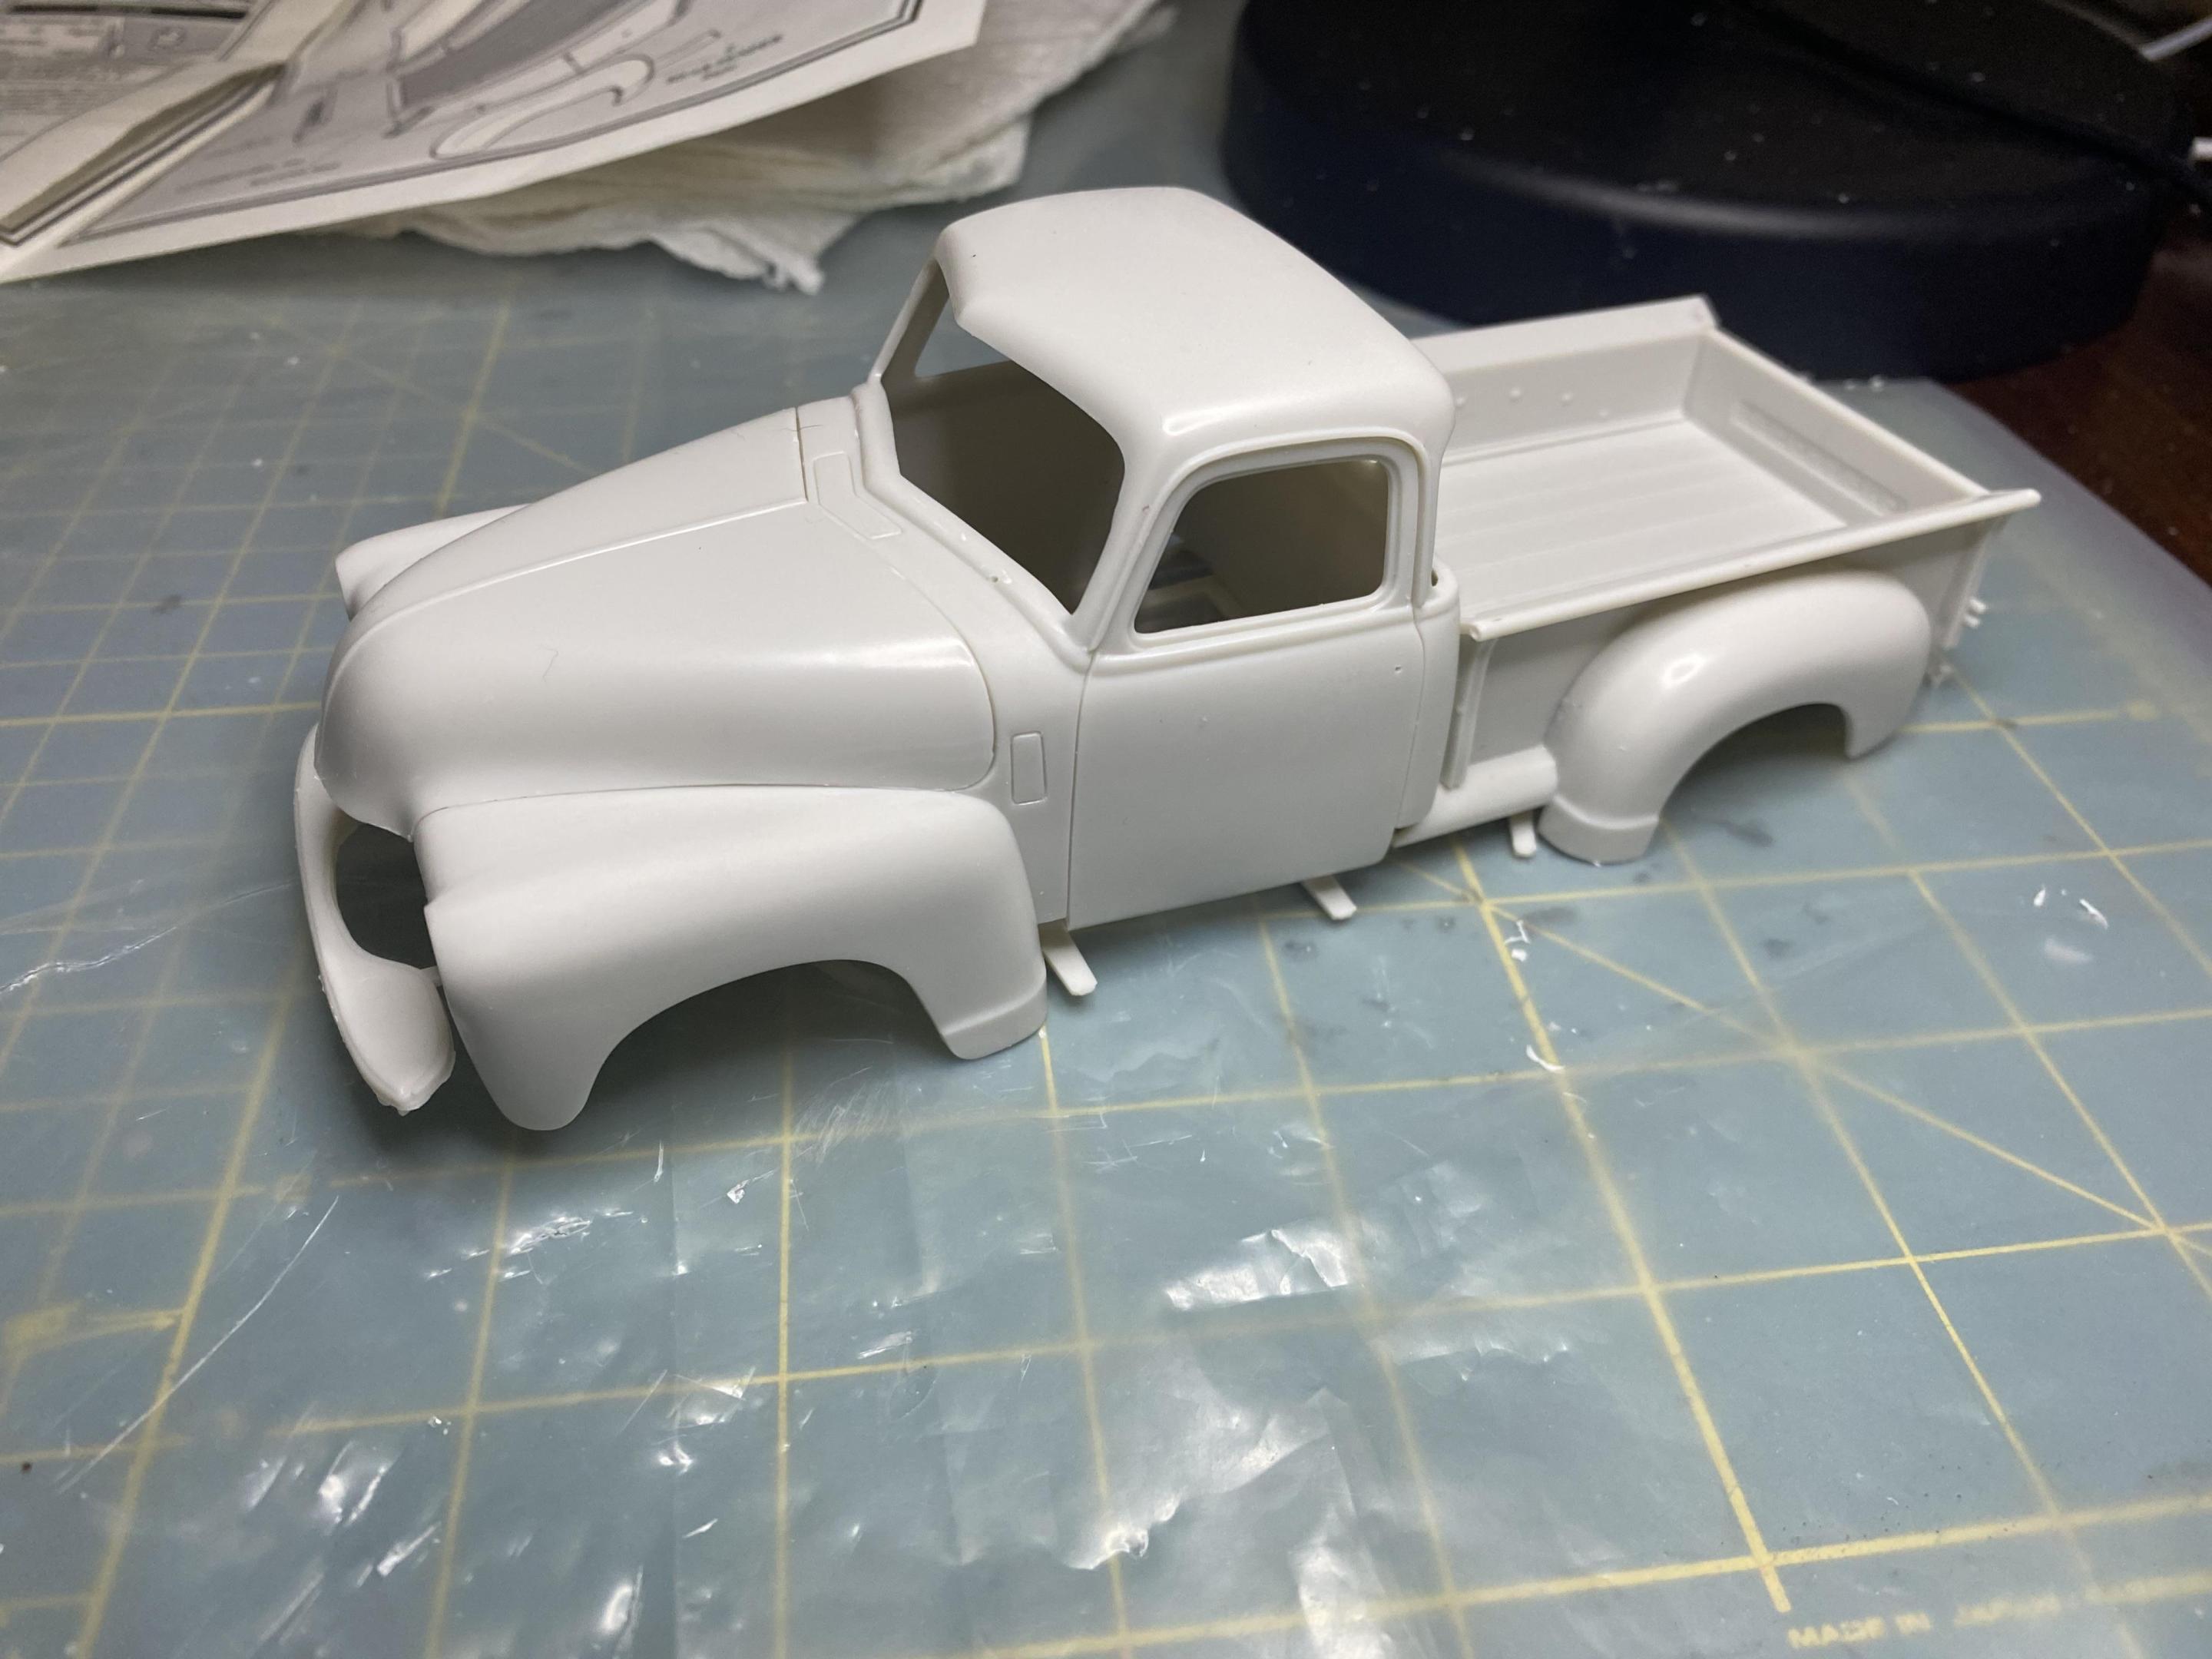
I let my wife pick my next build and she decided next is a 1950 Chevy 3100. Picked up this kit last year and finally getting to it. First impression is it is a pretty nice kit. Good thing after the AMT 57 Thunderbird which is really not a good kit. As usual will have working headlights, taillights and gauge lights which has kind of become trademark of any build I do. preparing and testing for LEDs removing door handles, wipers, etc that will be replaced with resin or photo-etch cut in the openings for the wood stakes cut the end so the wood bed can be slid in after paint separately. what I am hoping to make it look like
-
I wanted to do this one for a long time, a fictional Carsini winery truck from the ´Columbo´ crime series. The Chevy cab and engine are from the amt kit and these great looking wheels are from scenes unlimited. I stole the chassis from the Revell Opel Blitz kit. Everything else is from the partsbox or scratchbuilt from Evergreen styrene and real wood.
-
Welcome,on the bench now is the Trumpeter 63'Nova had this one in the stash at least 20 years,so decided to finally build it. Color is MCW Saddle tan a nice low key color,got a couple flaws in the paint to sand out.
-
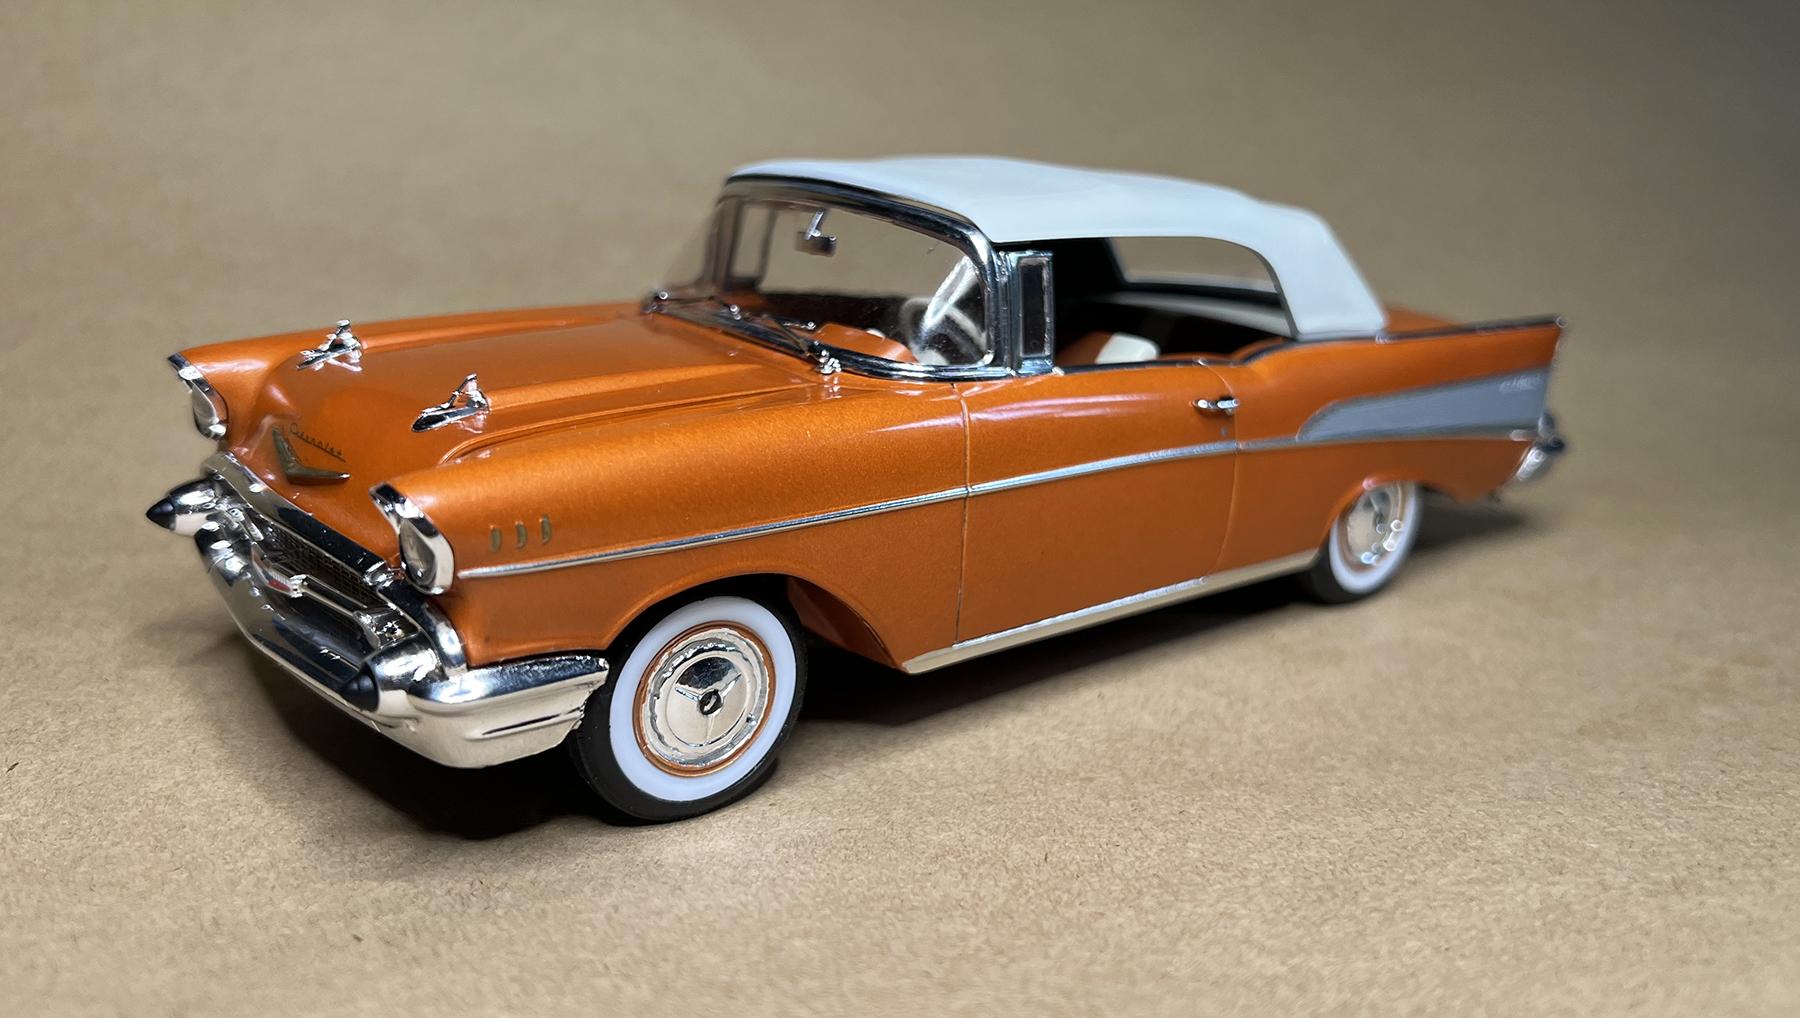
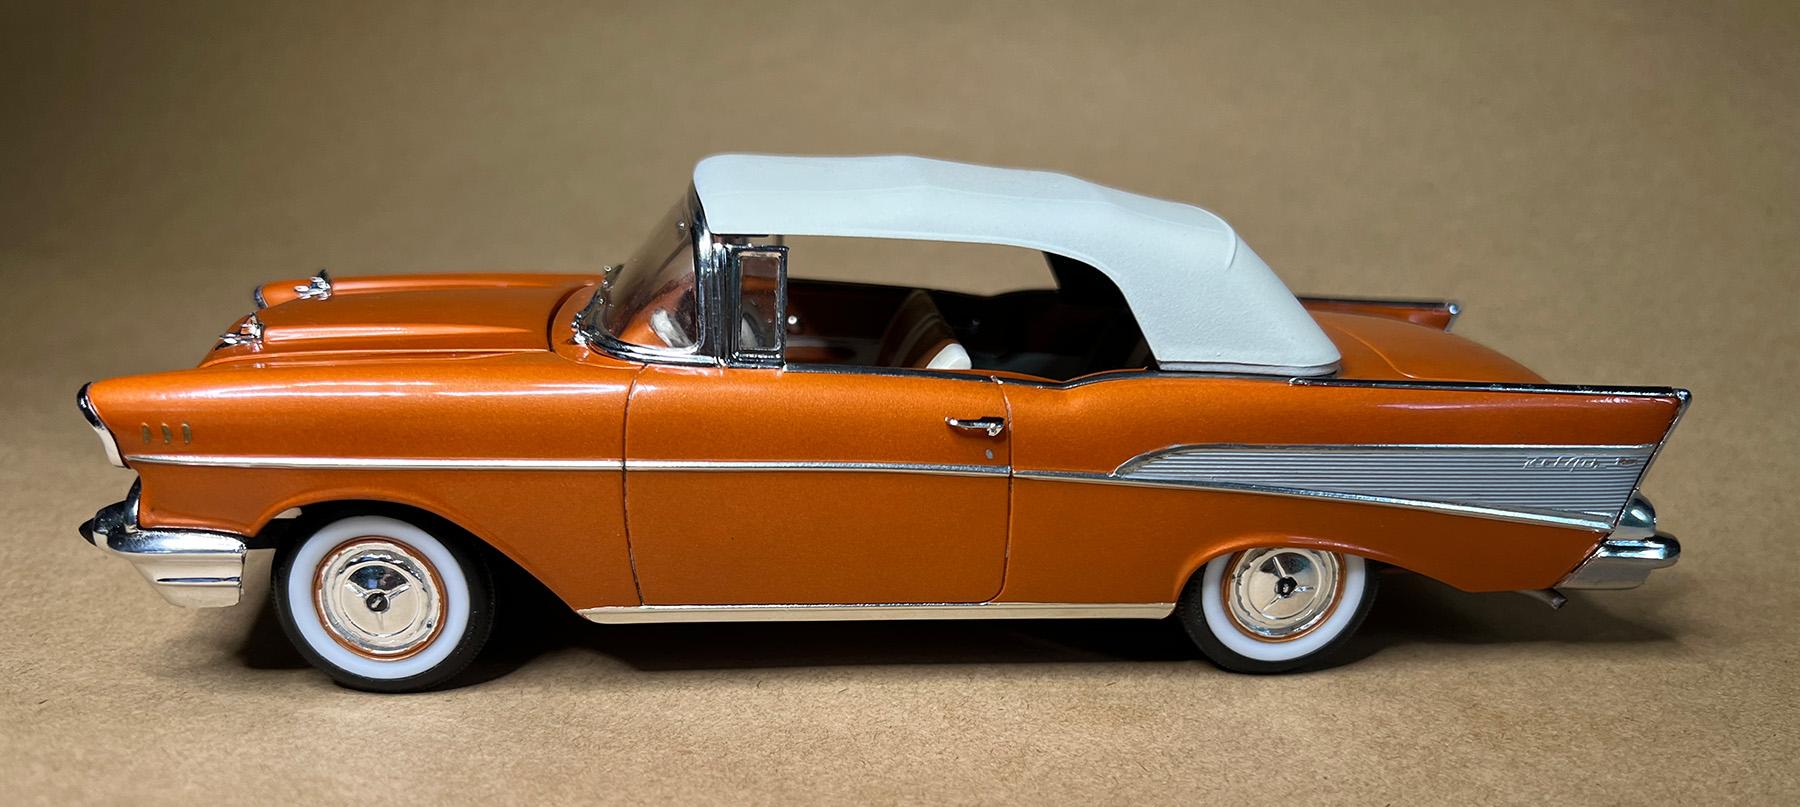
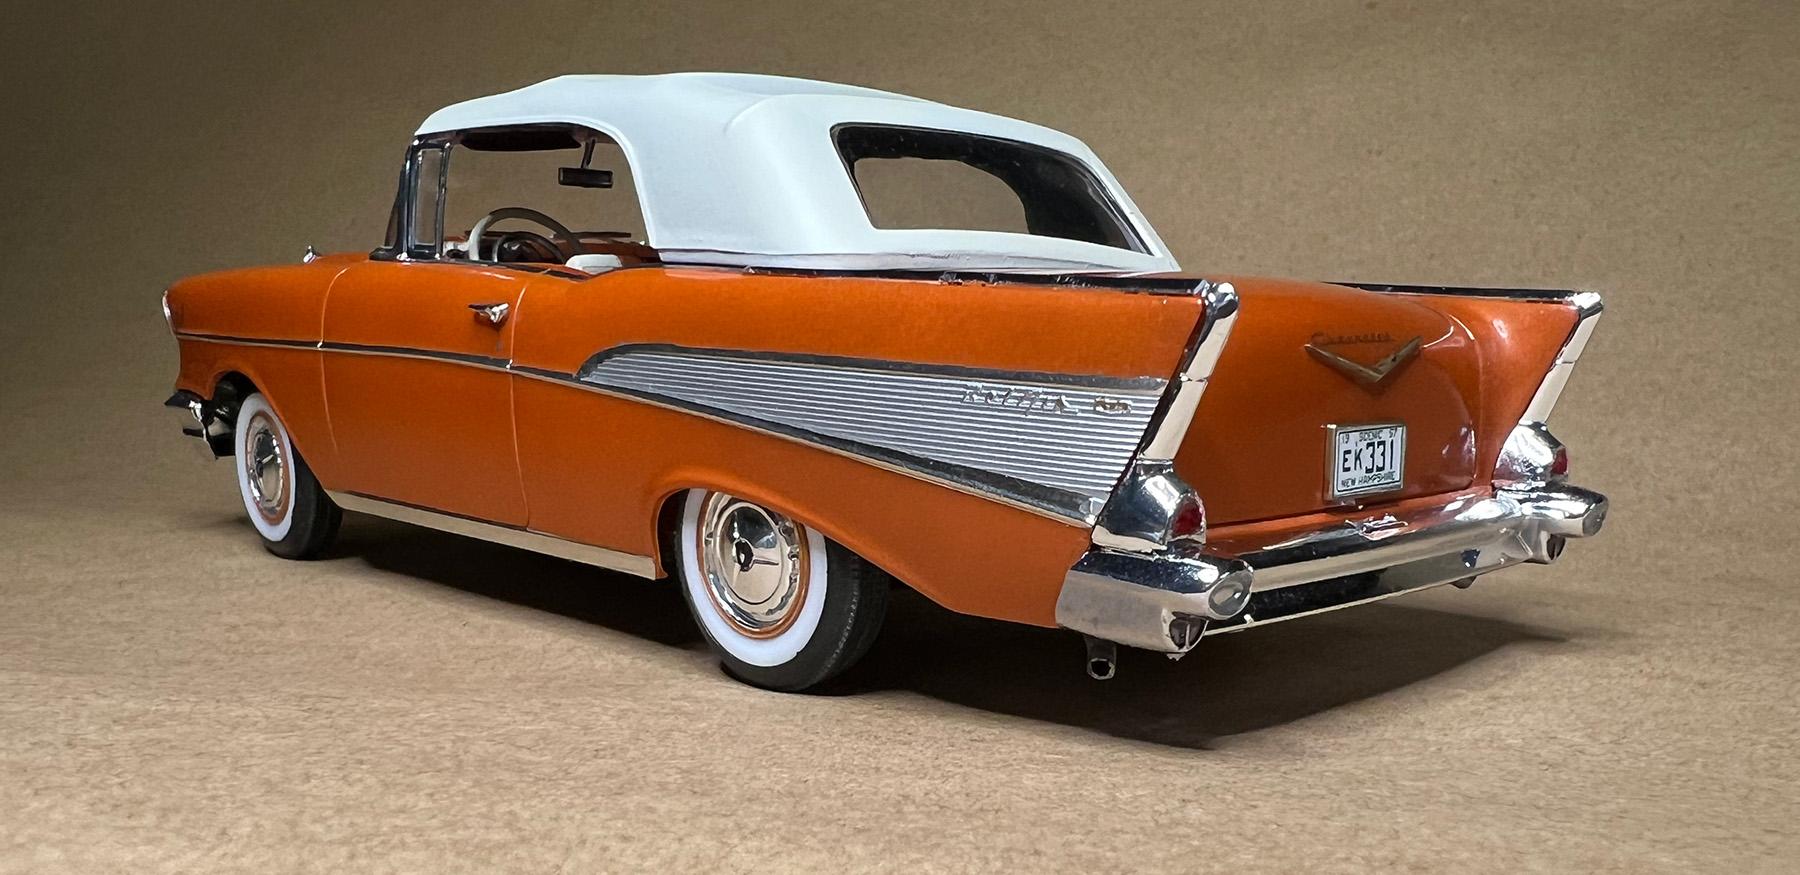
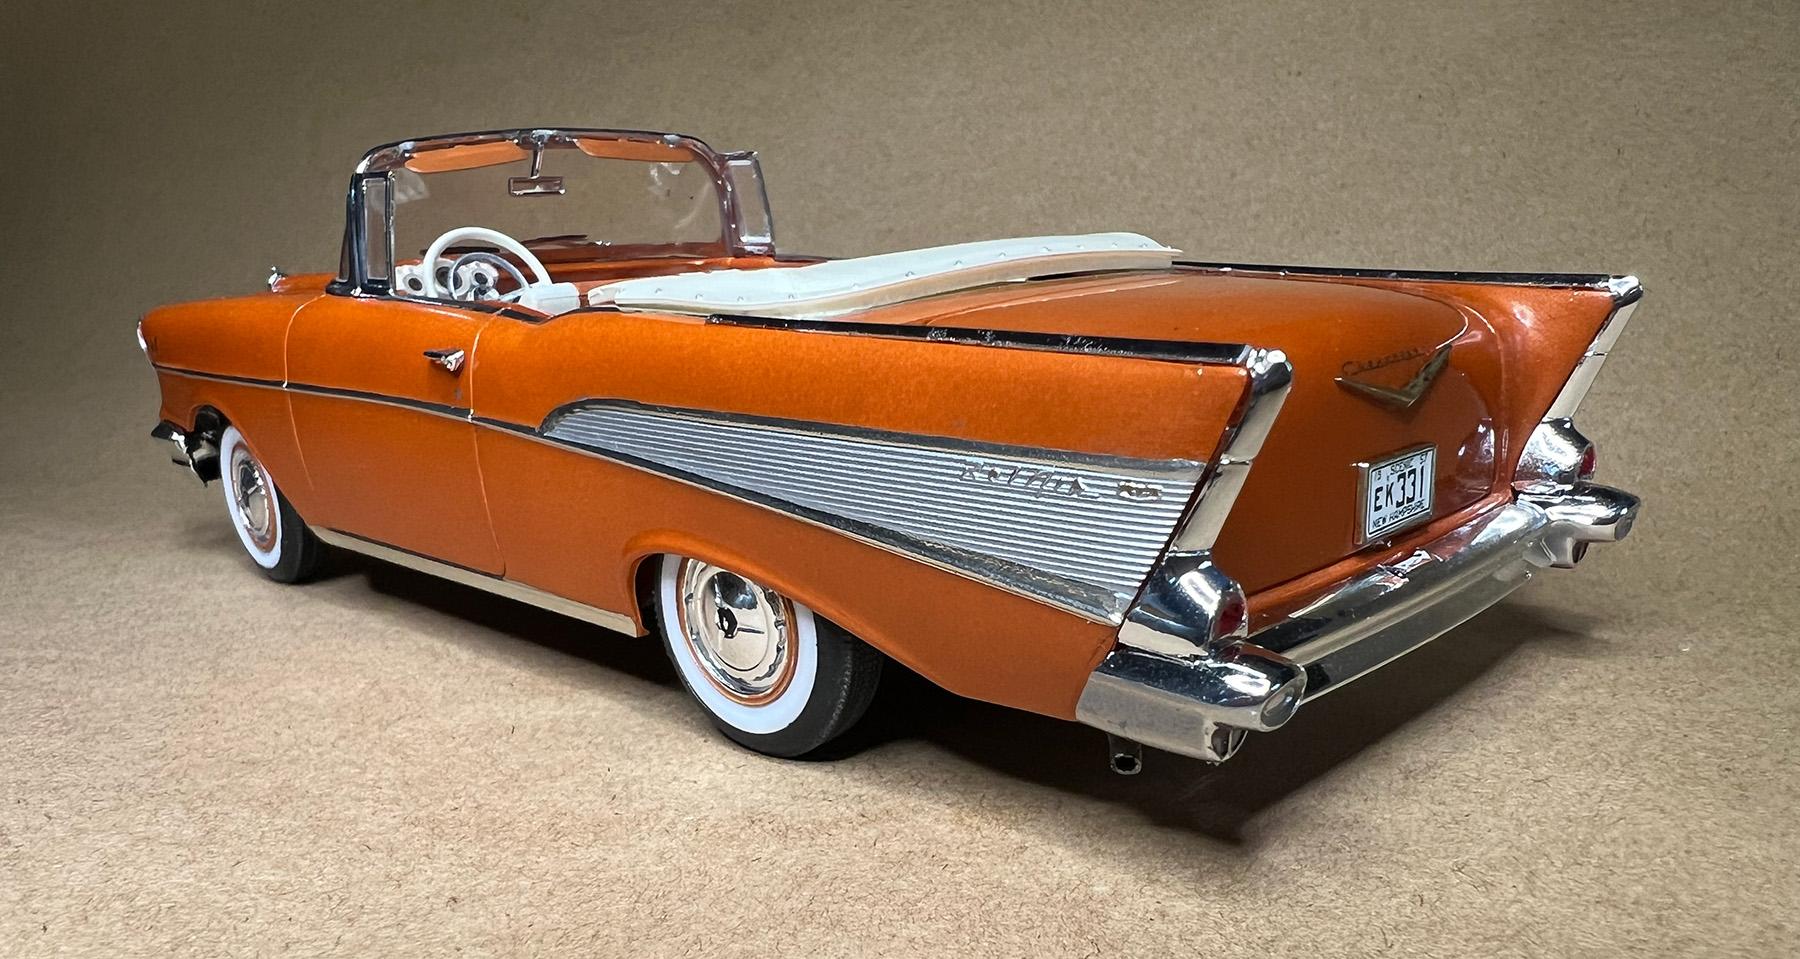
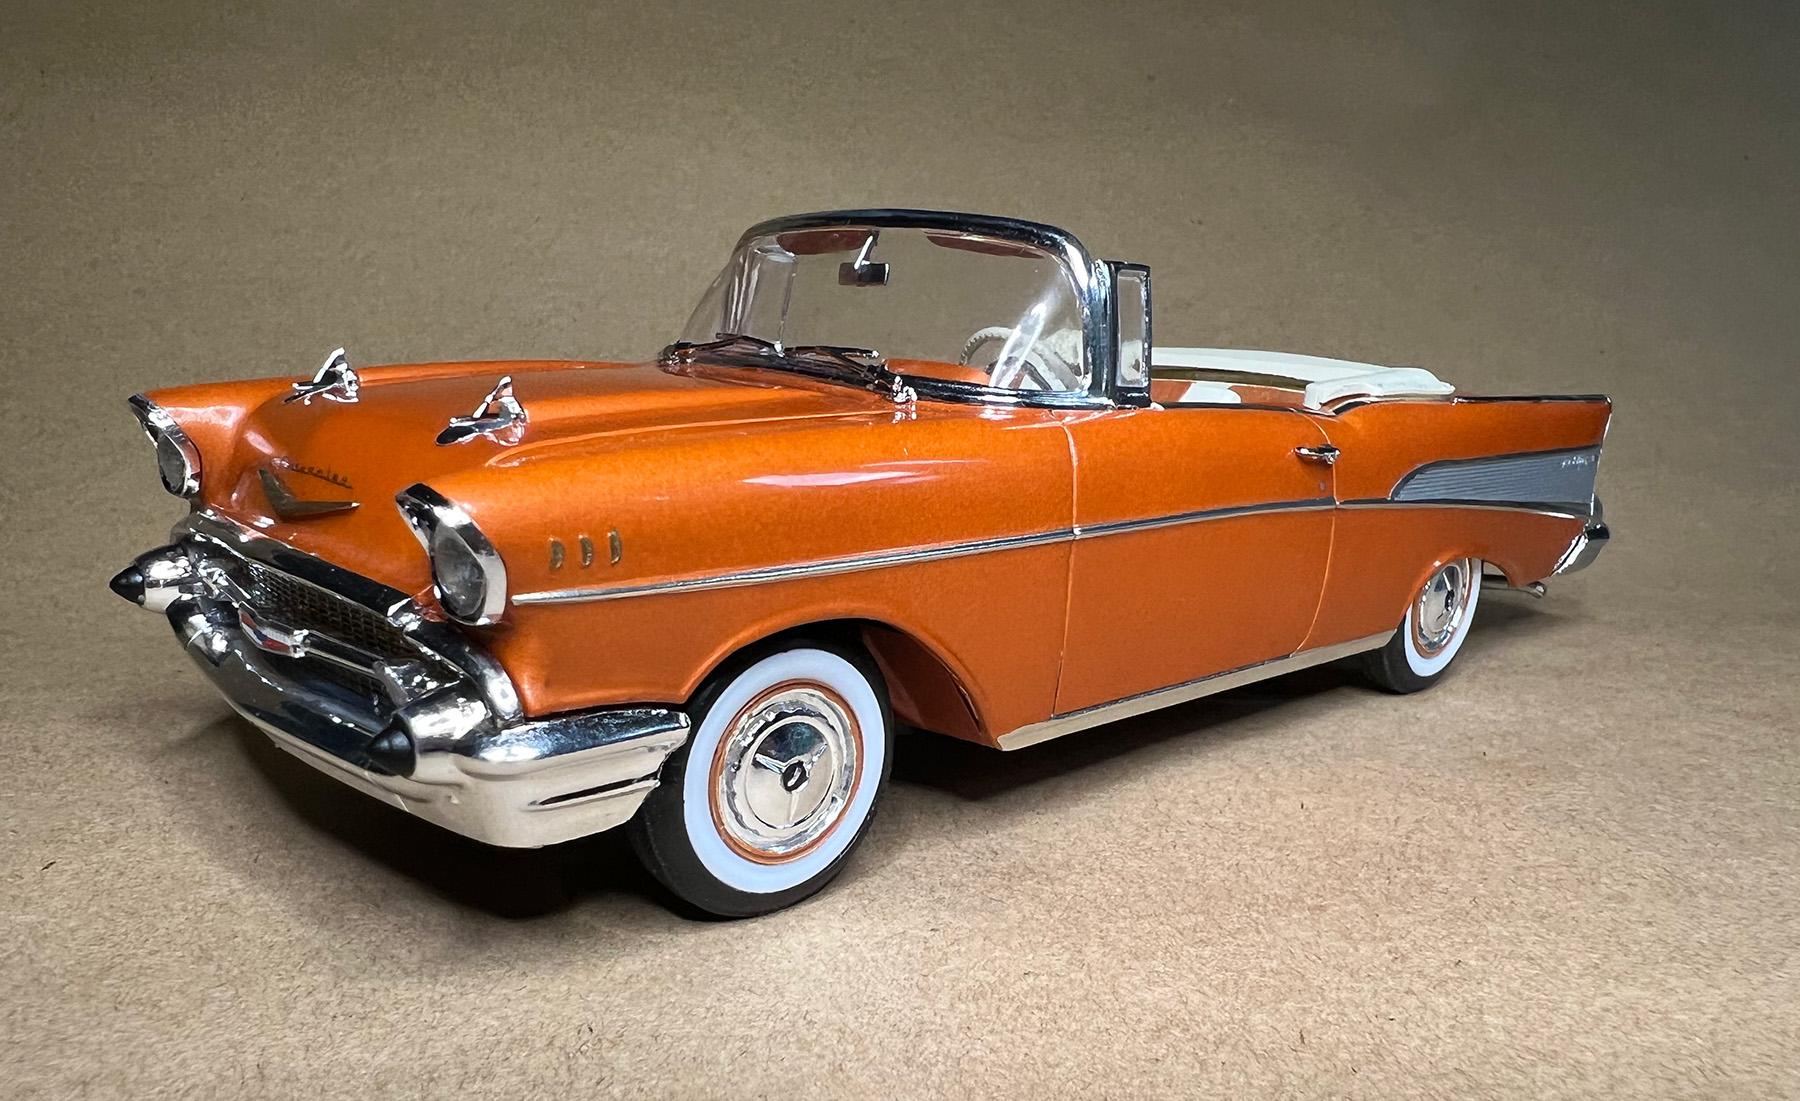
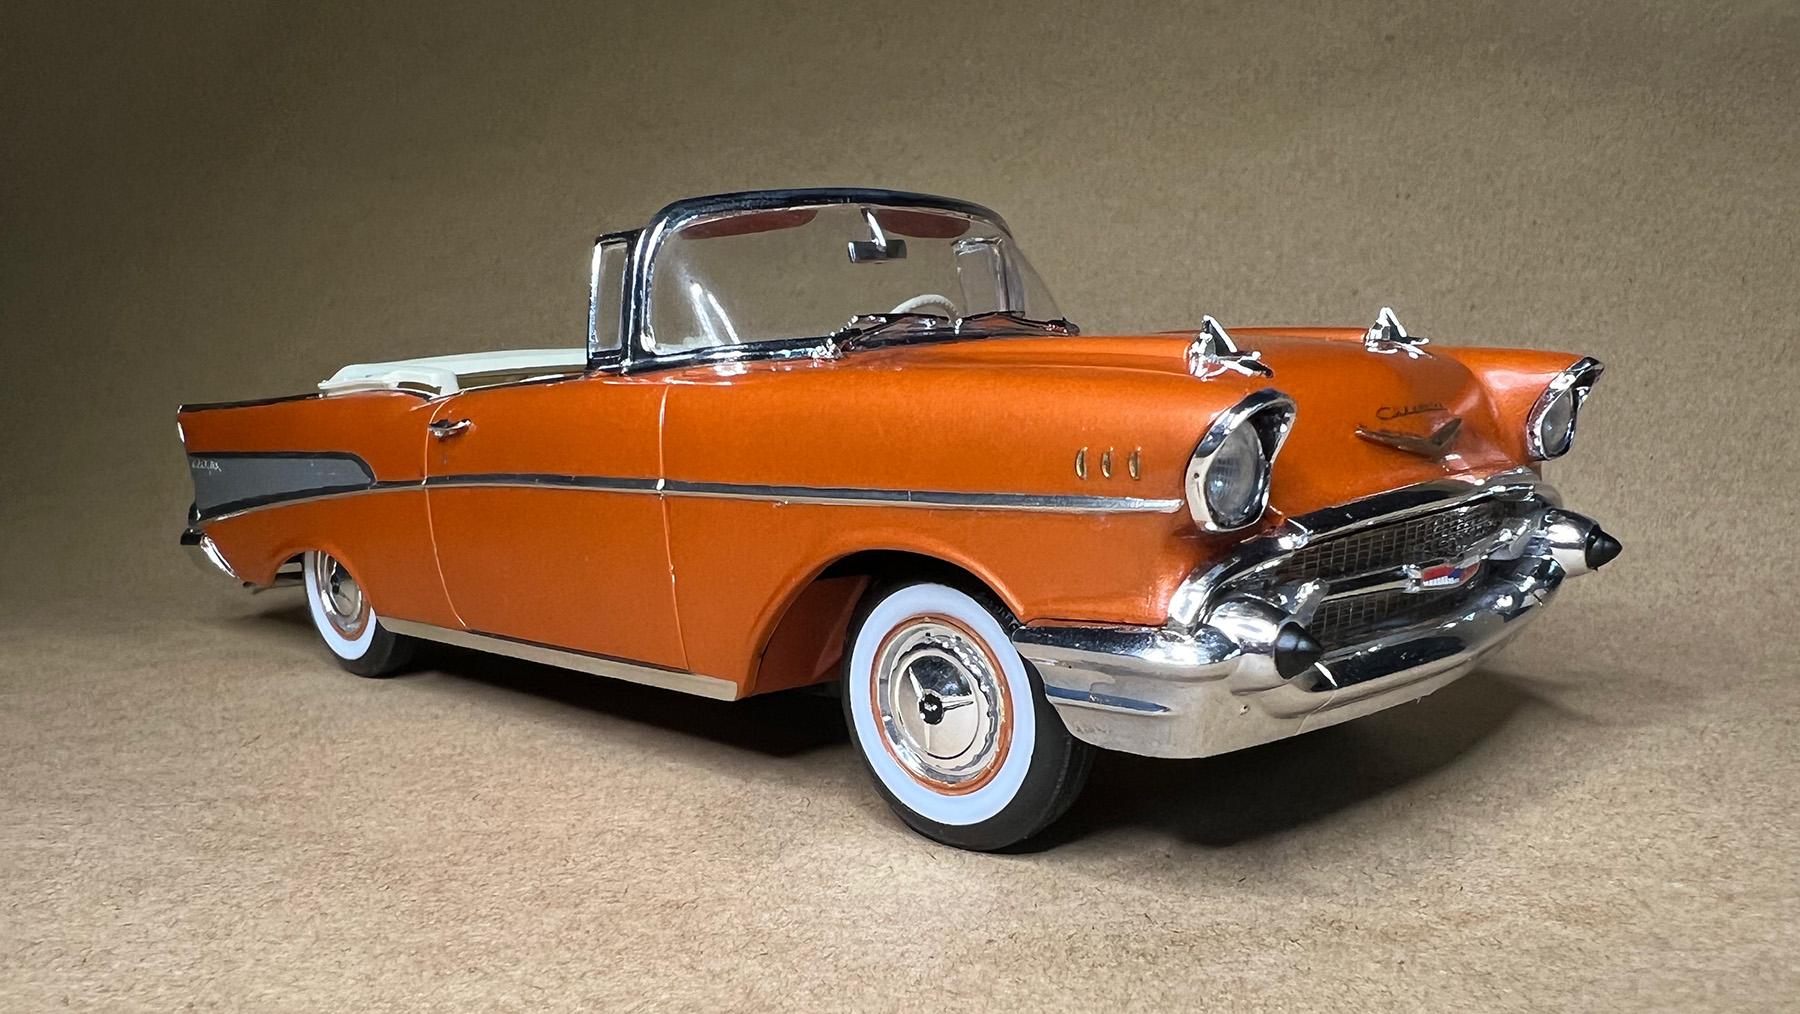
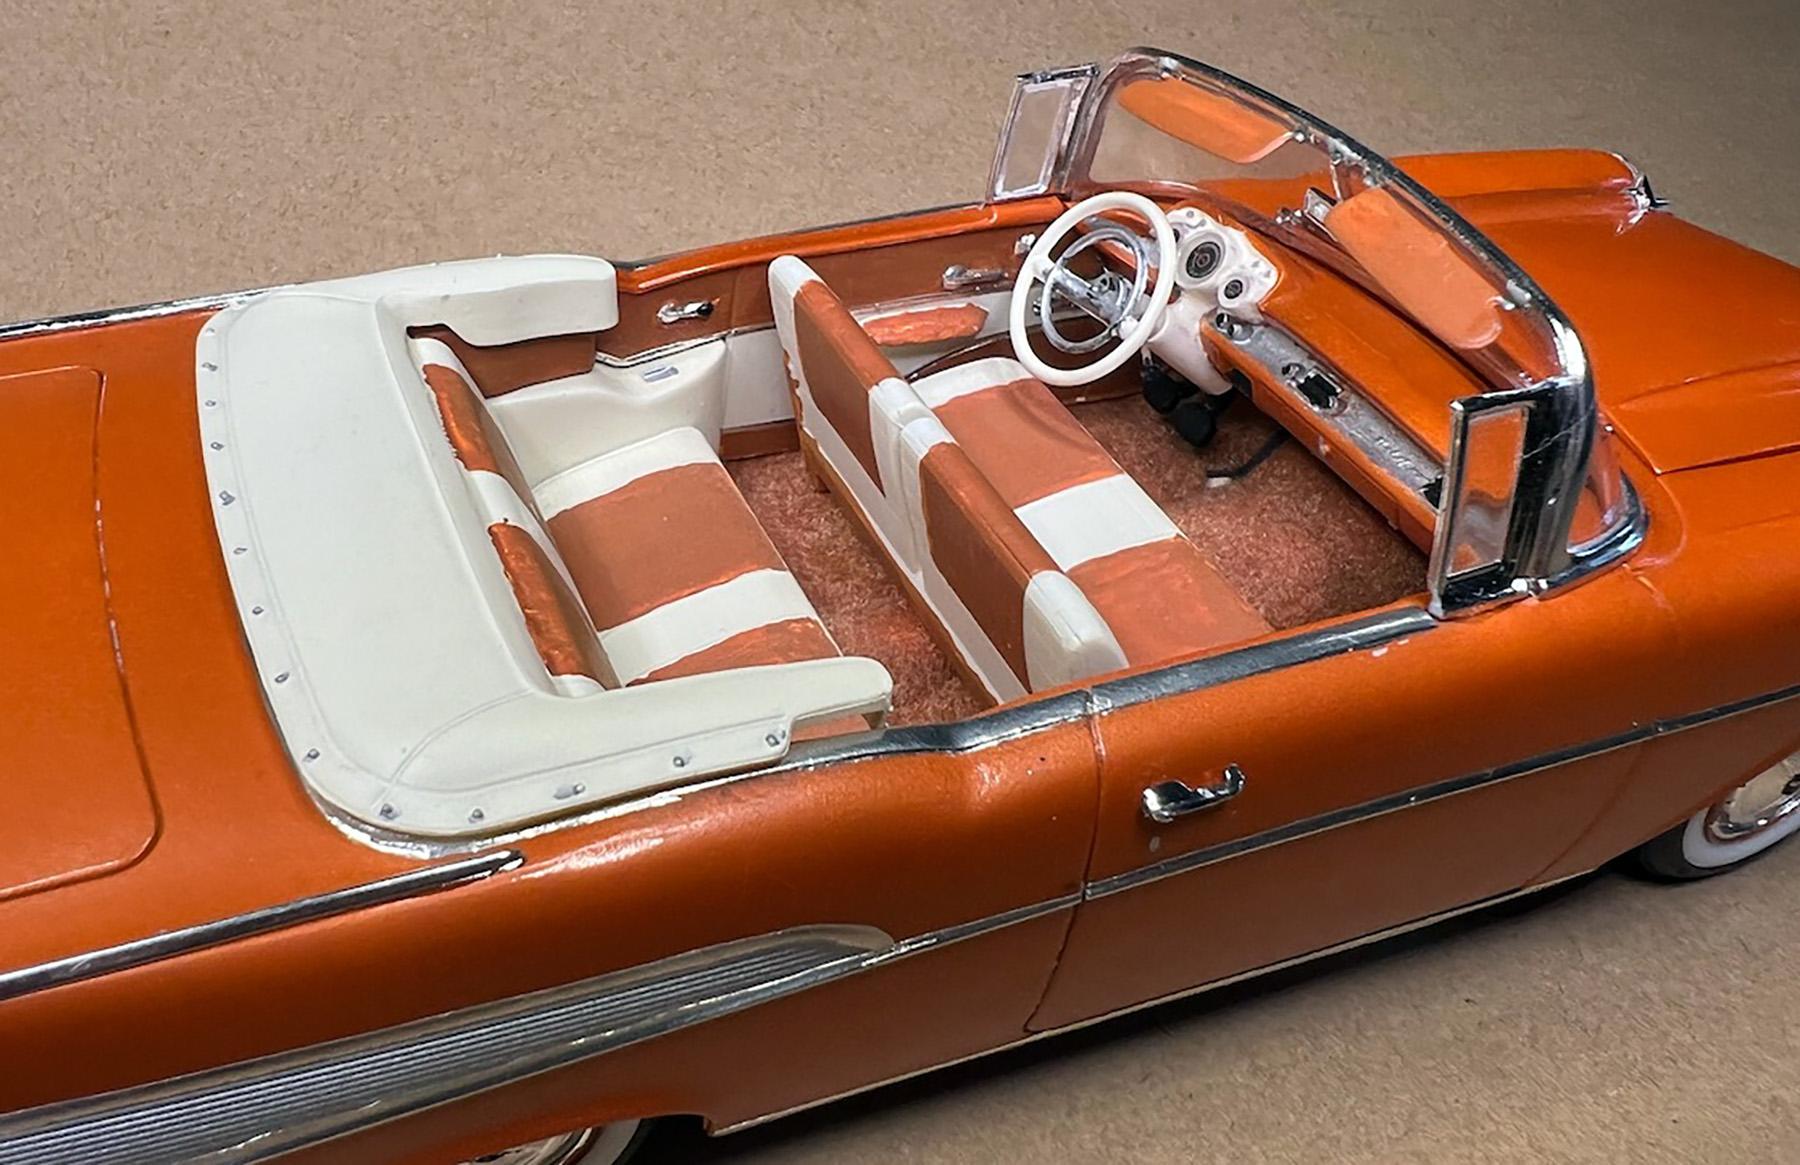
Going through some projects that have been stalled for far too long, this project among them. In an effort to clear the deck, I'm opting to forego the added detail of plug wires, plumbing etc., and instead completing them straight from the box. (I did add flocking for carpet, but otherwise only what was available in the kit. Paint is Model Car World 2706 Lt. Burnt Orange Metallic (57 Chevy Sierra Gold). The kit is incredibly detailed, and was a pleasure to complete. Enjoy!
- 28 replies
-
- 11
-

-
- convertible
- 1957
-
(and 1 more)
Tagged with:
-
First stage of painting on BM Camaro is done. I shot the auto-touch up white yesterday and the MCW rally green today. Plans call for installing the decals then clearing it with some Tamiya TS-13. Thanks for looking all comments welcomed.
-
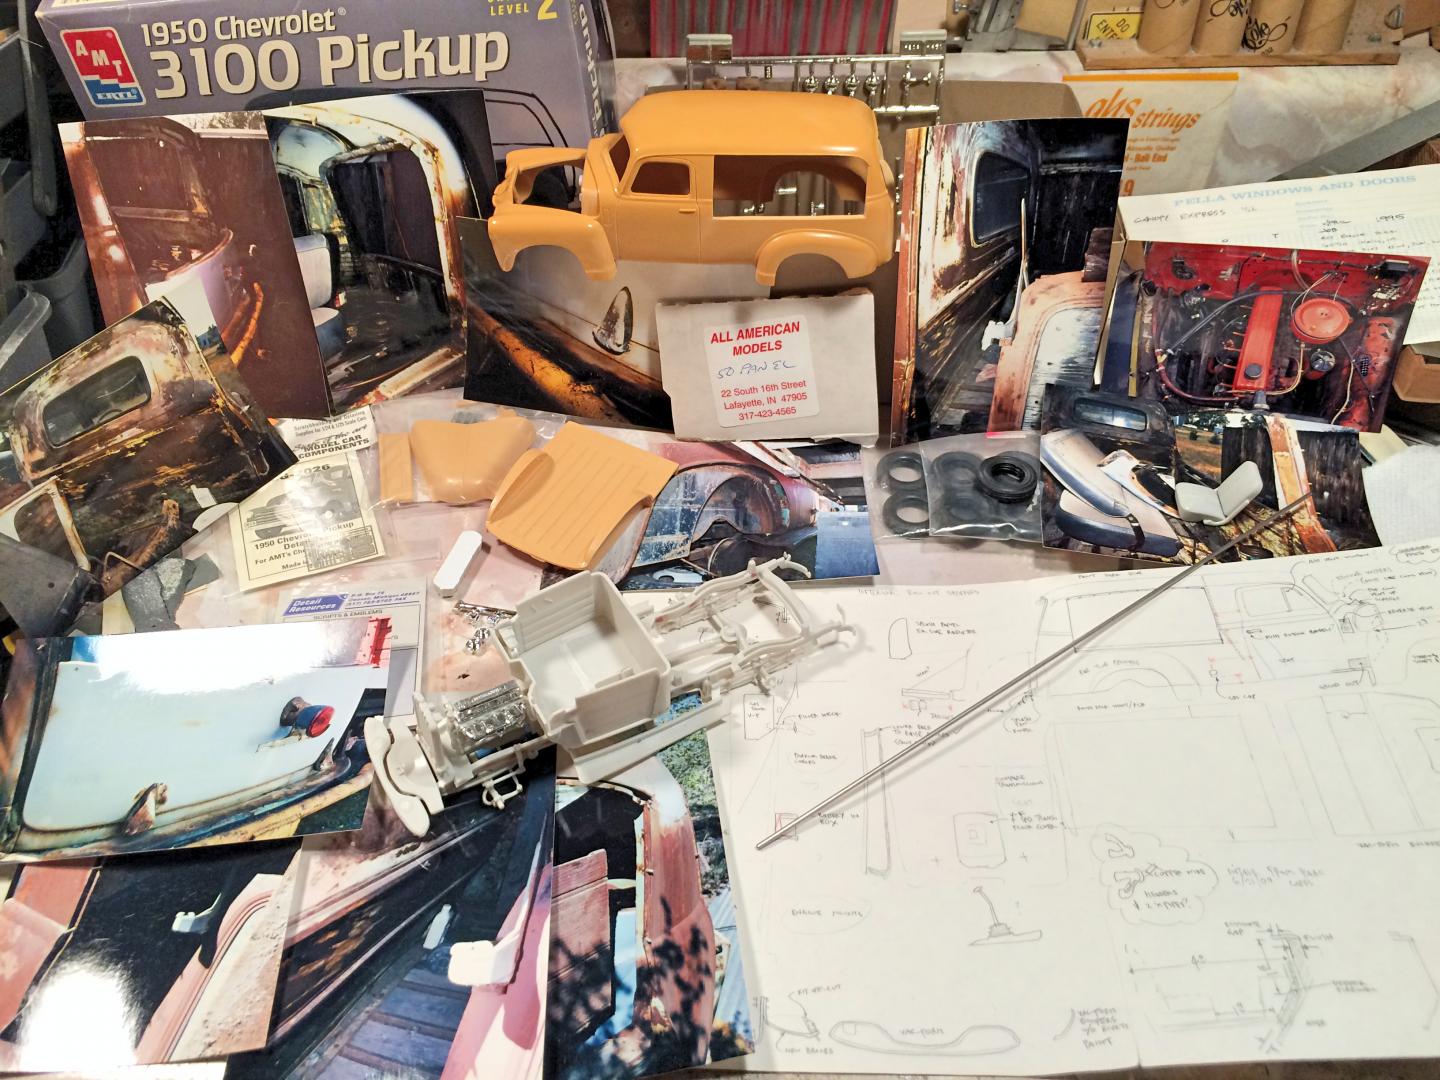
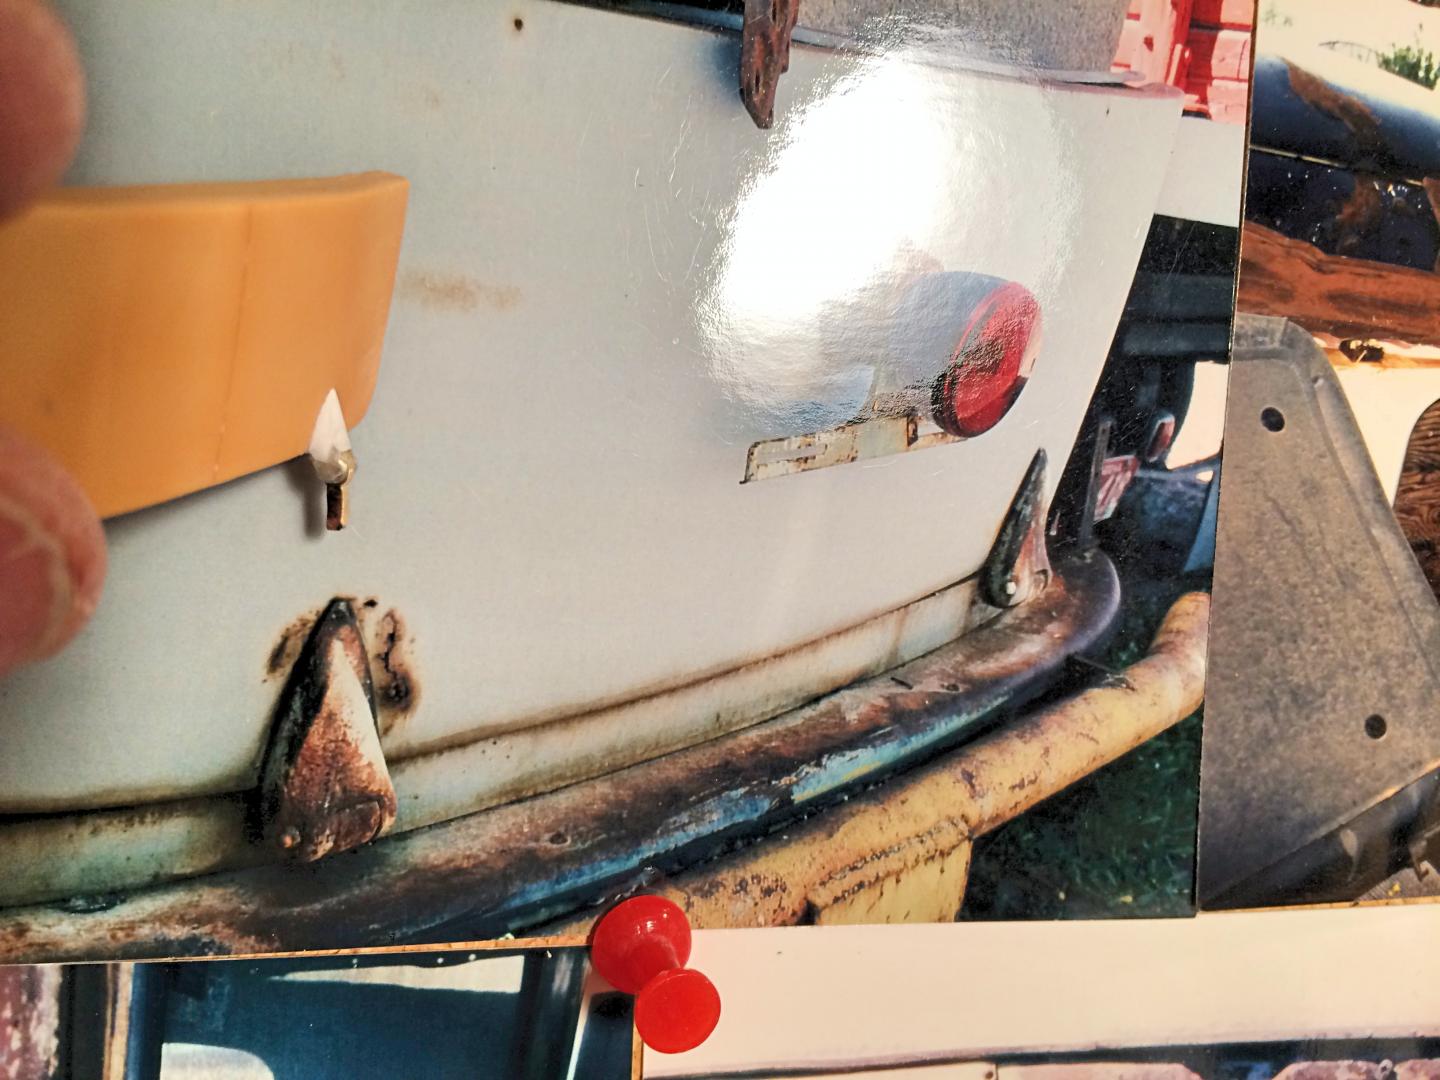
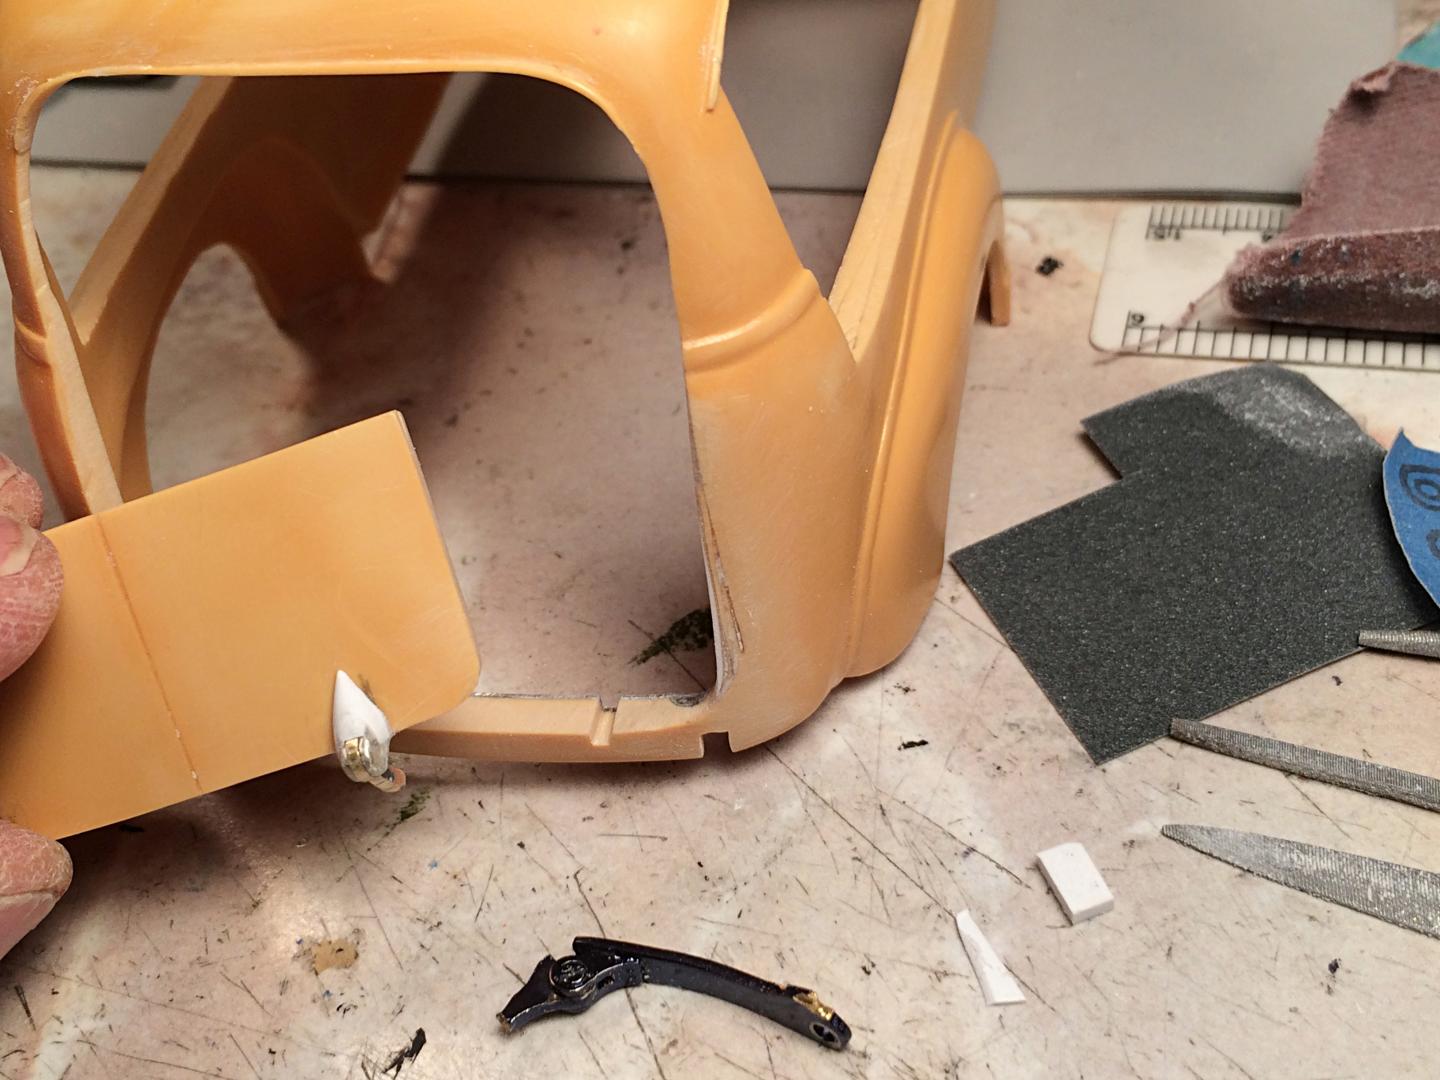
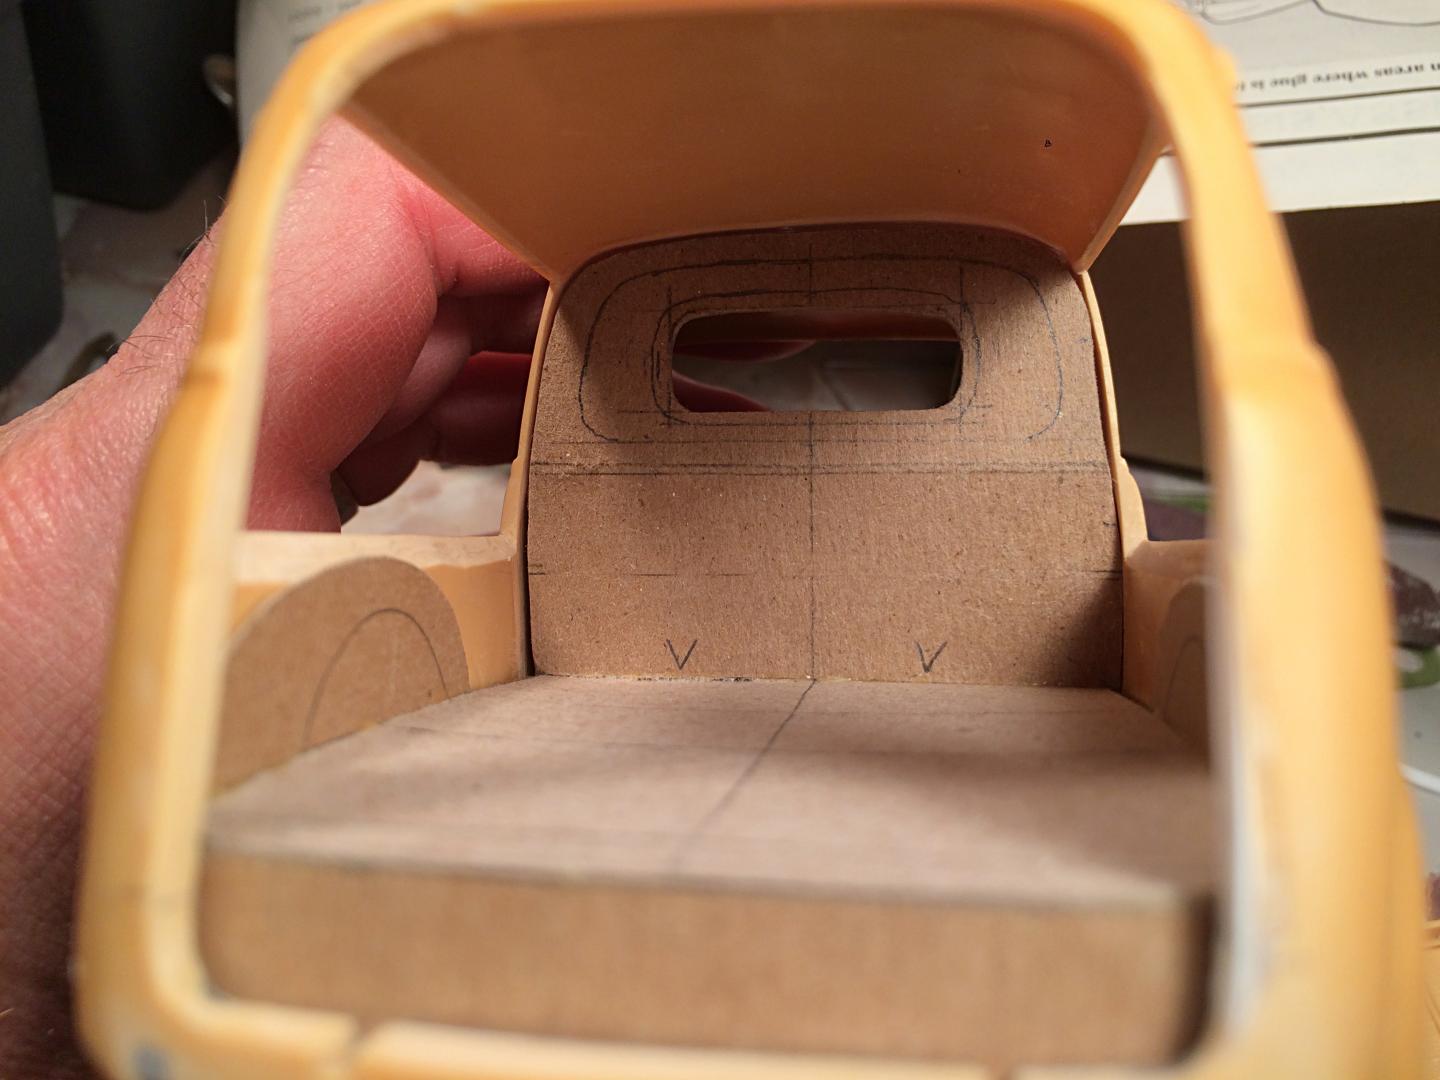
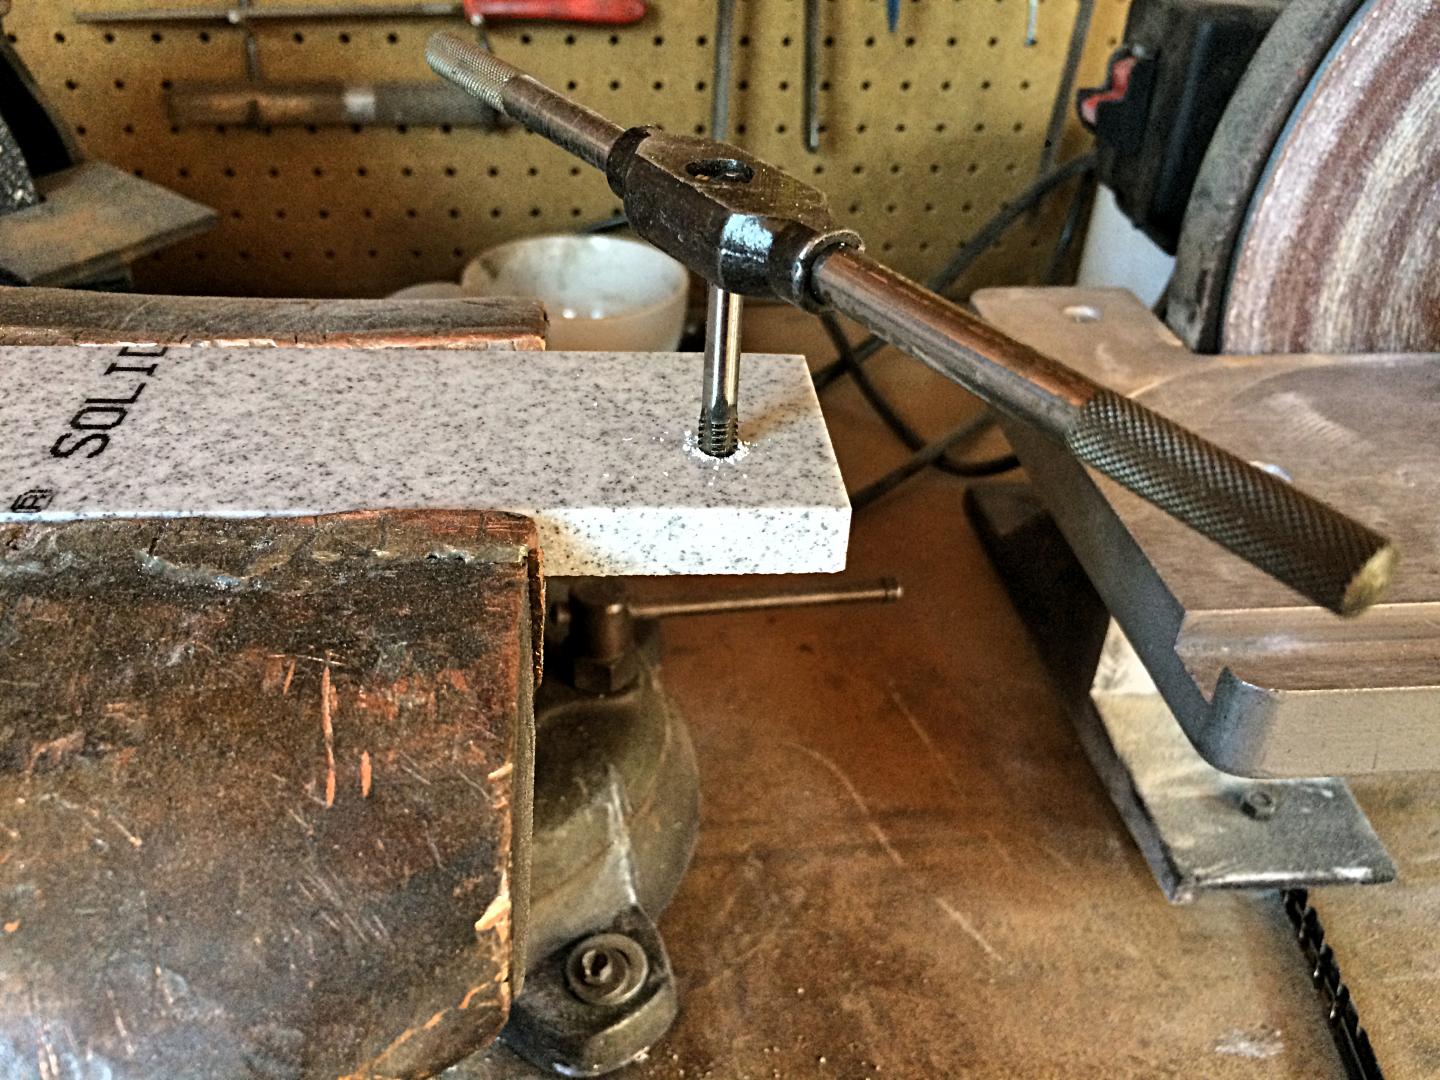
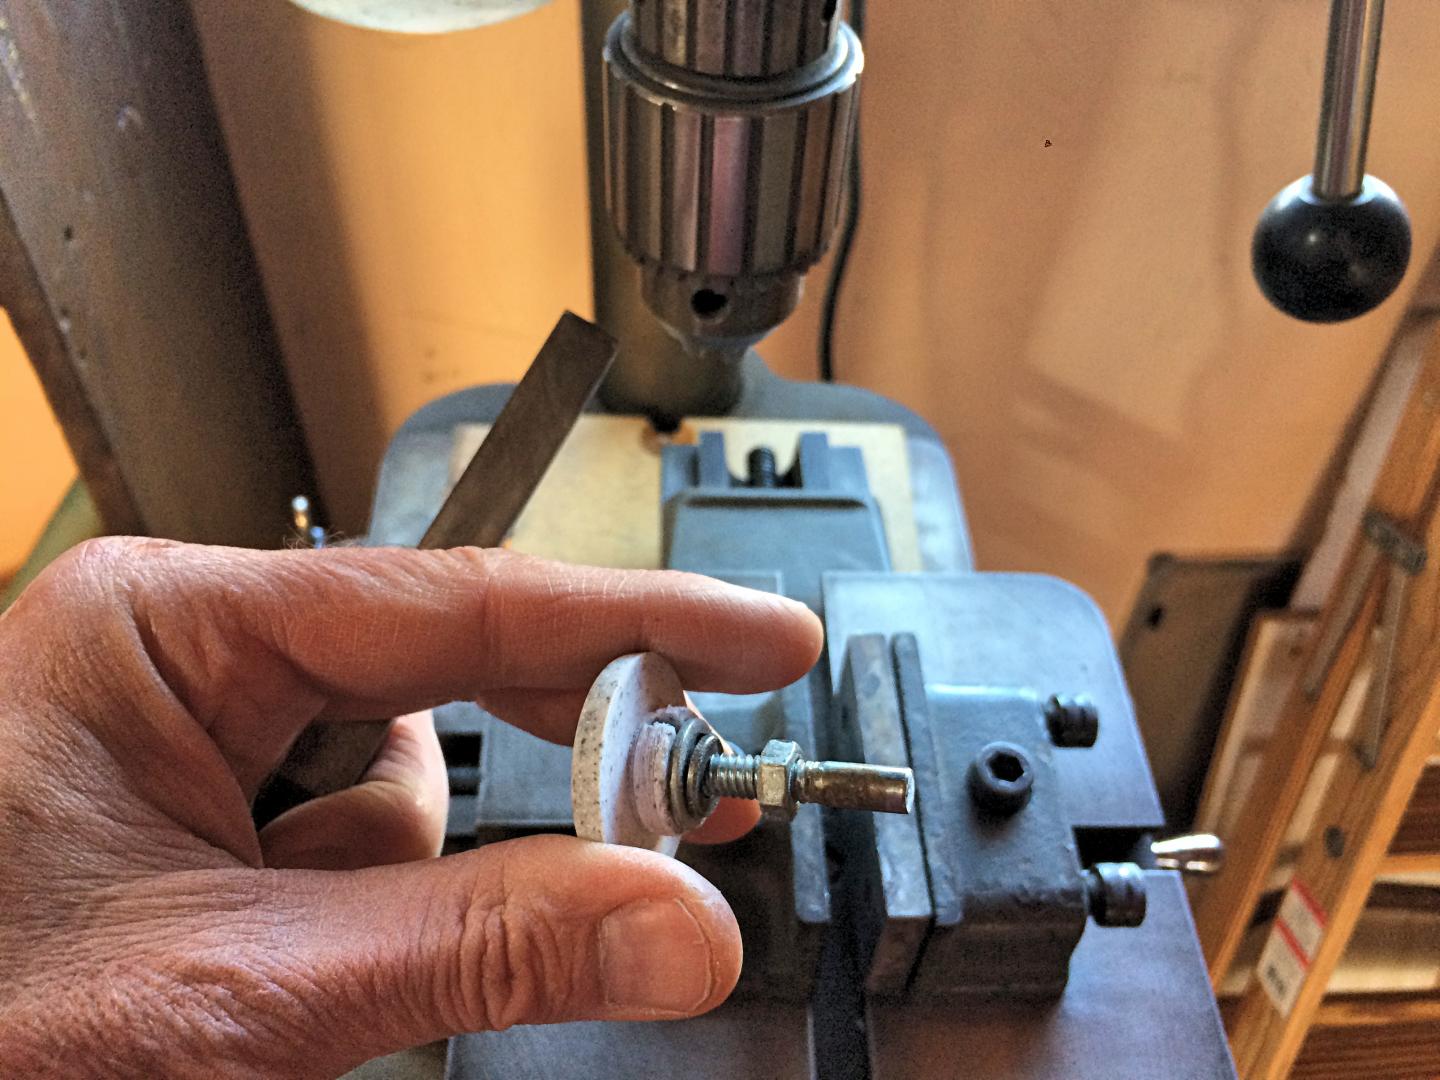
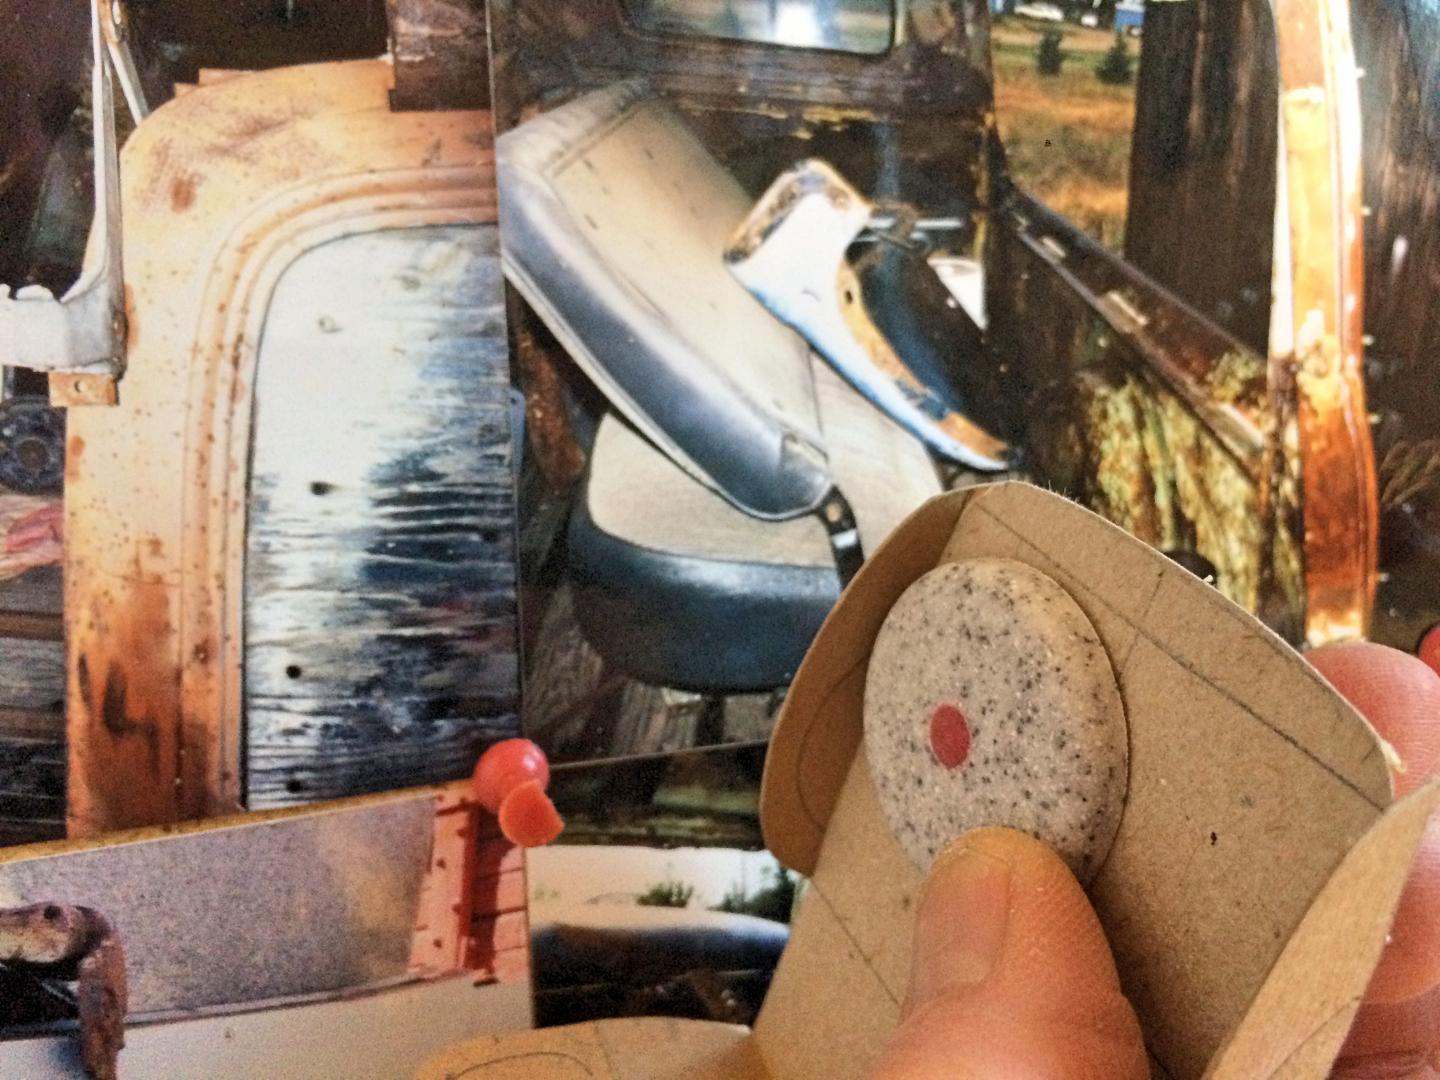
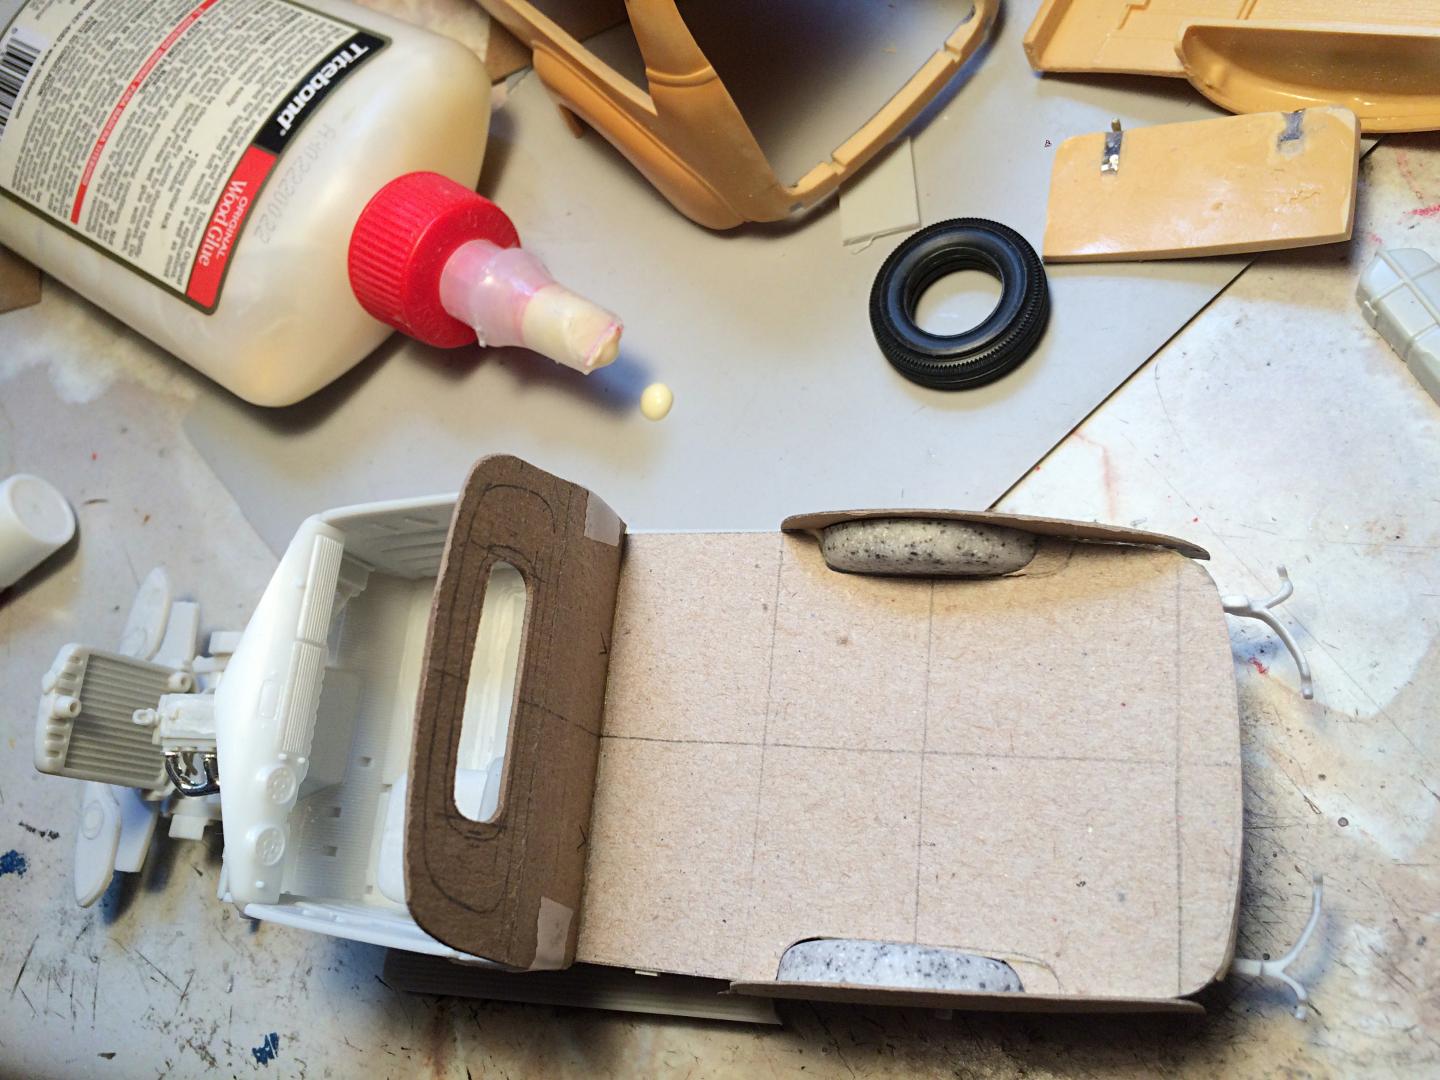
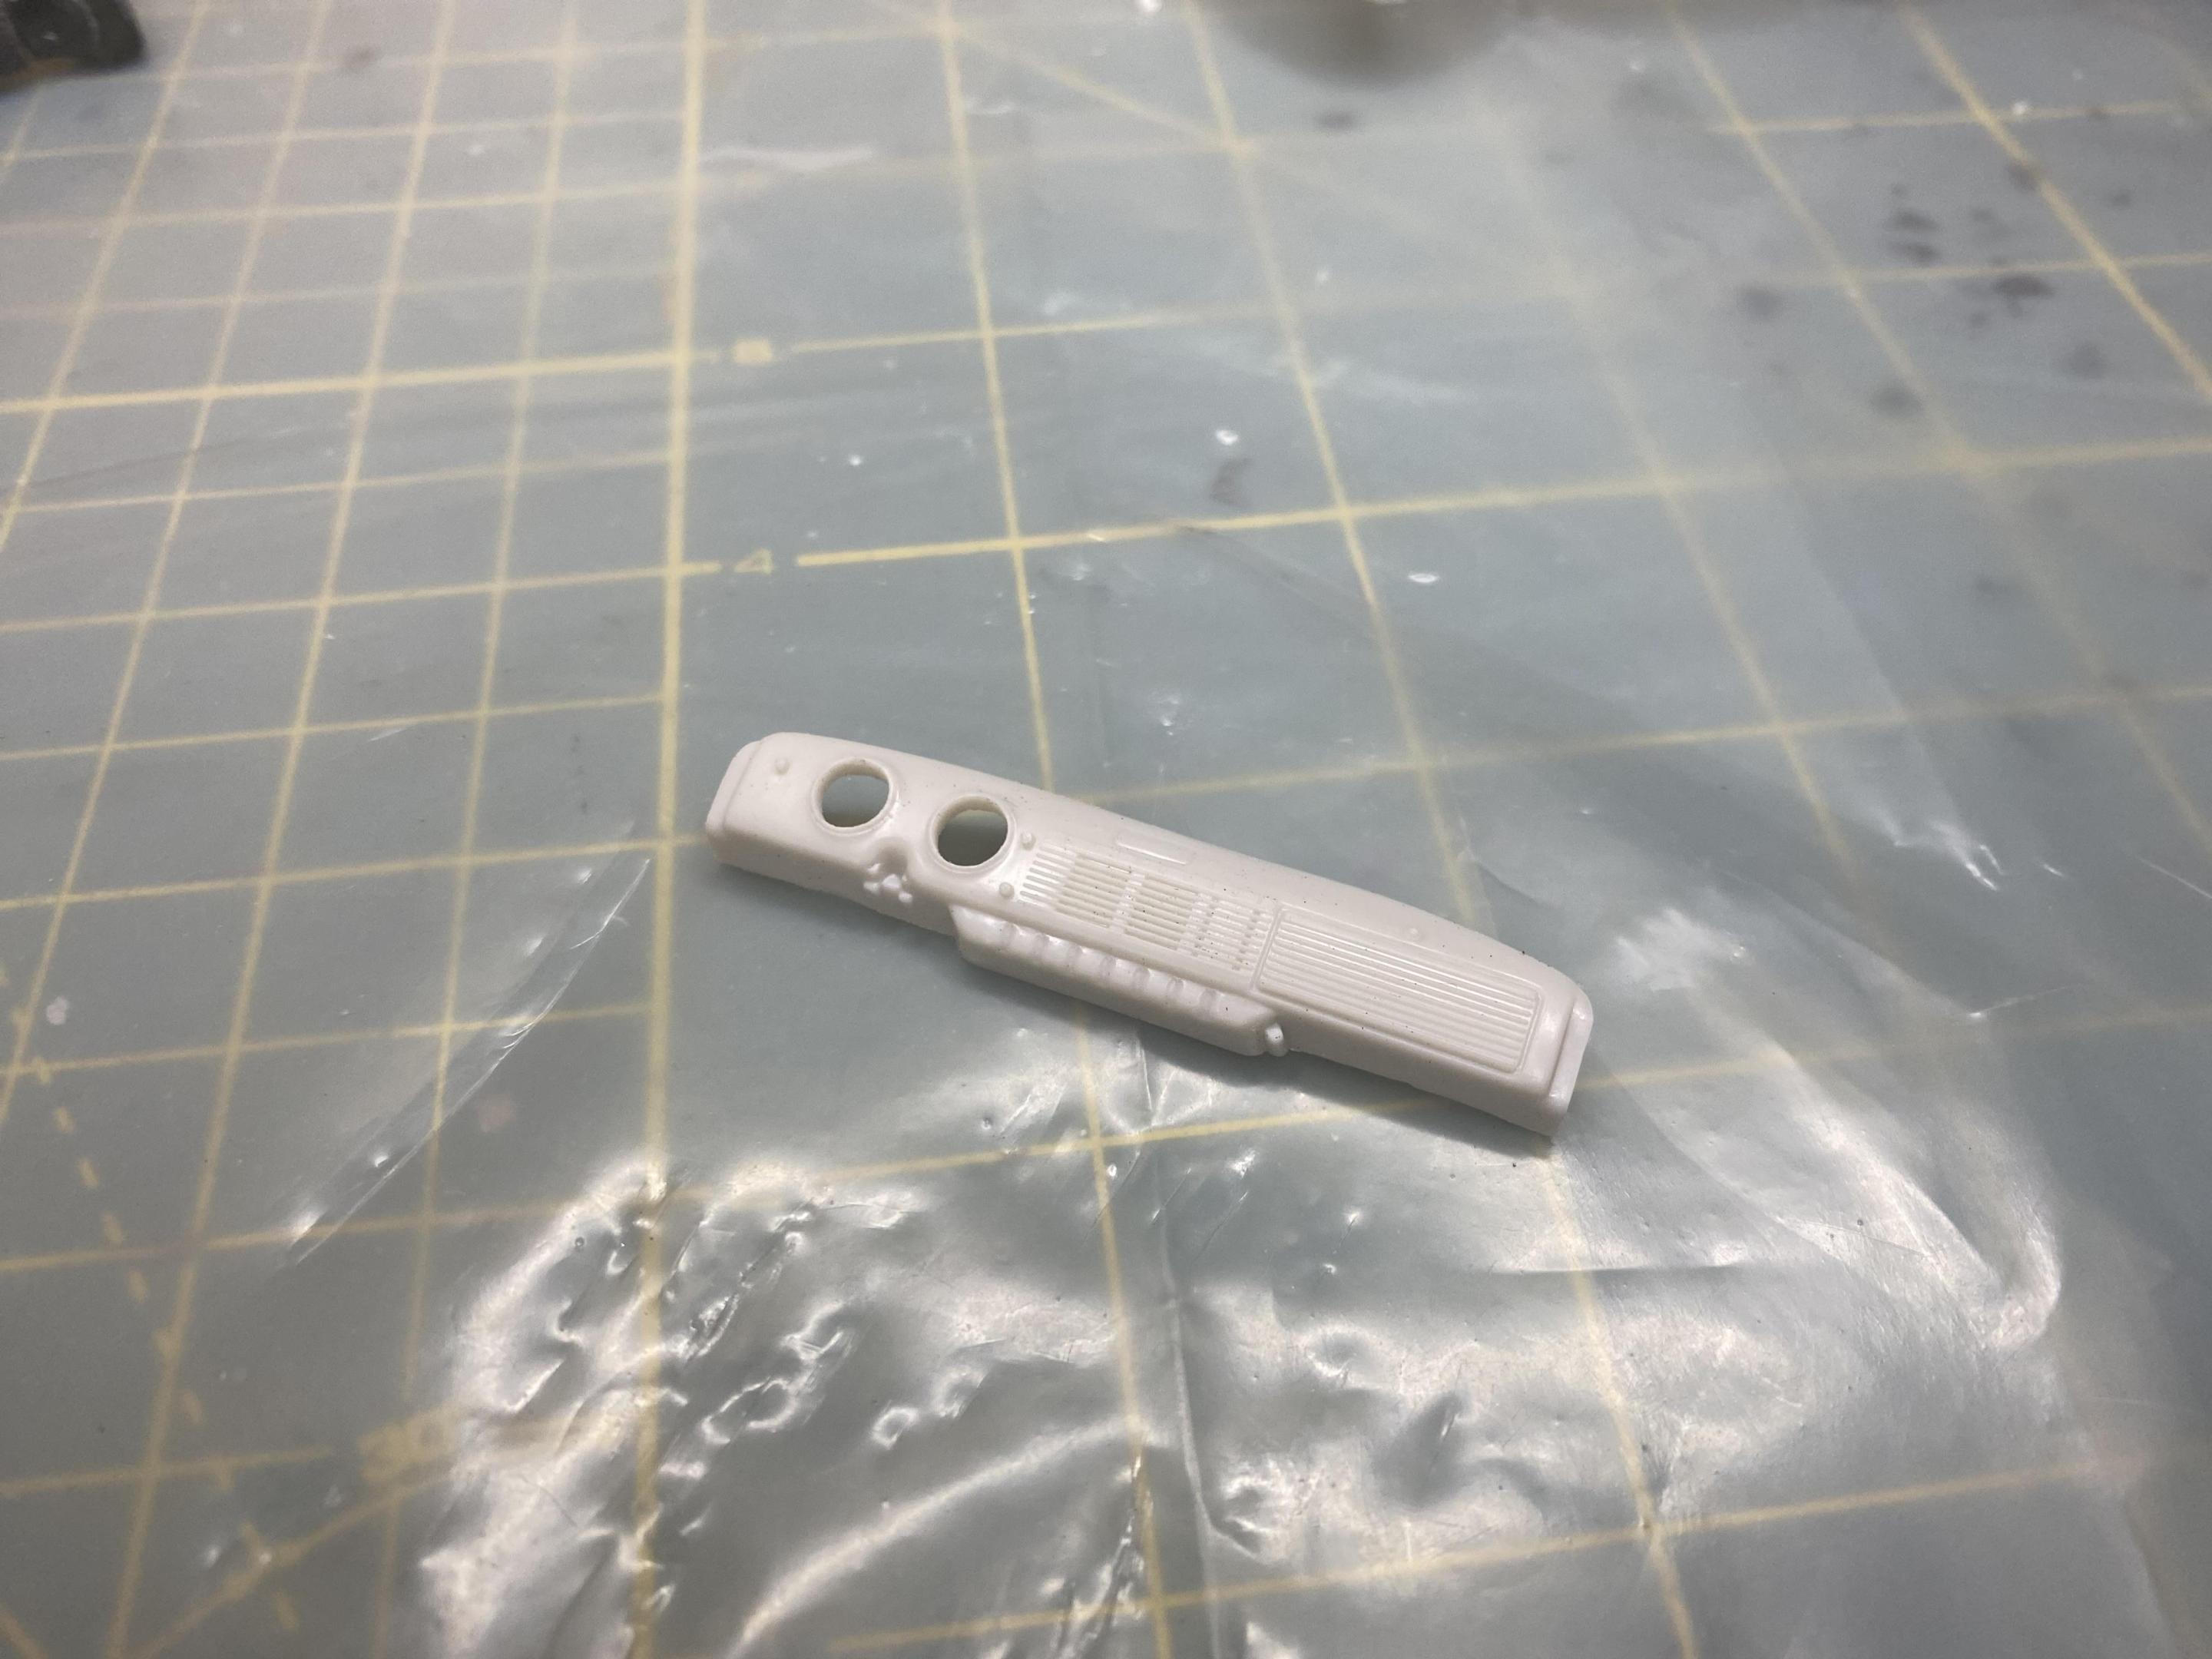
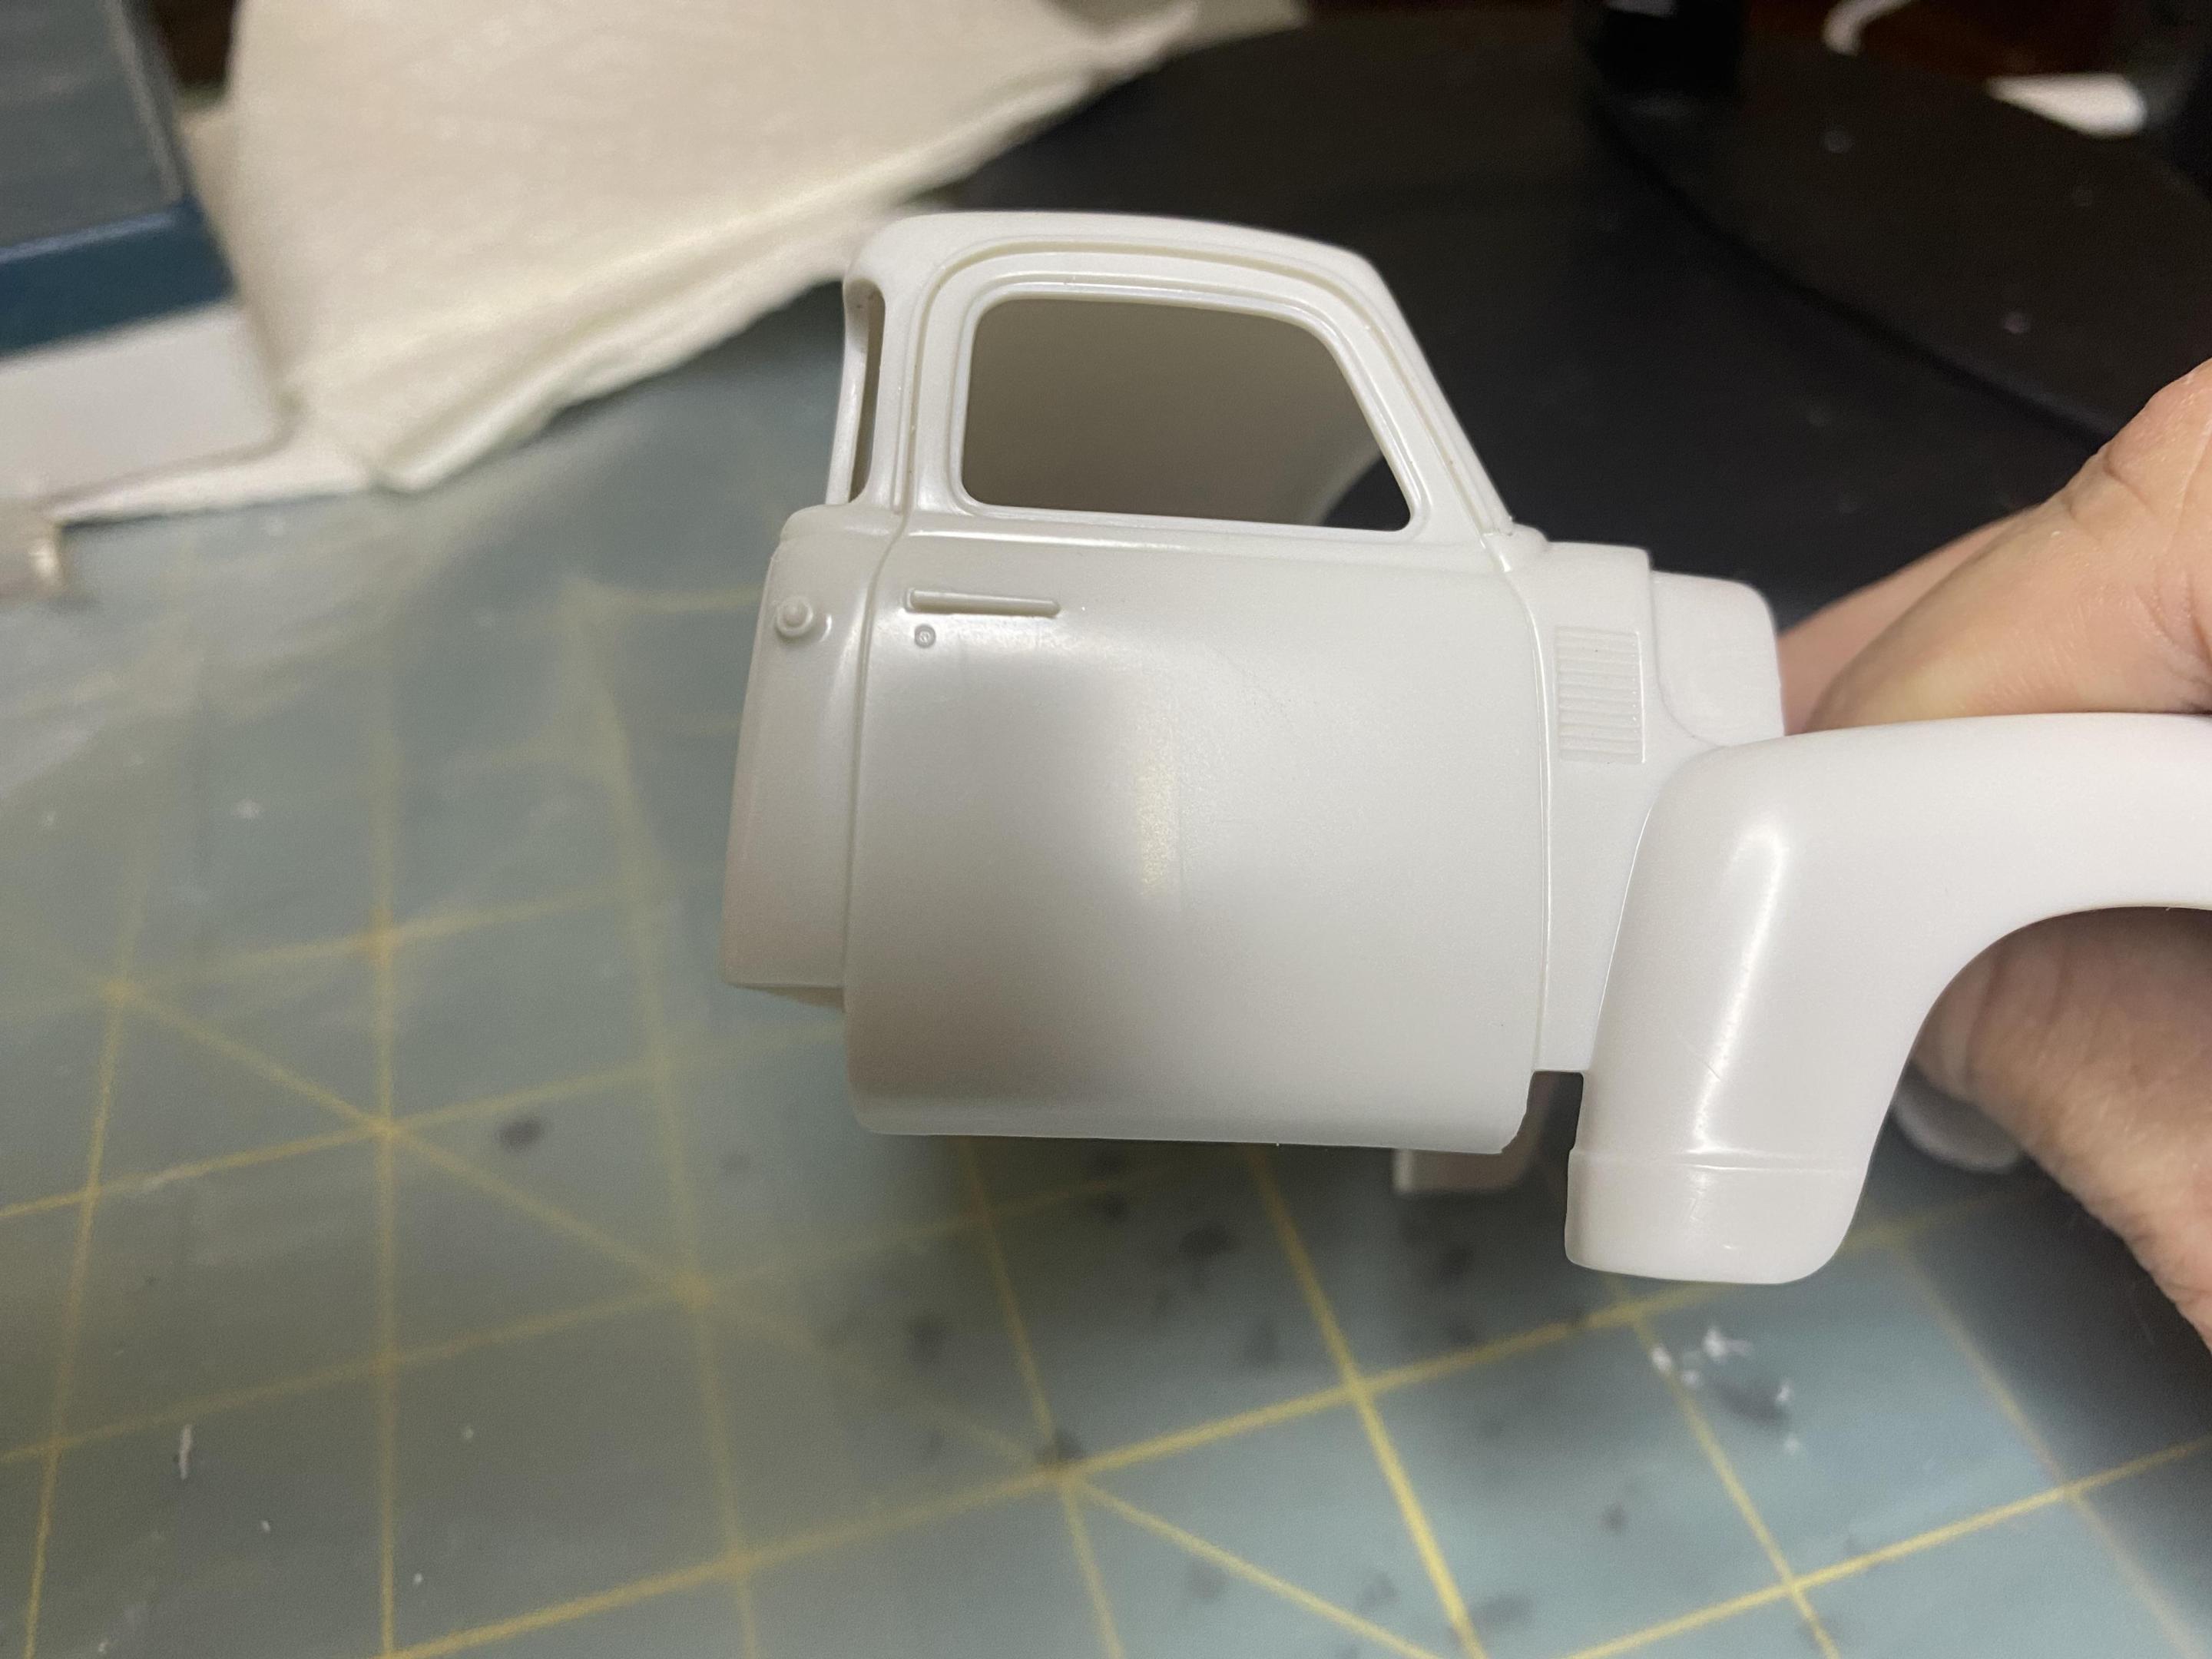
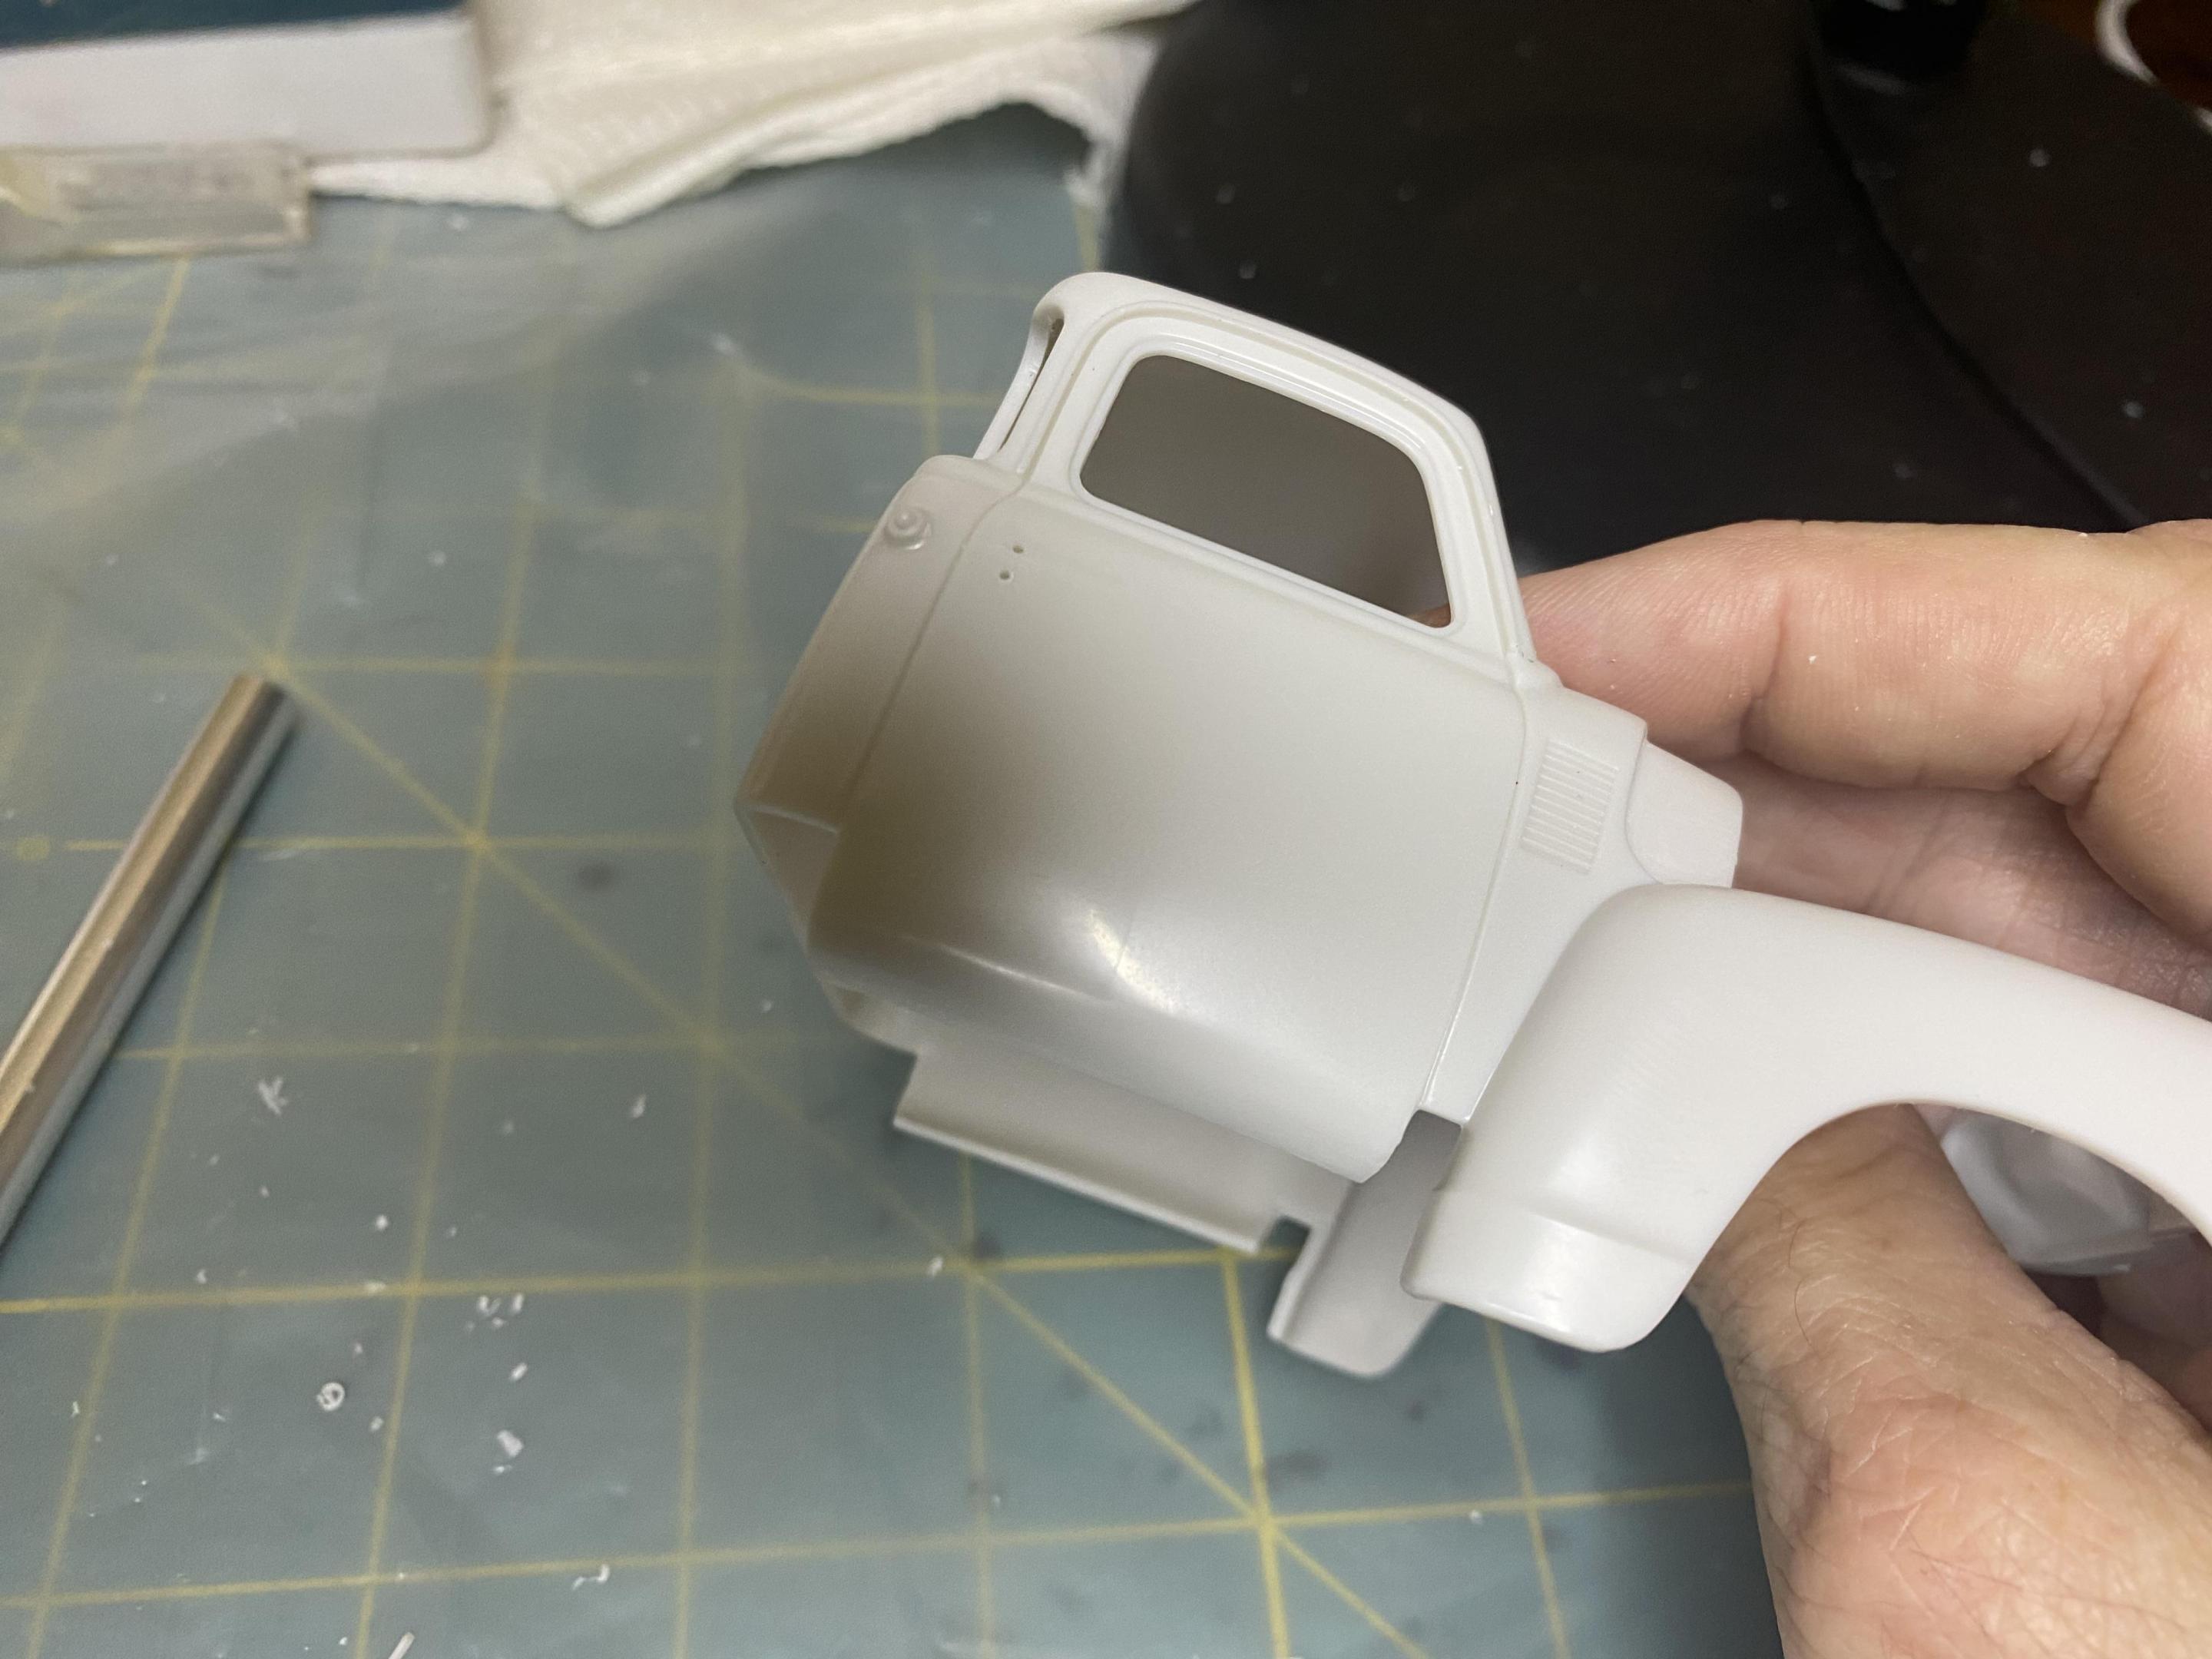
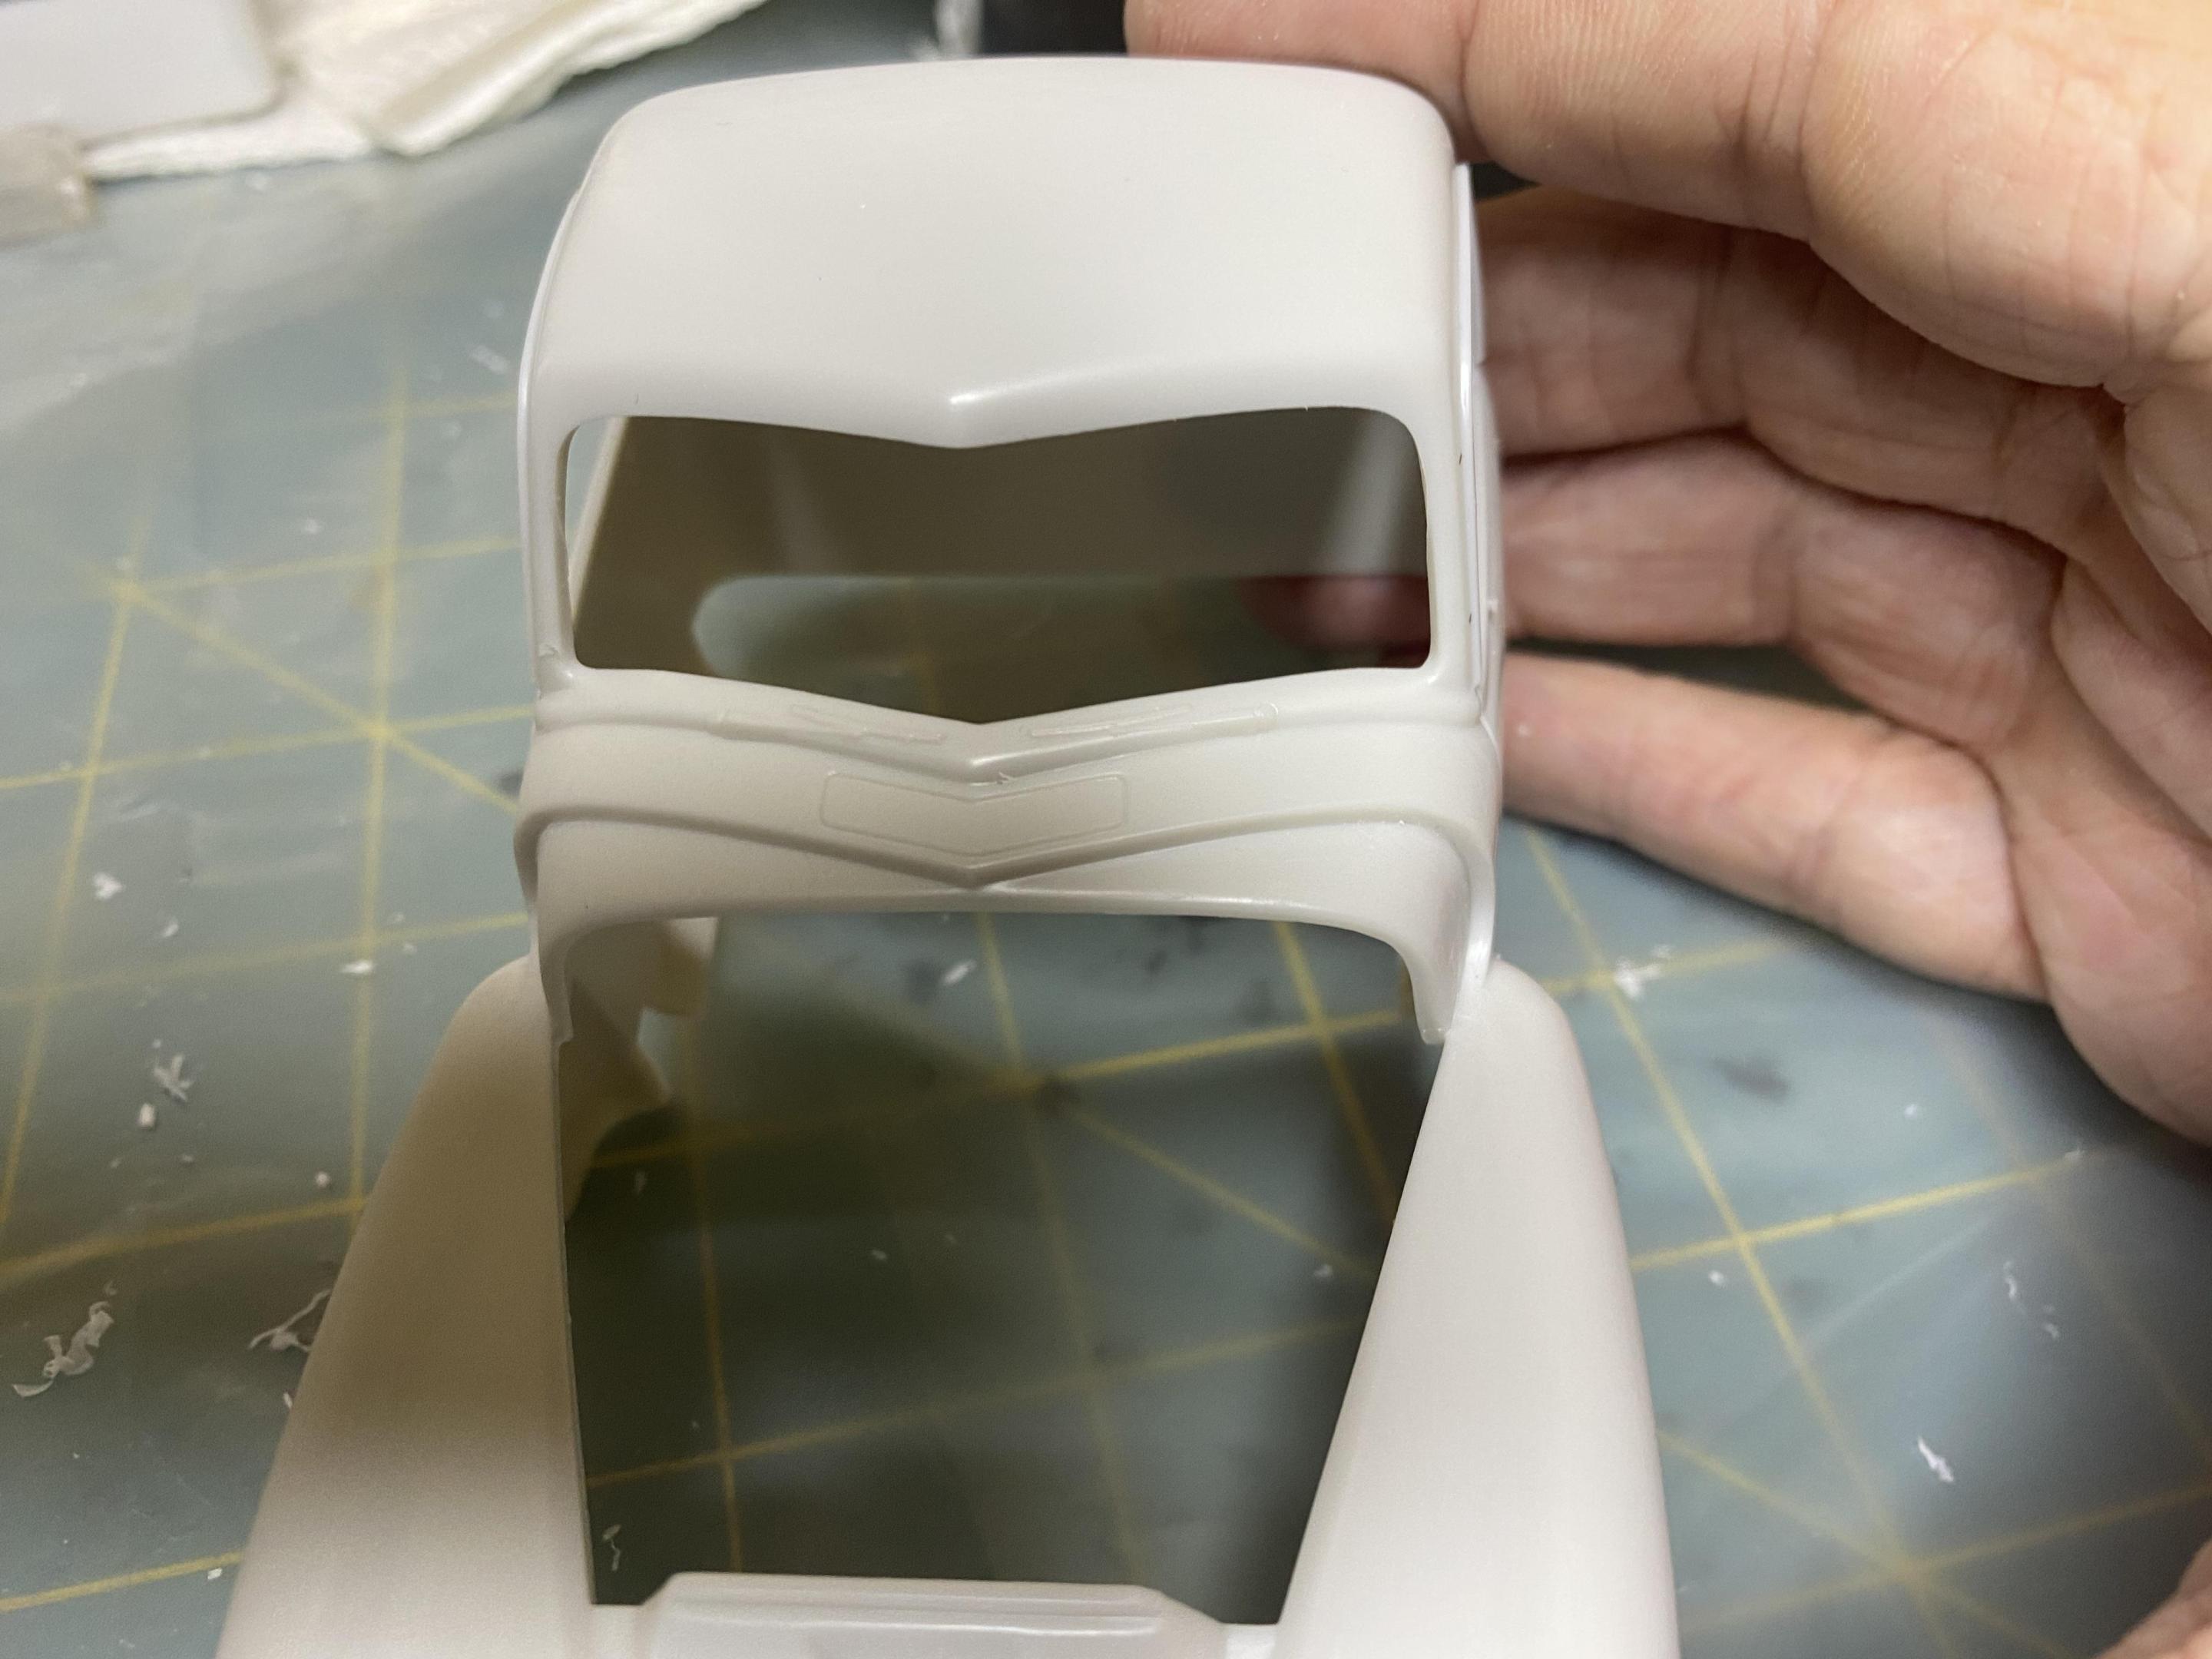
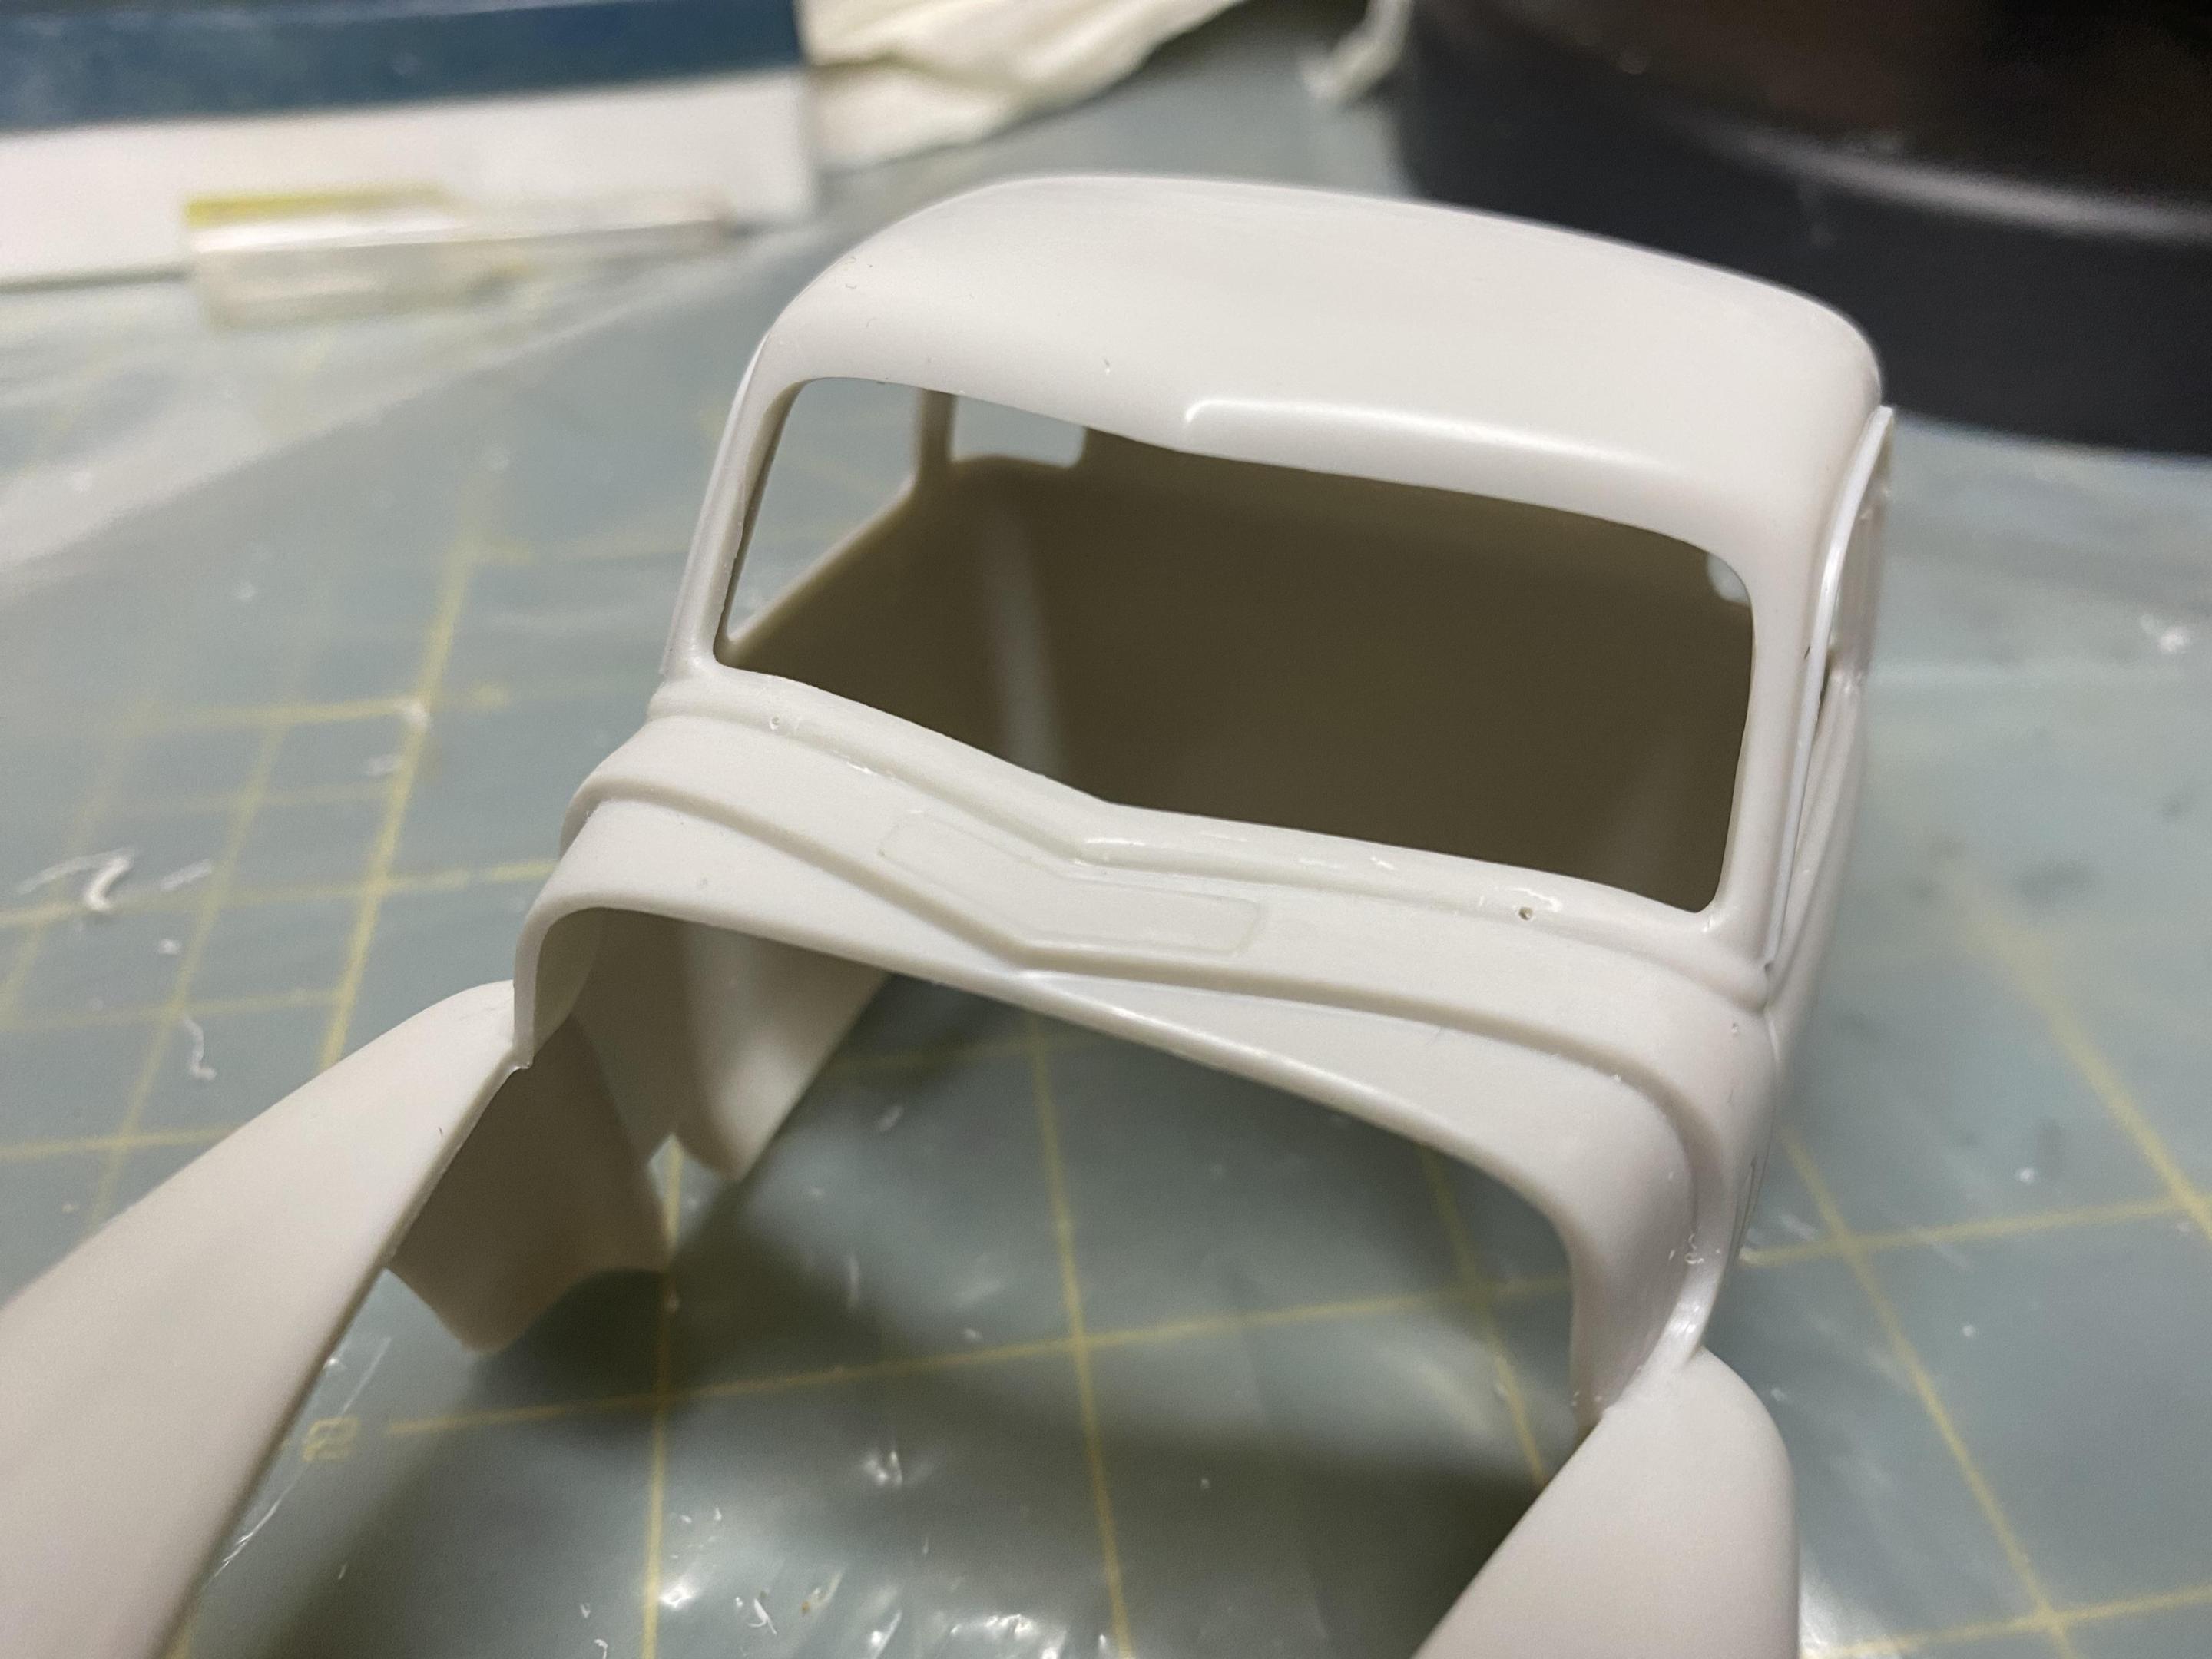
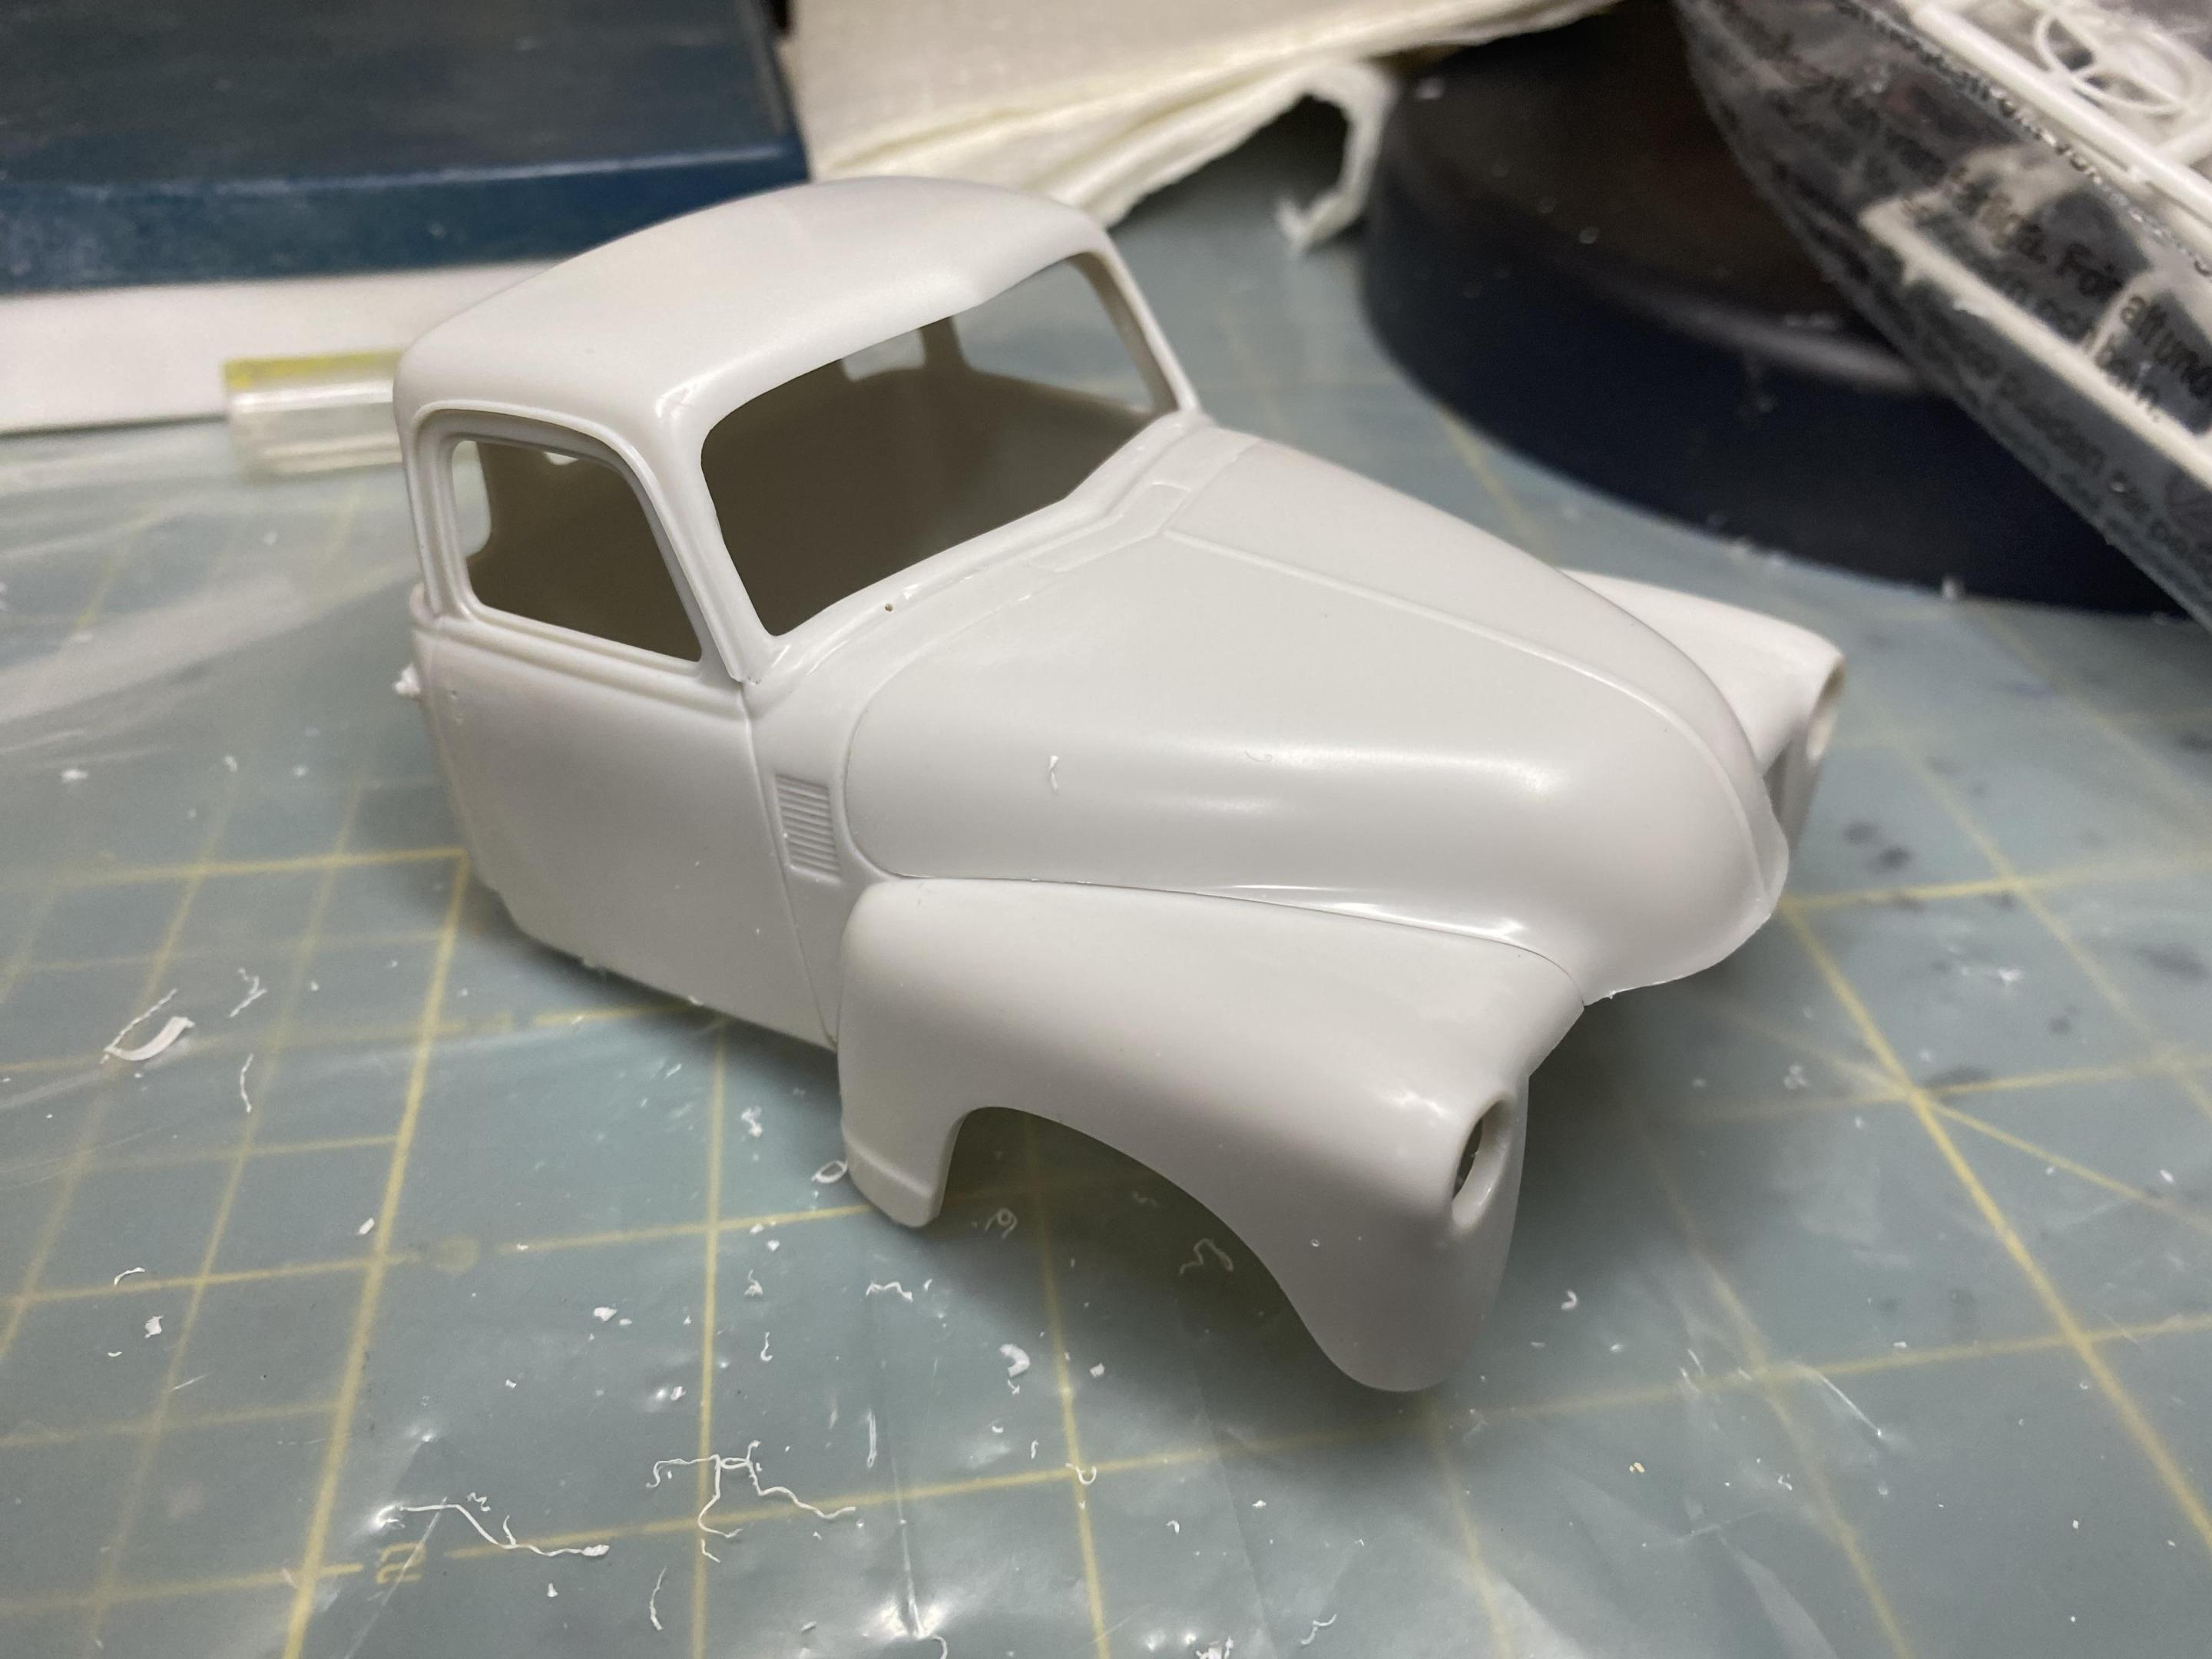
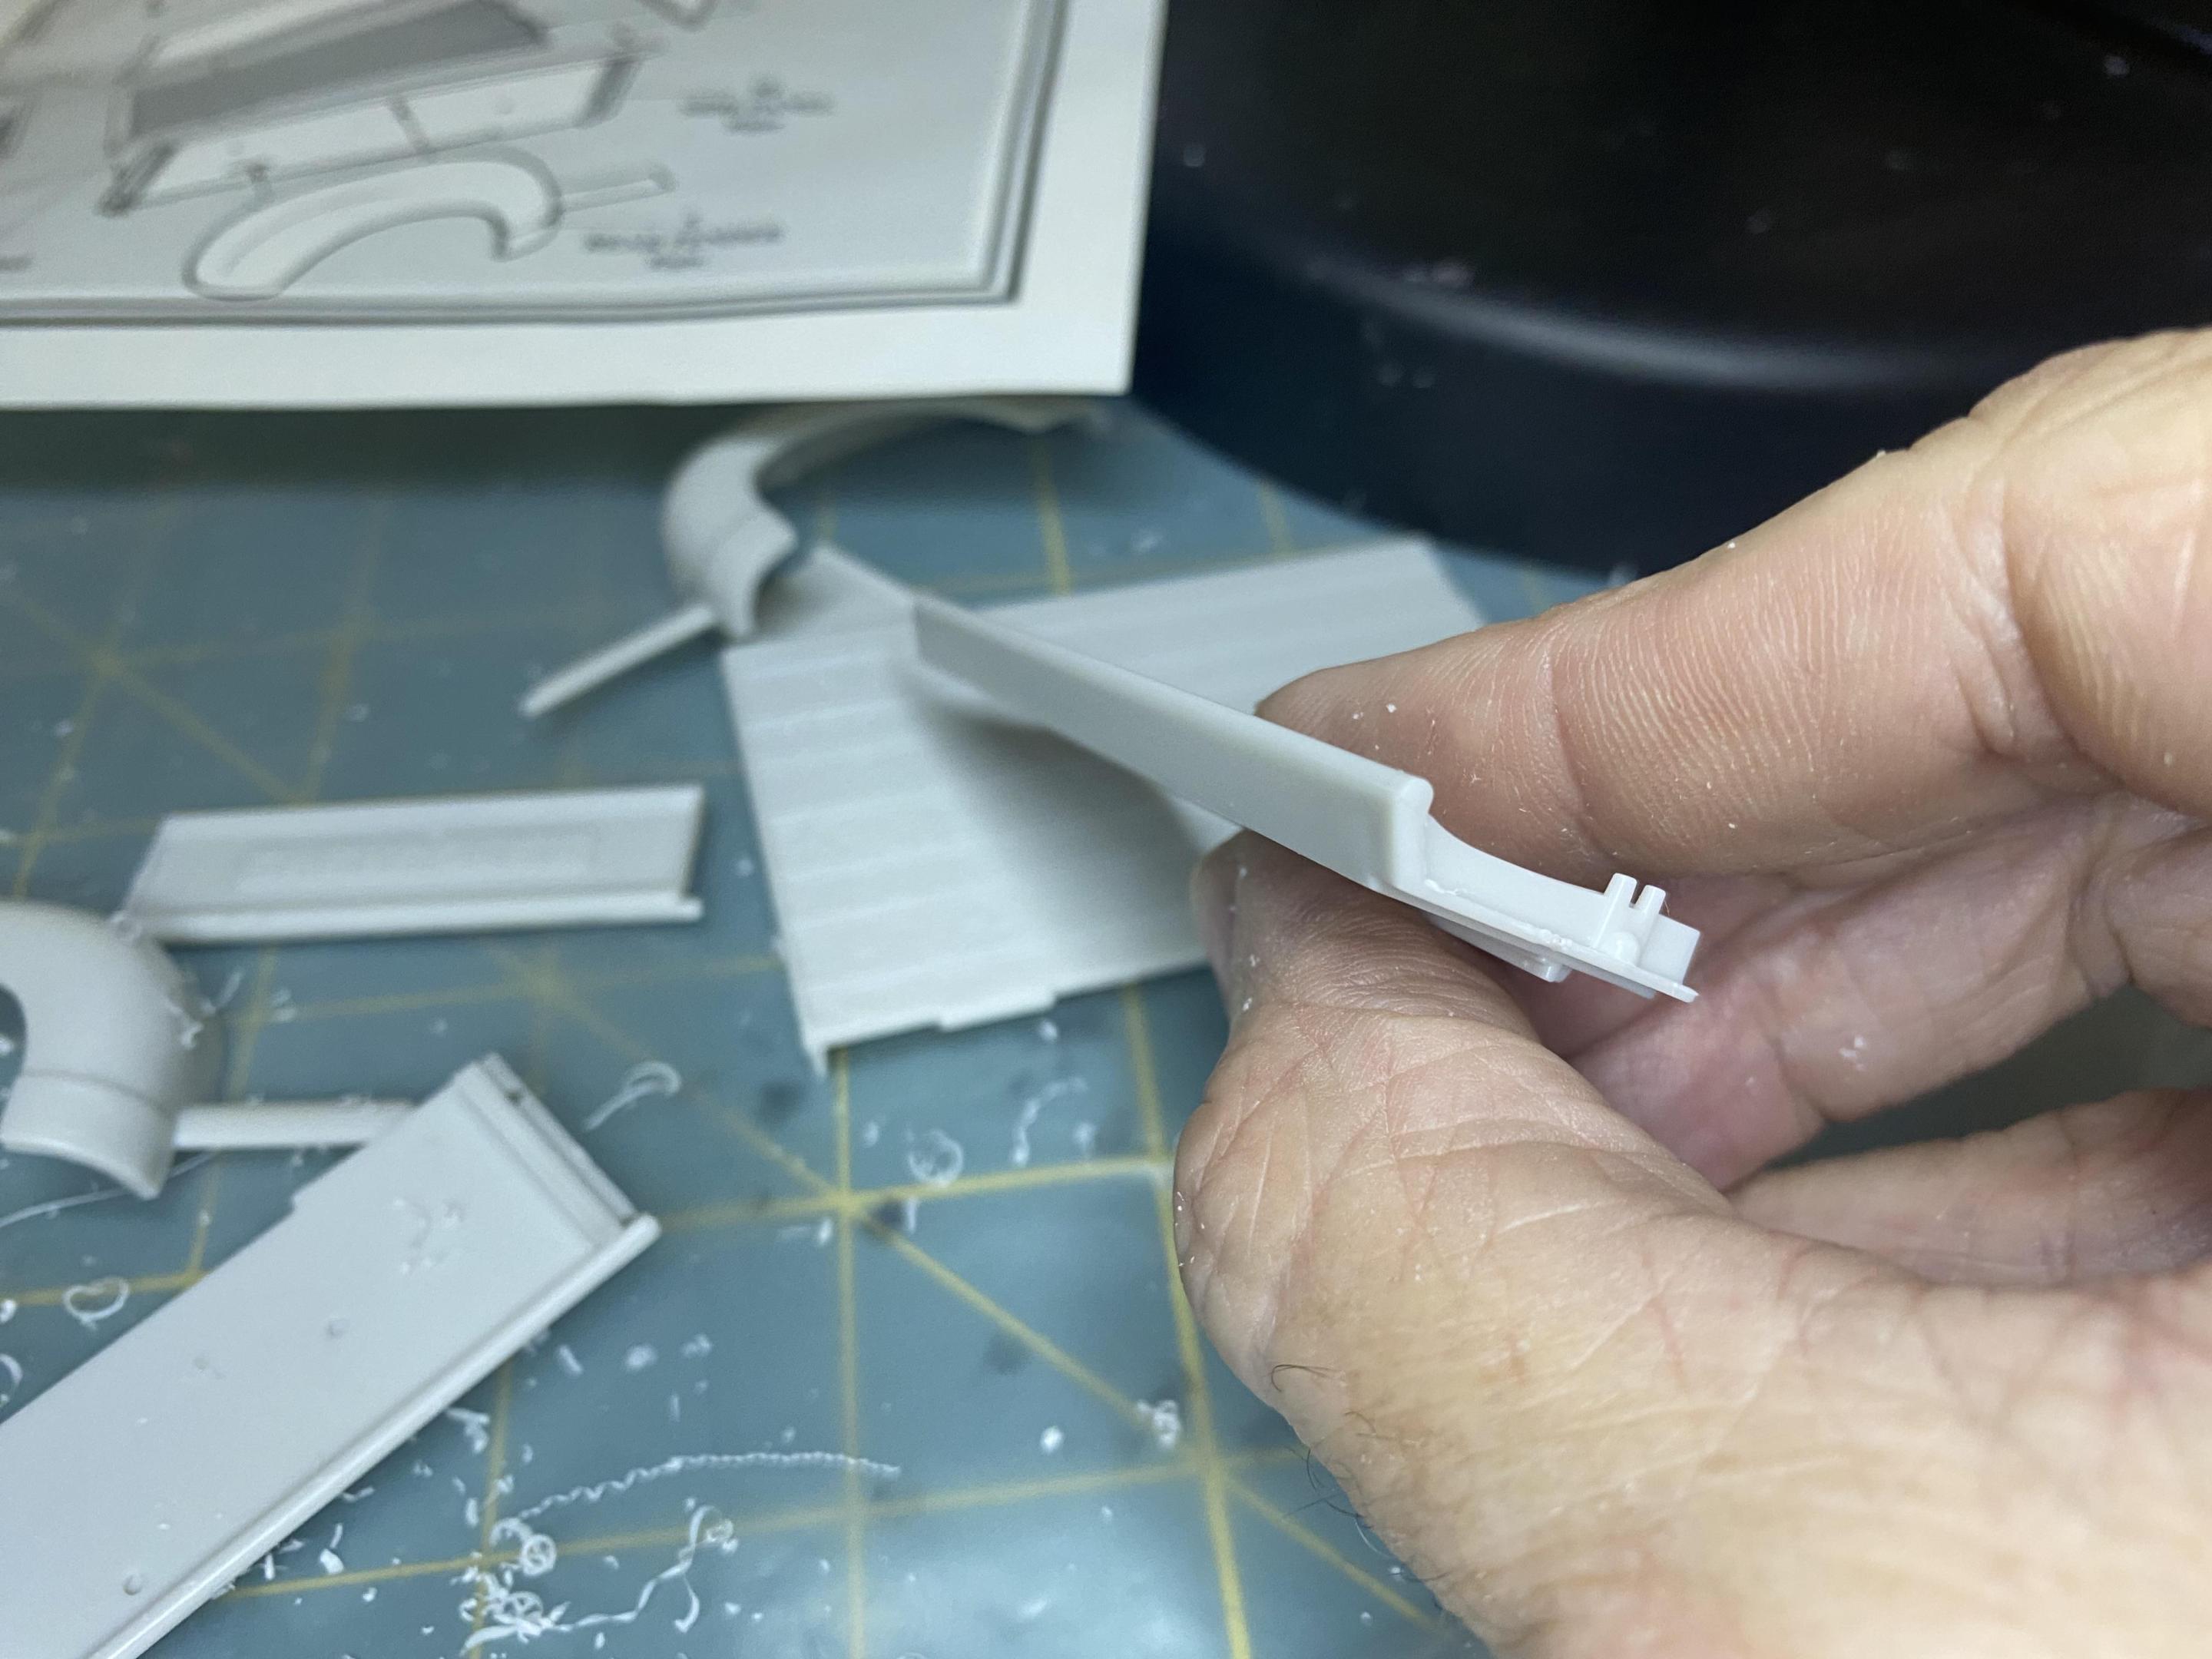
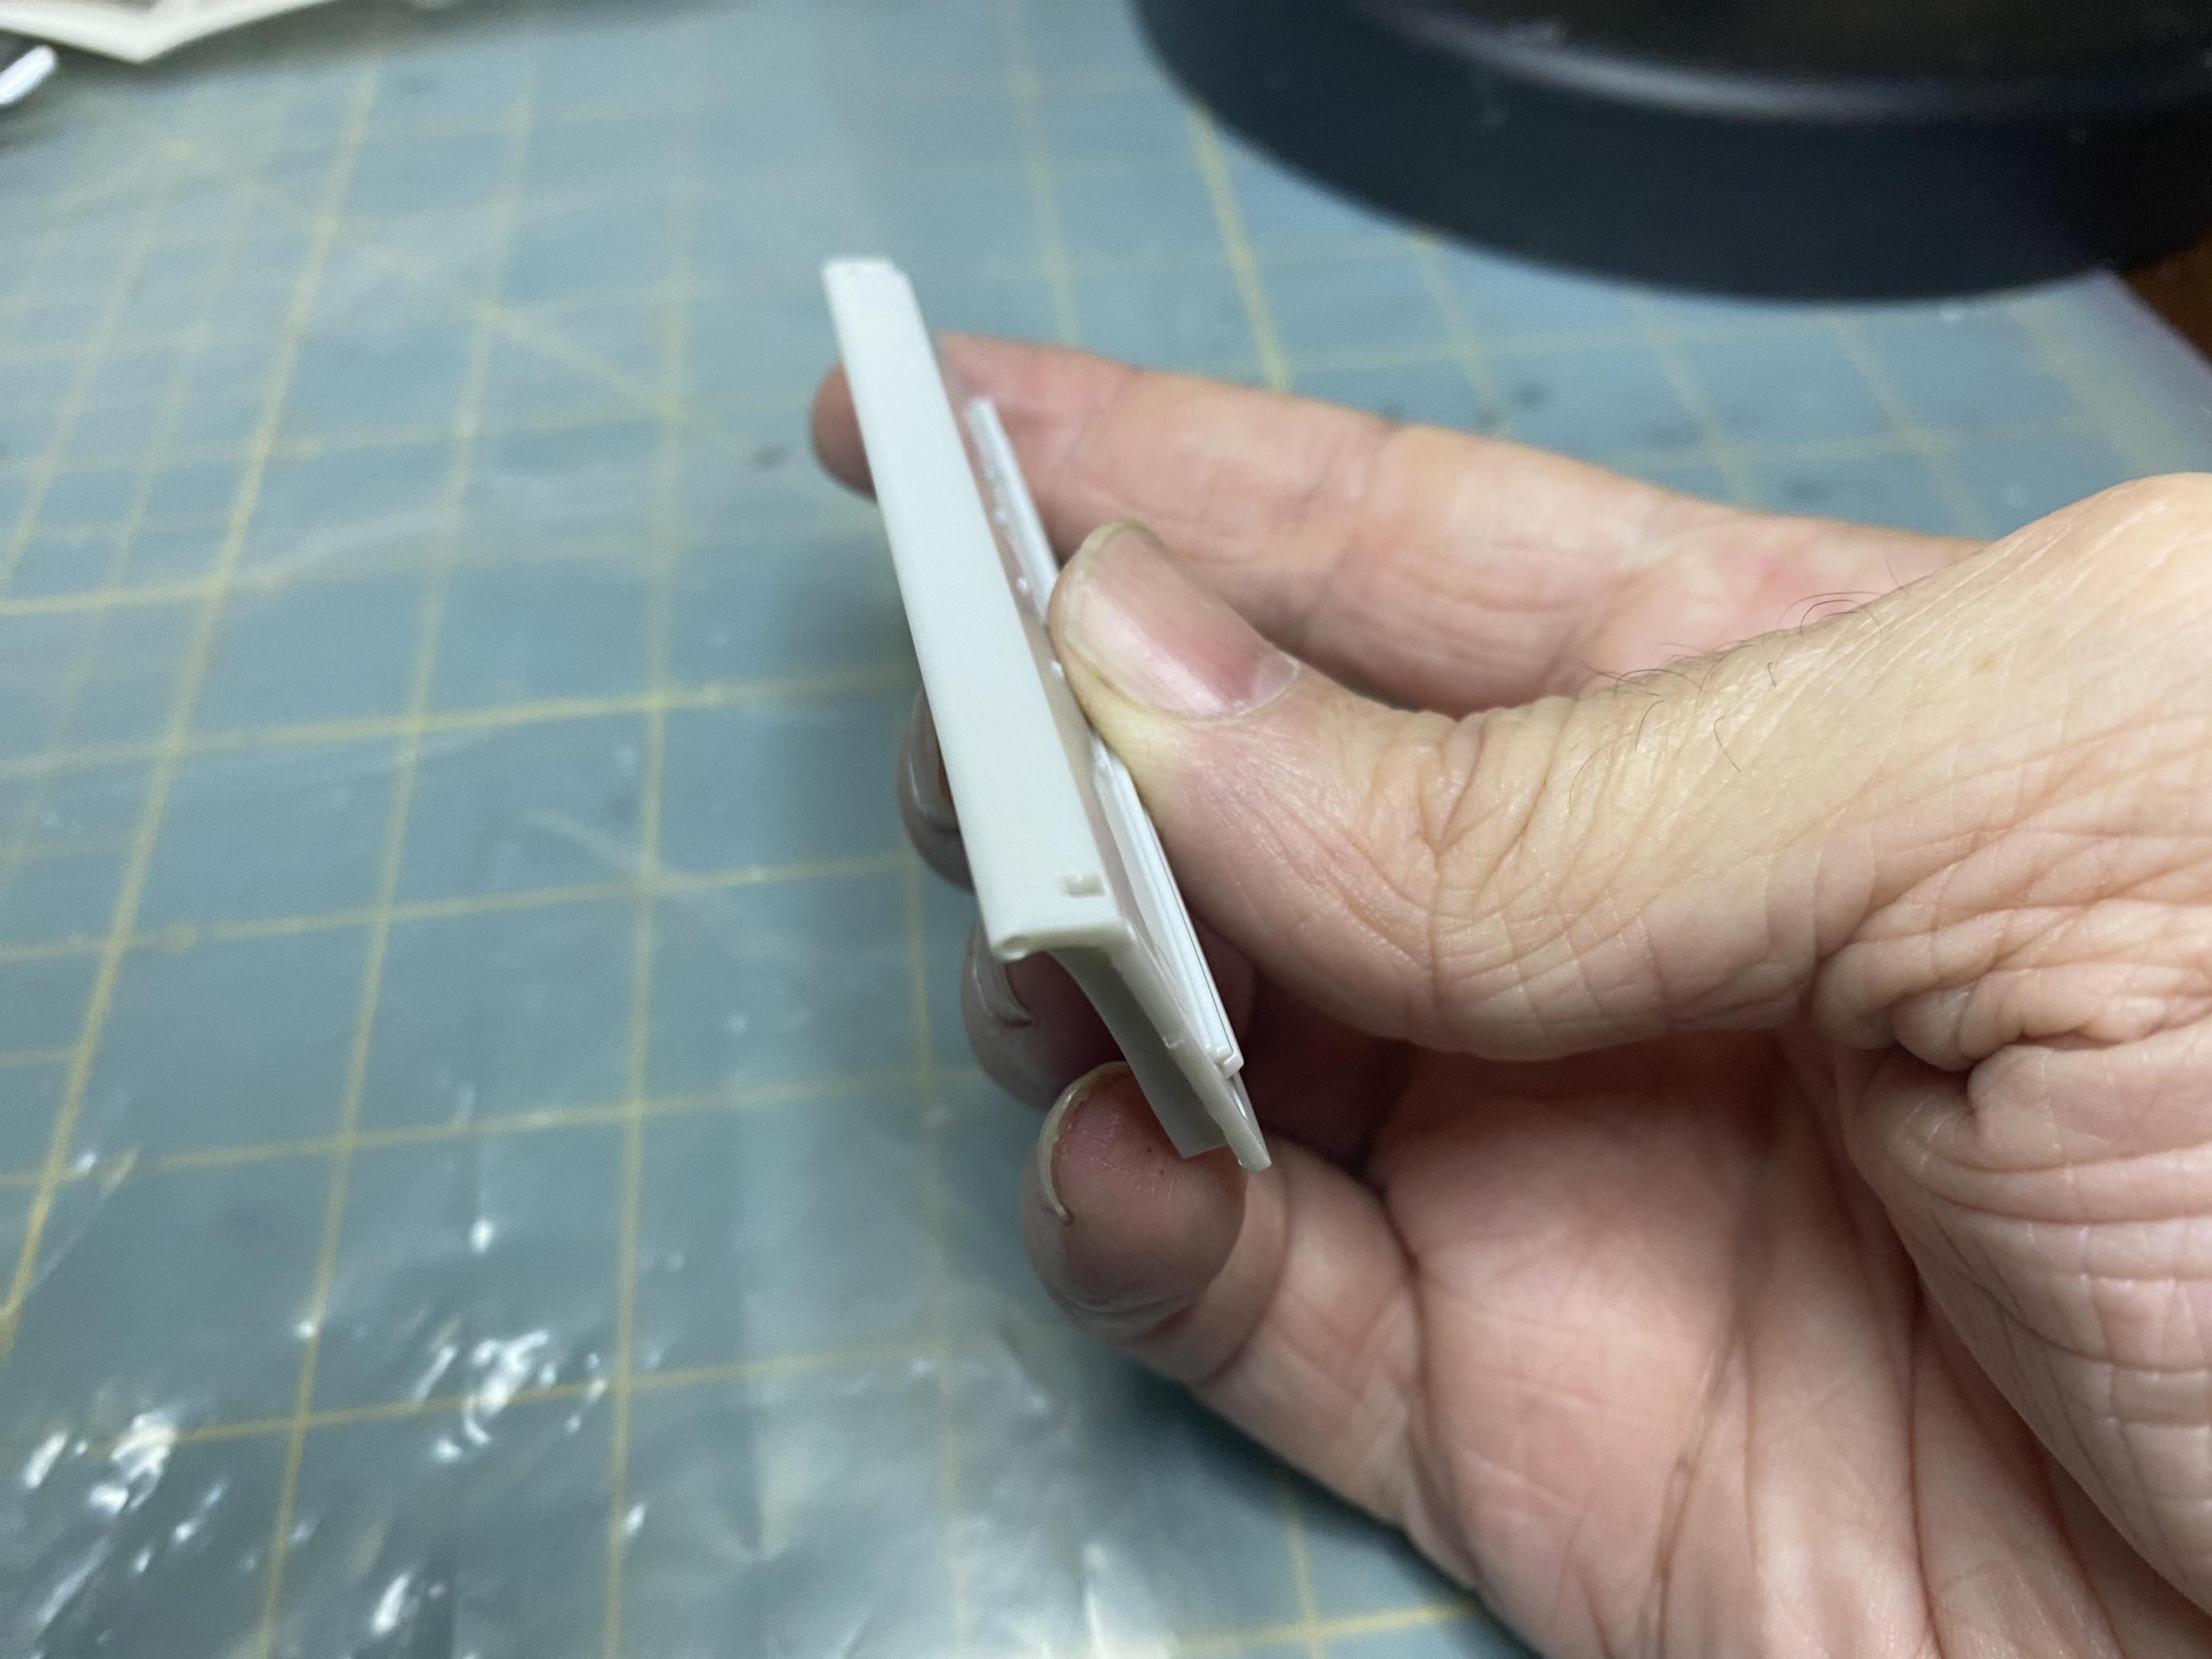
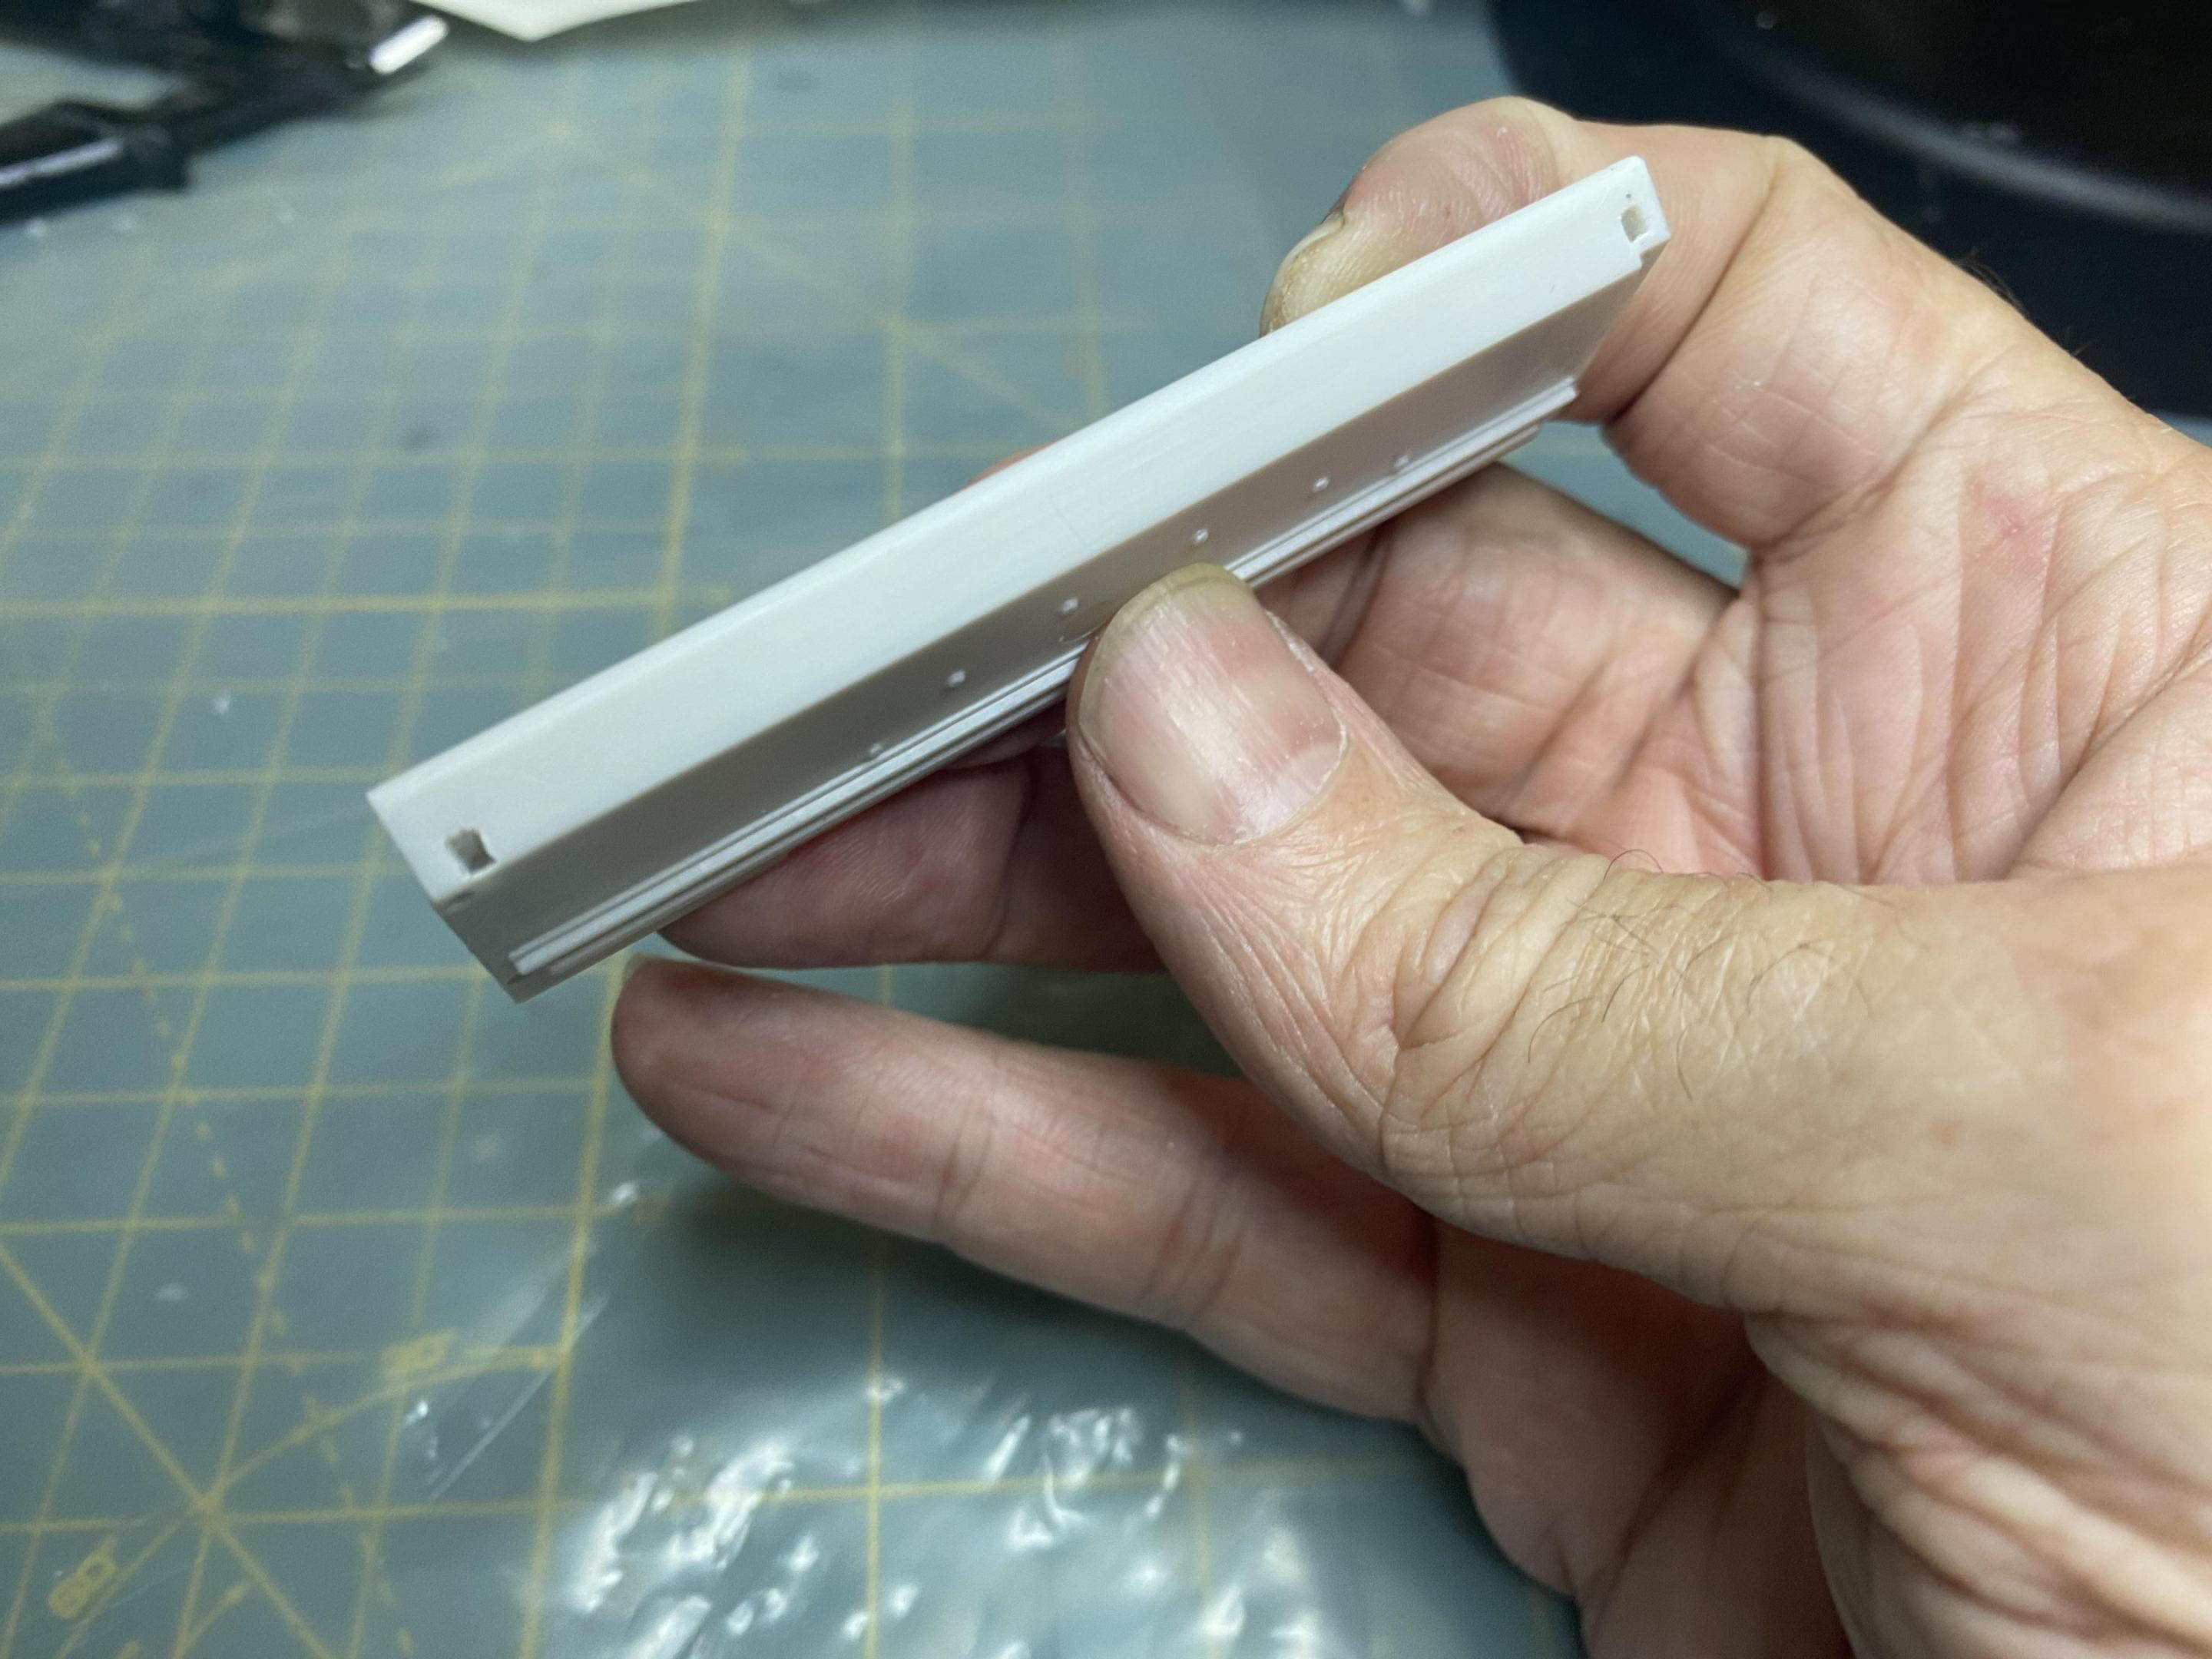
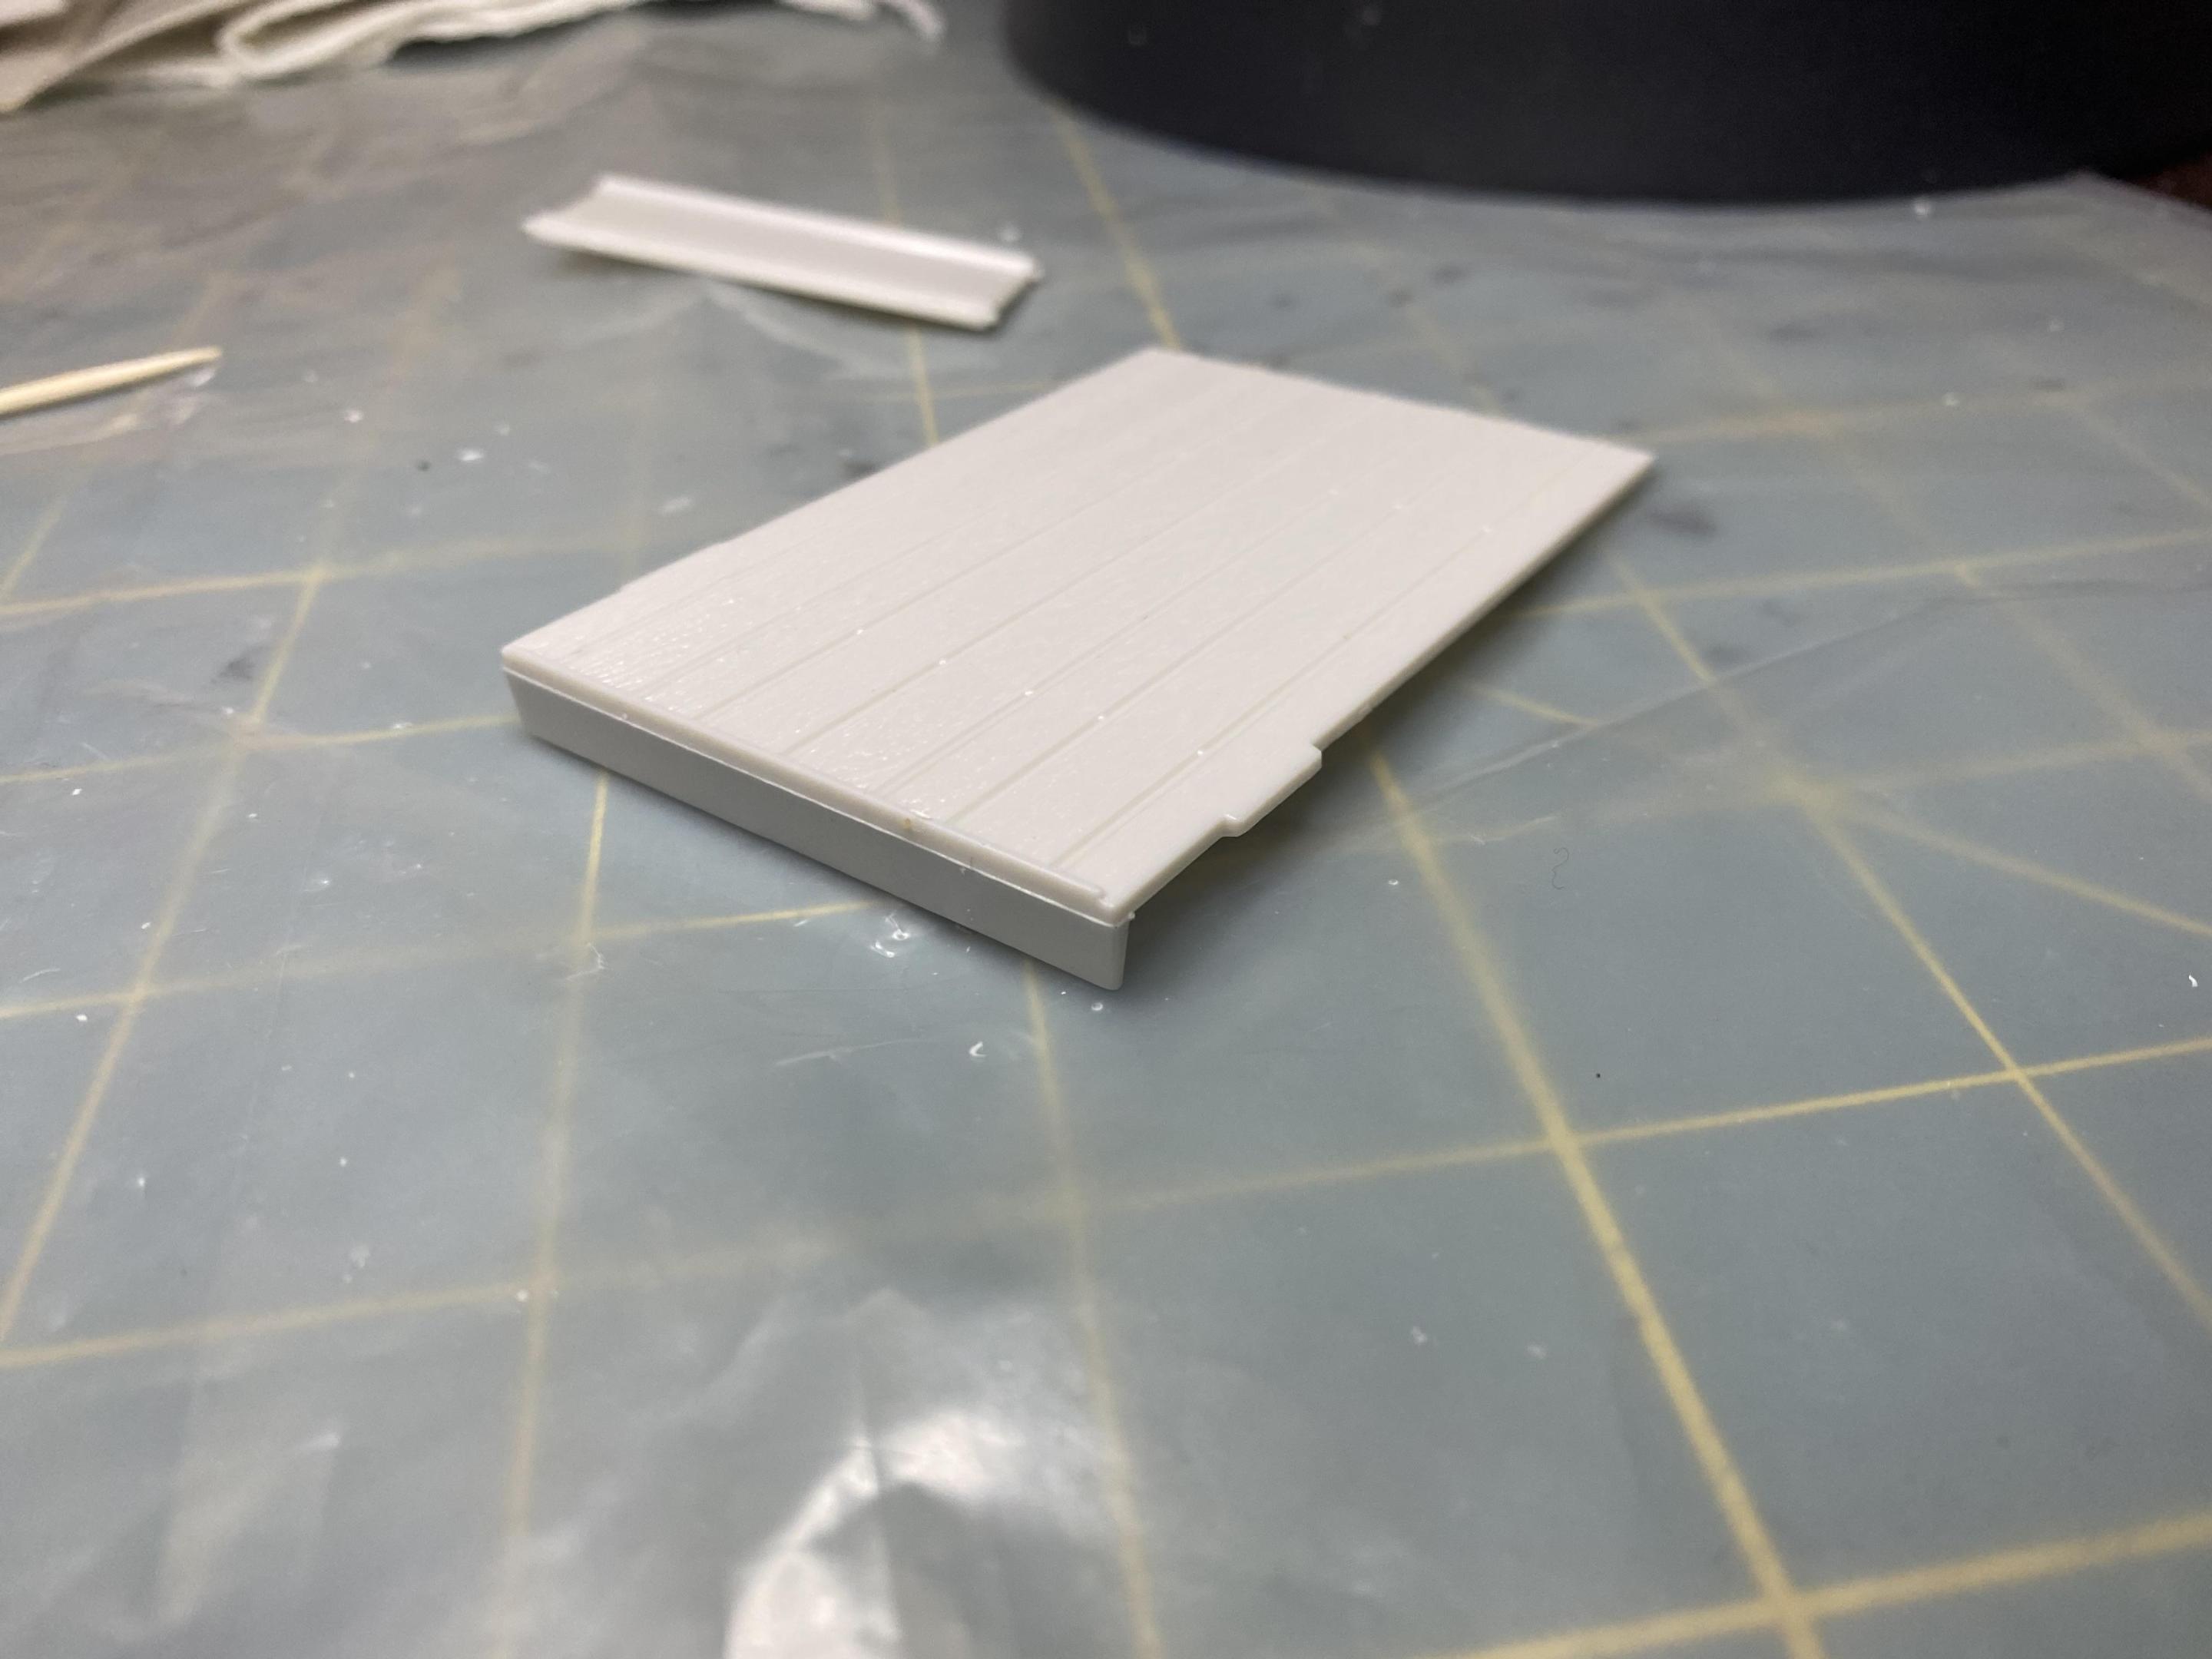
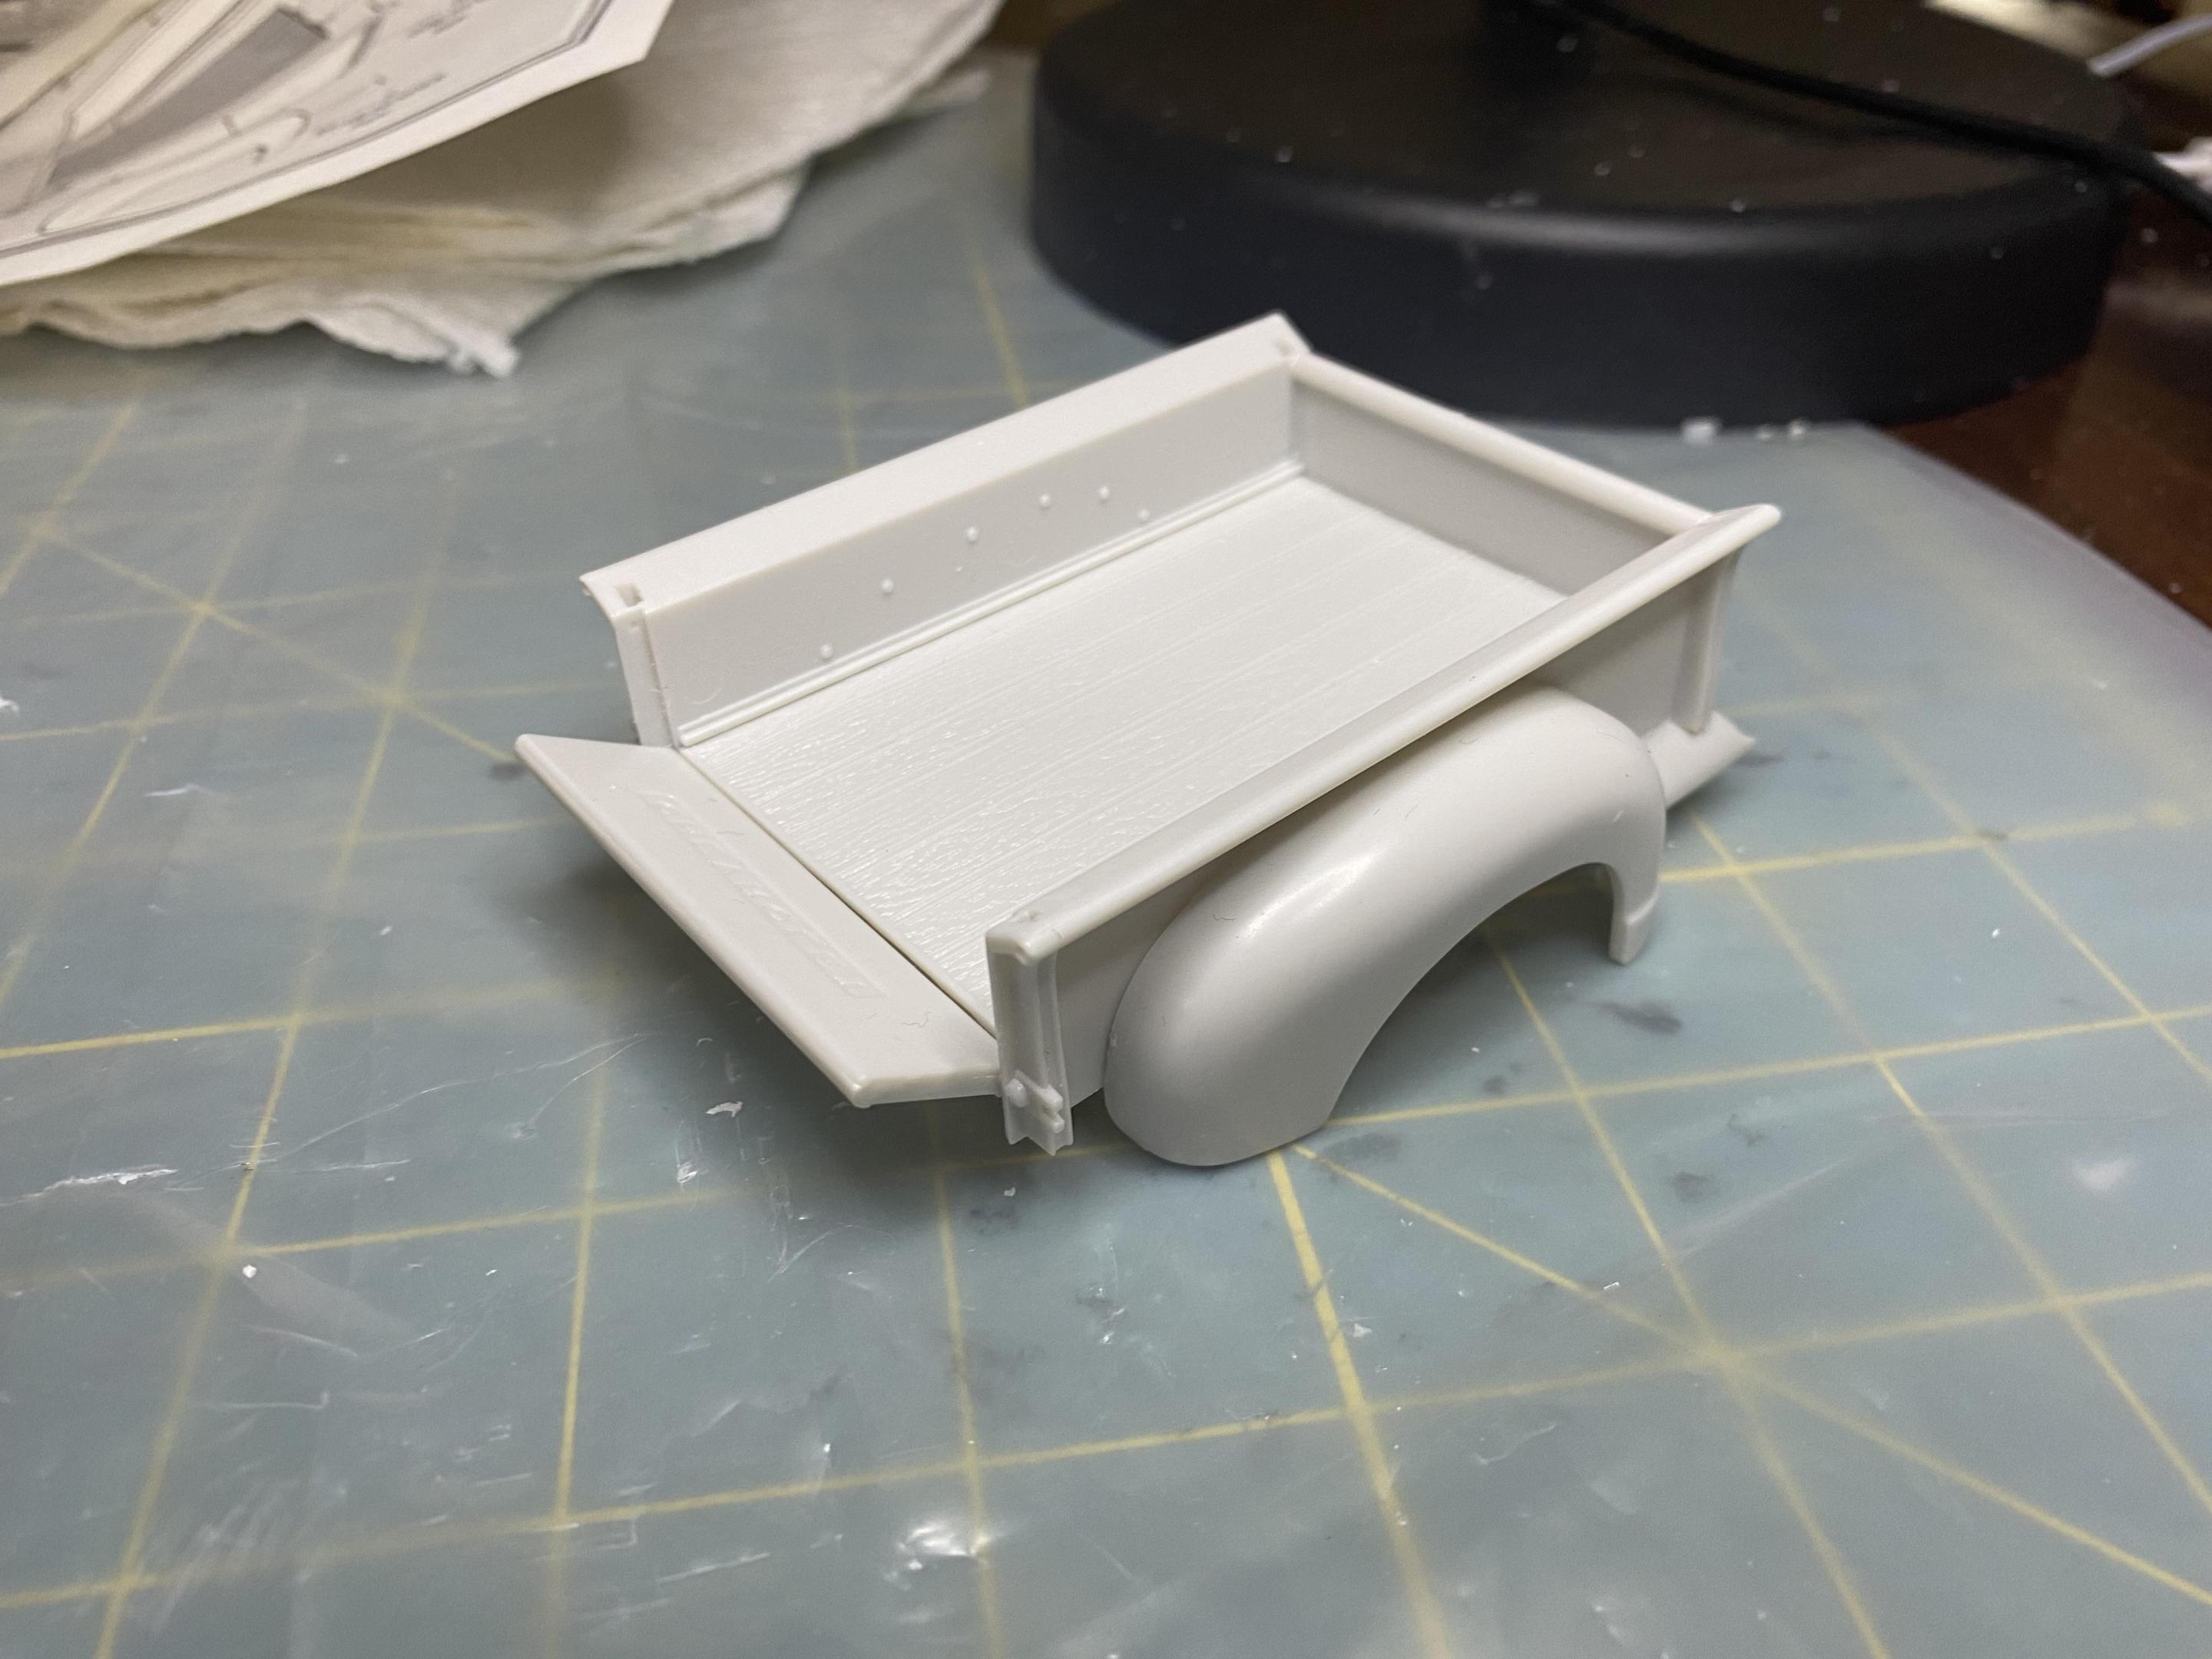
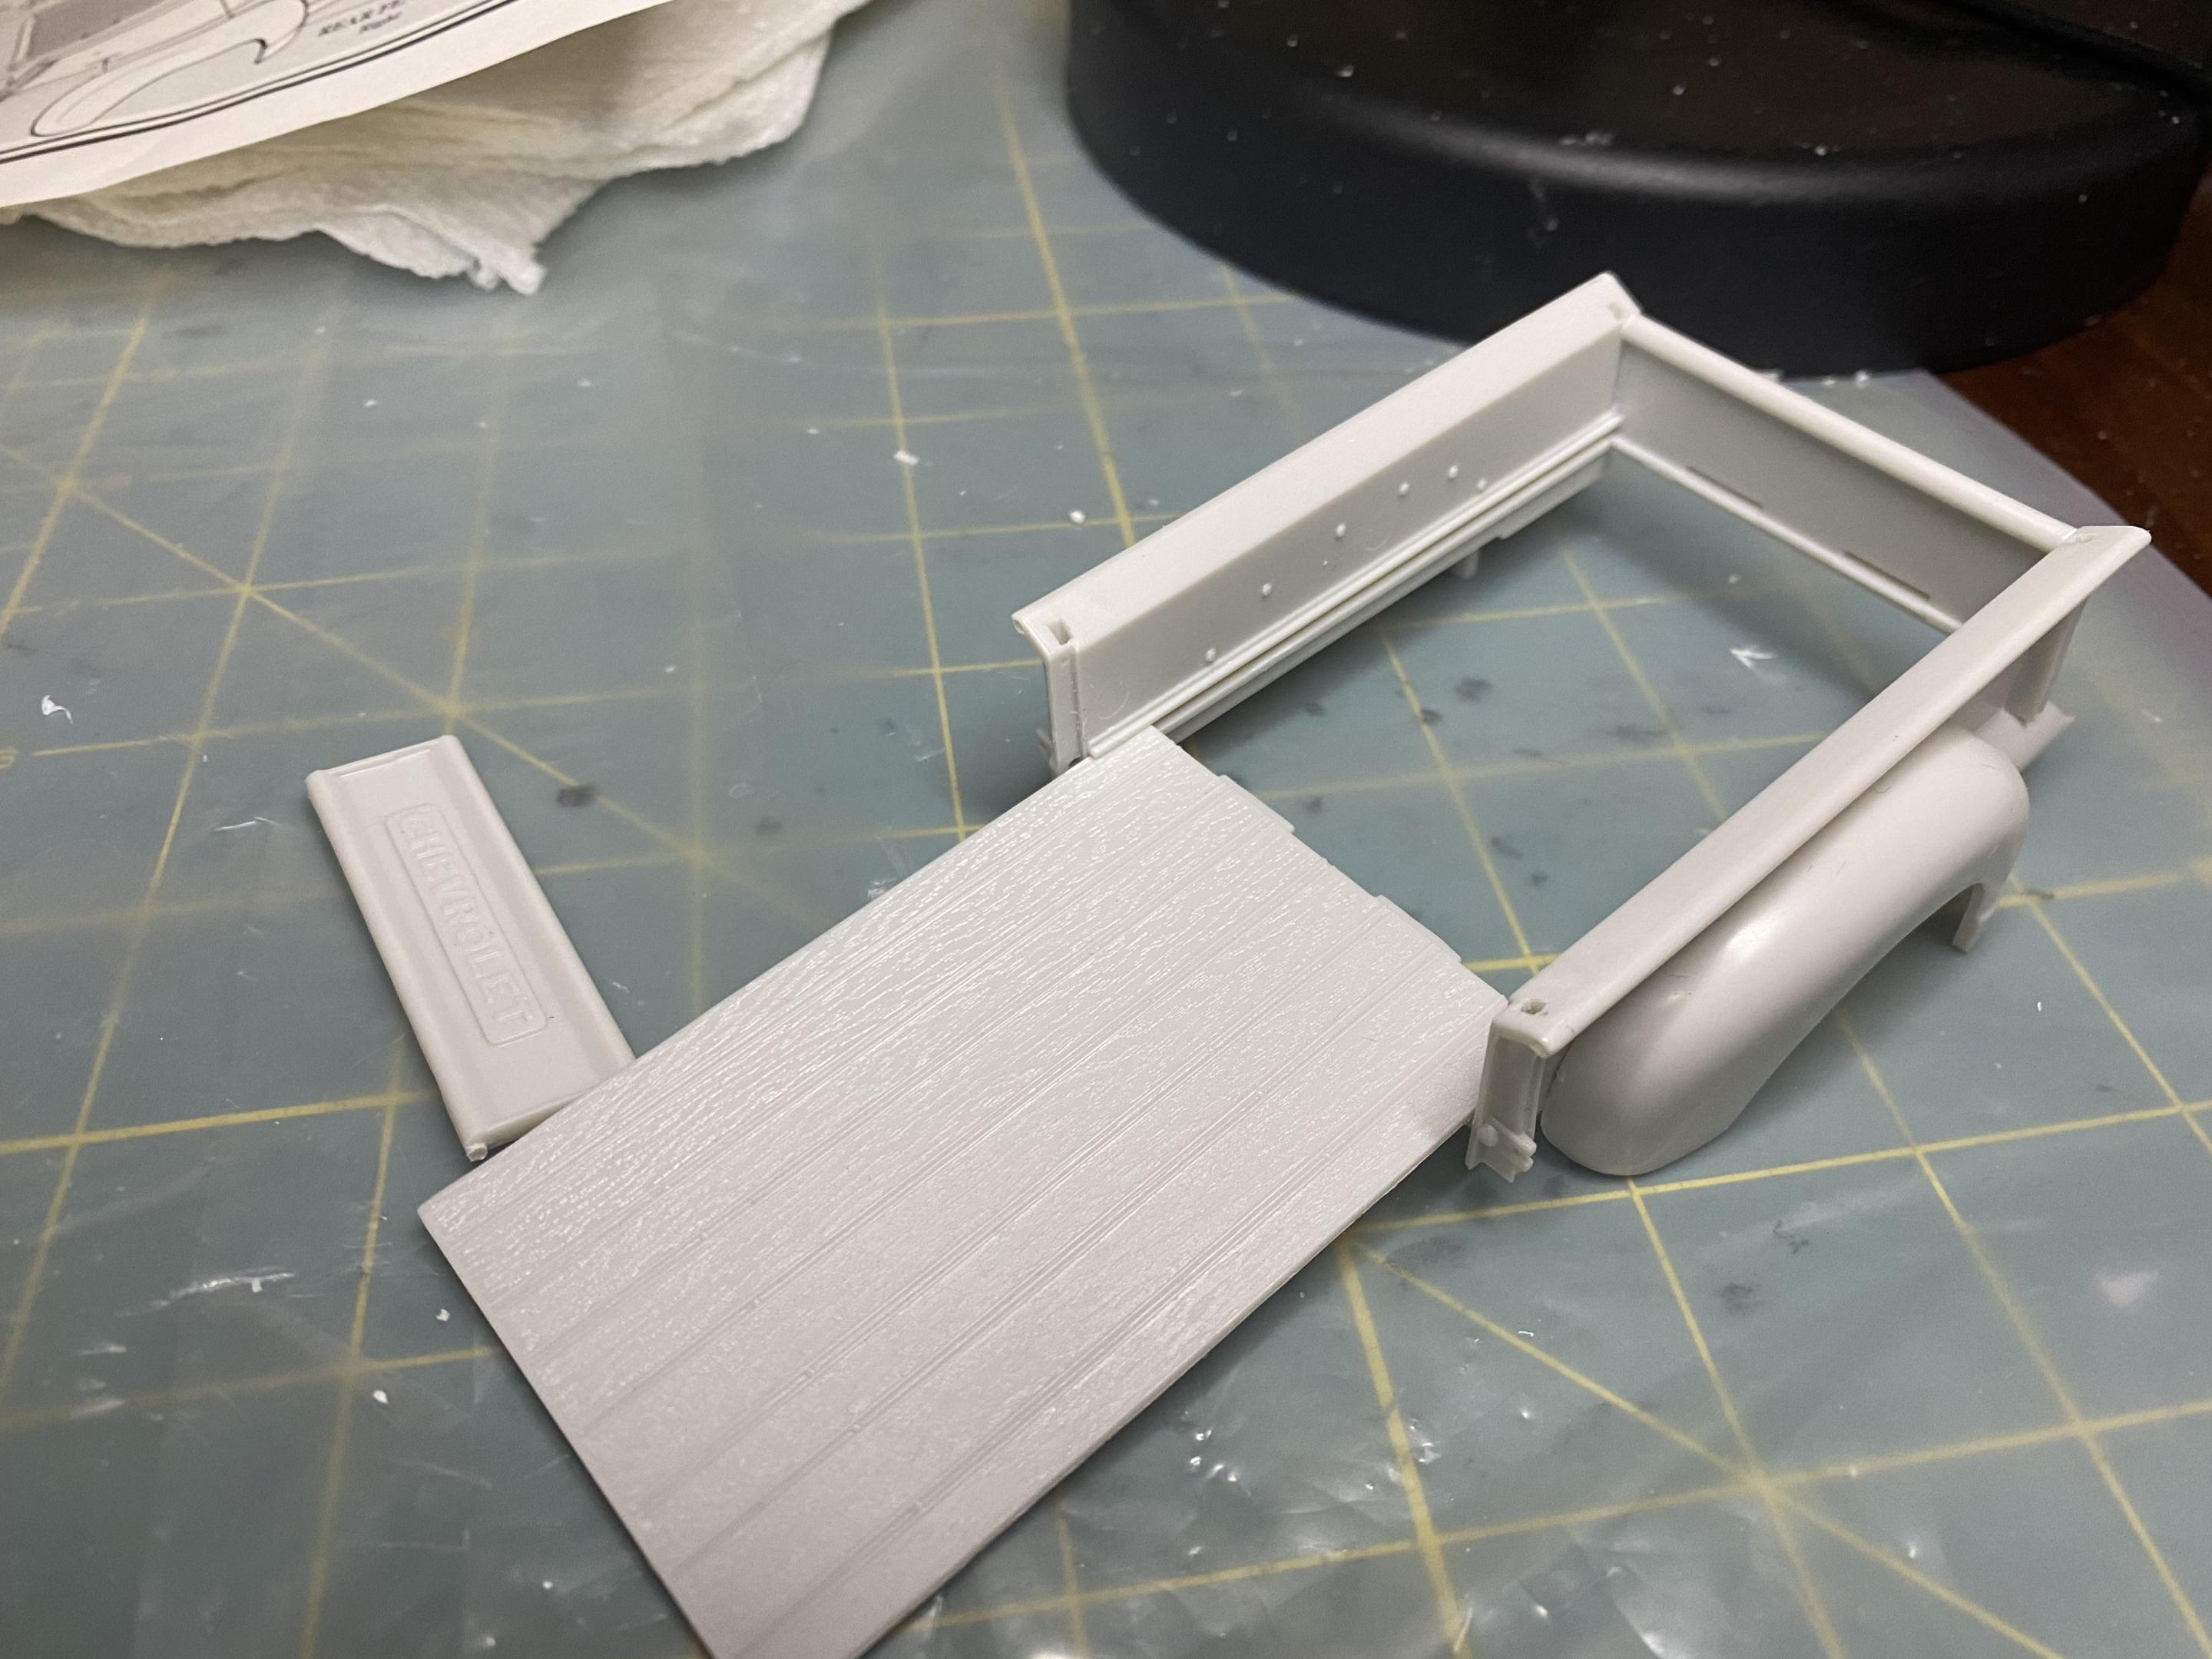
Conversion of a conversion, the Canopy Express is a rare vehicle to begin with. I started this April 1995. *Edit* I made it a 1948, simple to remove the door vent windows. For starters, anyone building the '50 Chevy pickup needs to know, the driveshaft should be assembled the other direction, the end at the differential is fixed, the instructions are incorrect. The other thing I've done so far, is correct the running boards, by shaving down the perimeter so the ribs stand proud, not recessed lines, that's a pet peeve of mine with this kit. Another pet peeve, is the firewall should be flush with the front of the cab, not recessed back, but that requires reworking the recess for the engine, so I have corrected that. Yet another pet peeve, is flat headlight reflectors, that has been corrected. Can't forget the door handles, they were shaved off, will make new ones, that will sag like the real thing. LOL The reason I put this away for so long, the interior needs a total scratch-build. The resin floor with wheel wells is completely incorrect. I am planning to not keep the wood floor boards, but make it like they put in diamond plate or a newer ribbed truck bed (will be last minute decision). I have turned the wheel well form, from Corian using the drill press. I'm now at the cardboard mockup stage, which will become part of the plastic form to vacuum-form the interior panels. I have the tailgate done, used eye glasses hinges, and interior panel is done. I'm now working on the driver seat, which I had previously cut down from the bench seat, but was incorrect. I am also making a new gas tank, based on the drawing in the repair manual that I kept from owning the real '48 5 window. Next steps are: bed sides with "rolled" edge, center taillight and also the other taillights, 4 on the floor gear shift, thinking about making a hood hinge with spring and latch, perhaps a roof rack that would be made of rebar, dings and dents with rust holes, will try some extreme weathering techniques. The final touch, what should the painting company name be (plan is to have spilled paint inside to use up paint)?
-
Hello, I have a 1968 Camaro modified with all the technology of the 2010 Camaro. The front & rear axle with all the suspensions were installed. Also the exhaust system is from the 2010 Camaro. The center section of the new model was integrated into the hood. The taillights I have made with 3D printing. The decals are self made.
-
Yesterday I used almost a whole can of flat black paint to do the interiors and frames on two of these builds. I just had to see how they looked sitting on wheels. Thank you for looking all comments welcomed.
-
Another Camaro project started. This time it's the convertible by Revell. Painted Tamiya TS-86 Pure Red. Here it is before the paint, mocked up with a set of AMT Firestone tires and Revell 69 Nova SS wheels. I finally figured out what is wrong with the Revell SS wheels, they are molded without the trim rings installed. A set of these from the AMT 69/70 Chevelle kit looks much better. They are the ones I'm using on the Revell 69 Chevelle. Thanks, all comments welcomed.
-
Started yesterday, I believe that anyone that builds Camaros needs to have a Hugger Orange 69 on their shelf. Here is mine. Painted with Testors Hugger Orange and wet look clear. I took off the Camaro emblems for a cleaner look. This will be built out of the box except for tires and wheels. In other words, the cross ram intake with headers and the barely there exhaust system. I'm using the non SS grille on this build as well. I have a simple black interior to go along with the orange body. I want to put the black stripes on this, I hope they cooperate. Thanks for looking and all comments welcomed.
-
Another MCW body I got back in December, I am combining this with the AMT 62 Bel Air frame and the six cylinder from the AMT 60 Chevy pickup.
-
I got this body from MCW resins and decided to combine it with a Revell 1966 Frame. The parts line up really well. Still working on tires/wheels.
-
I needed to get the 65 Impala for the engine for another project (home grown ZL1 69 Camaro). I got a Revell 69 Z/28 Camaro to build it and would have a left over 302. What to do? I'm taking the valve covers from the Revell 64 Impala and putting them on this 302, instant 327! The engine looks small in there. I have used the victor intake from a Moebius 64 Nova kit and almost have the engine built, but no pics. Here is how I'm building it. I've secured a set of Cragers from an AMT 65 El Camino kit and I need to find some tires.
-
Kit Review! AMT 1963 Chevrolet Impala SS Annual kit
RDean58 posted a topic in Car Kit News & Reviews
I recently acquired one of these for a really good price. After having a lot of the re-issues (prestige kit, the green kit one, and the latest) I was not sure what I would find. I have to tell you that the original issue of this kit blew me away on accuracy of body, engine detail, and chrome tree execution. Okay, the exhaust manifolds look more like small block ones than 409 exhausts but, it was a nicely designed kit with (except for the hideous {my opinion} custom treatment) was well executed. It's too bad Round two could not bring back all the original pieces for this kit. Thanks for looking, enjoy! More box pics and contents here! -
Hello again everyone! I hope you all had a great Thanksgiving. The trip to Baltimore from South Dakota went great, very little rain, no snow sleet or ice! Visiting the grand kids was cool. Now, on with the business at hand, the AMT 63 Impala convertible had been soaking in purple power for ten days. I took it out and a lot of the original blue did come off, but I shot it with some easy off oven cleaner and let it soak for a couple of hours. Then I scrubbed it with a brush and here are the final results. While on vacation I kept tabs on that auction site and managed to pick up some 63 Impala original parts. Mostly all there except for the engine and body, but it also has a set of tires, hubcaps, fresh frame, and an unpainted interior. The spare parts came with original front and rear bumpers and the original box too. And the up top, which is just sitting on there right now. A little tire burn on the side, but that should be fixable. Here is how it looked when I got it. I'm not sure if I am going to use the injected engine or go with a stock one. Thanks for looking, it's nice to be back! All comments welcomed.
-
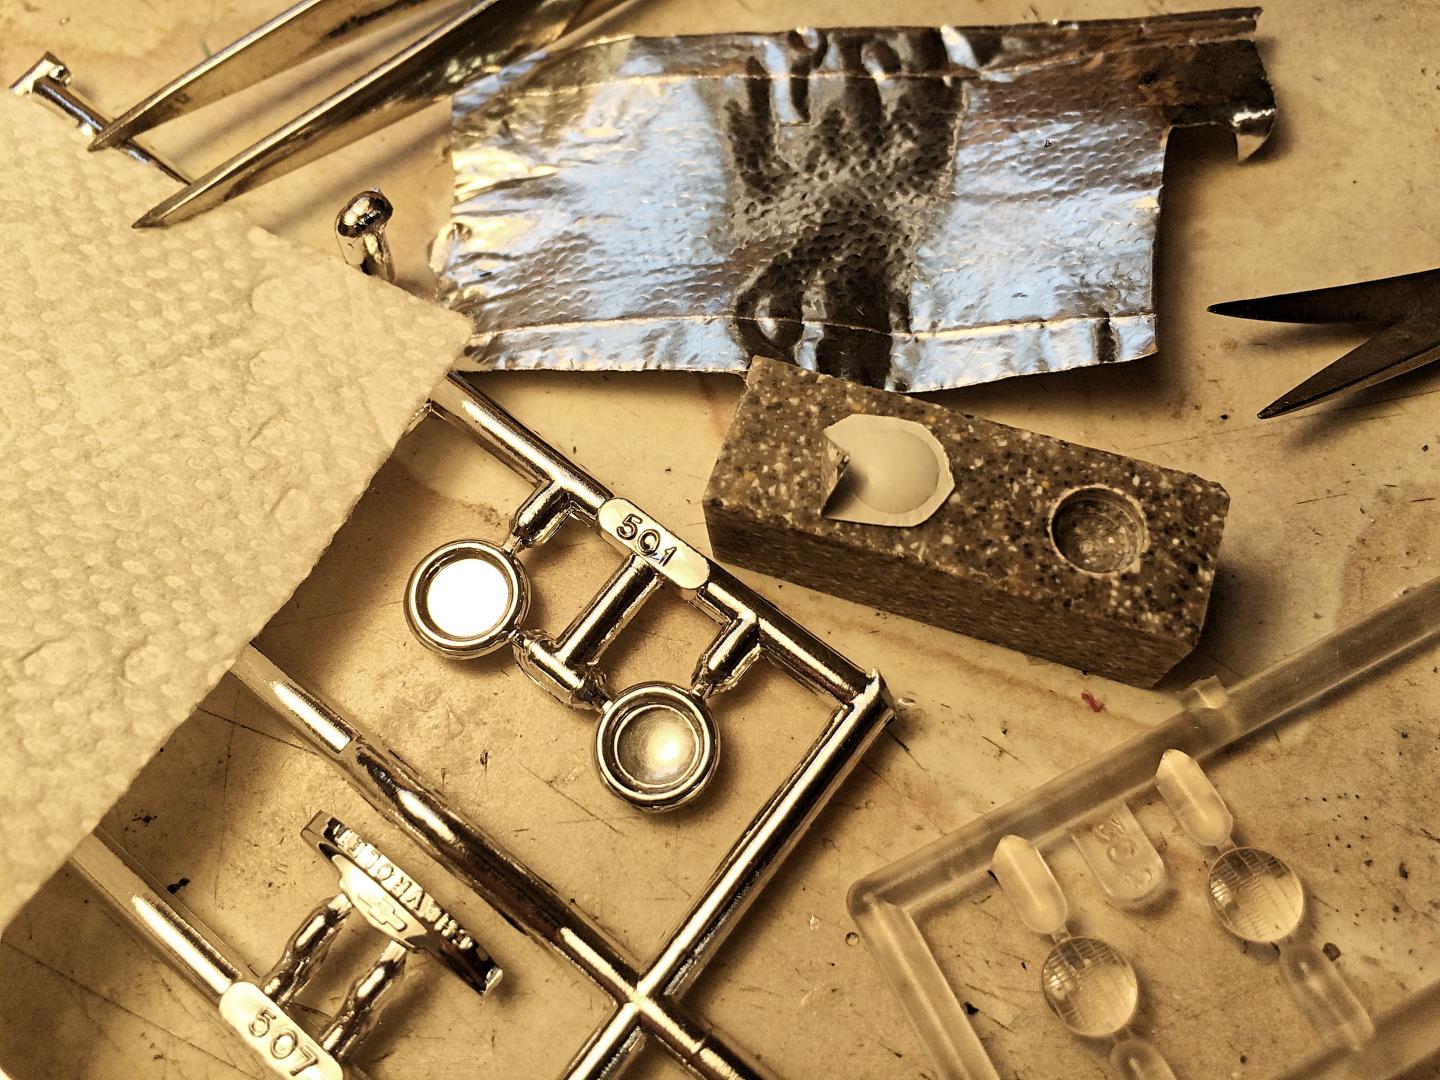
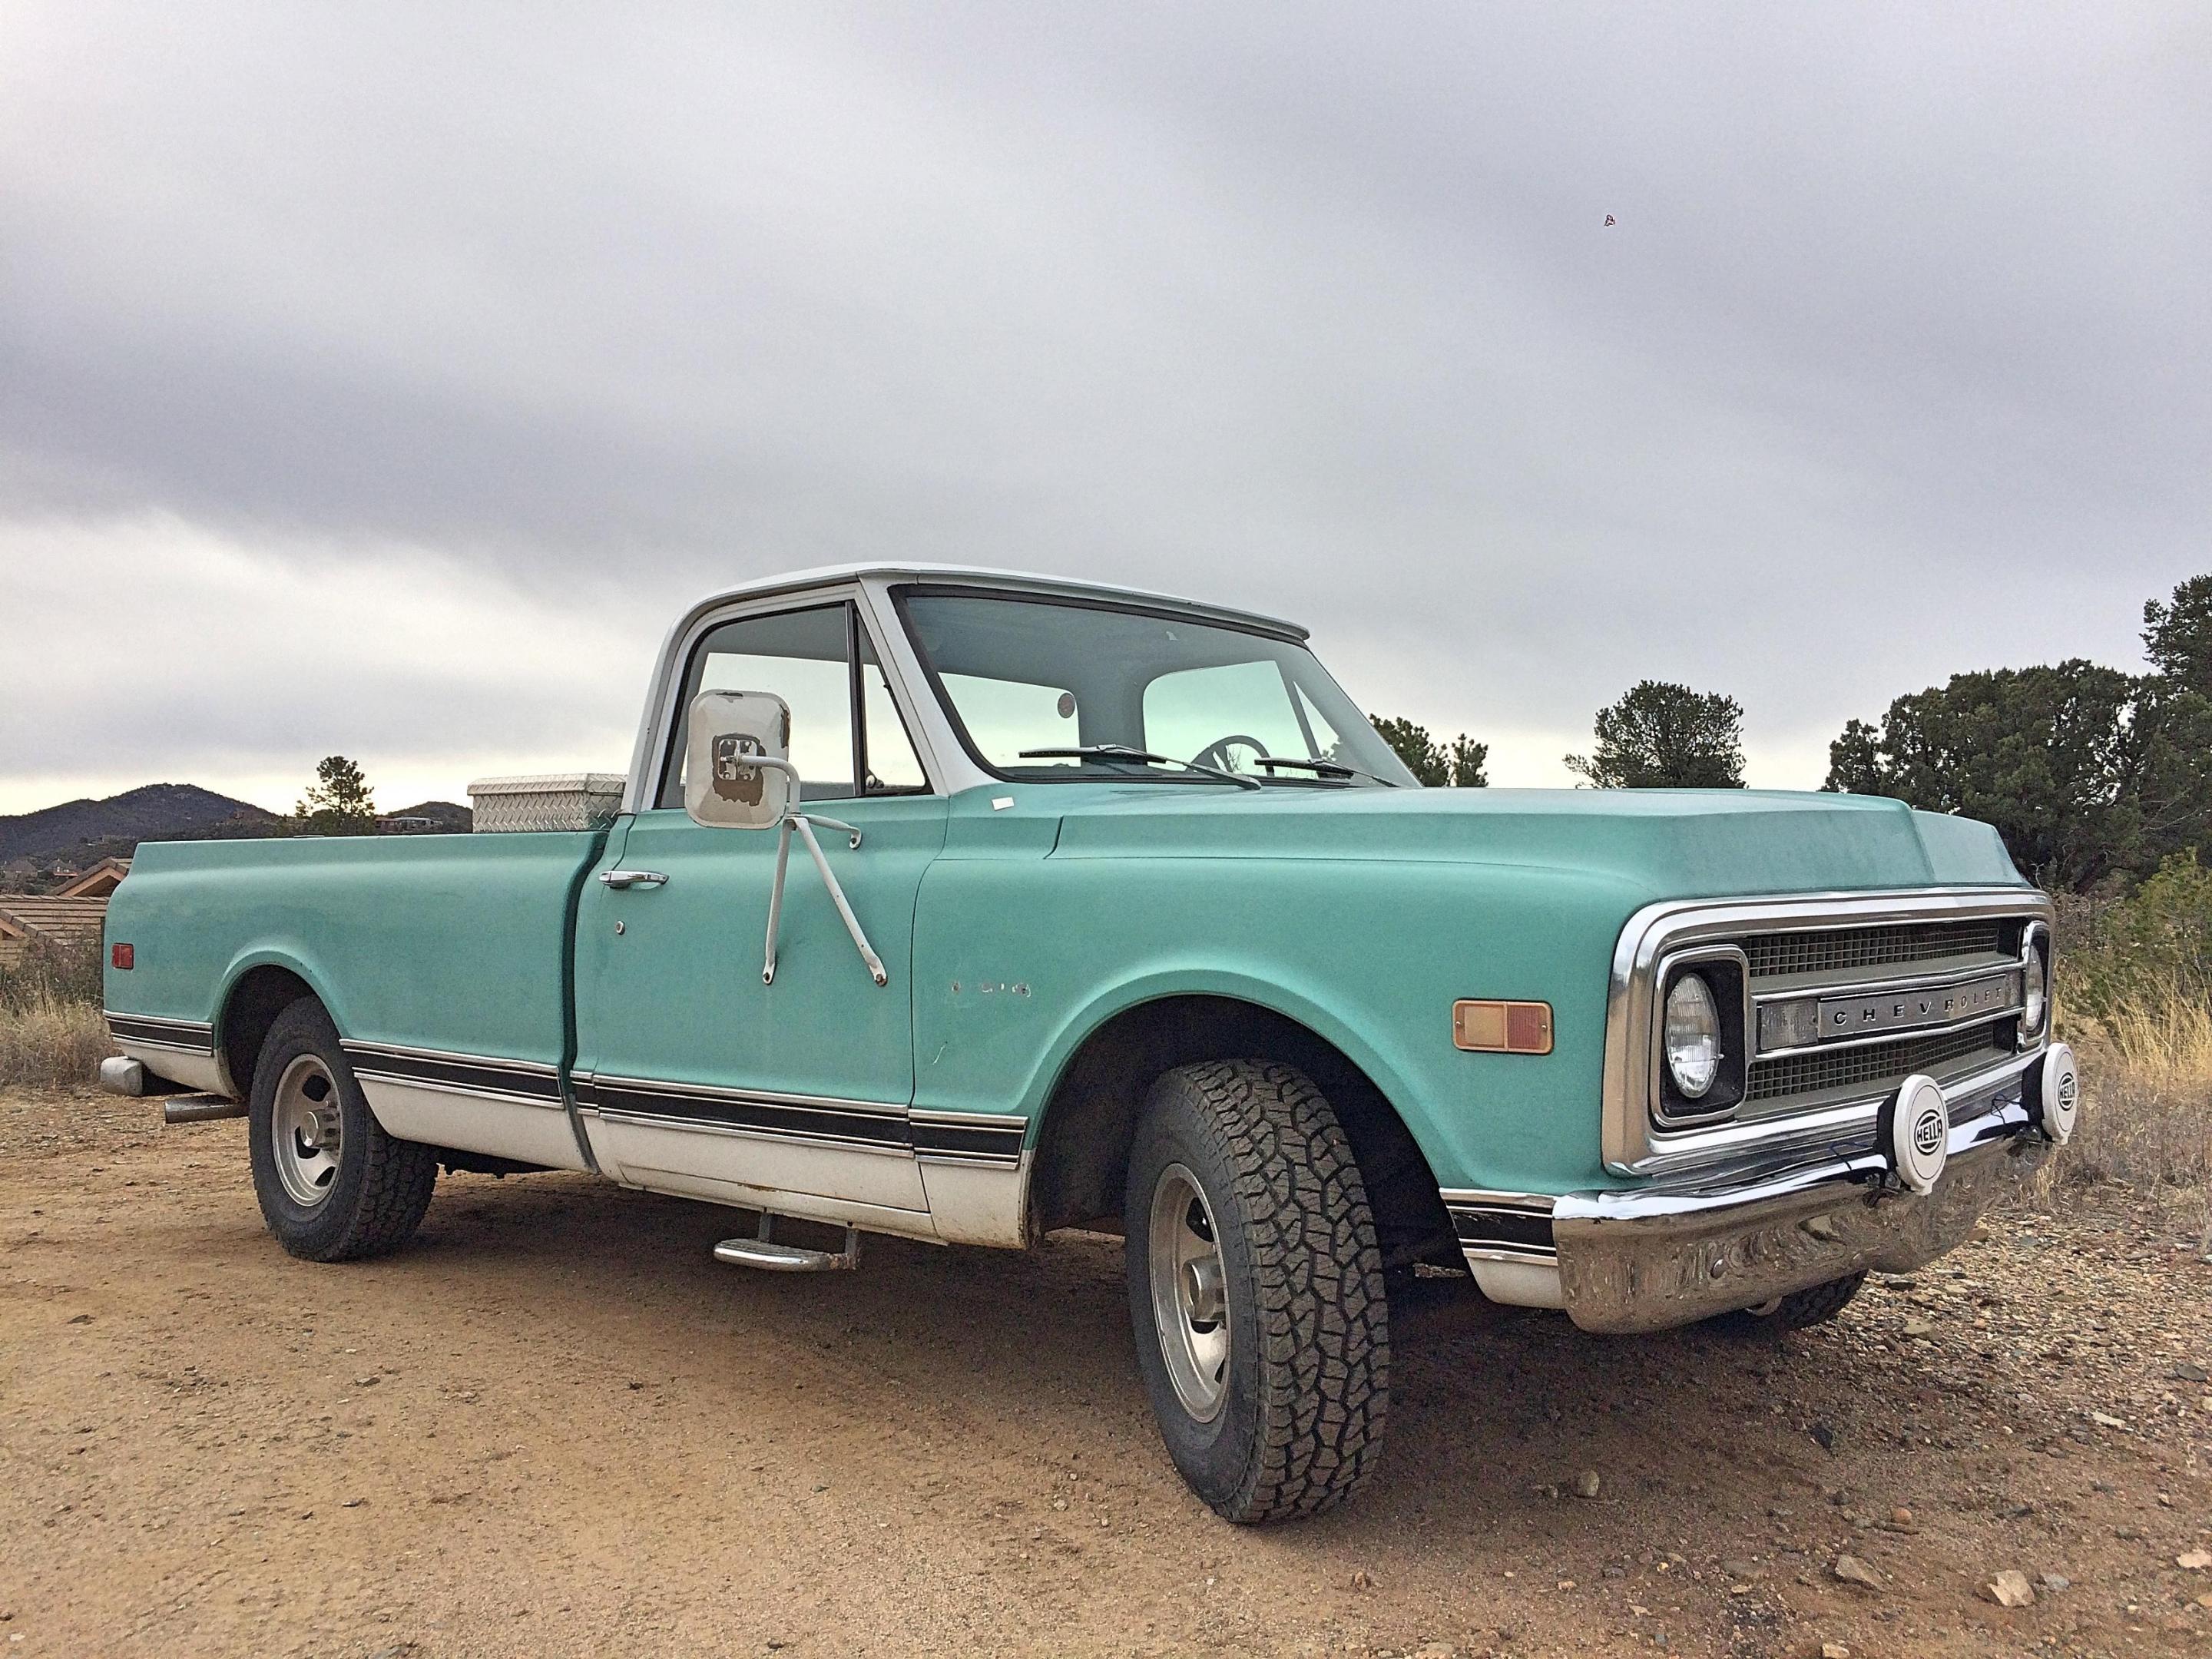
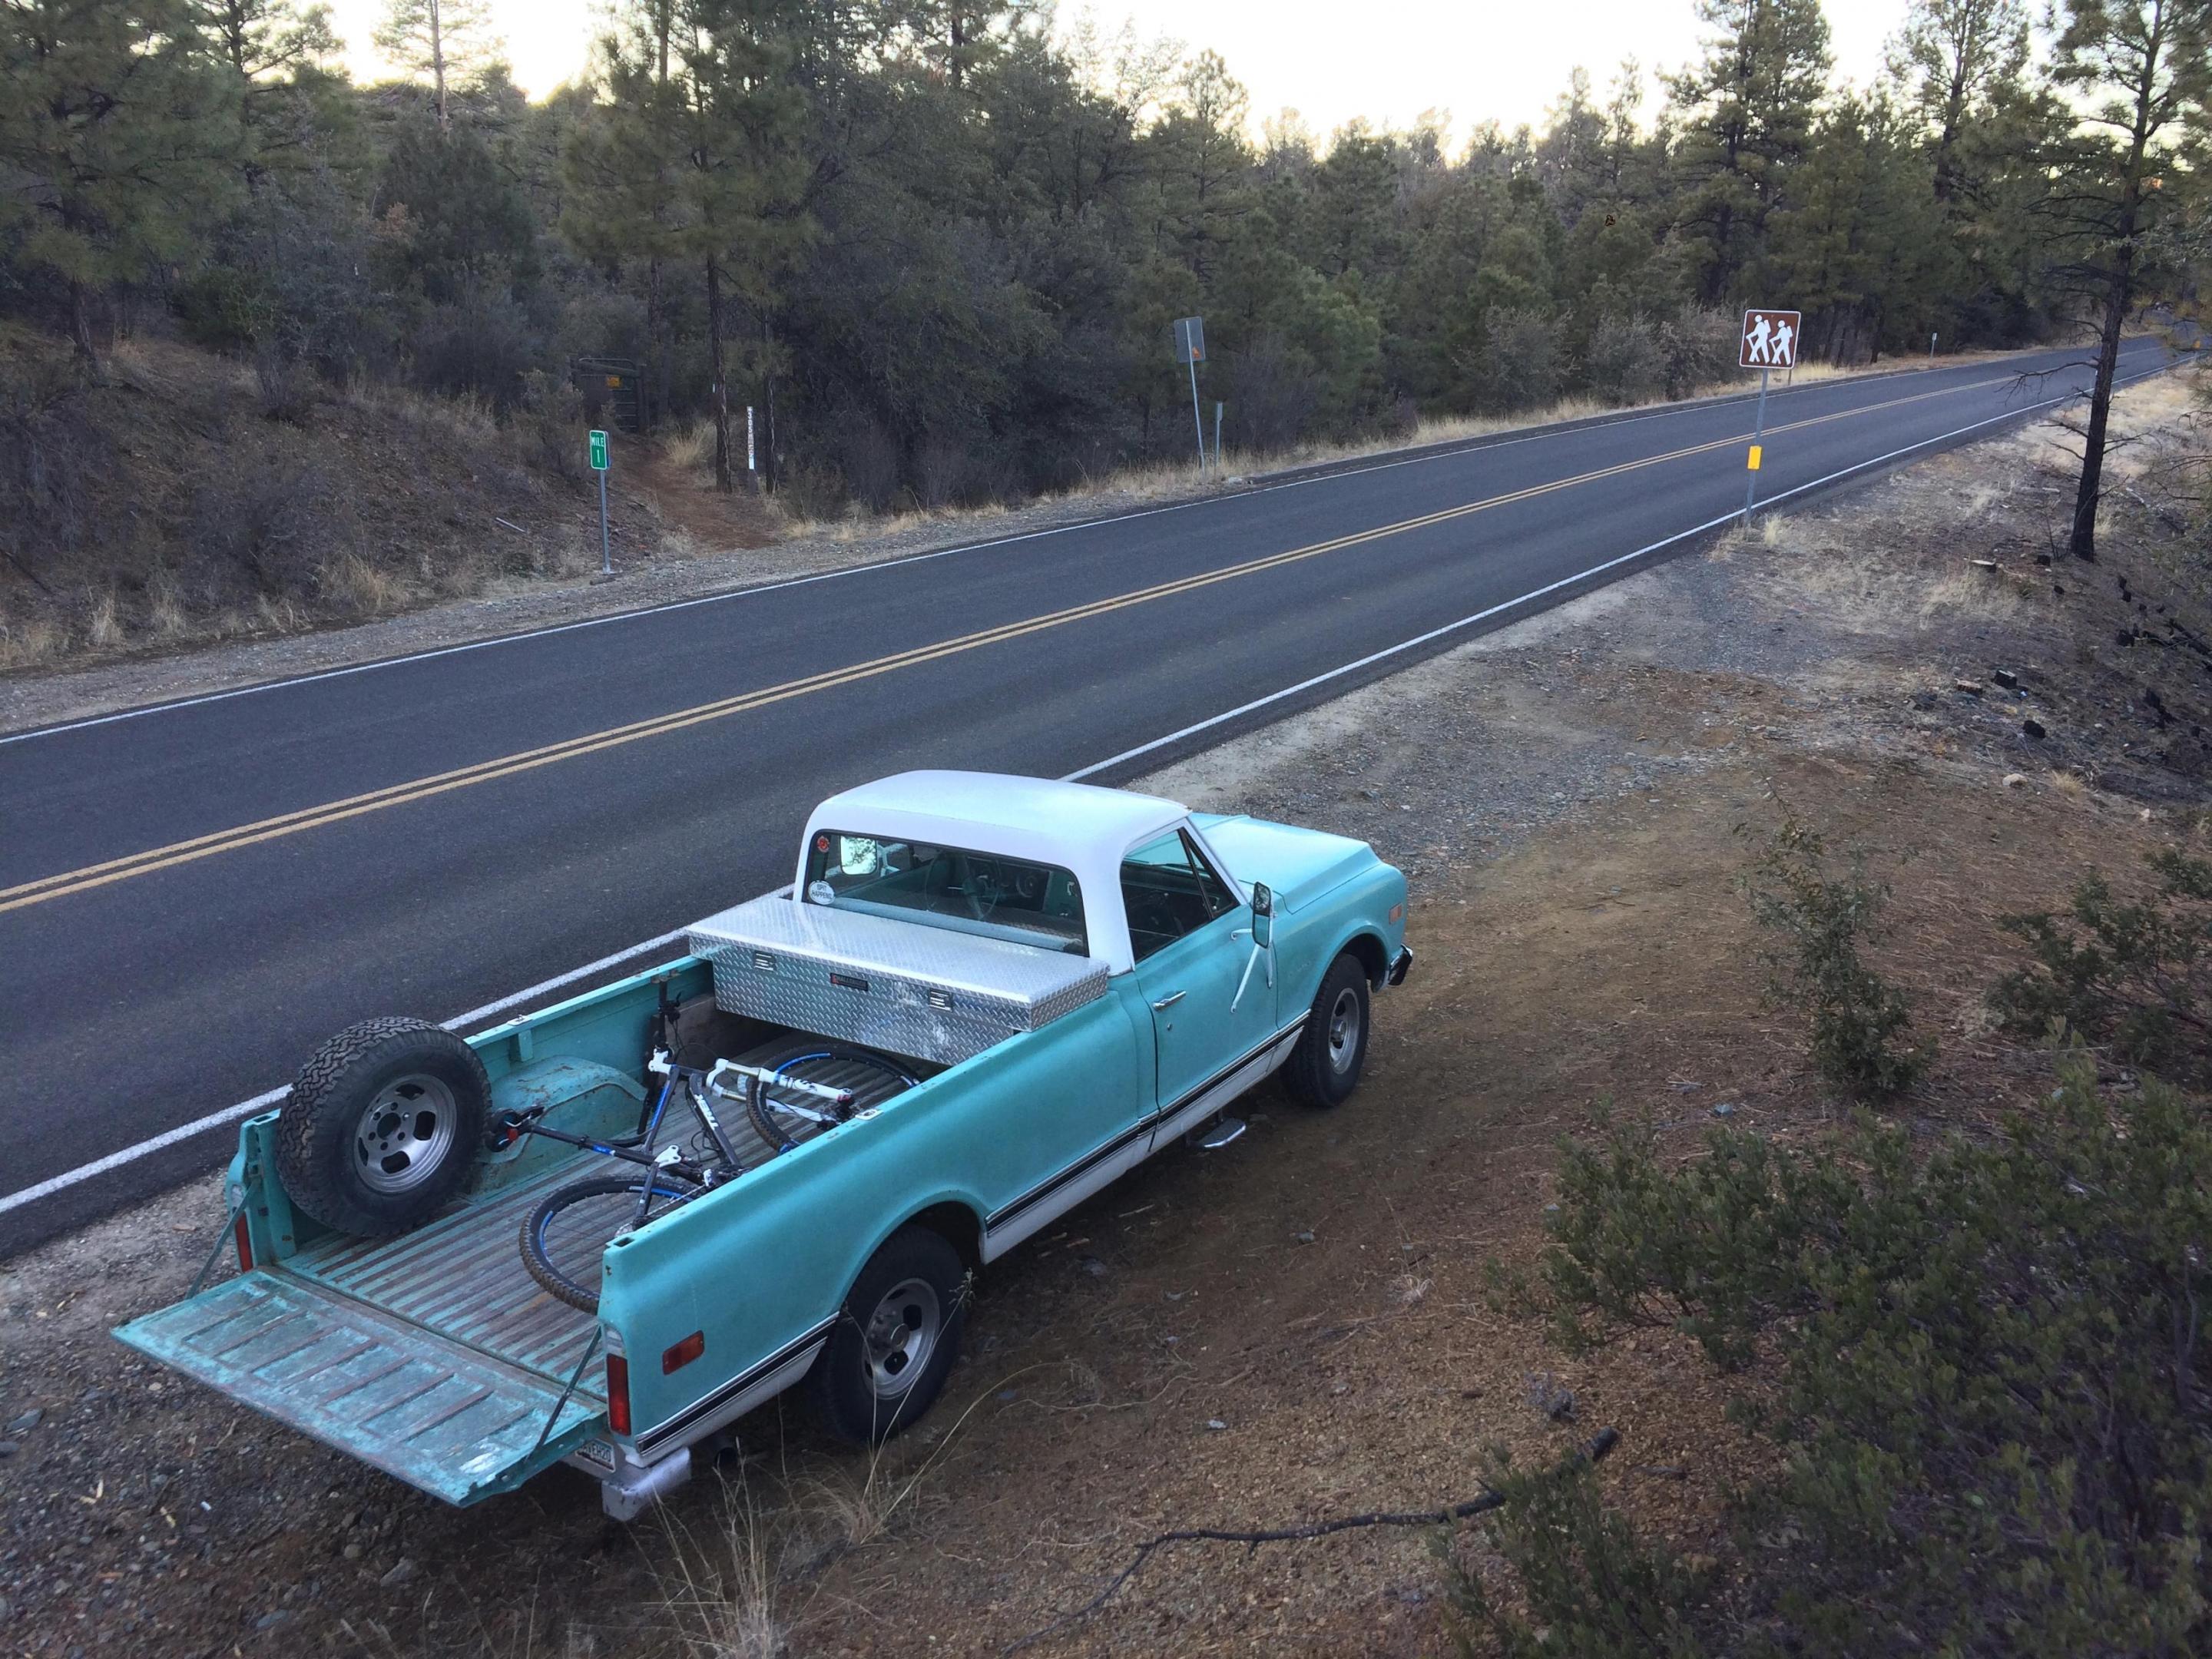
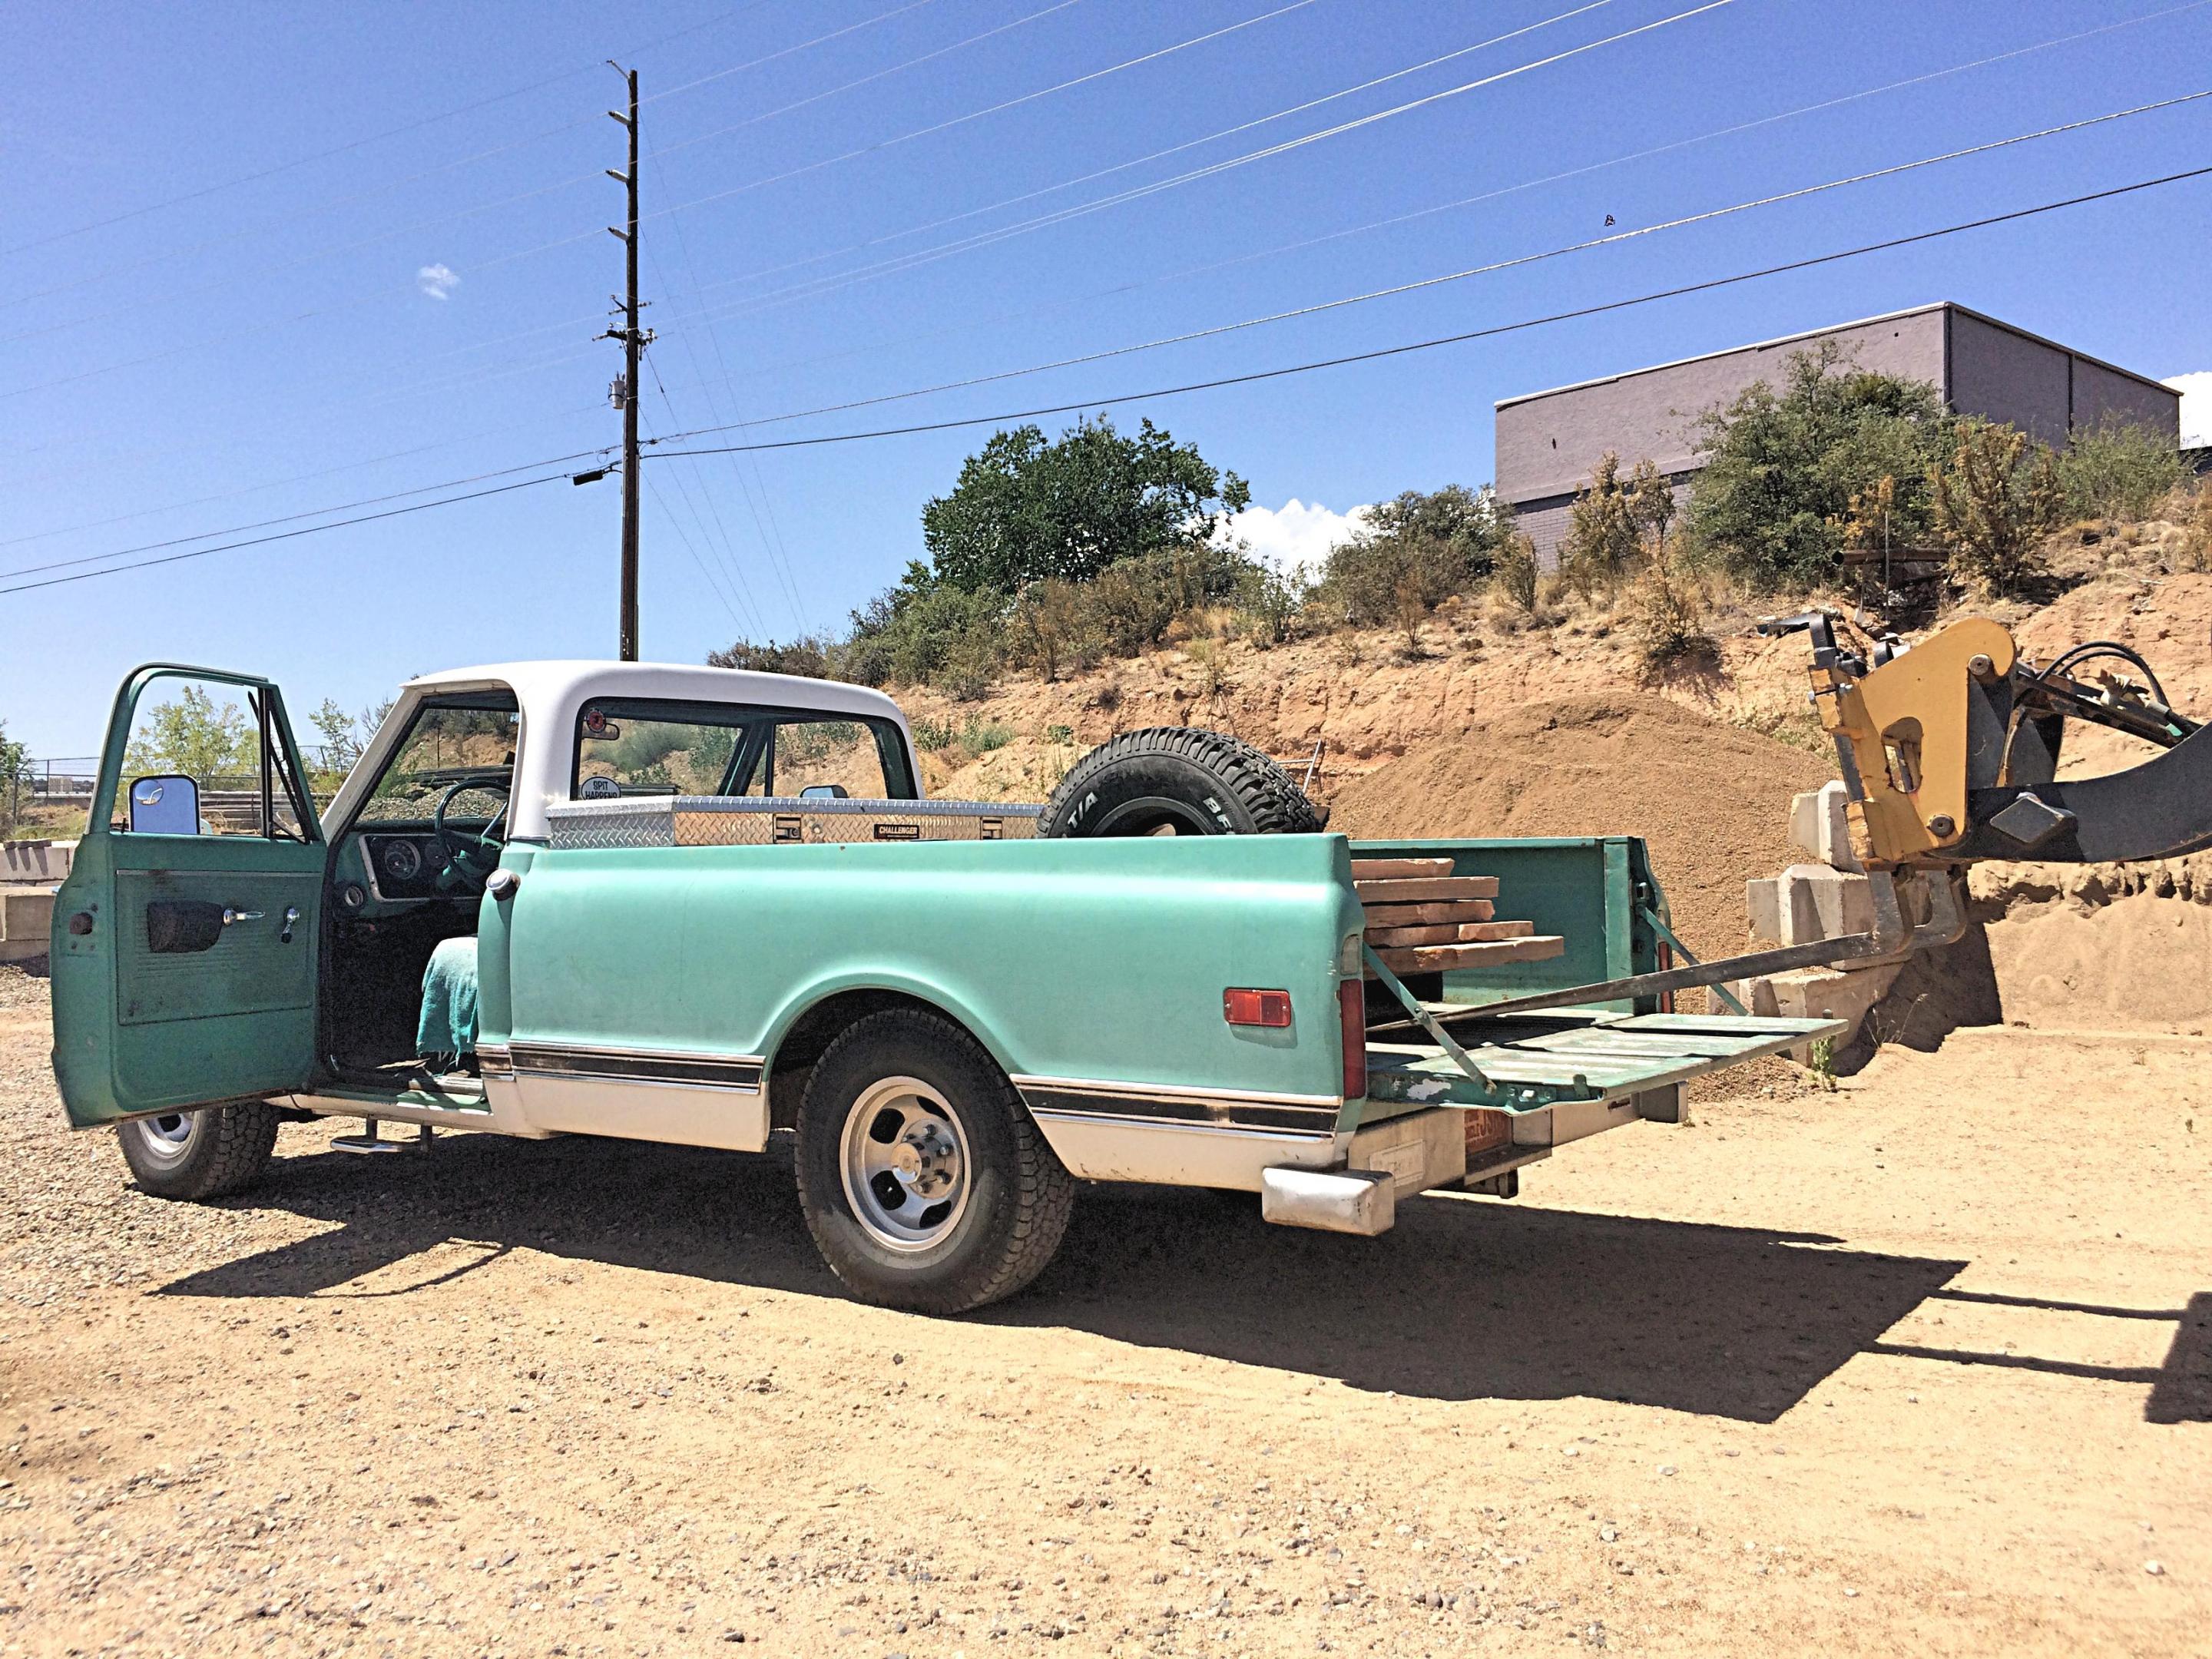
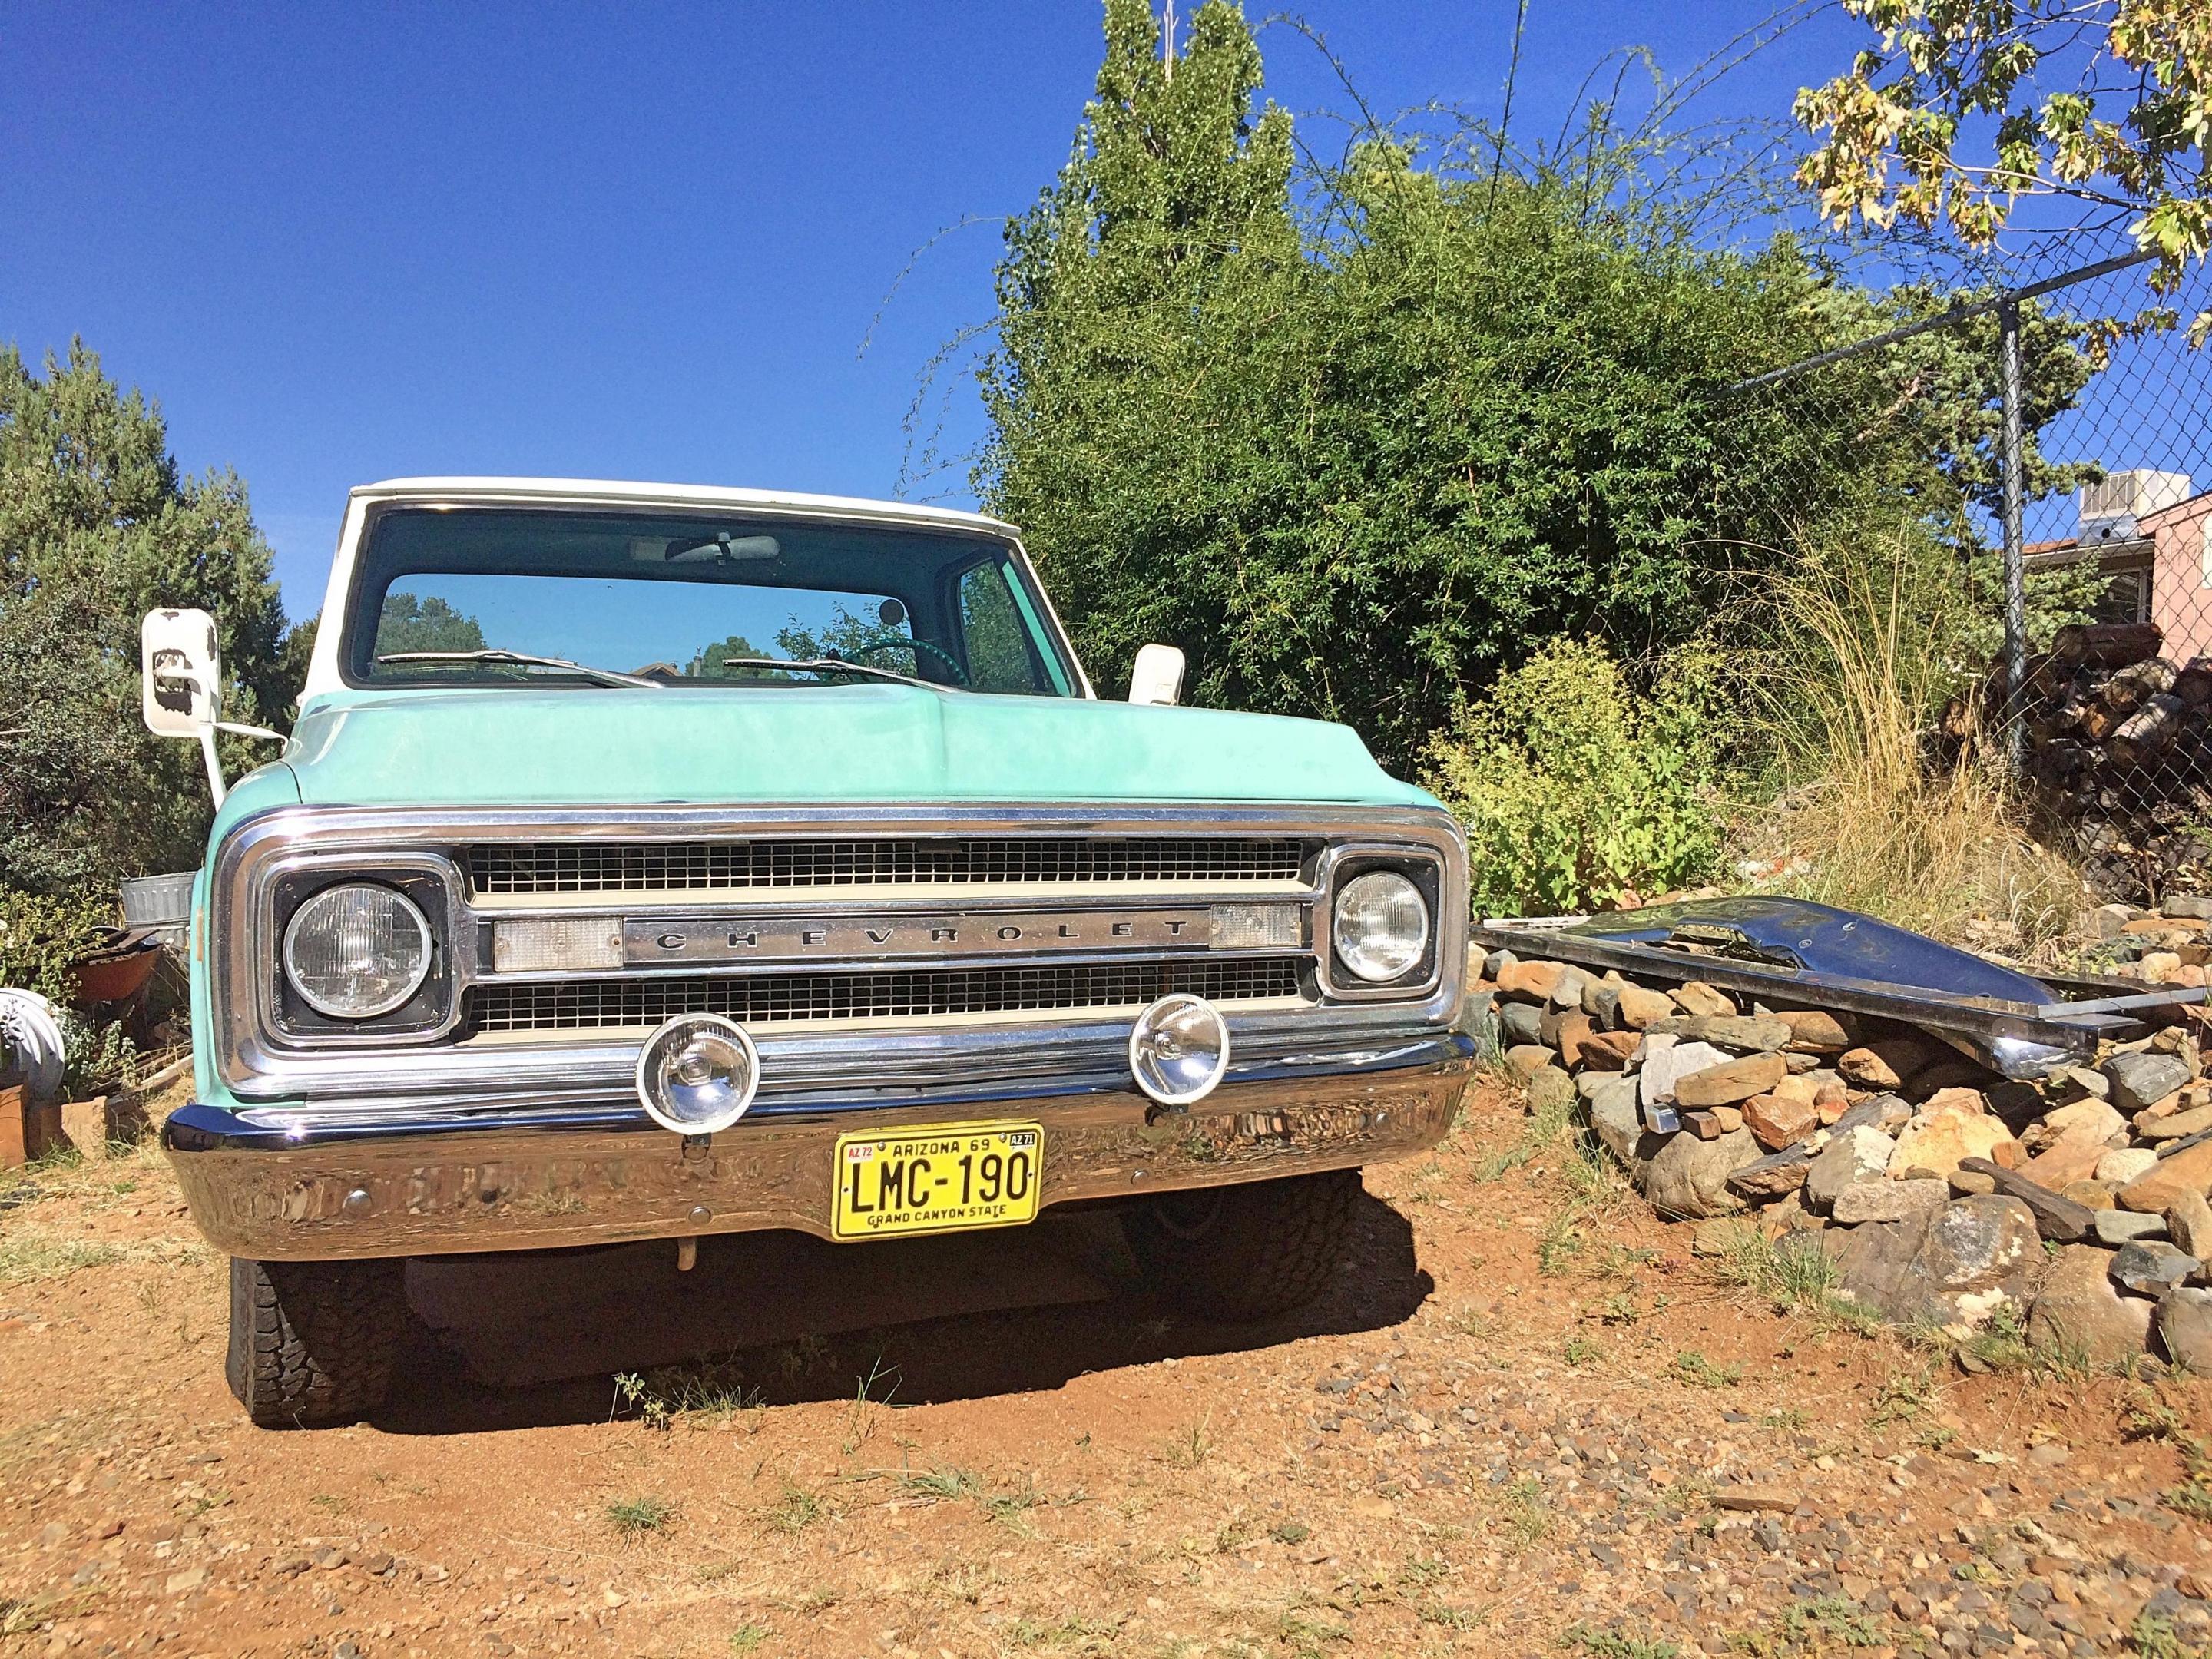
I owned this 1969 Chevrolet C-10, got from a friend who needed the money, died last year, nephew bought it because it was sold new in Safford (still had the service plate with the manual) to a relative. It grew on me, found out why they are very coveted, much like the model kits! ? I nicknamed it The Green Barge because a friend owned a nice motorcycle named The Green Monster. Currently own a 1968 C-10, so can use for reference (which is the same blue this model was painted). Going to build for a future diorama idea, so not going to scratch-build an accurate chassis, but will grind off the left exhaust to replicate this truck (I wanted to put on twice pipes). Bought off Facebook Marketplace, it was built half decent, seller had stripped the body, I'm stripping and rebuilding the rest. The plan is to improve some things, and modify to resemble the trim specifications. The interior is going to be a major scratch-build: cut out the bucket seats and make a bench seat from Corian, dash will get gauges behind 'glass' (minus little auxiliary ones), add shift lever and turn signal, pedals, door panels were steel with simple arm rest. Exterior will have the upper trim removed, the raised wood grain needs to be removed from the lower trim, tailgate will be a major change, drill stakebed holes, modify the front bumper, sidelights need to be basic, and fix the horrible taillights. Scratch-build: the license plates, rear bumper, mirrors, toolbox, steps, driving lights (which came off my MINI). Aftermarket details: gauge faces, slotted mags, and the big deal item is the '69 grill! I took reference pictures with the tape measure in the picture when I sold it, will post them as I get to those parts. Start off with these photos to give an idea. Hauling flagstone: Hauling mountain bike: Replaced the perfectly bumper that I snagged on the fence post: Day that I said goodbye: Most of the parts, instructions with notes: The rest of the parts: Cleaning up parts of mold lines, and starting assembly. Puttying the massive ejection pin marks. Going to order Splash paint per paint chart, 503. The original owner had it repainted, including the interior! When I replaced the left headlight, discovered why. ?
-
-
- icon
- thriftmaster
-
(and 2 more)
Tagged with:
-
My hometown of Oskaloosa Iowa had an amazing 1/2 mile dirt track, with Eldon Iowa, about 40 miles to the southeast, also having a very good 1/2 mile dirt oval. Both ran stock cars; Oskaloosa on Wednesday nights, and Eldon on Saturday nights. What I'm picturing here is a representative of what could be found on those tracks back in the 1970s.
-
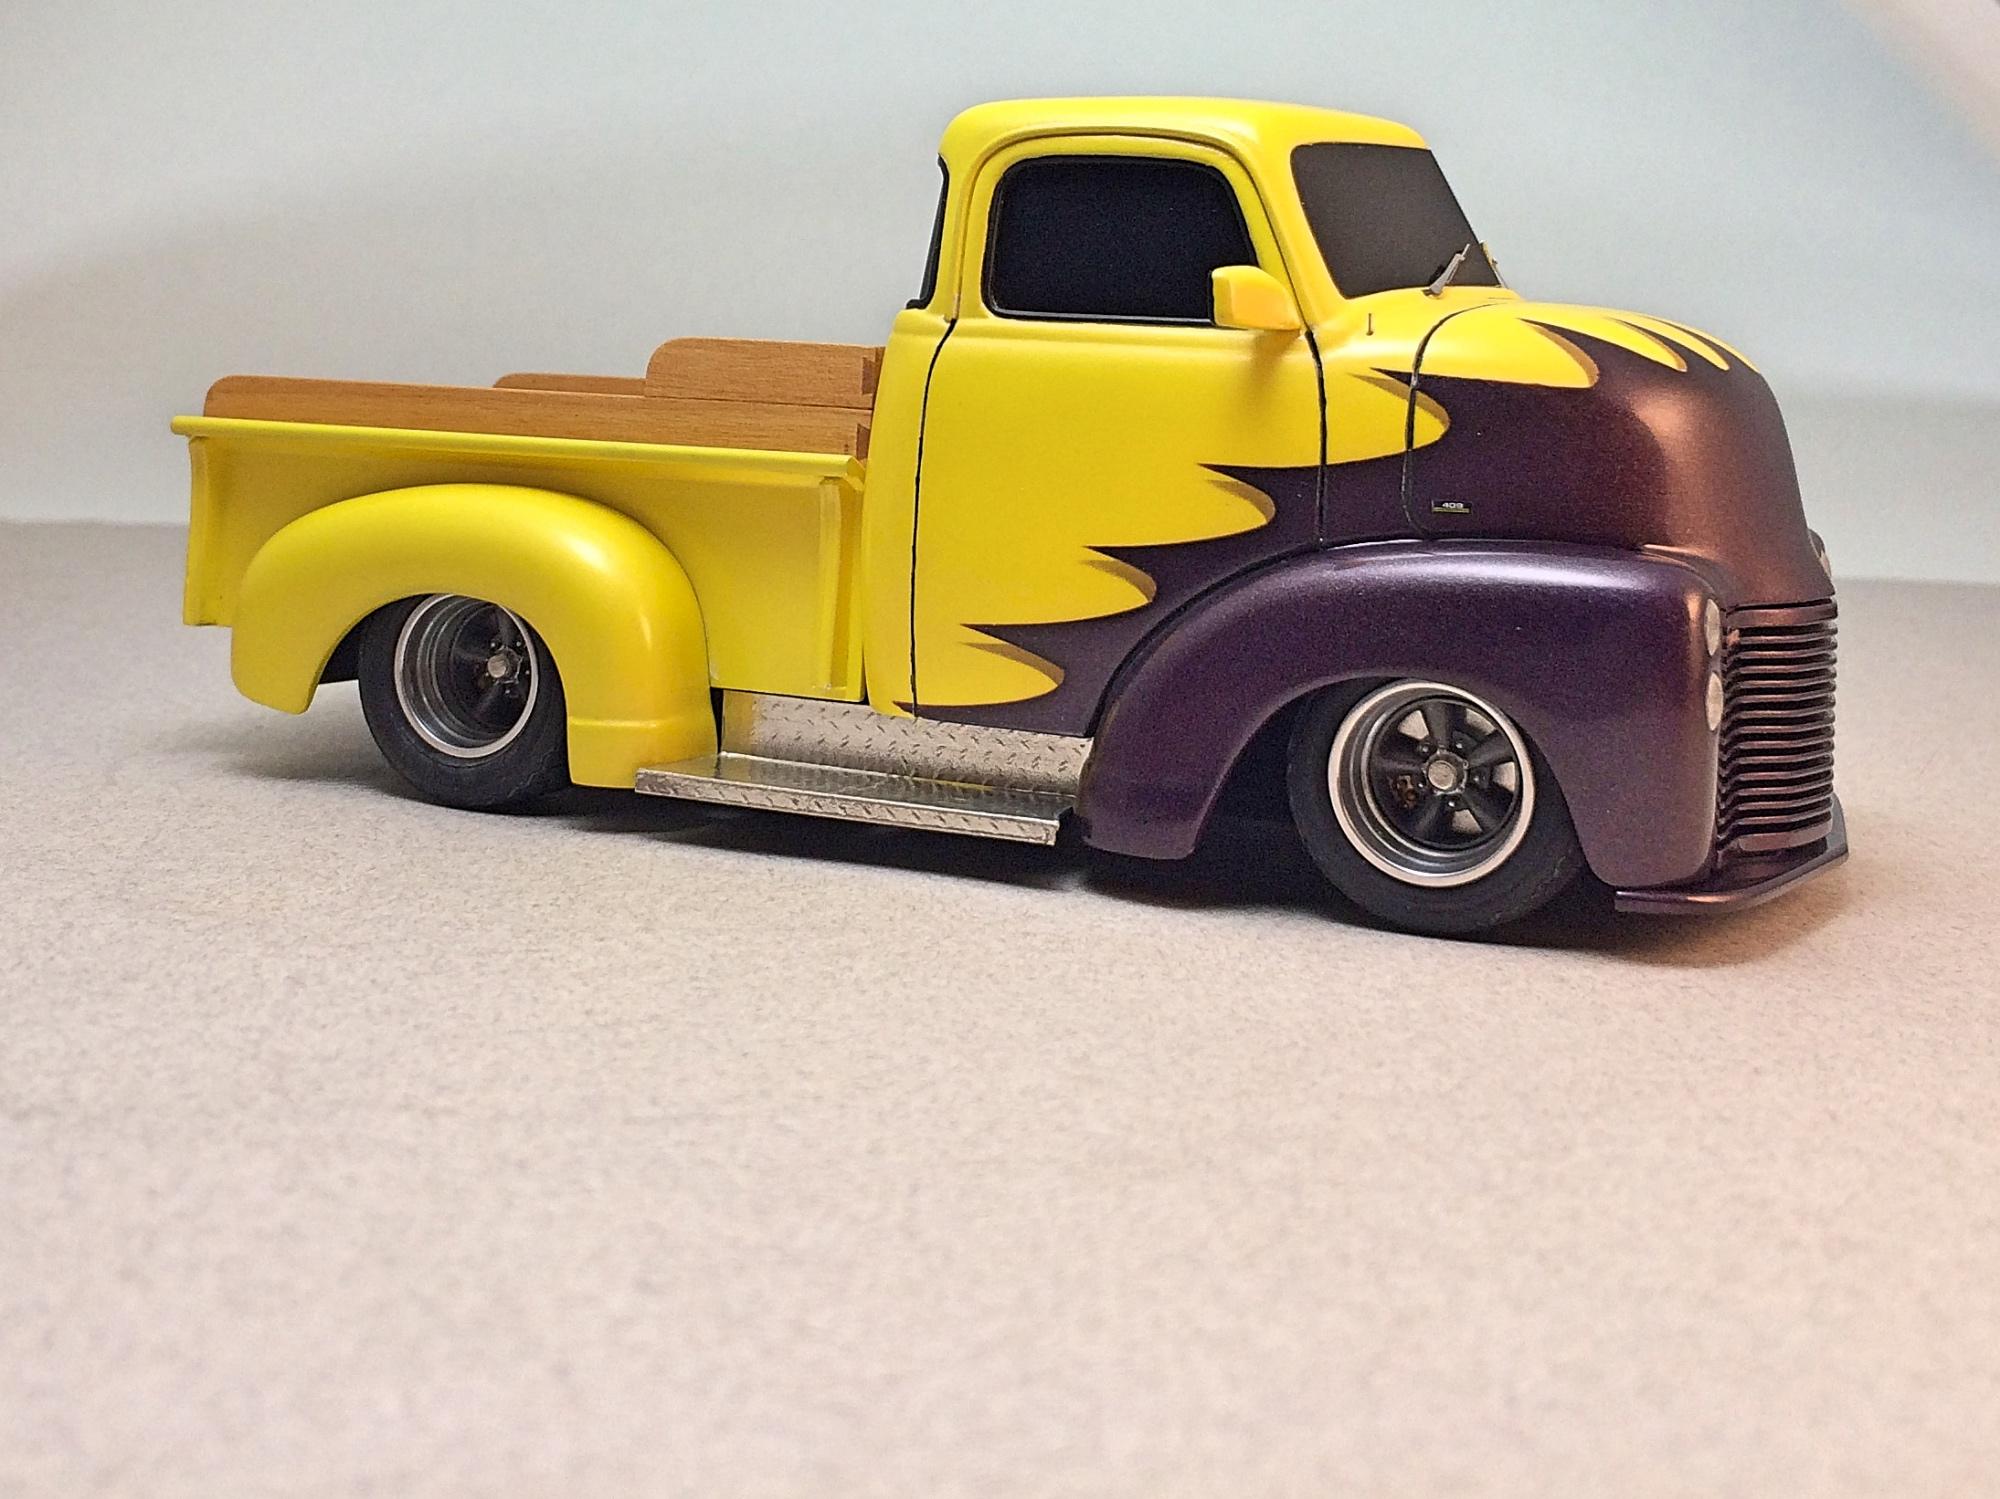
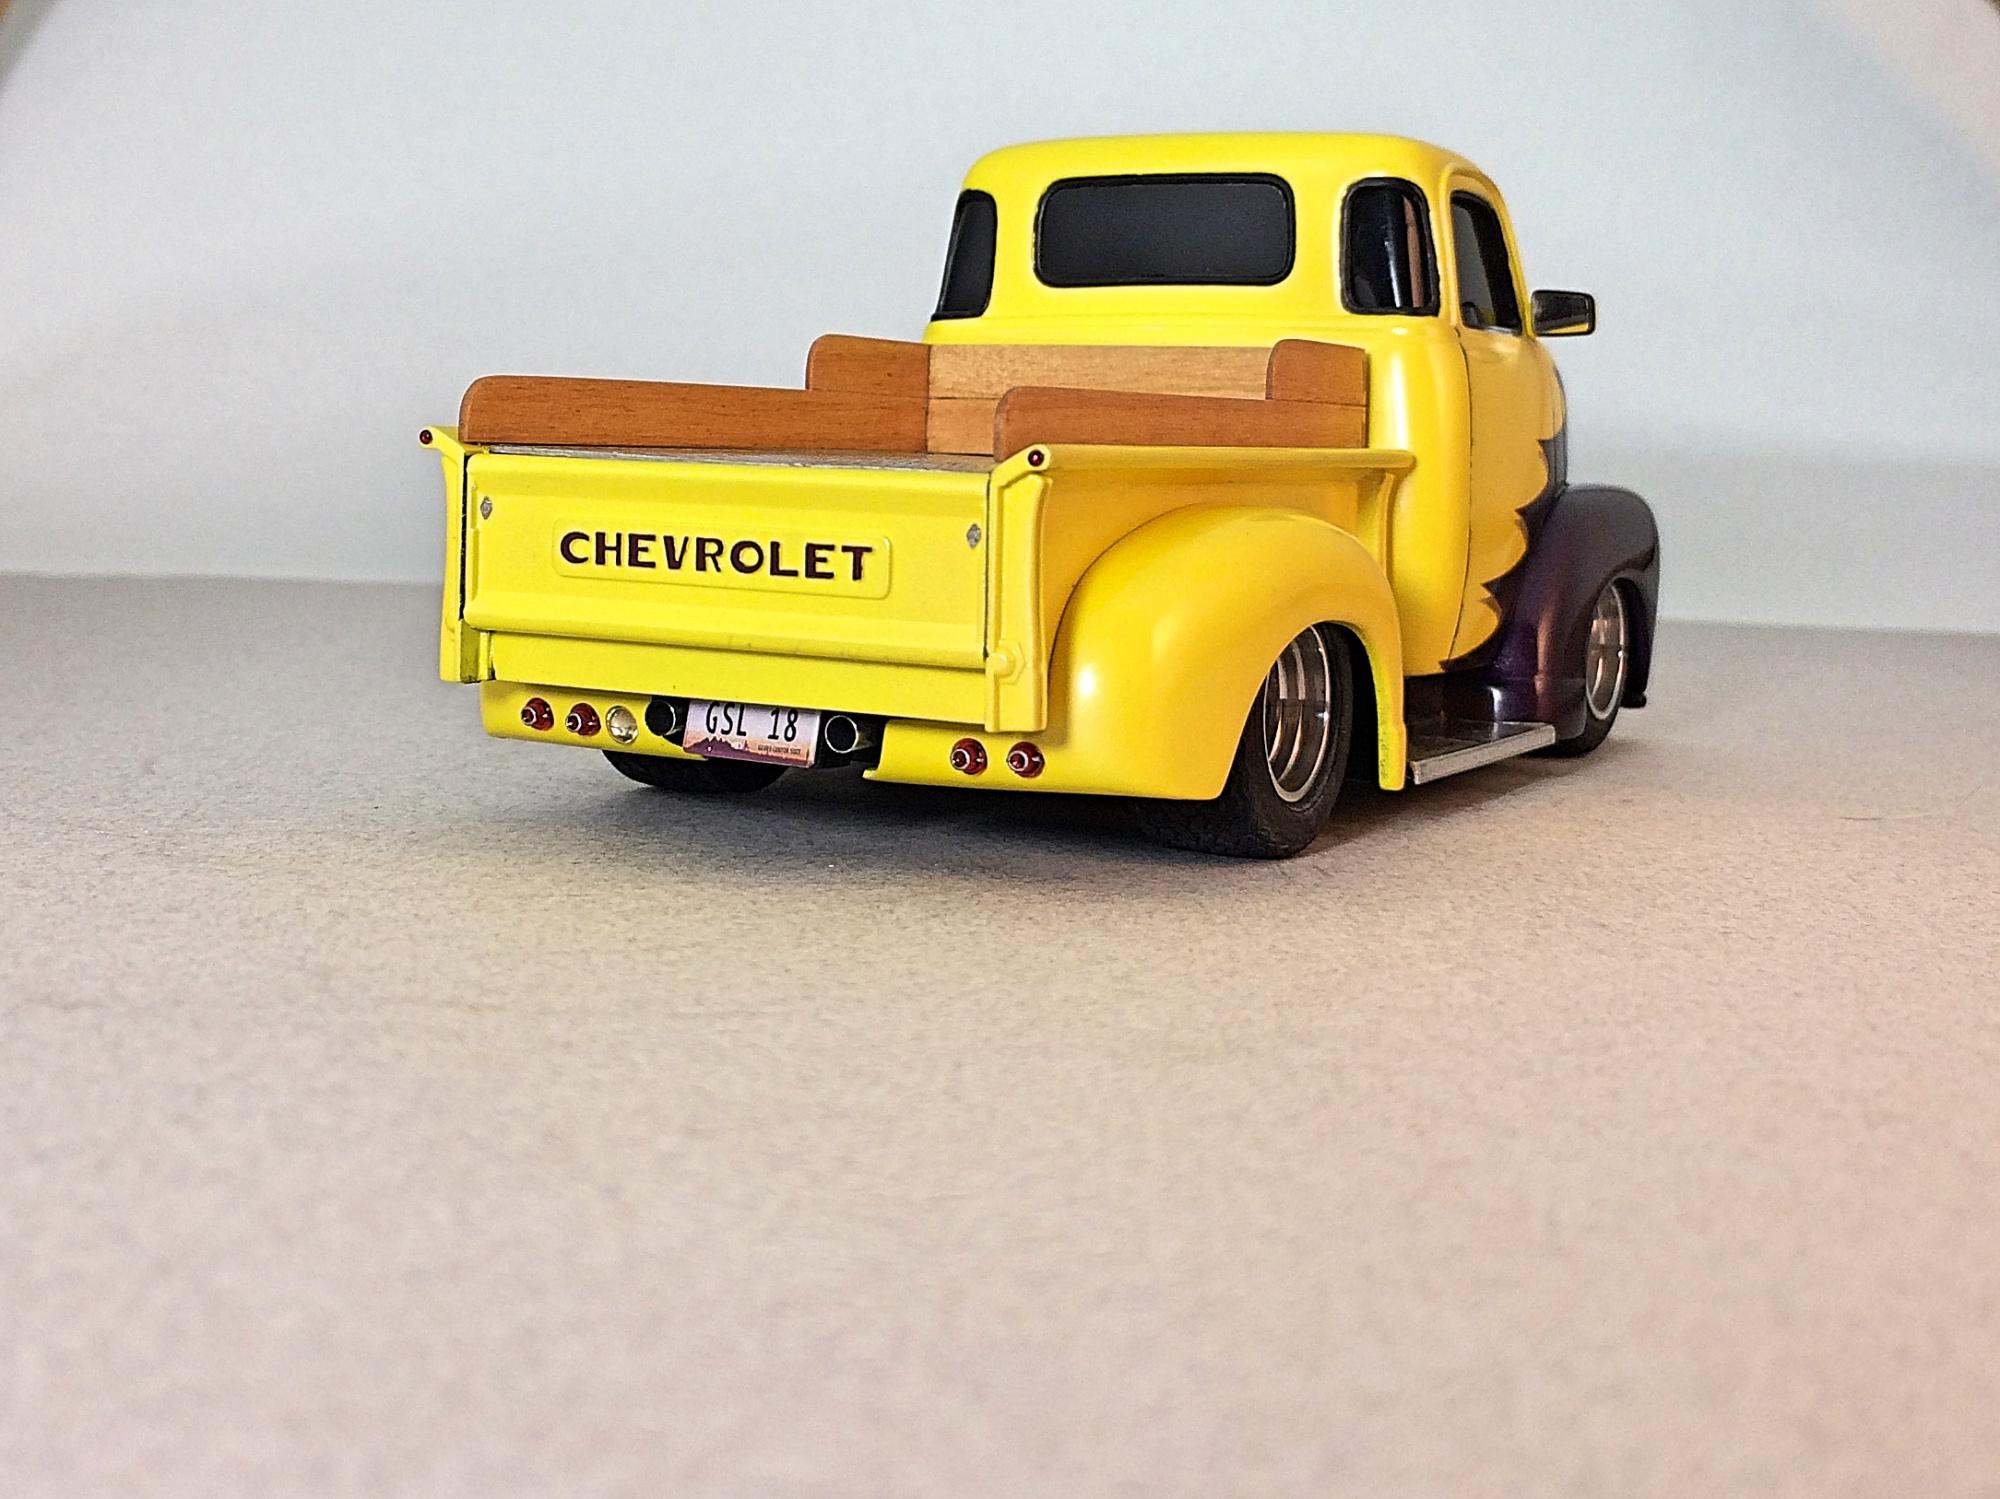
1948 Chevrolet COE, started with AMT 1950 3100 Pickup kit. Partsbox model, based on a resin Cab Over Engine body. Built this when film cameras was the thing, ran this through my studio shoot for Desert Scale Classic COVID Special contest (not entering). If I recall correctly, the COE resin body was All American Models, ordered from a magazine ad, not available now; required massaging the hood, and fenders. I had the bed left over from my Canopy Express project. The headlights, taillights, wheel centers, and 409 decals are from the 1962 Chevrolet Impala 409, which I made a demolition derby for the other magazine contest. Tires are from the horrible Nitto Lamborghini Countach kit, had someone turn aluminum rims. Front bumper is modified AMT Ferrari 250 SWB kit. Mirrors from the Tamiya Volvo BTCC Estate. Resin copy of Tamiya Vehicross gas cap. Detail Master photo etch wipers. Plastistruct diamond plate, the Bare Metal foil has wrinkled up, really need to rip all that off and make new parts, then paint with Alclad. Real Cherry wood bed rails with dovetail corners. Corian is the frame, since it's a true Curbside. Parma fluorescent yellow paint. Scratch-built the grill, running boards, license plate the moves up for trailer hitch. This is the second street rod I ever built, and no plans to build more. Thanks for looking!
-
Thanks to a suggestion from this board that I build a Corvair in hugger orange, I thought instead I should get this one done first. Started back in 2008. Painted Honduras Maroon with clear coat, I have the engine done and the interior painted with Tamiya TS-69 linoleum brown. Thanks for looking, all comments welcomed.
-
Started this one a few days ago, painted Testors Fiery orange with wet look clear. Thanks for looking, all comments welcomed.
-
After five years, it is done! I started this one back on January 15, 2015 and just now got it done August 7th of this year. Painted Testors White Lightening with wet look clear, interior is Tamiya TS-69 linoleum brown, straight out of the box. Thanks for looking, all comments welcomed.
-
Painted (I think) Testors Italian Red with ultra gloss clear, interior is Tamiya medium grey. This one is the original issue. Built box stock except for swapping out the 3 barrel for triple duces. Started in 2012 and just finished today. I had to super glue the top of the firewall to the body and then the front subframe to the body to get it all together. Frustrating kit for final fitting but looks good when done. Thanks for looking, all comments welcomed.






.jpeg.2a85f9f7c9f26a792f02616feeadd9f1.jpeg)
