Search the Community
Showing results for tags 'coupe'.
-
Hello ! Here's my latest built. This is the Robert Burns's 1/25 kit (Too Many Projects) Cadillac 1947 Club Coupe. I have painted her in Lotus Cream, a color on the paint chart that year. I've used the Revell's 1949 Oldsmobile kit for donor parts, such as a base for the interior that I have converted to fit. Tires are late Modelhaus's ones. Robert has nailed the overall proportions on this incredible kit, hard but so fun to build, but she comes without the rear arch wheel skirt so it had to be created for more accuracy. Flying goddess emblem comes from 3d Scale online boutique. Never made before in that scale, this Cadillac is a great addition in any Cadillac collection. Thanks for watching.
- 27 replies
-
- 12
-

-
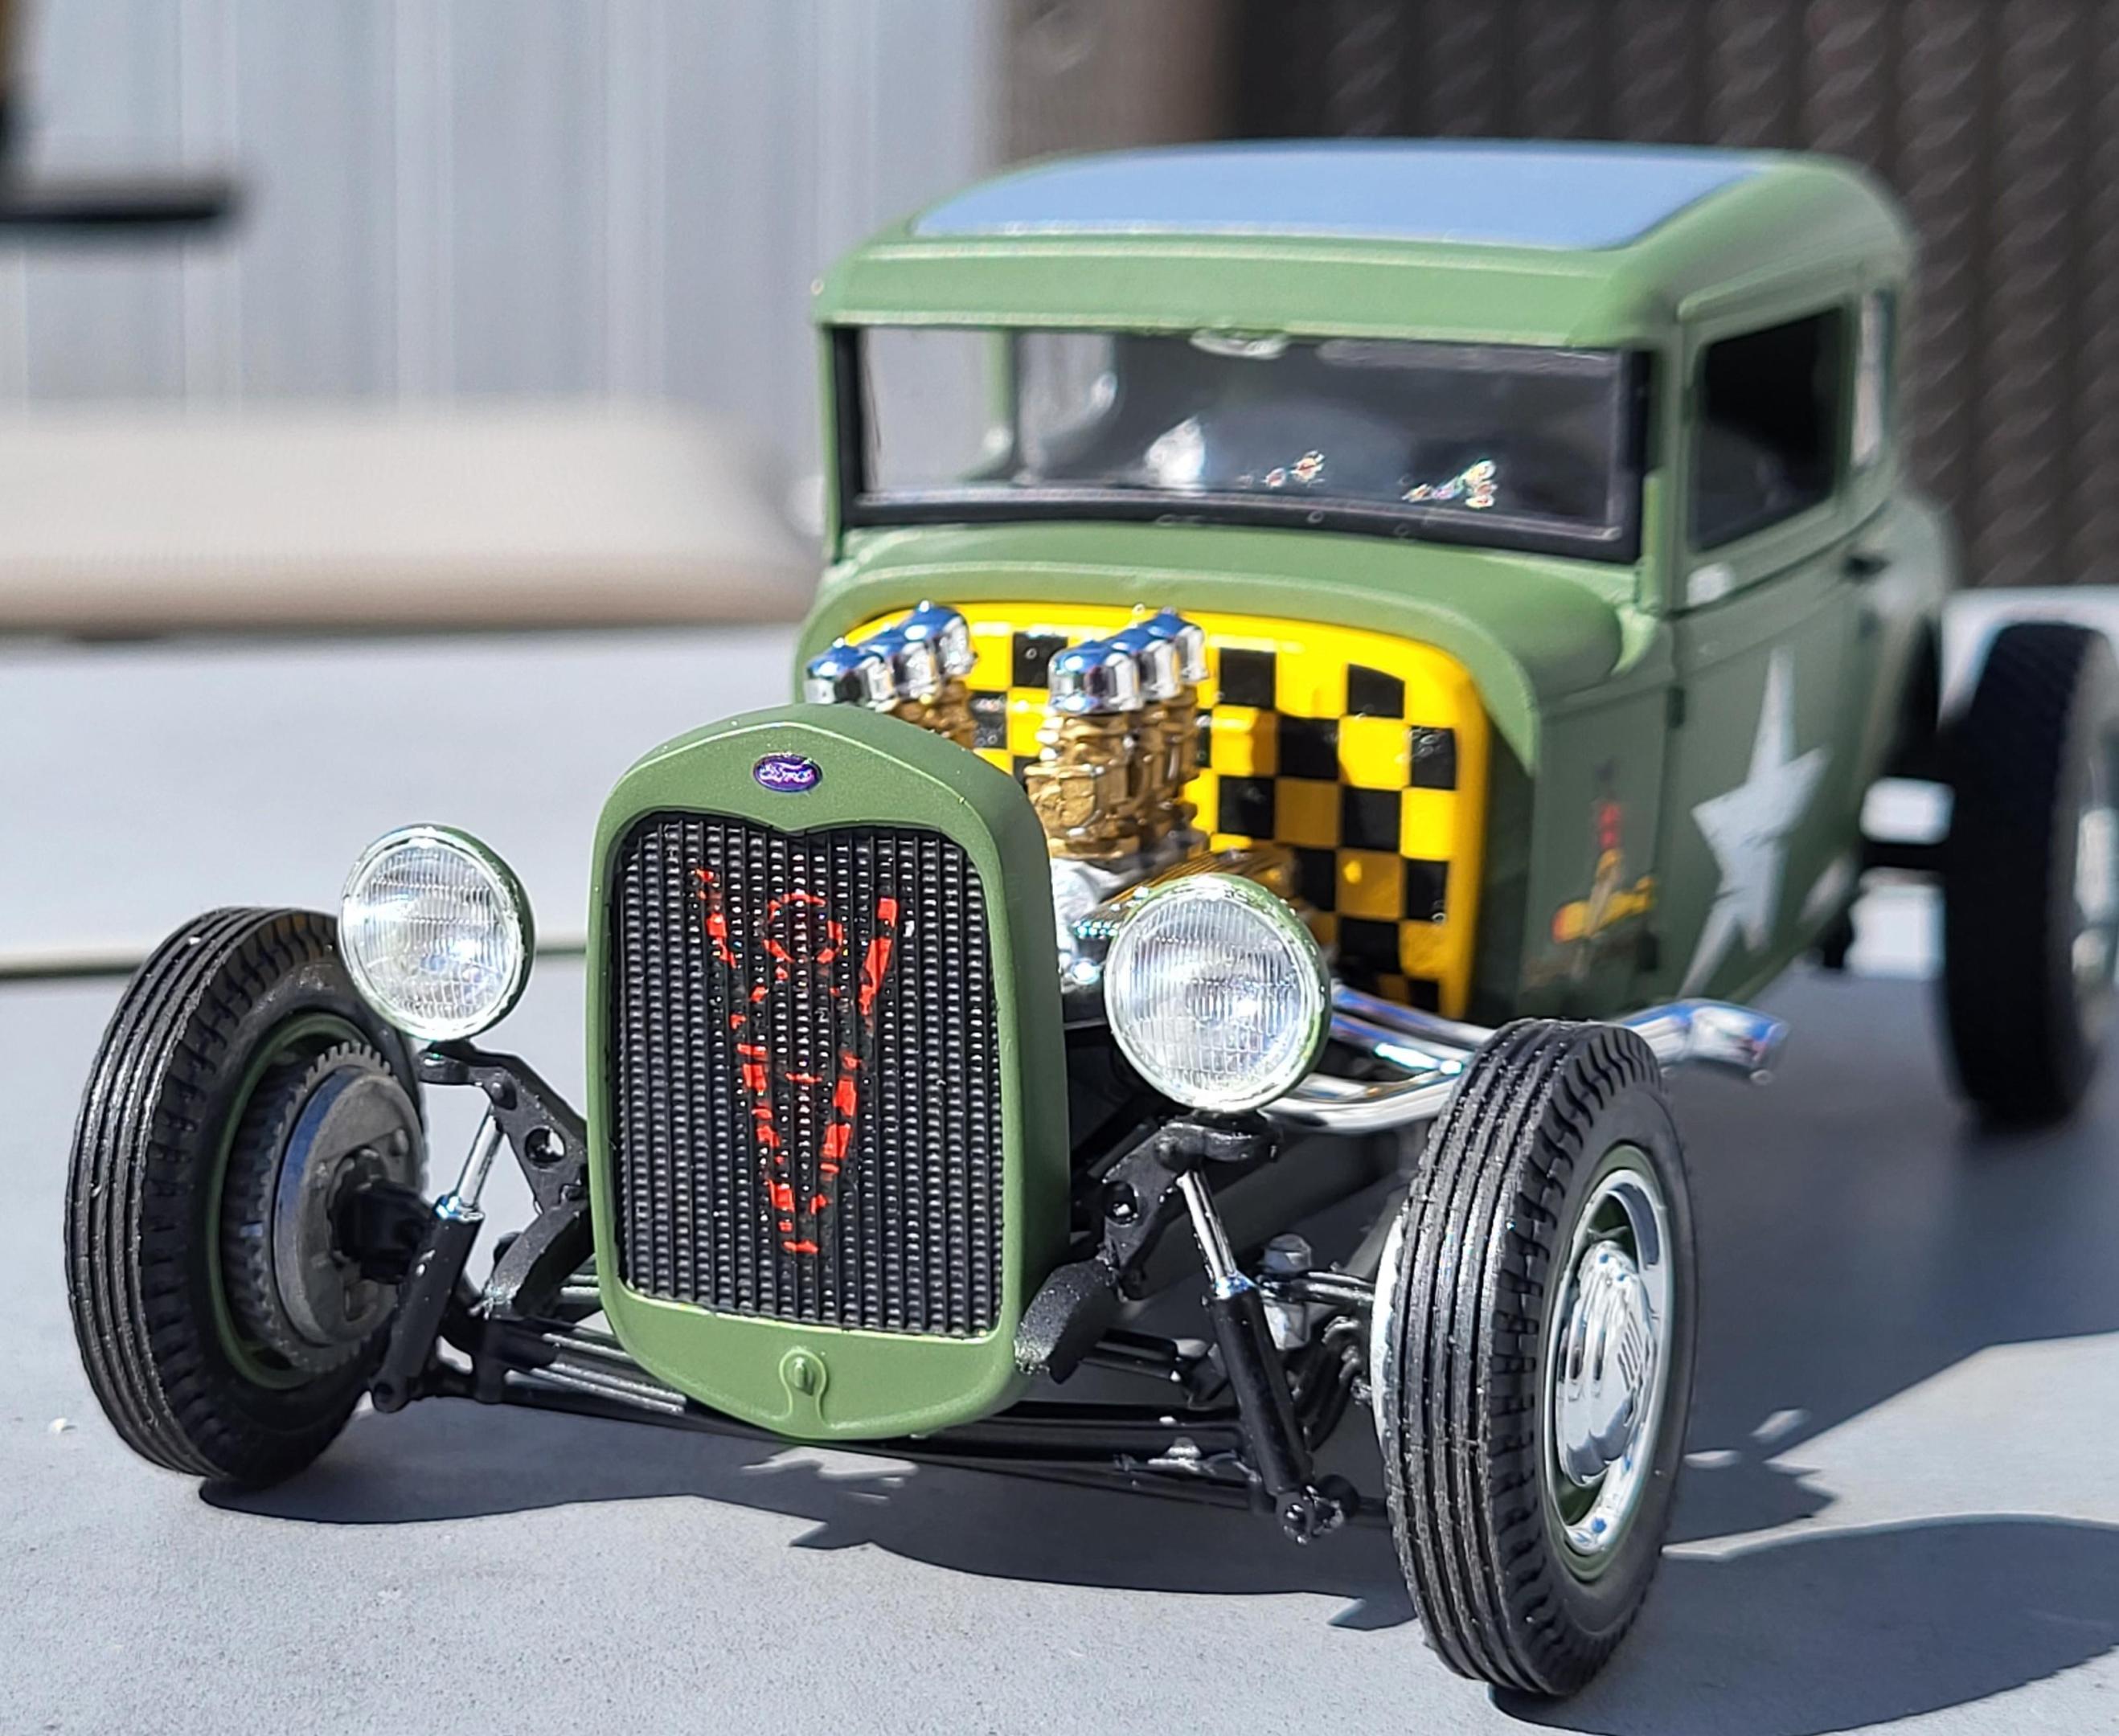
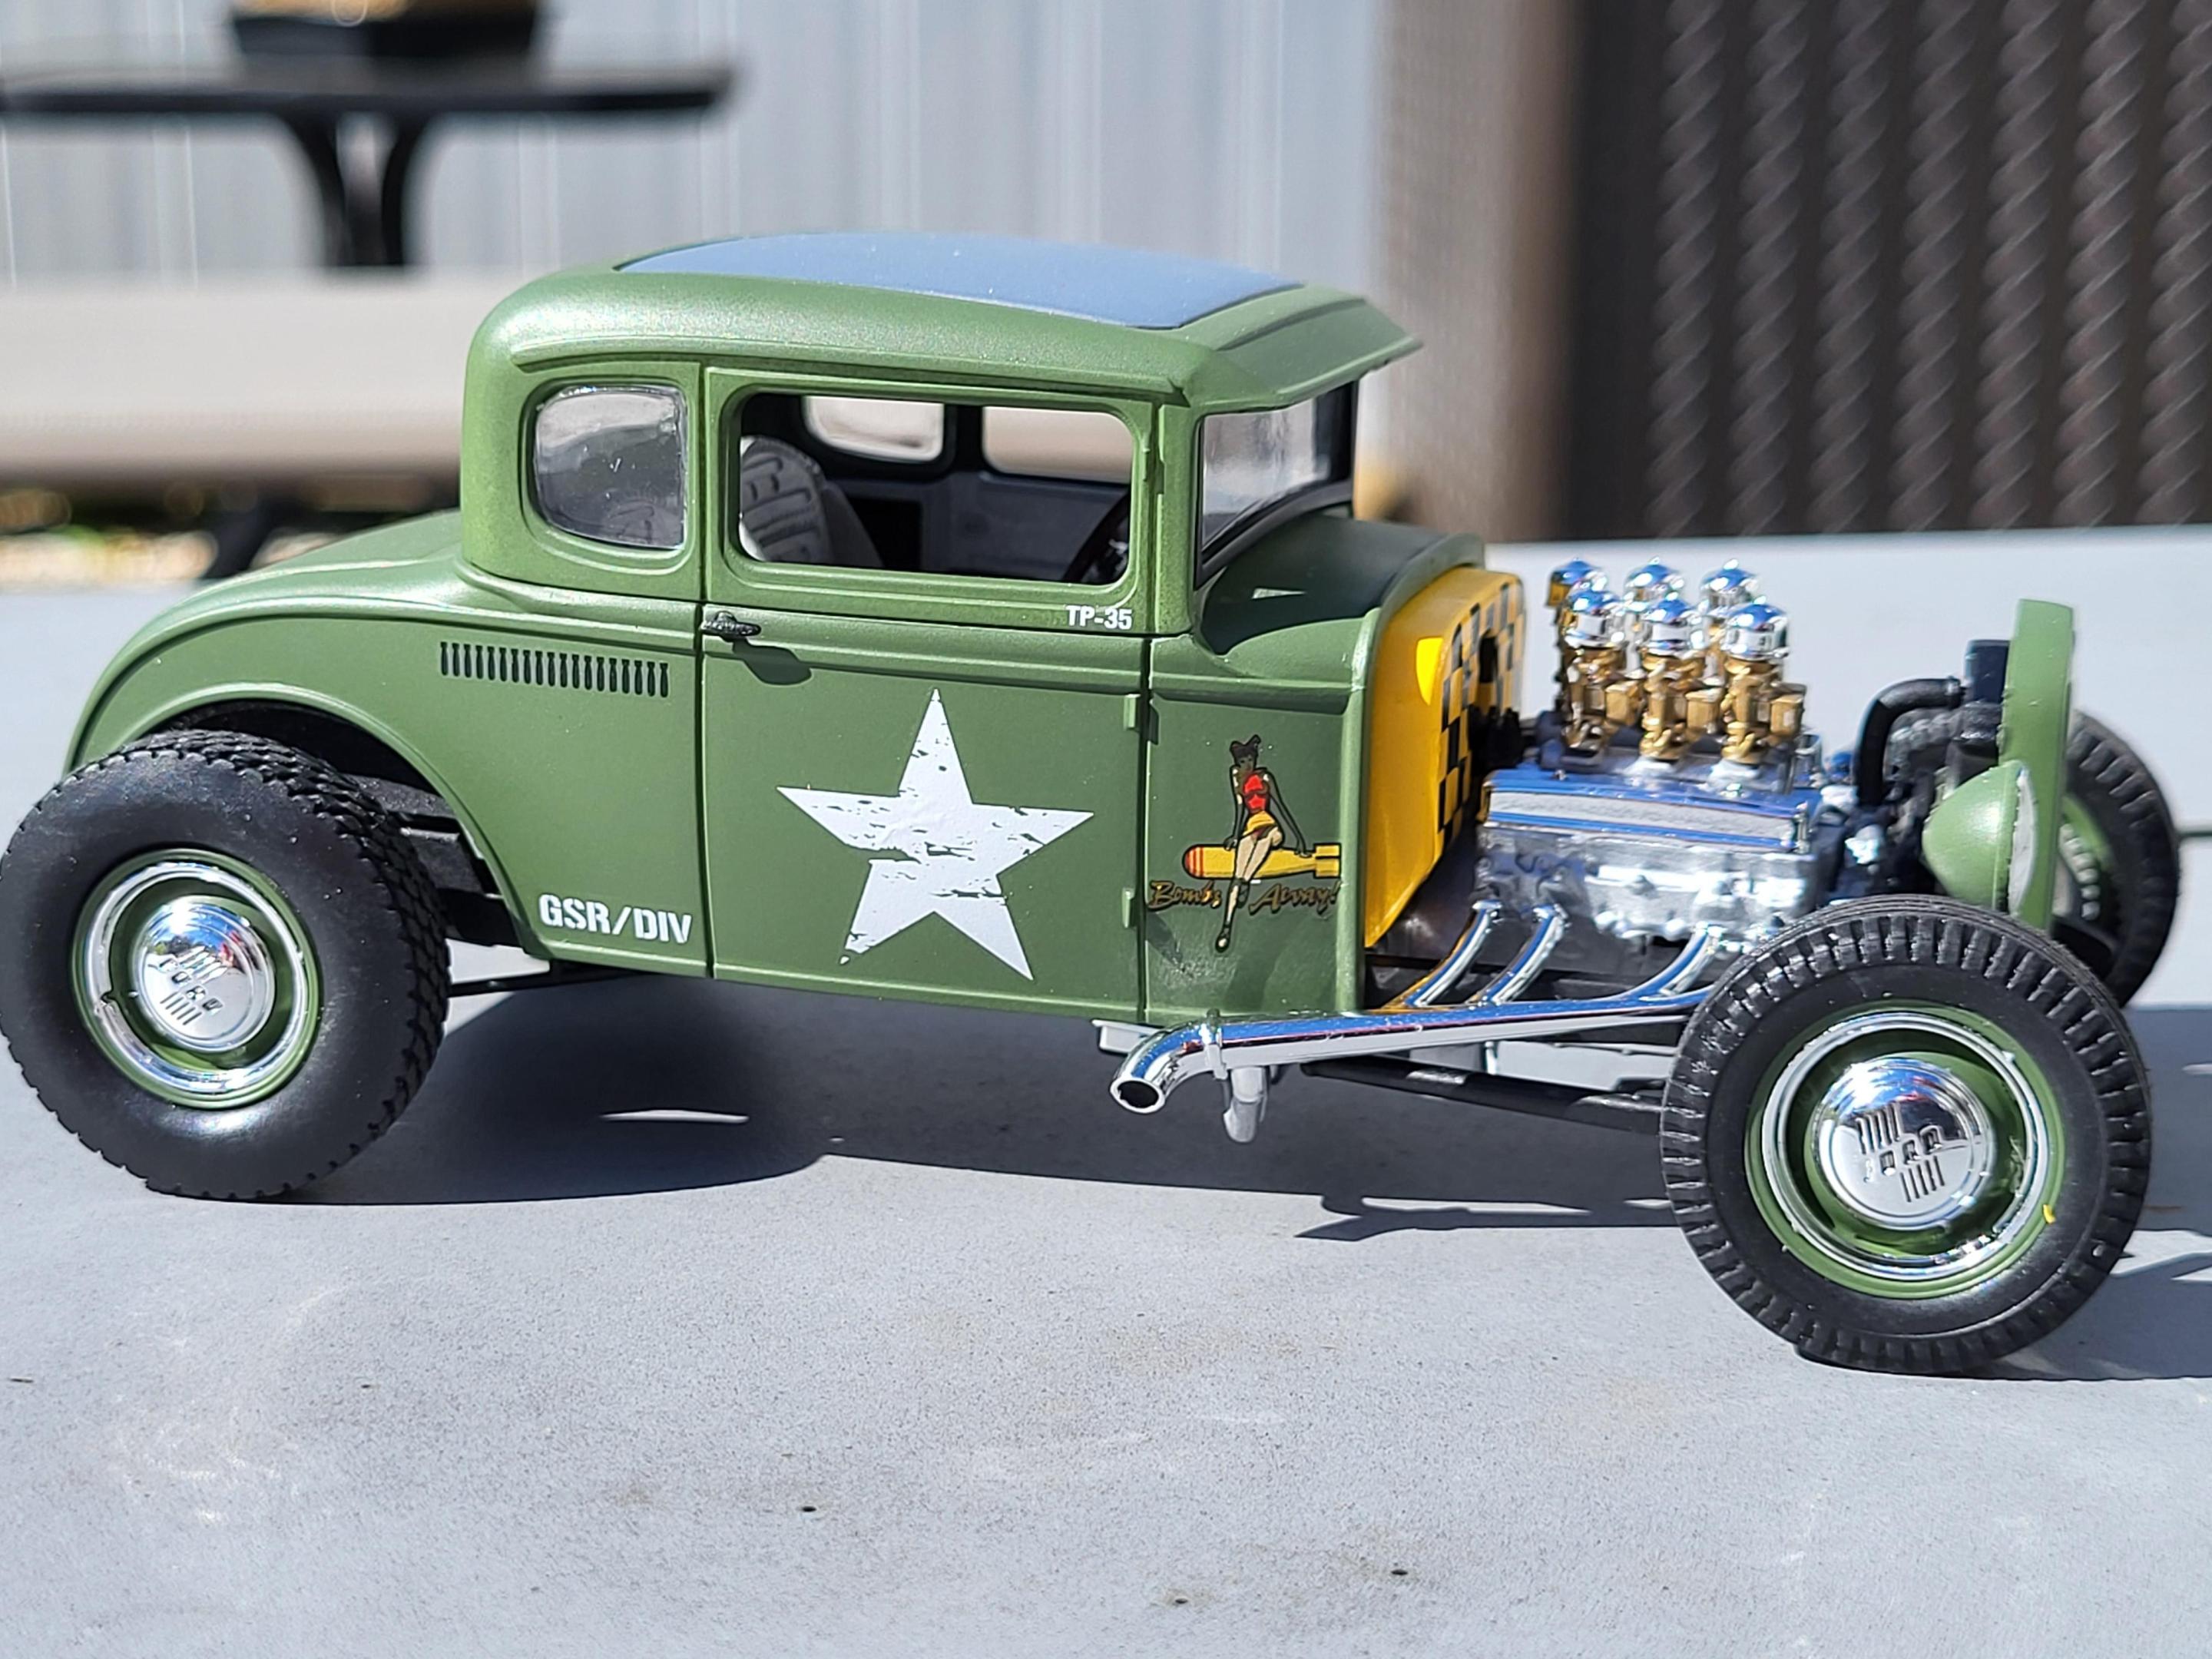
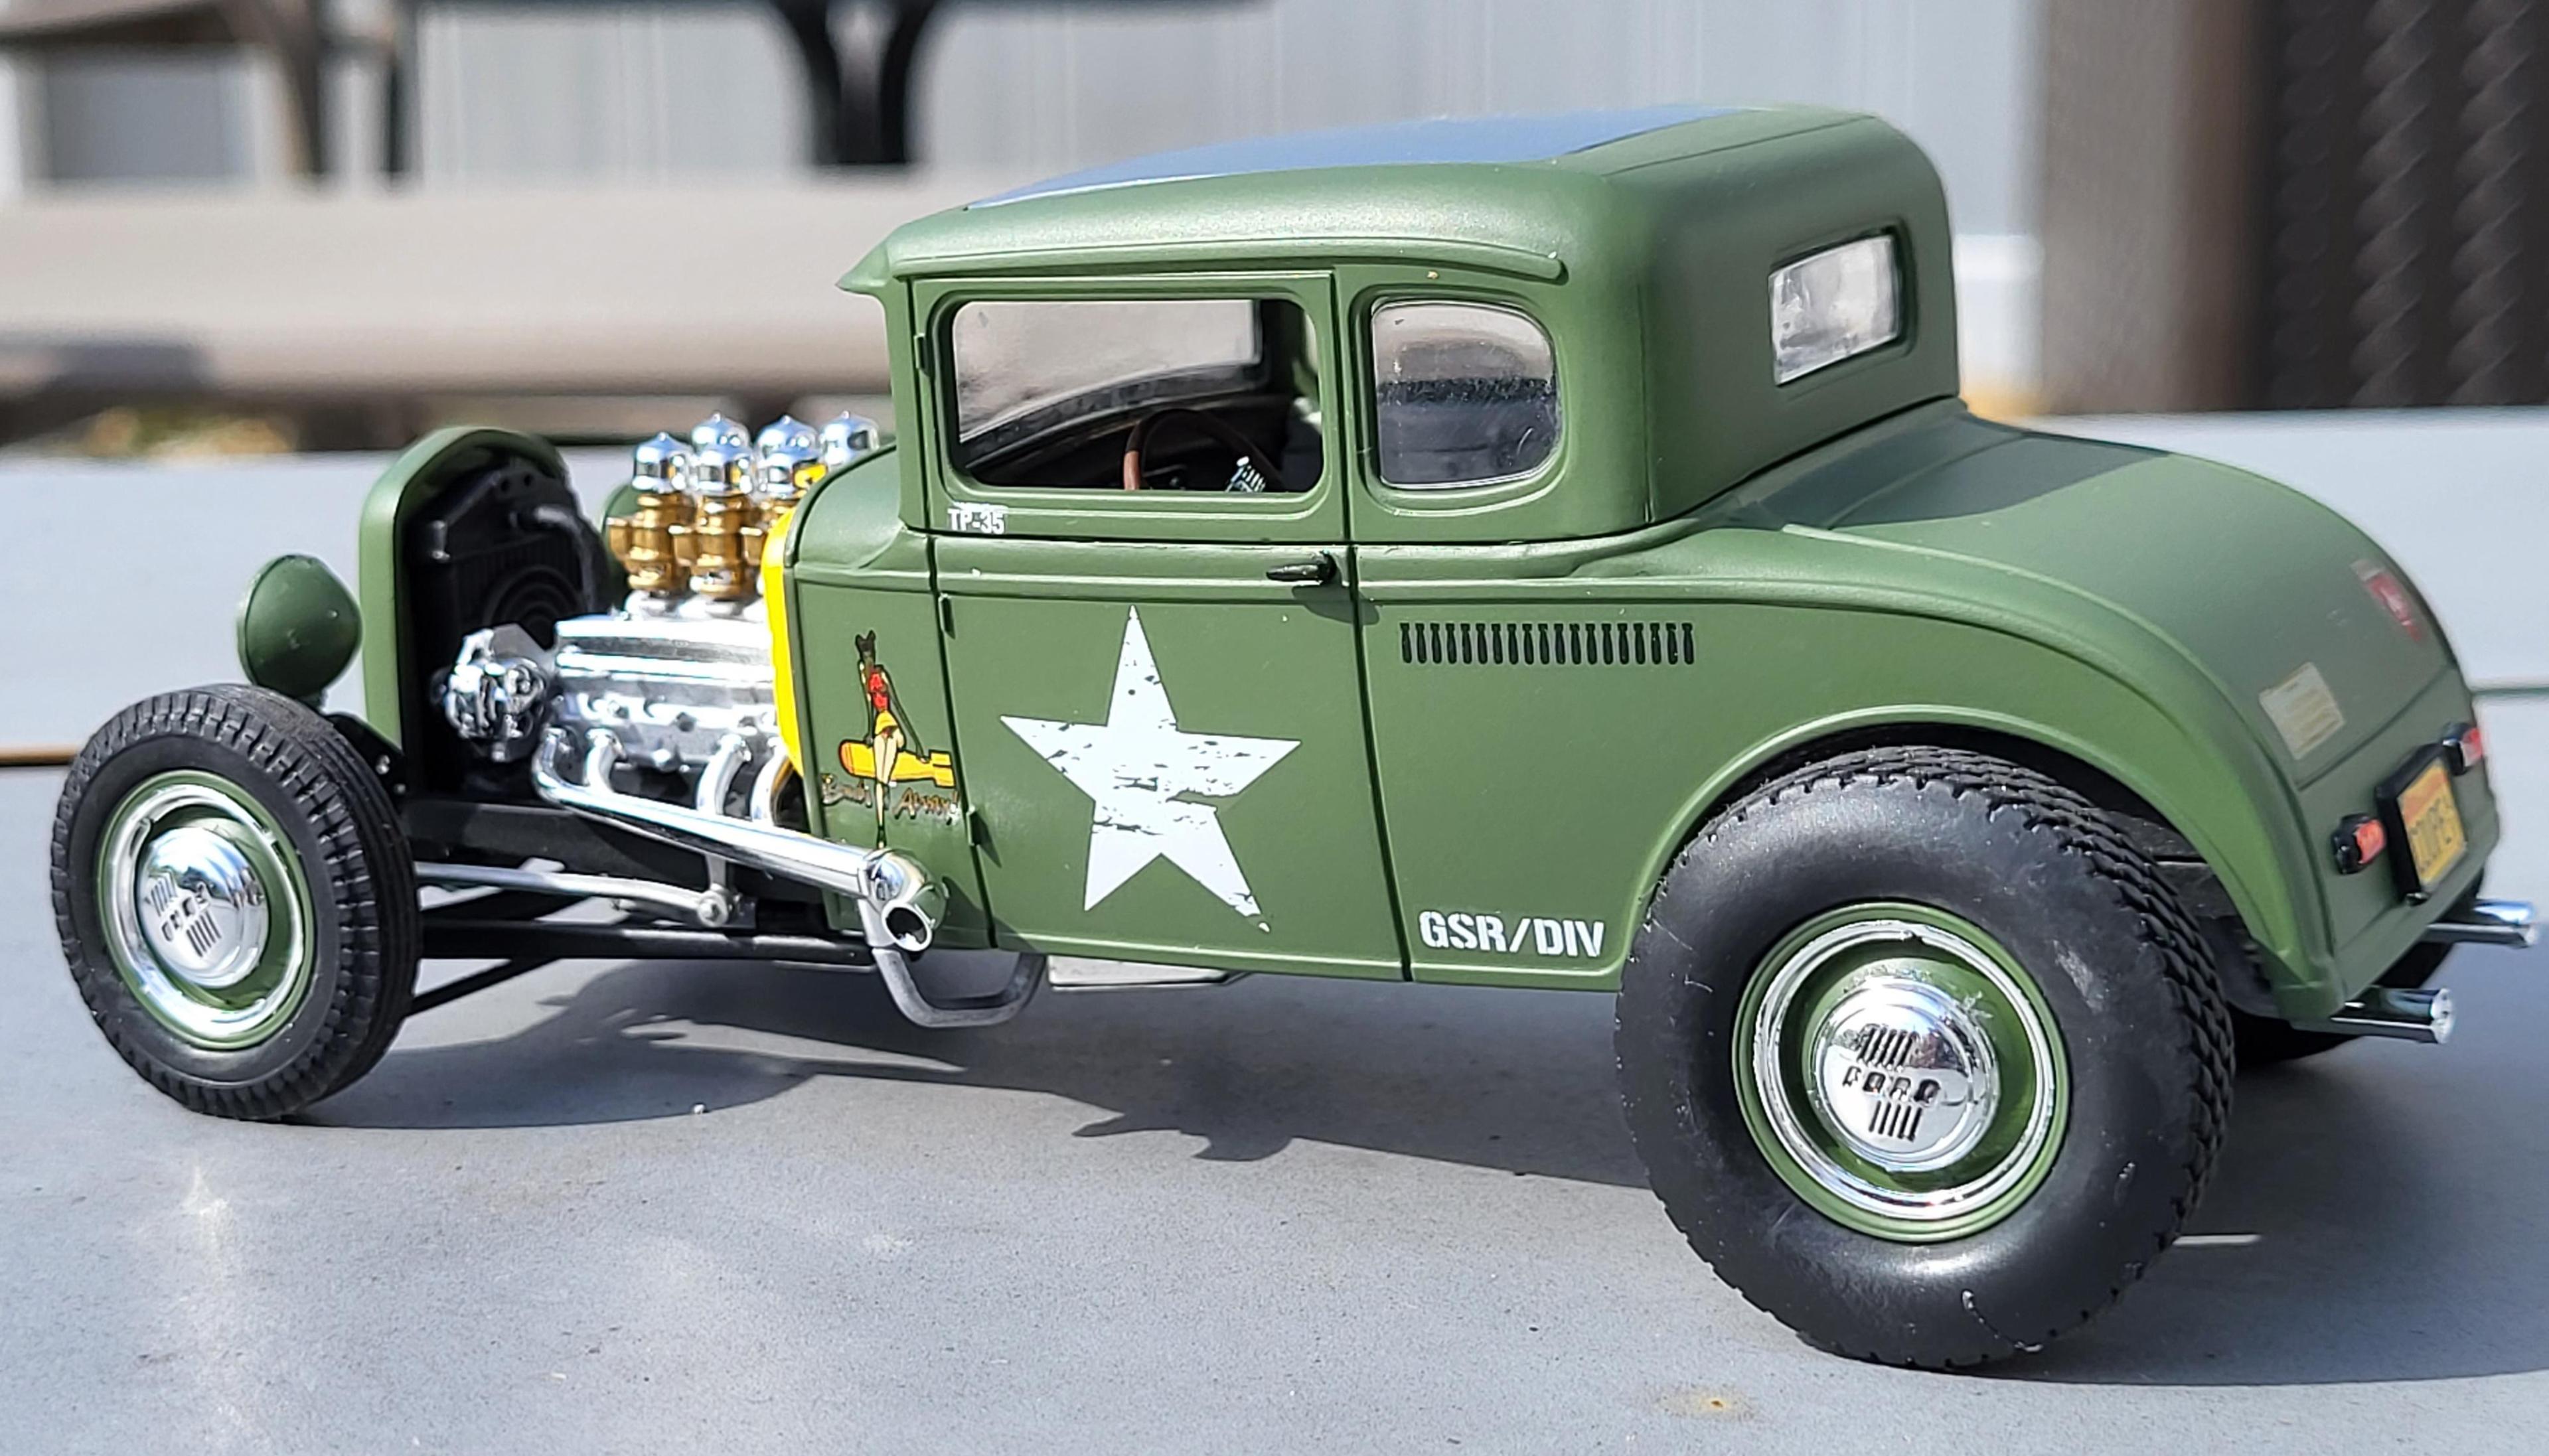
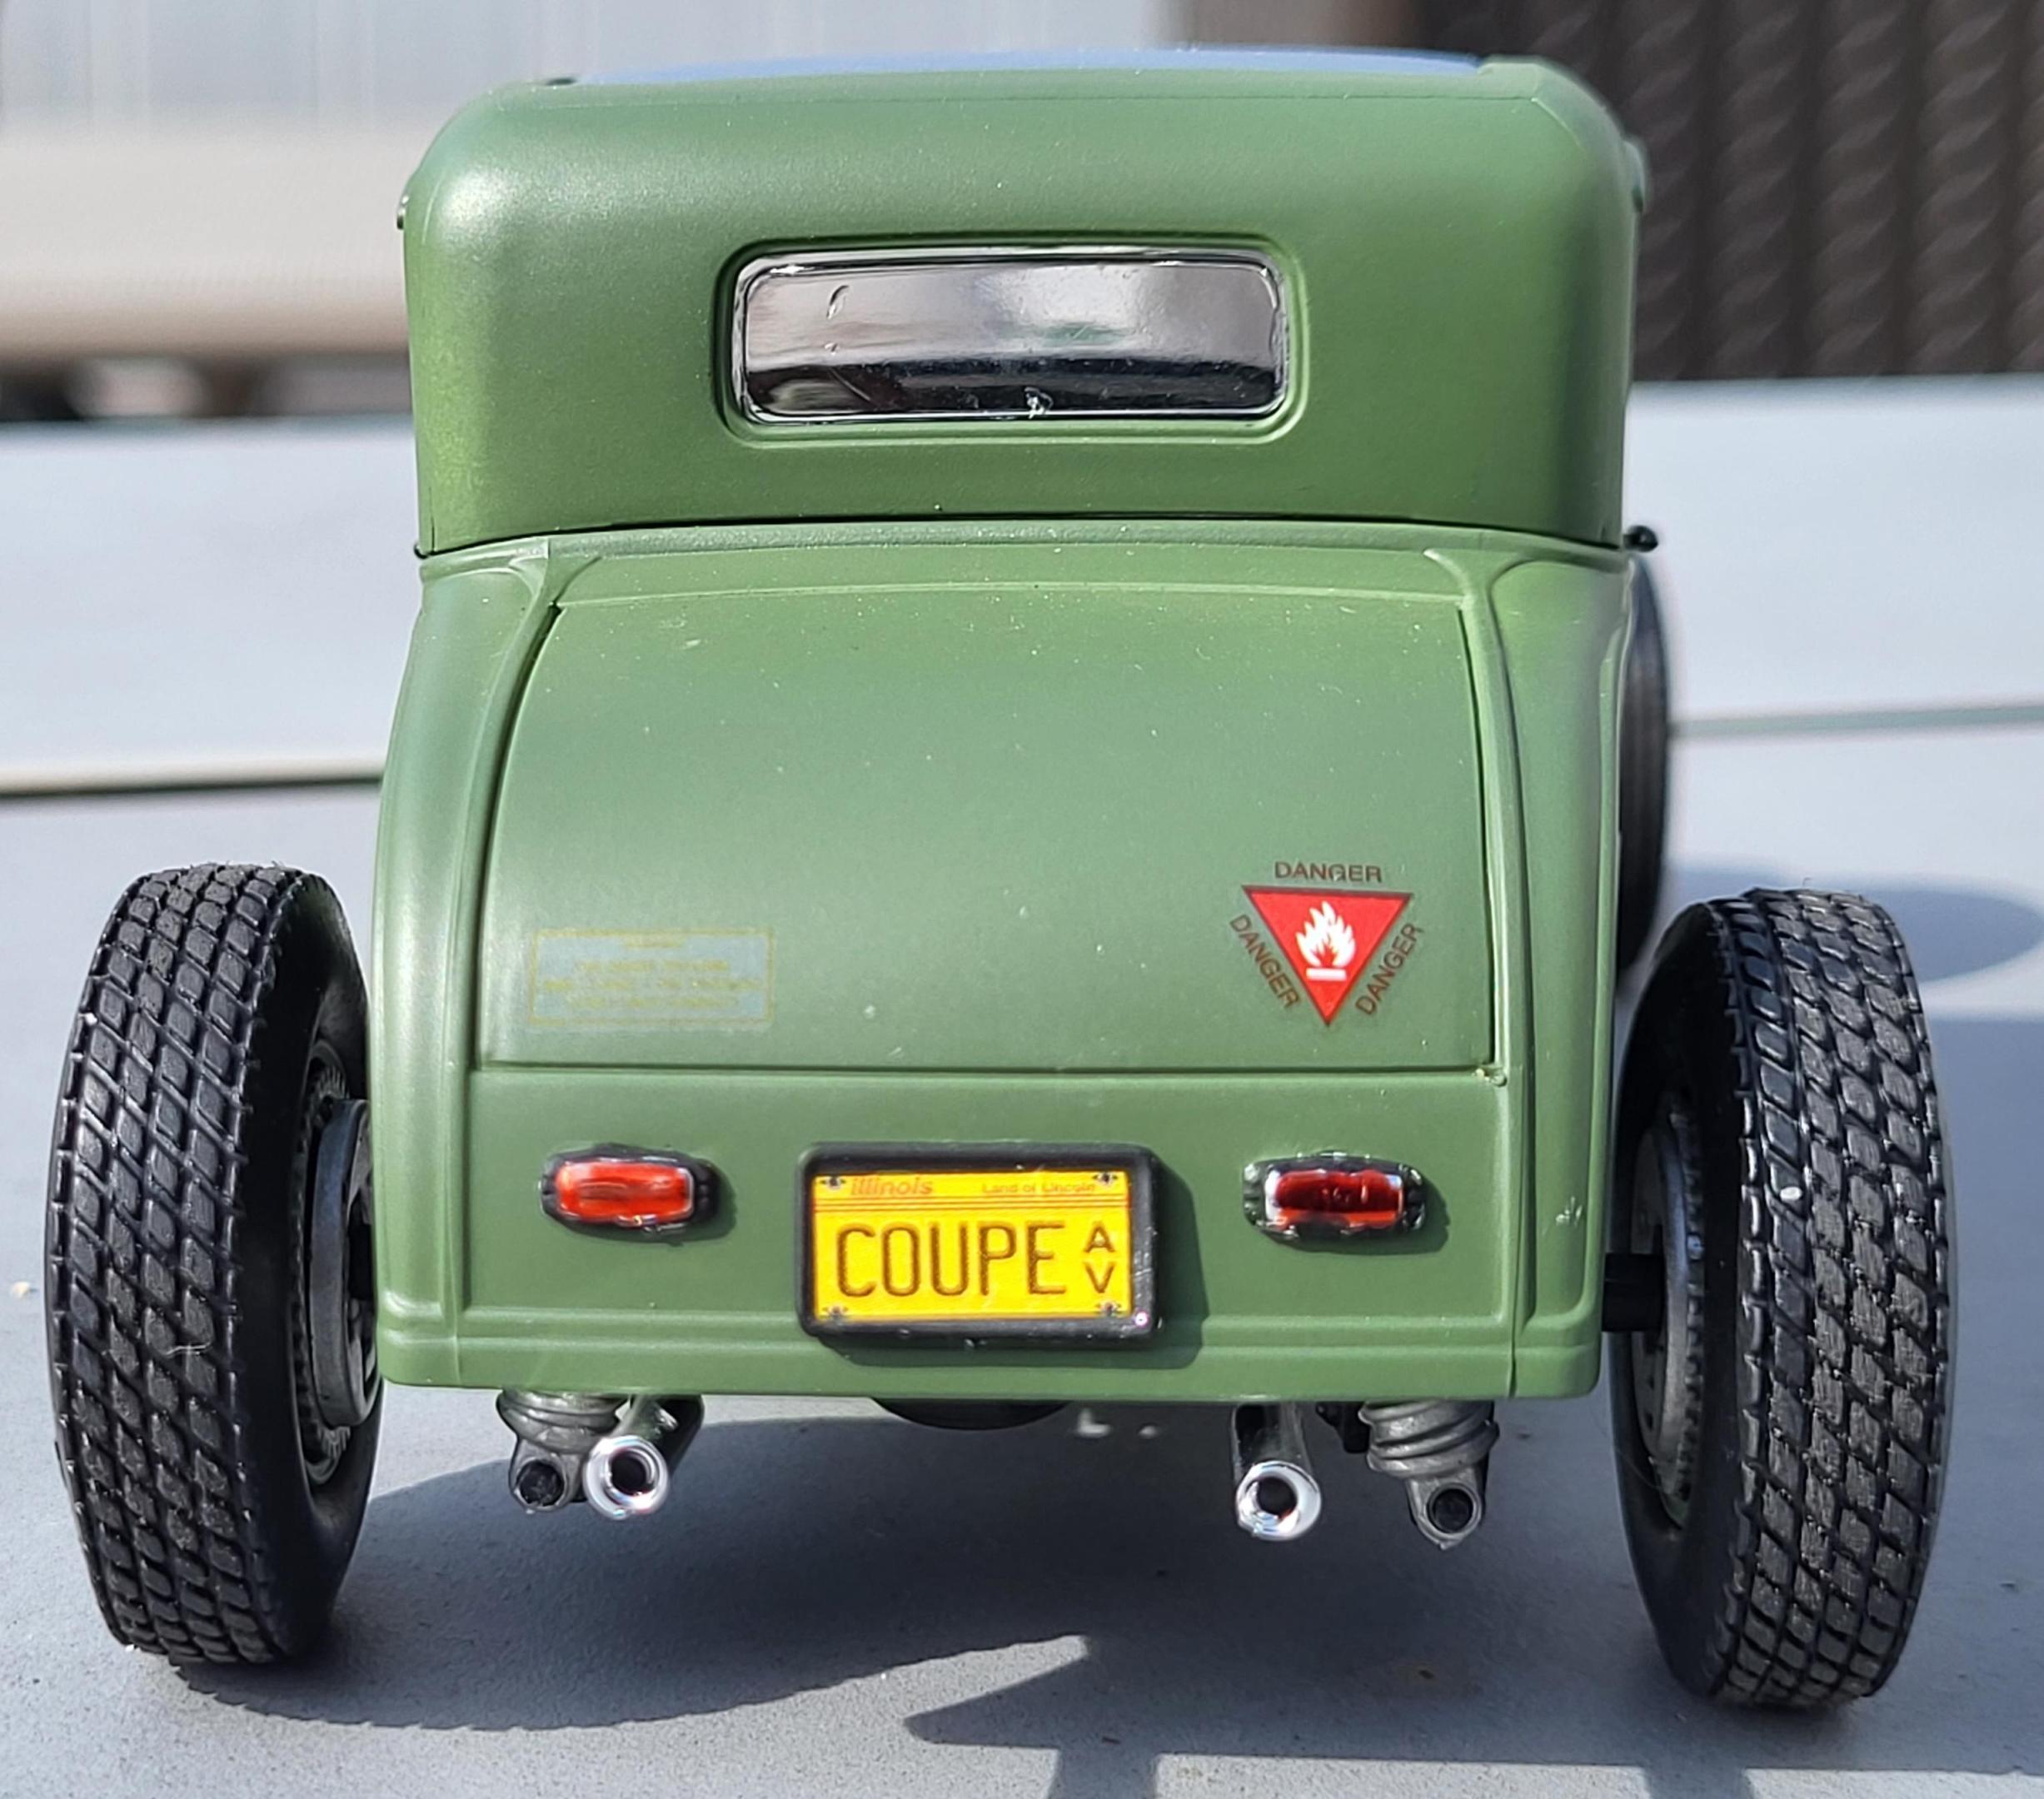
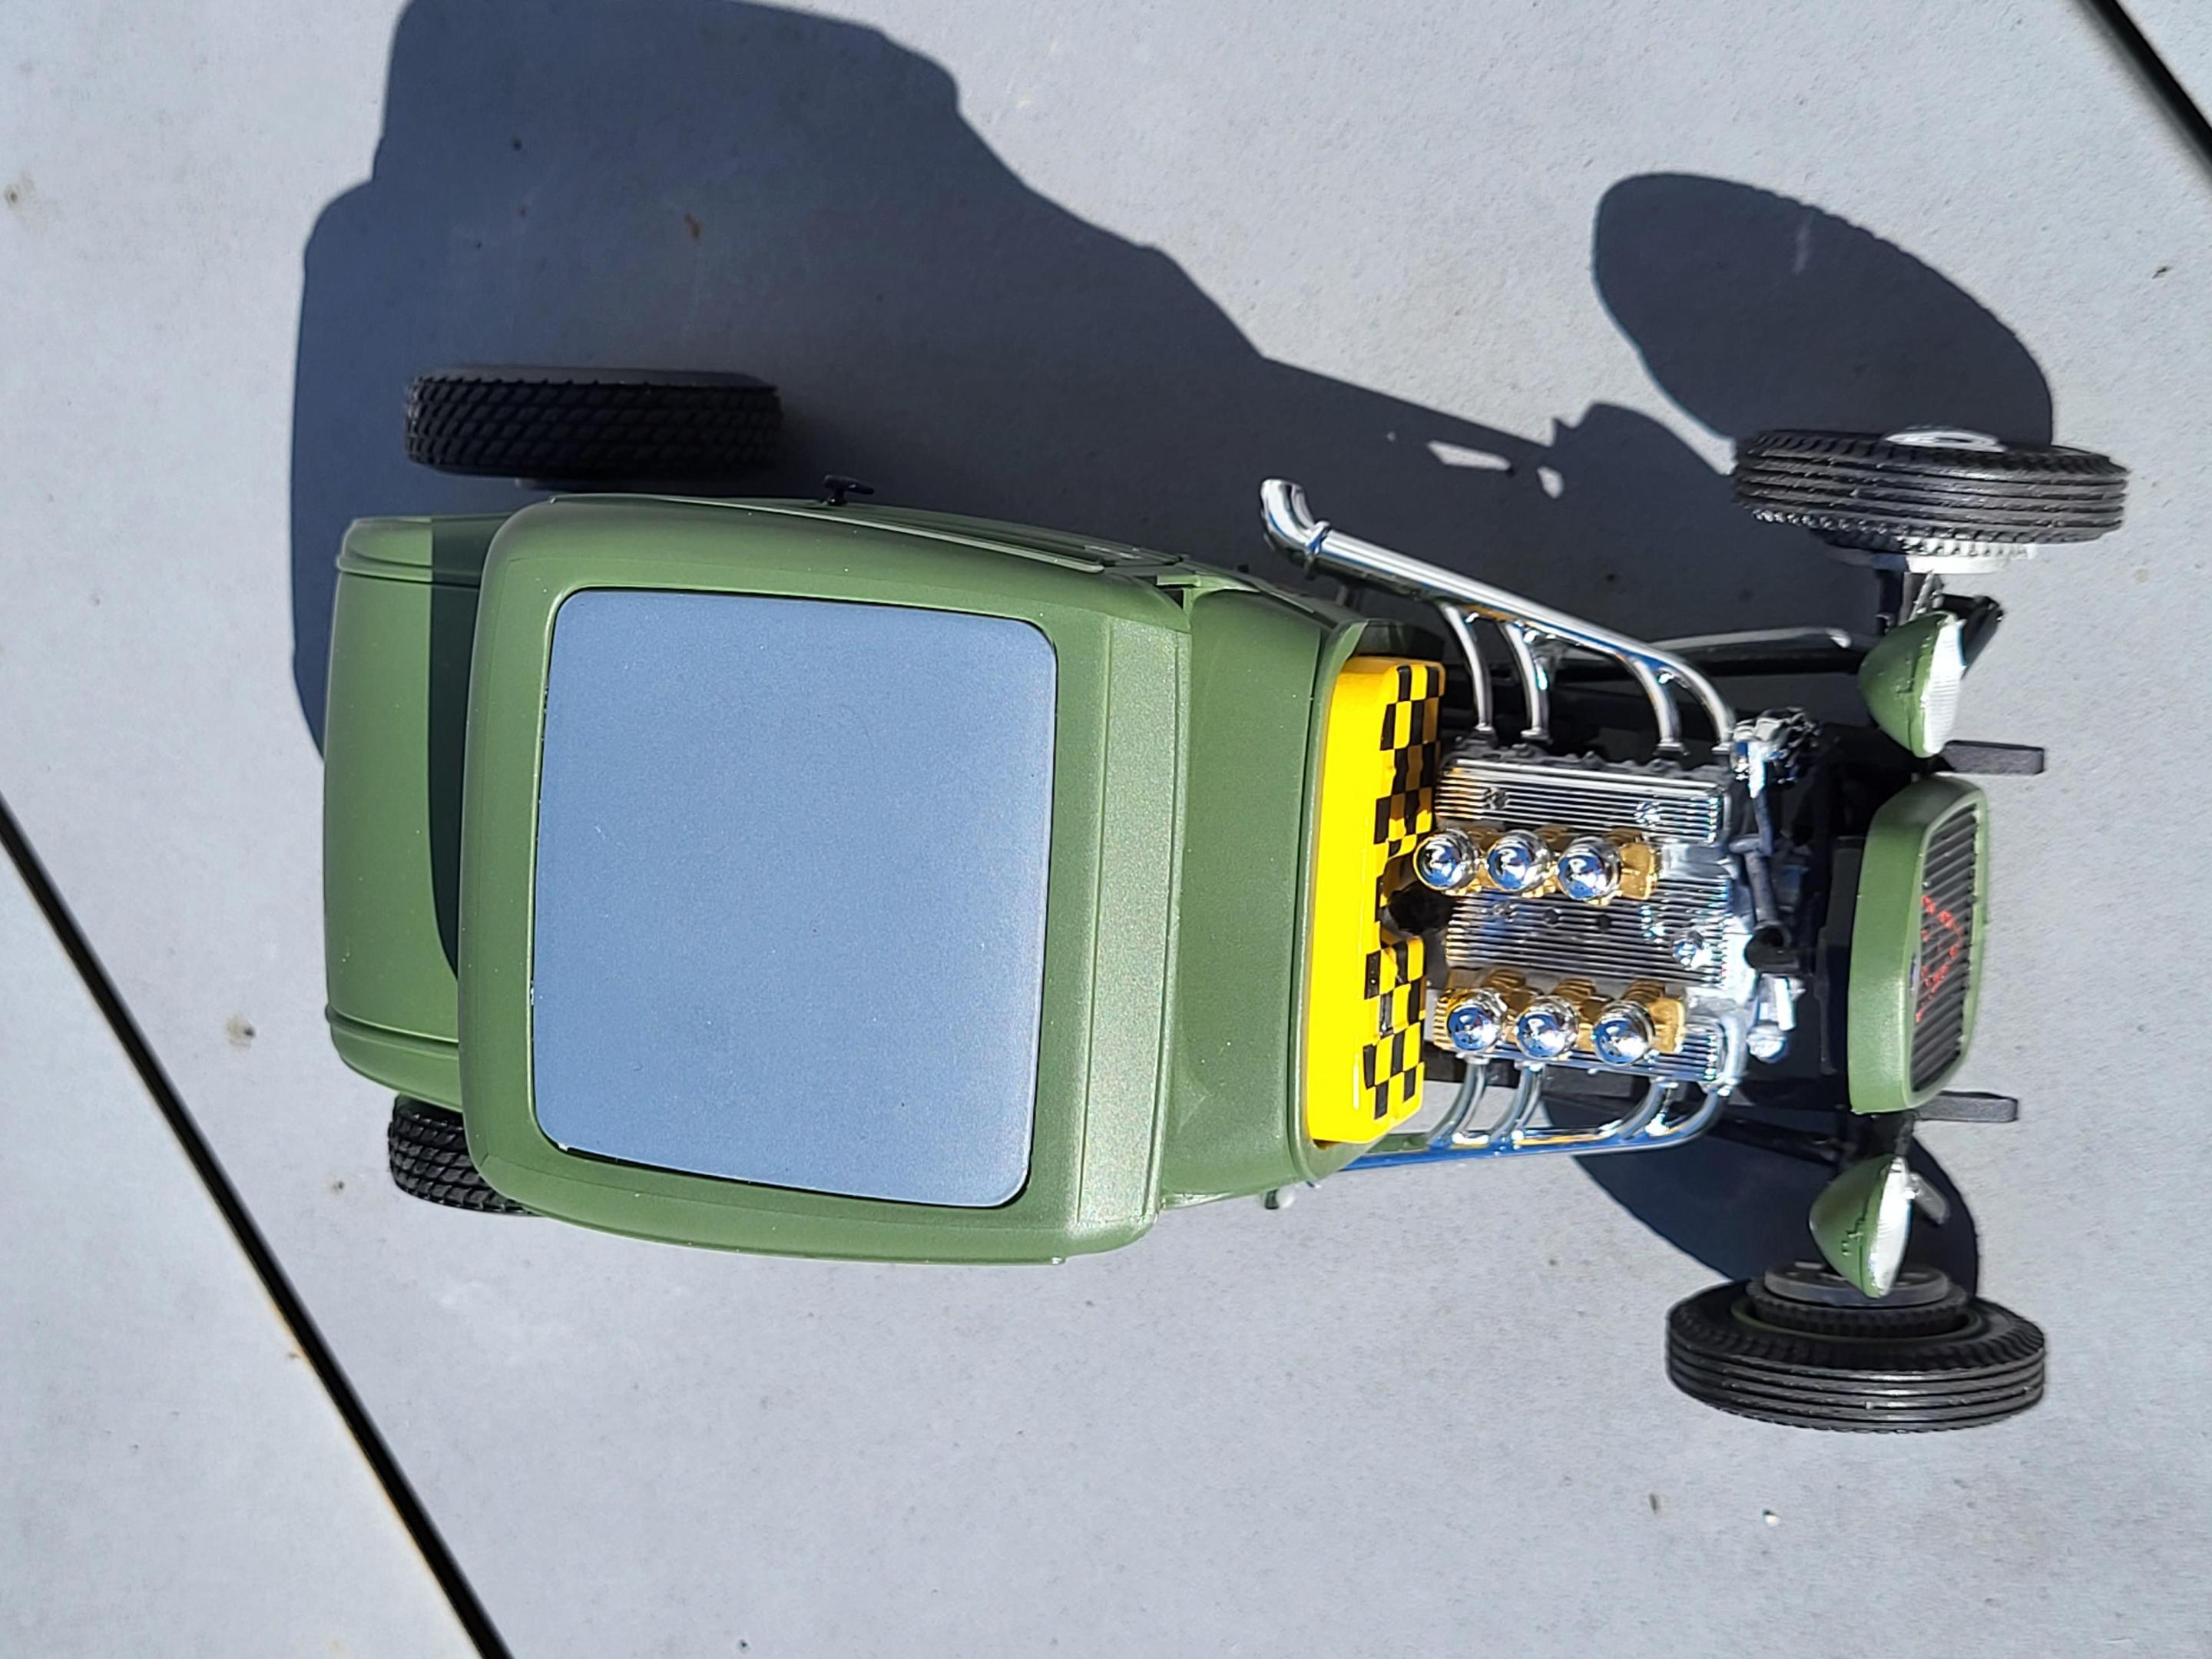
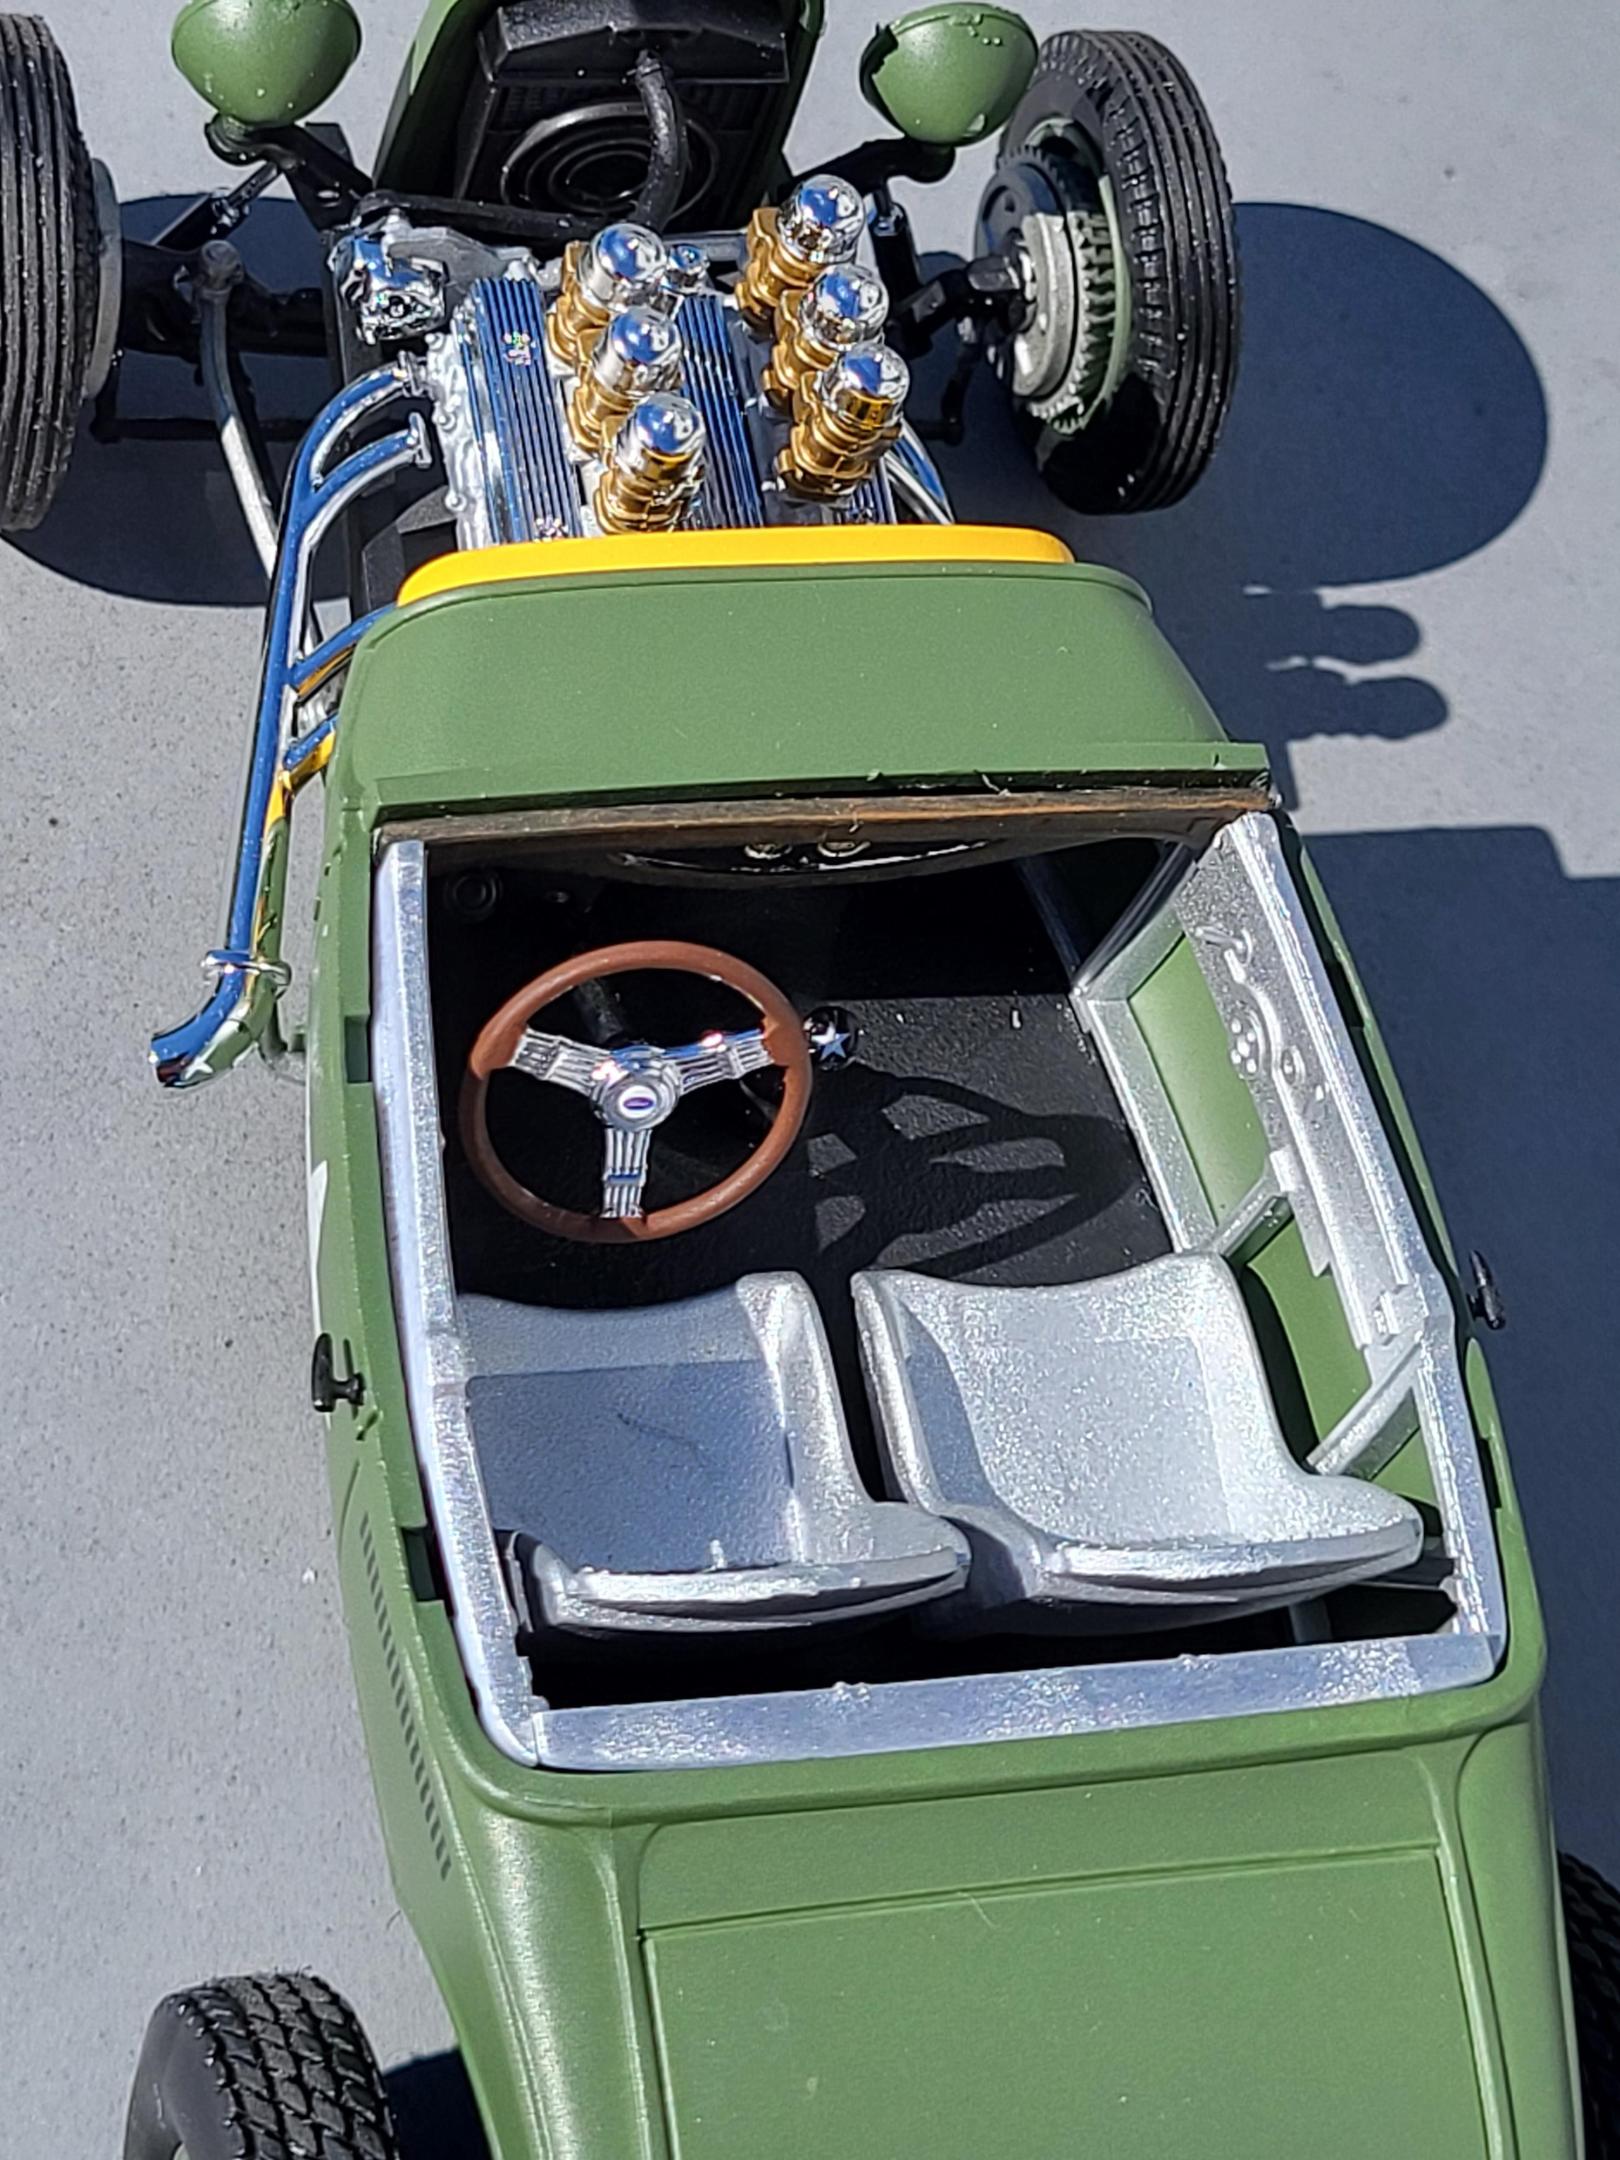
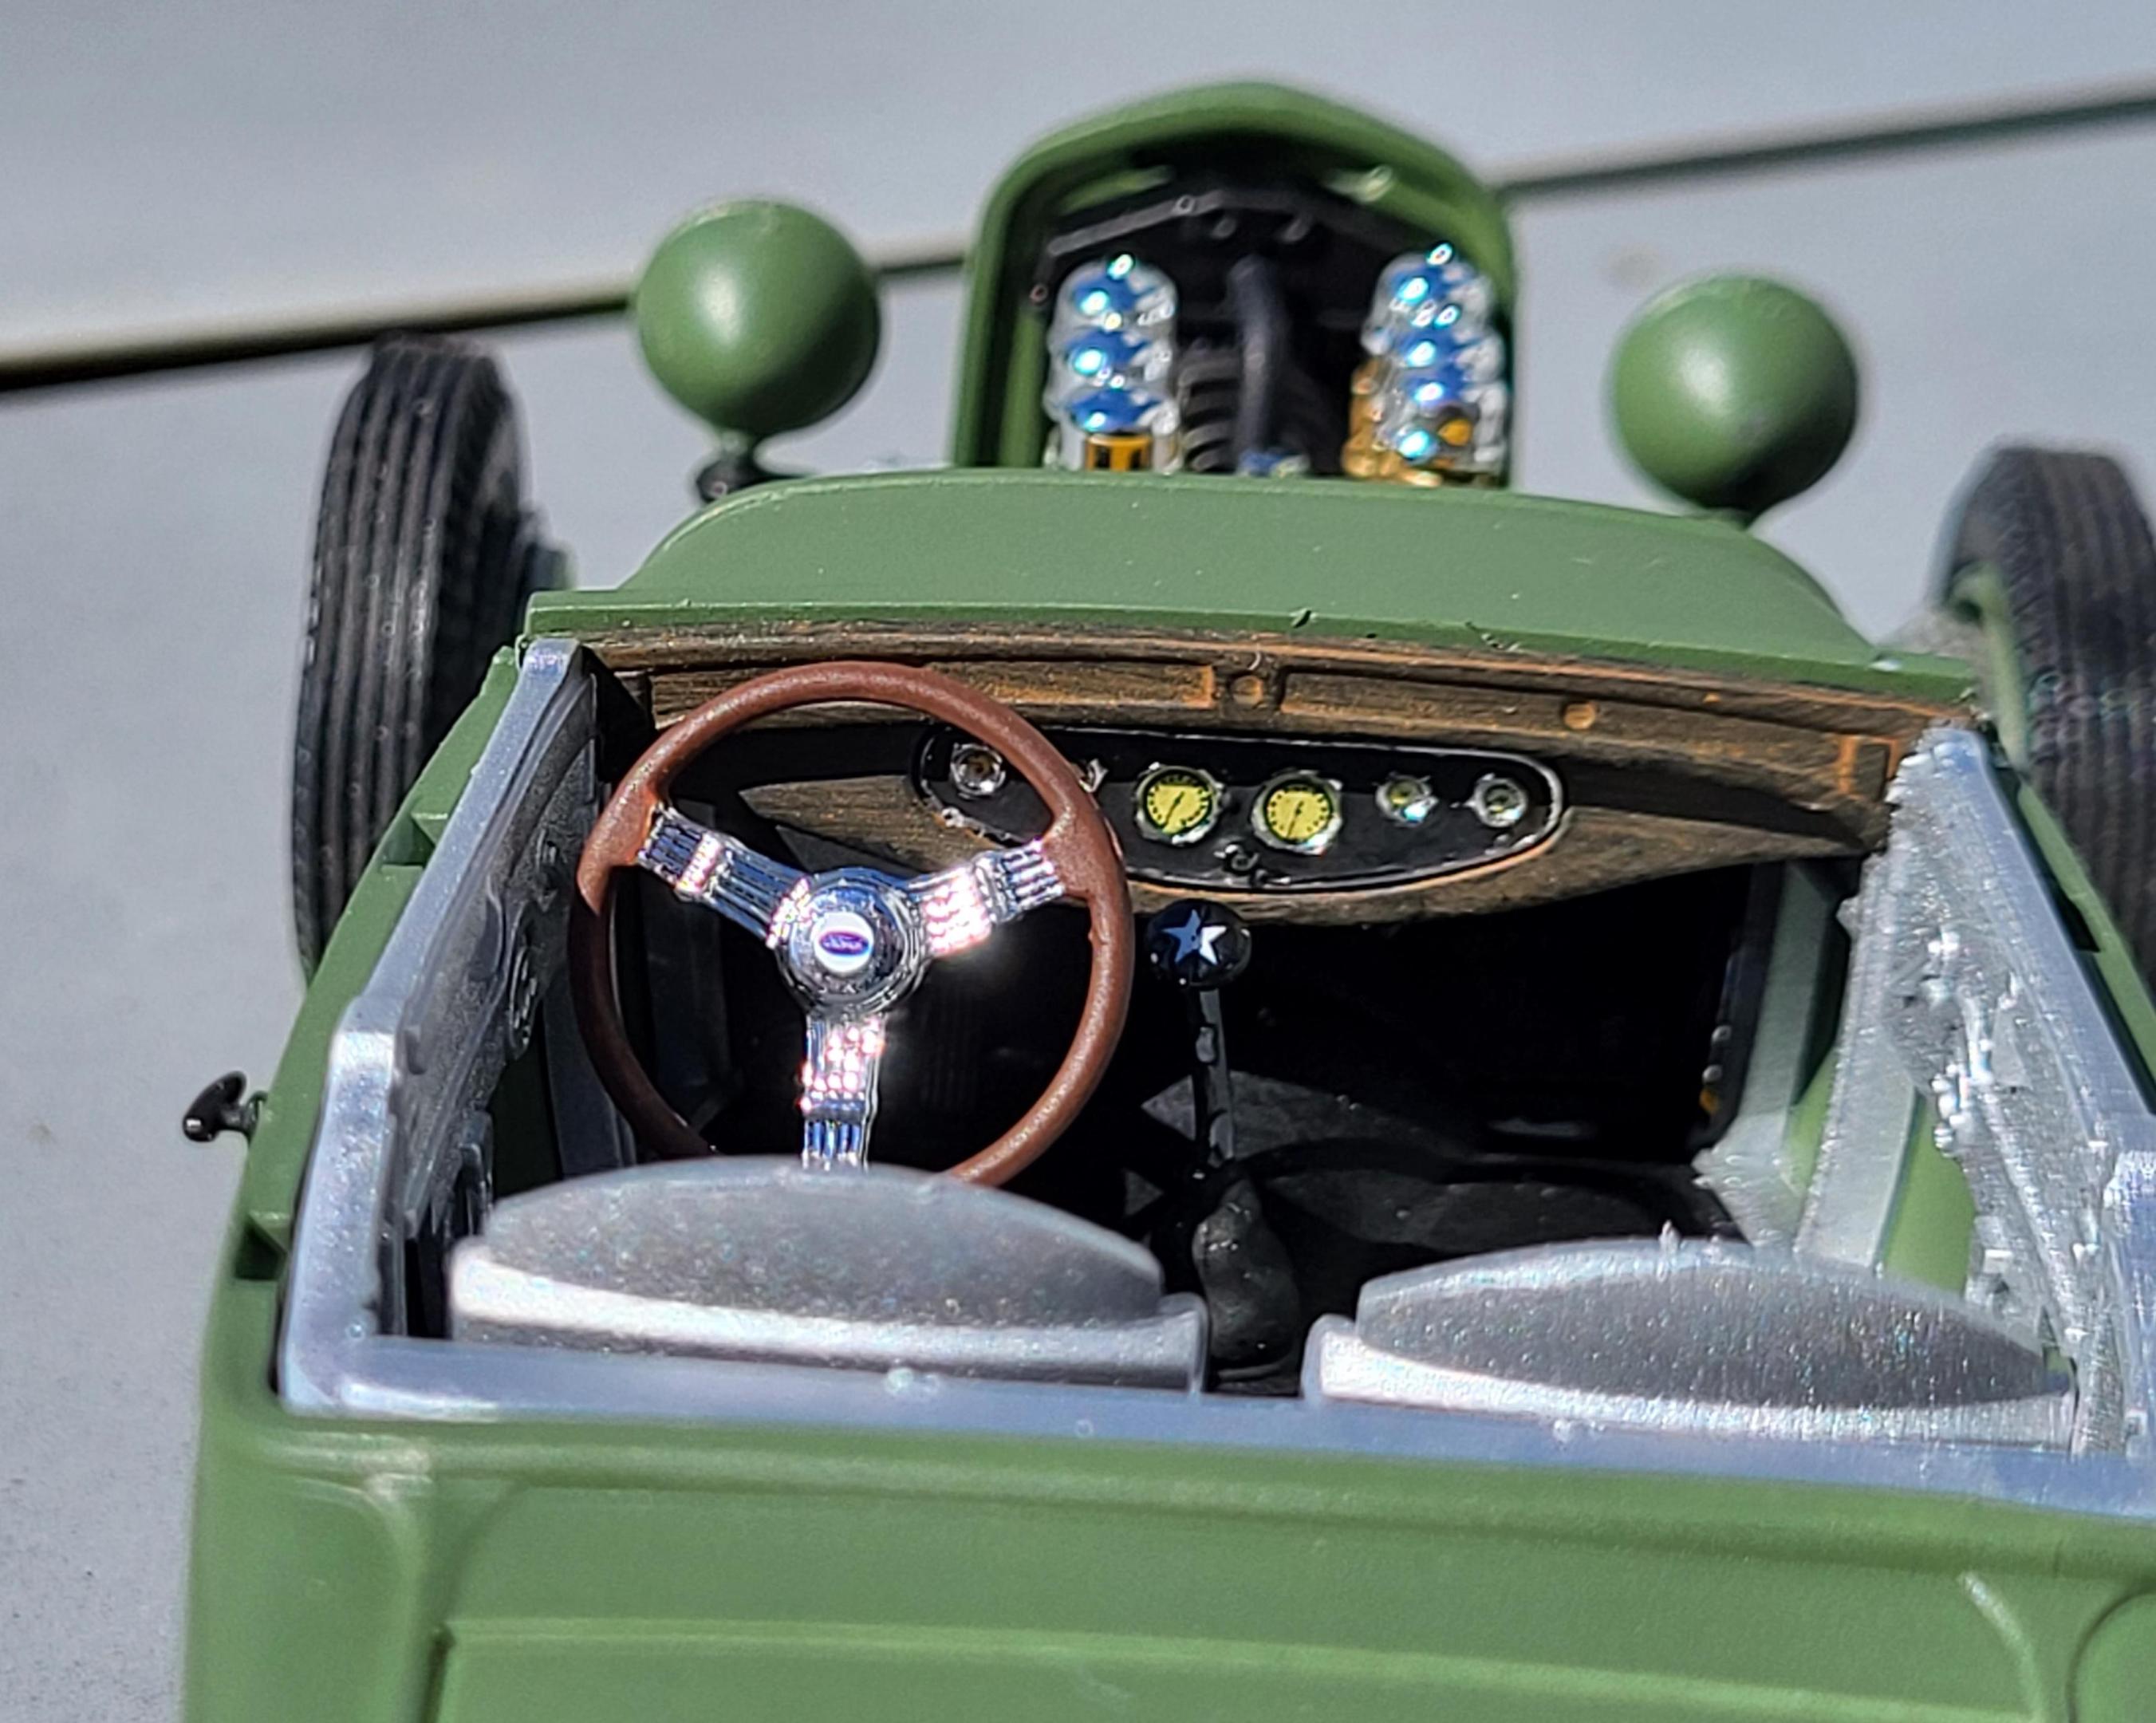
Here is my Revell 1930 Ford Model A Coupé. It is essentially straight from the box, and it's sort of a mix (marking wise) between a WWII US Army tank & a USAAF fighter bomber (P-47D?). Color is Tamiya AS-14 USAF Olive Green. Interior is Dupli-Color Aluminum.
-
Thought I should post something regarding the '30 coupe 3D model I have been working on. Back in 2010-11 I modeled a '30 as a modification ("mod") for the video game Grand Theft Auto IV. It was a lot of fun, but after a while I realized the model was sitting around on my hard drive, effectively abandoned. I dragged it back out to try and convert it for 3D printing, after noticing that apparently the large-scale market lacks a '30 coupe option. During that process I discovered lots of things that needed tweaking. My skills are limited, but I've done my best to get 'er fixed up. The body is currently up on Shapeways in 1/8 and 1/16. My pockets aren't deep enough to order one myself, but maybe someone else will take the plunge. Comments and feedback are welcome
-
Hi guys, Sharing with you today an old built, made by Modelhaus. This is the '61 Cadillac Coupe series 62. It's now very very rare and I regret I haven't buy more than one at the time, to make a convertible or an Eldorado from it. I built it around 10 years ago, not pristine but presentable, IMHO. I also regret, (and I am sure I'm not the only one here), that Modelhaus is not around anymore....the quality was excellent. I am glad that they made amazing hubcaps for that model, way better that what Jo-Han's made for its 1961 Fleetwood. Enjoy !
-
Just finished this '32 Ford 3-Window Coupe kit made by Revell Monogram. The white fenders were a little nod to the Ramblin' Wreck from Georgia Tech, with an orange body instead of gold. Enjoy!
-
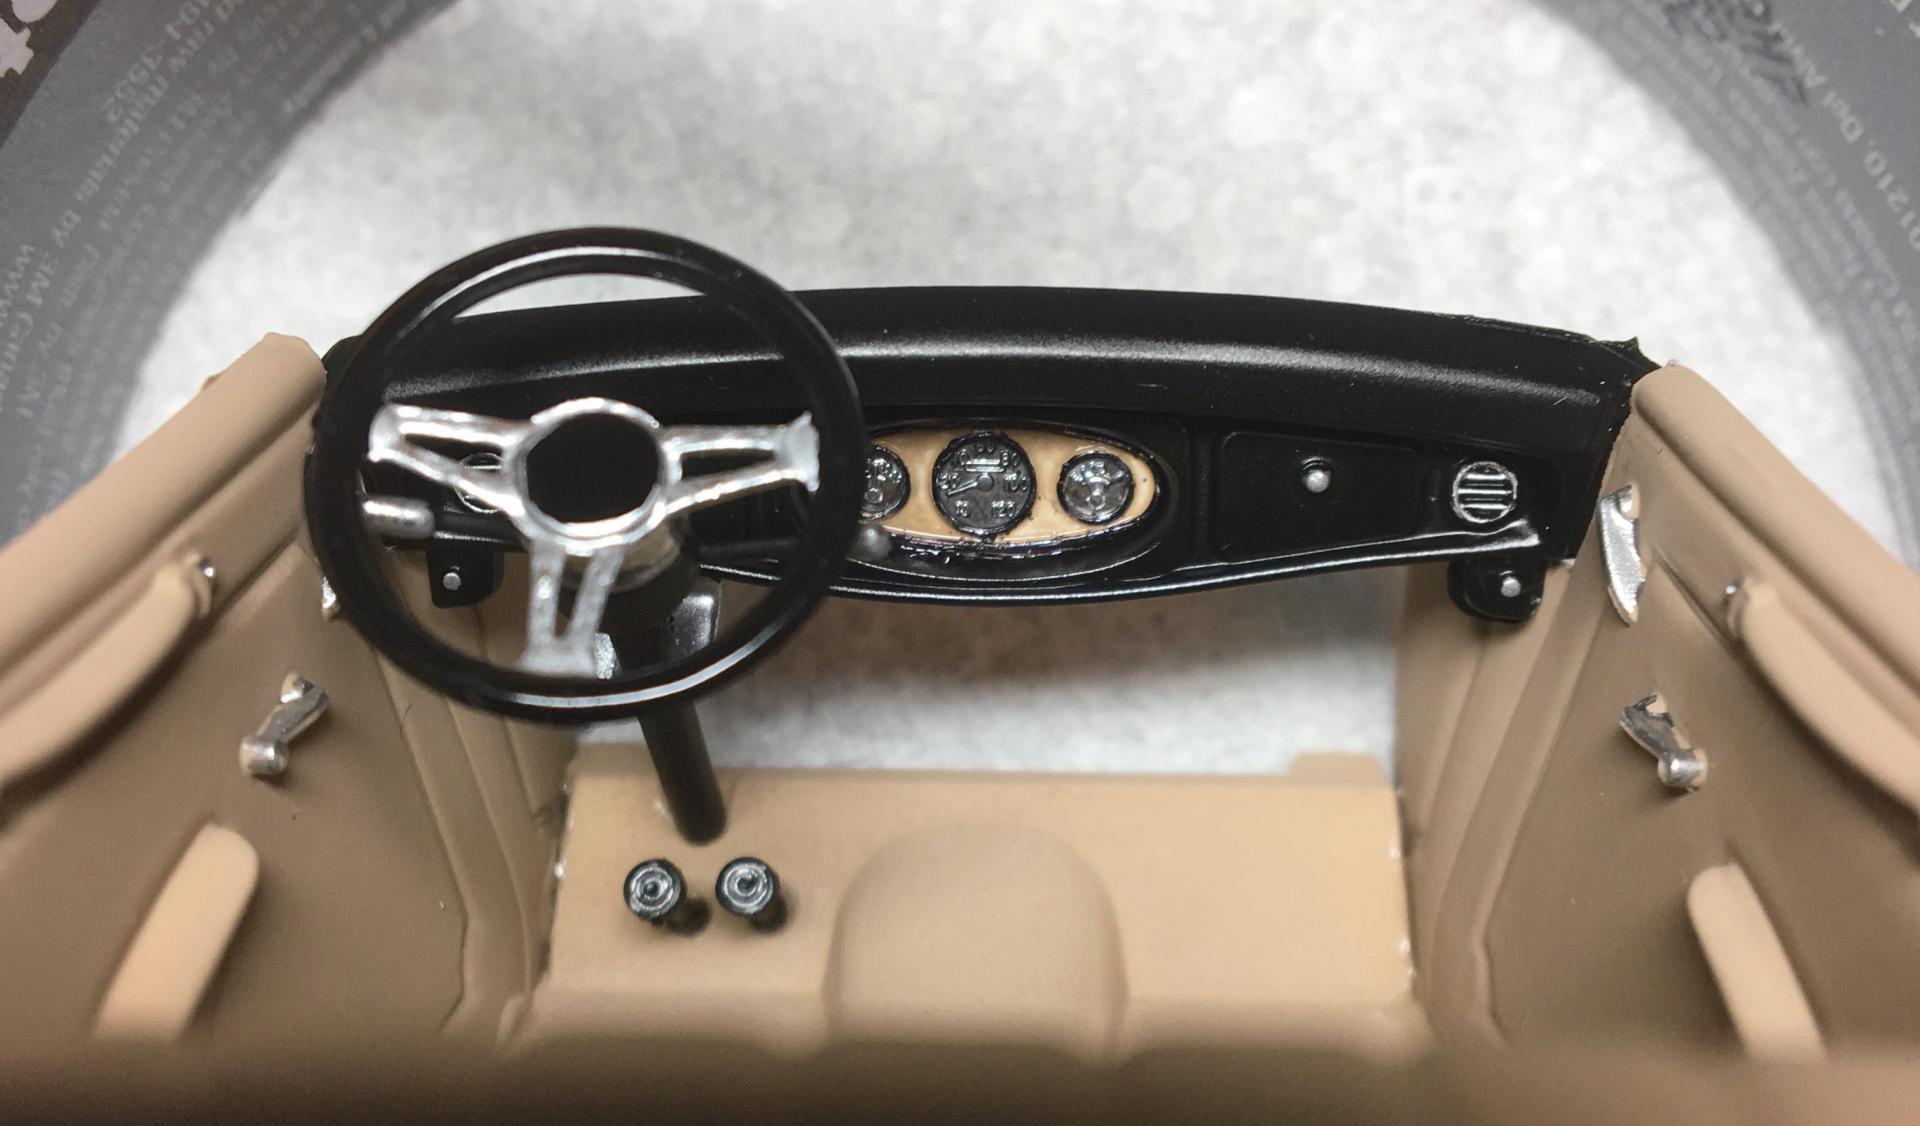
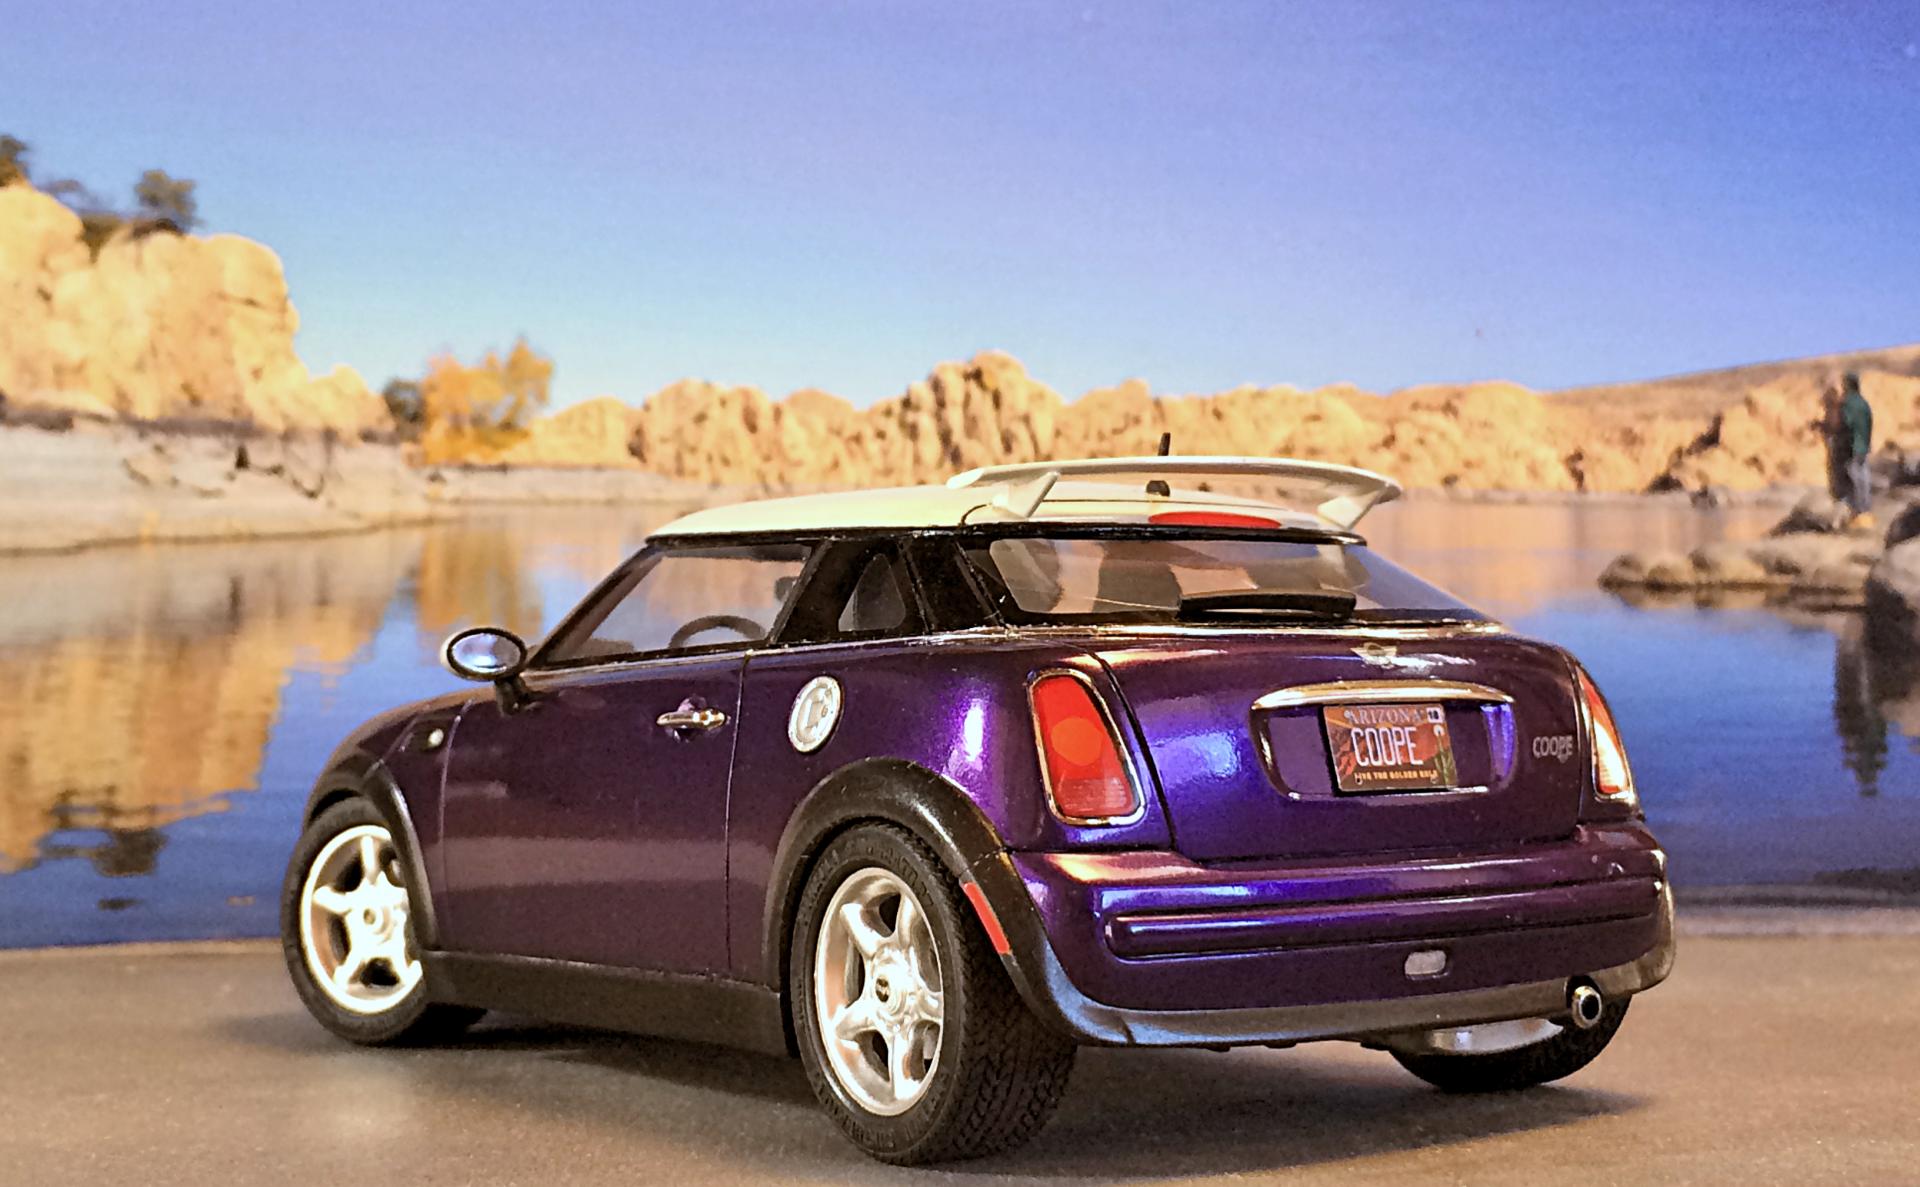
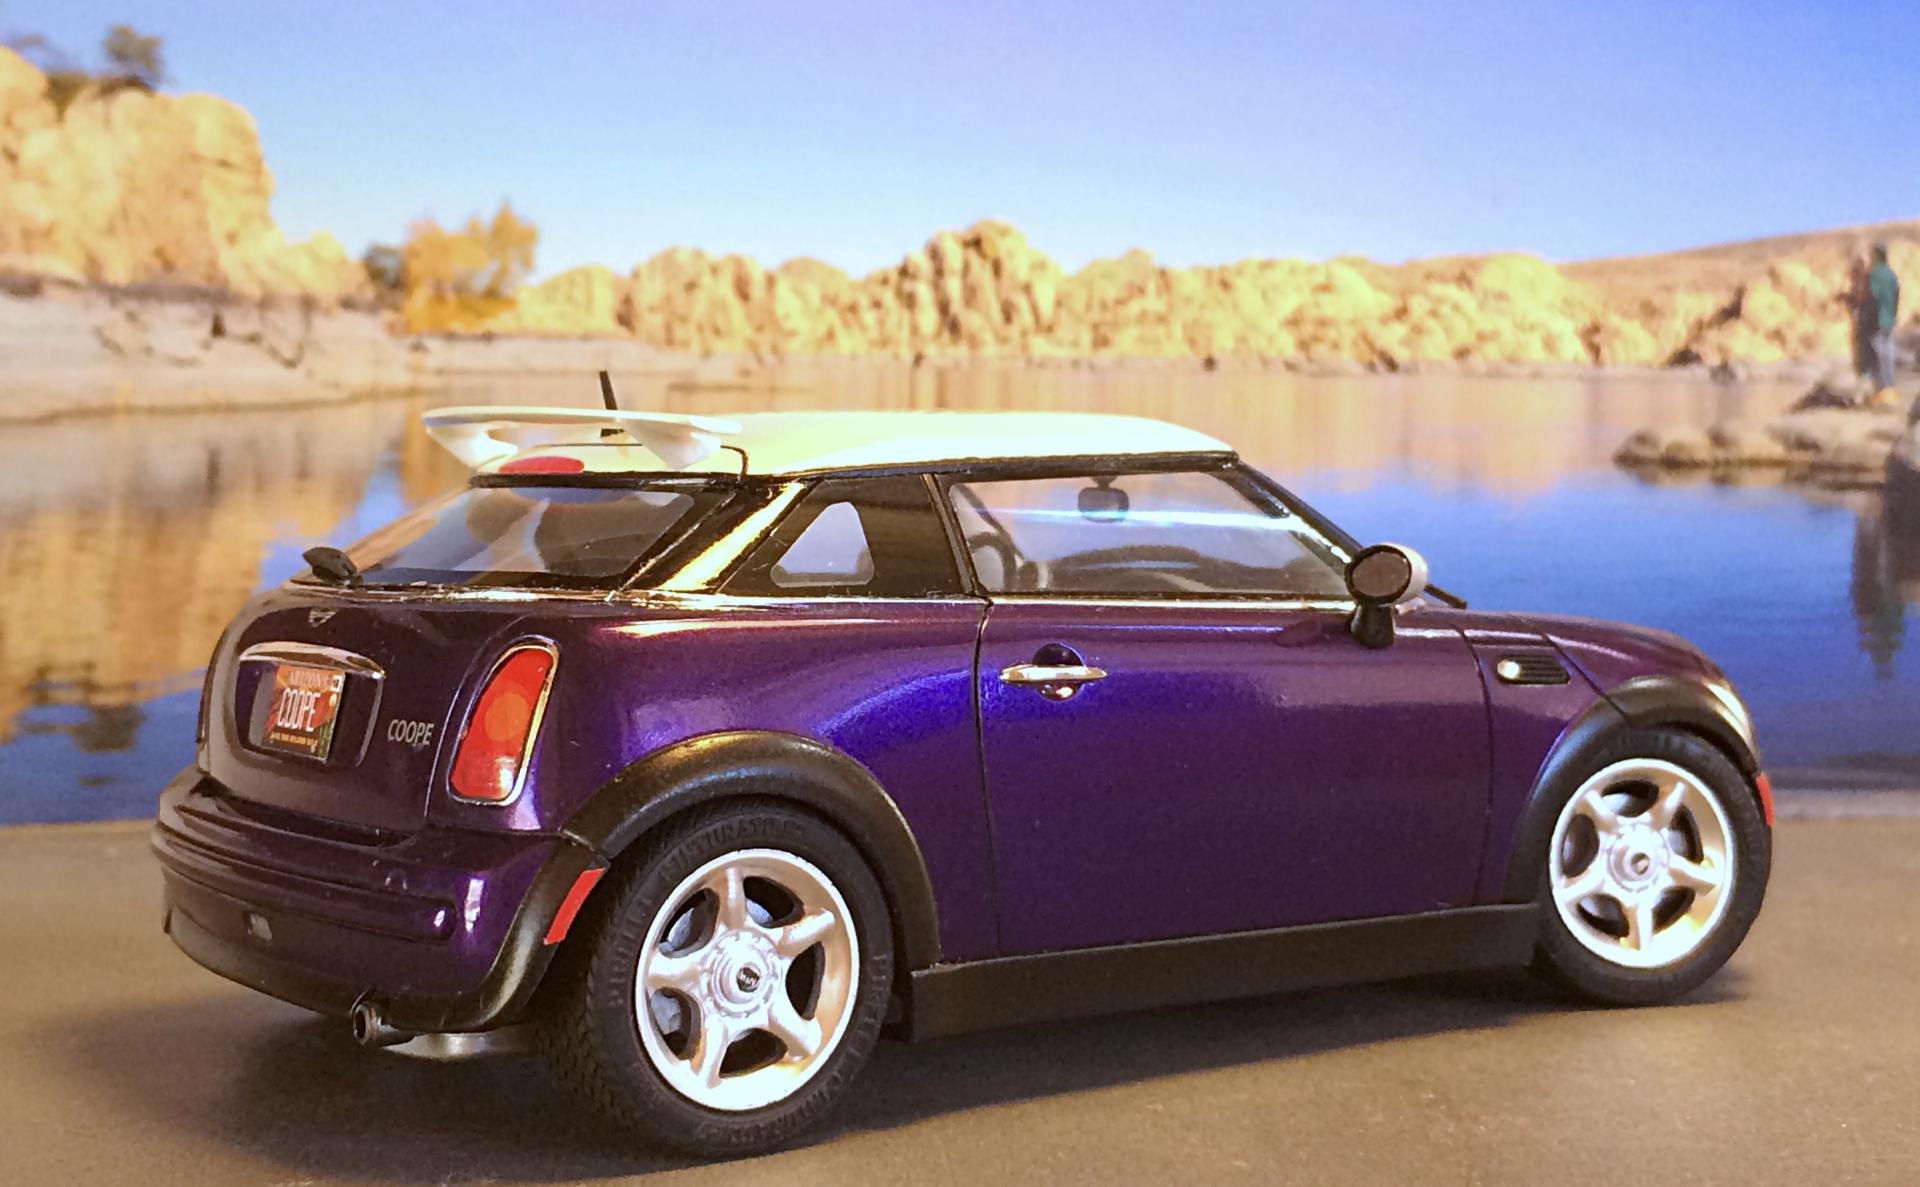
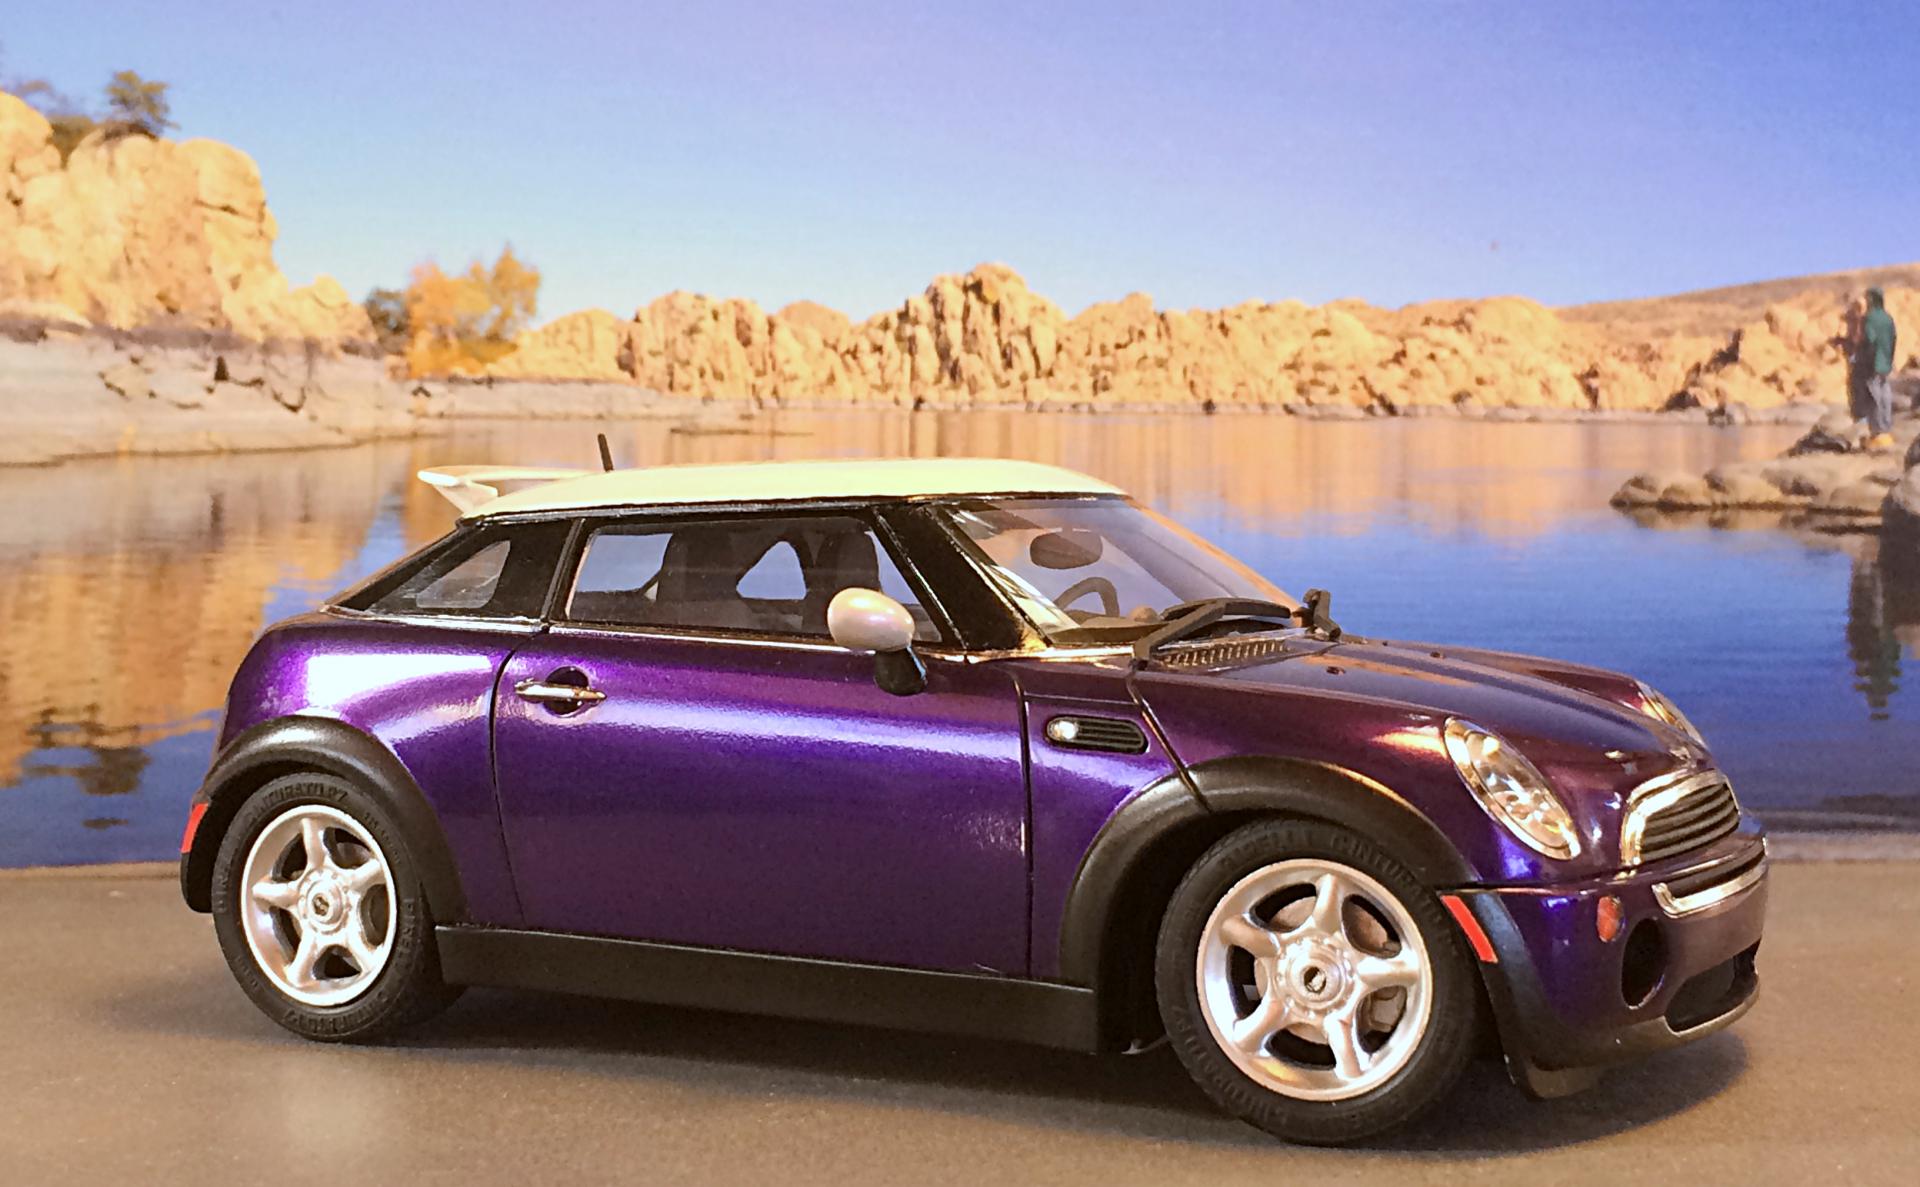
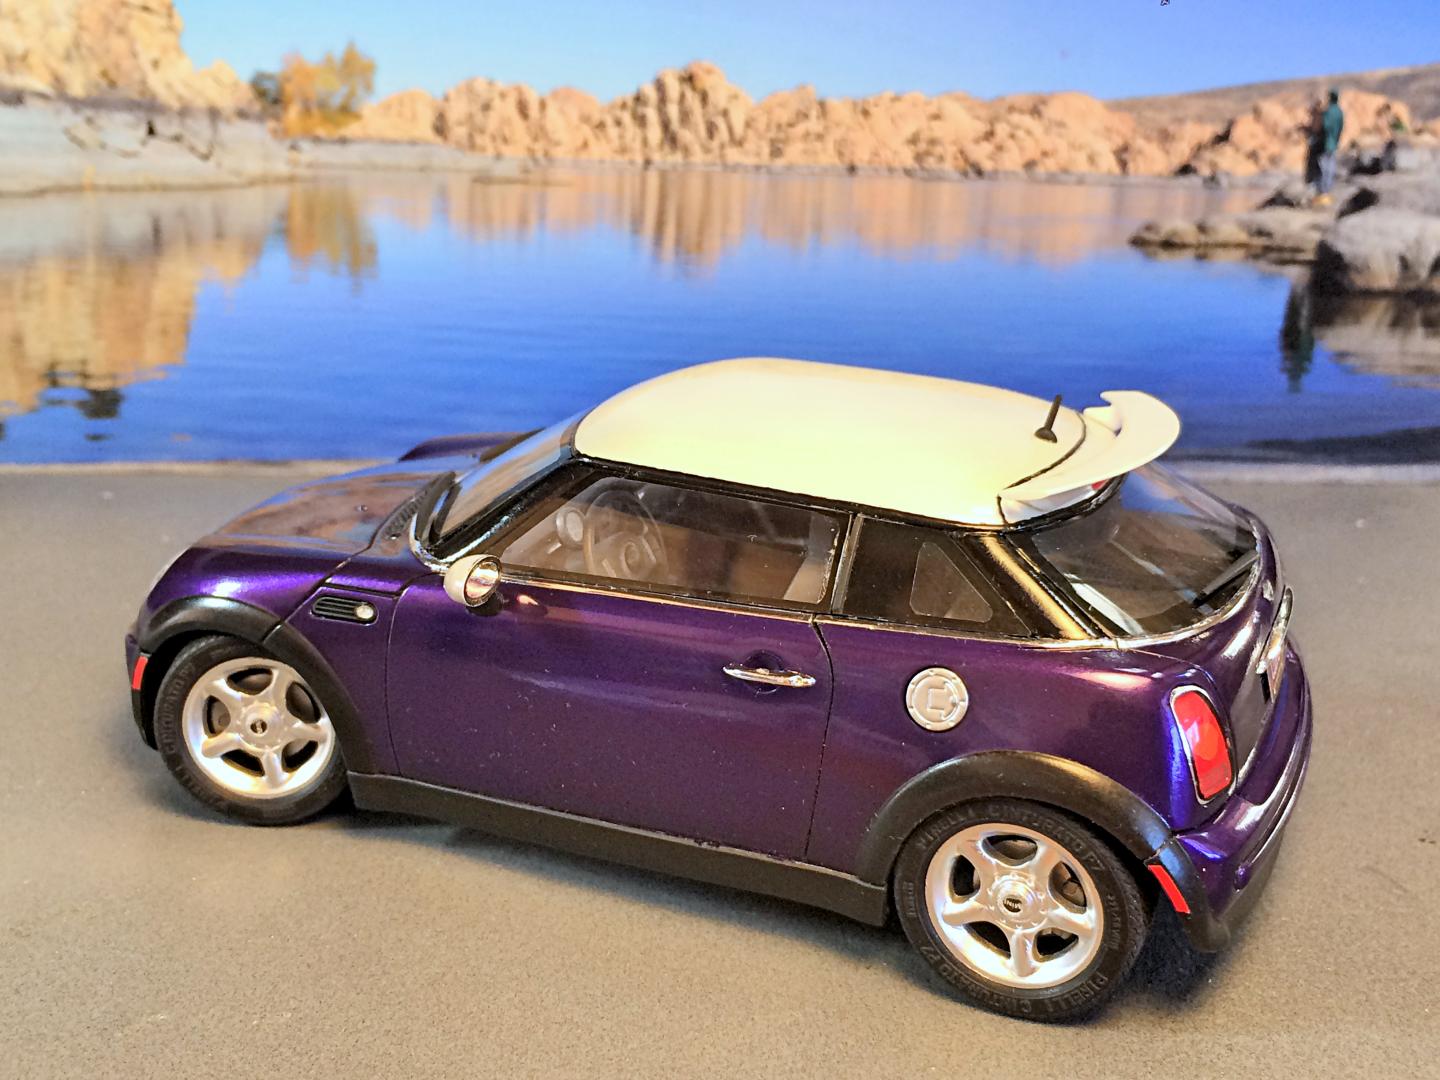
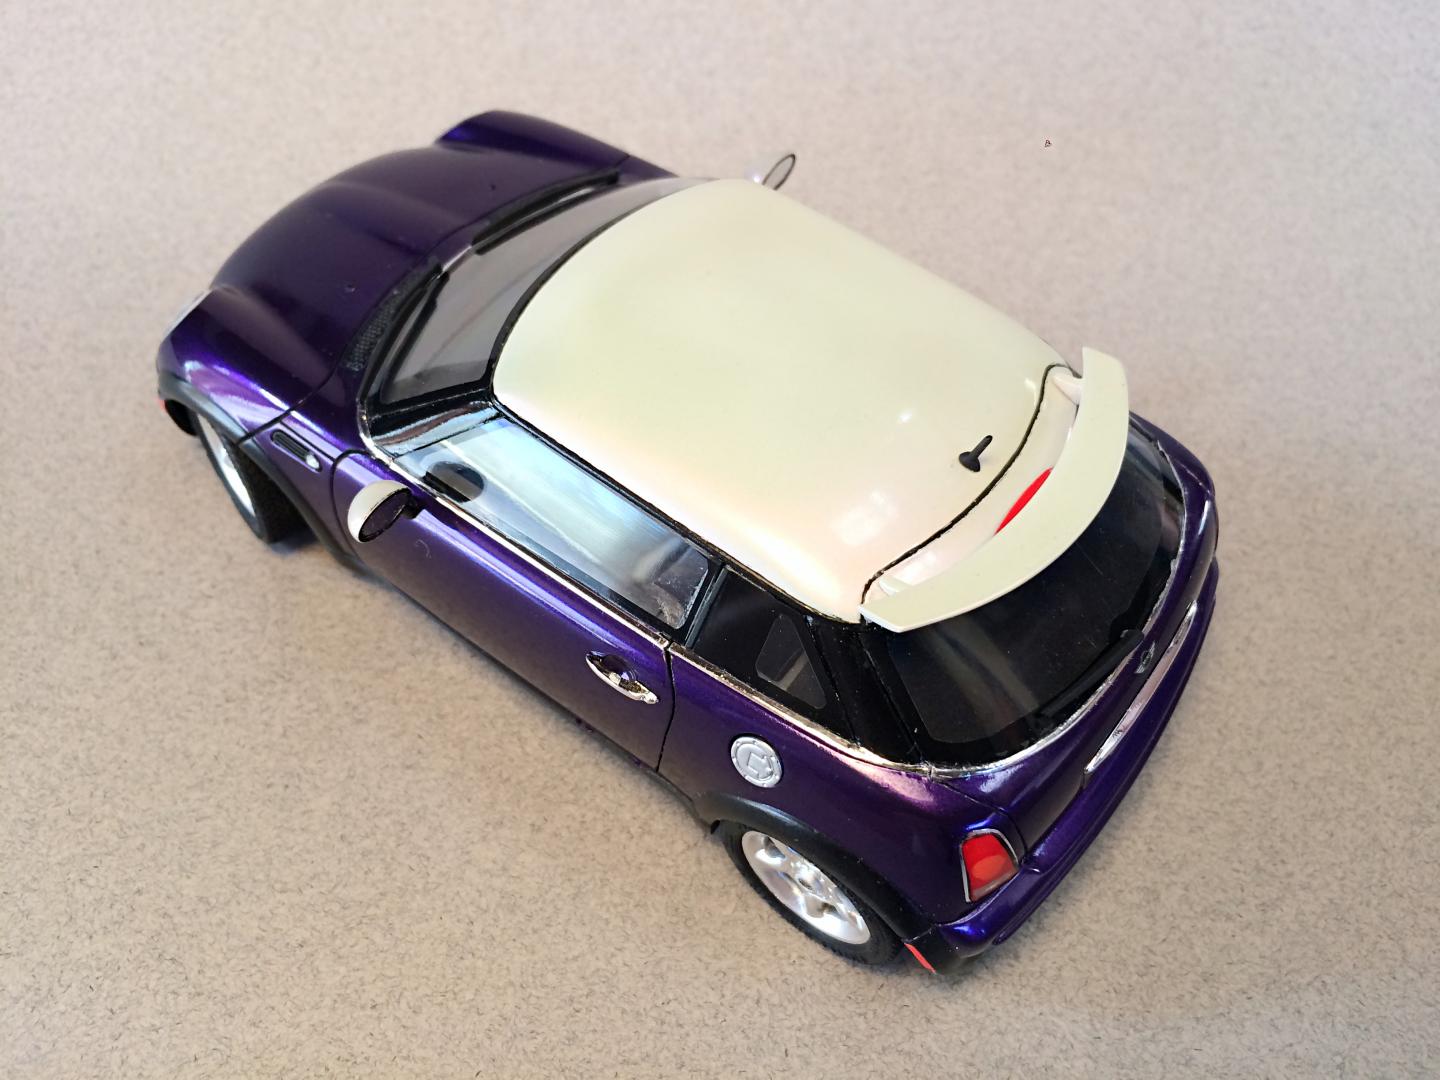
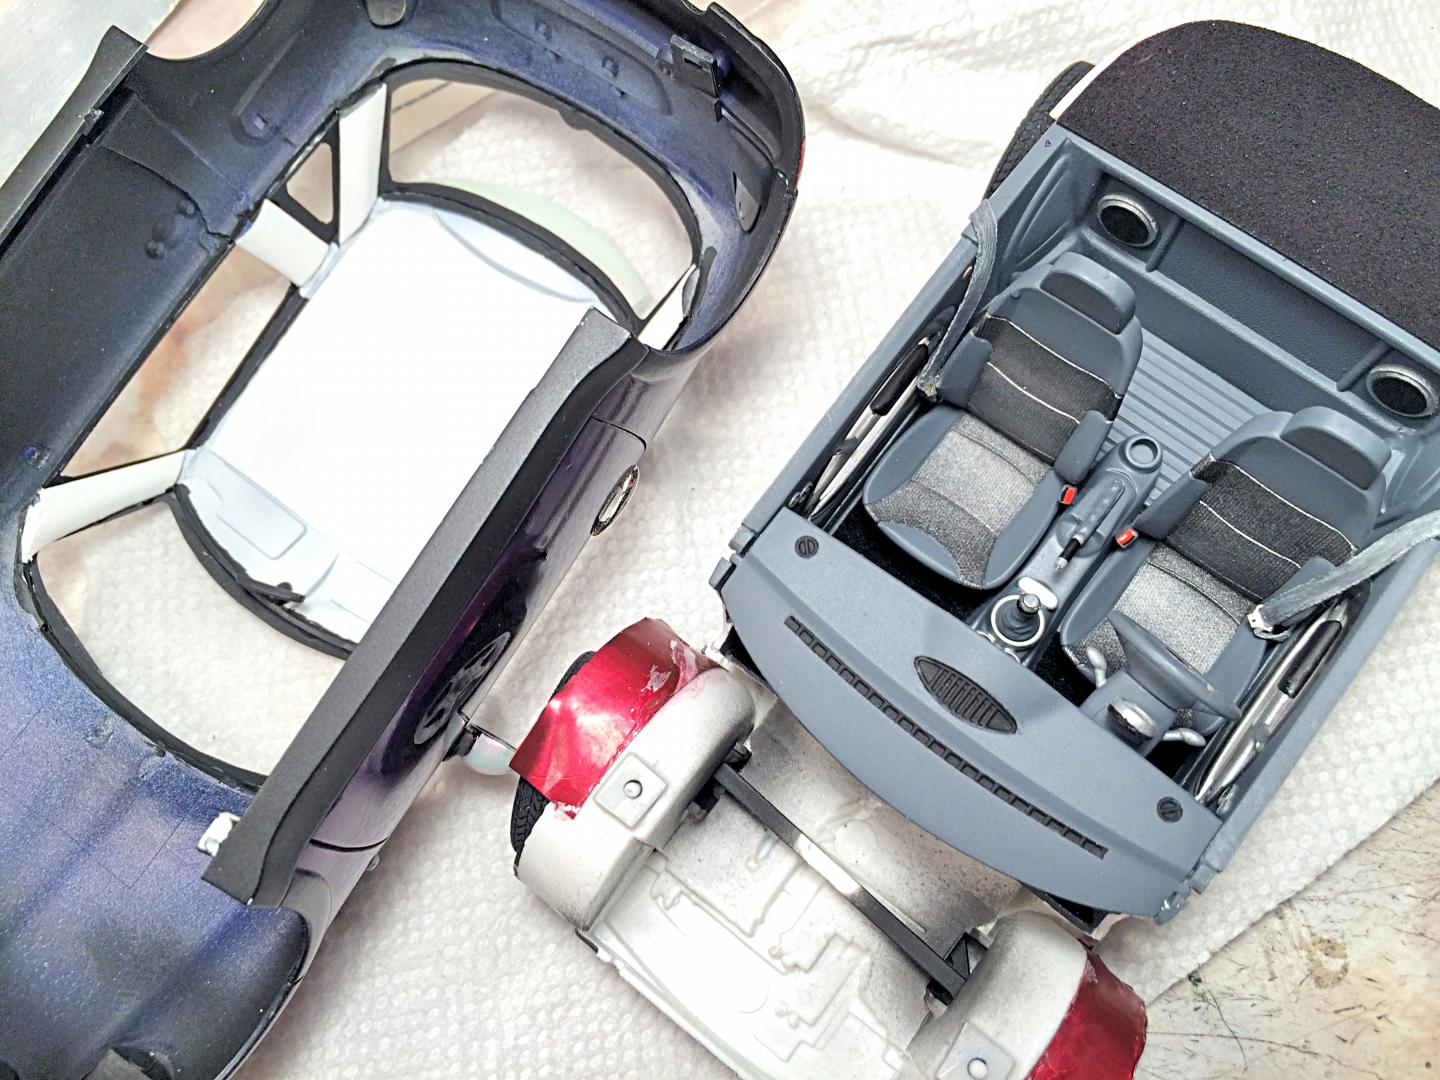
First model finished in 2018, but before I weather it. This was a Fujimi MINI ONE RS-42 kit, 1:24 scale, think it was never marketed in the USA because it's right hand drive (RHD). I wonder if Fujimi produced a left hand drive kit, because the body had indents for the wipers to be either side.I shortened it 8" (full scale), tilted back the windshield, used a Porsche 911 windshield for the back, which determined how much it was chopped. I intended the roof to slope down like the Land Rover Evoque (MINI Countryman is similar), it needed sectioning at the rear, shortened 16", and I sloped the leading and trailing profile more. Changed the dash from RHD to LHD. Scratch-built the wing, gas filler is a copy that I made long ago from the Tamiya Isuzu VehiCross. Added big driving lights in the front bumper. Arizona MVD website used to make the license plate. Lowered the stance a little. Stickers cut for the US sidelights. Interior tub was shortened, VW Golf rear was spliced in after removing the seat, seats airbrushed using a fine screen mask for fabric texture, added seatbelts. Rear parcel shelf is a piece of Christmas junk food packaging, painted flat black. Used thick paper for the headliner and pillar covers. Nail "polish" paint, pearl purple, and pearl with purple iridescence white. Used pictures of my 2003 MINI for reference. It was more of a PITA than usual (had to paint roof 3 times), I don't consider it contest winning quality, but would still enter it in a If I Had Designed It category.
- 11 replies
-
- mini cooper
- coupe
-
(and 2 more)
Tagged with:
-
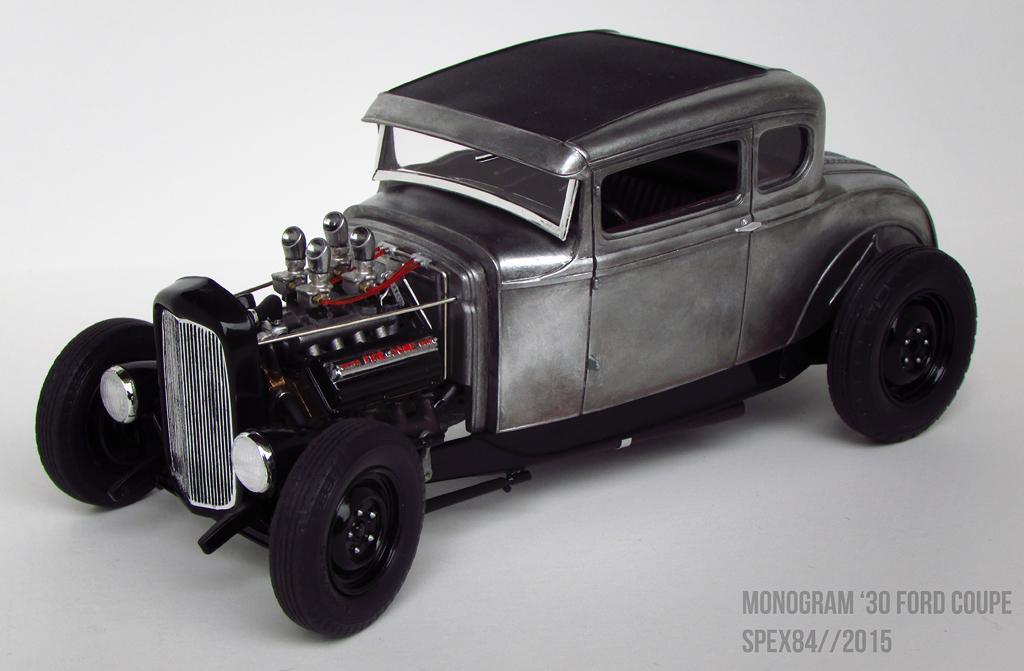
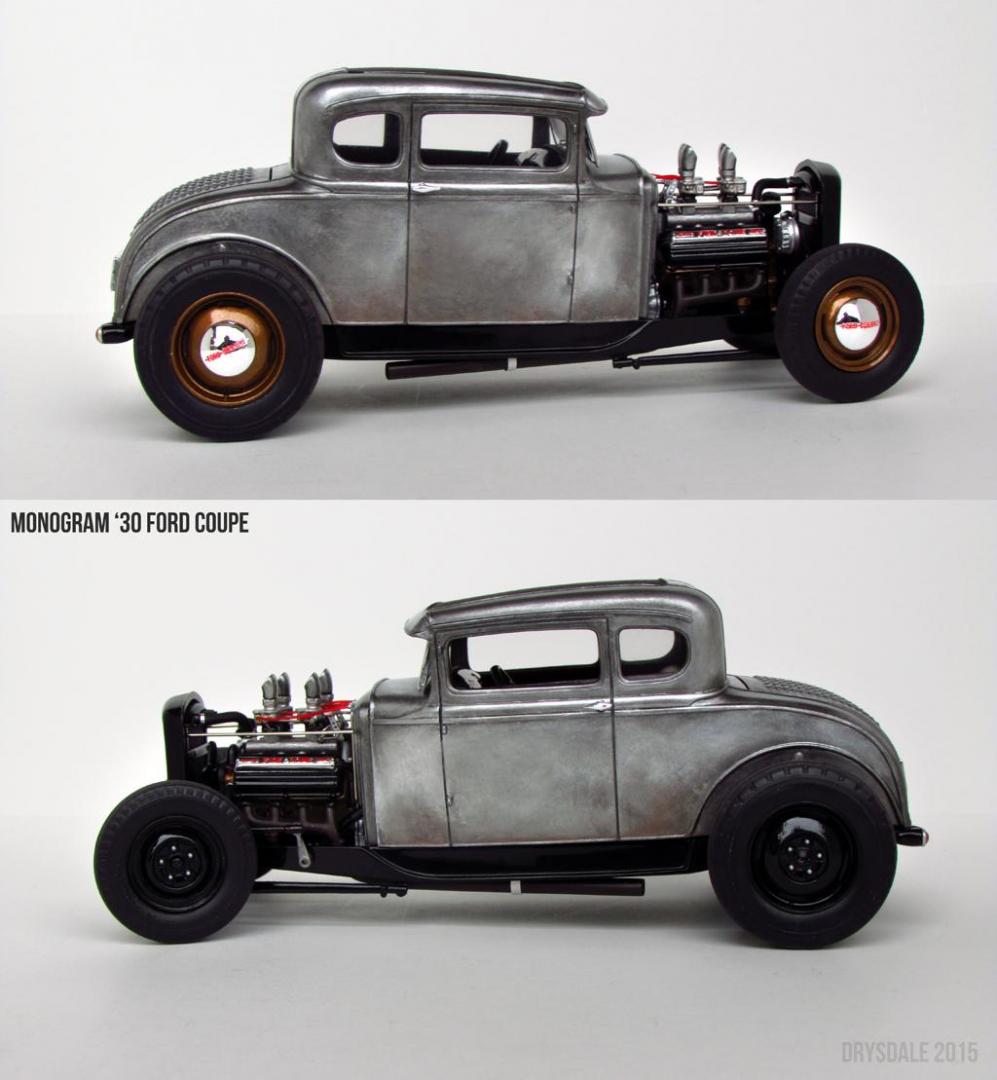
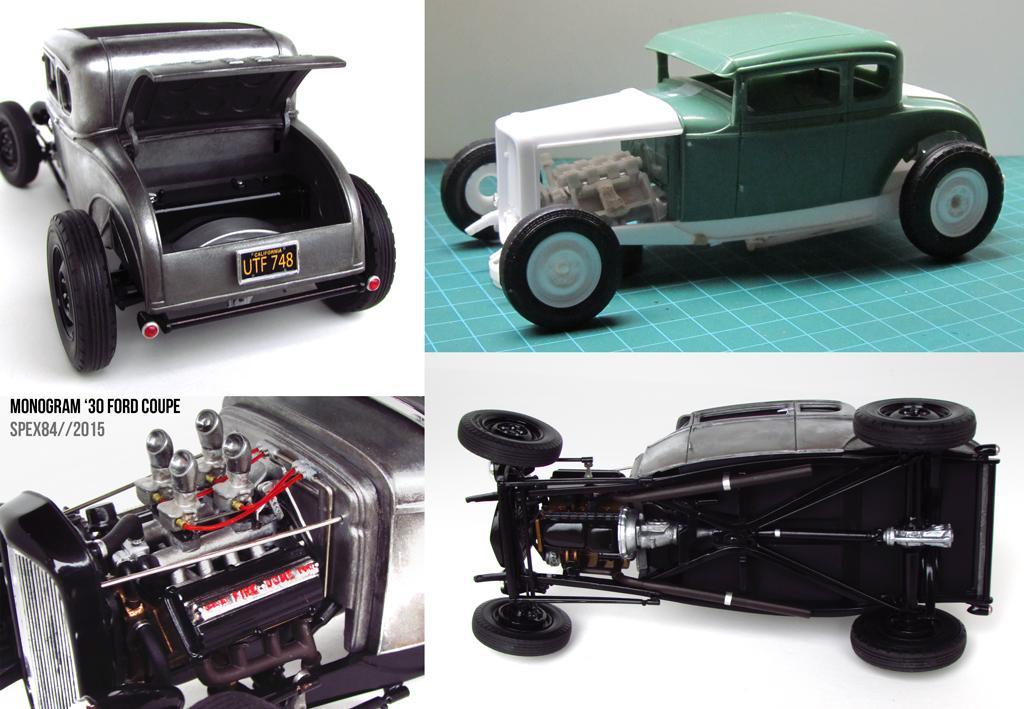
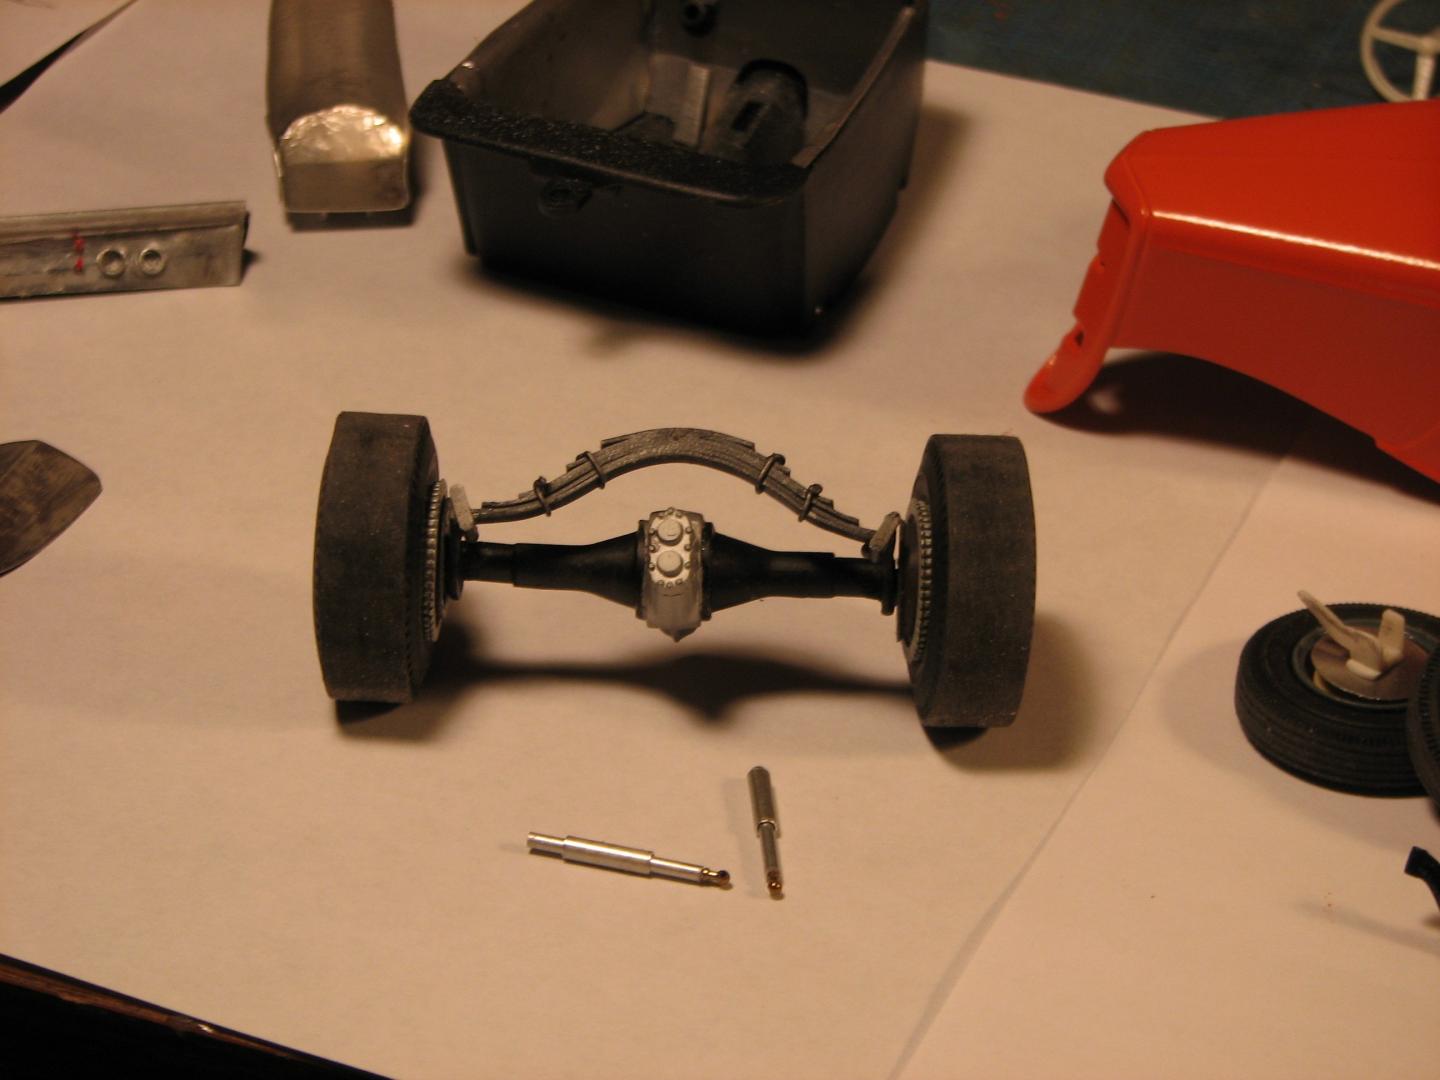
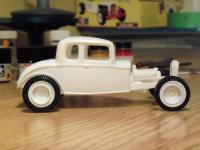
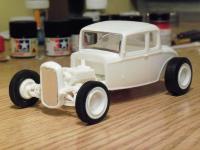
This one has a few little issues to be taken care of (radiator cap, black paint on ends of rear axles where they're exposed, mis-alignment of driver's side interior panel(doh!), but it's pretty much done. The build began in September 2011, and it's progressed in fits and starts since then. Thanks to Acecargarageguy for transmission advice (way back when), and Eric Macleod for trading me a box of old Monogram and MPC tires. They worked out very nicely. A few notes on the build and parts: -Monogram '30 coupe, chopped, wheel wells/bead detail added, Revell '32 5w louvered trunk modified to fit, cowl light and gas filler holes filled. Beltline trim added in half-round styrene and strip plastic. Windows made from overhead projector sheets. -Revell '32 5w interior, brush painted in thin layers of acrylic reds to mimic oxblood leather. Piston shifter and '40 Ford dashboard from same kit. AMT '40 Ford steering wheel. -Floor modified to match width of 1/24 Monogram body. Scratchbuilt trunk floor and interior. -Styrene trunk lid detail and hinges. Gas tank from Lindberg roadster pickup, parts box cap. -Modified Revell '32 frame. Front crossmember moved forward to lengthen wheelbase, Revell '37 Ford PU X-member, Monogram '30 rear crossmember, custom transmission crossmember. Original molded-in floor removed from frame. Friction shocks added from Revell '29 Pickup. -Firewall footwells flattened for engine clearance, scratchbuilt fuel blocks (styrene, hypodermic needle pieces) -Modified Revell '37 Ford axle (dropped, ends filled, posed steering). Scratchbuilt drag link. Pitman arm from Revell '29 Tudor. Metal mono-spring on '29 spring hangars, scratchbuilt radius rods with early style rod-ends. Revell '50 F1 pickup steering box. -AMT phantom Vickie headlight lenses and bezels on modified AMT '40 Ford "Rides" headlight buckets. Headlight stands are cut-down AMT Double-T parts. Taillights are Revell '37 ford with aluminum tube bezels and lenses made by melting red styrene into the bezels with liquid glue. Taillights have 5-min Epoxy on top to give them a domed shape. -Monogram '32 ford roadster '40 Ford-style brake backing plates, plumbed with partial brake lines. -AMT '53 Ford PU Desoto Firedome hemi engine. AMT '57 corvette T-10 transmission with custom JB weld adapter (ha!). Stock exhaust manifolds adapted to side exhaust dumps made from sprue to imitate exhaust pipes made from cut-down '30s Ford torque tubes. Scratchbuilt "U-fab" style intake. Carbs from '53 PU dechromed, split (they're molded in pairs). Parts Box resin intake scoops modified and re-cast, painted with Alclad. Fuel lines are clear stretchy beading wire coated with a red sharpie. Carb linkage made from thin wire crimped on the ends. Scratchbuilt stock-style valley cover and alternator bracket. Scratchbuilt thermostat housing/water hoses between intake and radiator. -aluminum driveshaft with slip joint. Rearend is a quickchange (double dragster?) combined with axle housings from Tweedy pie (I think). -Front tires are Revell '37 Ford PU. Wheels are Revell '32 5w kit's 40-Ford style pieces with AMT '40 Ford "Deluxe" cap on one side only. -Rear tires are MPC '31 Chrysler with modified Monogram '41 Lincoln wheels ('40 ford center lug detail spliced into the Lincoln wheels) -Door handles from Revell '30 Ford touring. License plate from '30 Revell Ford Woody.
-
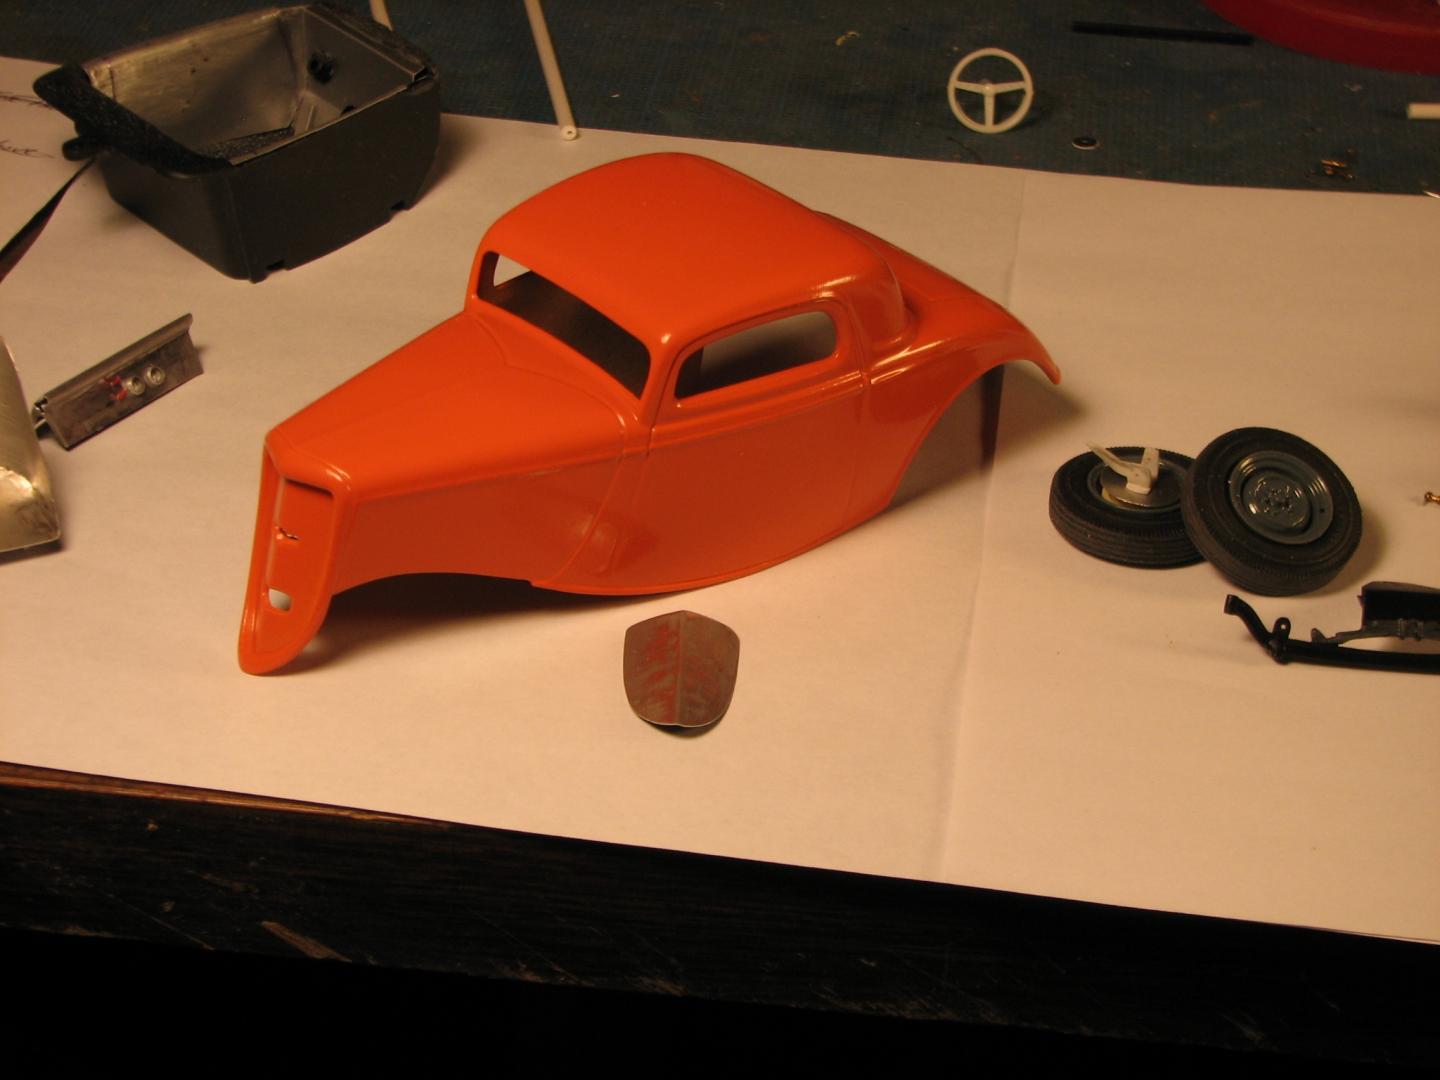
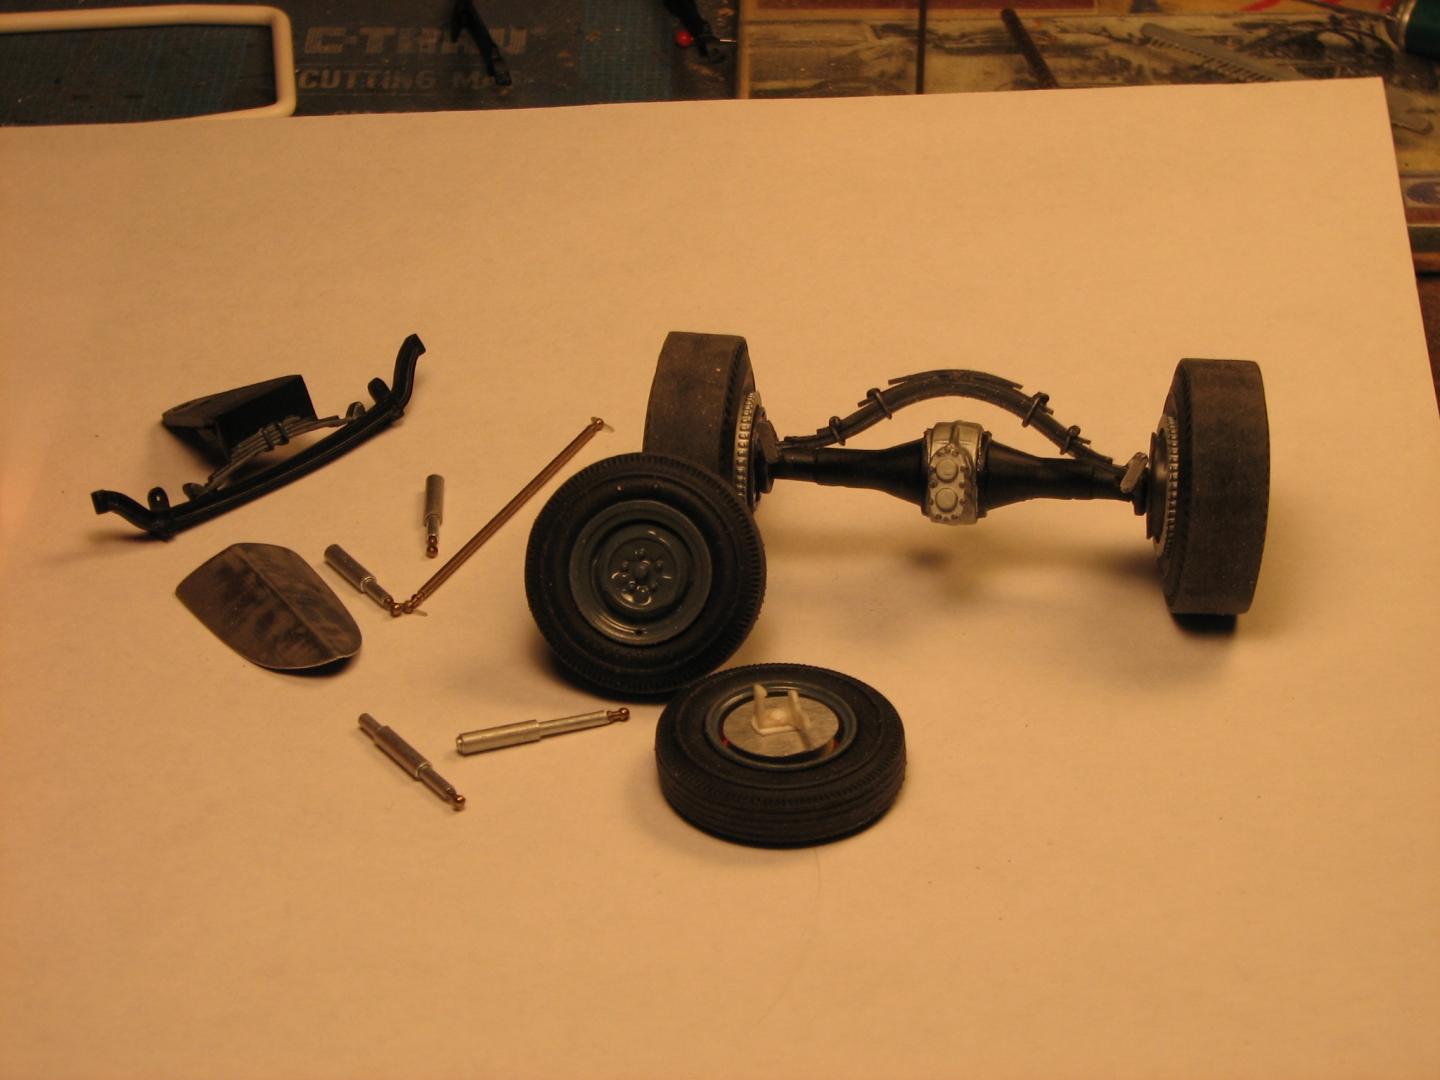
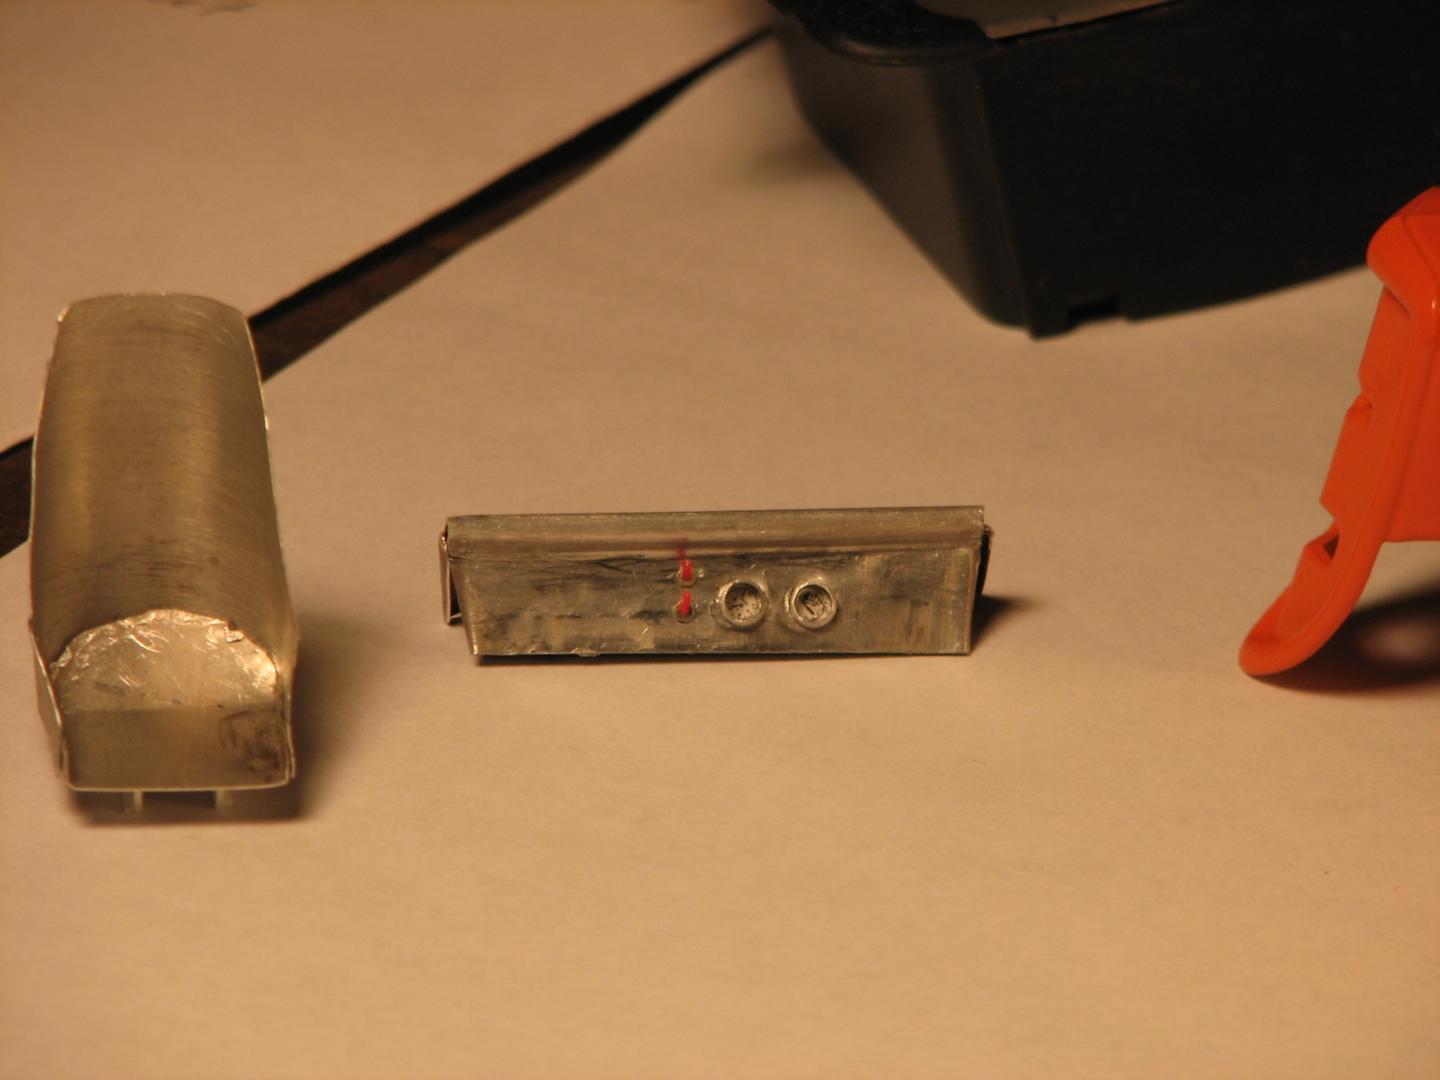
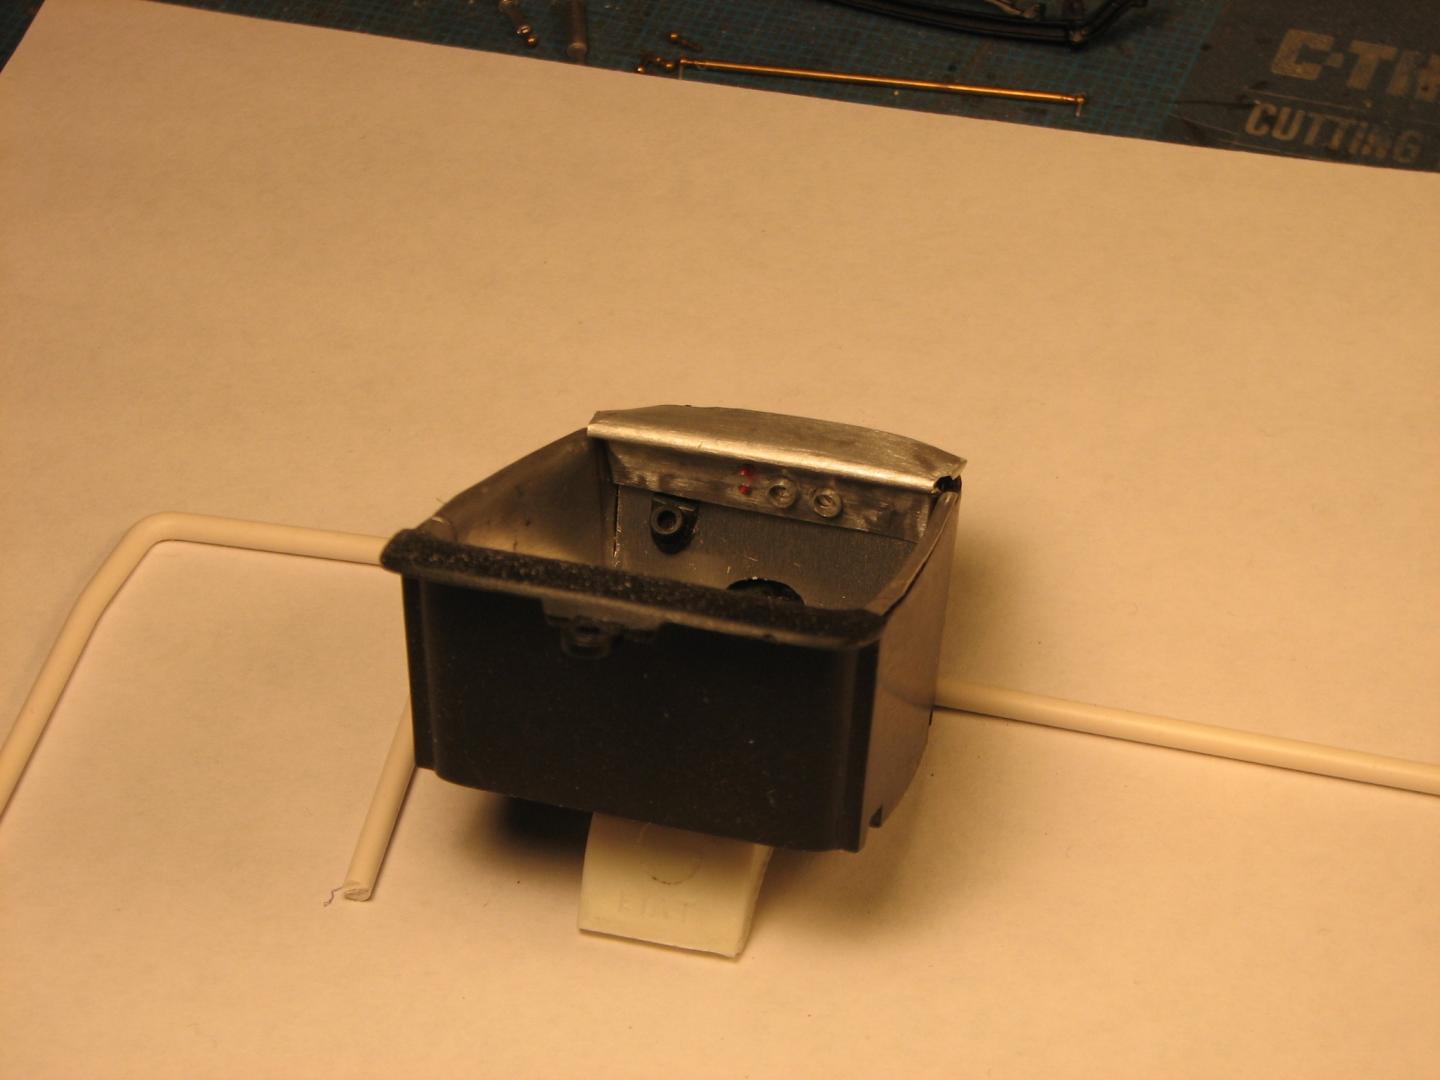
In mid-March, I will be leaving Minnesota after almost 14 years, and returning home to Colorado. As my time here dwindles, I picked up Revell's '34 coupe snapper, determined to finish something...anything, before I go. Just a few of the modifications I've made include a scratchbuilt rear spring, a front axle from Revell's old Model A Pickup kit, aluminum door panels, firewall, dash and seat made from .005" aluminum flashing (GREAT stuff! Especially after its been sanded free of its plastic coating, and annealed.). The spindles are scratched from Evergreen channel, strip and rod. Front wheels are from a Revell Thunderbolt kit, rears from an old AMT Deuce. Shocks are aluminum tubing with mounts (and tie rod ends) made of HO scale handrail stanchions. Orange paint is Krylon, directly from the can. It's not my best work, but, I am really burning it at both ends, trying to finish it before I am packed and on the road! Comments welcome. Oh, yeah--this complies with NHRA rules for a modified coupe in either 1959 or 1960.
-
I started out with one of Flintstone's bodies on this one. Cut the hood and the track nose off of it. Track nose will be going back on.... however I'm sitting at a cross road and am stumped!!!! Any ideas or criticism would be of help right now.... to get the front suspension under the frame is going to require bringing it up. My thought was cutting the rails back at the firewall and pinching them in a bit and cutting/narrowing the rails all the way to the nose and pulling everything inside the hood sides. That and raising the front cross member up to mount under it and chopping off the front frame horns to allow the track nose to mount back up front. In a sense only having the front axle coming out from under the body up front..... so with that what do ya think??????? This sound like a good idea or is there a better way?? Keep in mind I want to keep the 32 tube axle up front, no independent type. Keeping it kind of old skool!!! You can see the blue lines by the motor mounts showing where the hood sides are sitting currently.. I will will also be re doing the motor mounts and taking these out..... with the hood sides sides back on.....
-
This is my American Graffiti 2003 AMT deuce coupe model. It took over a month to build. I added plug wires, radiator hose, sanded the tires, painted the gauges, washed the rims, etc. I even added real metal bars above the motor from my Snake Bite monster truck. This kits has a lot of flaws, and many areas that needed a bunch of work. If you go the extra mile, and finish this model. It will turn out to be a nice kit. It just takes a boatload of patience though. This kit is a Skill 2 but felt like it was more like Skill 666.
-
While I tend to focus mostly on Fords, sometimes I like something a little different. Saw this AMT 1941 Plymouth Four Passenger Coupe on clearance at Hobby Lobby, and decided to take a chance. So here are the first few shots, starting with the engine build. While I'm going with the stock engine, I am making a few mods to it, like spacing the intake and exhaust off of the block slightly and adding the two missing exhaust bits on the manifold. Other scratch parts include the the bracket for the oil sump air filter, the top mounted horn, relocating the generator bracket to the top of the generator, and the distributor. The bits on the "ground" are the upper and lower radiator hoses and the "glass" fuel filter. The bit in the tweezers is a scratch up of the steering box and column to tie into the kit column at the firewall. Still need to wire it and plumb it, decide on the finish for the oil pan, and scratch up one more little detail forward of the thermostat housing and bolt heads for the fan. Still, not a bad couple of hours so far. The hoses are some rubber coated twist-tie wire that was holding something in some packaging. and the fuel filter is two tiny pieces of clear sprue. All of the other scratched bits are styrene sheet, rod and tube. Thanks for looking, and as always, comments are welcome. T.
-
I'm looking to build model cars of the Mustangs my Dad has owned in his life and want to know if they are or have been kitted or cast in resin.... I already have a couple kits that will be used for his so I won't list those, just the ones I need info on... 68 Fastback 71 Mach one 73 Convertible 74 Mustang Ghia coupe 69 fastback 91 LX 5.0 convertible Any help would be appreciated!!!! I'm also looking for the above kits or resin so if they are available anywhere could you please let me know as to where??!! Thank you!!!! Doc...
-
So, in anticipation of the Revell '30 kit I had saved up some parts to build a highboy with hemi power, but I just wasn't feelin' it once the parts were mocked up. The Revell '30 sort of wants to be either a modern neo-traditional hot rod, the kind of thing you might see competing for the Ridler or America's Most Beautiful trophies, or a rat rod. The custom top insert and chromed suspension components do suggest a third route, however: a late 50s/early 60s show rod. I'd been wanting to build a chrome-laden show car for some time, and have a bunch of kits to rob parts from, so here goes: -Revell '30 body with cowl band removed, channeled over the "A" style frame. I'll probably make some other adjustments too. -Frame Z'd in front and back...rear will probably get a transverse leaf spring adapted to the kit axle. -Ala Kart front axle -Revell '29 roadster channeled interior panels, modified to fit the coupe. -Monogram '30 Woody dash (fits perfectly) -Monogram '30 Woody chrome firewall (fits perfectly but had to be trimmed for frame/engine clearance because of the channel job) -MPC deuce grille hollowed out and filled with drawer-pull panel from Aurora Custom Grilles Parts Pack. -AMT '57 Ford V8 with parts box "thunderbird" logo valve covers, chrome pulleys from Revell Ford 427 parts pack, and 6x2 carbs from either the Tweedy Pie or Lil Coffin. -Revell '30 Tudor seats, cut down. -AMT '57 chrysler rear tires and hubcaps all 'round...Revell-Monogram tires up front (from '50 Ford pickup, or '59 Chevy Impala..probably other kits too) -going to tunnel metal exhaust tips from Monogram '30 Touring into the kit's taillight locations, and slide in bullet-shaped lenses made from sprue.
-
Hi guys, this is my finished Ford 49 Coupe. Thank you.
-
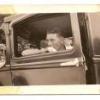
I may have posted this before but I can't seem to find the topic. My wife's father owned his own local Texaco shop here in Richmond and raced this Ford all along the eastern seaboard. The only reference points I have to build this car are historical pictures from the net (whatever I can find, anyway...), some sketchy memories from his kids who were really young (ages 2~5), and this only pic of his actual car: From my brother-in-law's recollection, the fenders and wheels were black, the body panels are burgundy, and the roof line is white all the way back to the rear bumper (CORRECTION: white to the bottom of the rear window, burgundy all the way down to the bumper...). The bumpers themselves were metal girders attached to the chassis by the frame rails, and very little, if any, logos were on the car save for his name, the "number 9" on the door panels, and MAYBE a Texaco label somewhere in the back. Since he ran his own Texaco shop, he wasn't much in the way of advertising for anybody else, so he didn't decorate his car like all the others. What I'd like to know is info and pointers from those of you who have built these old racers. Specifically, I picked out this kit to build the car off of... From the looks of the image on the box I suspect the car is lowered somewhat so I'll have to actually beef up the suspension some to make it more natural looking. Any thoughts on this, or am I using the wrong kit for this project?
-
Hi guys i started my second proyect based on the Ford 49 Coupe by AMT Initially was a challenge i had than consisted in built a box stock model in just 12 hours. I started like 8am and by 2pm i hadn´t painted any part. Lost a lot of time trimming the body, shaving the door handles, and a lot of flash it had. I primed it, then painted in black as the base coat and then i used createx iridium violet as the final color. By 8pm i just painted the body, finished the chassis without weathering, some cabin details and striped the chrome paint
-
Has any-one built a scale version of this Street Racer's Special ? http://www.carguychronicles.com/2011/09/chevy-427-biscayne-street-racers.html
- 9 replies
-
- baldwin-motion
- 4-speed
-
(and 1 more)
Tagged with:
-
So heres a project i've been working on for some time. got the kit sometime back and wanted to do something different, so i racked my brain and got to work. Working on the skirts with suff corners and made some F&B bumper guards and new style mouldings.
-
Good afternoon Guys, Happy new Year! With the rain here in Vancouver (what a surprise!), I decided to start my new kit than I got, Chevy 39 Coupe. I lowered a little bit the back suspension, open trunk and hinges, body has been primed with PlastiKote Sandable primer. I will use One Coat lacquer from Testors,but I do not know which color yet! any idea? the base coat, I am hesitating between gold,silver or even copper! interior I do not know yet as well. here are some pics thank you for watching. Mickael
-
Pulled this one off the shelf a few days ago.Mocked it up,looking for ideas.Seldom do I build to resemble the box art,but I like how it looks in this case.Going for a late fifties kinda drag look.Nothing too difficult.Will use the AMT Round 2 wide white pie crust slicks on the rear,wide whites on the front and the kit wheels all around although they should be skinnier on the front.I'll see what else I can find.Paint color will be red,maybe candy apple.Spark plug wires and a few minor details should do it. I would like to try my hand at better detailing but I need more skill and patience.All in due time I guess.I will post more pics as this one progresses. I'm already looking at one of three more 32's in my stash.Anyhow,thanks for looking,any comments are welcome. P.S.The stash is nearing 200.I buy more than I build(bad habit).
-
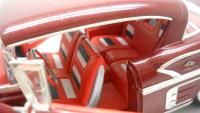
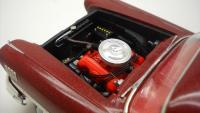
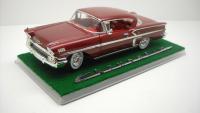
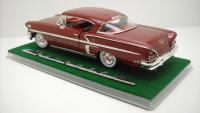
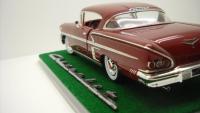
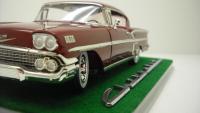
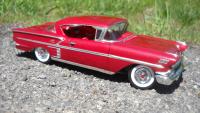
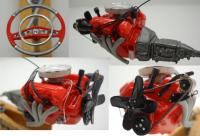
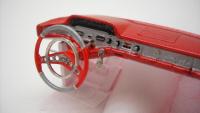
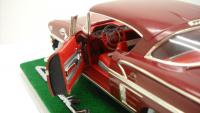
This is my '58 Impala, mostly by AMT, with a few bits from the Revell kit because I thought they were more cleanly molded. The color is Testors 1 coat lacquer Mythical Maroon over Tamiya white spray primer, no clear coat. Photoetch set from Model Car Garage, pre-wired distributor from Preston's Car Parts. Not the best distributor I've seen, but this was the first engine I've wired (but yes, they are in the correct firing order!) If any of you have a favorite brand of scale distributors, let me know, so I can get one for my next build. I started this car at the beginning of September 2012 and finished it at the end of March. It took so long mostly because a college dorm room isn't exactly the best place for model building. Still, I was able to clean up almost all the pieces and get them ready for paint so I could do all the painting over Christmas break. The pieces I took from the Revell kit are as follows: headlight assemblies, fender spears, tail light bezels and lenses, metal exhaust tips, tires (mainly because of the convenience of the white wall inserts), door handles, driver's side mirror, steering wheel, rocker covers, generator, and fuel pump. The air cleaner is from a '66 Mustang GT350. I also added a dip stick and a couple other little bits of plumbing. The springs were replaced with real springs from a retractable pen. They aren't perfect, but I think they look a lot better than the molded atrocities it came with! I cut out the trunk, too, but I guess that doesn't really matter since I didn't end up putting anything in it. The dash board gauge decals are also from the Revell kit. (Interesting side note: the chrome 'Chevrolet' script on the display case base is from the dashboard of a 1949 or '50 Chevrolet Deluxe I found in the woods. The rest of the car was pretty much a big pile of rust, but that little piece of chrome was in almost perfect condition!) Overall, I think it came out really well. Tell me what you think and please share any tips or constructive criticism that I can draw upon for future builds!
