Search the Community
Showing results for tags 'lowering'.
-
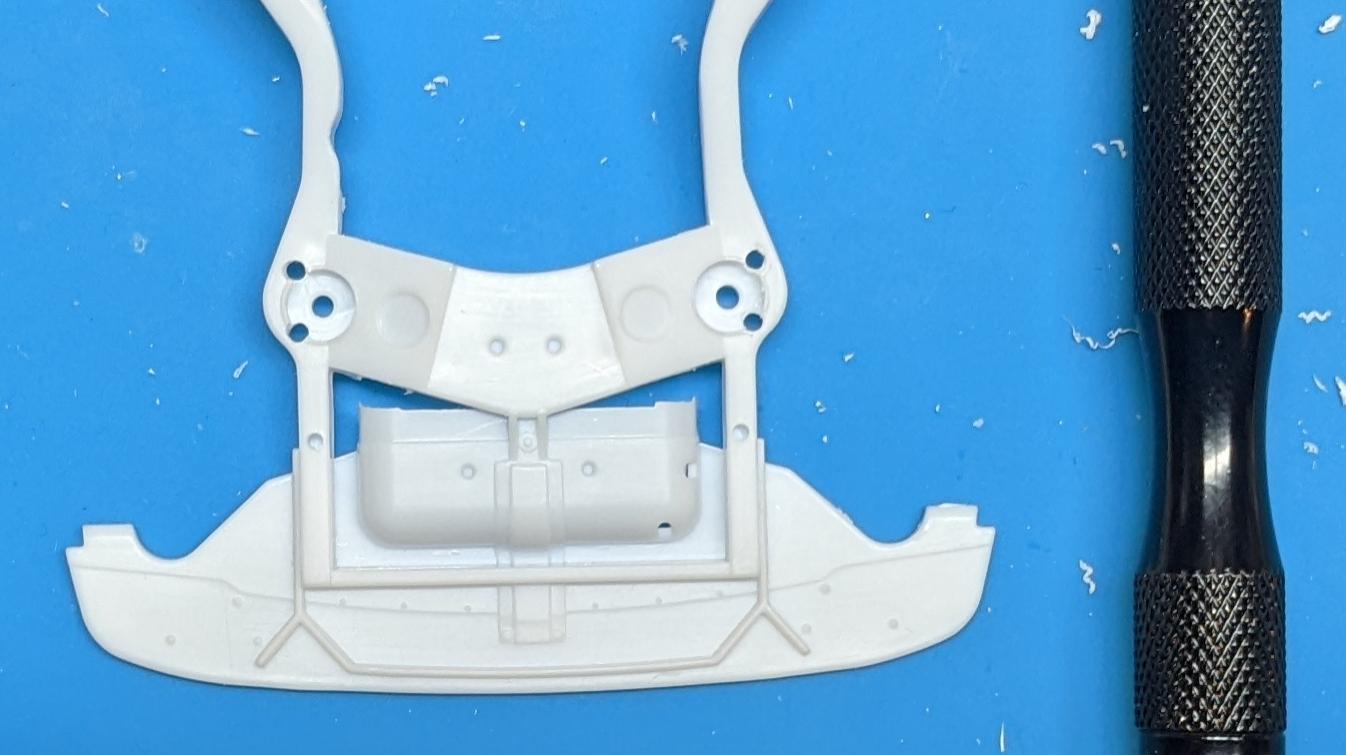
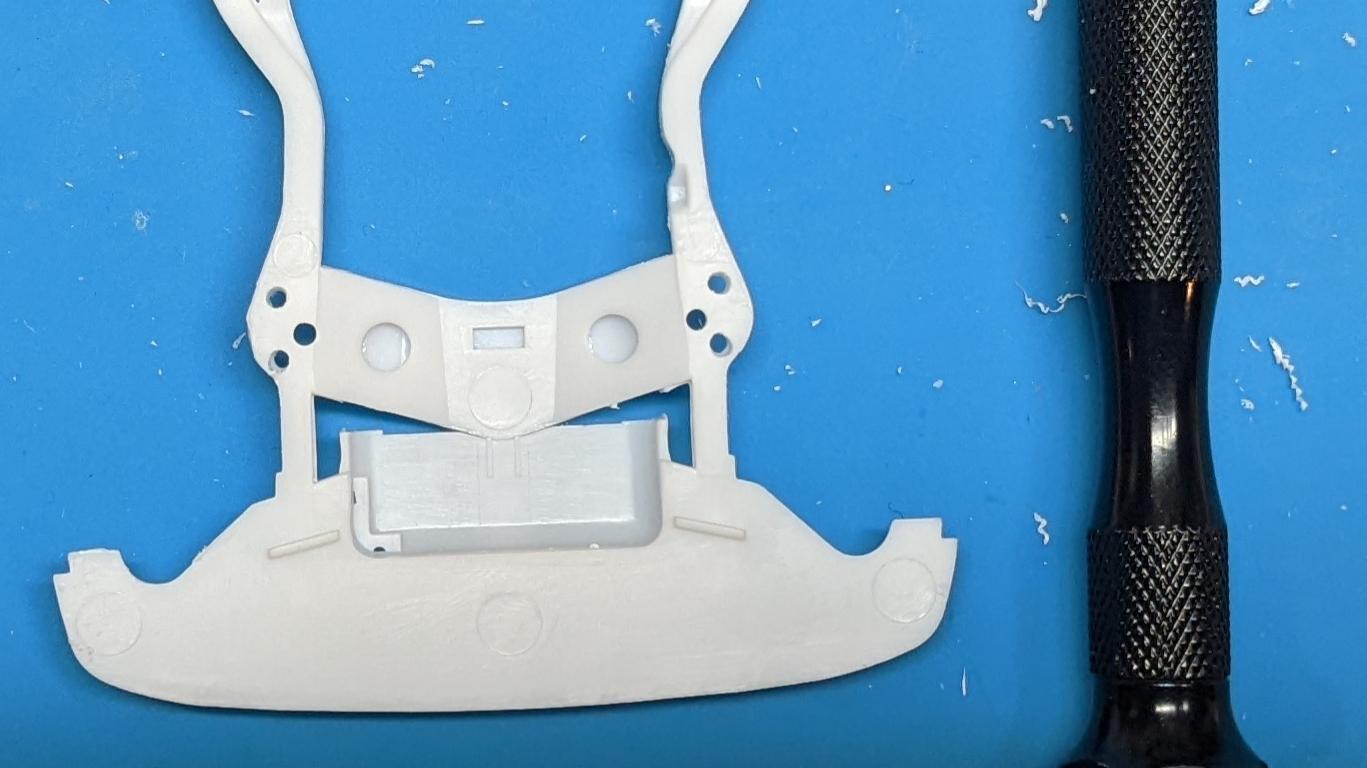
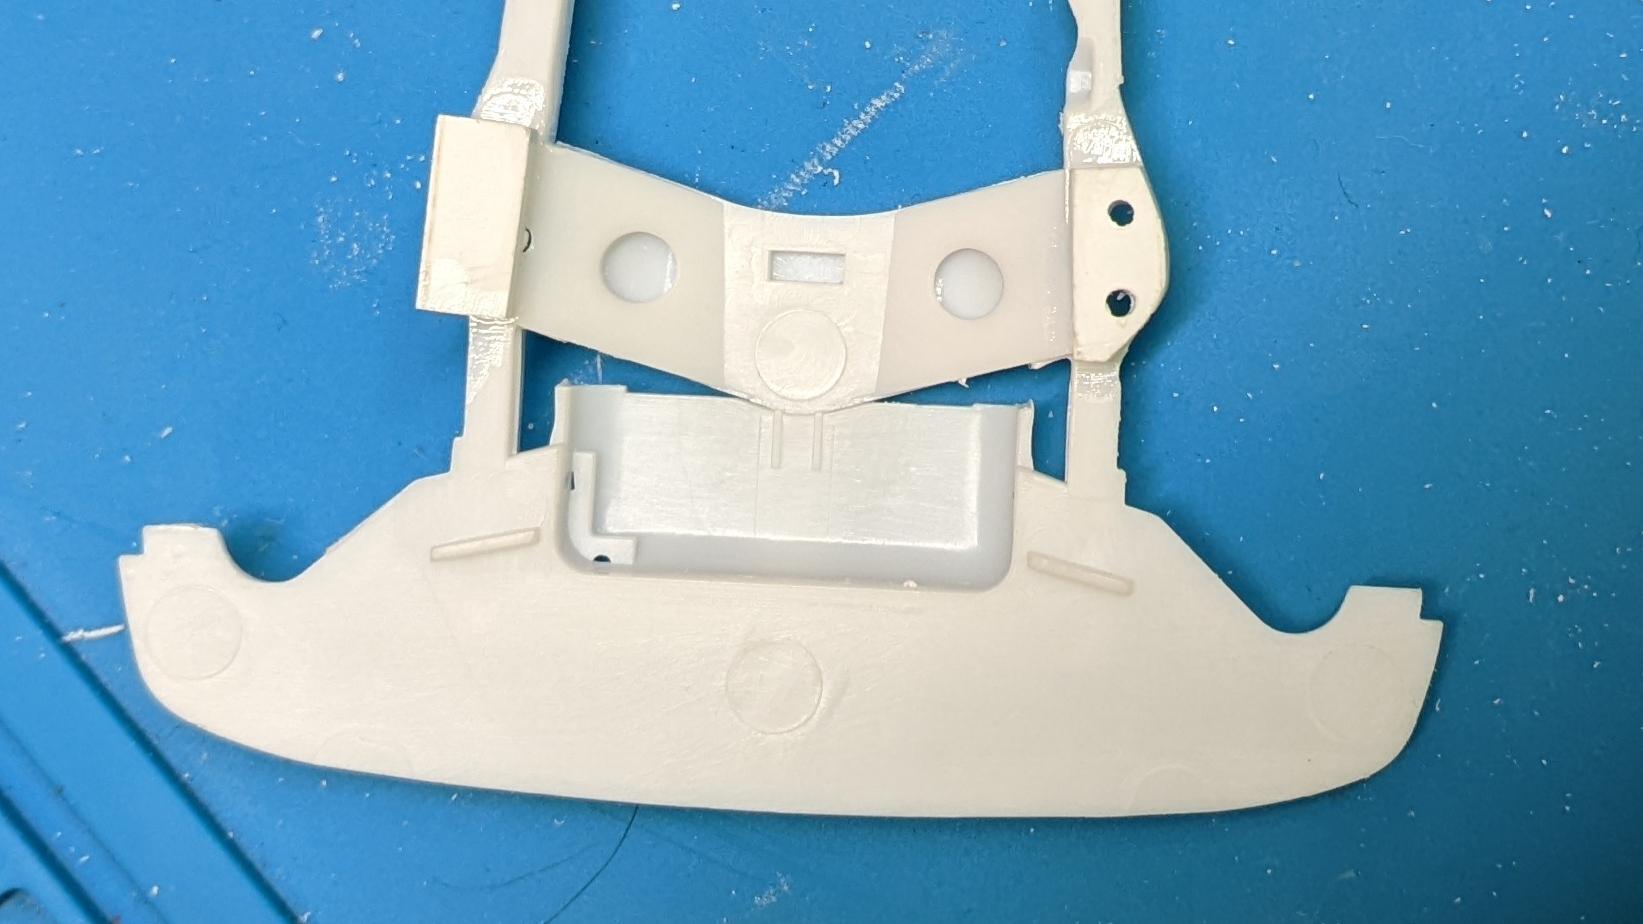
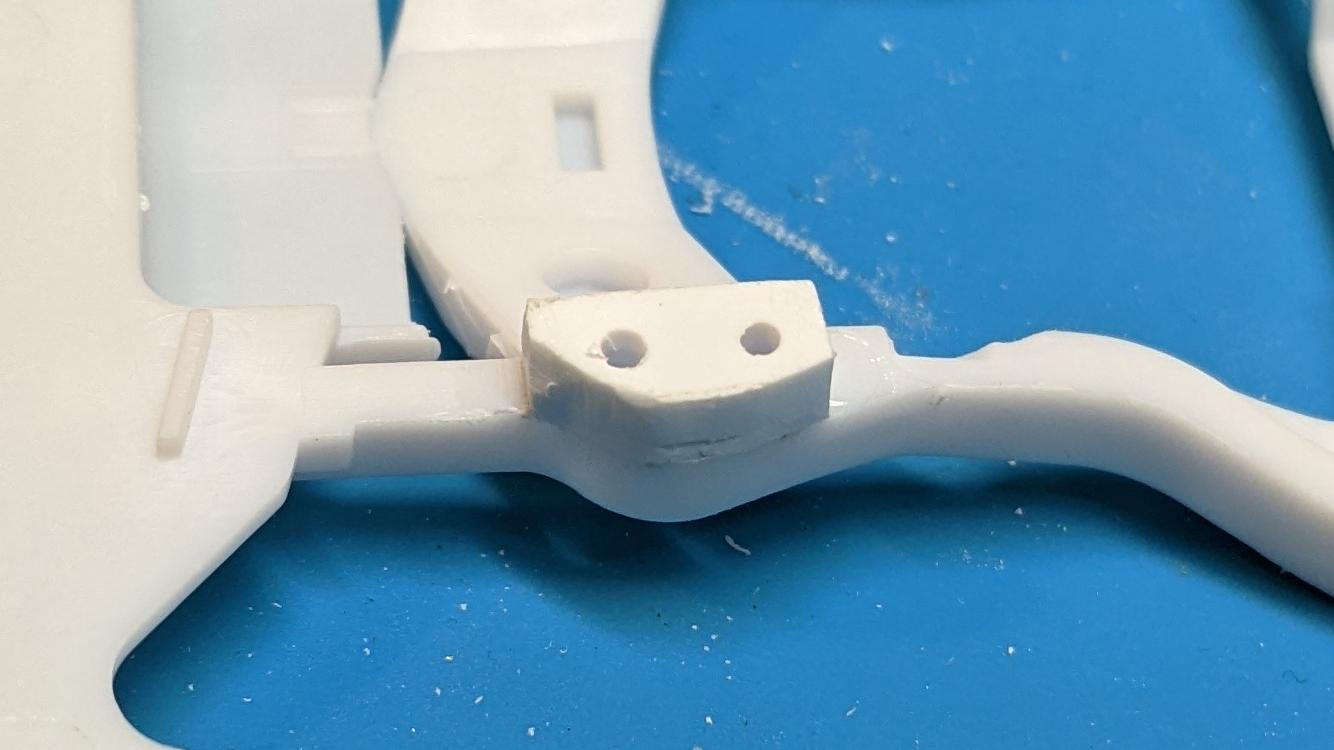
I wanted to add some rake to a Revell '50 Olds Custom by lowering the front 3mm (~ 3 scale inches). This amount is in addition to the already-lowered suspension on this kit. I did not change the rear. The technique will work on the stock version of the kit, too, but specific dimensions will be different. First, I drilled holes through the frame where the upper control arms attach. In this way, holes can be drilled through the bottom of the lowering blocks, once attached, so as to ensure square location of the control arms. Then I added 3mm blocks from sheet styrene. Once holes were drilled, I shaped the blocks to match the frame. Then I cut the uprights from the lower control arms. I fabricated extensions from sheet styrene. To provide a stronger joint, with more cementing surface, I filed notches in the blocks. The blocks are 7mm tall, with notches that provide a 3mm longer upright. Next, I glued together the modified front suspension parts per kit instructions. Here is the resulting rake, for reference using the stock steelies also included in the custom kit. My car will have slightly more rake, since the rear wheels I'm using are slightly taller, and the fronts slightly shorter. Thanks for checking my topic and I hope you find it helpful. I may add updates as the build progresses, but thought this portion would be of use to folks. Your comments are welcome. Model on!
- 6 replies
-
- revell 50 olds
- lowering
-
(and 1 more)
Tagged with:
-
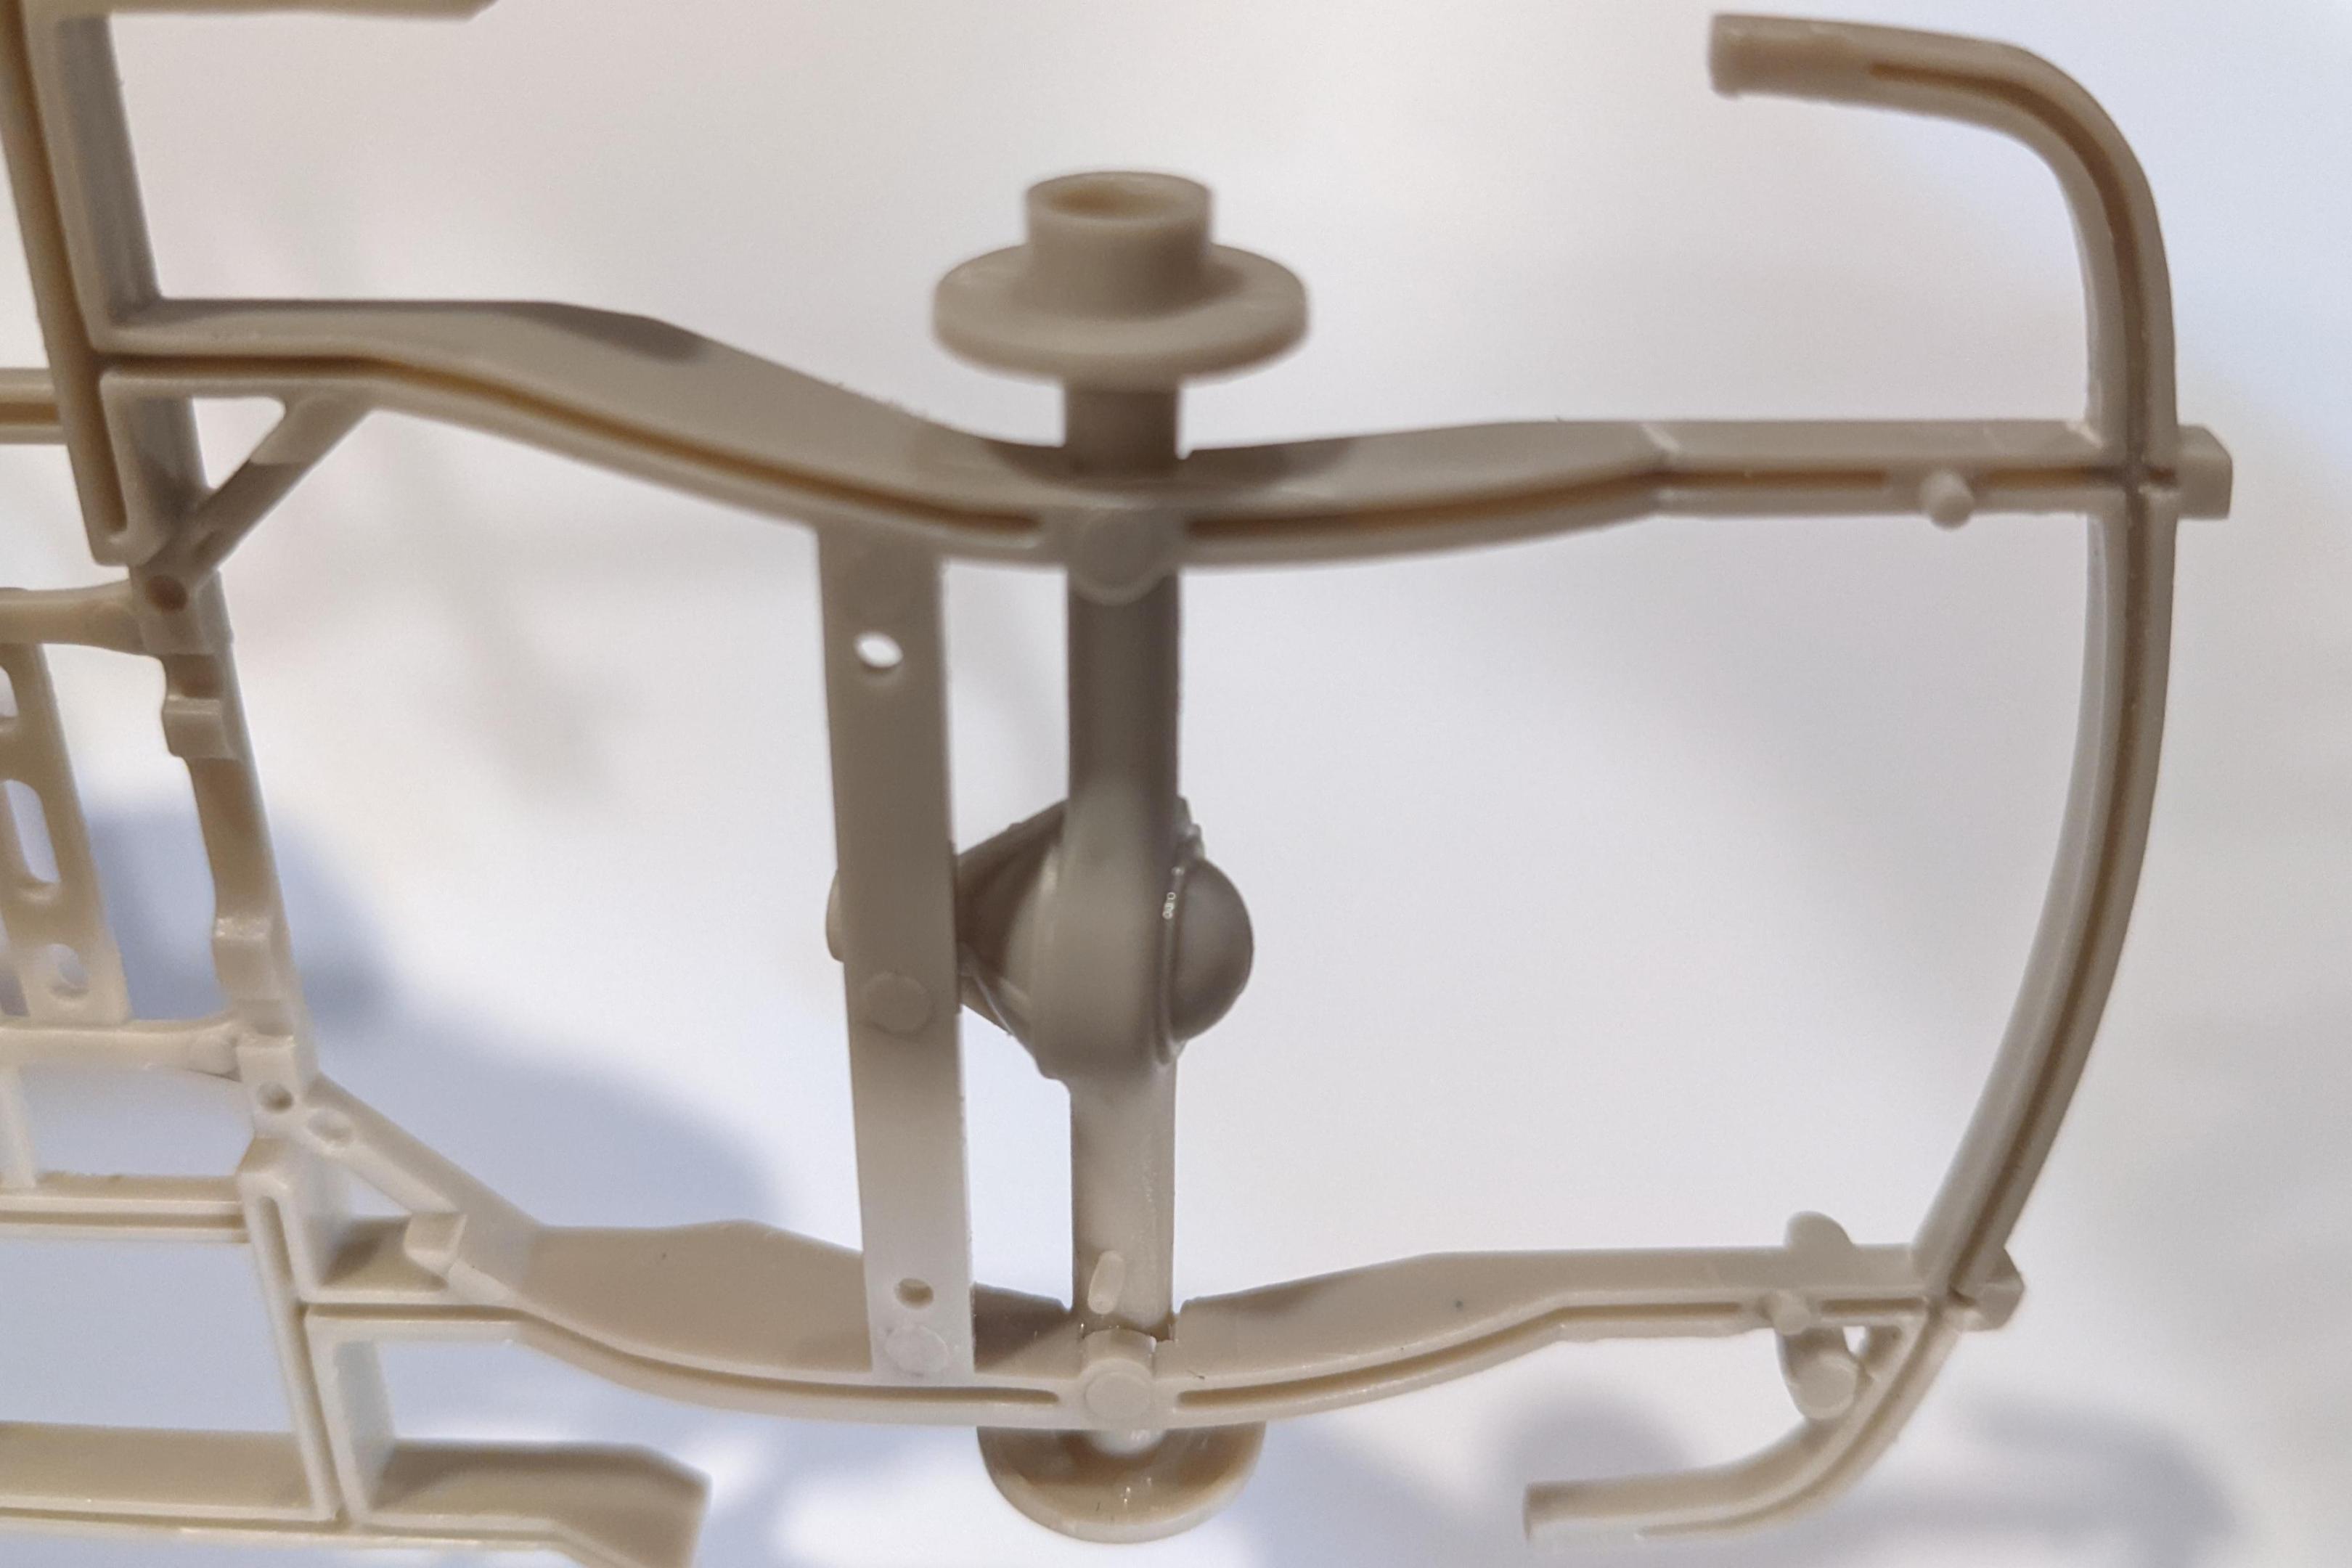
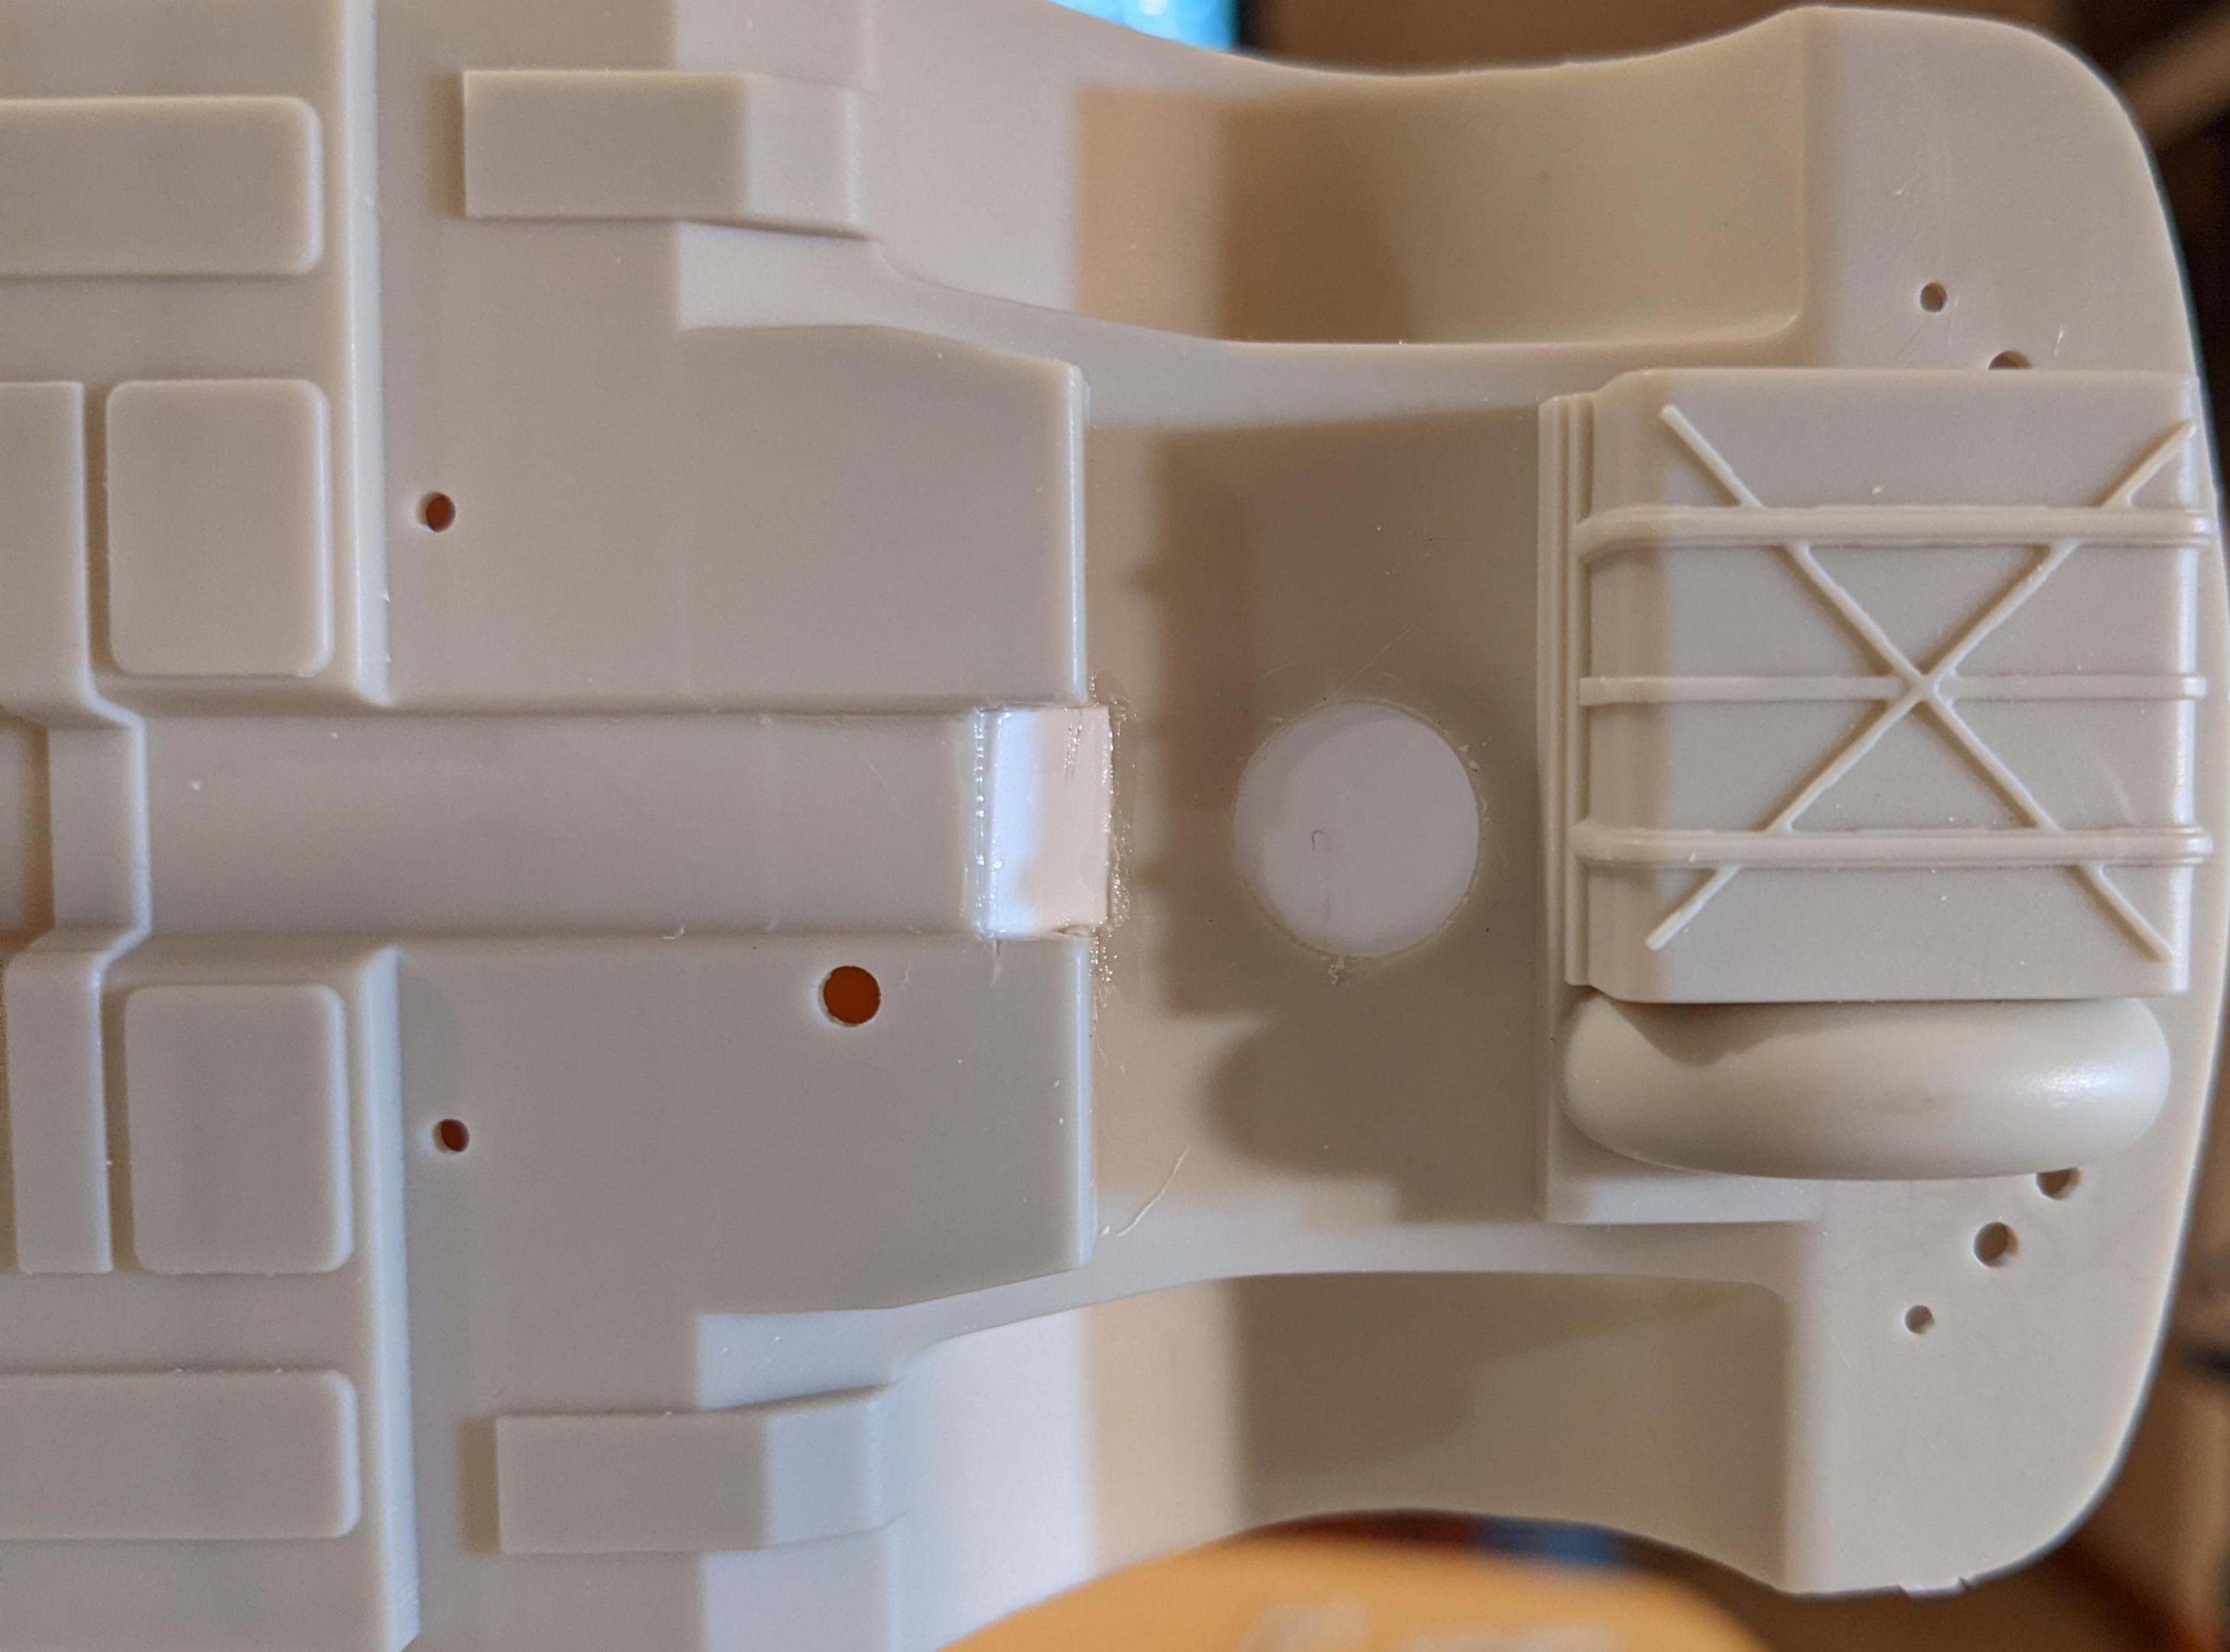
I've built models off & on since I was a kid, but now I'm retired, I can put effort into modifying them. Here is how I'm lowering a Moebius 1952 Hudson Hornet coupe. The technique should work on any of their kits that share this chassis. I'm lowering the rear 3mm & the front 5mm, to also achieve some rake. I plan to use the chrome steelies from the convertible kit, which I also have. I'll show the rear, which is as far as I've gotten, then add the front later. Hope this post is useful to folks & comments are welcome. First, I notched 3mm from the frame rails to raise the rear axle relative to the body. Then, I cut out a portion of the floor to clear the driveshaft, and another to provide clearance for the differential. I added styrene sheet to fill in the holes. Finally, I added 3mm tall blocks to the leaf springs, made from square styrene tube. This mod provides an eventual connection to the axle, & allows the shocks ti remain unmodified. More to follow...
-
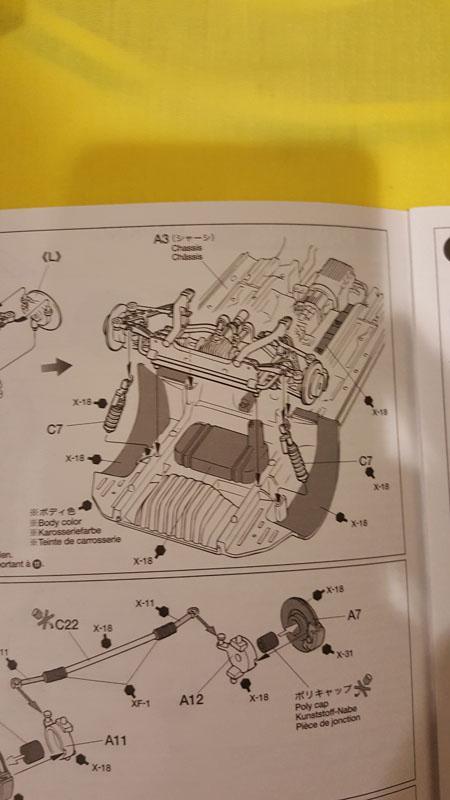
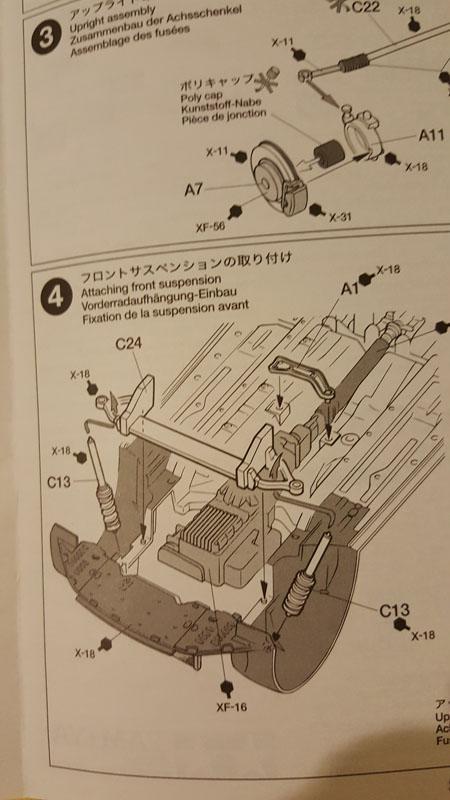
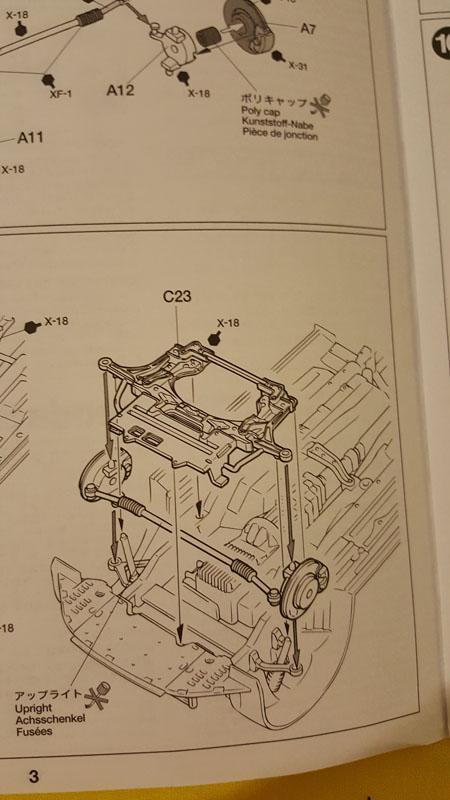
Good day Guys, I have been a silent reader, then I decided to purchase my own model kit. I started with a Honda S2000 Mugen made by Tamiya. Before I decided to start, I know from the beginning that I want to lower the suspension. Looking at the instruction, I don't think I can do the shortening the shocks route because the shocks seem to just stuck into place, not part of the structure. As you can see, the wheel and disc brake assembly is attach to the subframe, which then attach to the main chassis. There's no way to lower the subframe, CMIIW. Can anyone share a method or two here? I'm pretty desperate. At the moment, I only have very basic tools. And also this is my first build, so I'm no expert. The simplest solution is prefferable. Thanks guys
- 2 replies
-
- lowering
- tamiya s2000
-
(and 1 more)
Tagged with:
