Search the Community
Showing results for tags 'revell'.
-
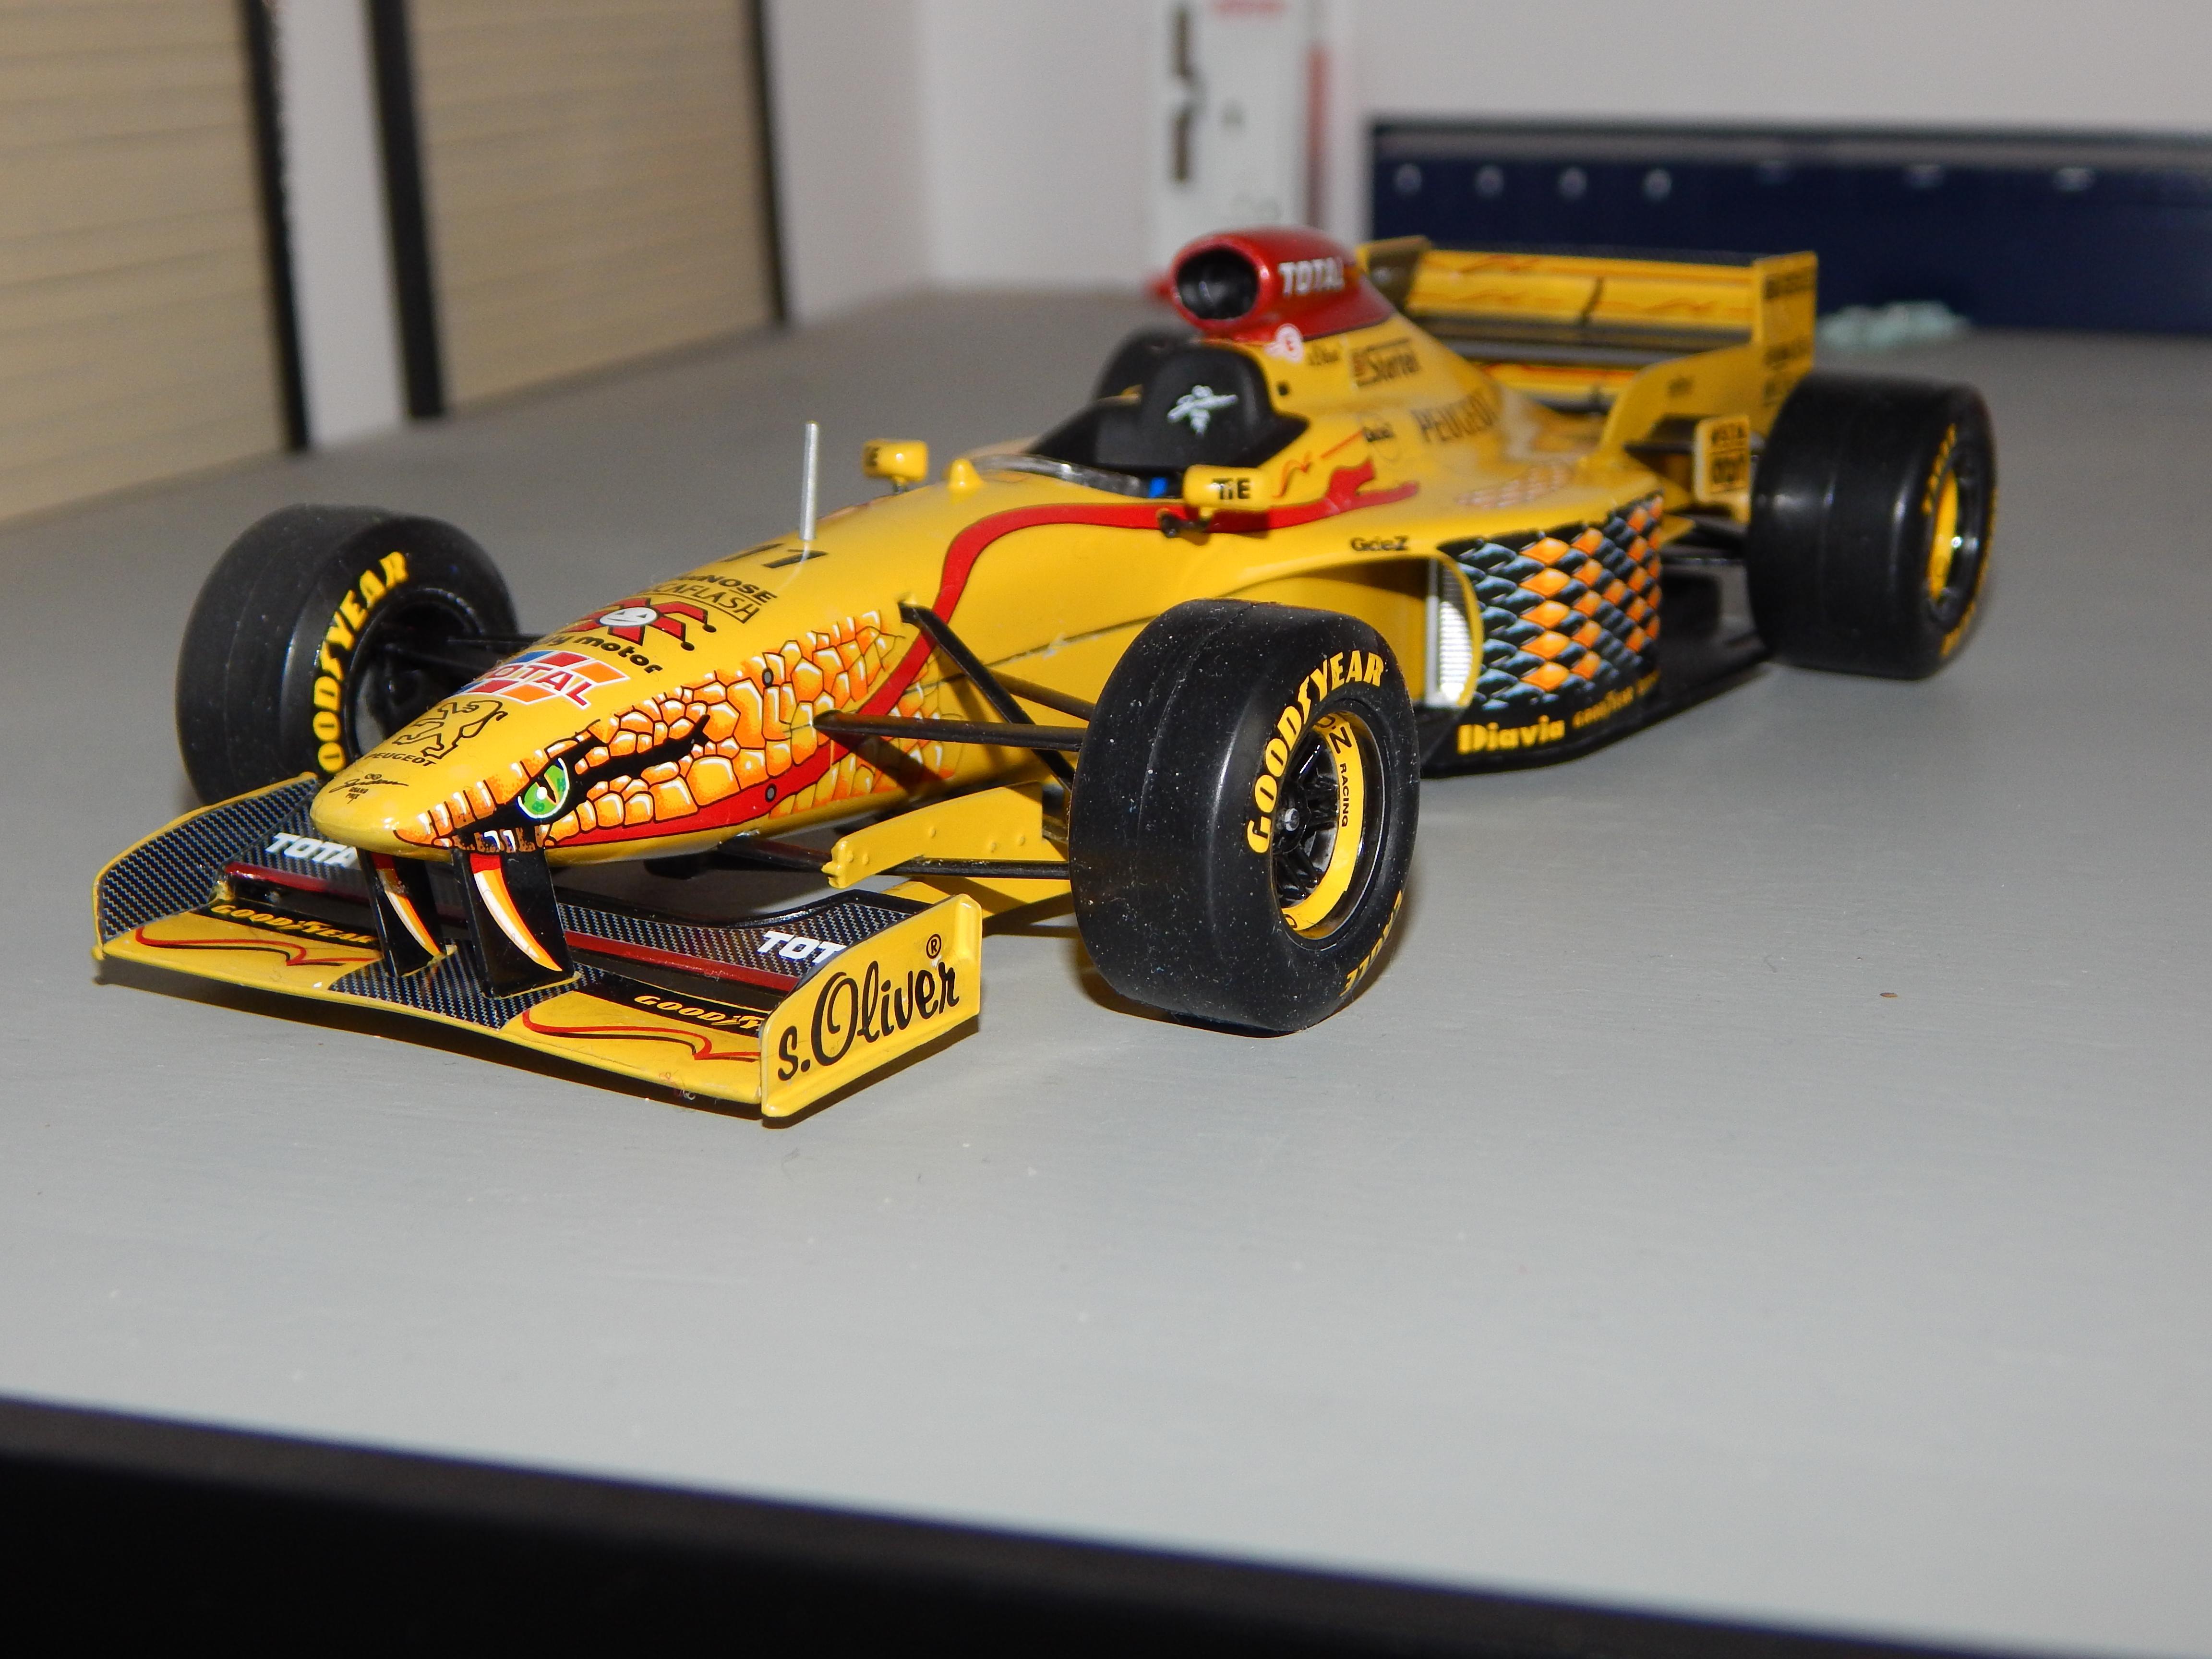
Driven by rookie Ralf Shumacher (Michael's younger brother) during the 1997 season using Peugeot's A14 3-litre V-10 engine. Benson & Hedges sponsor livery not allowed at some venues, they went with "Bitten & Hisses" snake motif. Decals went much better than my last Williams build. Comments welcome, thanks for looking.

-
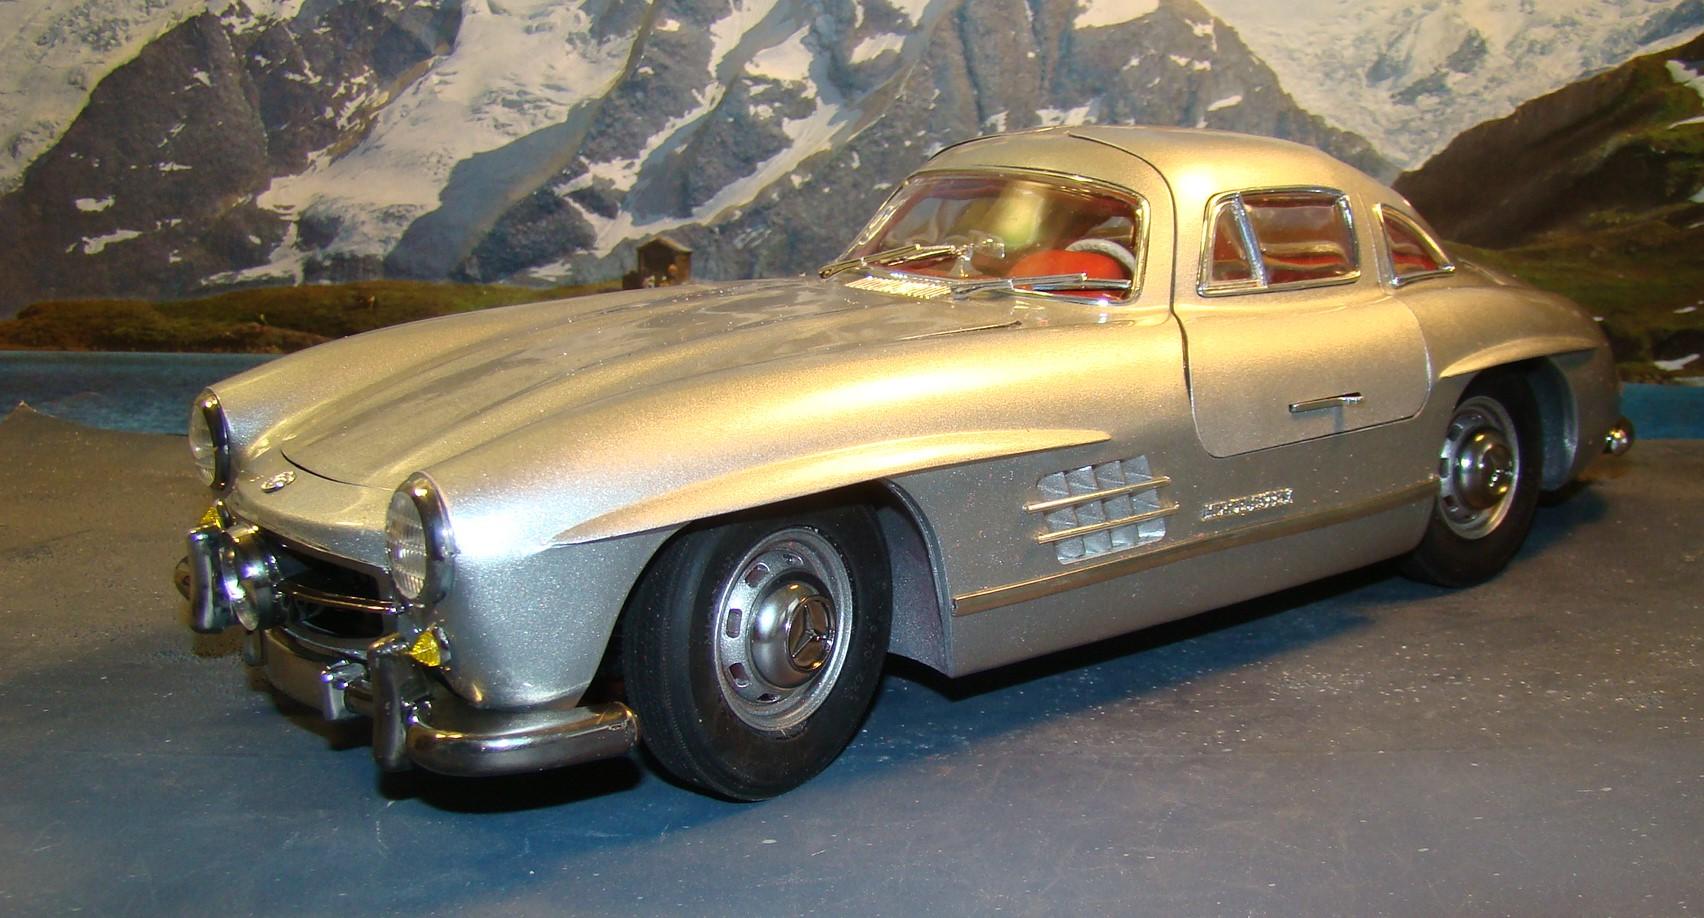
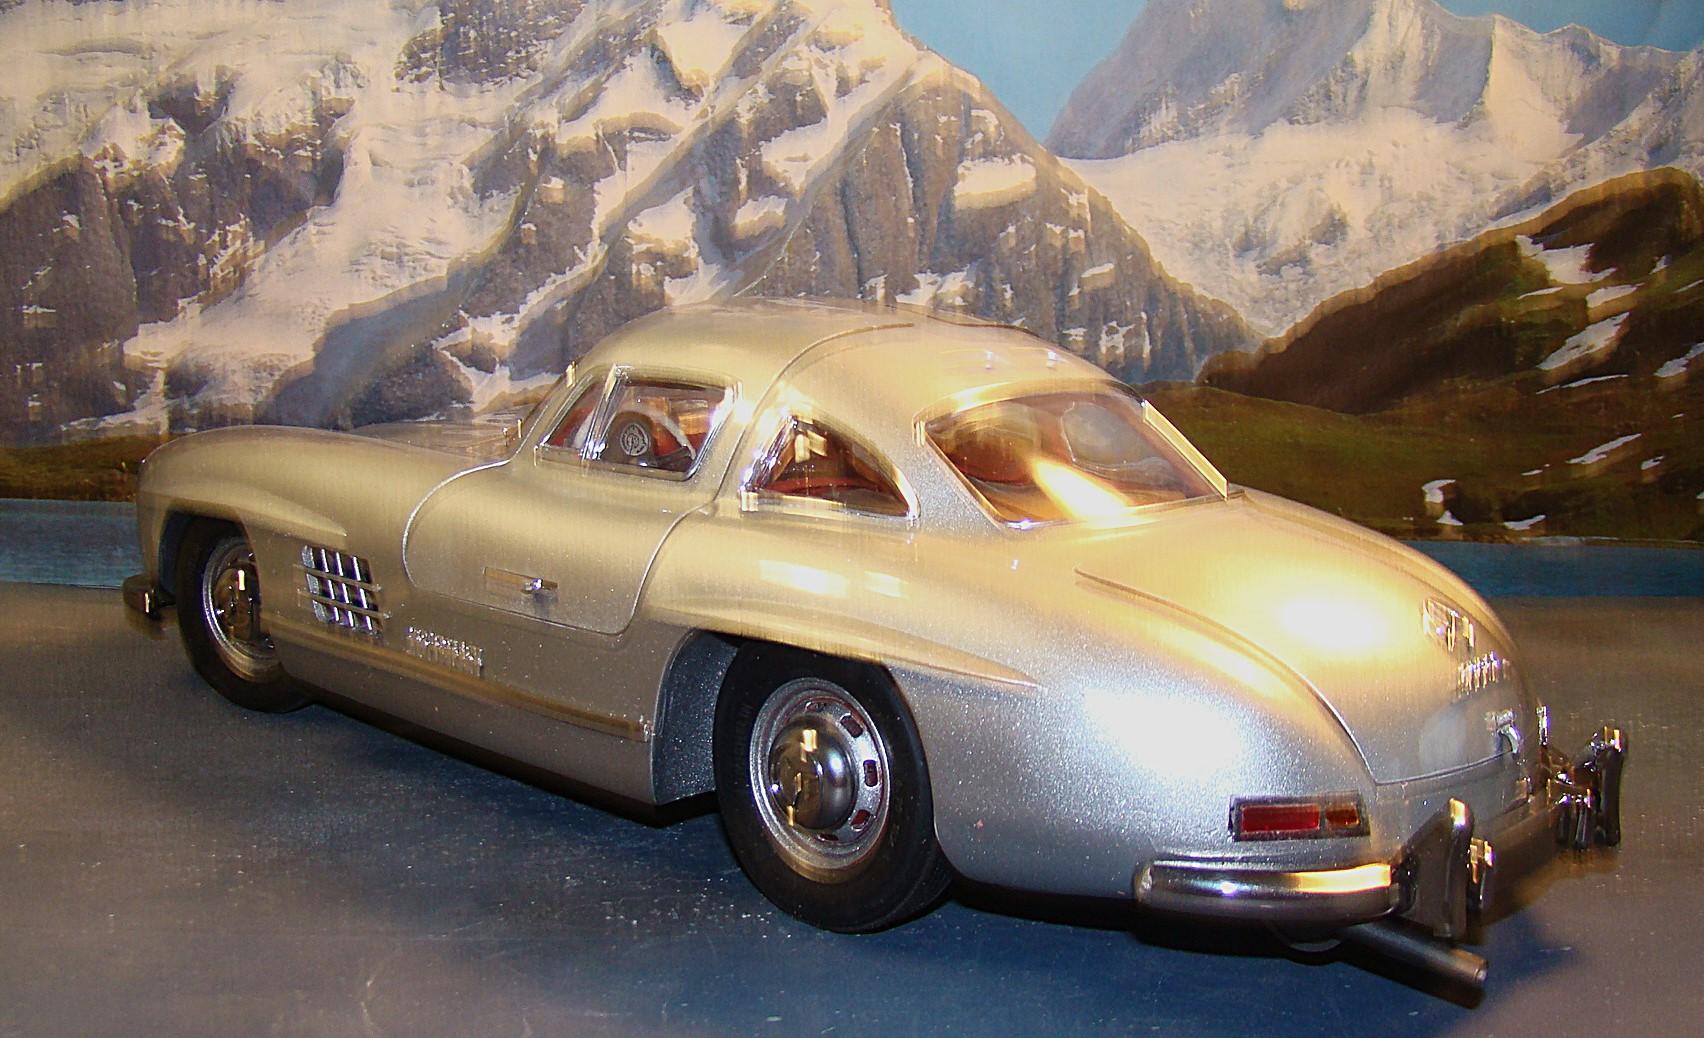
Cpontinuing my series of 1/12 kits. I dug this one out of the stash and was pleasantly surprised to see everything painted . Looked like and easy finish project. Well thqat is just the wrong thing to think because it rarely turns out that way and this project was no exception. For starters this whole kit had to be re-engineered as the body was an upper and lower half. I cut the bottom chassis plate away from the lower body and then glued that to the upper half so I could fill in the seam that ran through the middle of the car. That was done a long time ago and I had to remember how to install everything once done. No notes either. At least the hard part was done and it had a real nice finish. Color was 1830 Testors laquer Diamond Dust with their Wet-Look clear. More information in the picture captions. Thanks for looking and comments welcome. . Finished car on its wheels. Some thing fit well, like bumpers and window surrounds and others had to be massaged into place. This kit was originally produced by Renwal in the 60's. Revell aquired the molds and changed nothing except the box and instructions. It showed. rear veiw. Trunk opens and there is a spare tire inside. Had to make new tail lights and a trucnk latch as they somehow disappeared over the years. I am bot usually critical of the proportions of a model but this one is just plain off. The green house and the windows are just way too small. I suppose this was done to compensate for the working gullwing doors but it really shows. Since this was painted over 30 years ago I wouldn't have thought to try and fix this. It would have been more work than I bargained for anyway. So I just finished it the way it was. Not the worst but not the best either. This particular car has been made by many manufacturers and I have it in several scales. I recently posted a 1/16 version. The Tamiya 1/24 is the best example in my opine. Aaahh those working door struts. One of my favorite features of this kit. But if you knew how much trouble it was to get here. Lots of engineering here mostly with the hinges but in the end the doors fit fairly well and operated to spec. Even the door latches work and hold the doors closed. I(nterioor of the car was nice and had all the details including the special luggage. I add carpet and dash decals. Paint isd Testors flat red. Engine was painted various shades of Testors metalizers. There was lots of chrome in this kit and most of it was sprayed with Tamiya Smoke to tone it down slightly.
-
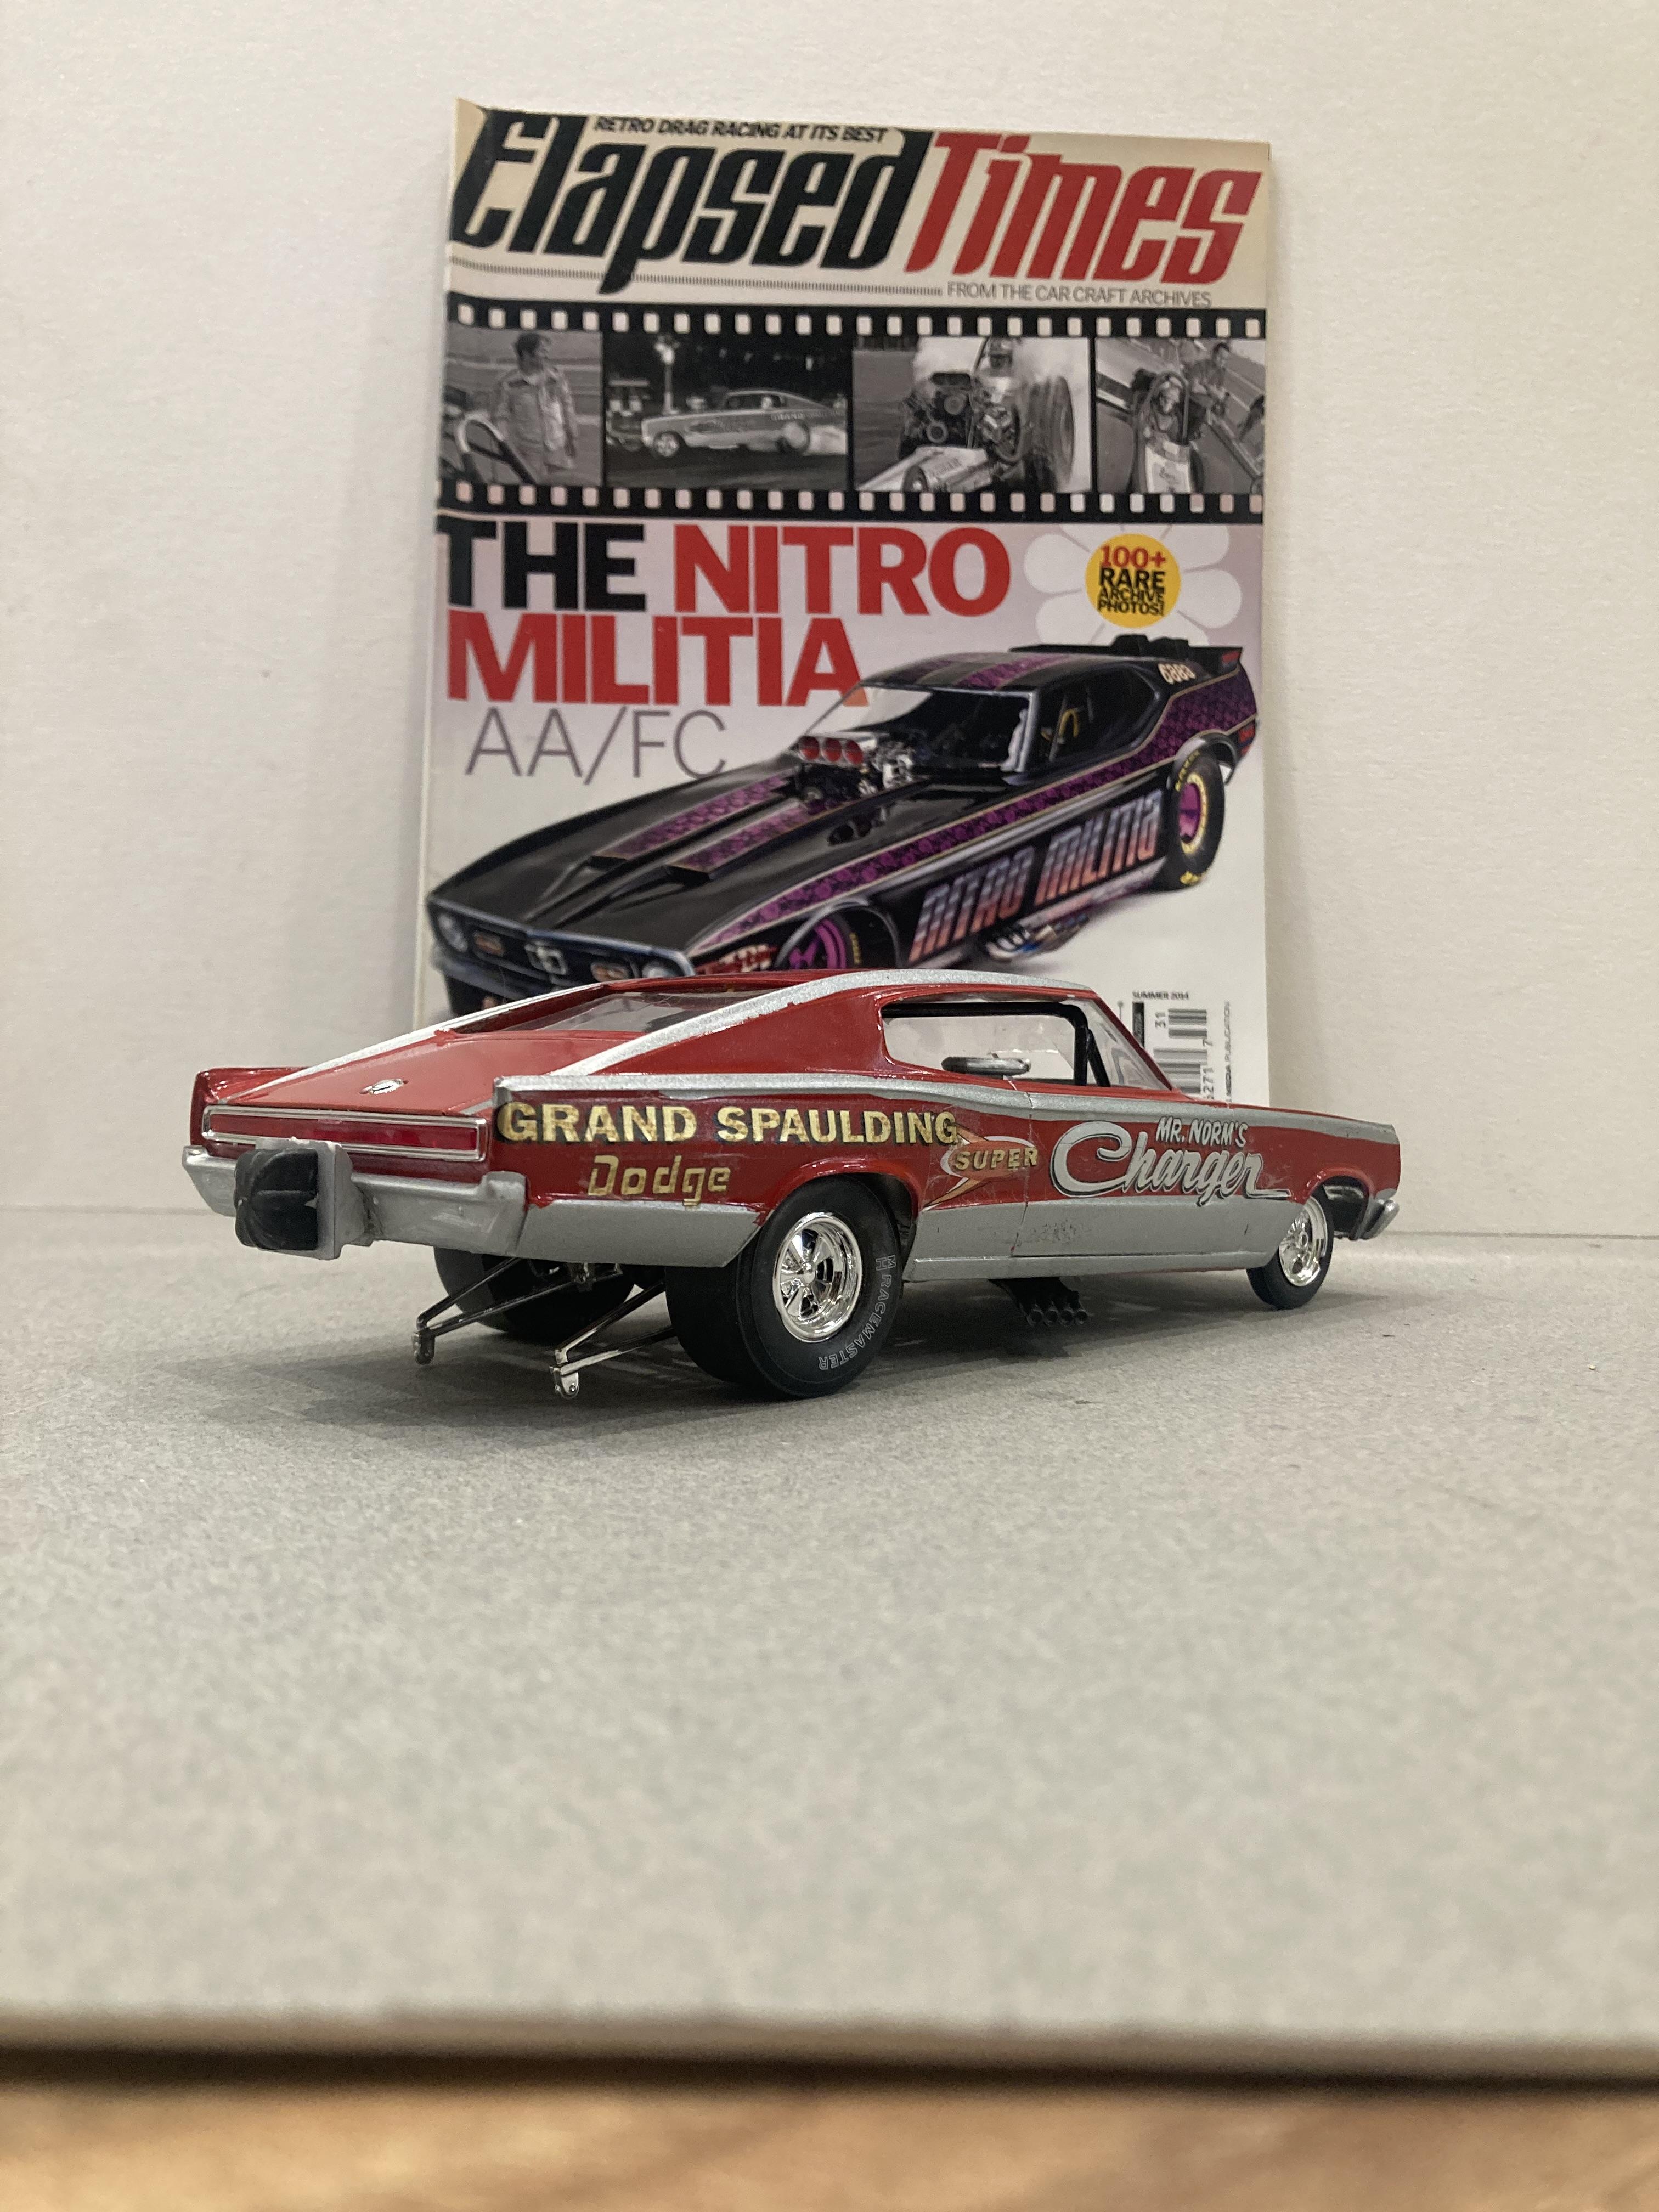
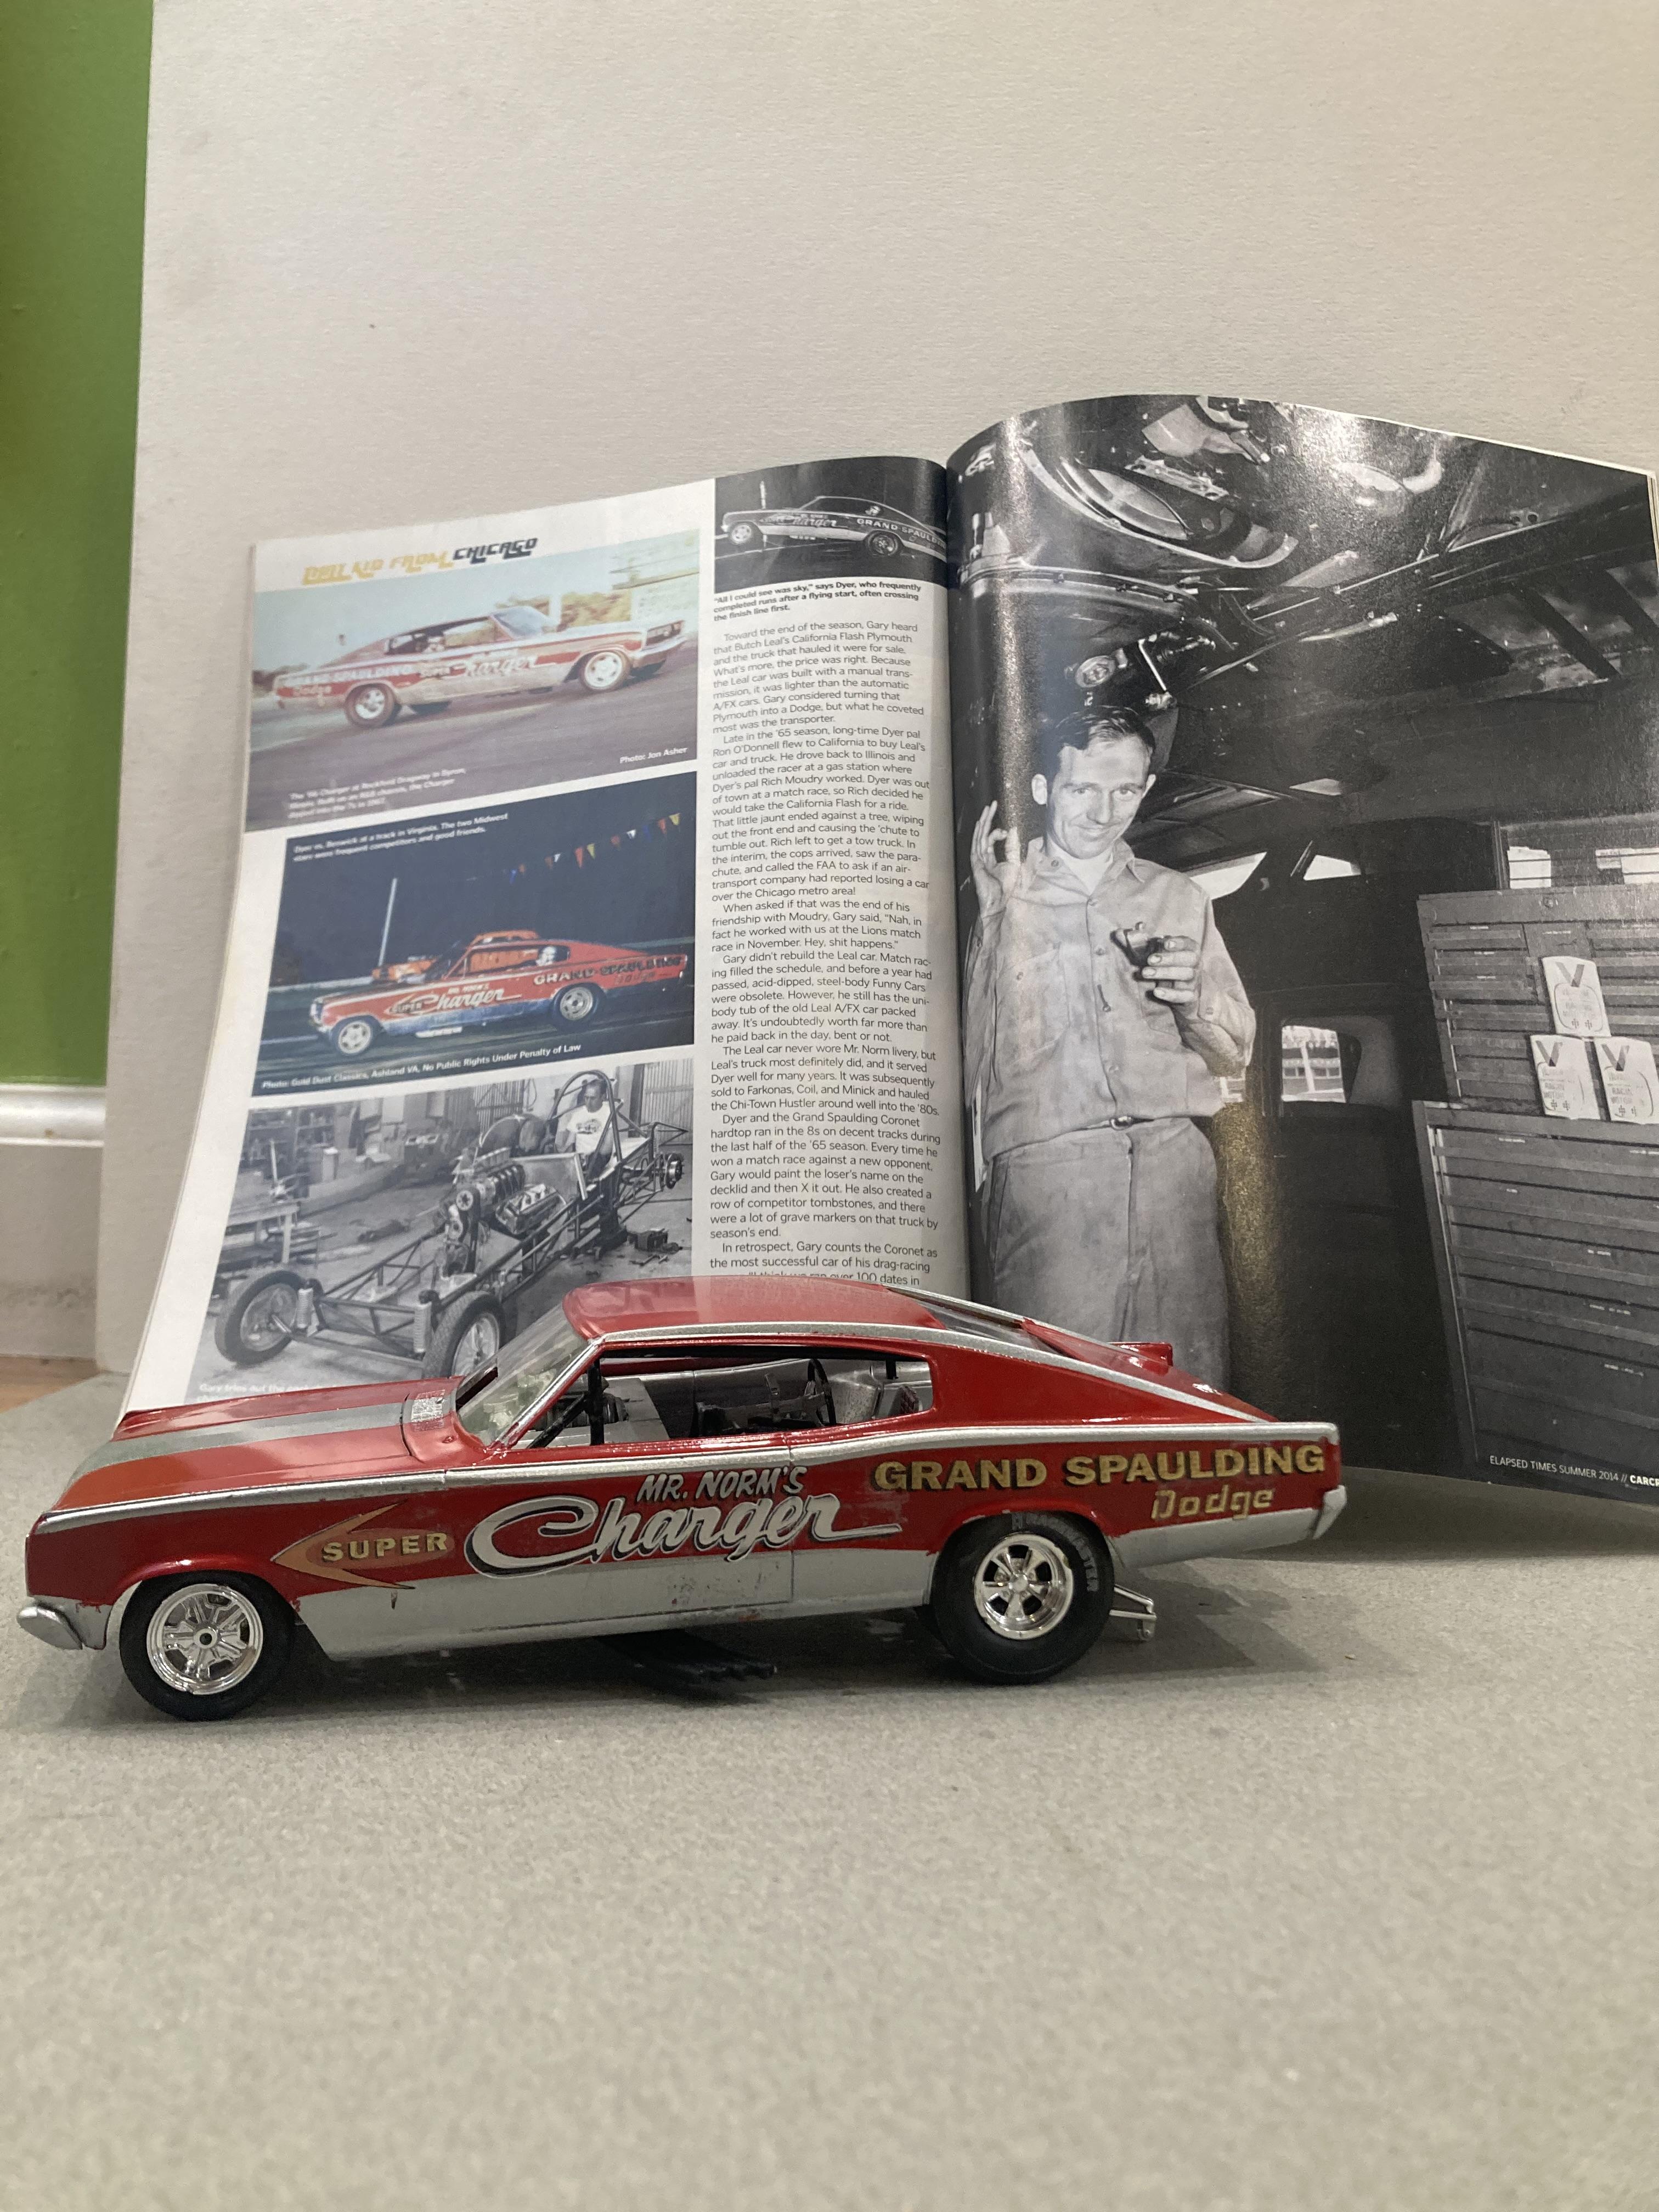
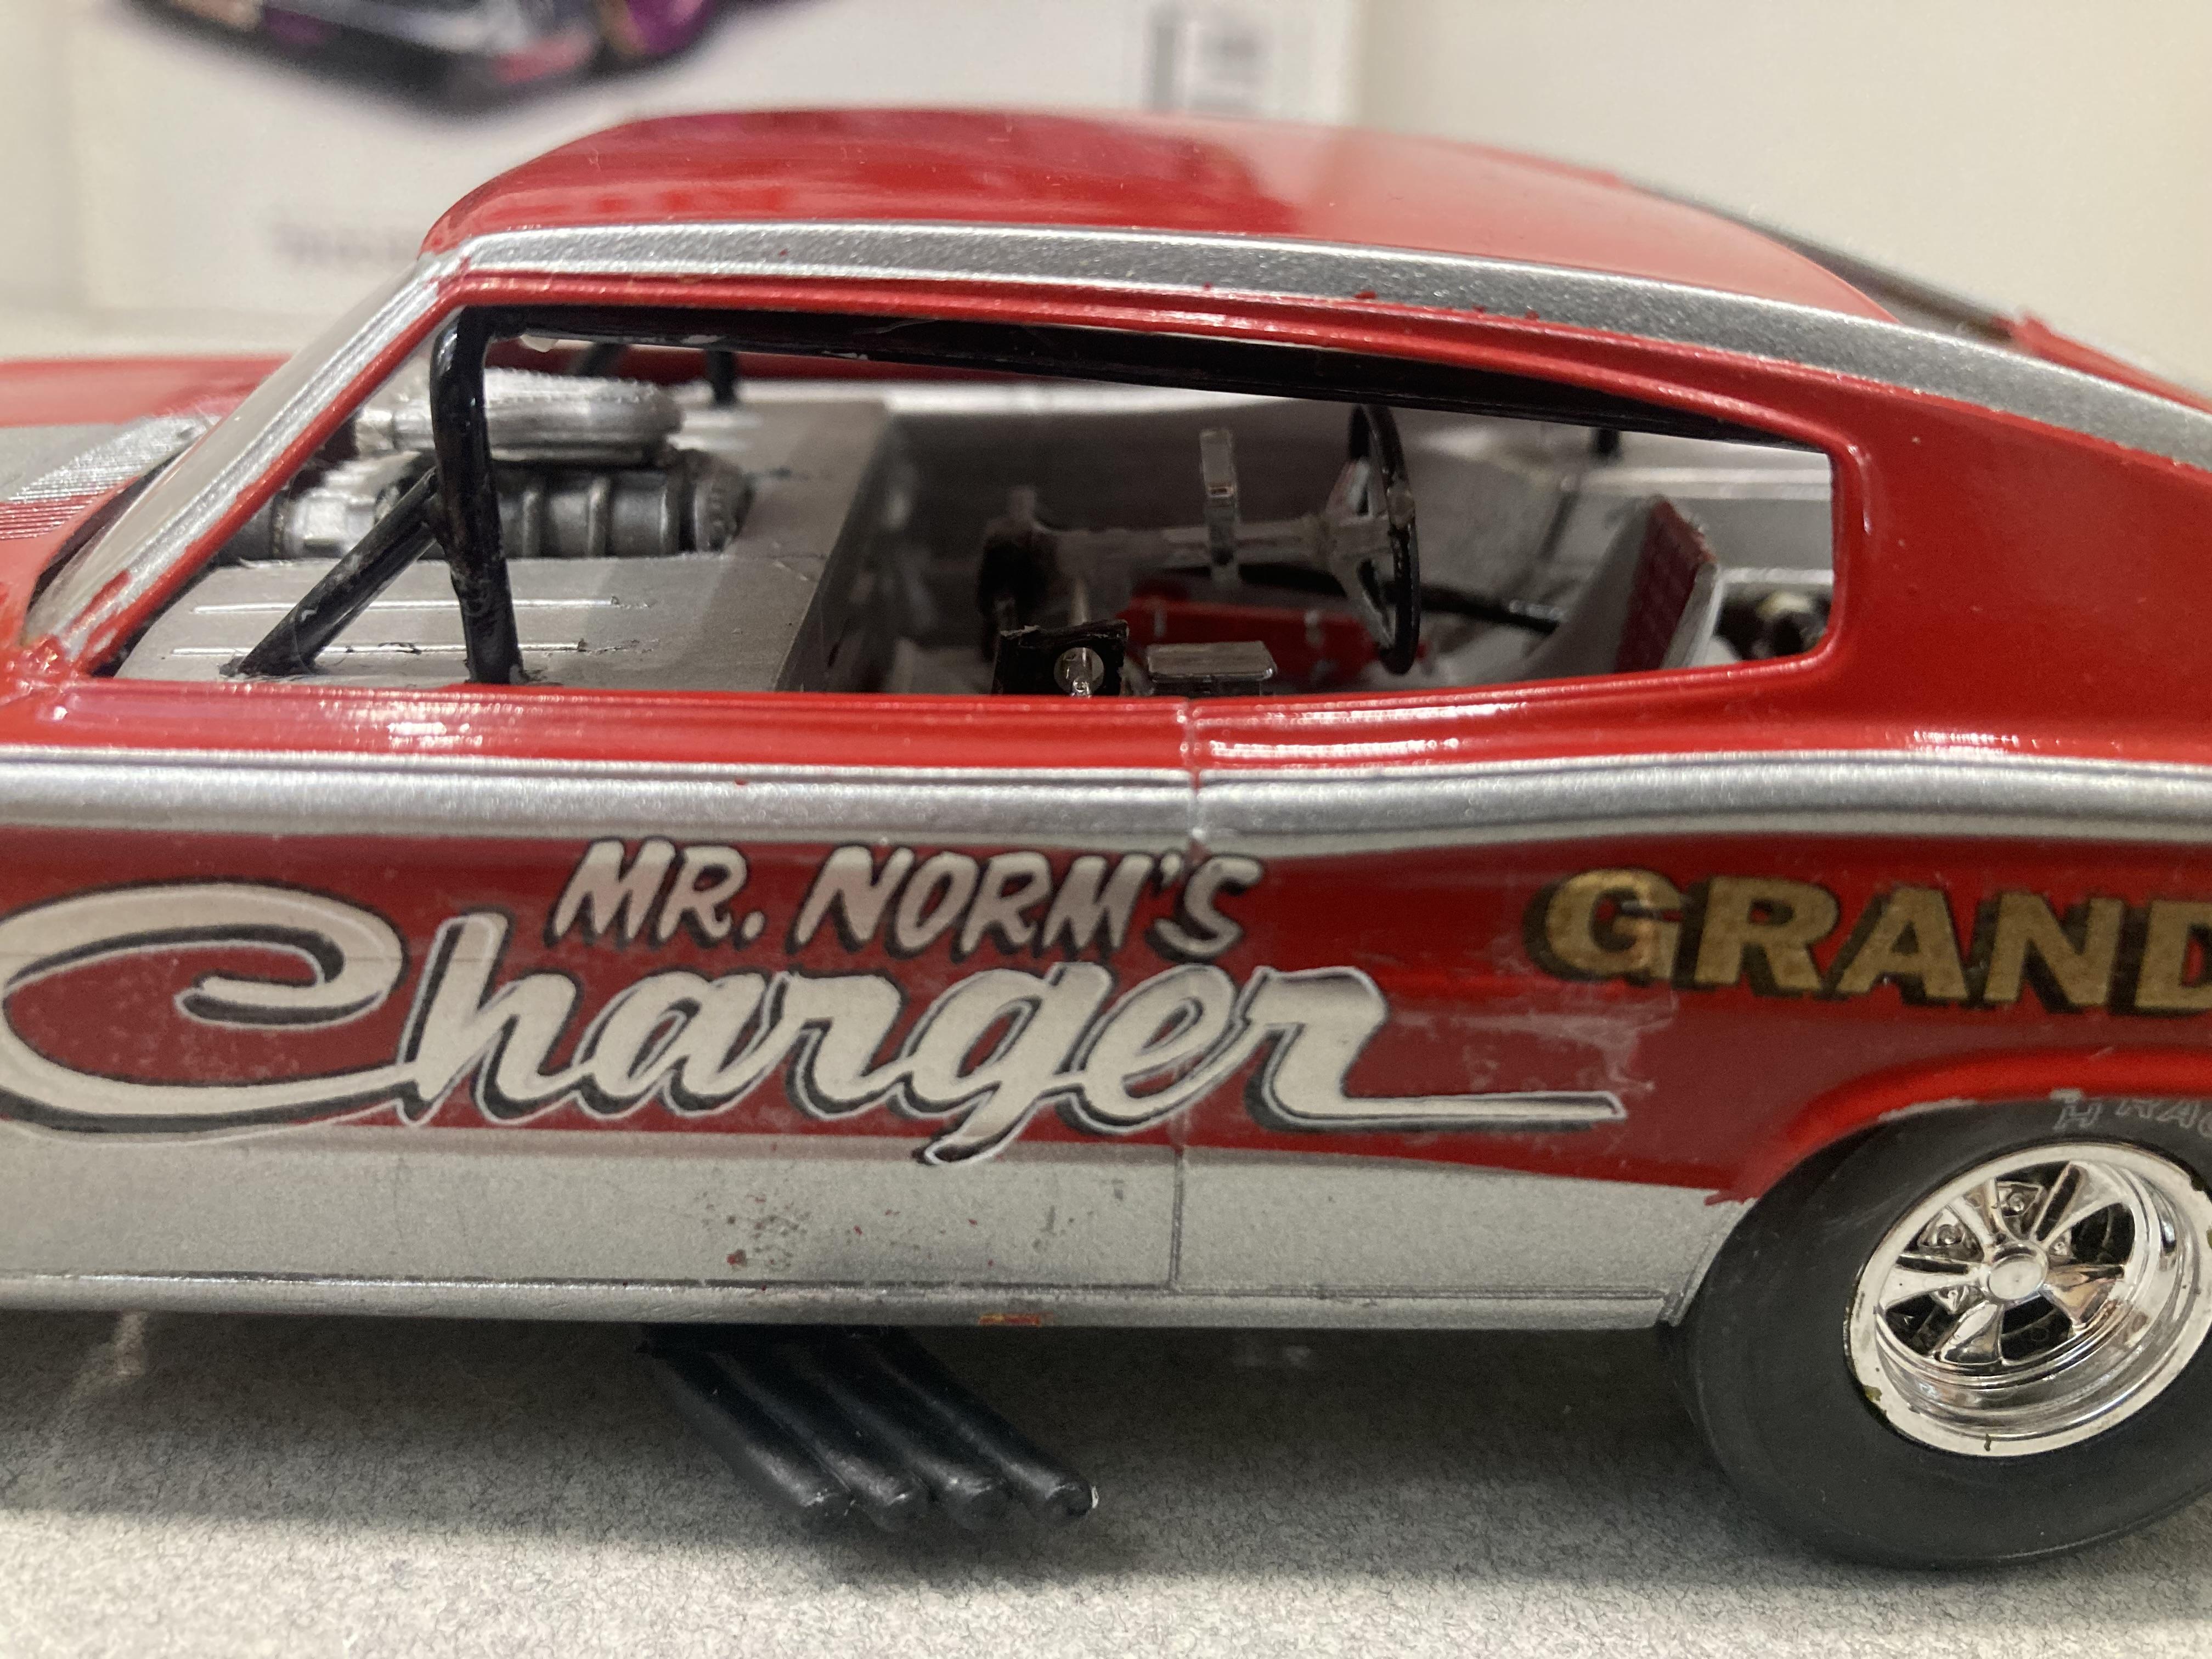
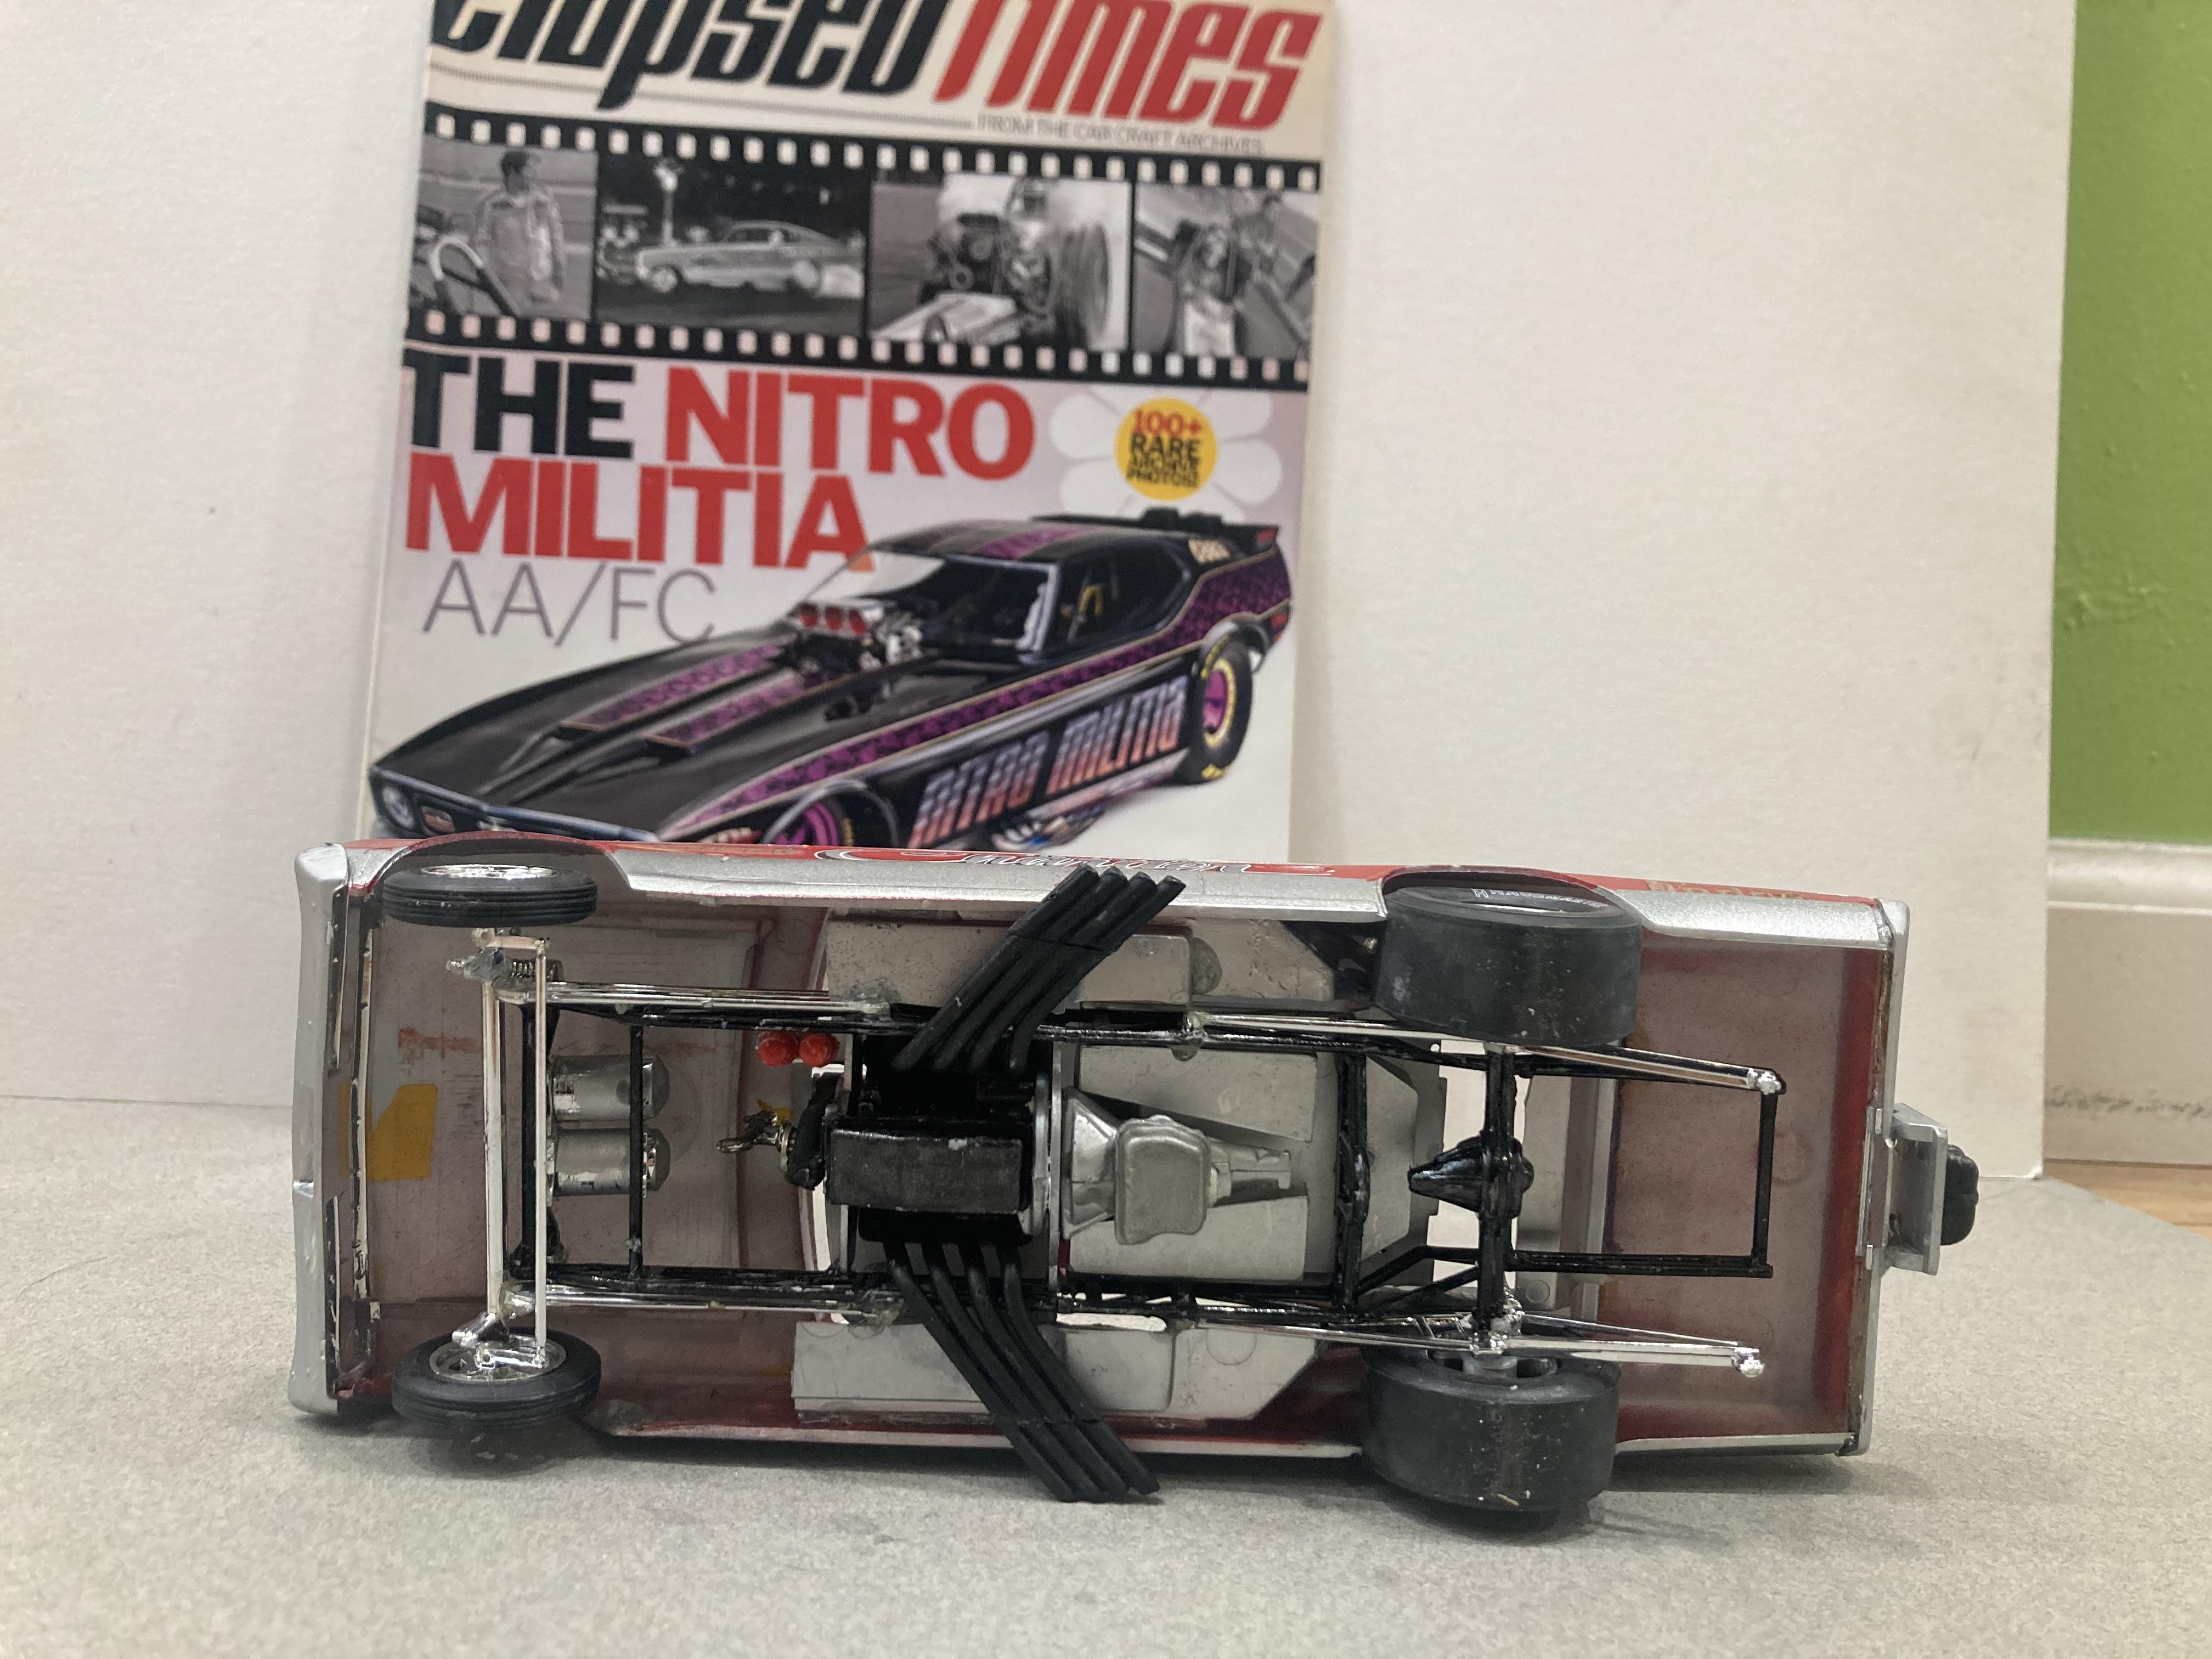
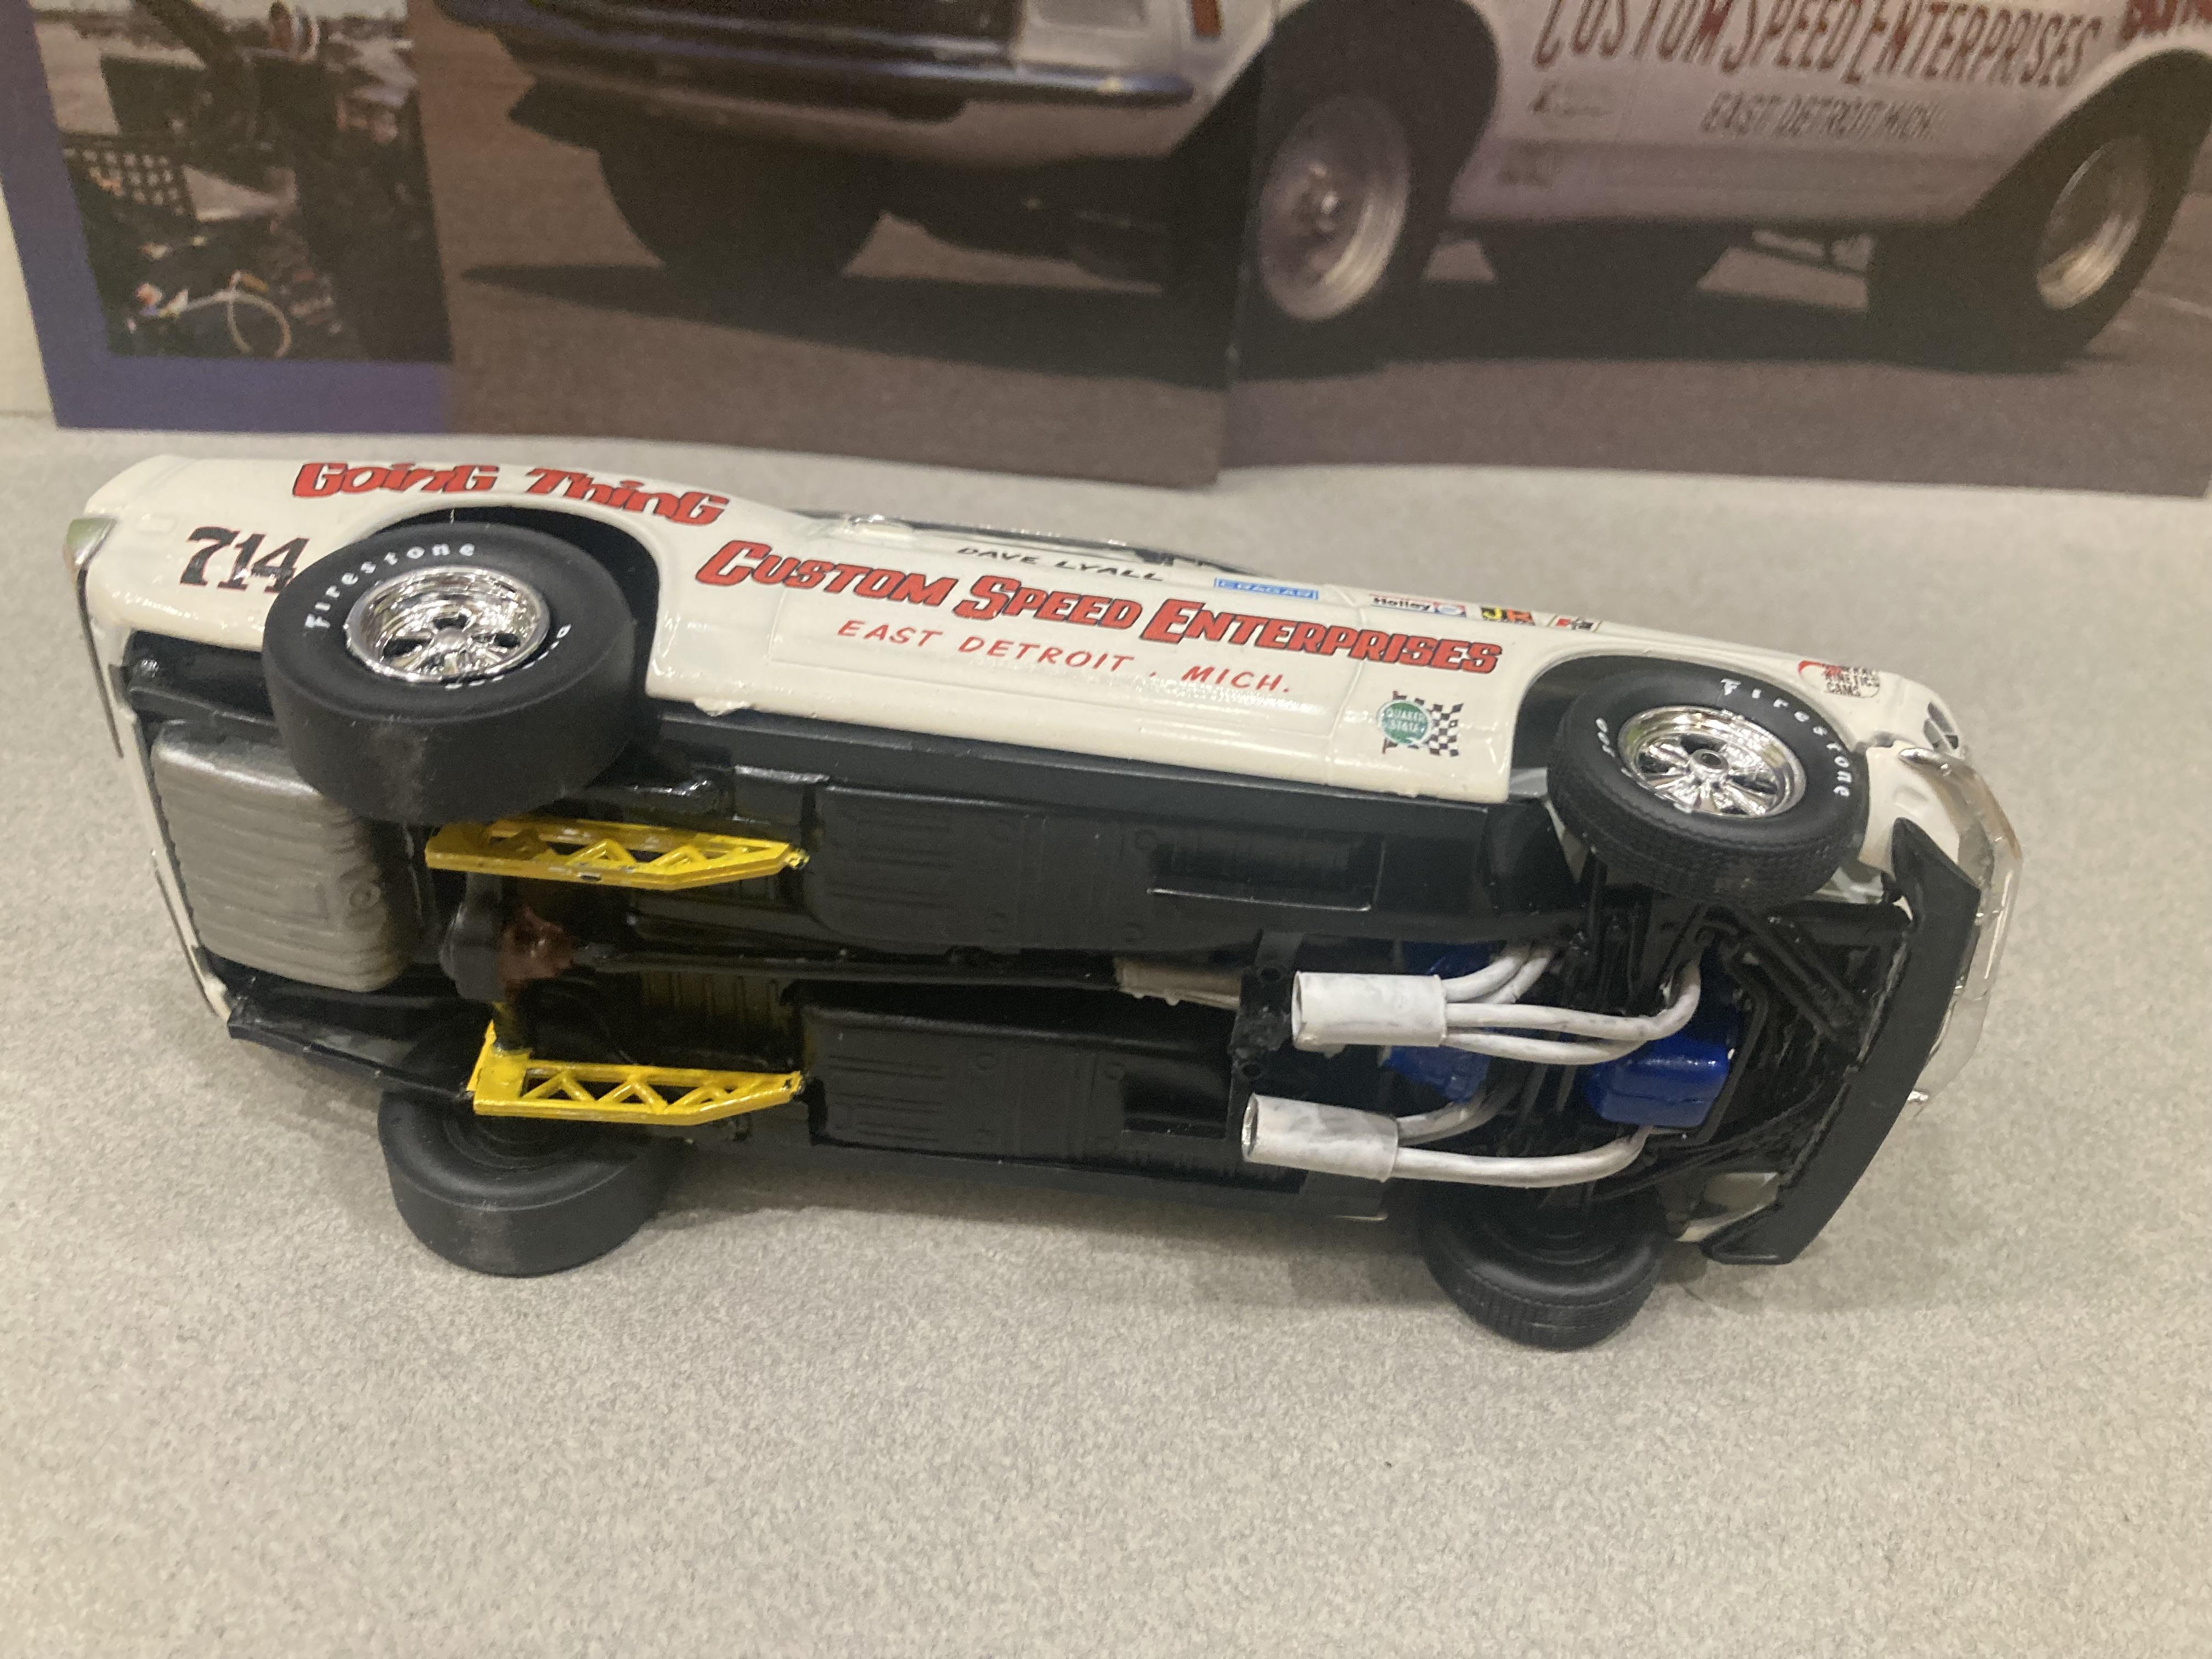
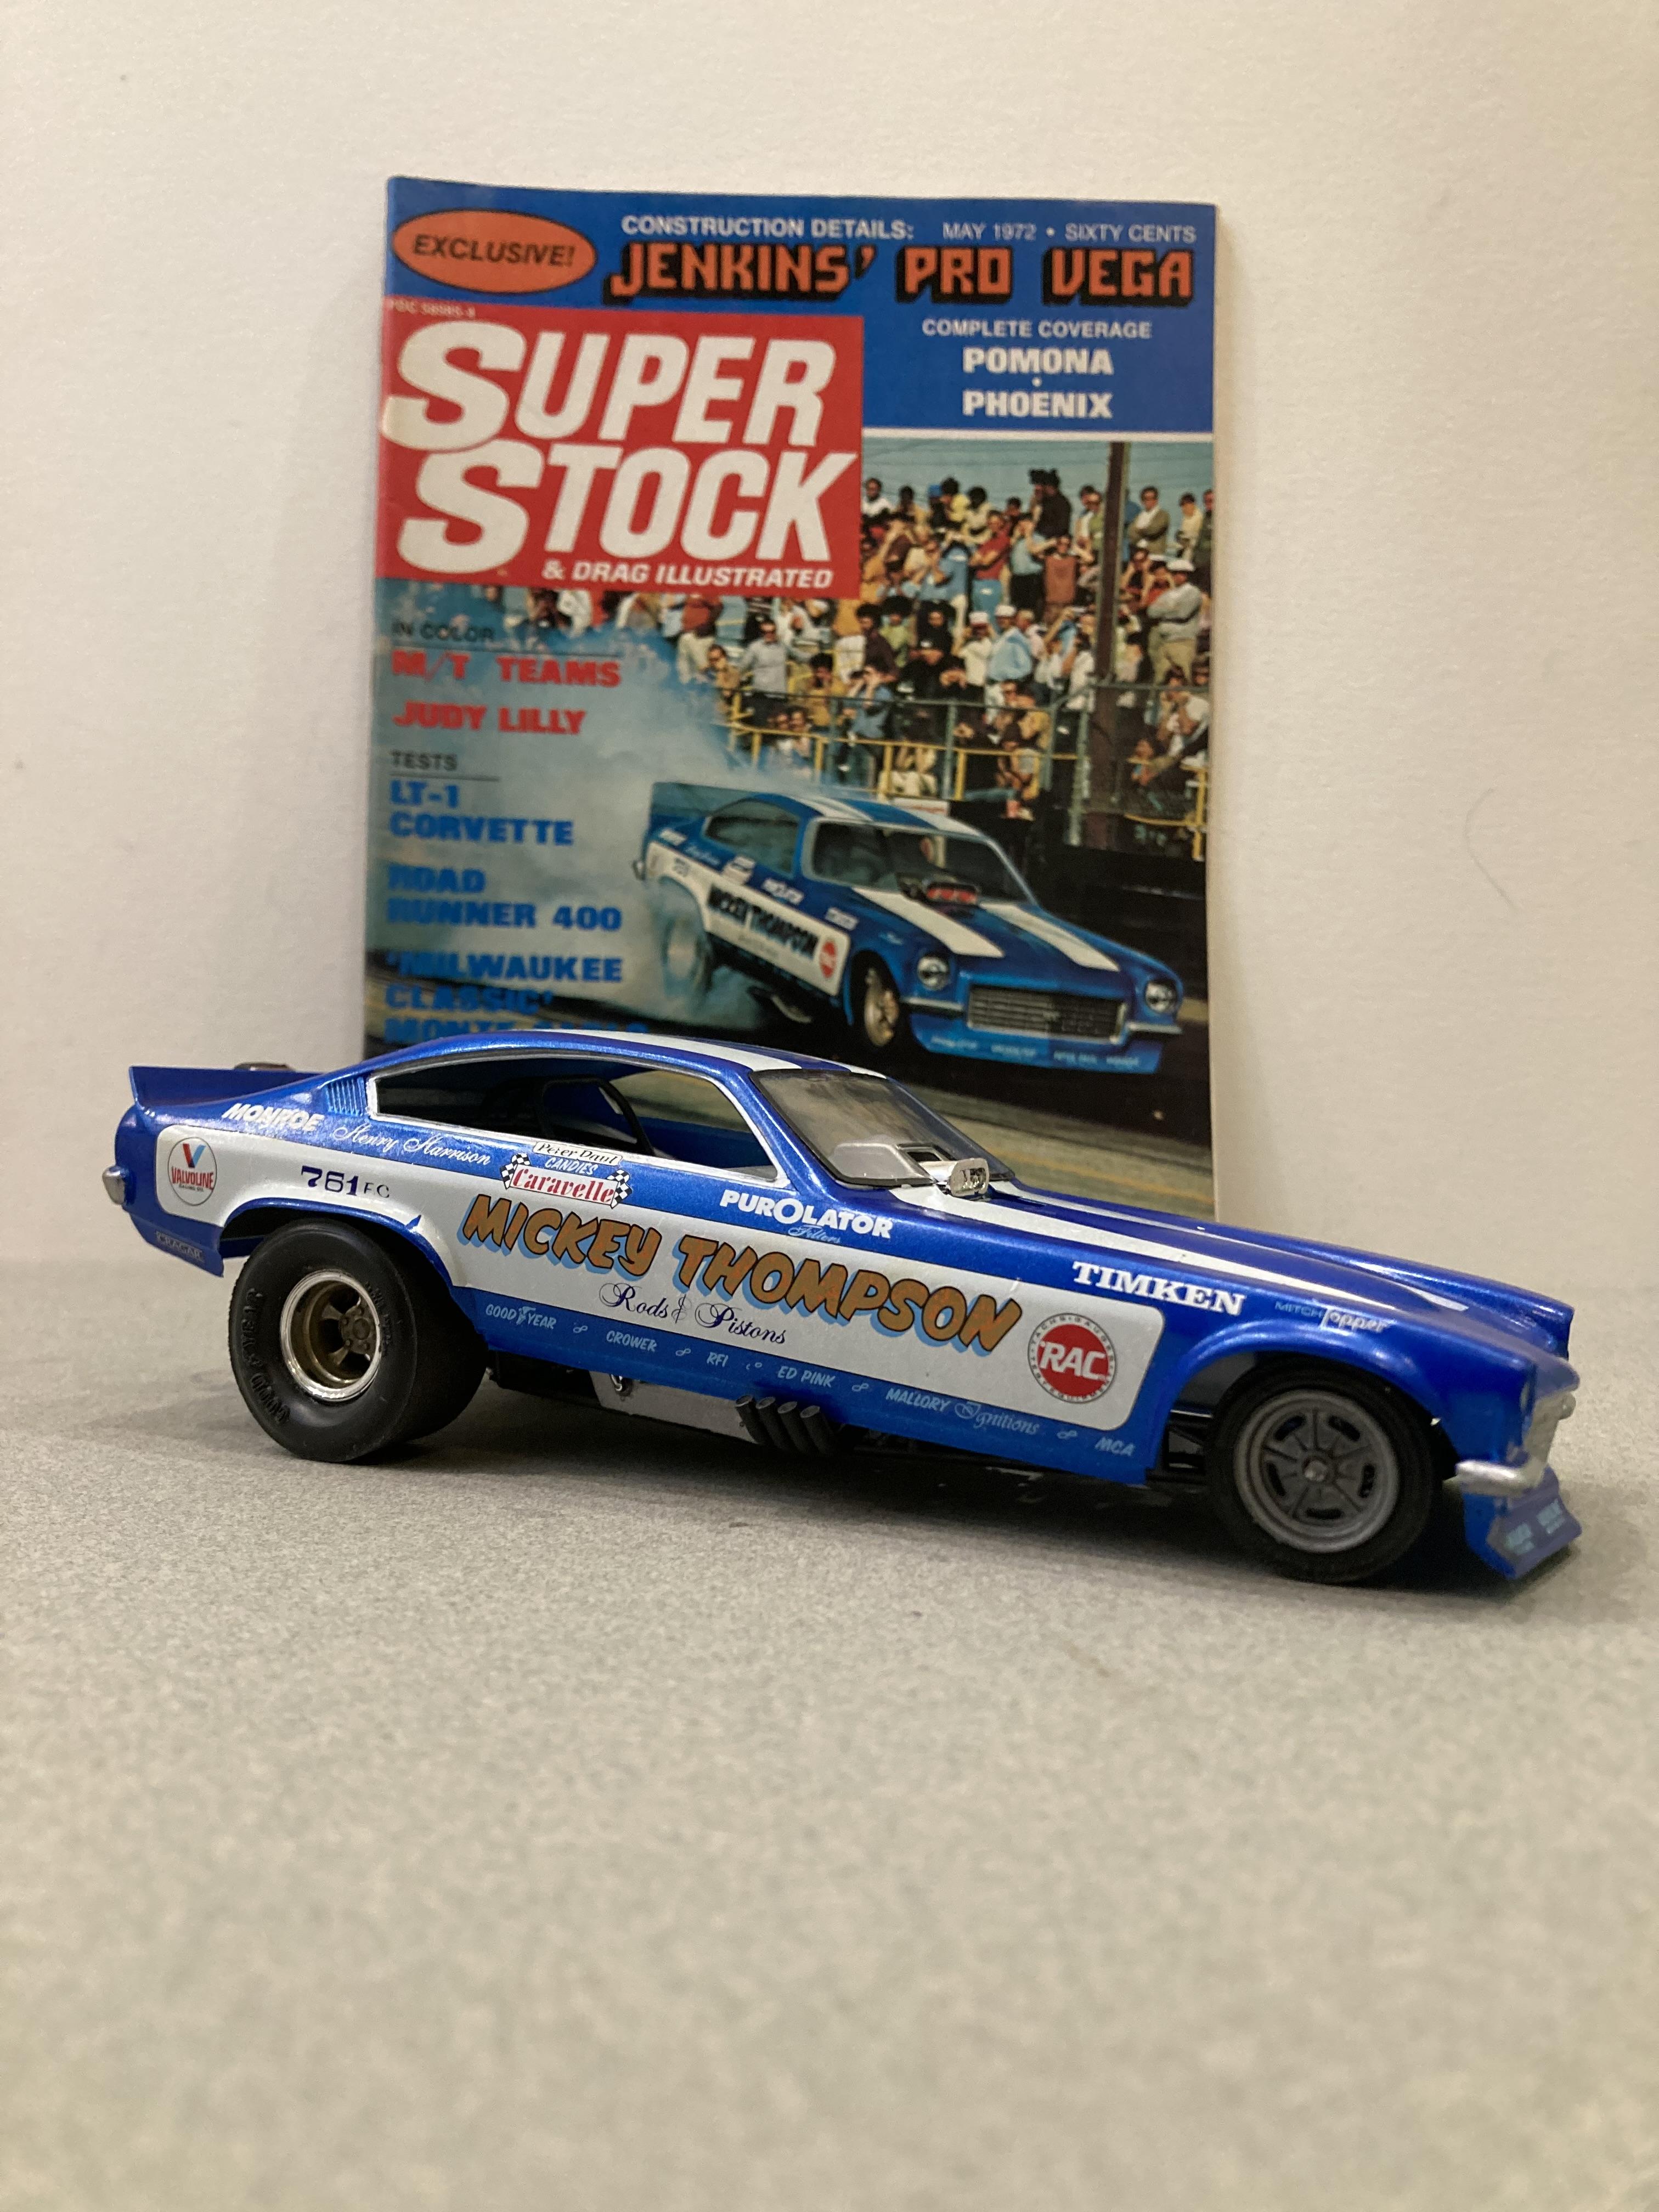
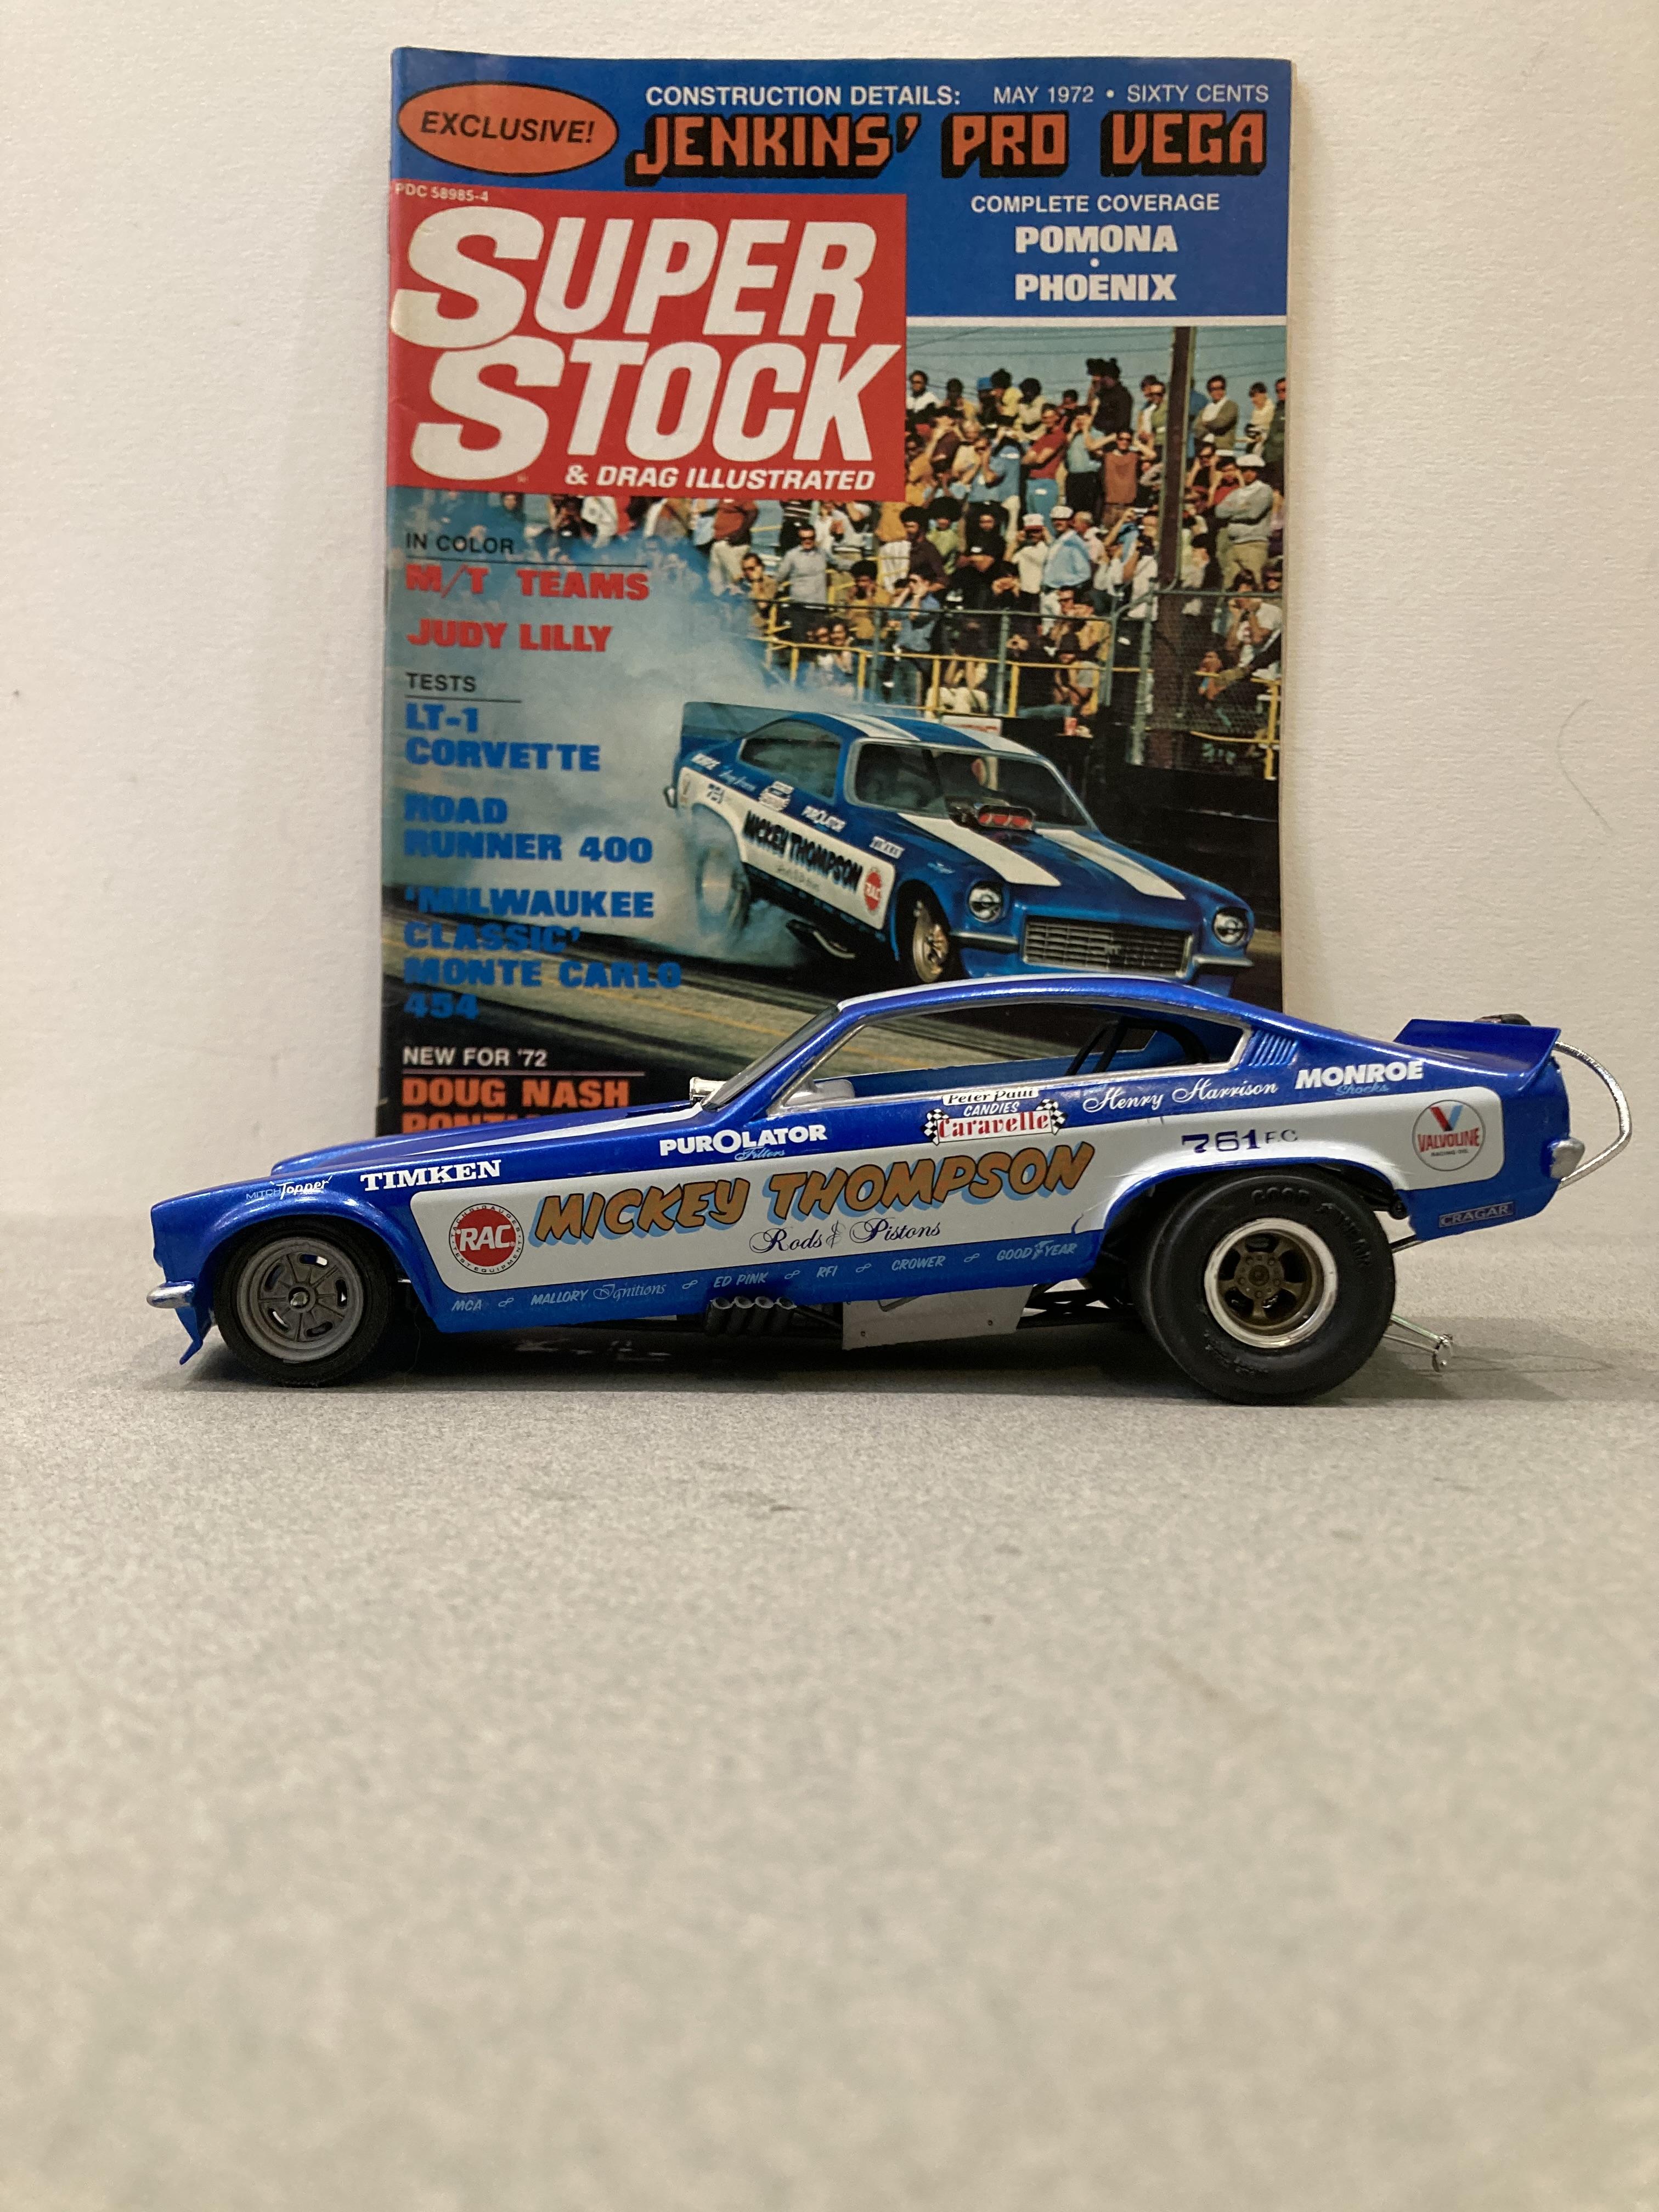
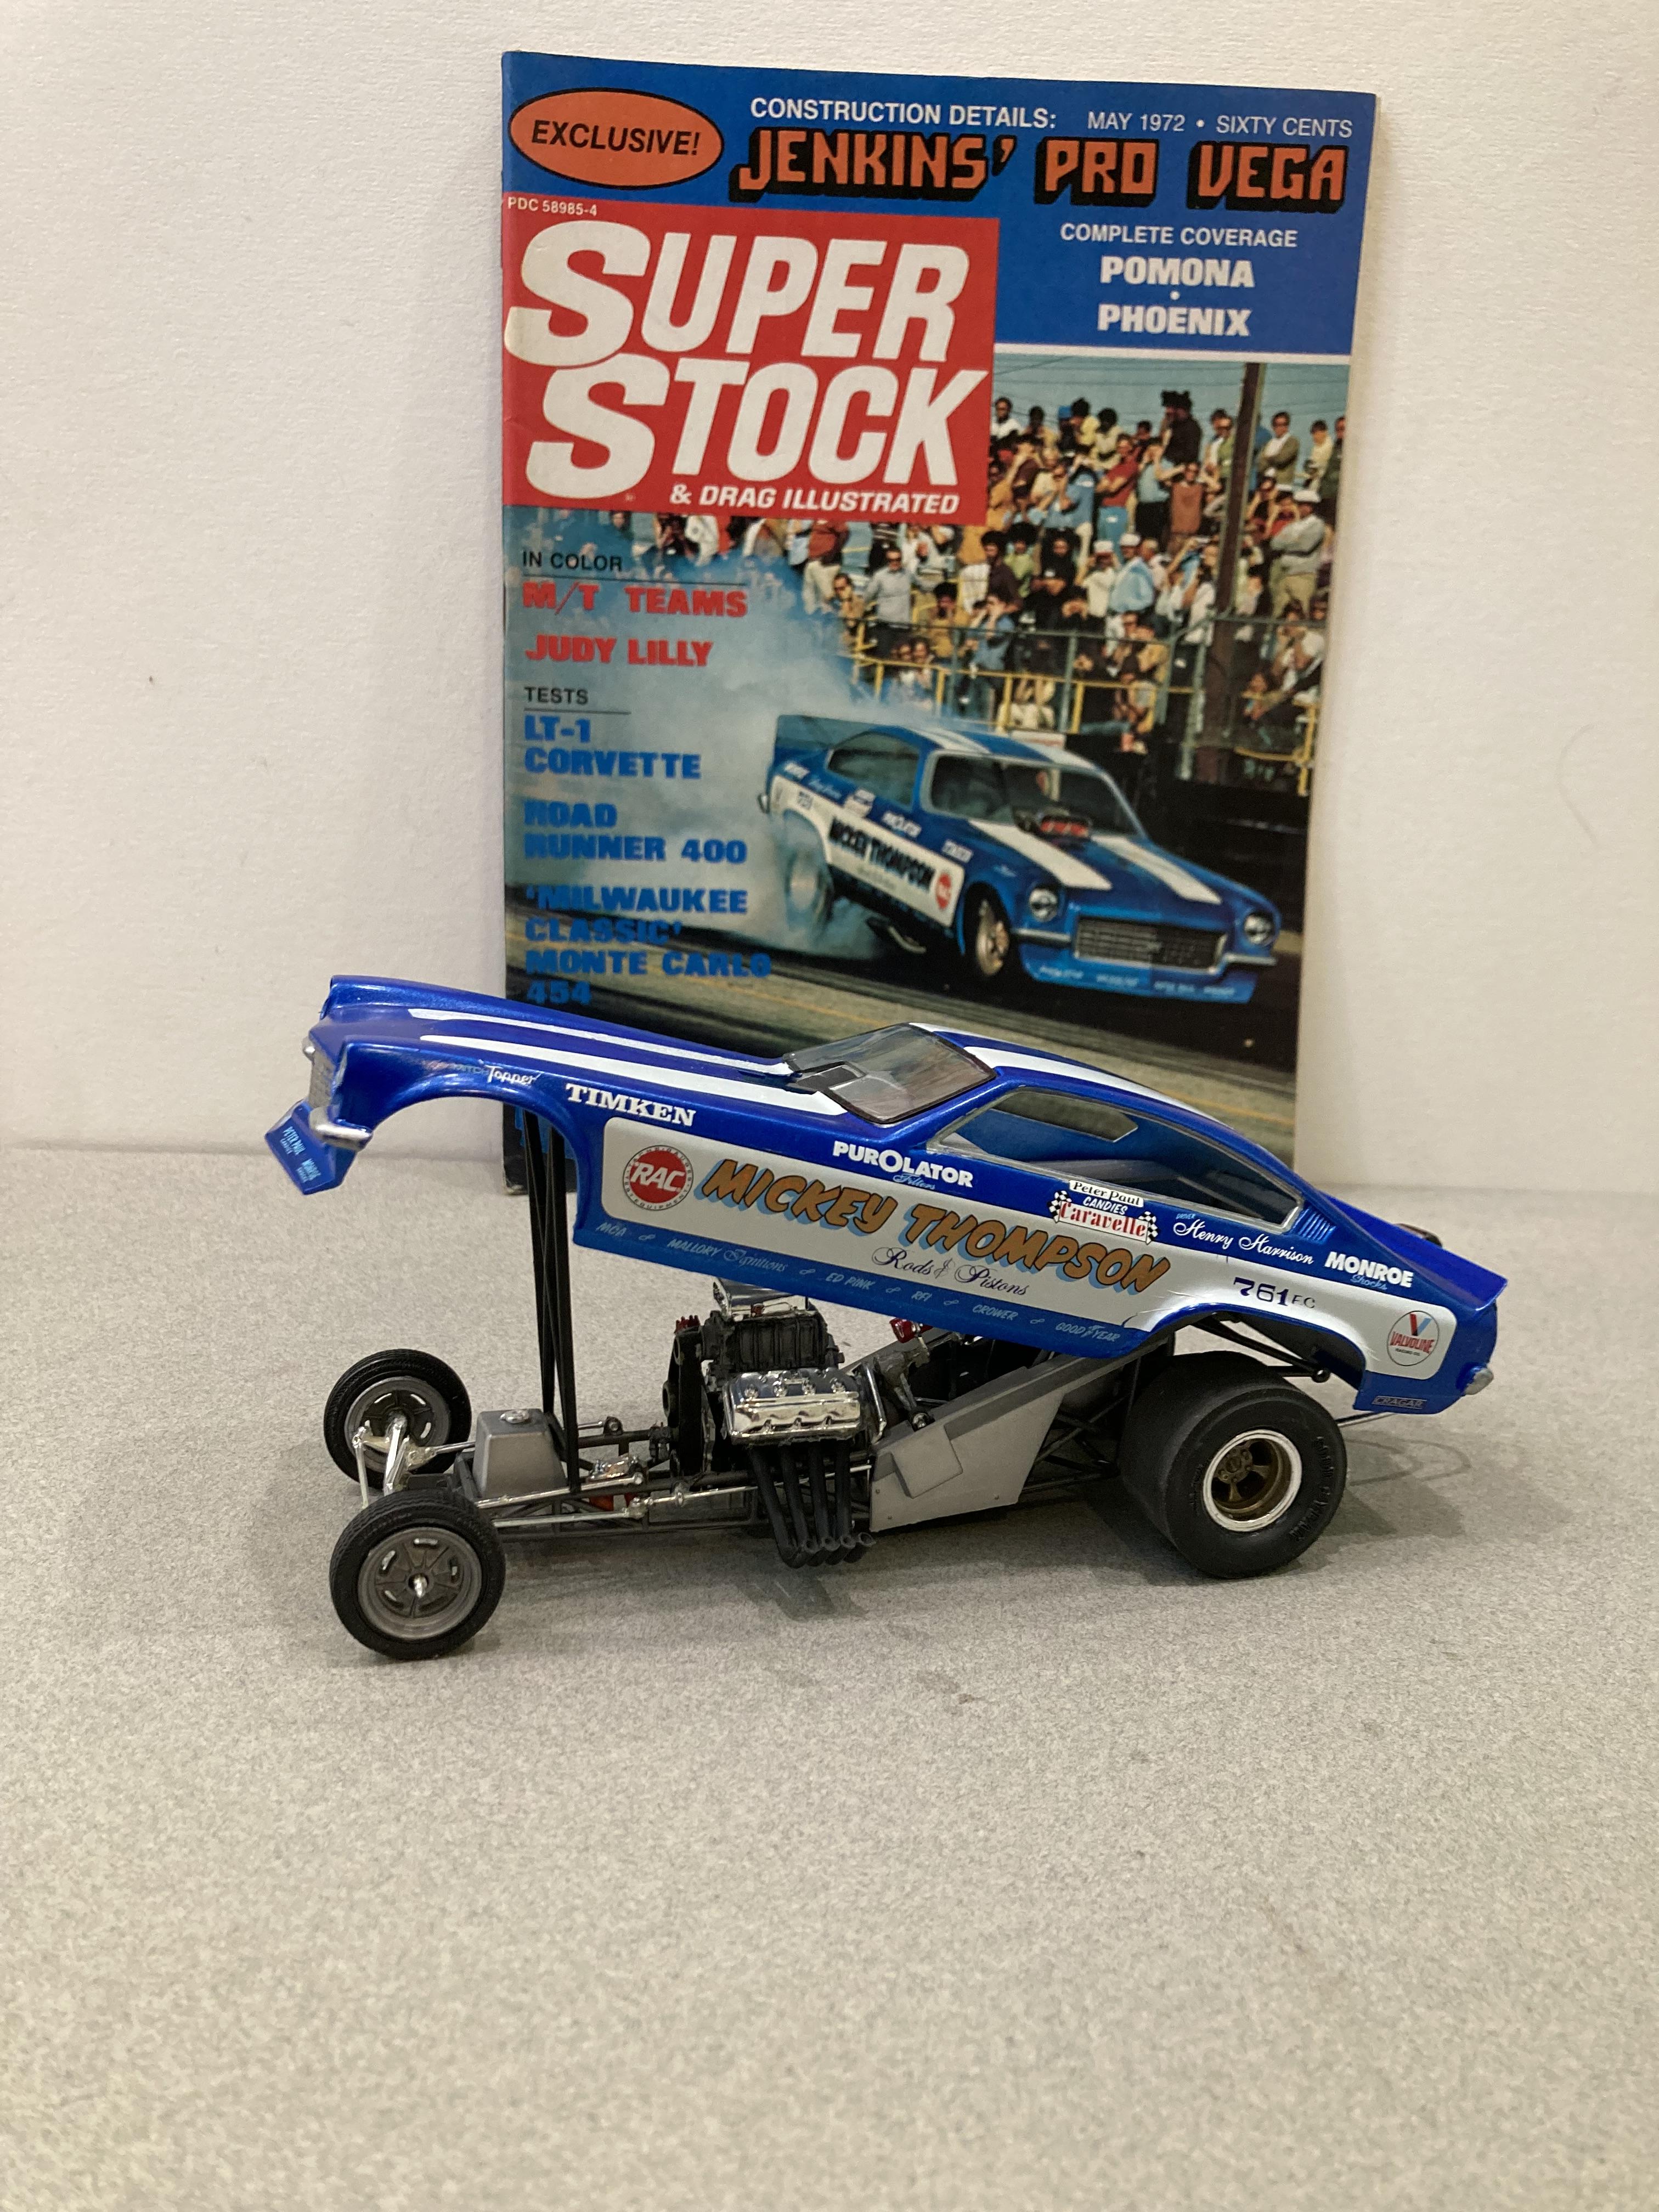
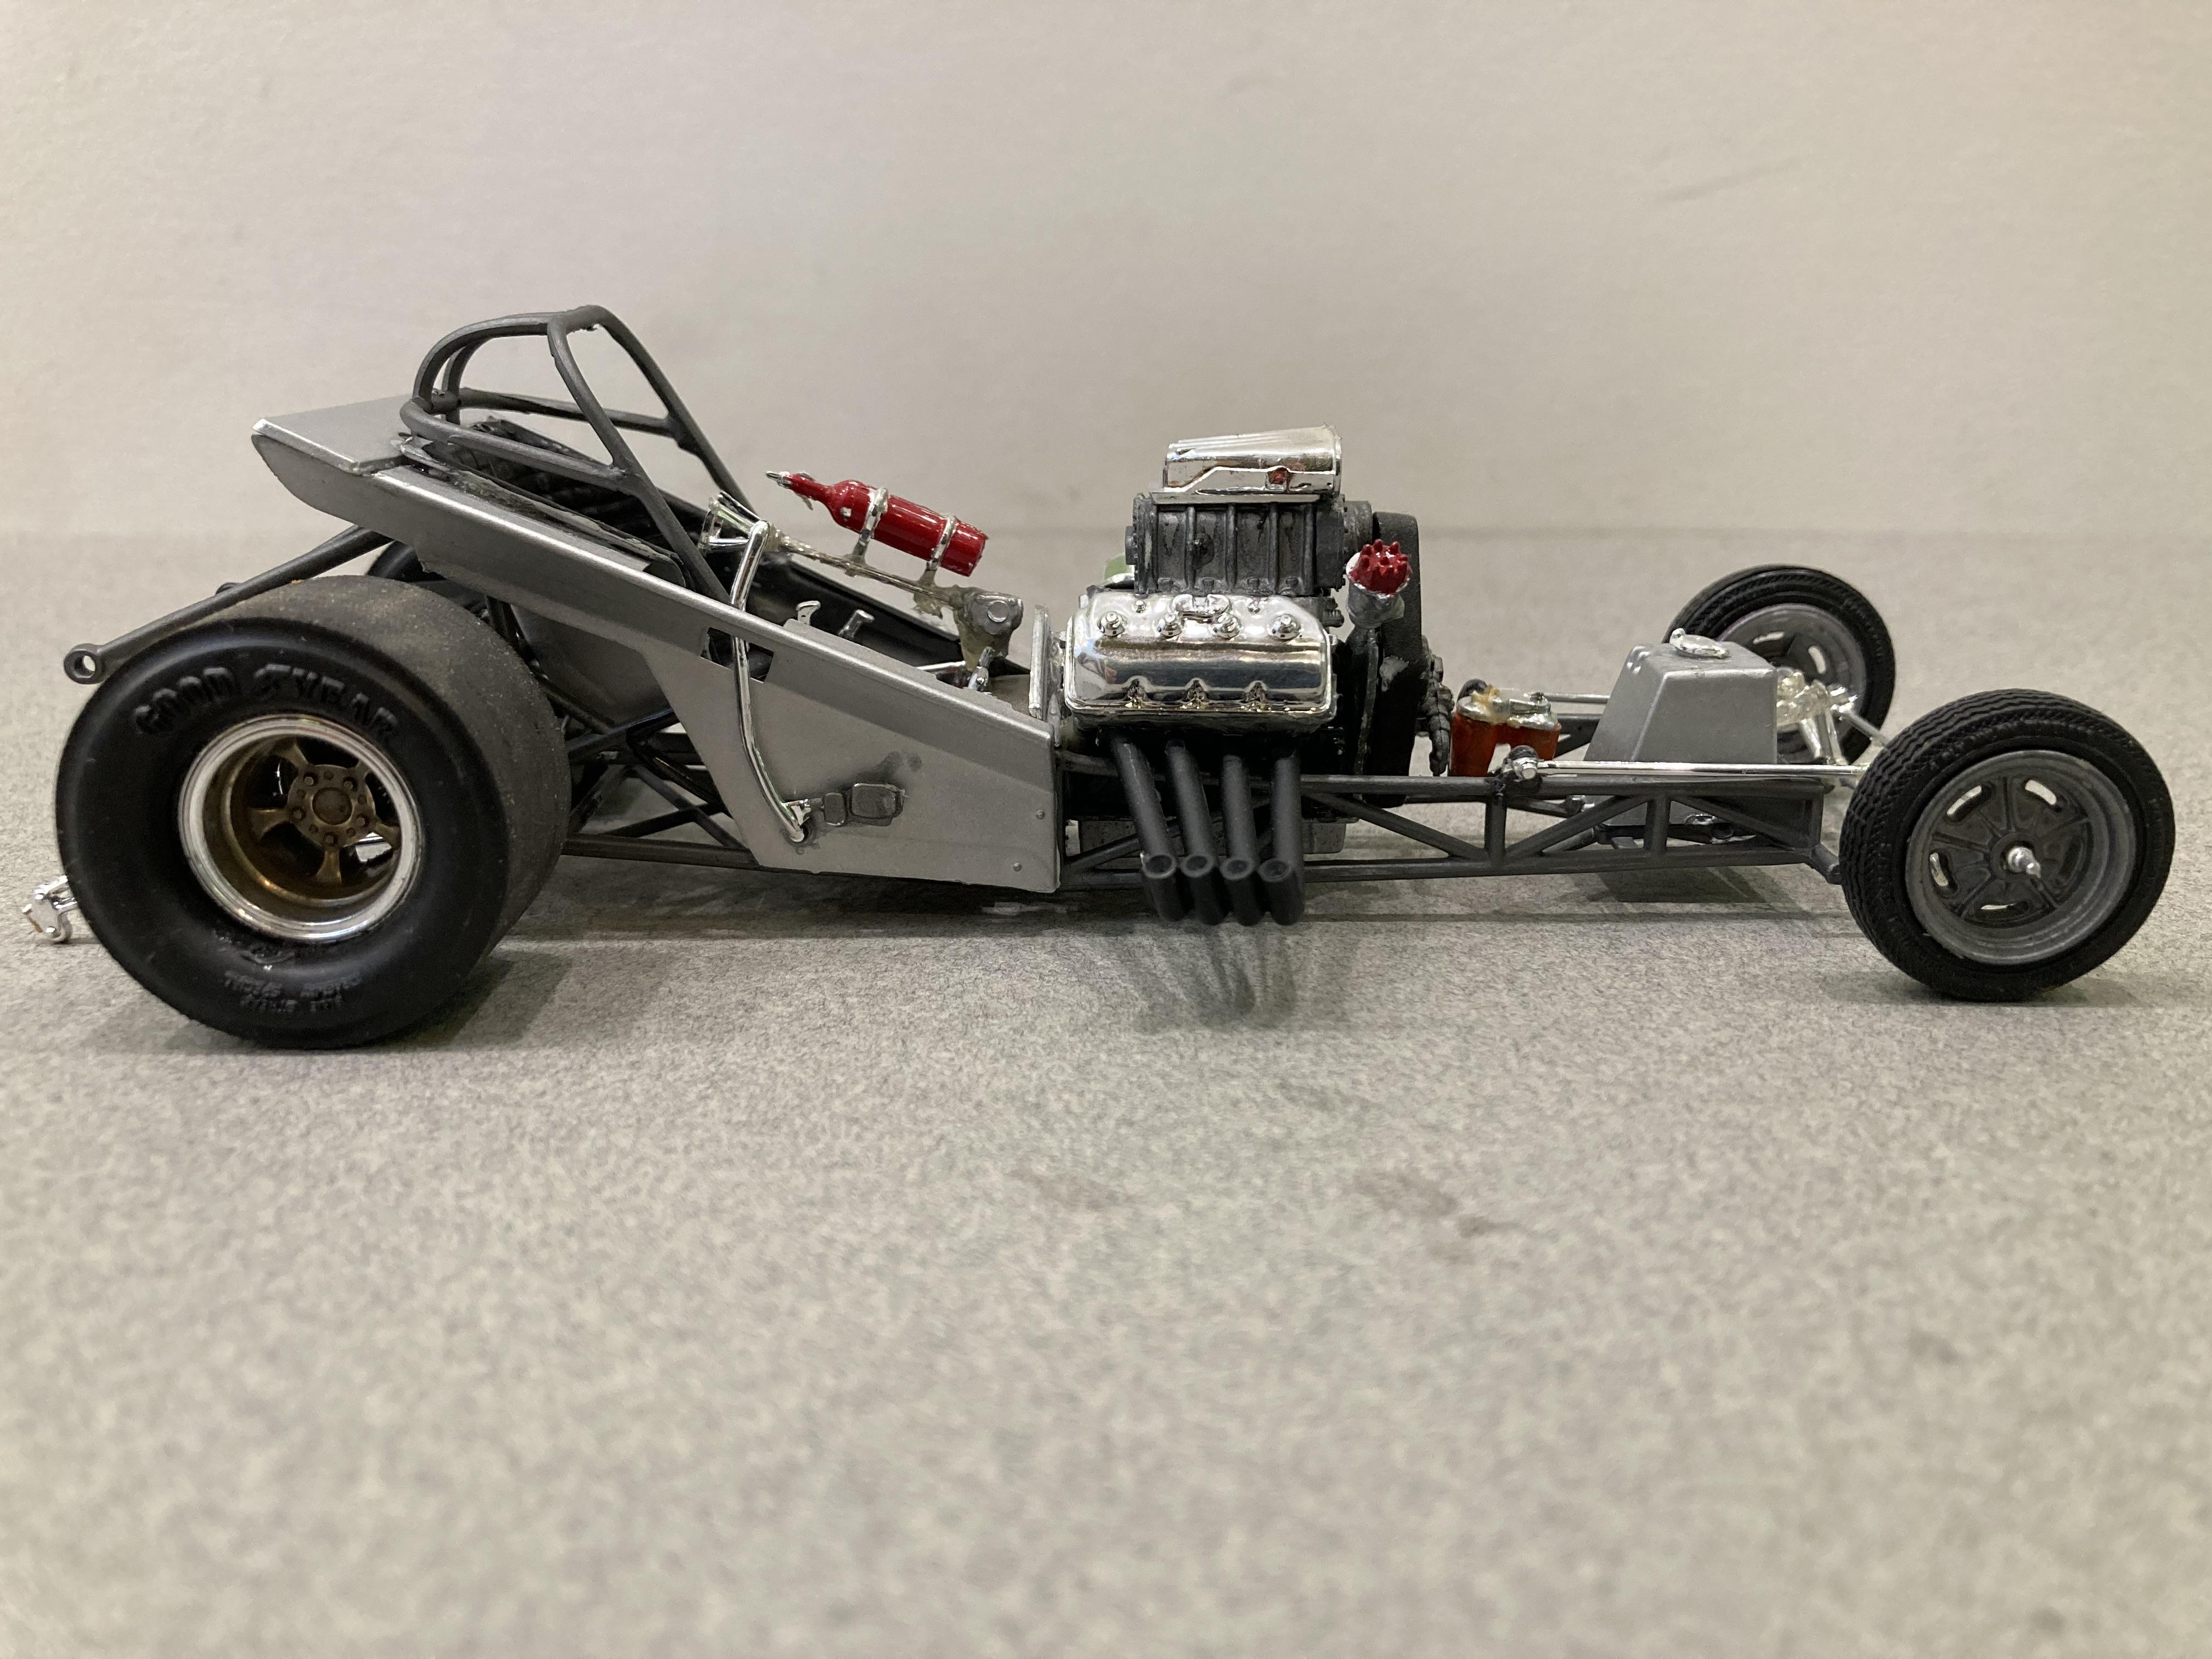
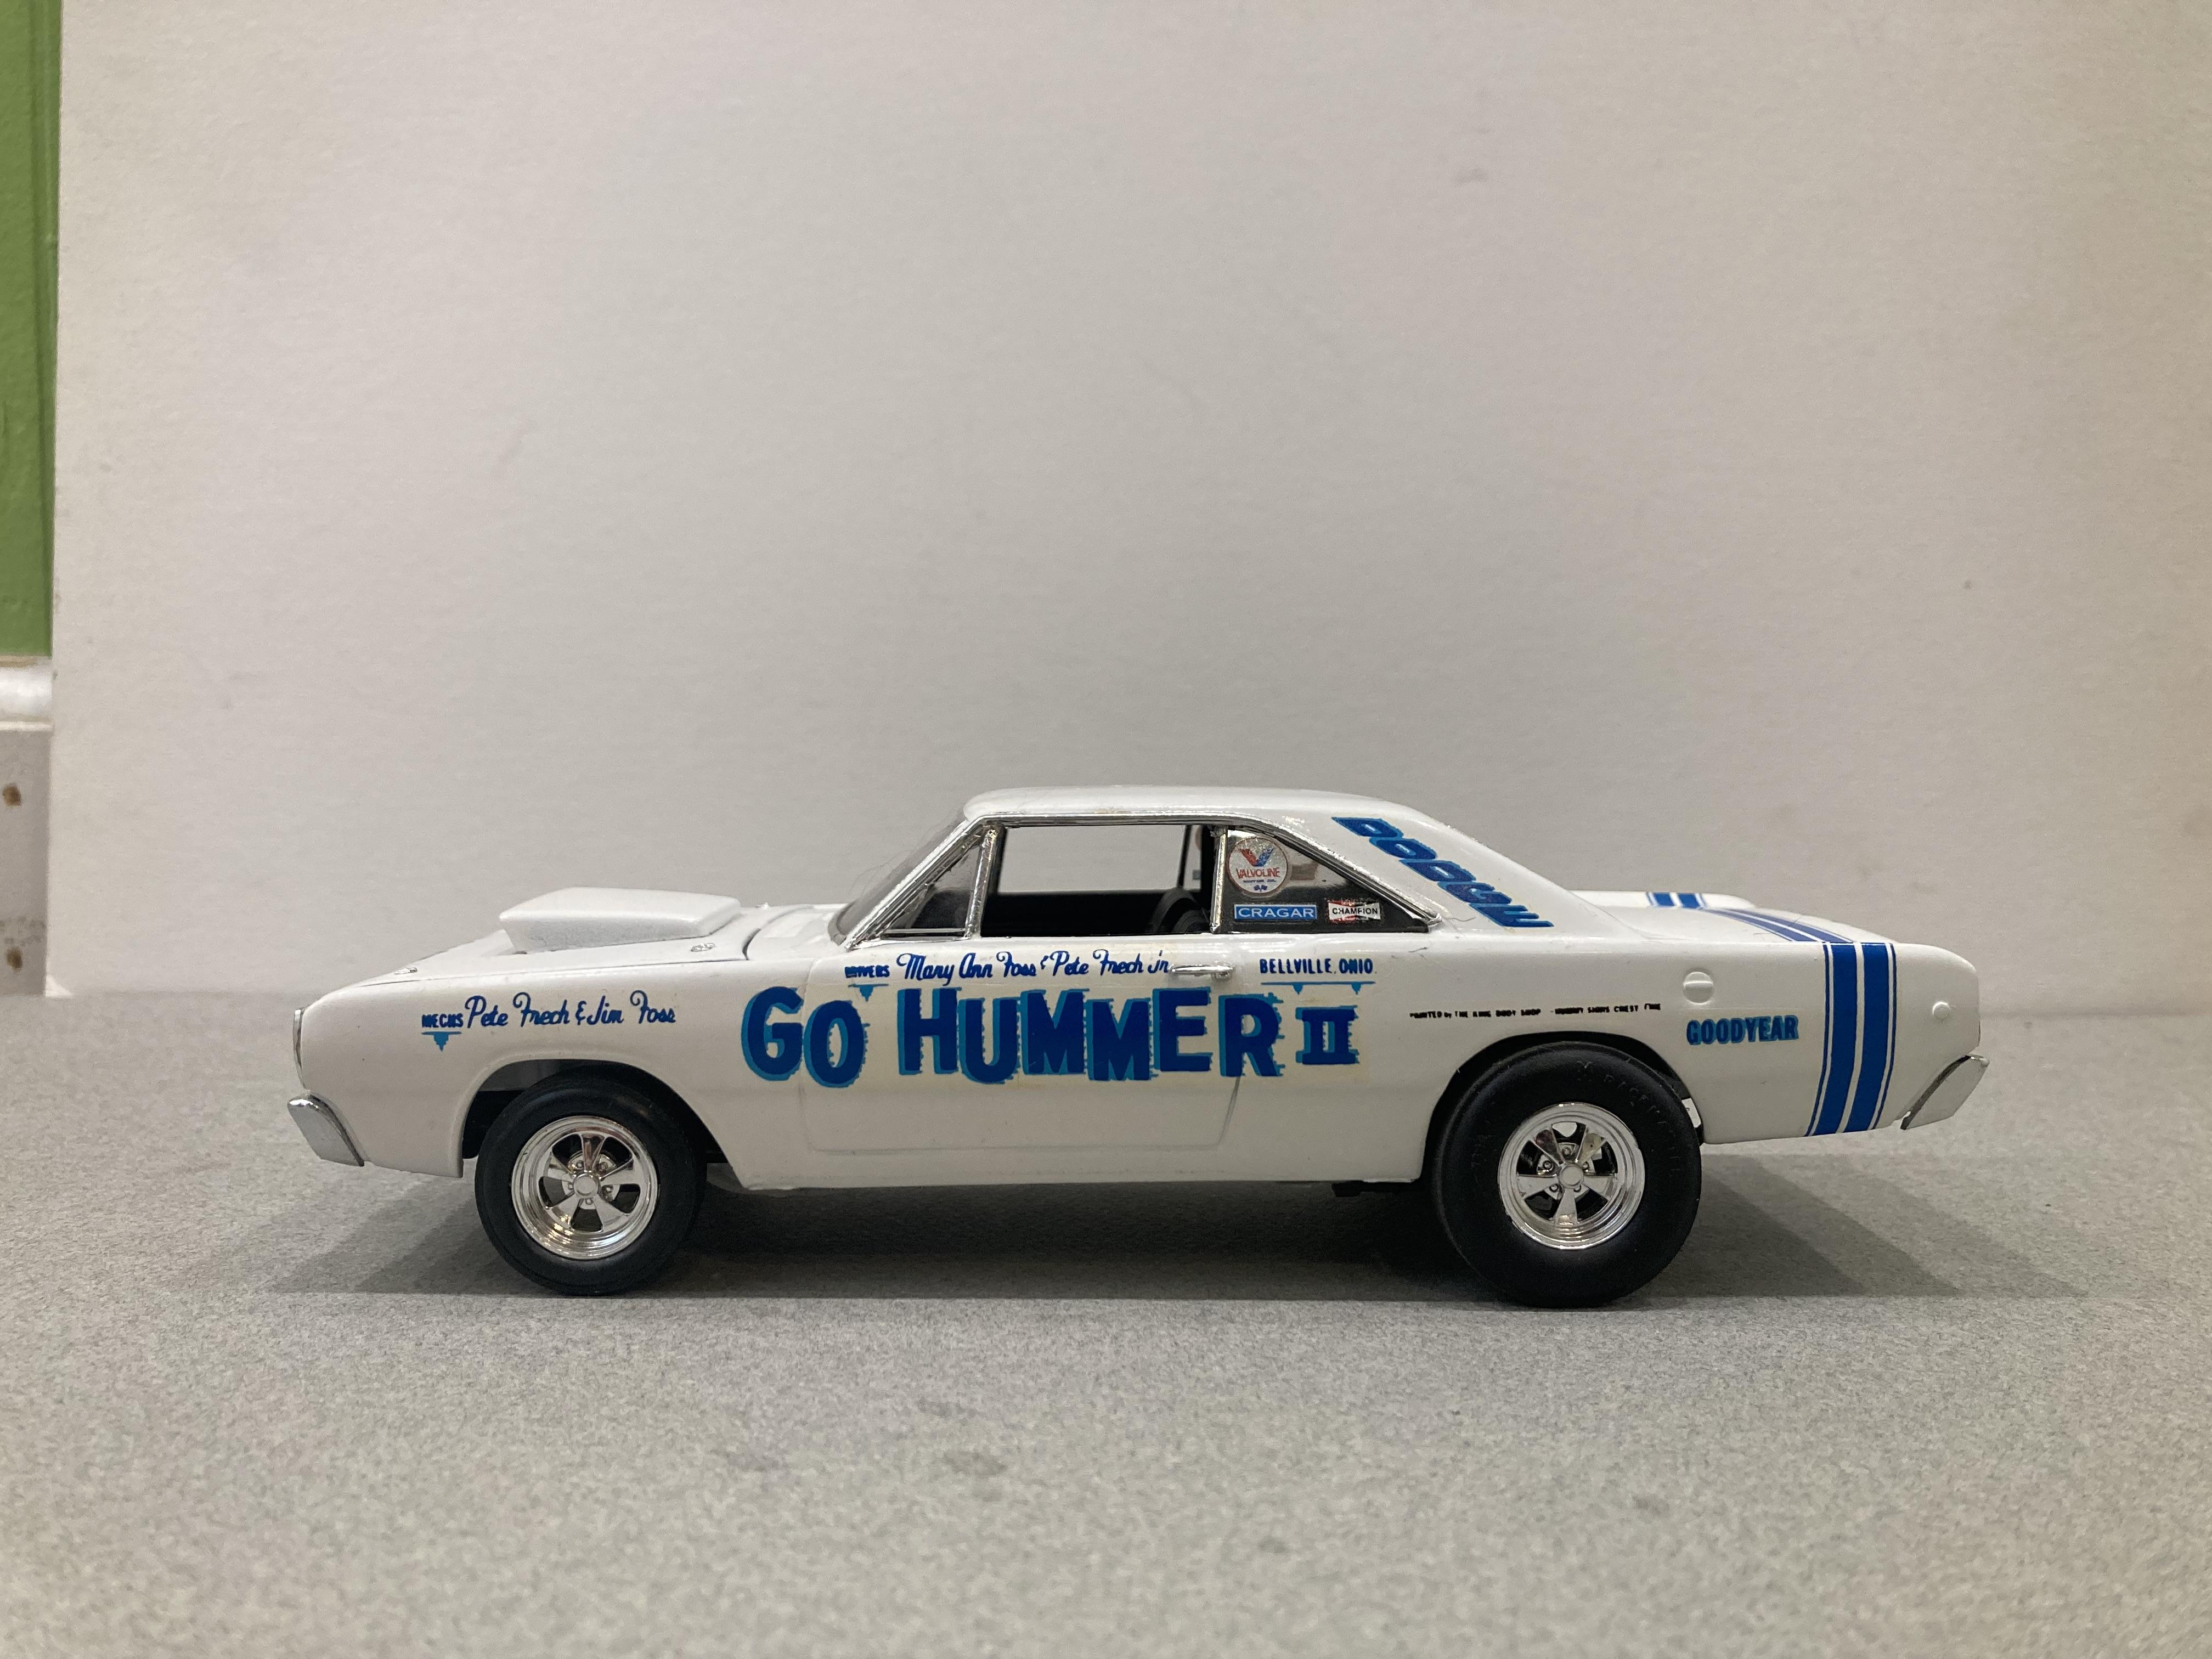
 This is one that I built 9 years ago with out decals being available. Then along came Joe Curtis at Freemont Resin to make this great new decal sheet, and I finally get to finish it off. So a BIG THANKS OUT TO JOE . As for the build a lot when t into it I started out with the body from the revell charger kit and sliced and diced it to move the front wheel openings forward . The rest of the body is stock . I used a polar lights funny car for the donor kit for the chassis , interior tin , and engine . I made the roll bar from.080 styrene rod . The paint is testors diamond dust silver with Italian red lacquer topped with wet look clear. I know the magazine cover is a little bit of a stretch with just a small black and white photo how ever inside is a really well done informative article on Gary Dyer with some great reference photos of Mr. Norm’s cars . A few of which fall onto my very urgent to build list . Which means like mabe this year hopefully. Until next time thanks for looking, Mike
-
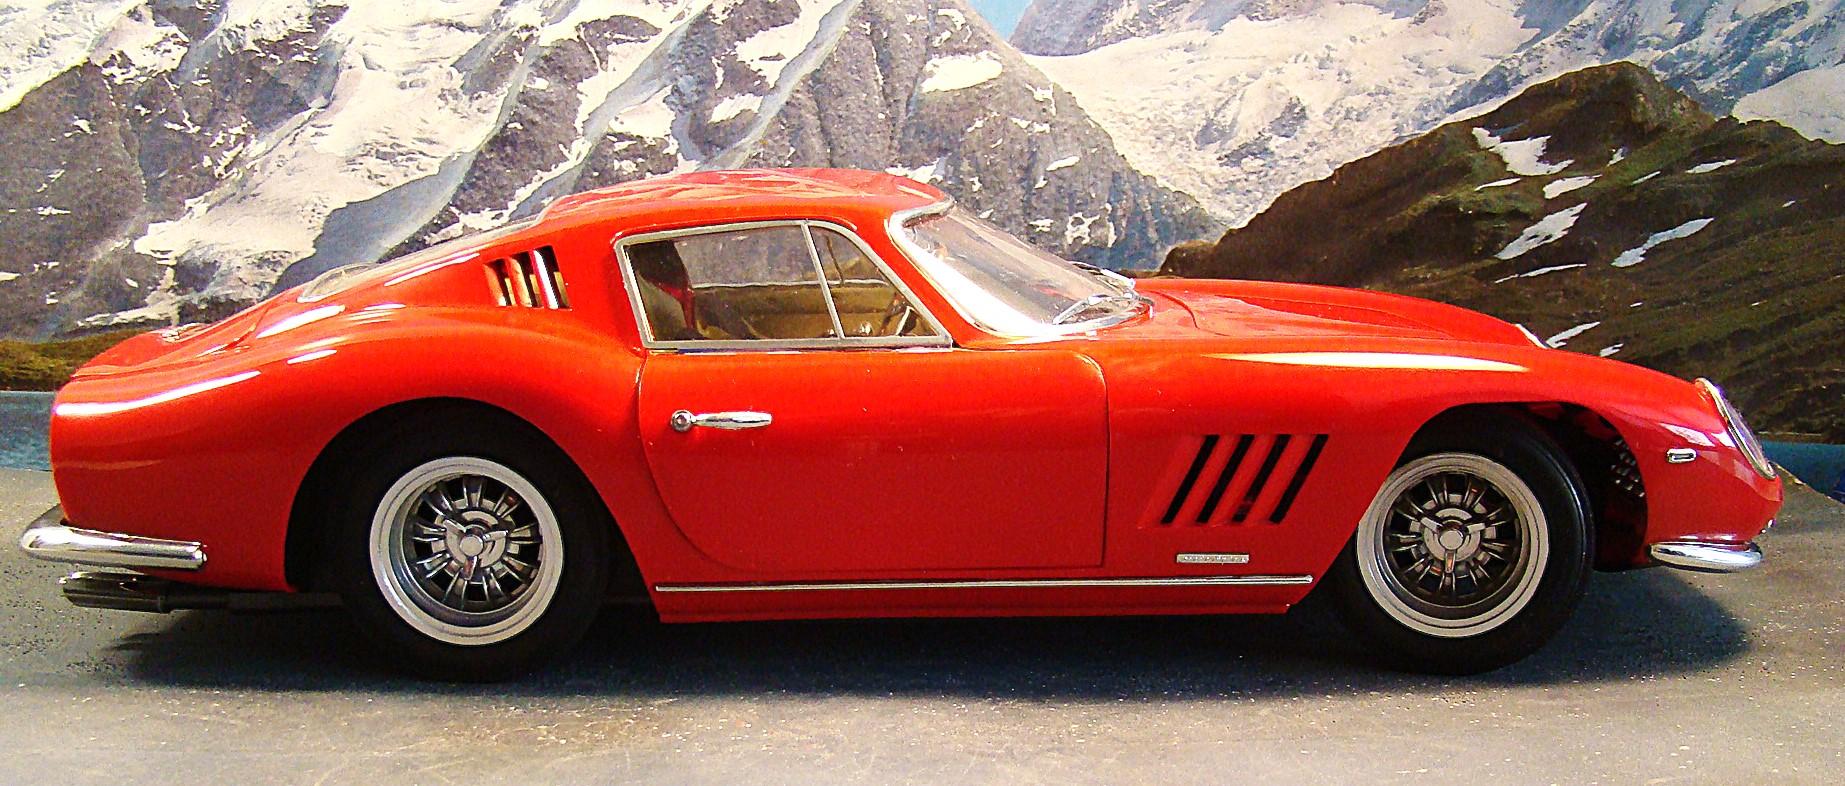
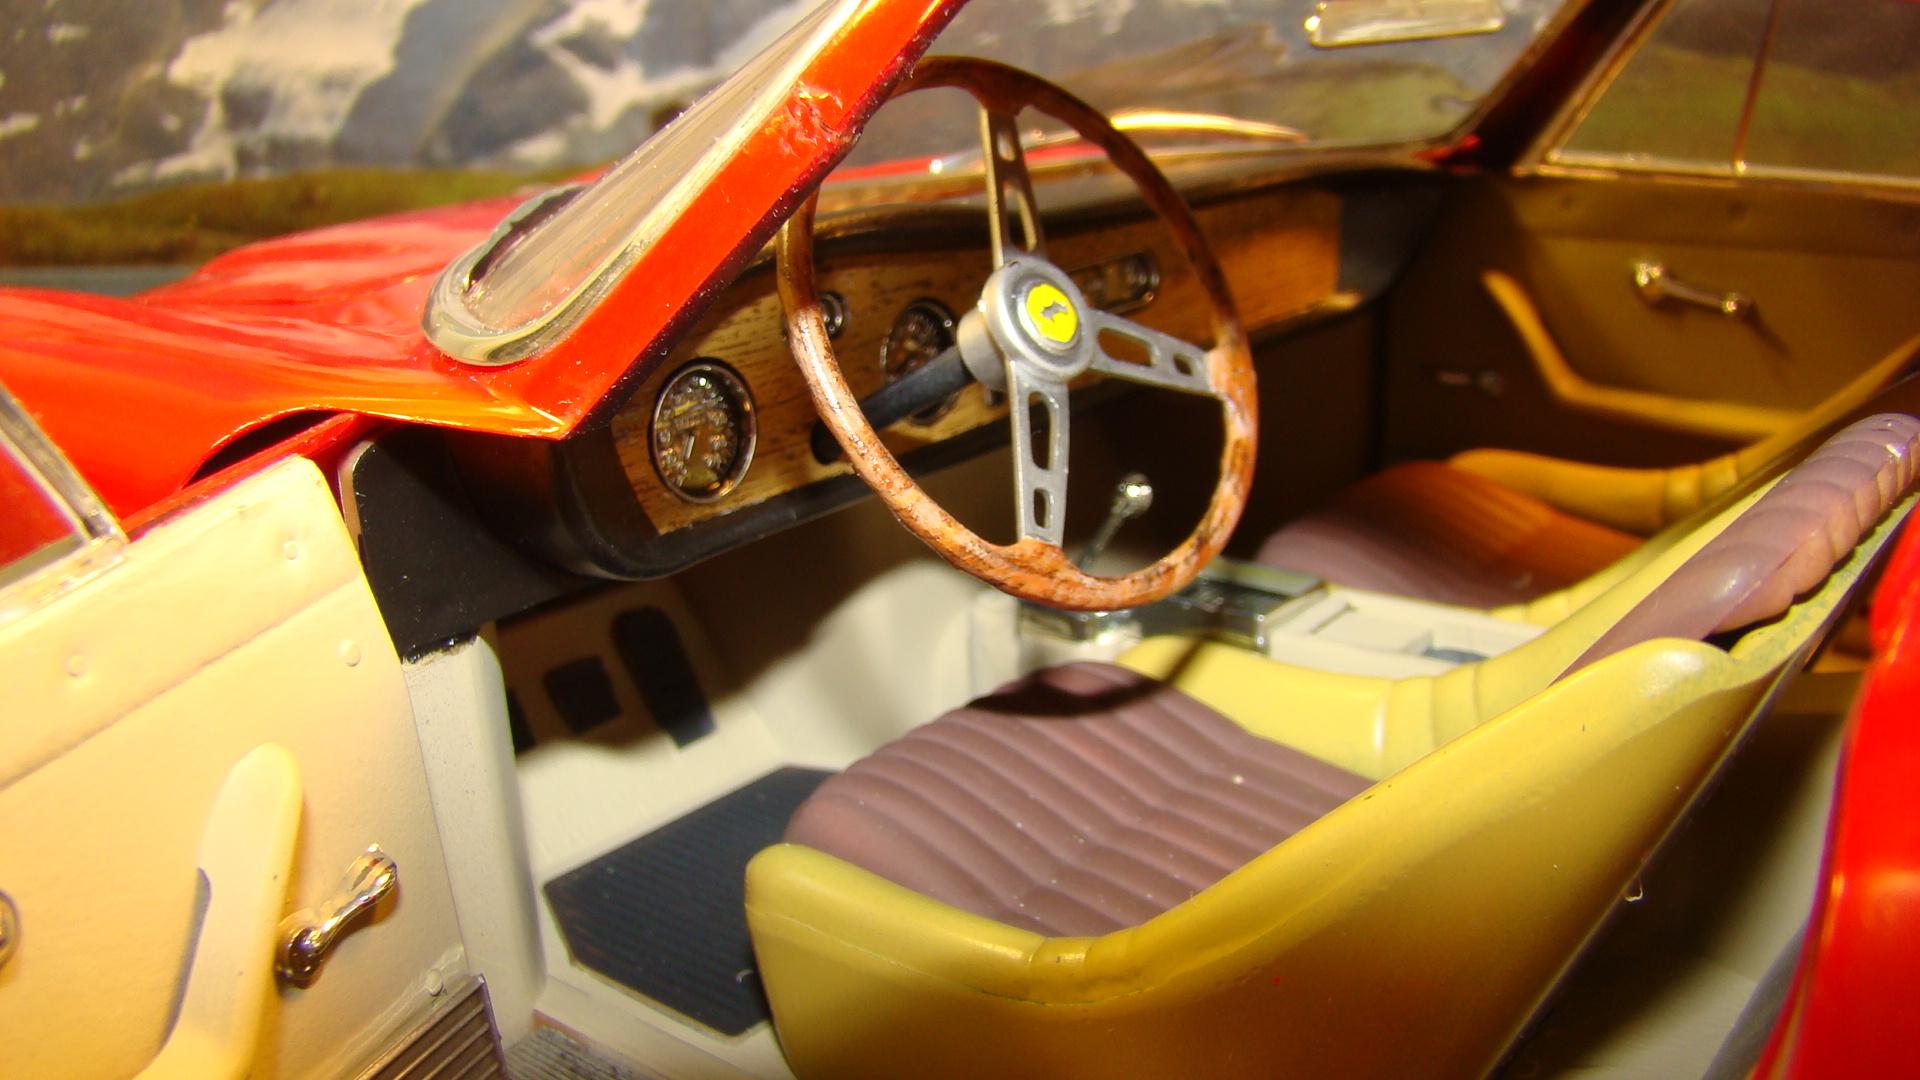
I dug this body out of my display case where it has been sitting for the last 35yrs. It was all polished and the front and rear windows were installed. I originally purchased this kit as a Renwal and my intention was to super detail it with working suspension and every concievable detail. I had lots of reference as I had spent some time with a real one and even got to drive it. But that was a very long time ago and I am over that now. I just wanted it finished. I have three of the kits so there was no shortage of parts. One of the biggest problems with this kit is the roof either caves in or is warped. This is usually from having something sit on the box. All three of mine had this problem. It was solved by breaking the window posts and gluing the windshield securely in place. The rest of the kit is mostly box stock. Color on this is Testors 1103 red with their clear over top. More details below. Getting the body over the chassis was way easier than I thought it would be. All the body pieces open and fit well but the doors were a little tight. Rear veiw has some nice detail. Raised Ferrari script was real cool. Bumper is held in place with epoxy and poster tack. This model is quite large (as is the real car) and surprisingly heavy. Hollow rubber tires were nice but had to be filled with urethane foam to prevent collapsing. Original kit has two piece hard vinyl tires that were horrid. I threaded the axles and threaded the wheels on so if I ever find a really nice set of wires they get changed. Interior is done is several shades of Tamiya LP. Woodgrain on the dash is decals from the stash. Doors attached nicely and opened well. Renwal (the original issue of this kit) molded the Ferrari logo on the steering wheel upside down, Go figure. Steering wheel operated the front wheels. Had to take a shot of that big v-12. Its really a lump of plastic but it had real nice valve covers that I sprayed with a combination of smoke and semi-gloss. All the chrome was srayed with this or just semi-gloss. Thanks for looking. Comments welcome.
-
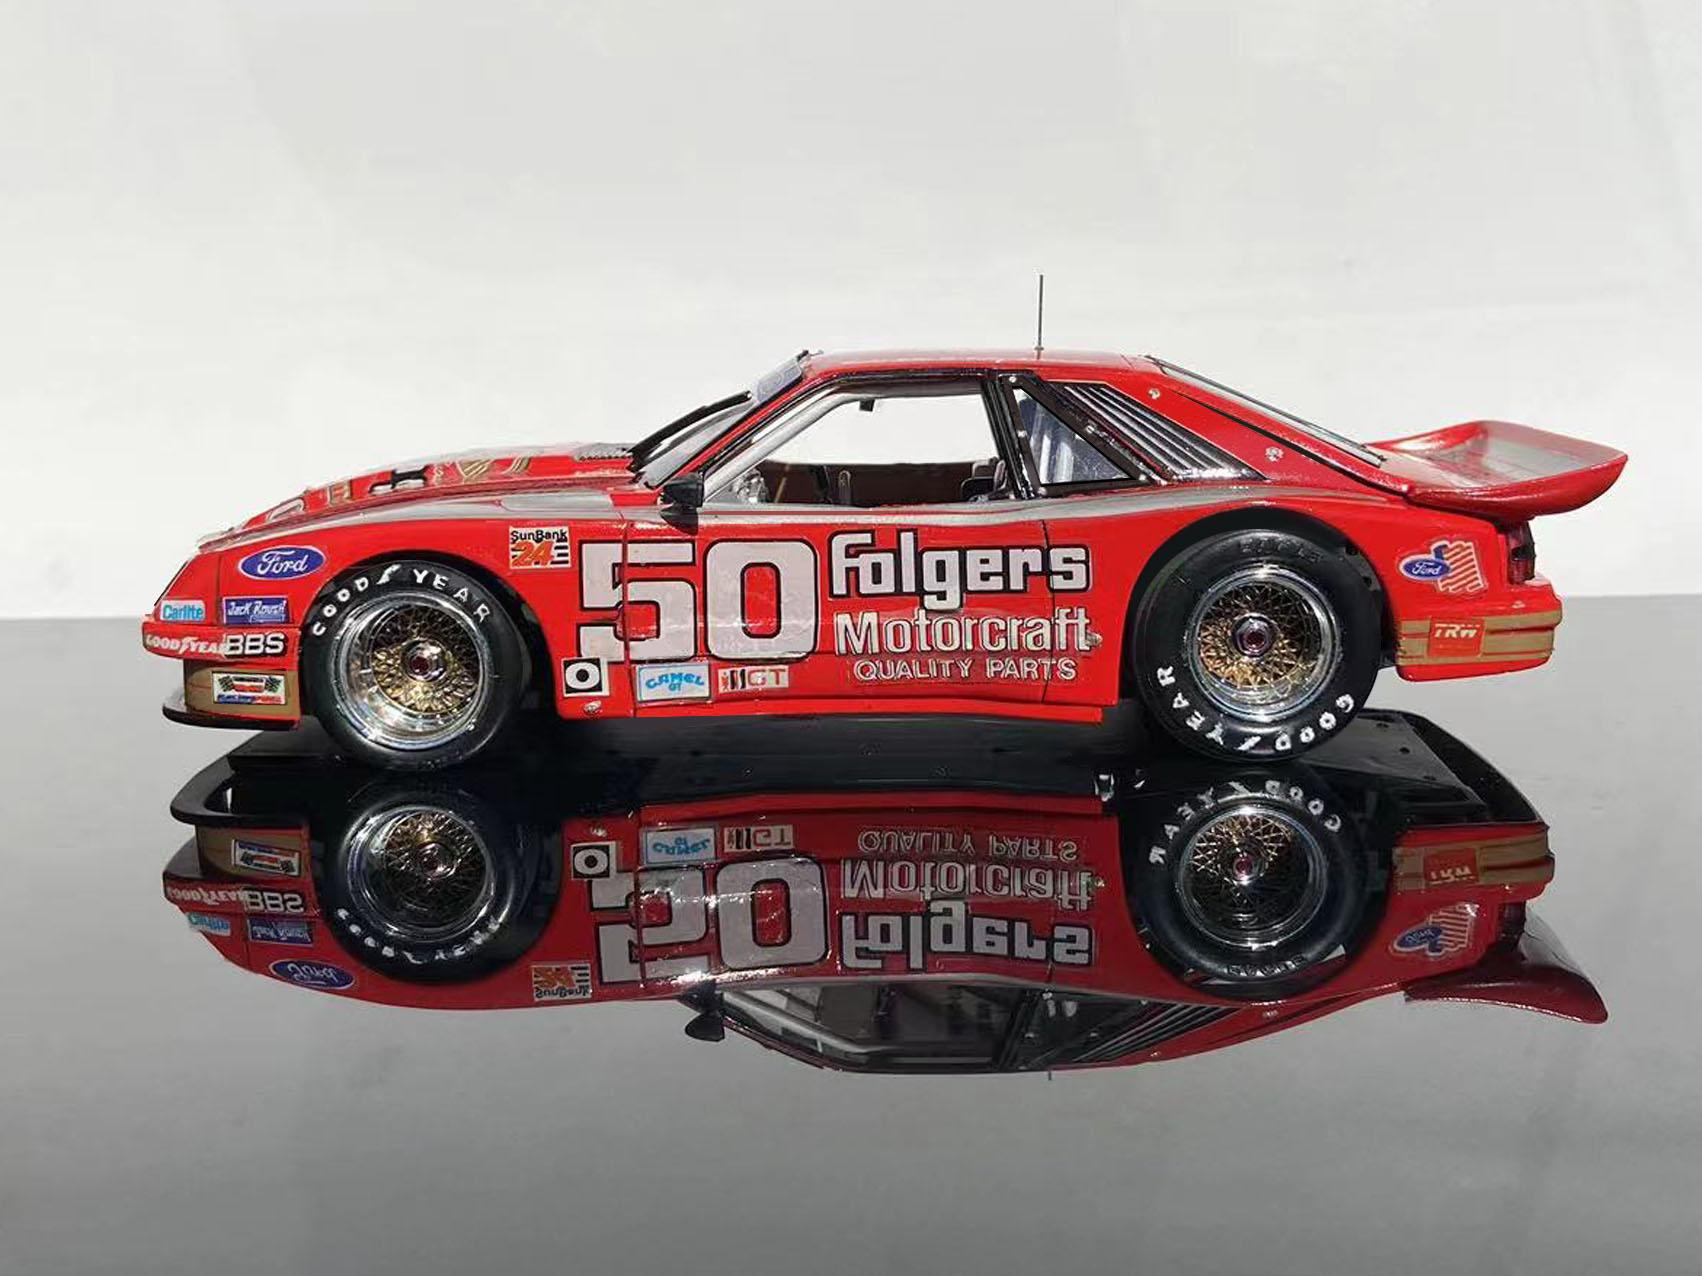
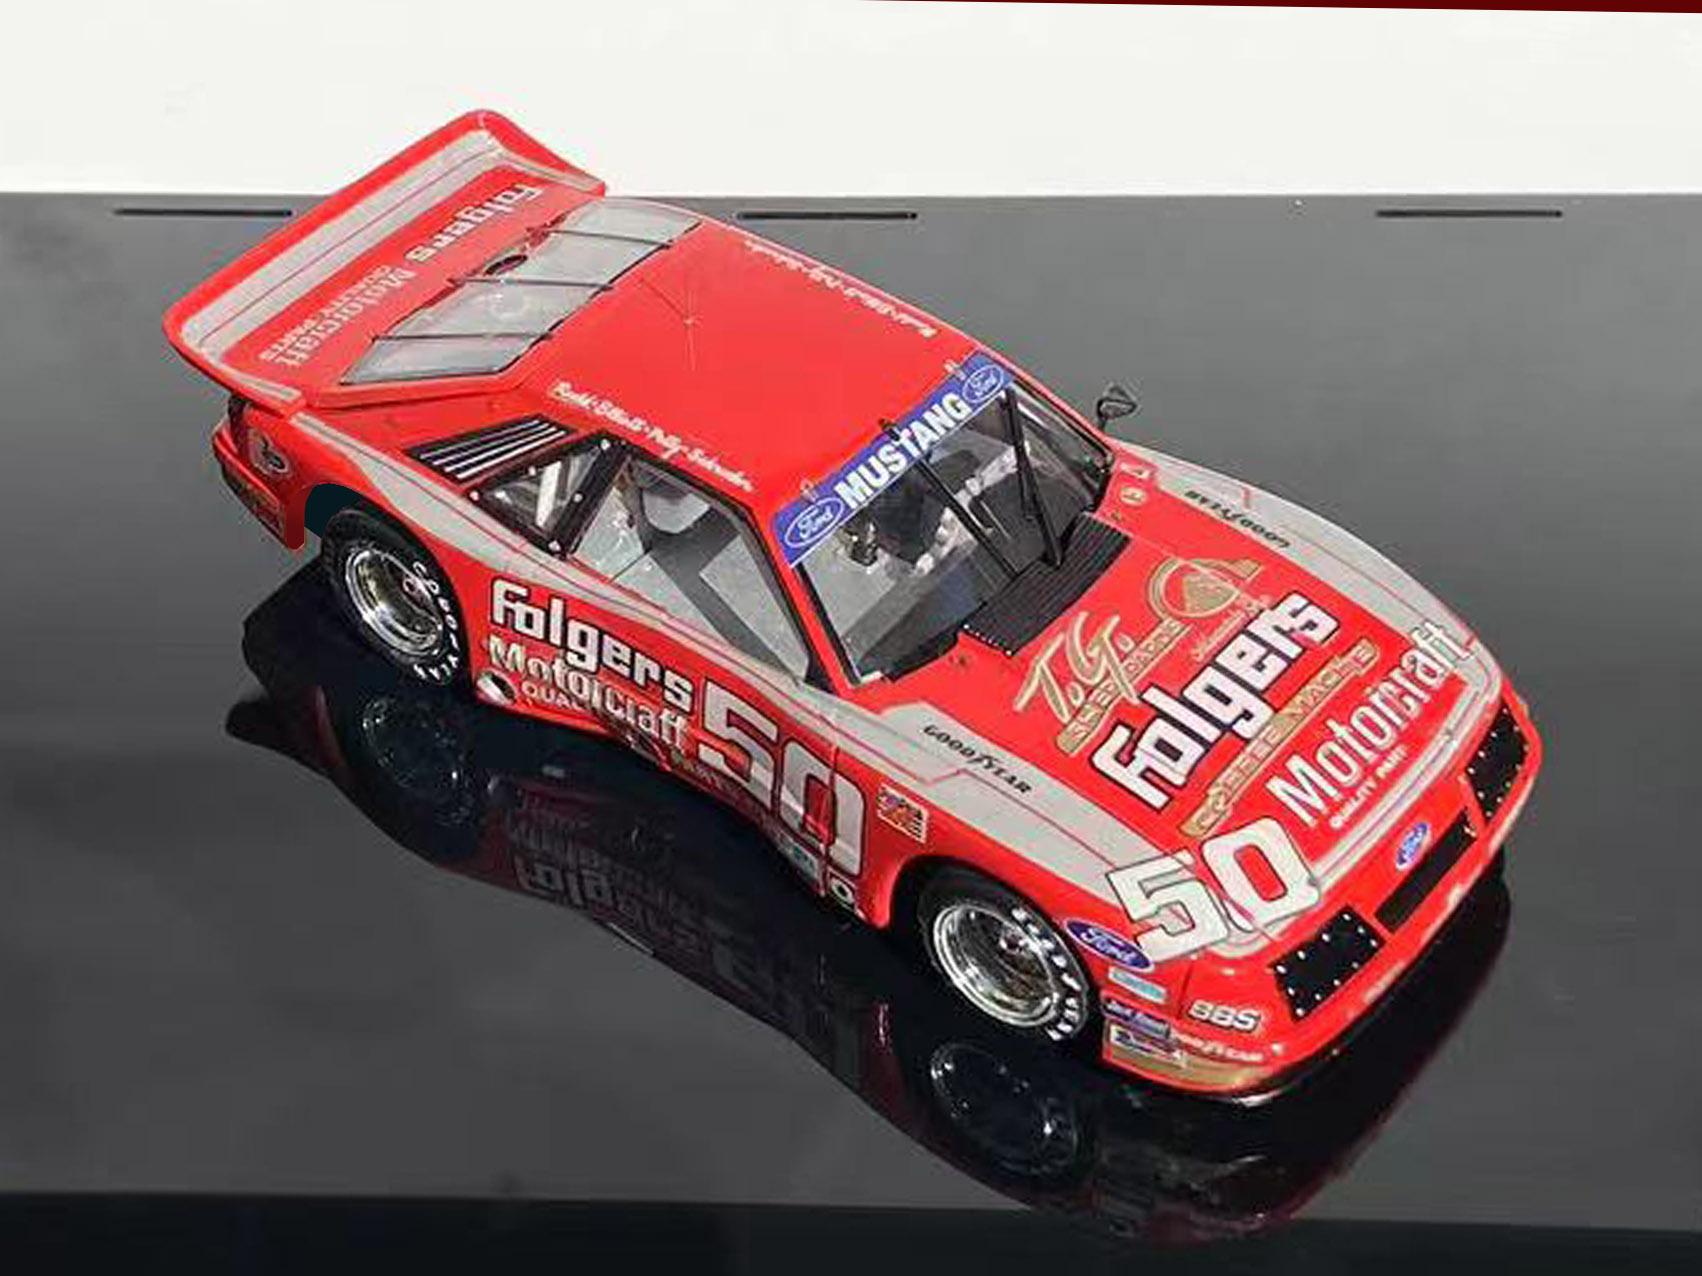
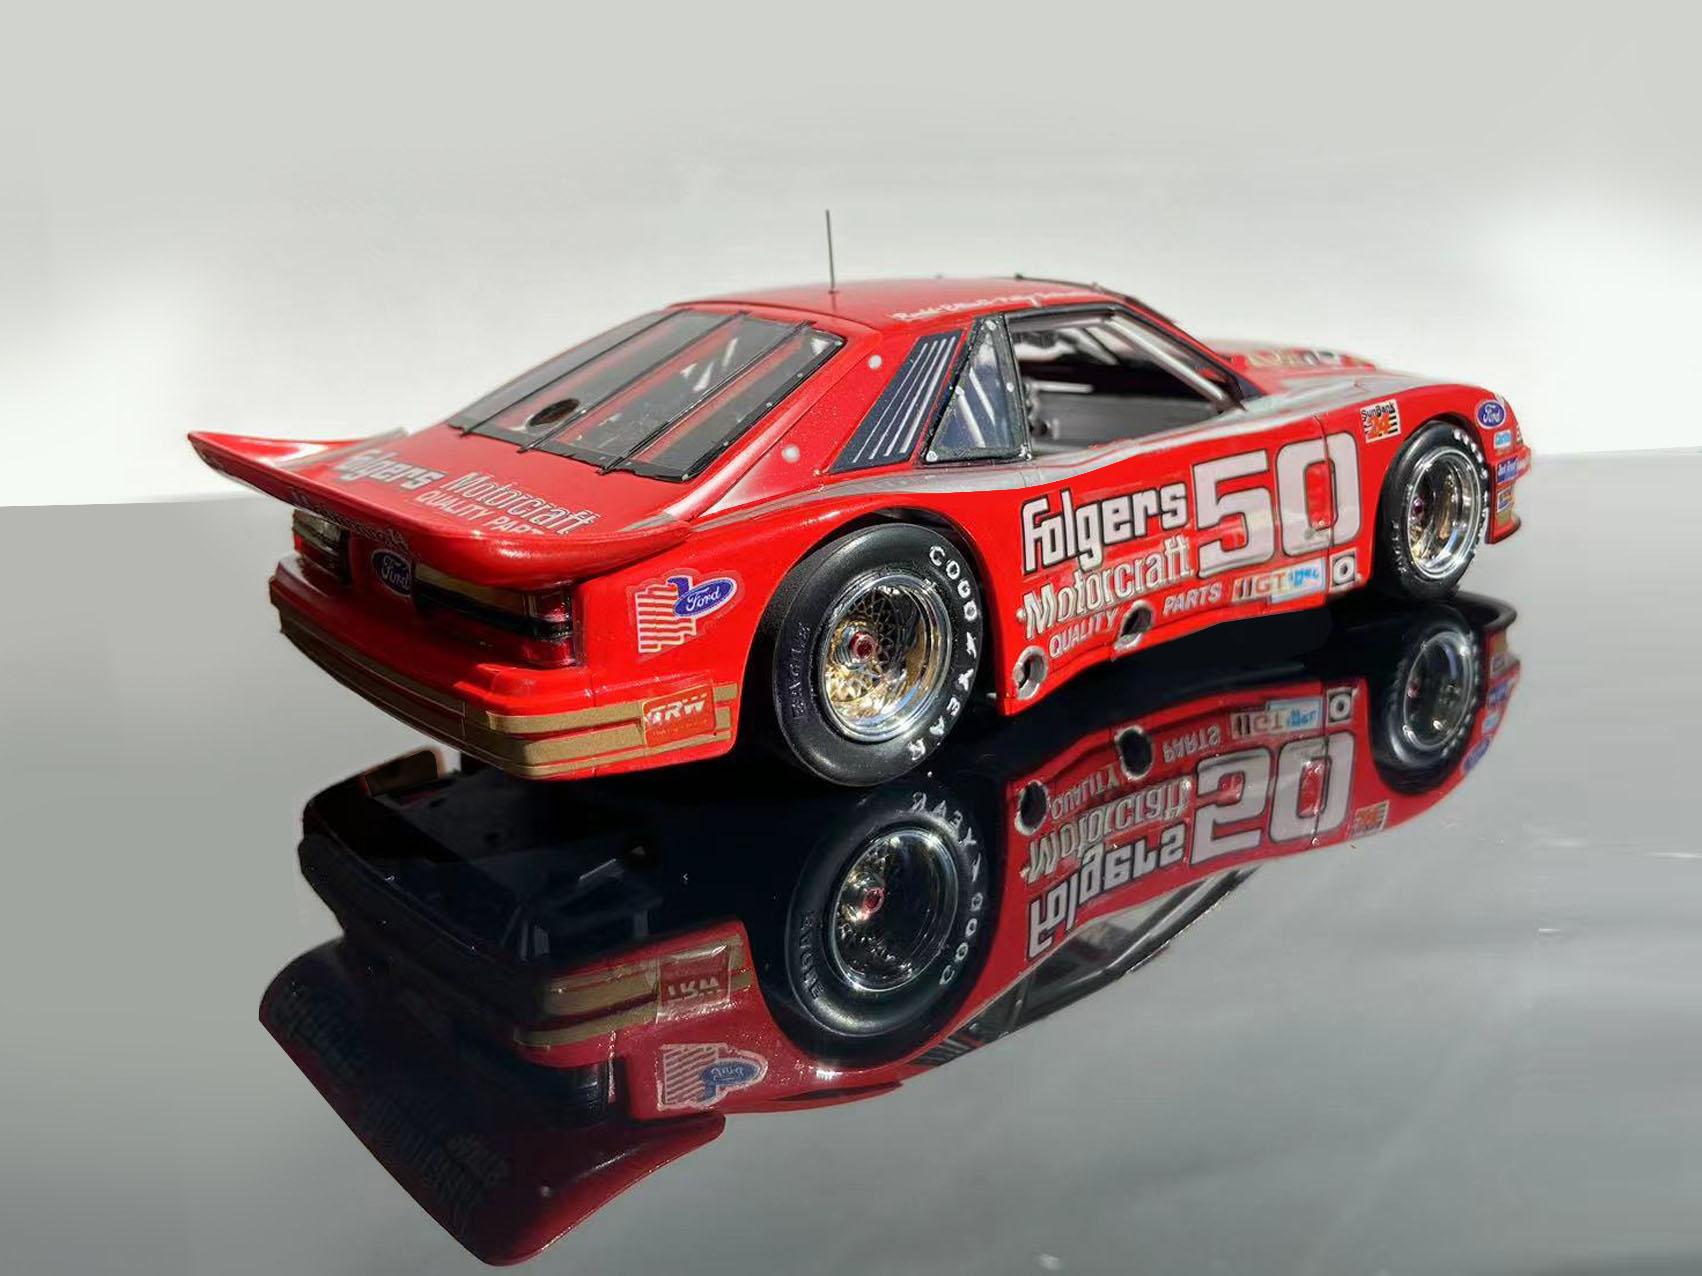
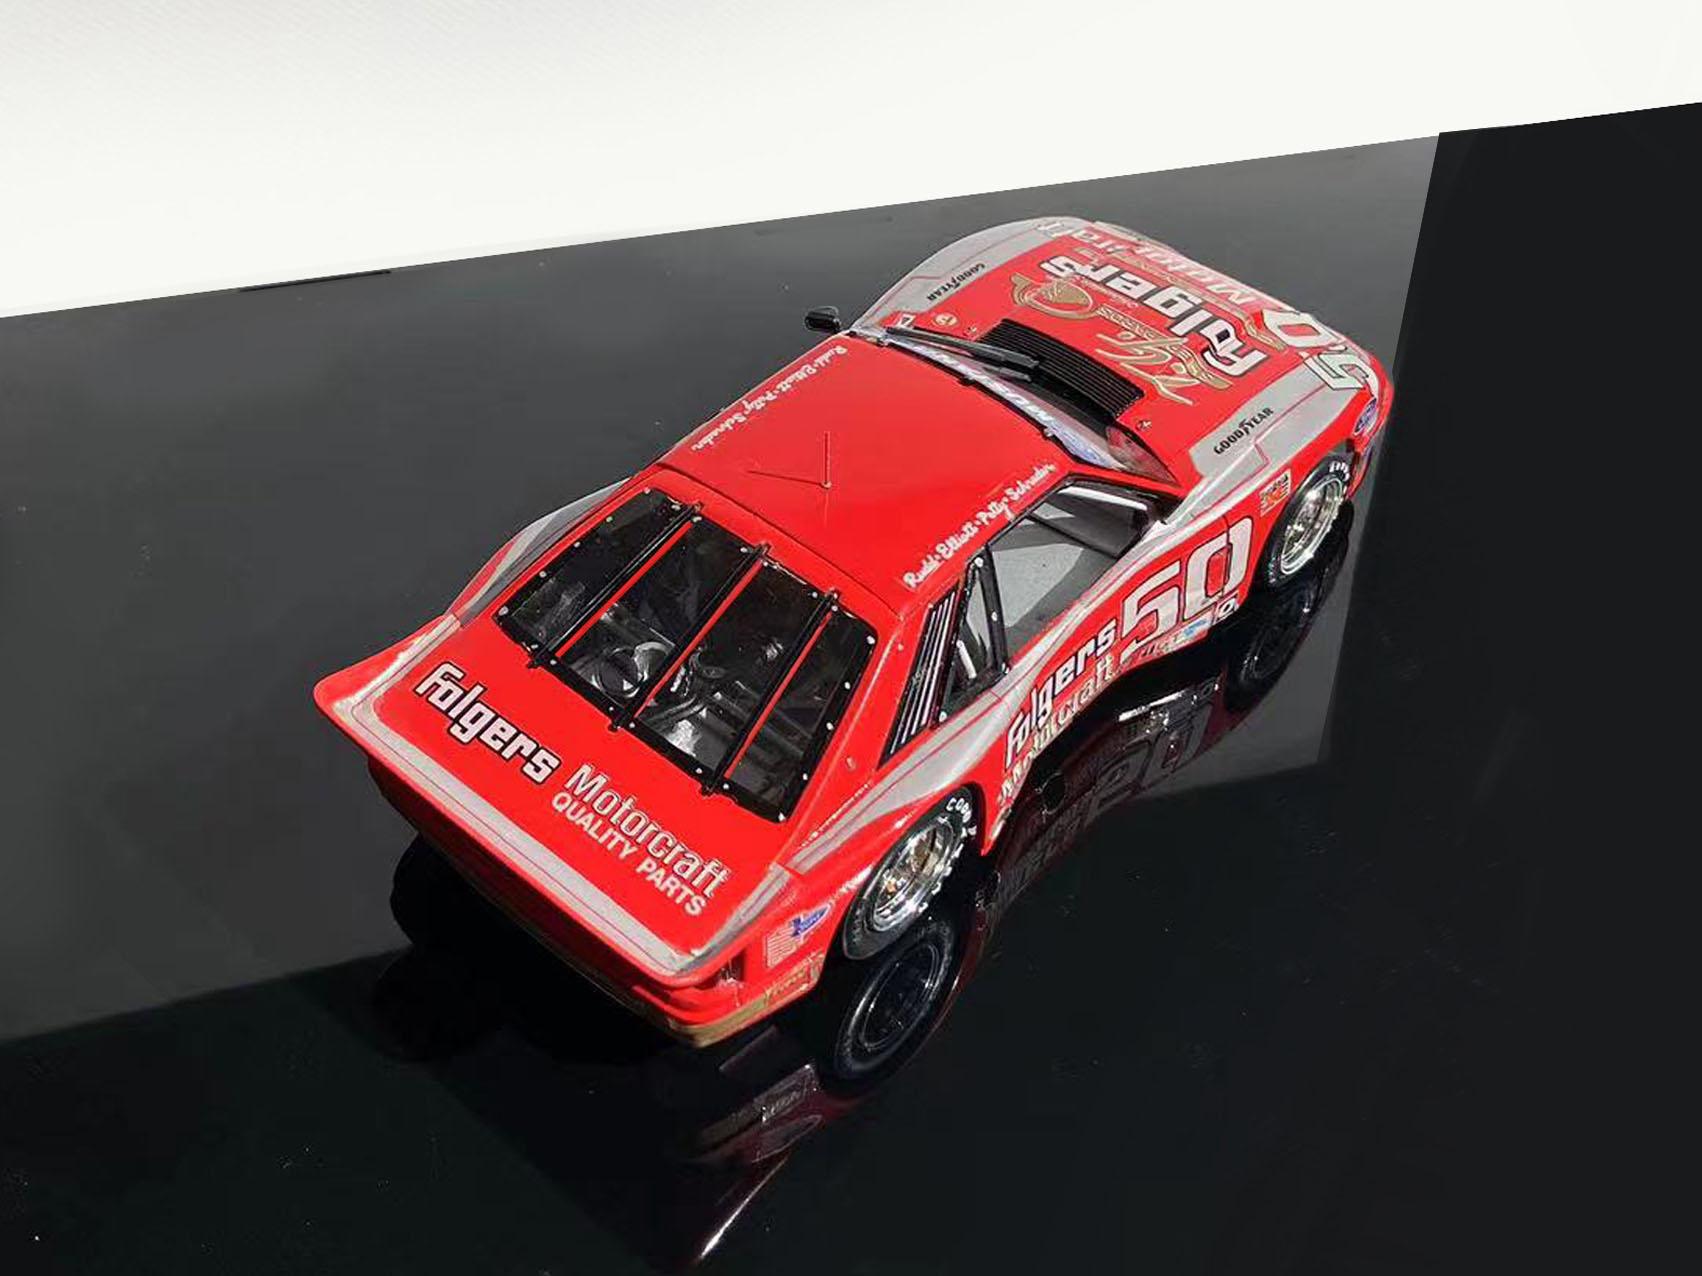
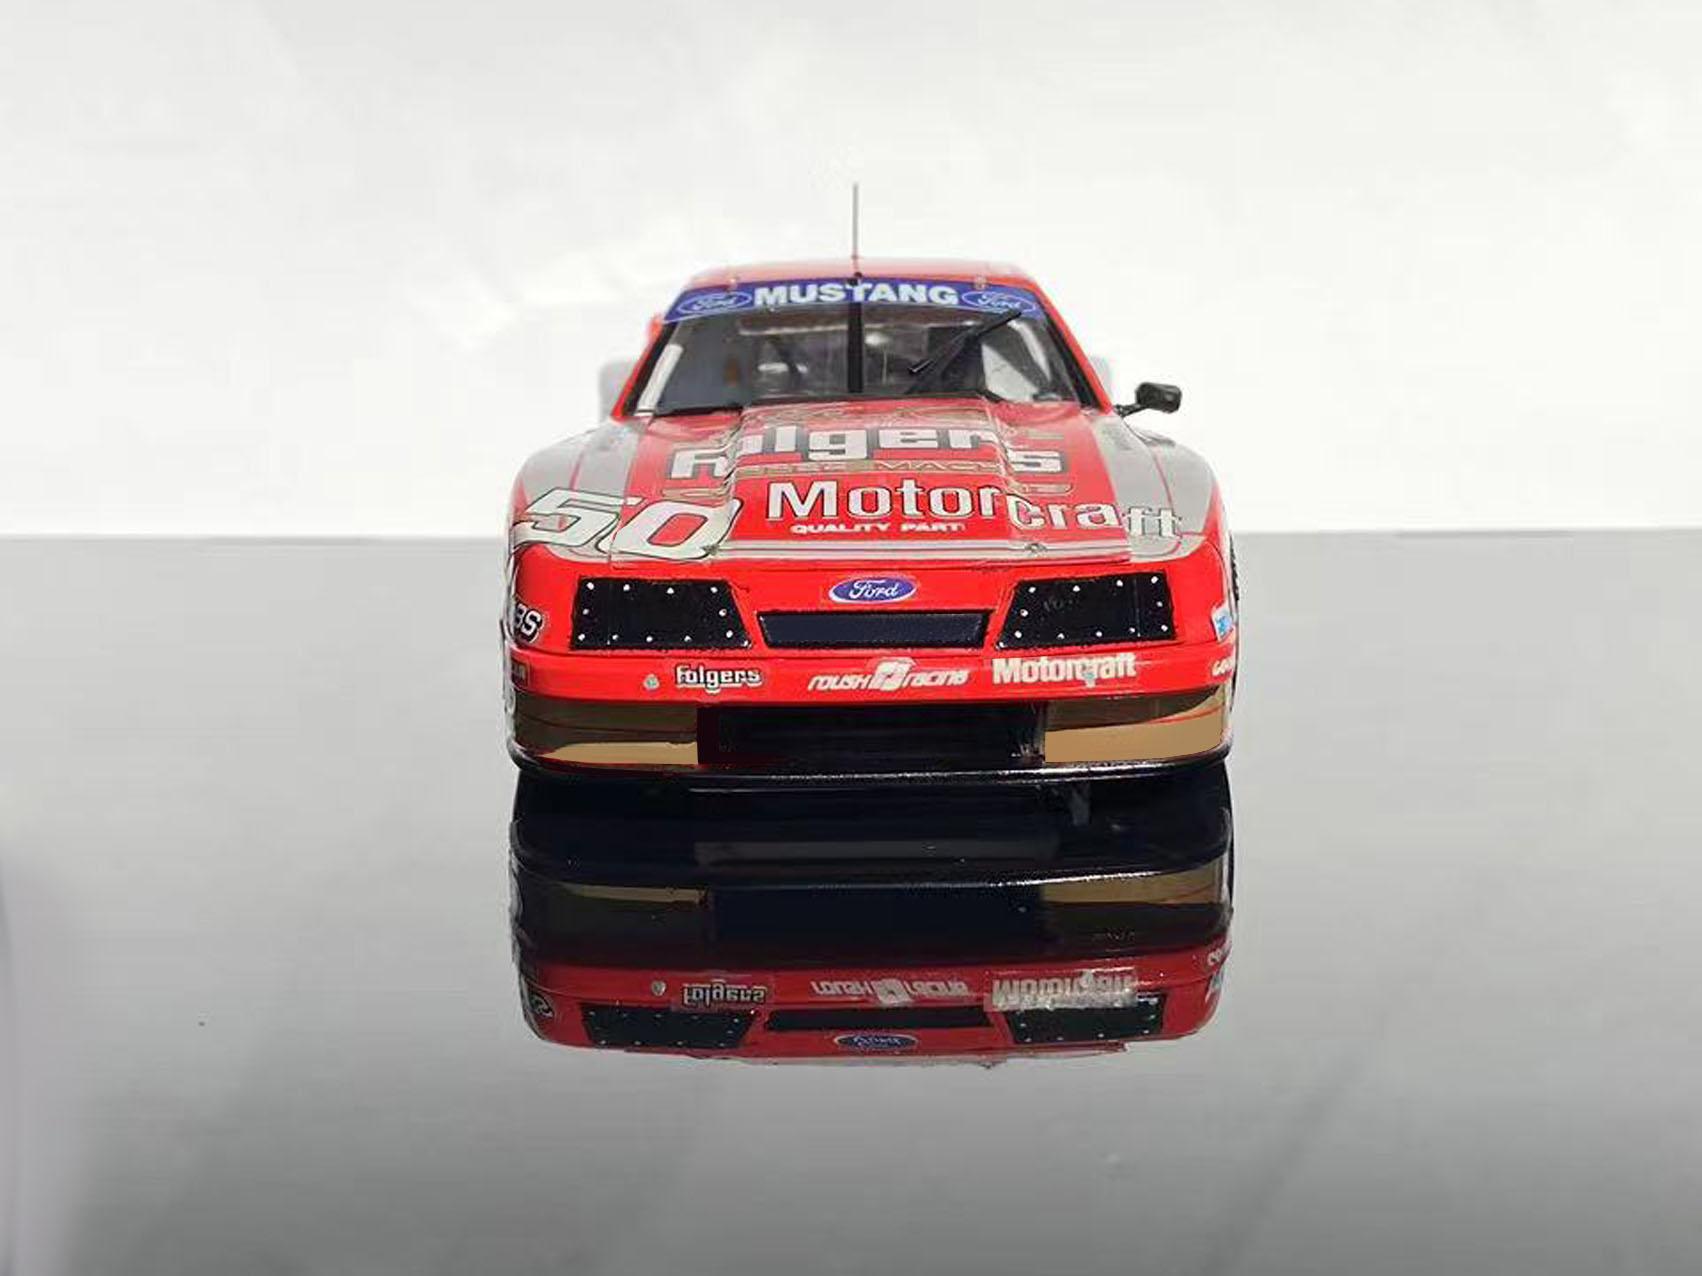
My first completed build of 2024 is Revell's 1985 IMSA Mustang ...Built from the box applying the original, nearly 40 year old decals! Expecting the worst, I was fortunate that Tamiya Decal Set and a lot of lip biting had worked. I used Tamiya and Mr Hobby paints and primers throughout the build. Two coats of Mr Hobby Super Clear applied from a rattle can finished off the body. I also added a thin gauge wire to represent a roof antenna. After the build I came across some reference photos and noticed that the real car had a NASCAR style window net. I think I'll apply one in the future. Enjoy the photos.
- 28 replies
-
- 17
-

-
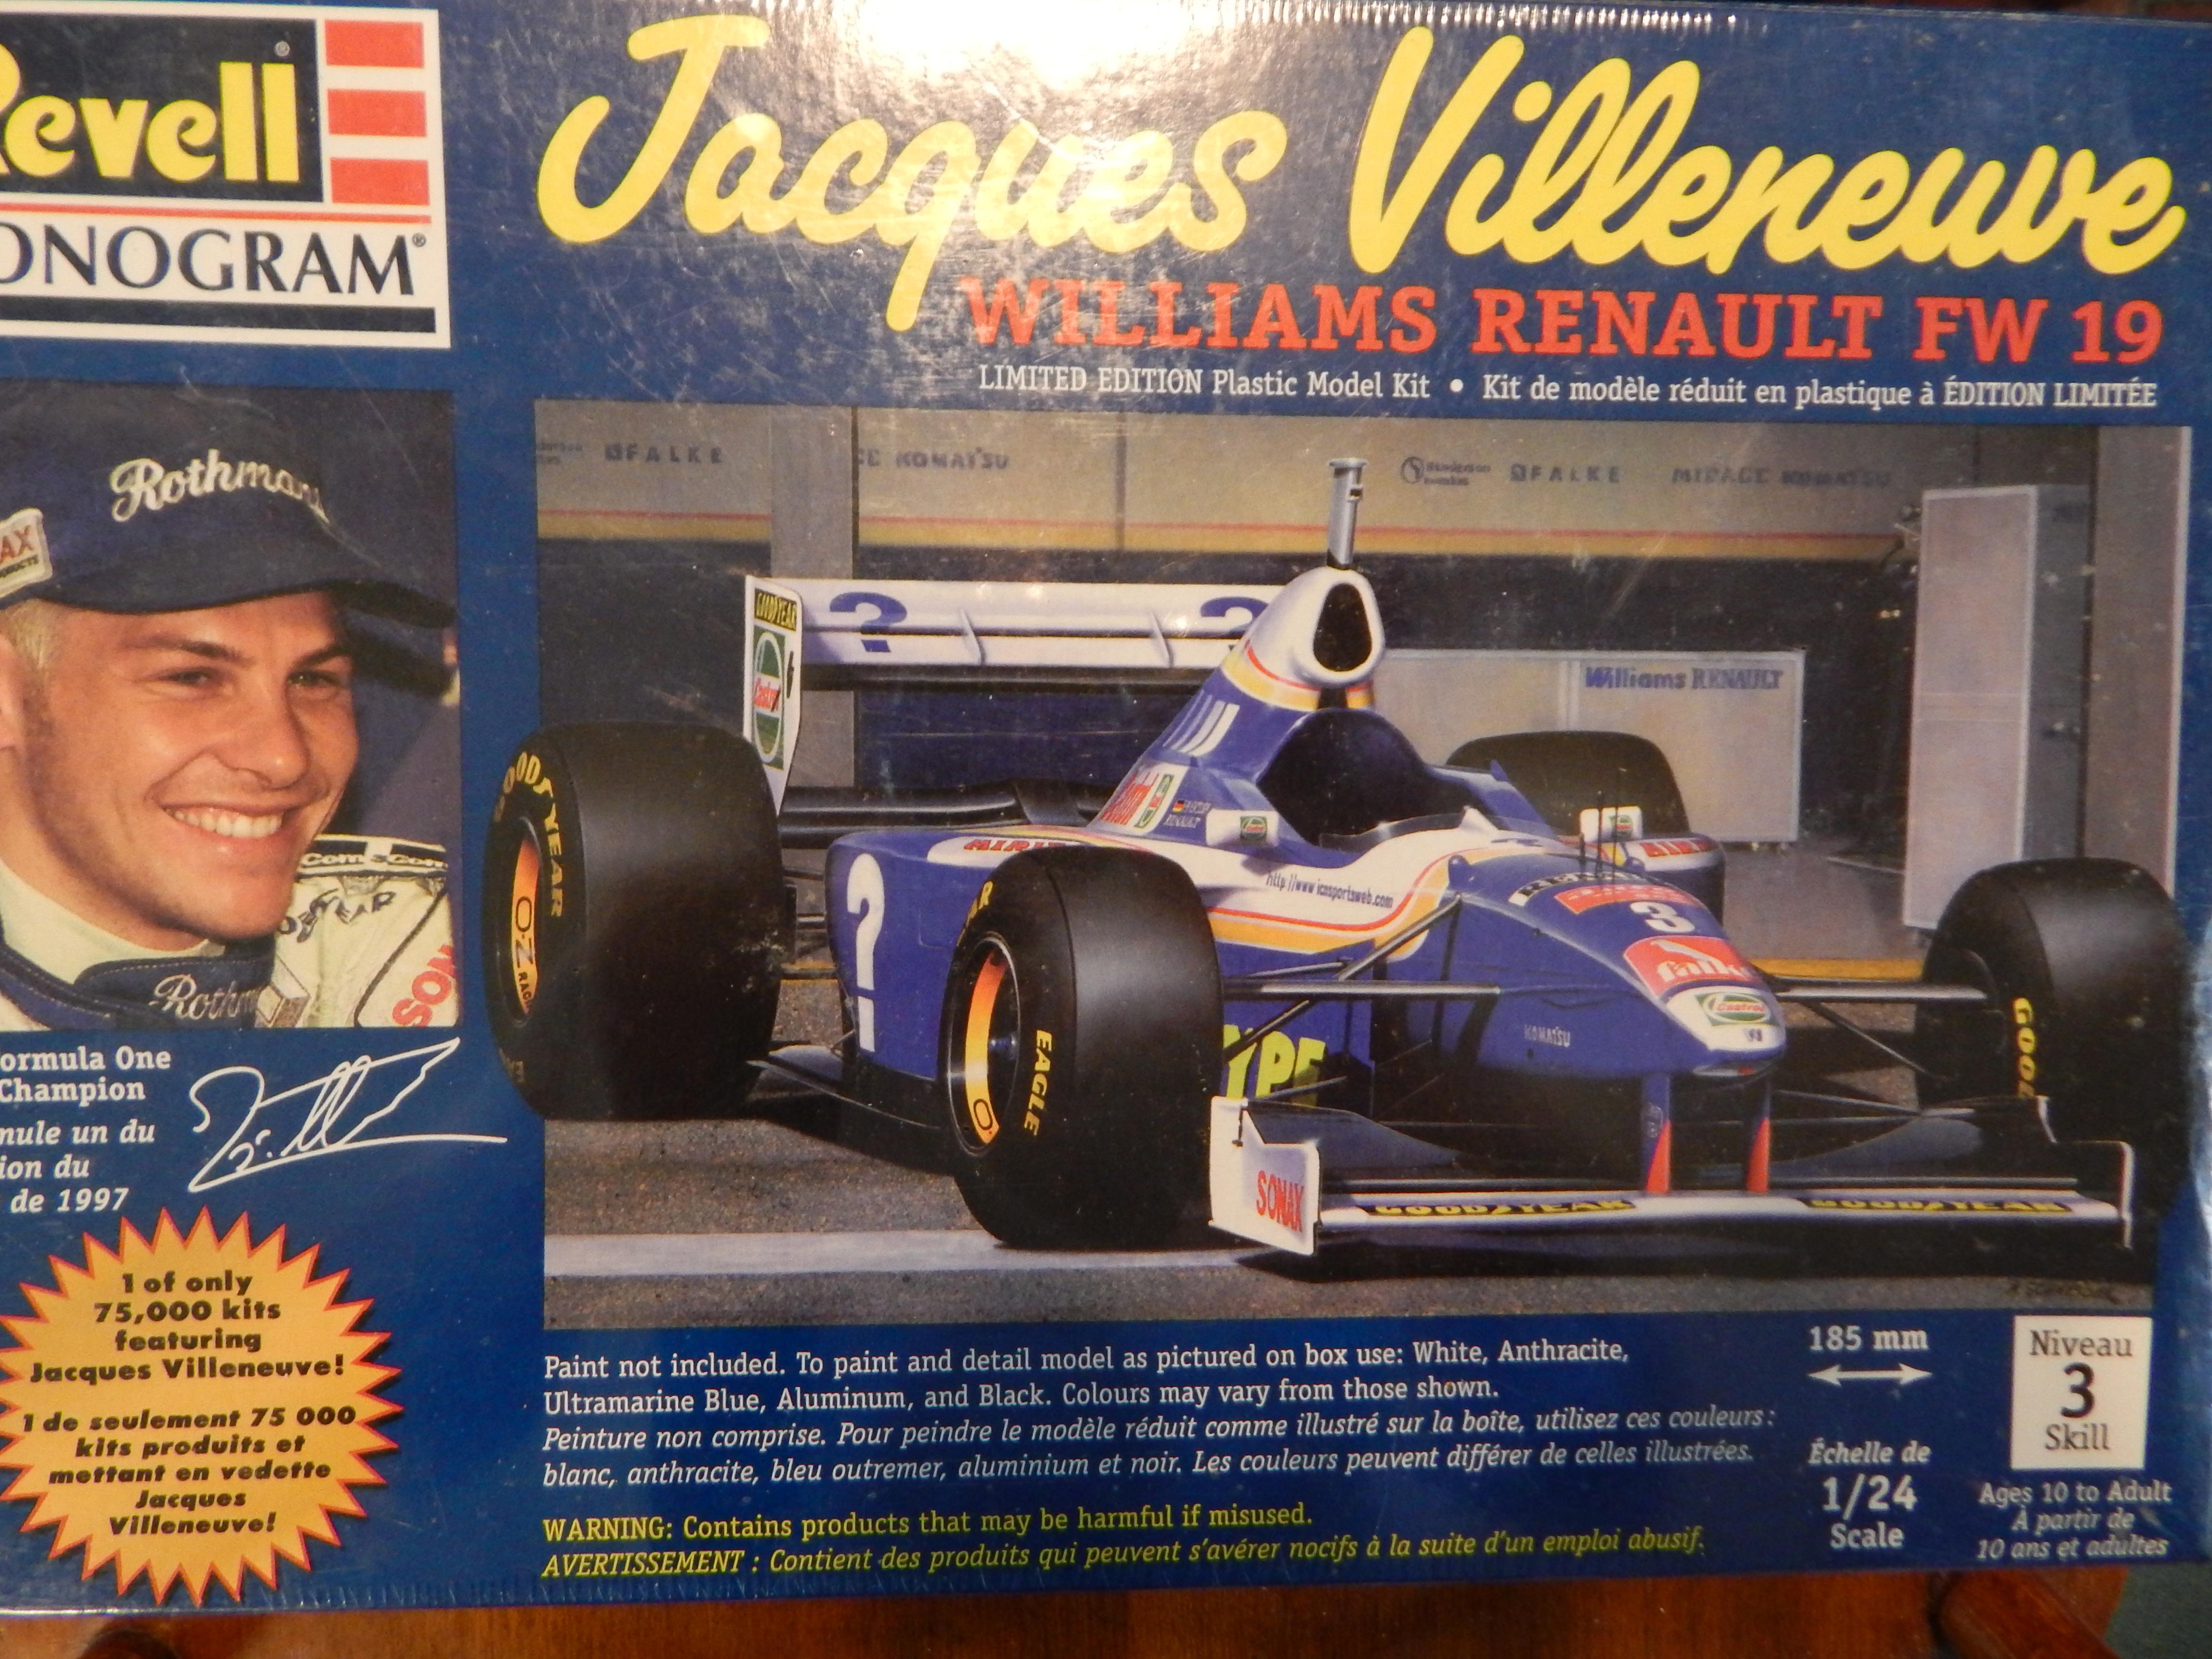
Revell kit, 1/24. This one has an engine but its not accessible once the body is glued together. Had a real tough time with the decals on this one, they kept falling apart even after applied and dry. I added the tobacco logos from a sheet from Indycals. Jacques Villeneuve drove this to the 1997 F1 World Championship. Anyway, glad its finished and on to the next victim. Comments welcome as always, thanks for looking.
-
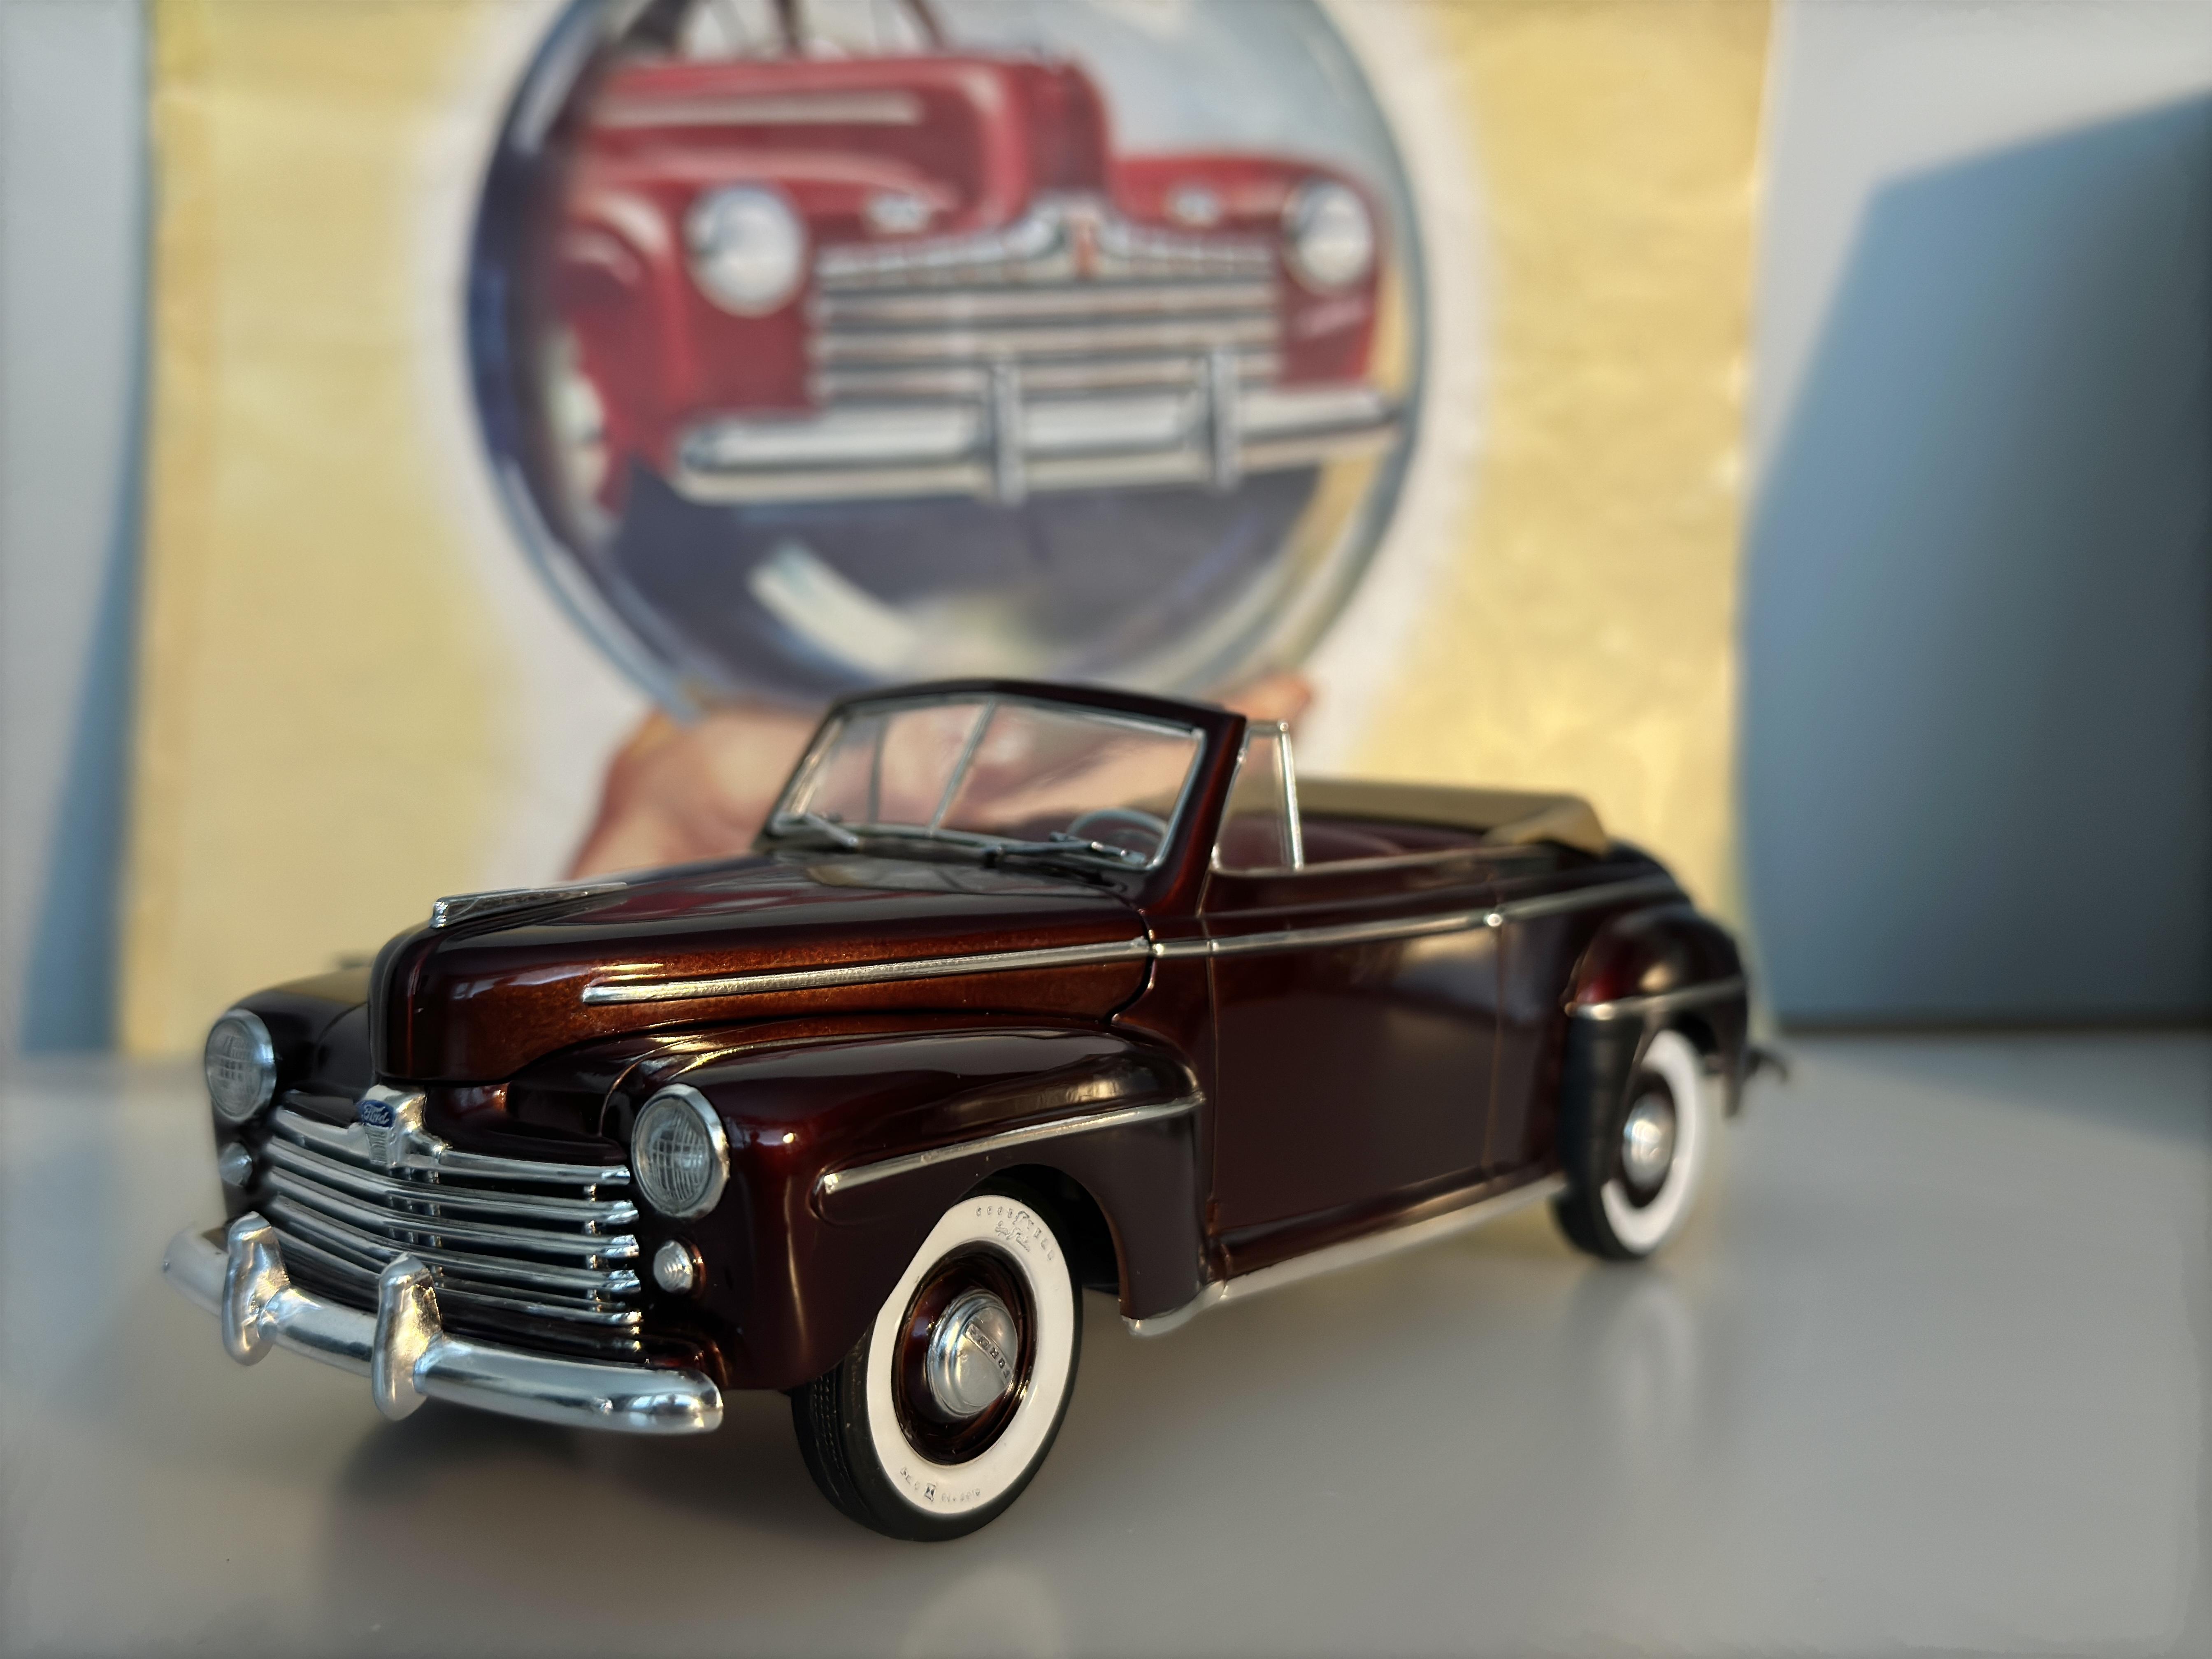
According to the kit box introduction, model year 1948 represents the last year of the body style that Ford had debuted in 1941. It also marked the end of an era. The protruding fenders would soon give way to a new lower, slab sided look in car design. The kit is Revell-Monogram´s ProModeler series released in 1998. This was one of the highest quality kits I have built. Exterior color is custom made metallic brown over gold base, which results in the slight candy effect. The kit allows to build either stock or street rod versions, I chose to build it stock out of the box.
- 25 replies
-
- 20
-
-
Here are content pics of the 1/16 Revell Movin' Out "Big Rig" styled custom Chevy Van, released in 1977: https://modelkitreviews.proboards.com/thread/1627/revell-movin-out-styled-chevy All the requisite custom van touches are present in the van's interior, from the reel-to-reel tape deck, the wood paneling and spindle detail on the pass-through, and the diamond tufted interior panels. Outside, it's a little Peterbilt or Kenworth wannabe, with dual vertical exhaust stacks, air horns, exterior mounted air cleaners, and big-rig style grille and headlights. Yeah, it was a thing back then. ?
-
 Hello Forum, I have a question I hope all you veteran old school model experts can answer for me please? Was the original Revell 1971 not 1972 not 1976 but 1971 Evil Iron only molded in red except the chrome parts? There are no black molded parts they are red, matter of fact on the box it says model molded in blood red so is this true? Thank You Forum in Advance Bummer666
 -
 Re: kit 4463. I like how Revell assumes everyone knows what the engine, and the carbs are, and I don't know what I'm doing or know anything about Fords. Building version B with the 3 carb setup. If I knew the carb brand and model #, I can search for pictures. If you have done the carb linkage, fuel line, please post pictures. I assume there is a system where there is a cable from the gas pedal to the engine, then there are linkage rods and photo-etch parts to drive me crazy with. Regarding the fuel pump, the kit has a non-stock looking fuel tank, I know my Chevy pickup has the fuel line going through a big hole, so is there an electric pump in there? Or is there a mechanical pump on the engine? All I really want to do is fab a clear glass bowl filter for the firewall, but need to be realistic about what is at each end. I also should know what the engine is, I know hot rodders put Chevy SB in, should be accurate on the firing order for the spark plug wires. Might as well ask about the transmission too. Looks like an automatic, only two pedals. Dare I ask about linkage from the shifter to the transmission?
 -
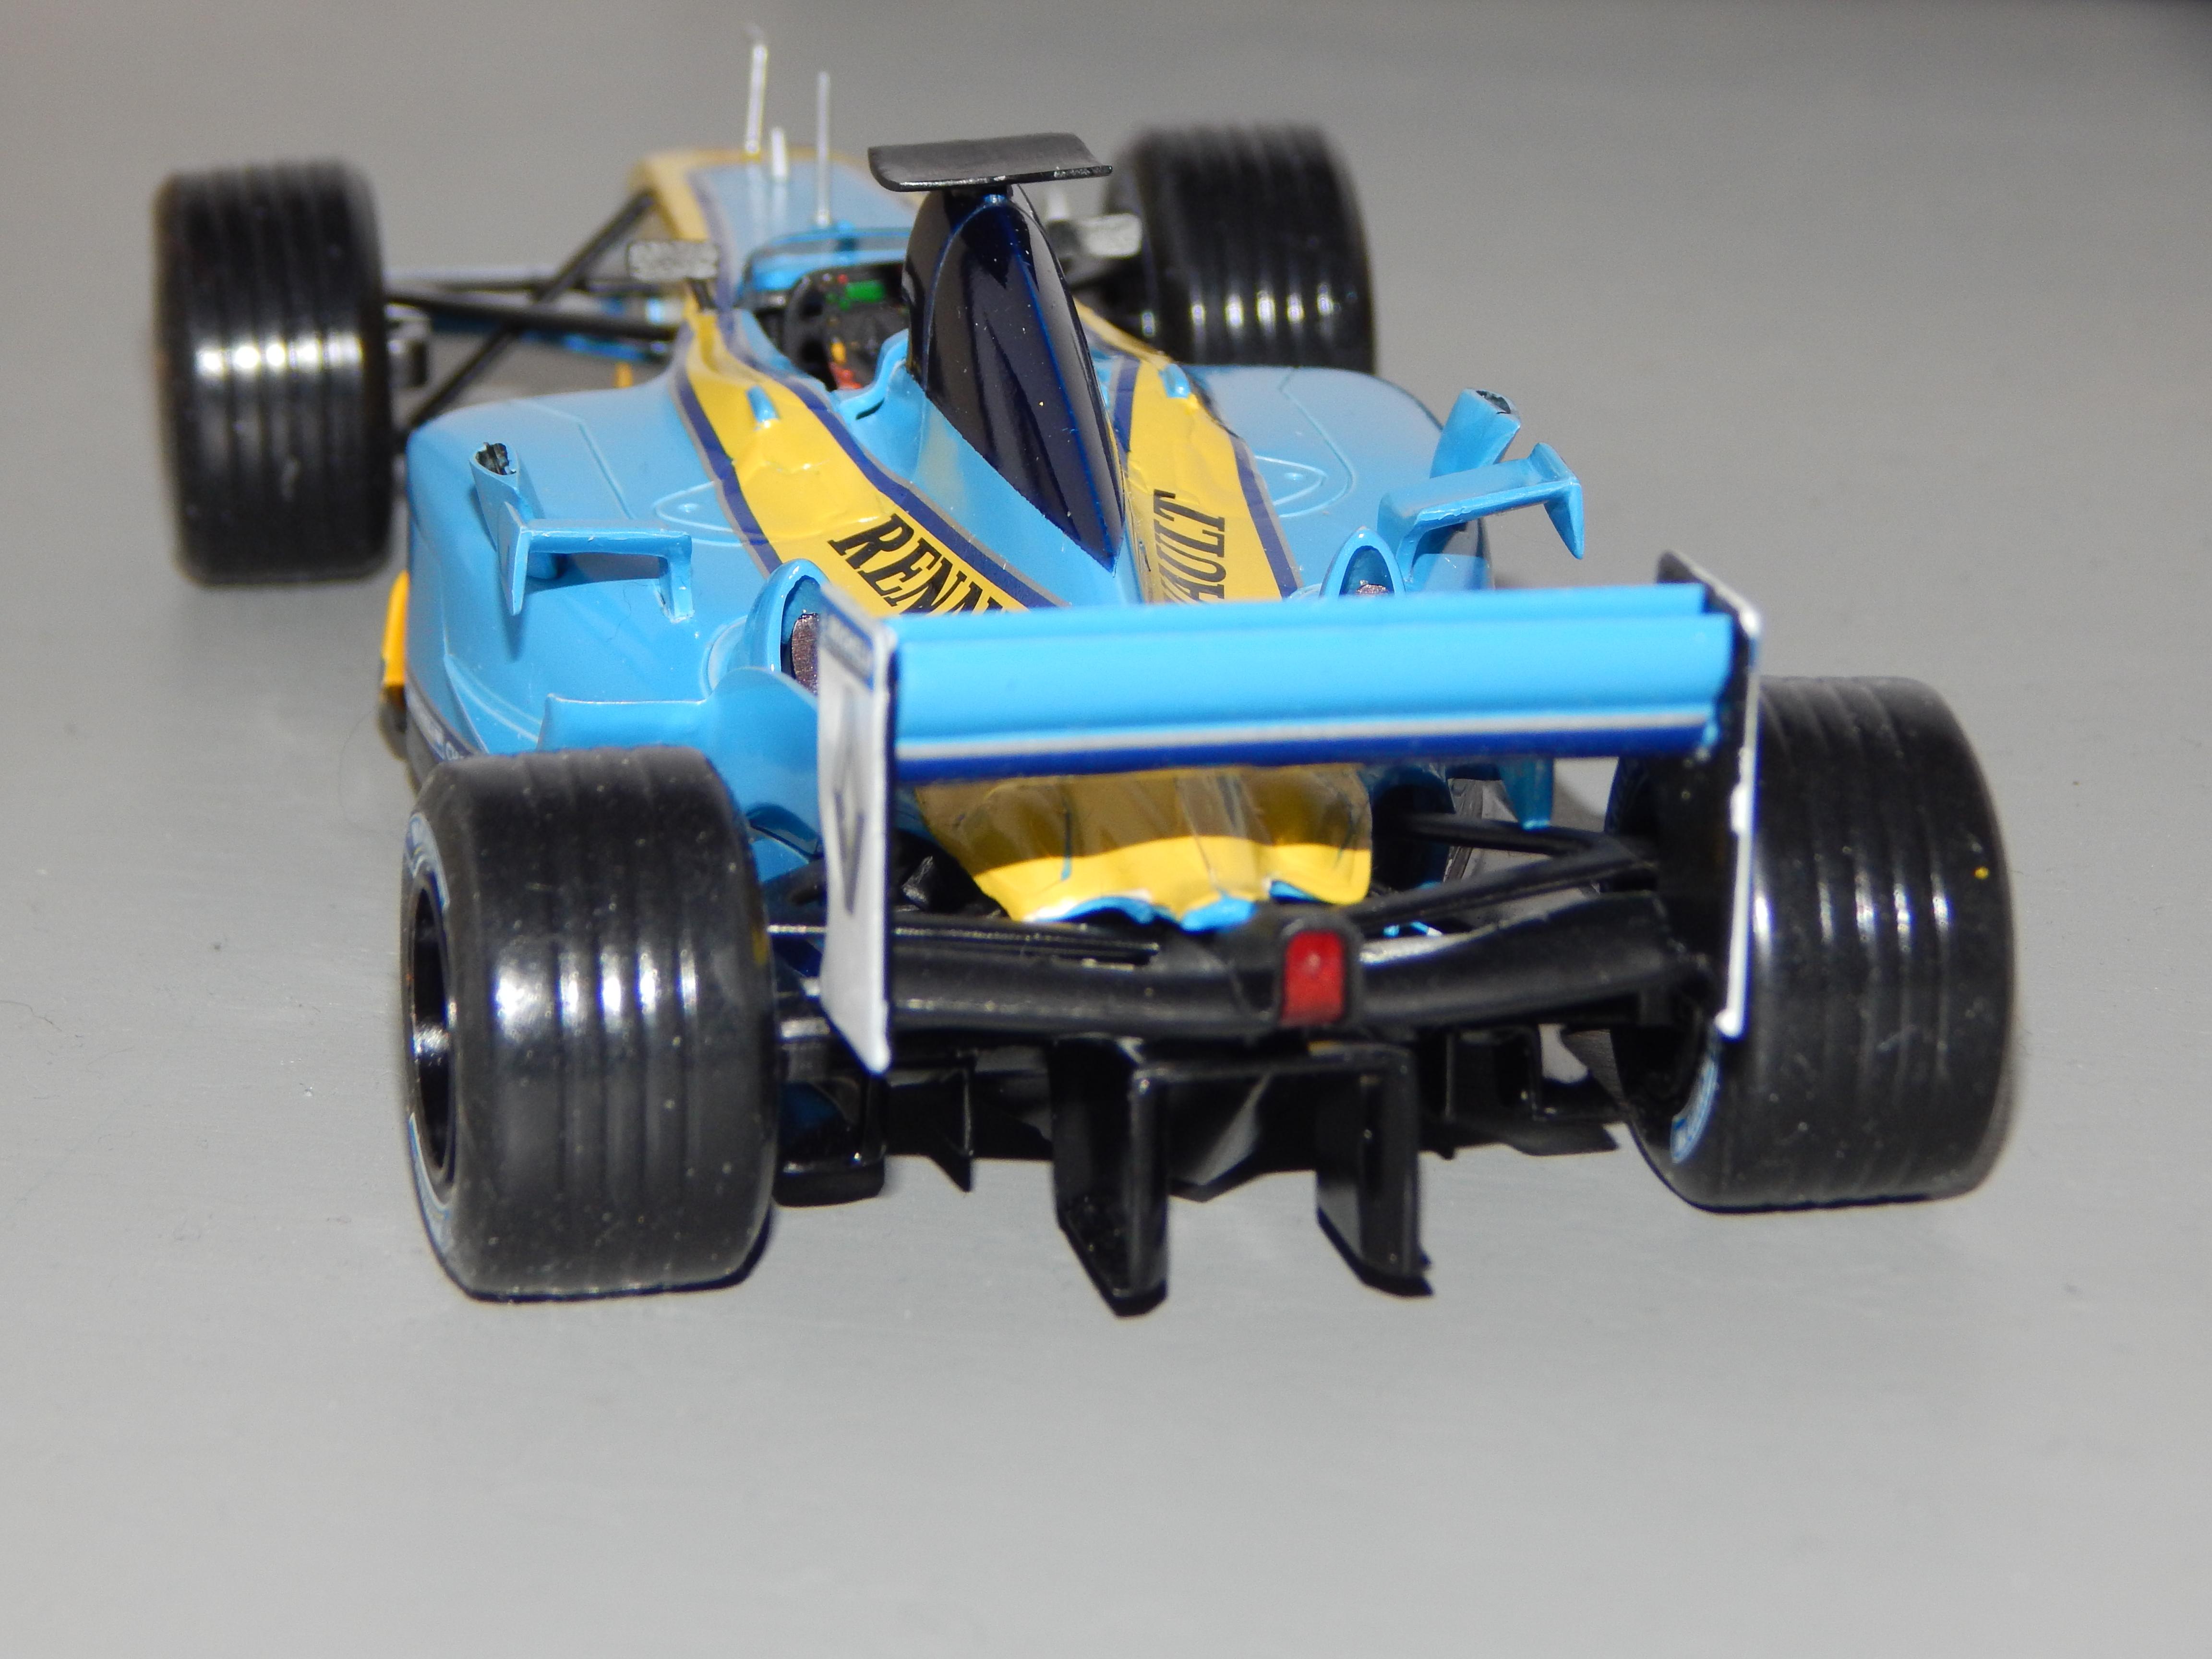
Driven to 3rd place finishes in Malaysia and Brazil by Fernando Alonzo as well as a 2nd in Spain in 2003. 3 liter V-10 engine, 800 hp. Revell kit went together with no issues, I struggled with the decals but overall it came out pretty good. Probably the last one I get completed this year although I've got a couple on the bench that are close. Thanks for looking, comments welcome.
-
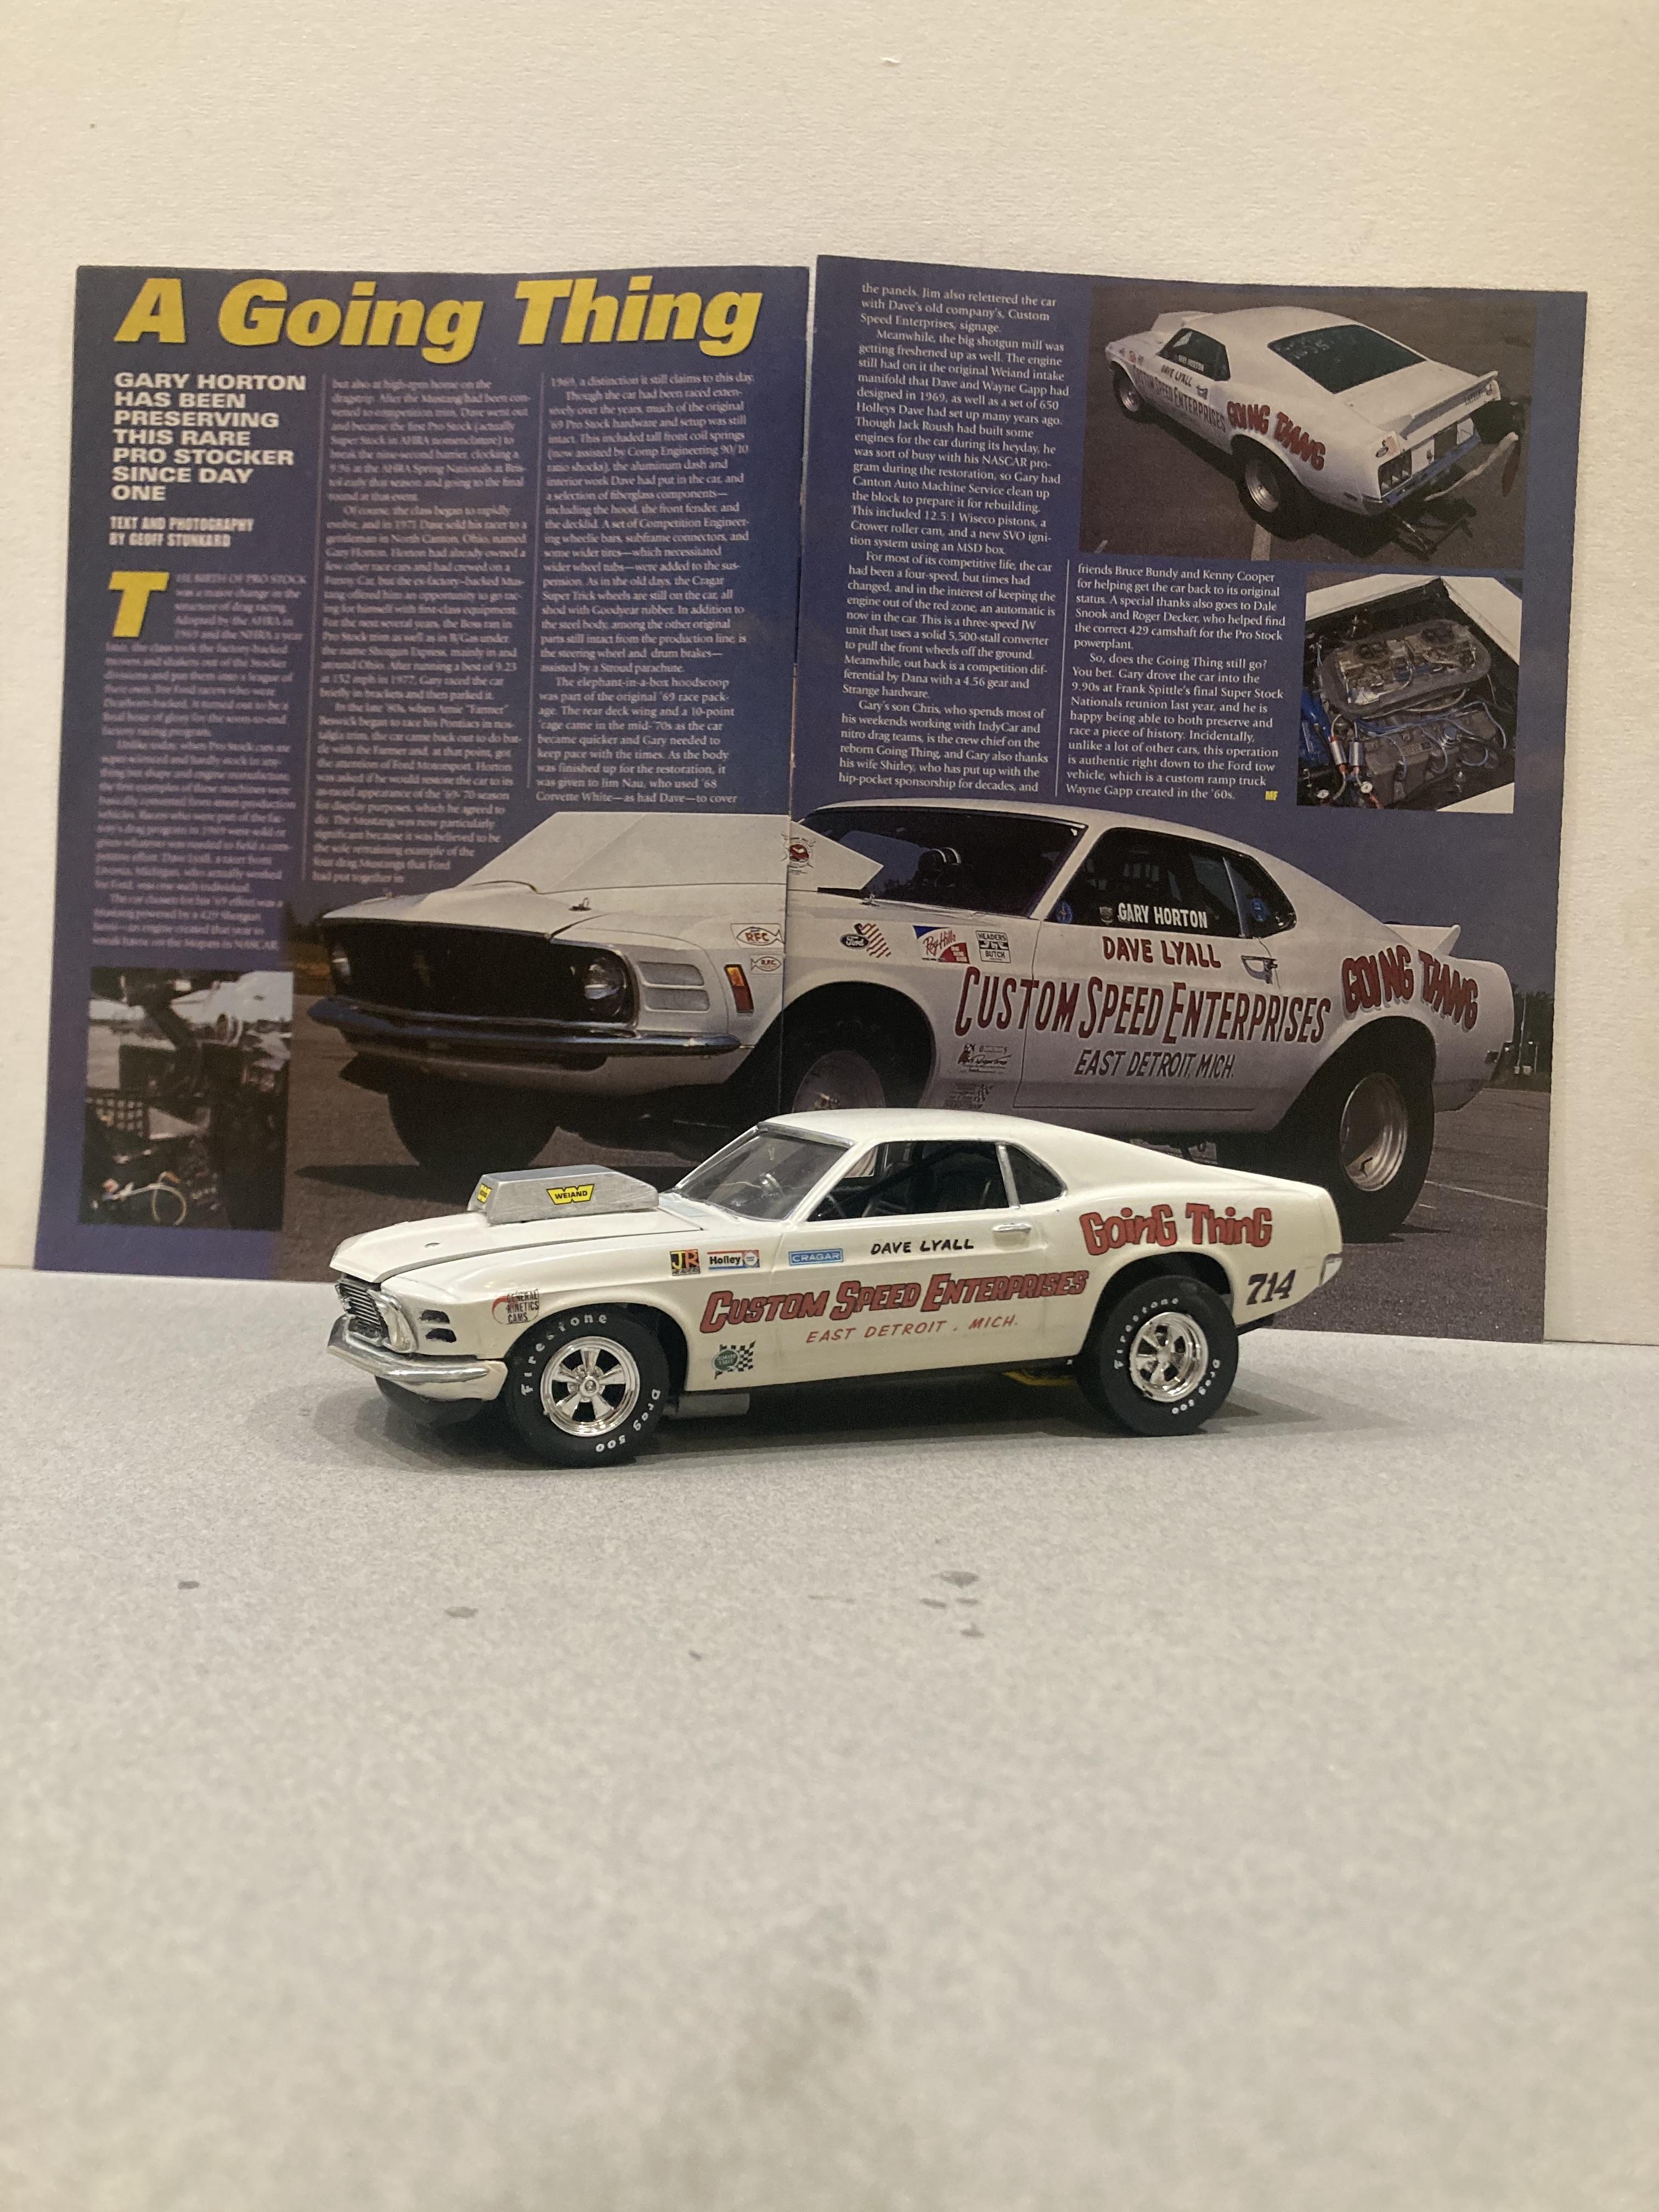
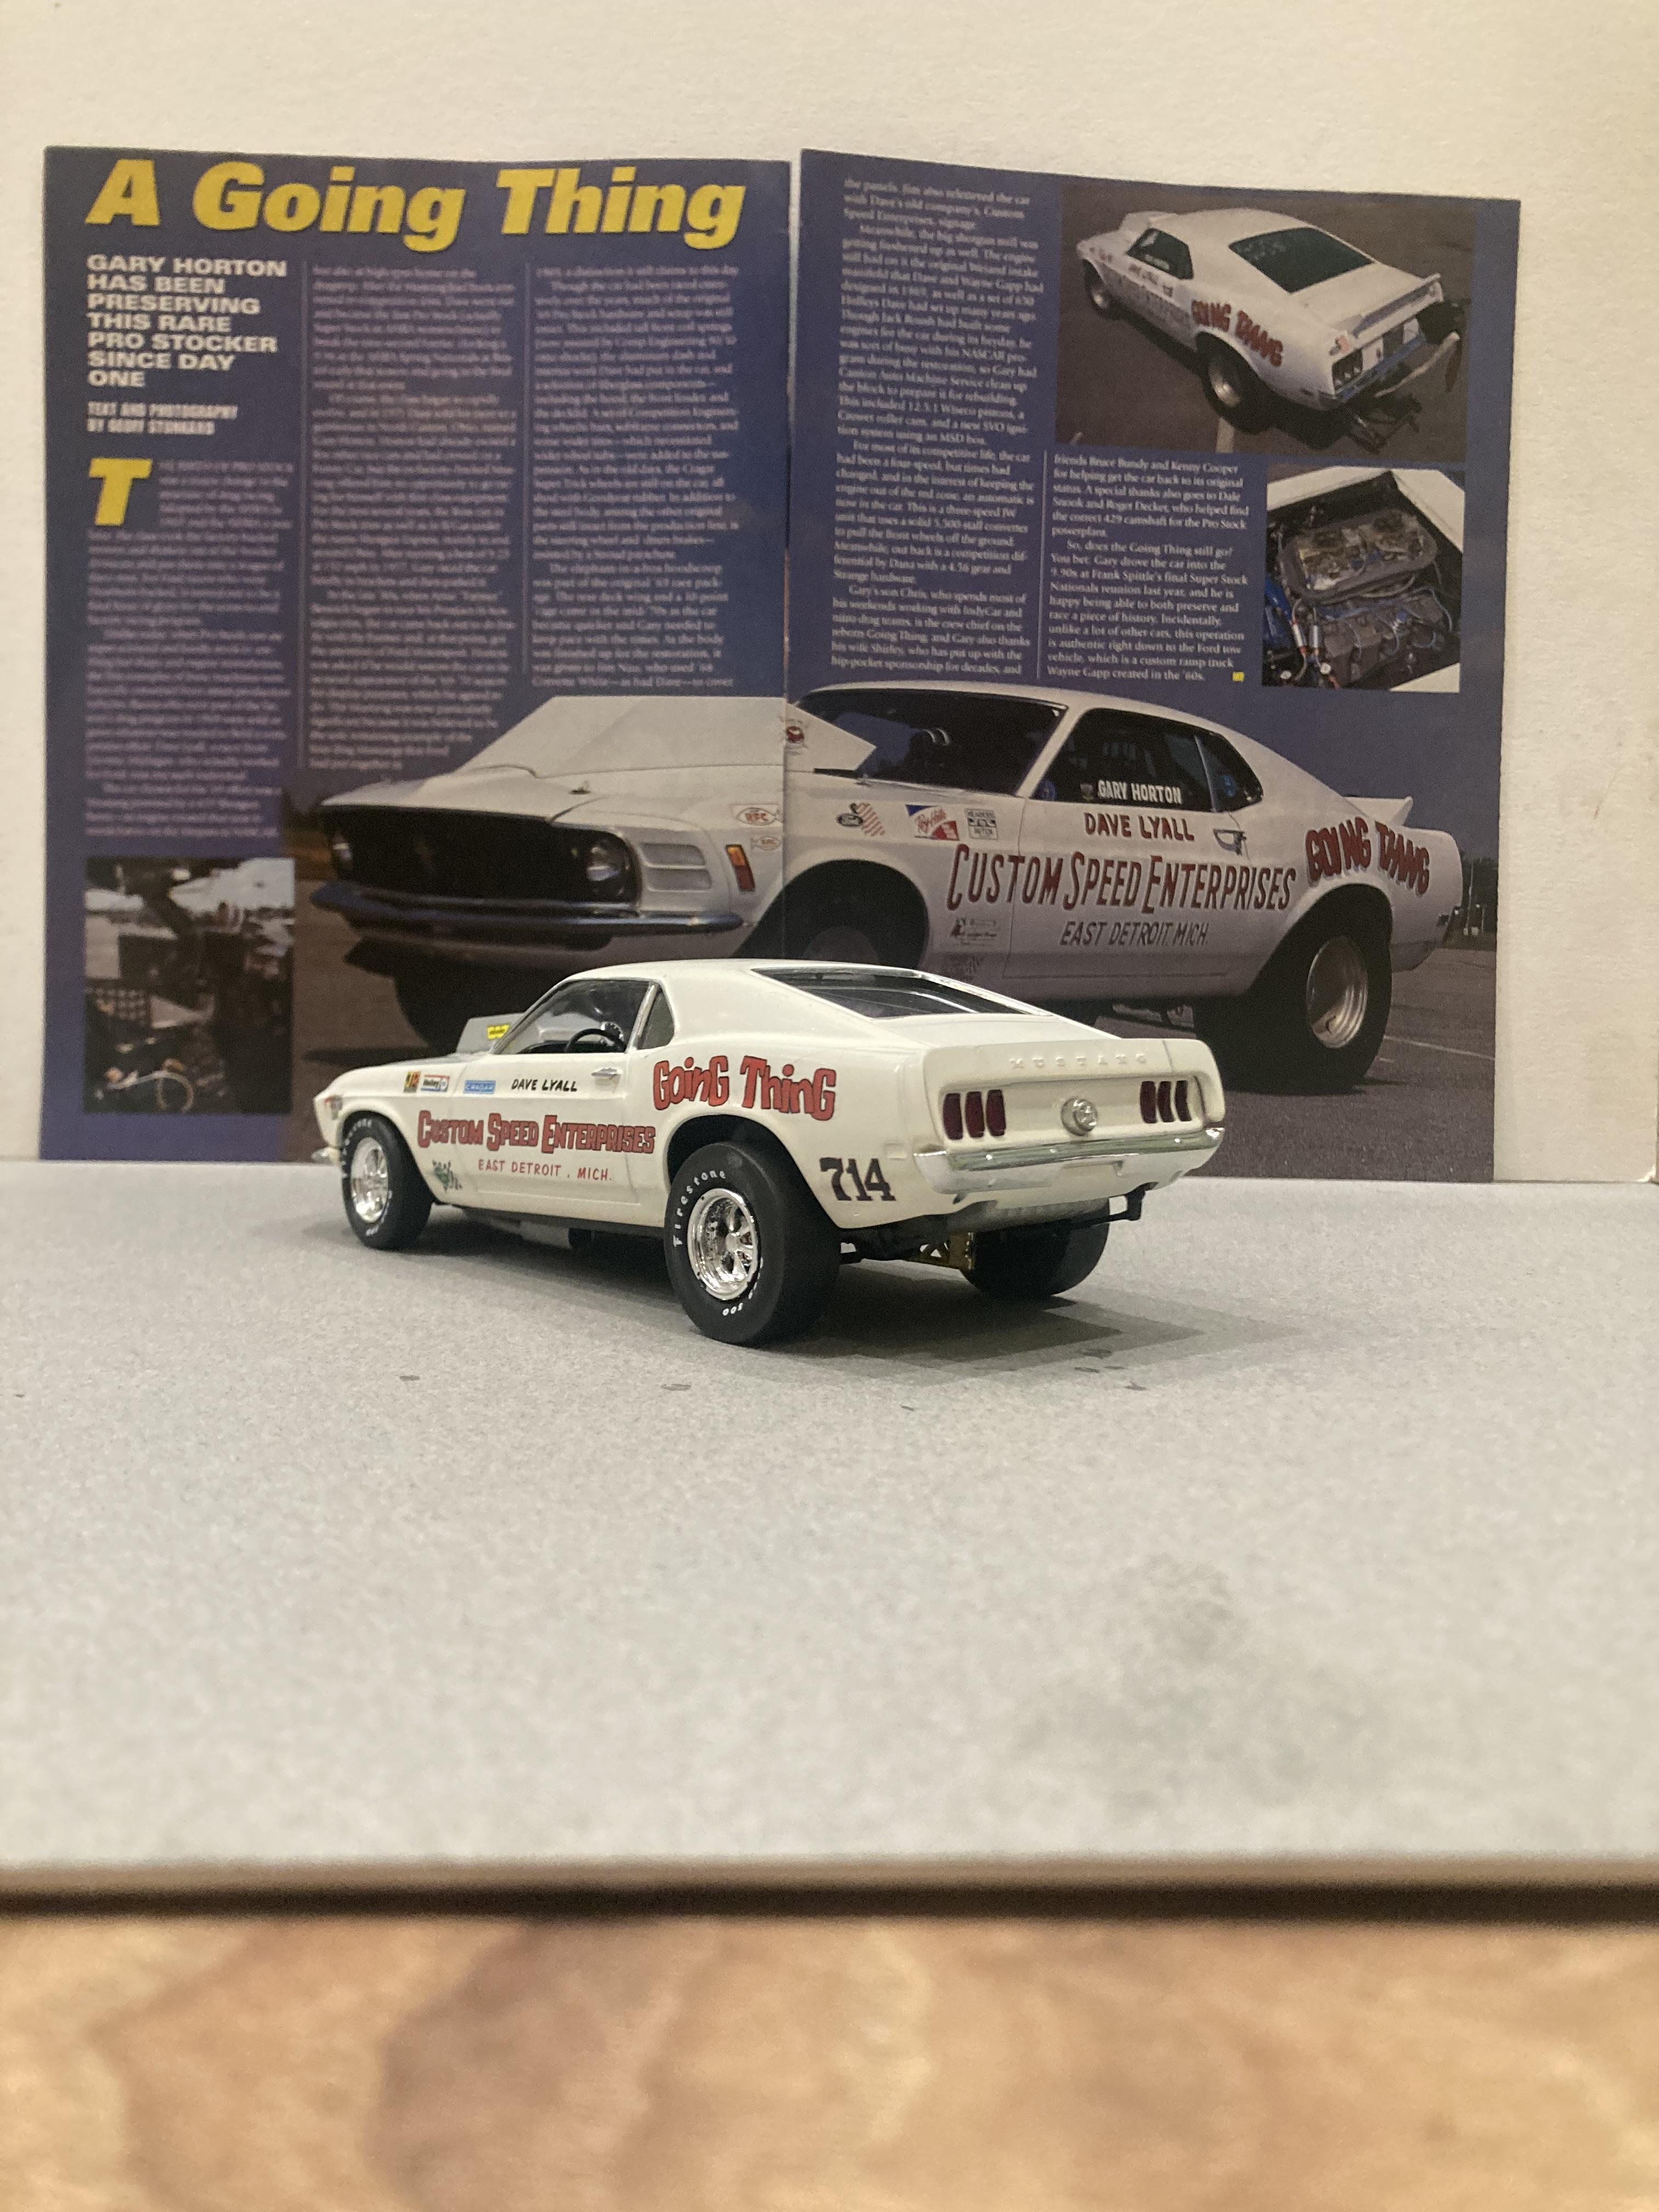
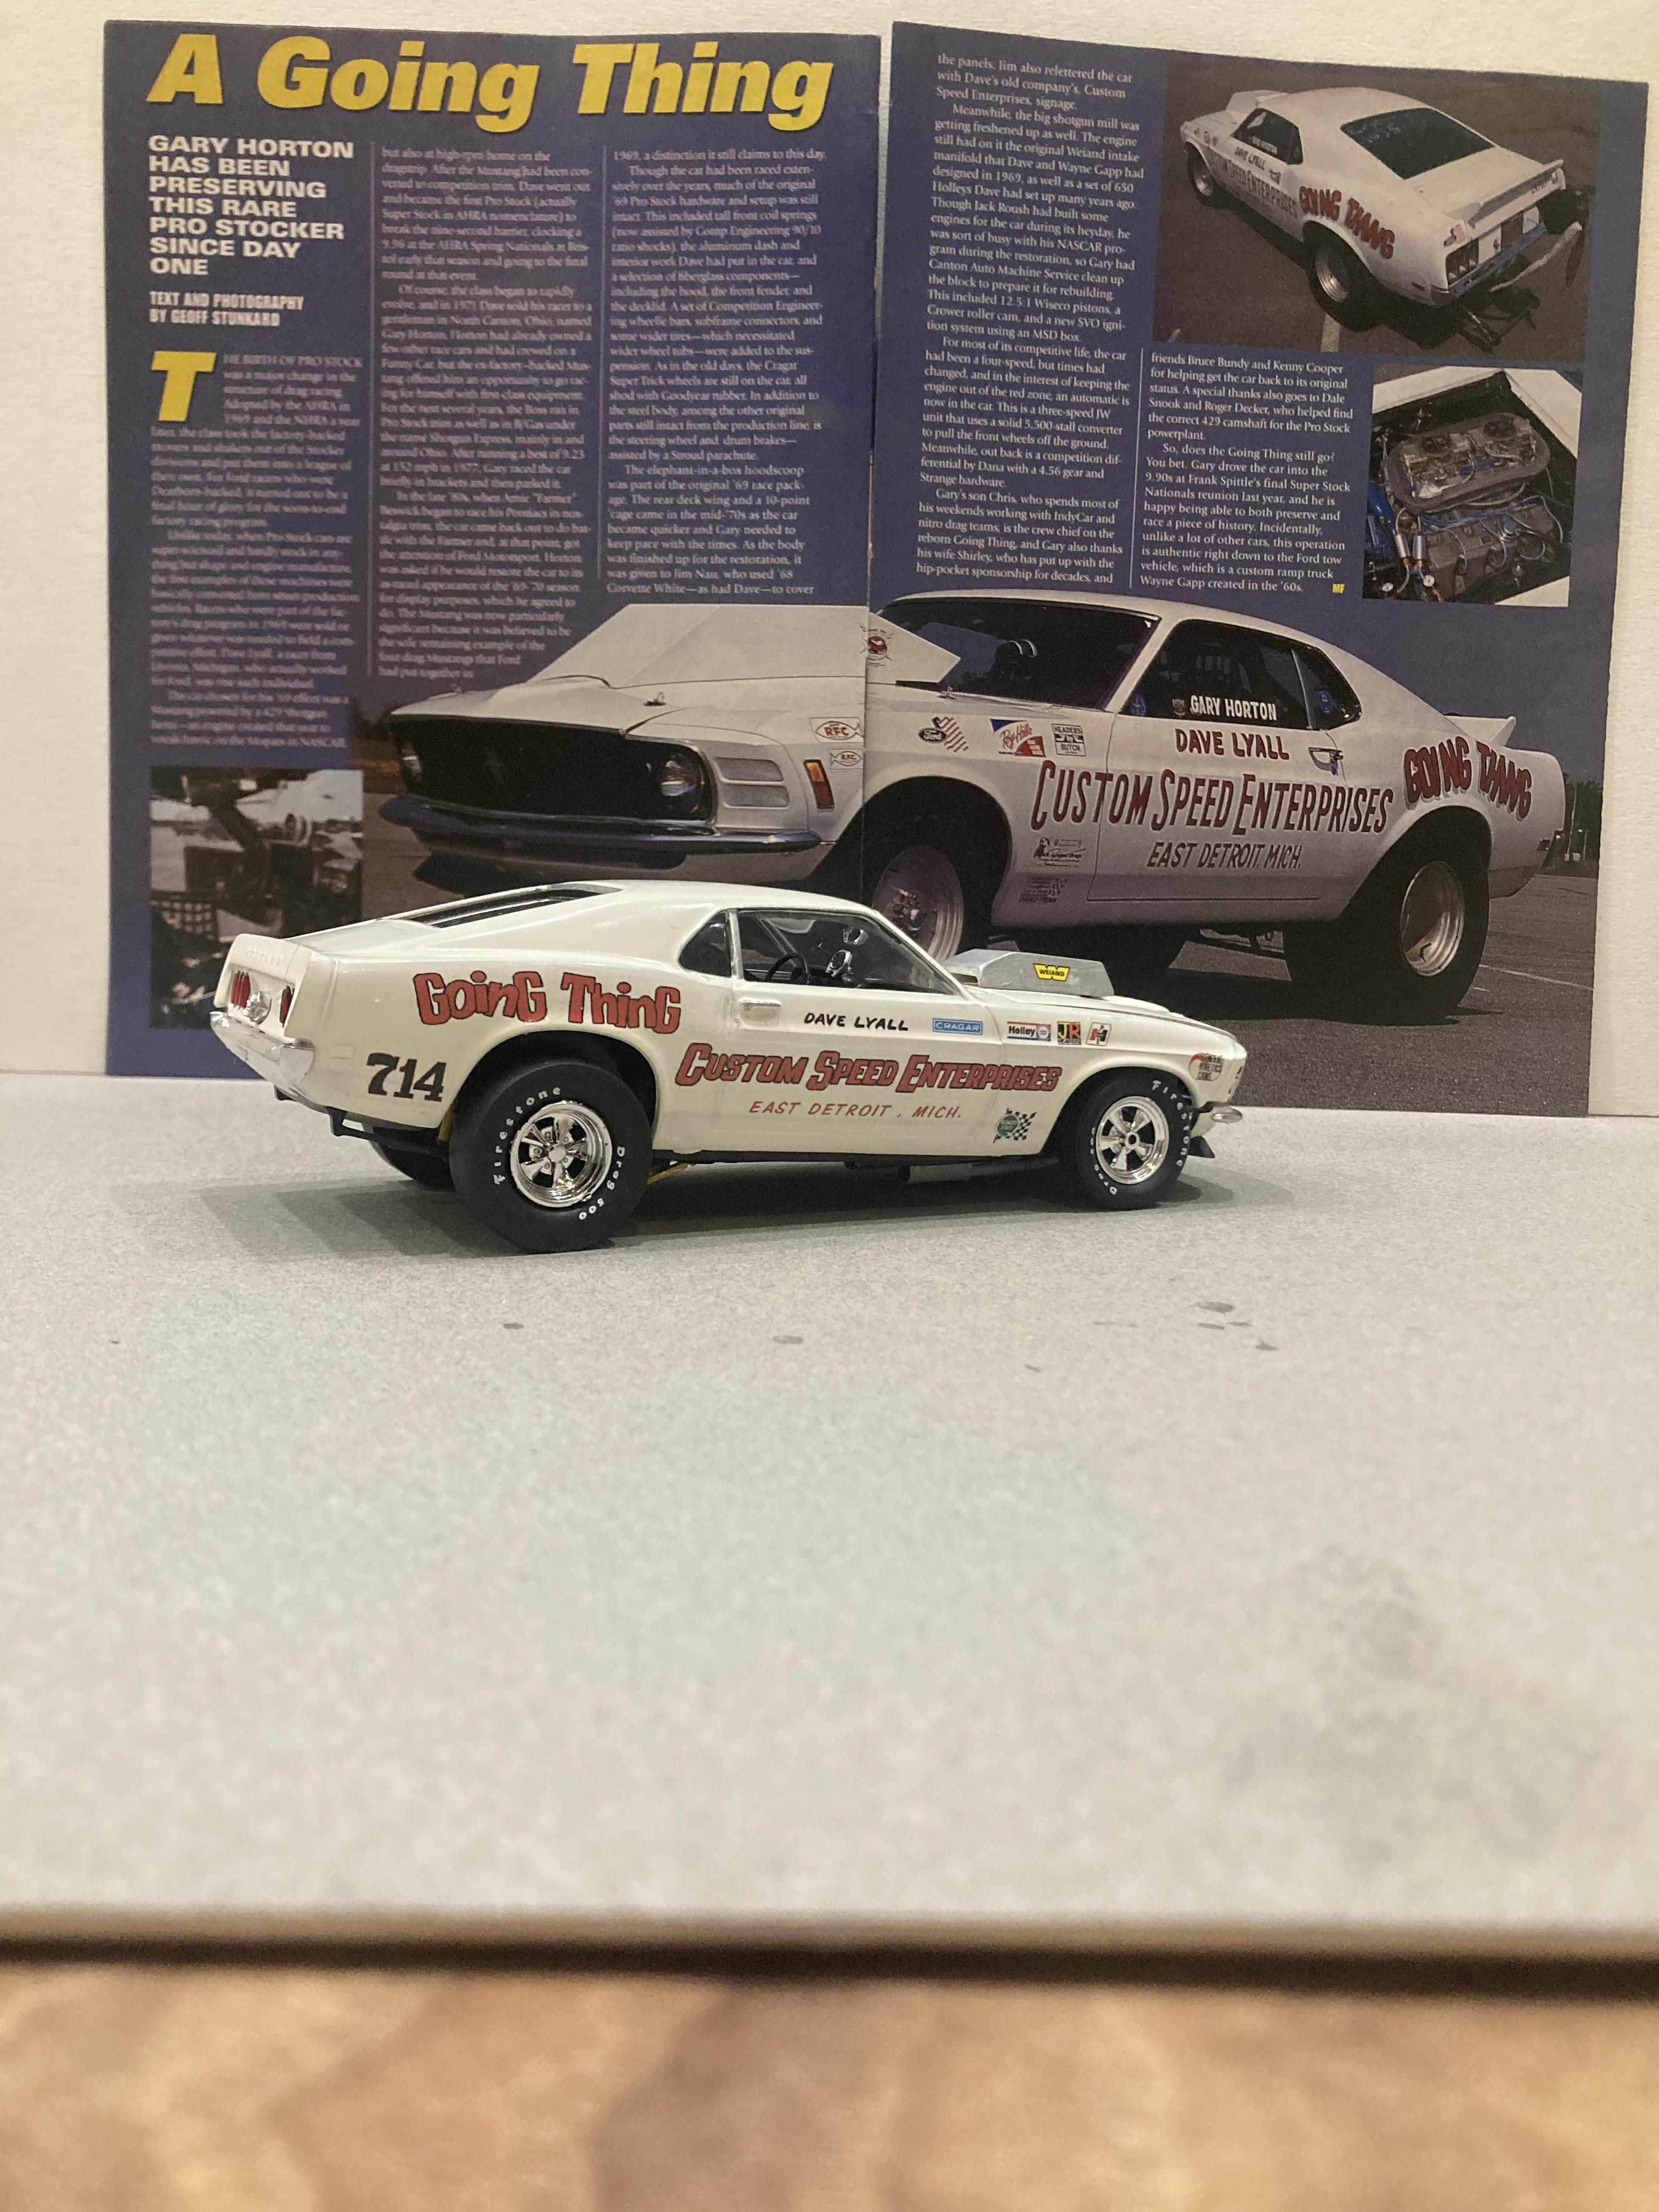
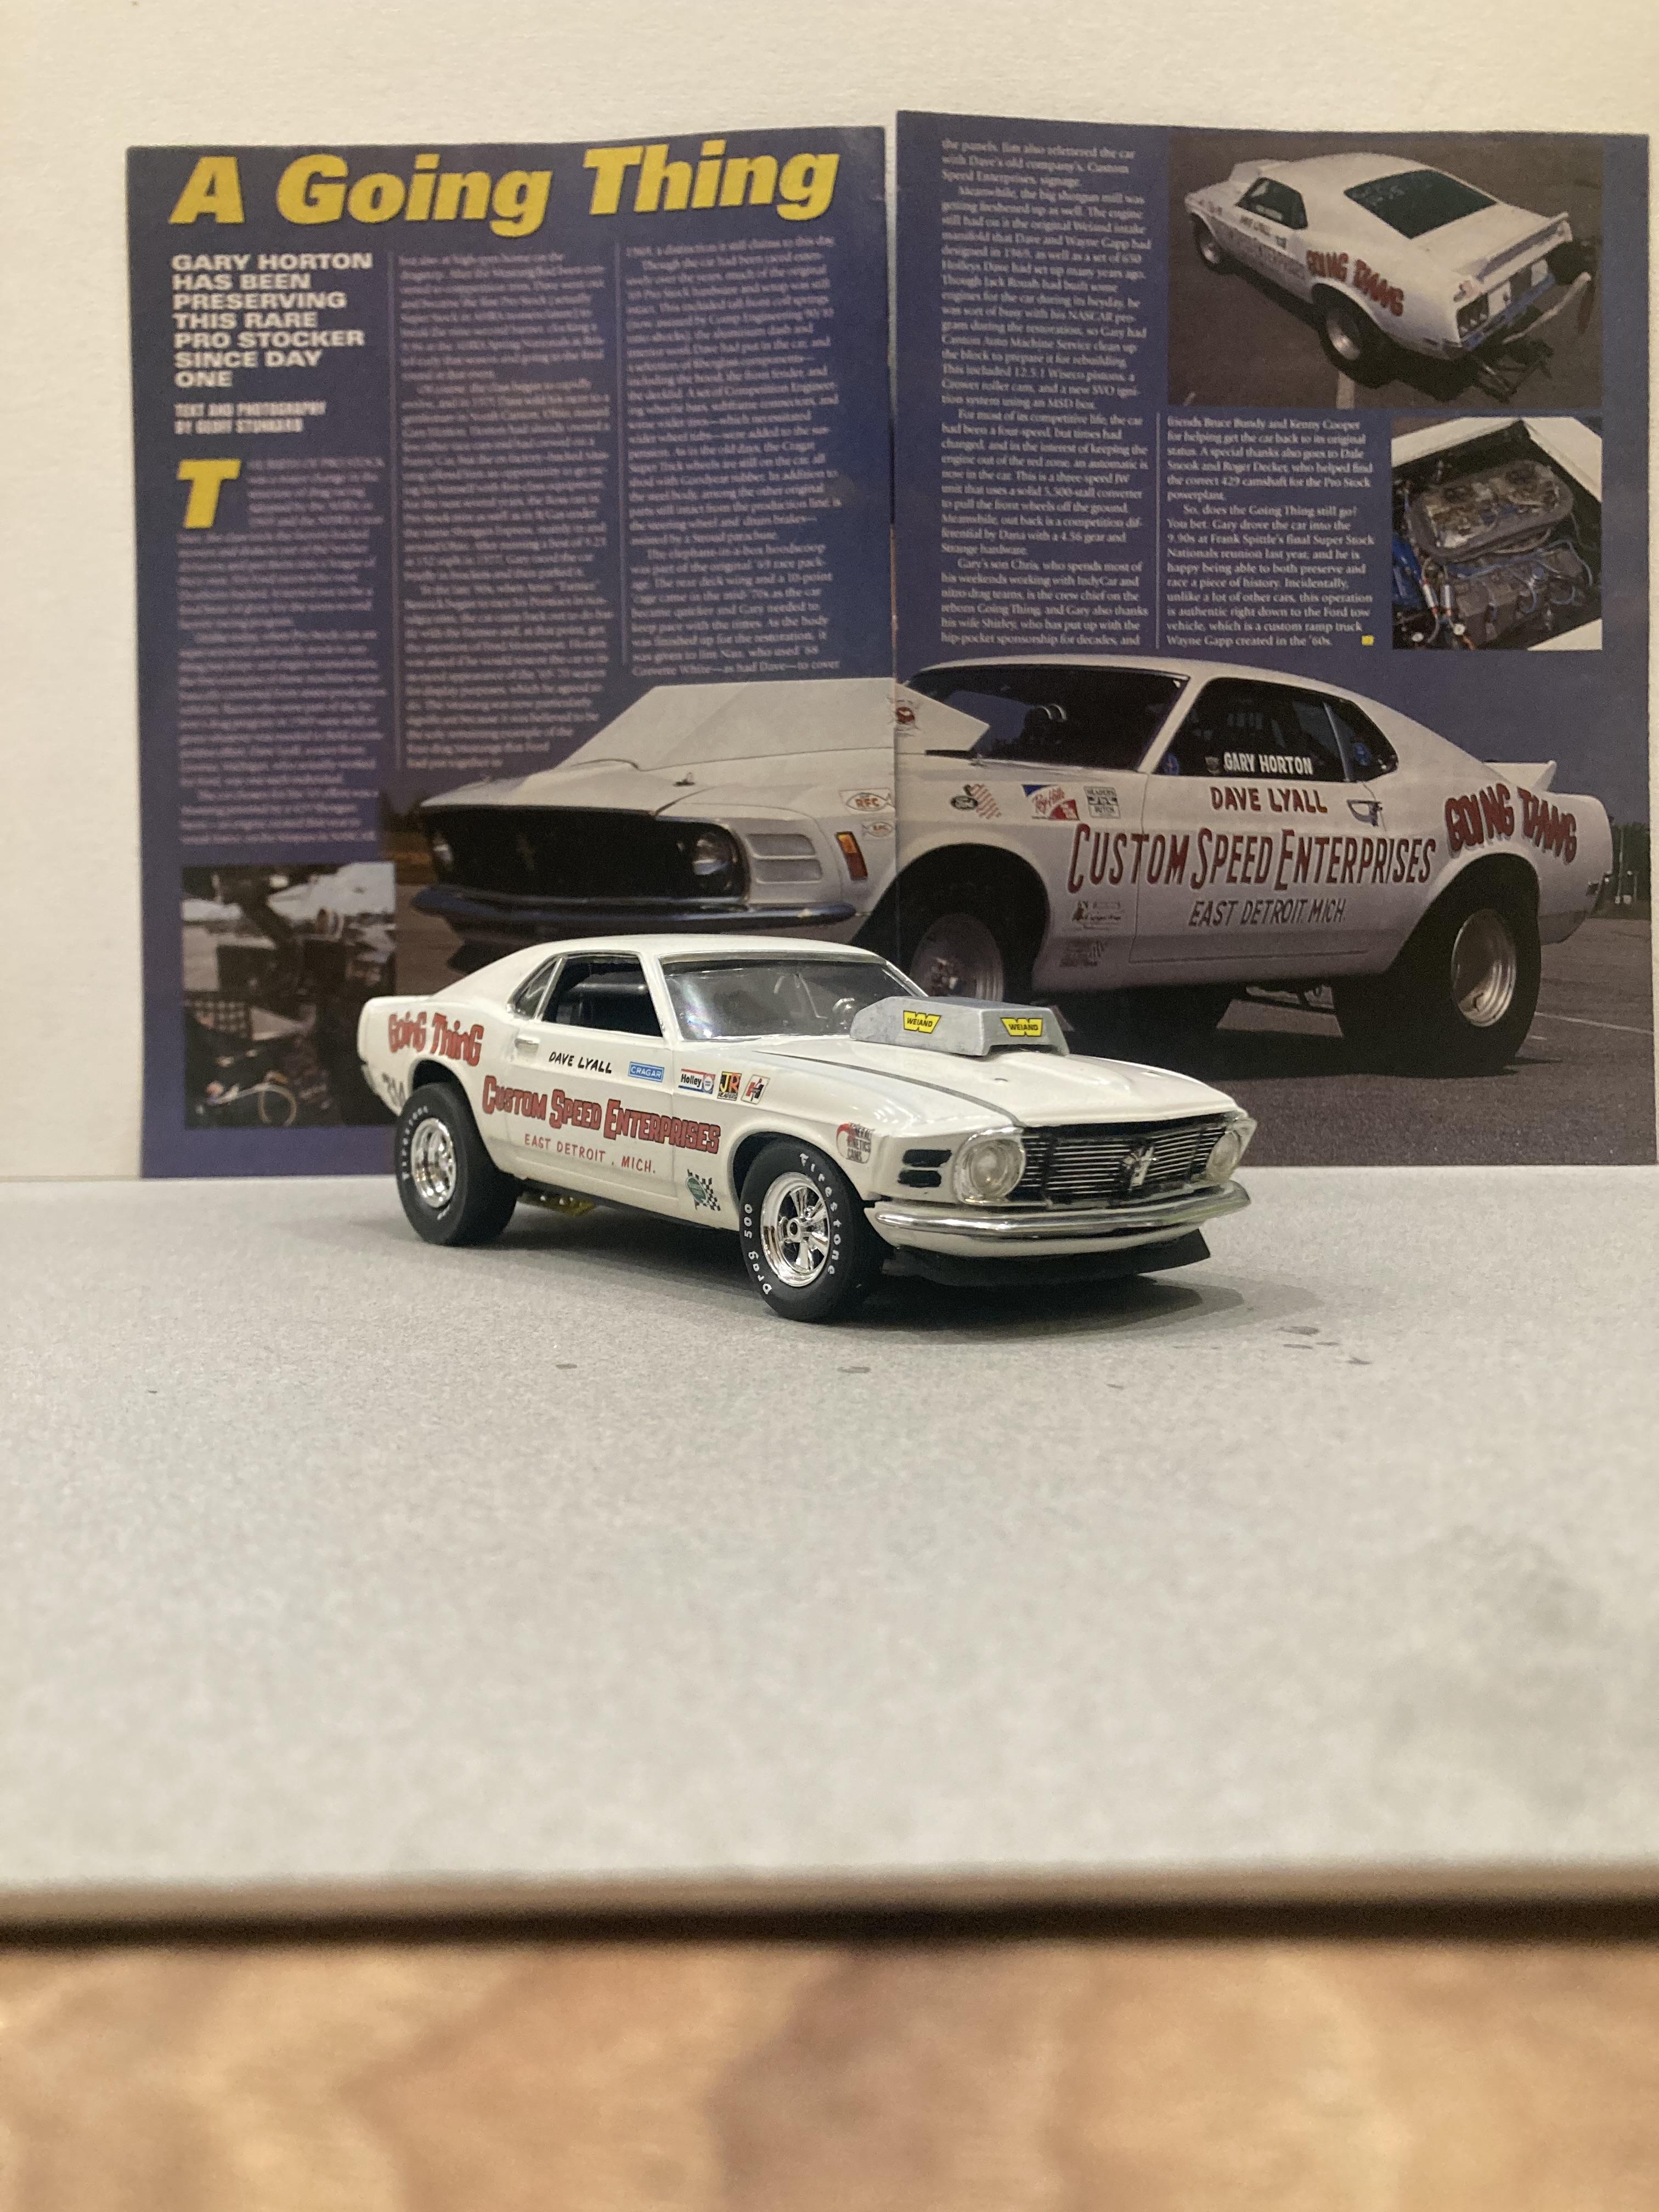
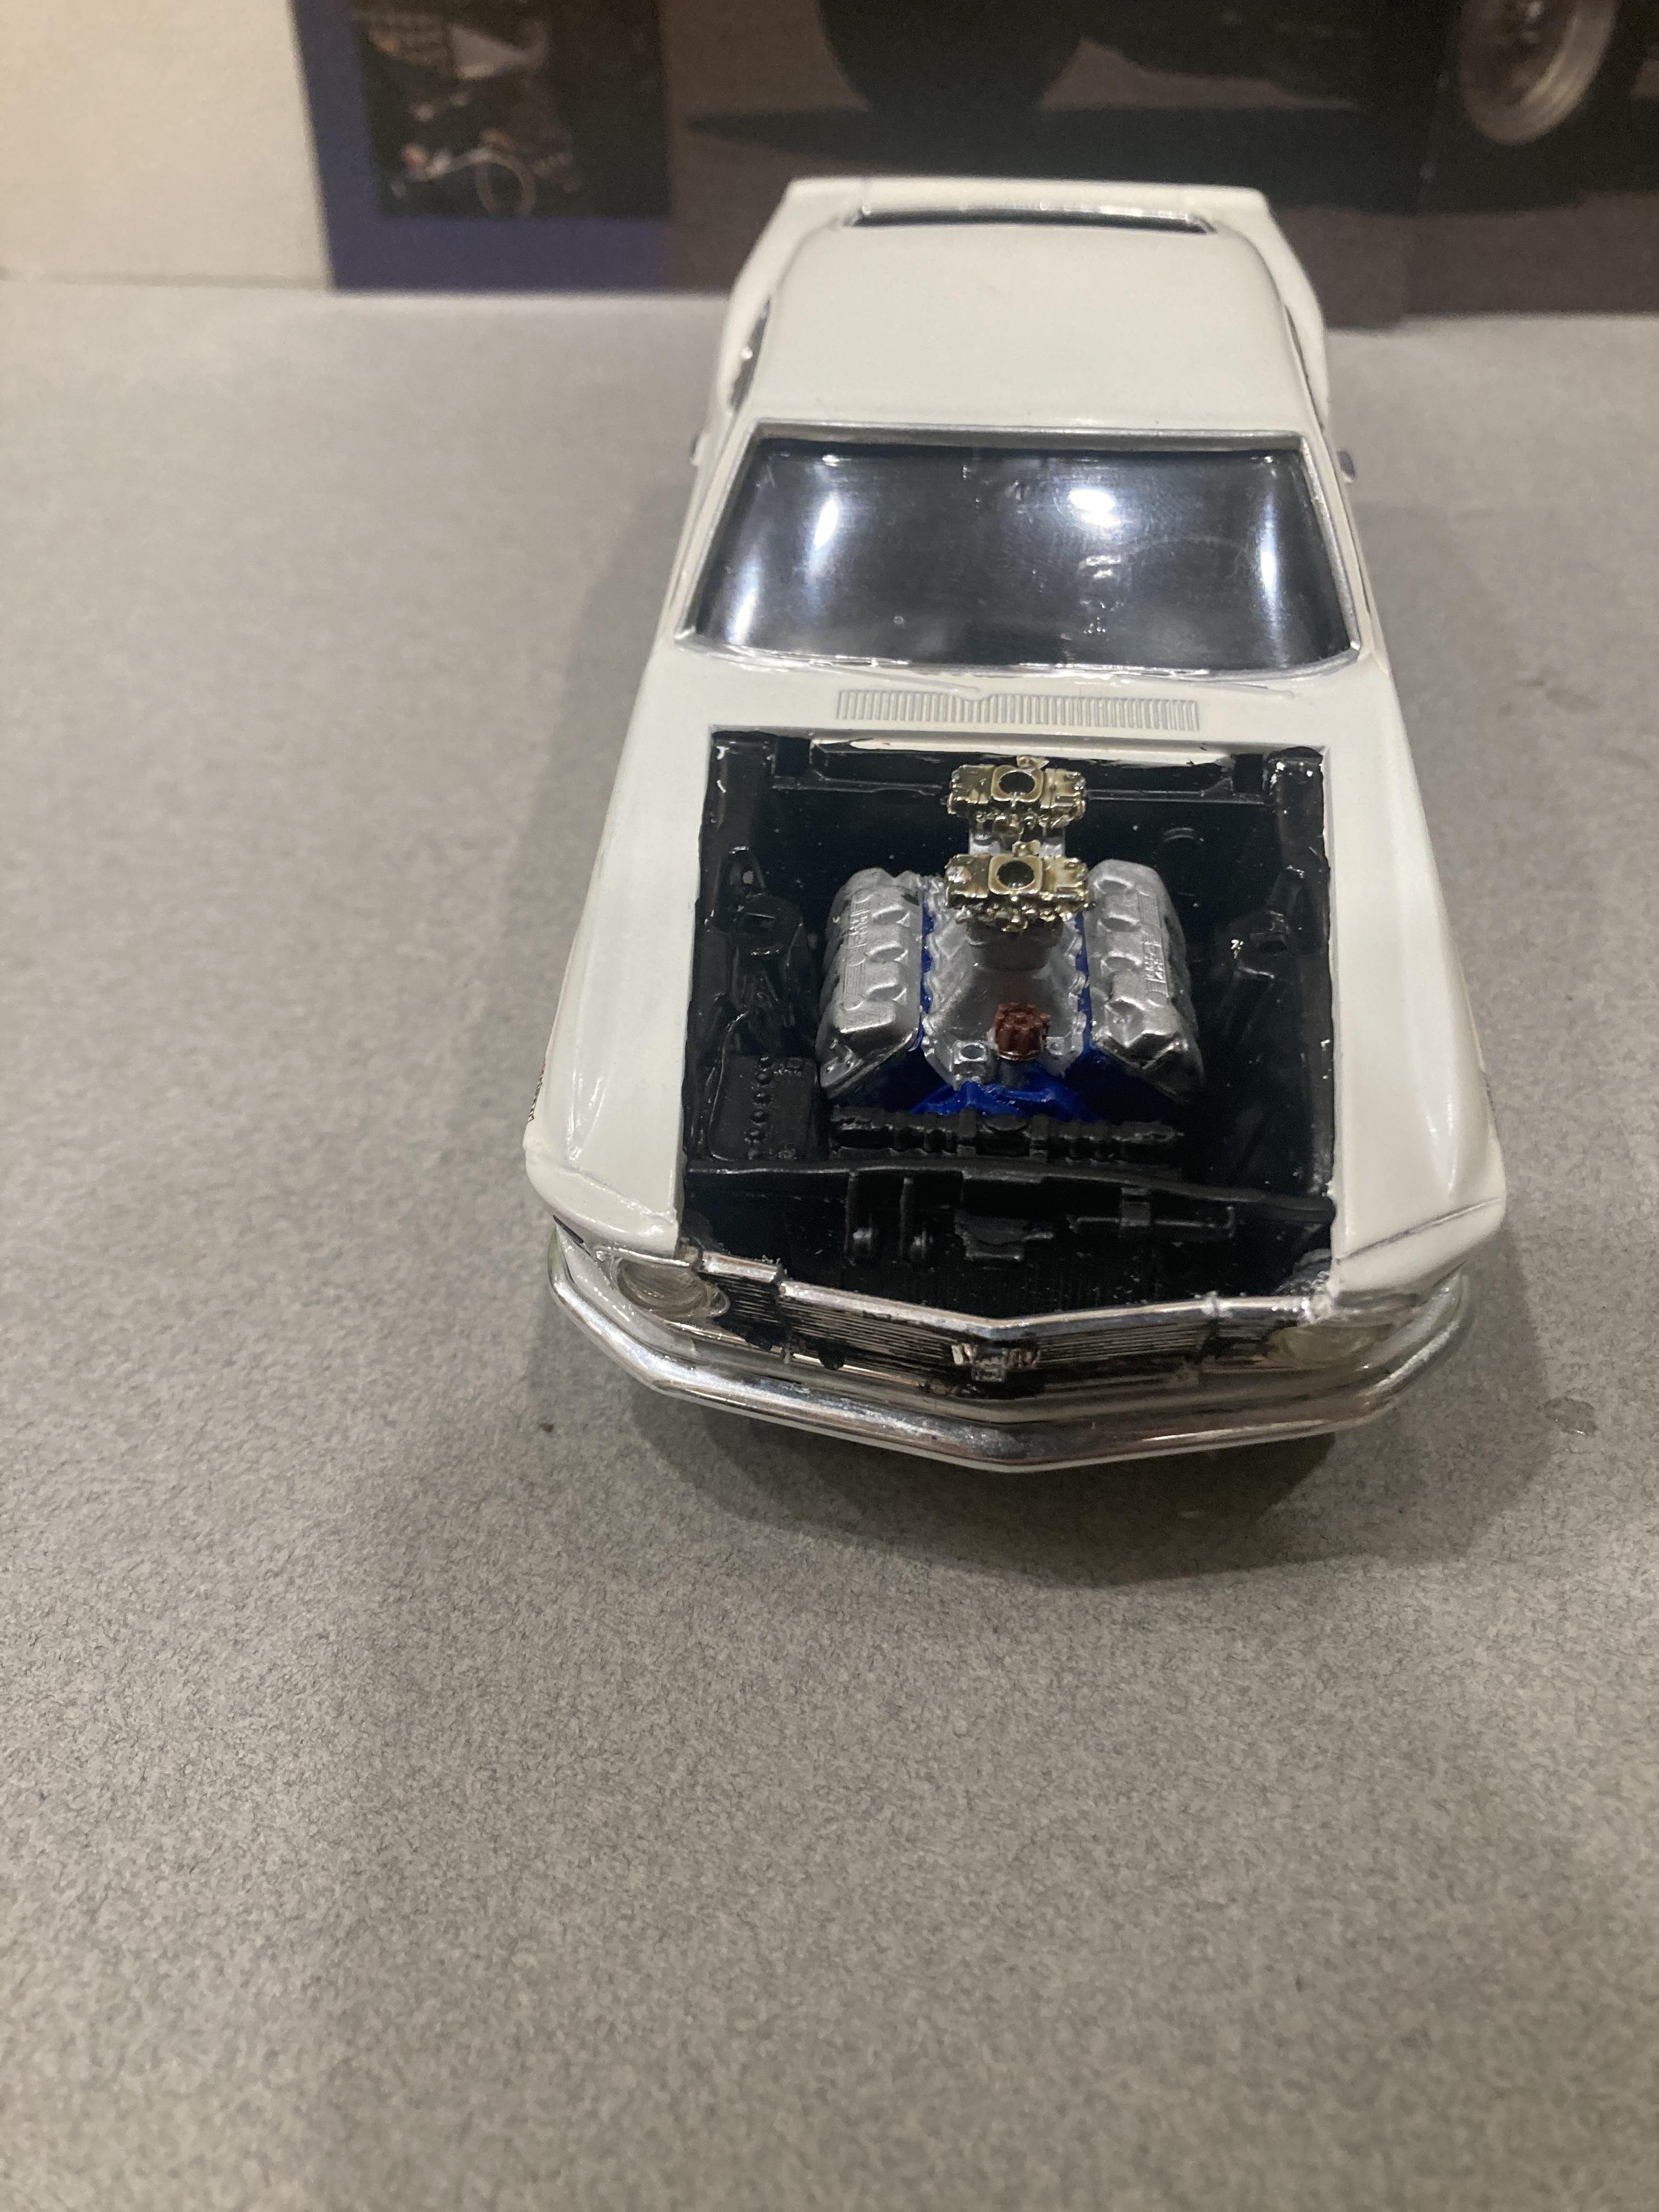
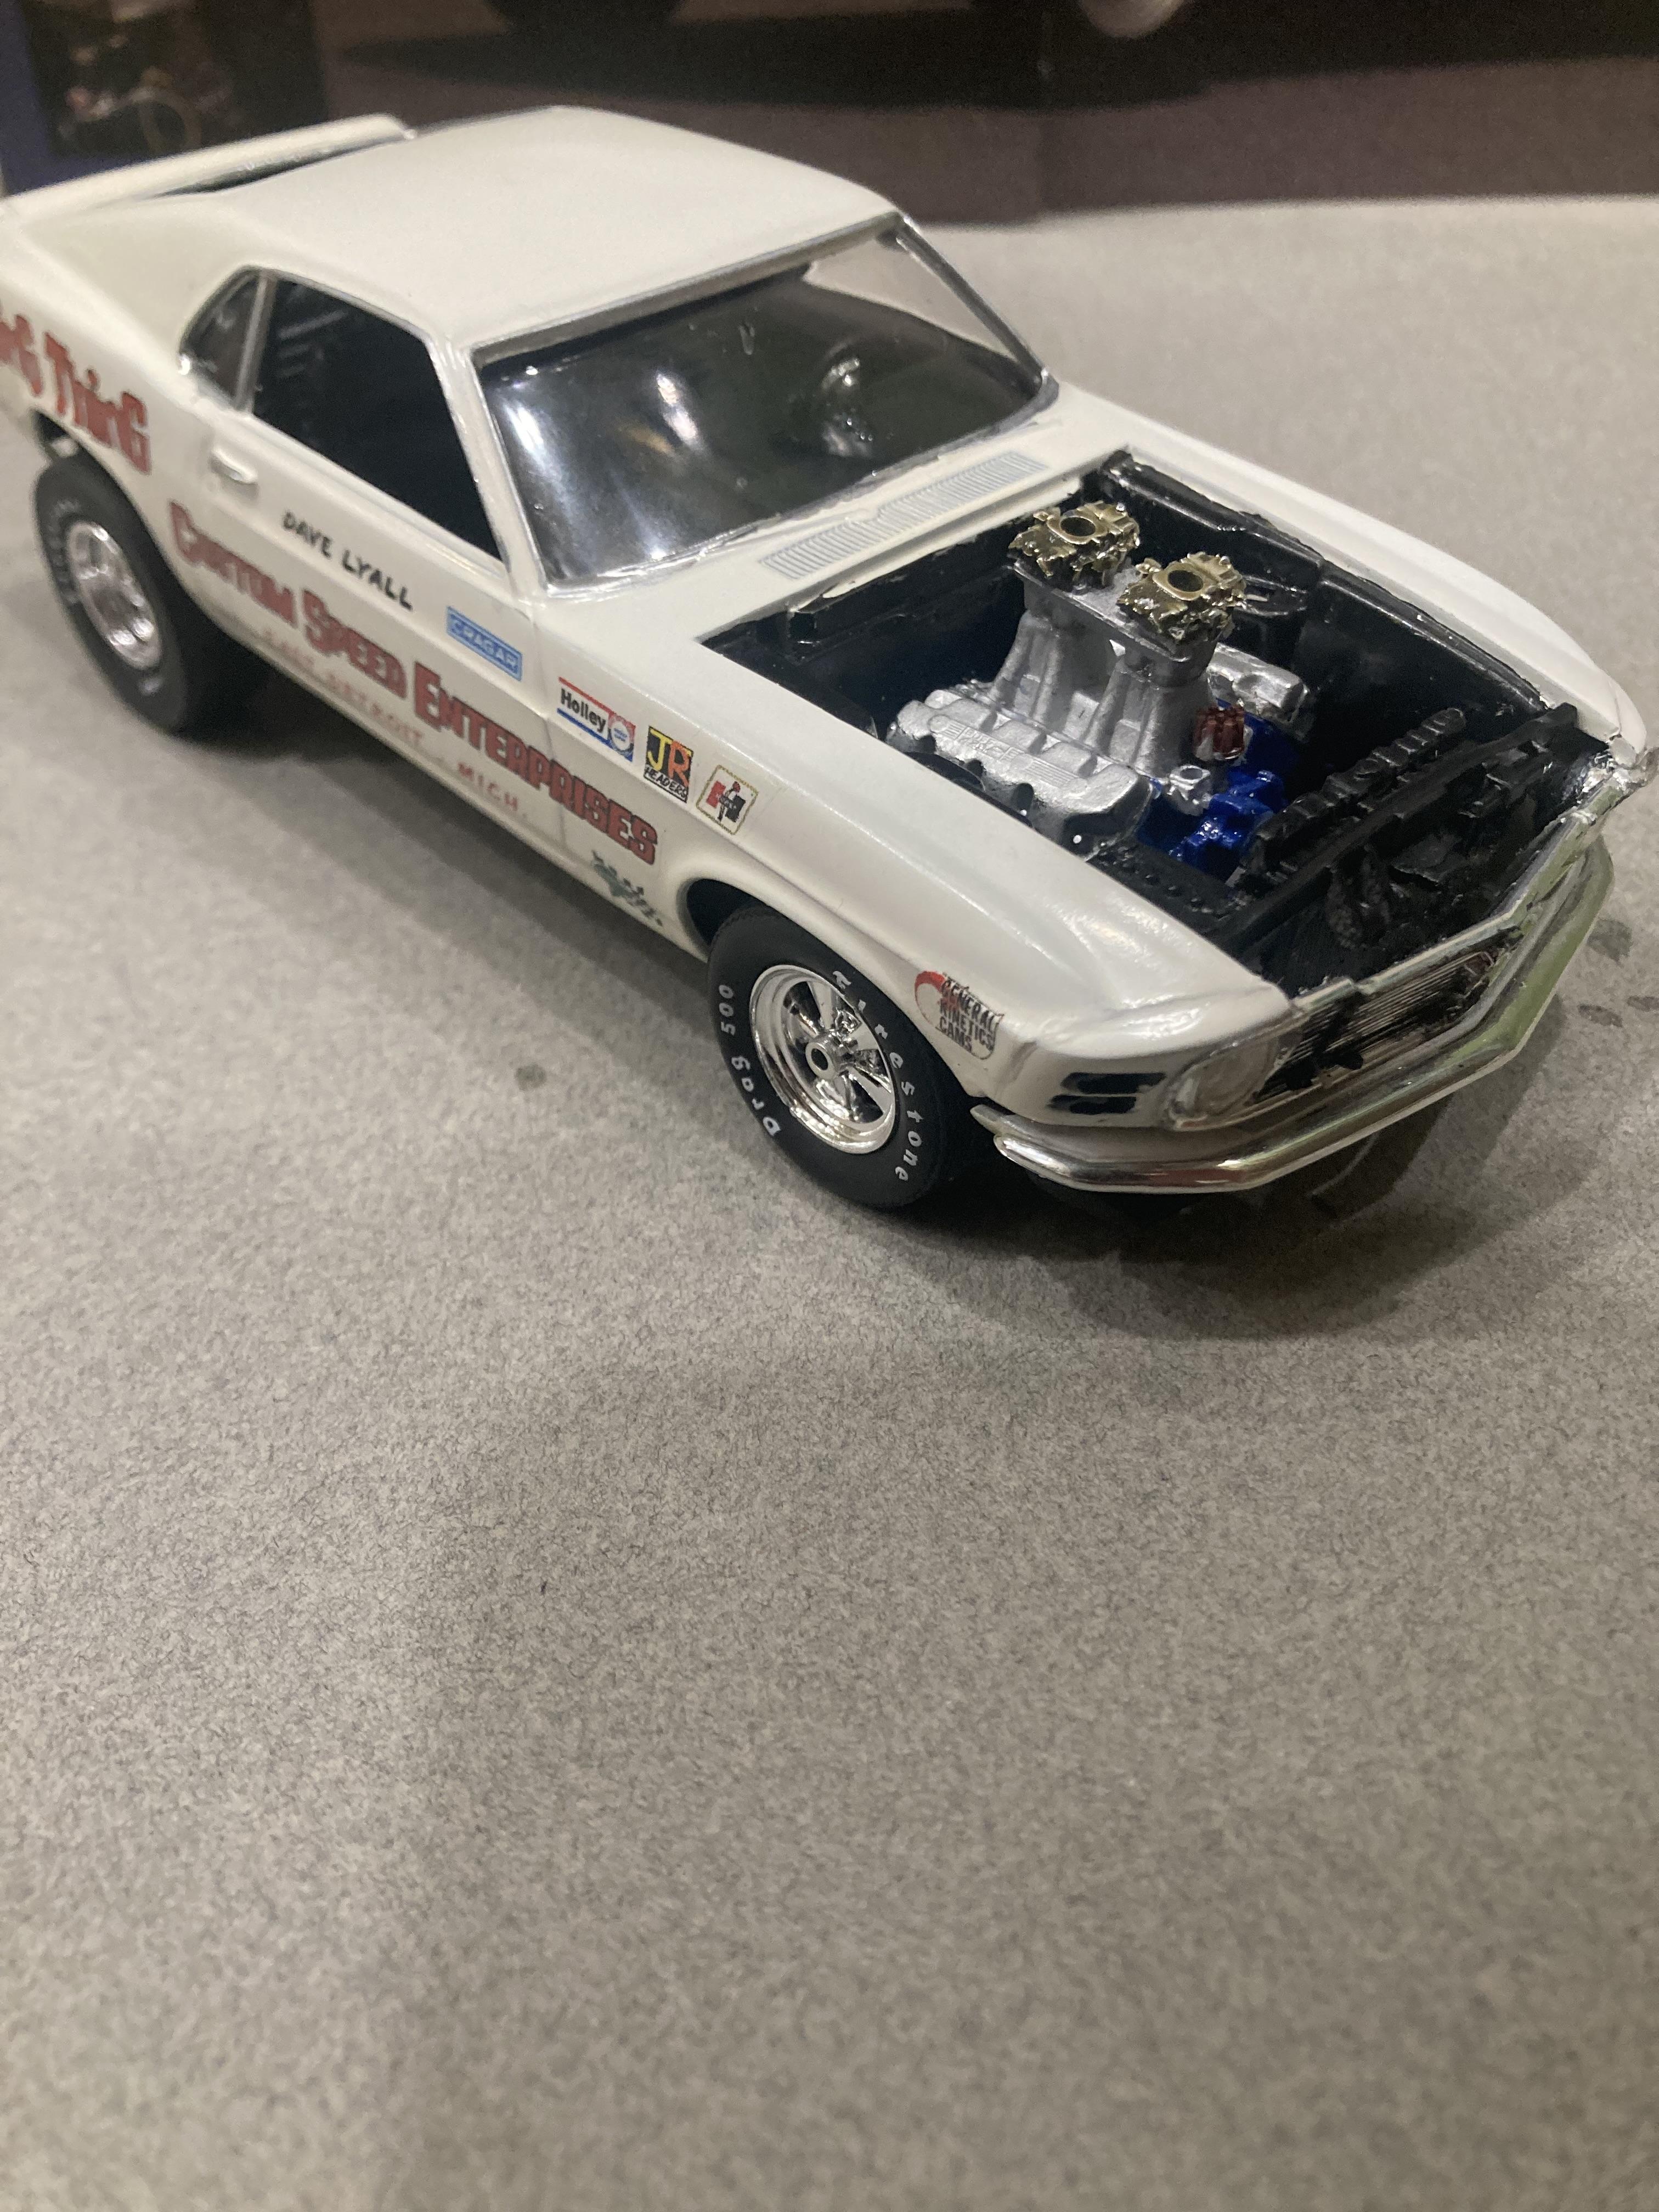
I’ve been really enjoying building mustangs and torinos lately. This one was on the todo list for quite some time as I really like building the early let’s call them the four speed years pro stock cars. Let’s get down to this build. It’s a kit bash car starting with the revell 69 cobra jet mixed with parts from the monogram 70 boss 429 mustang along with a few trips to the parts box . crager ss wheels back - amt 66 Galaxie , front - polar lights funny car ladder bars- old pro nova slicks and front tires- AMT parts pack dash mount gauges- polar lights funny car engine - monogram mustang shifter- monogram mustang front air vents next to the grill- monogram mustang grill - cut down from the monogram mustang decals - smp & parts box paint - testors enamel headers - solder and aluminum tubing roll bar - 0.80 plastic rod hood scoop - comp resin I cut some square tubing to raise up the rear spring perches. If I was to build this again I would definitely use the body from AMT’s MACH ONE kit .until next time thanks for looking, Mike
-
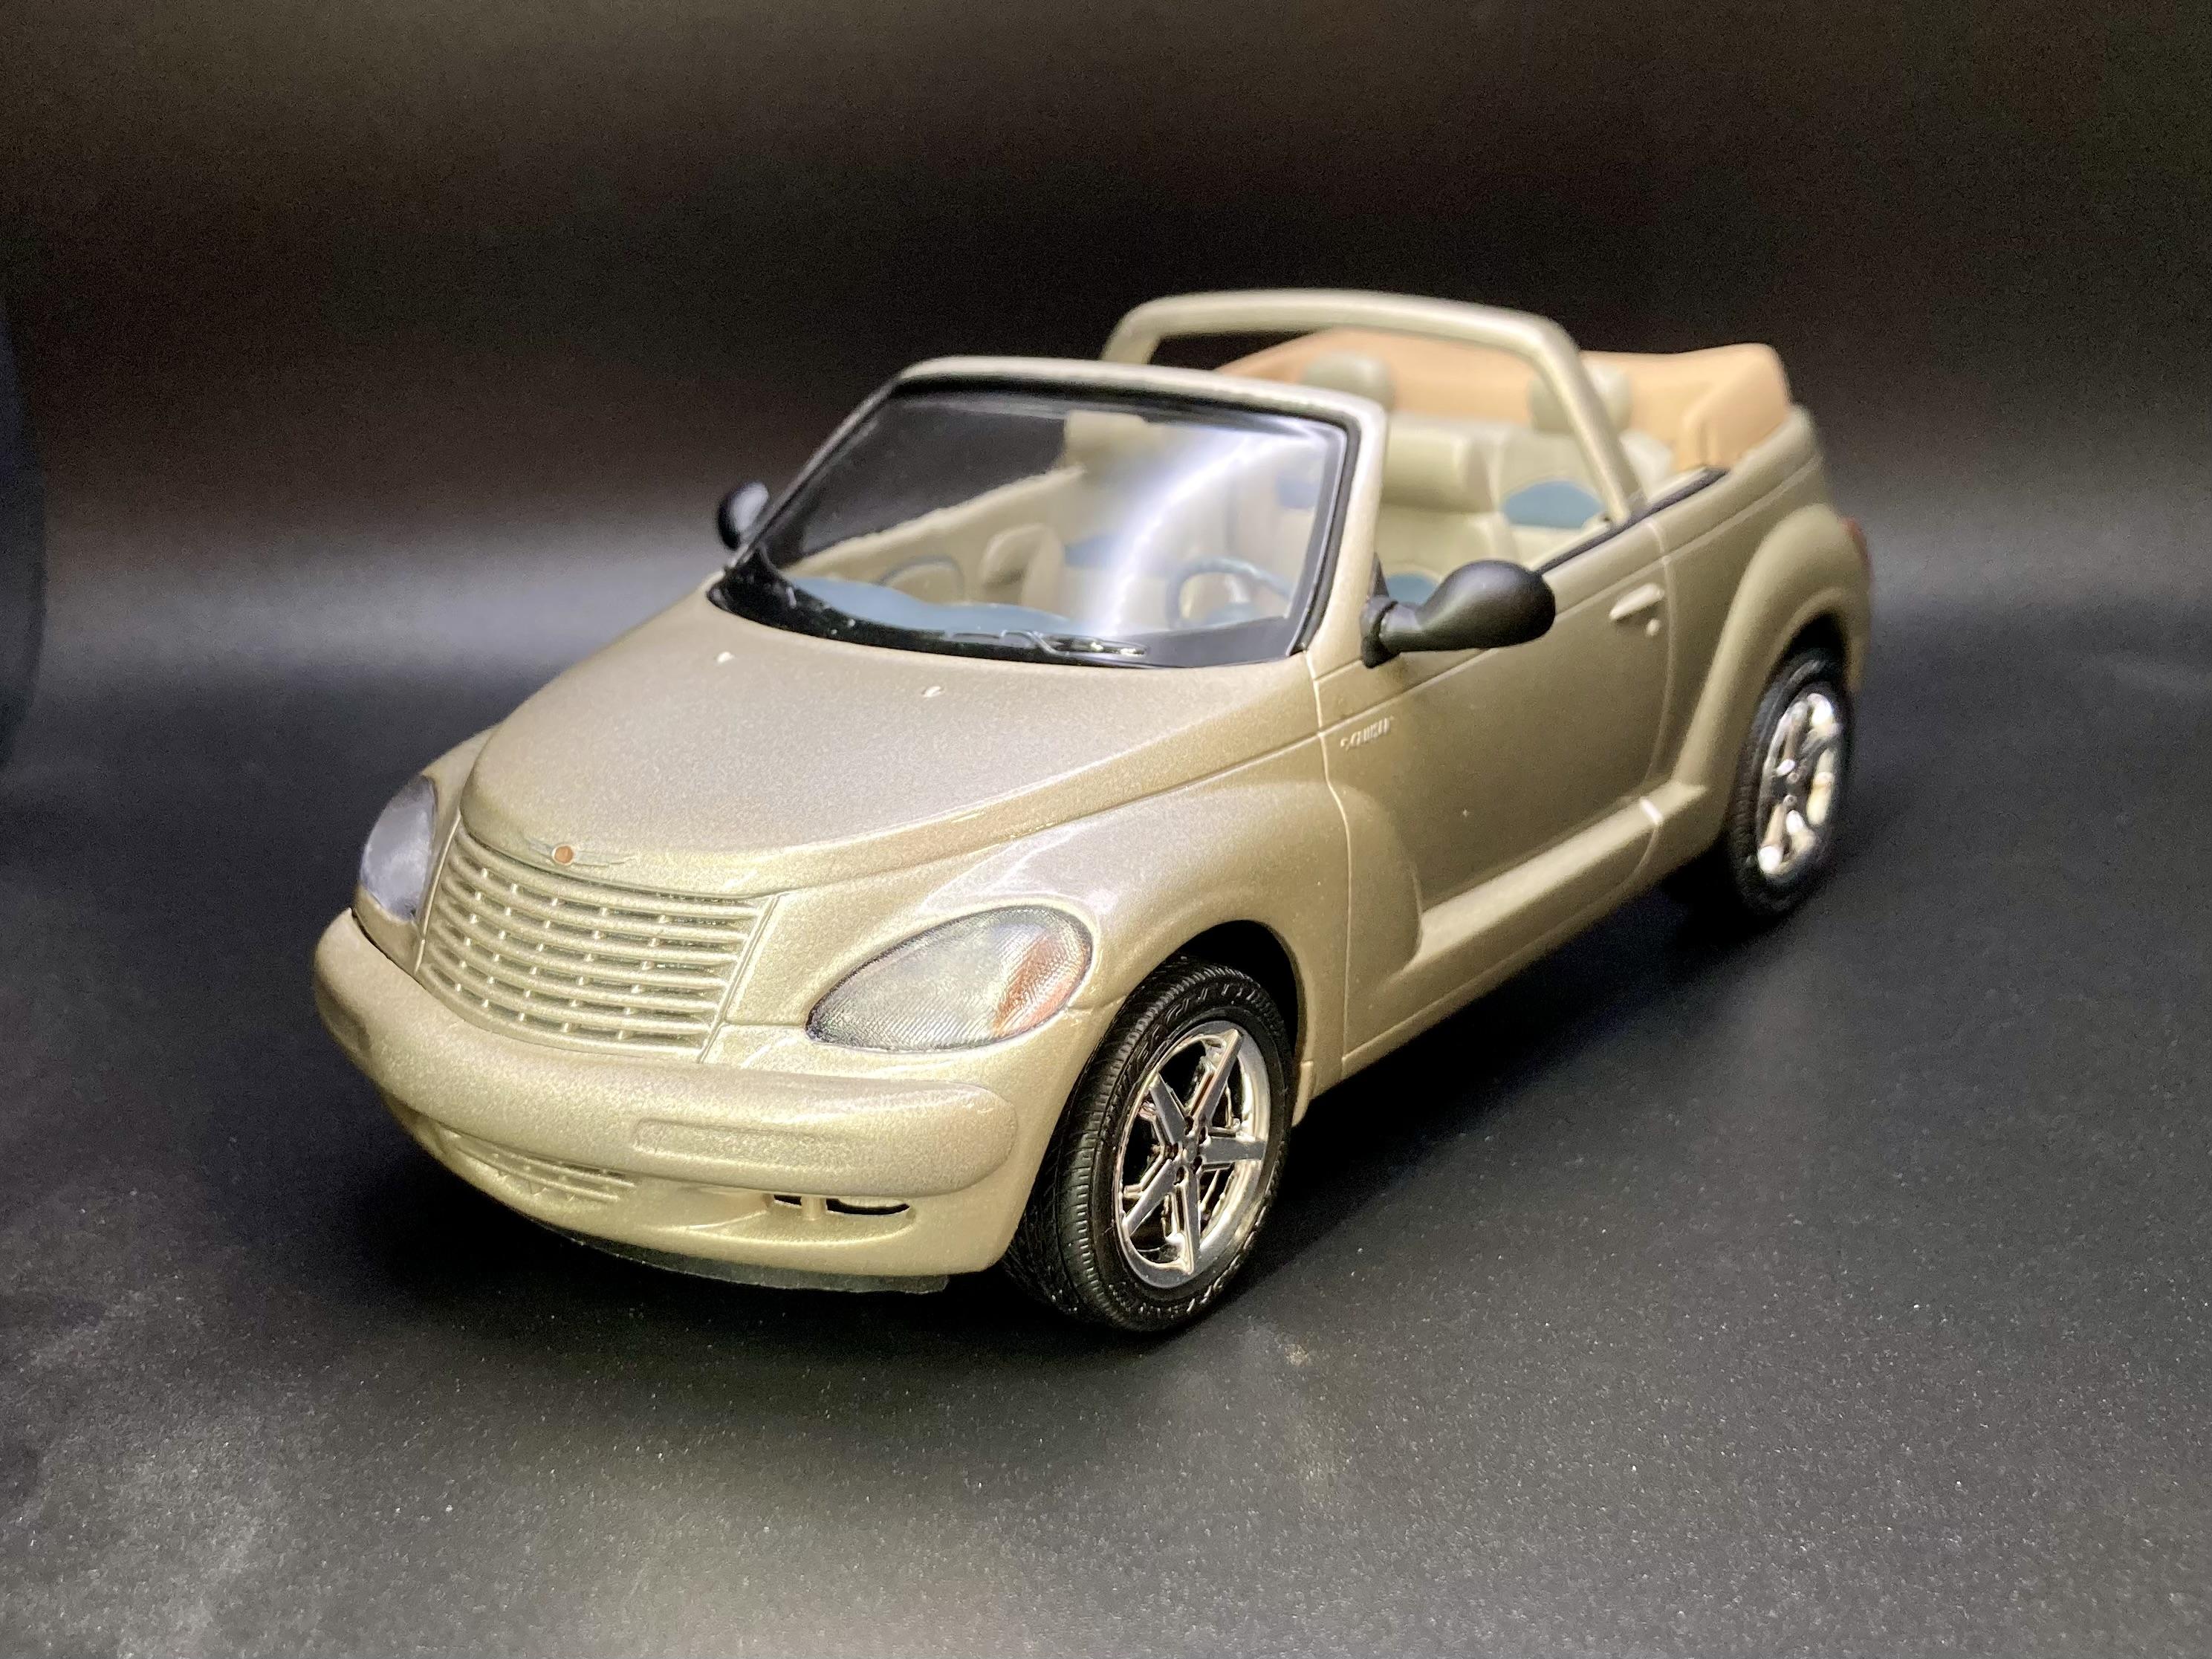
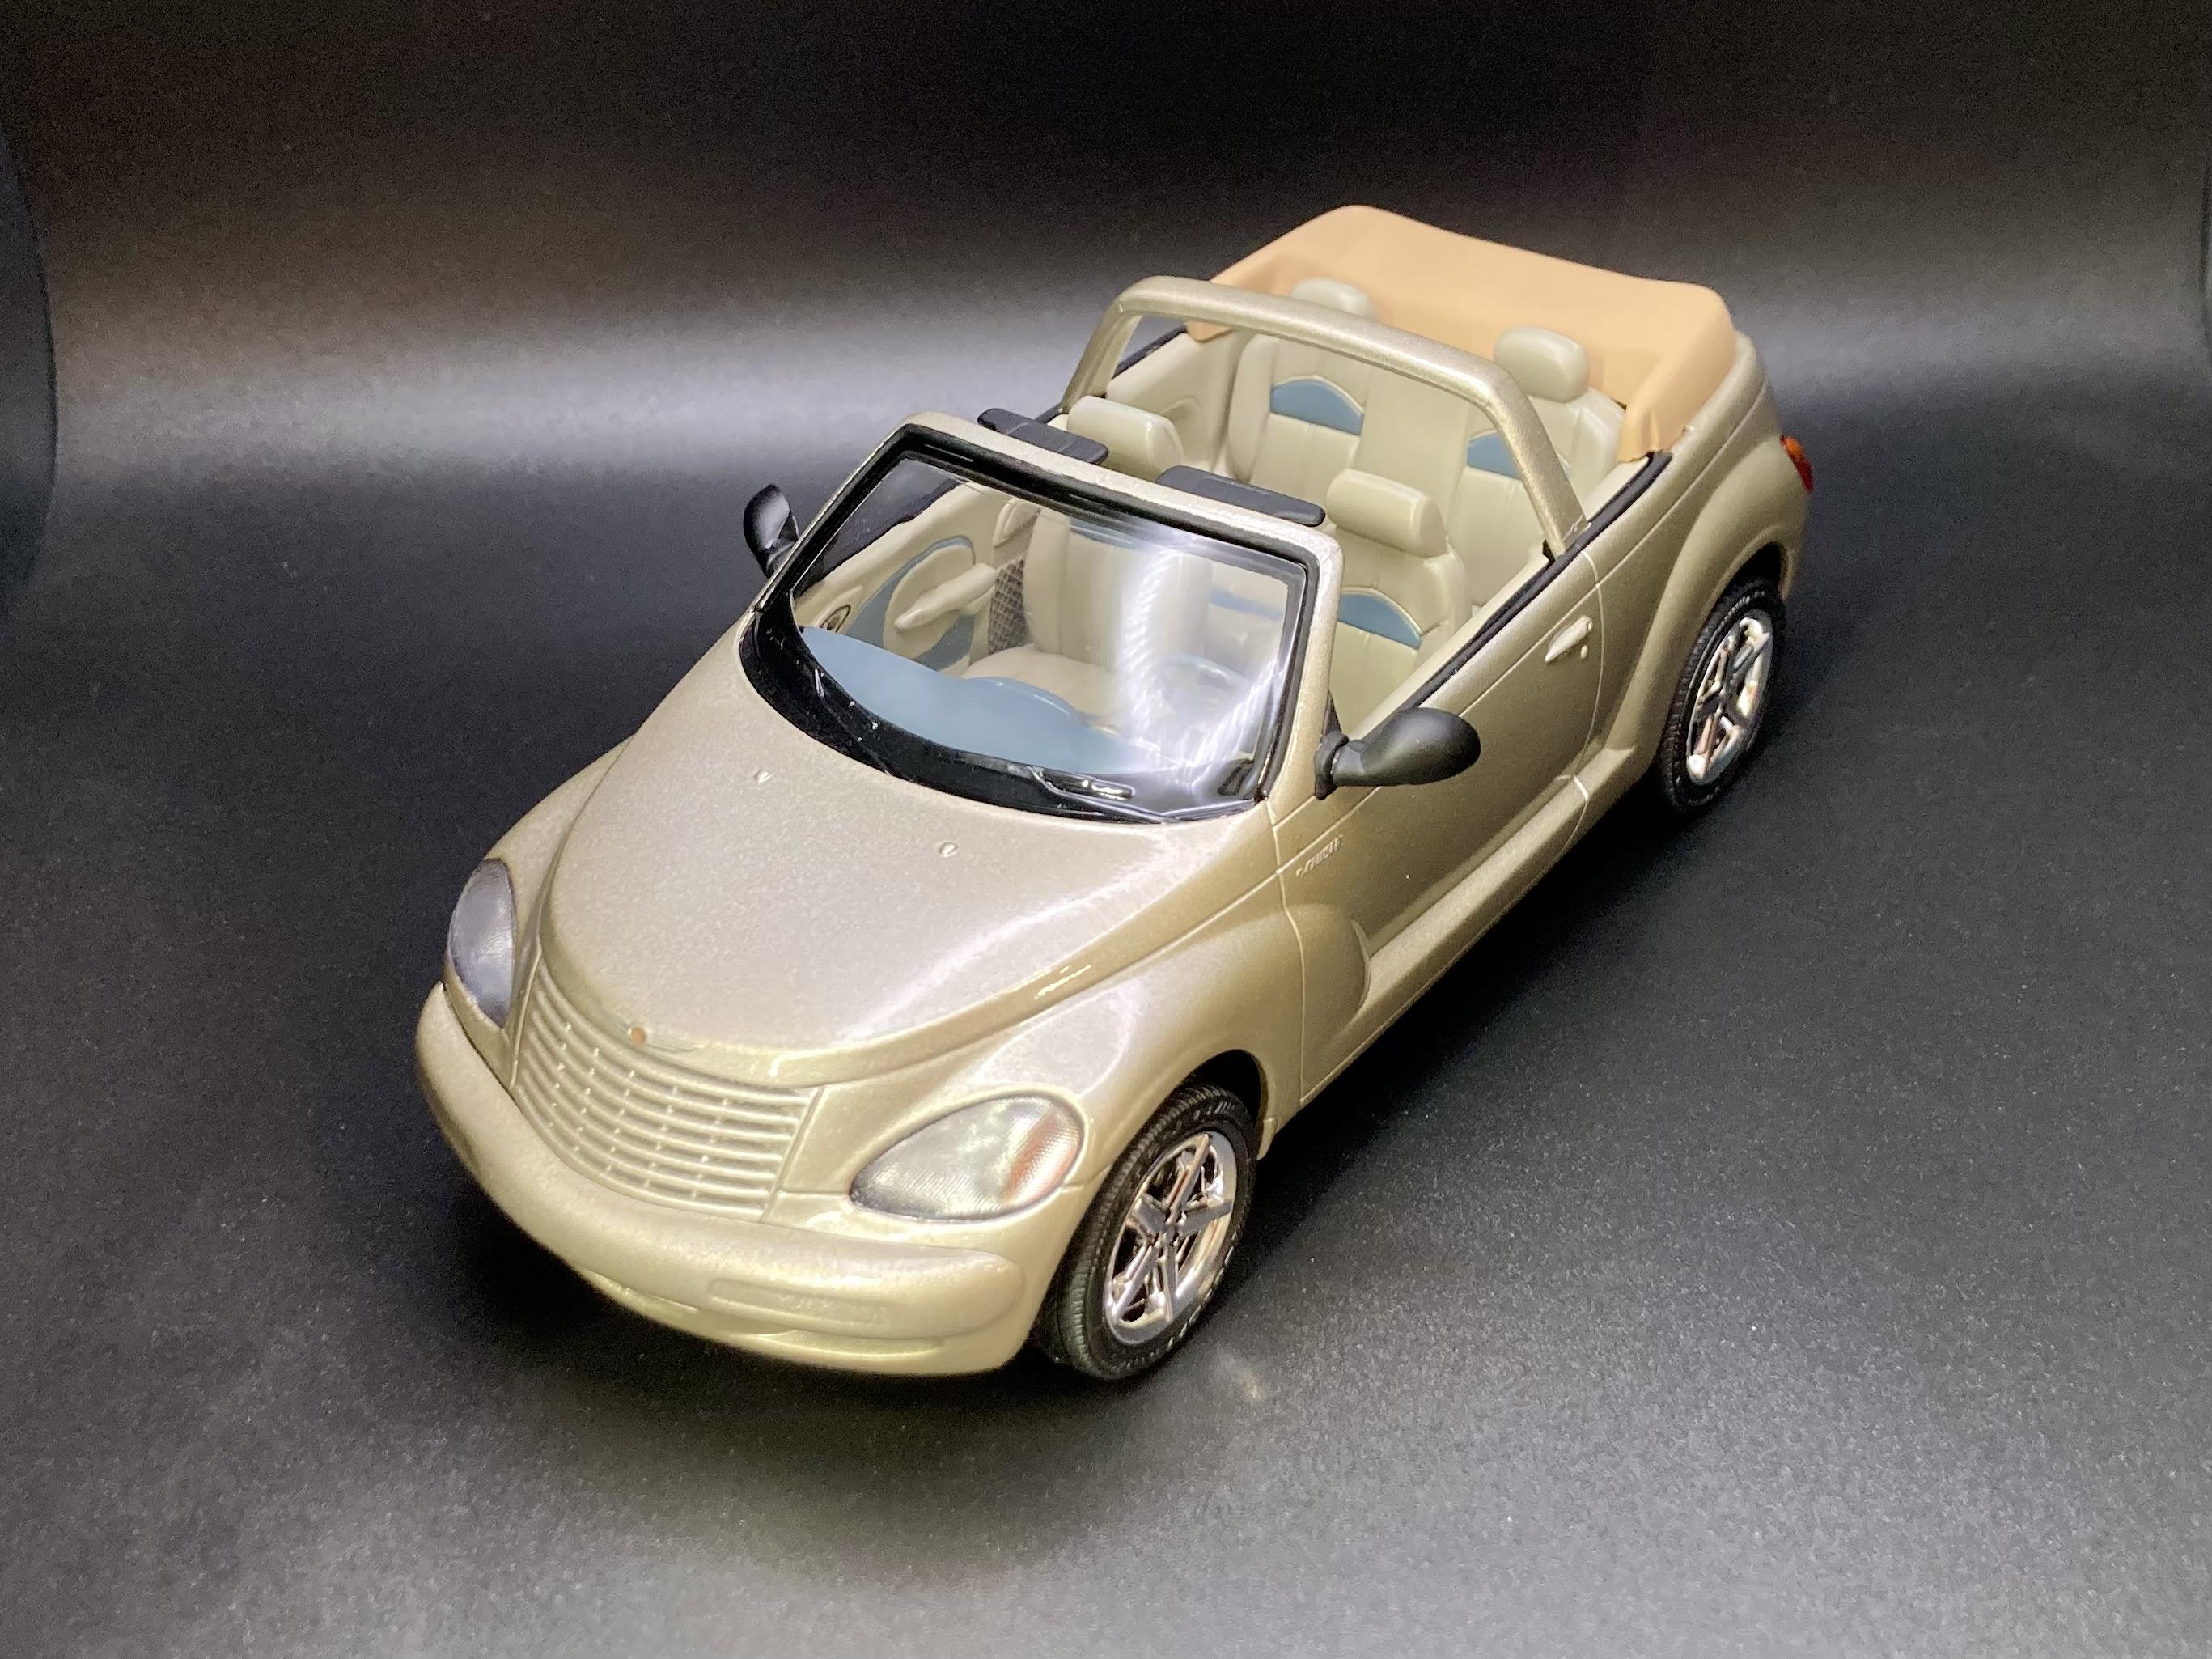
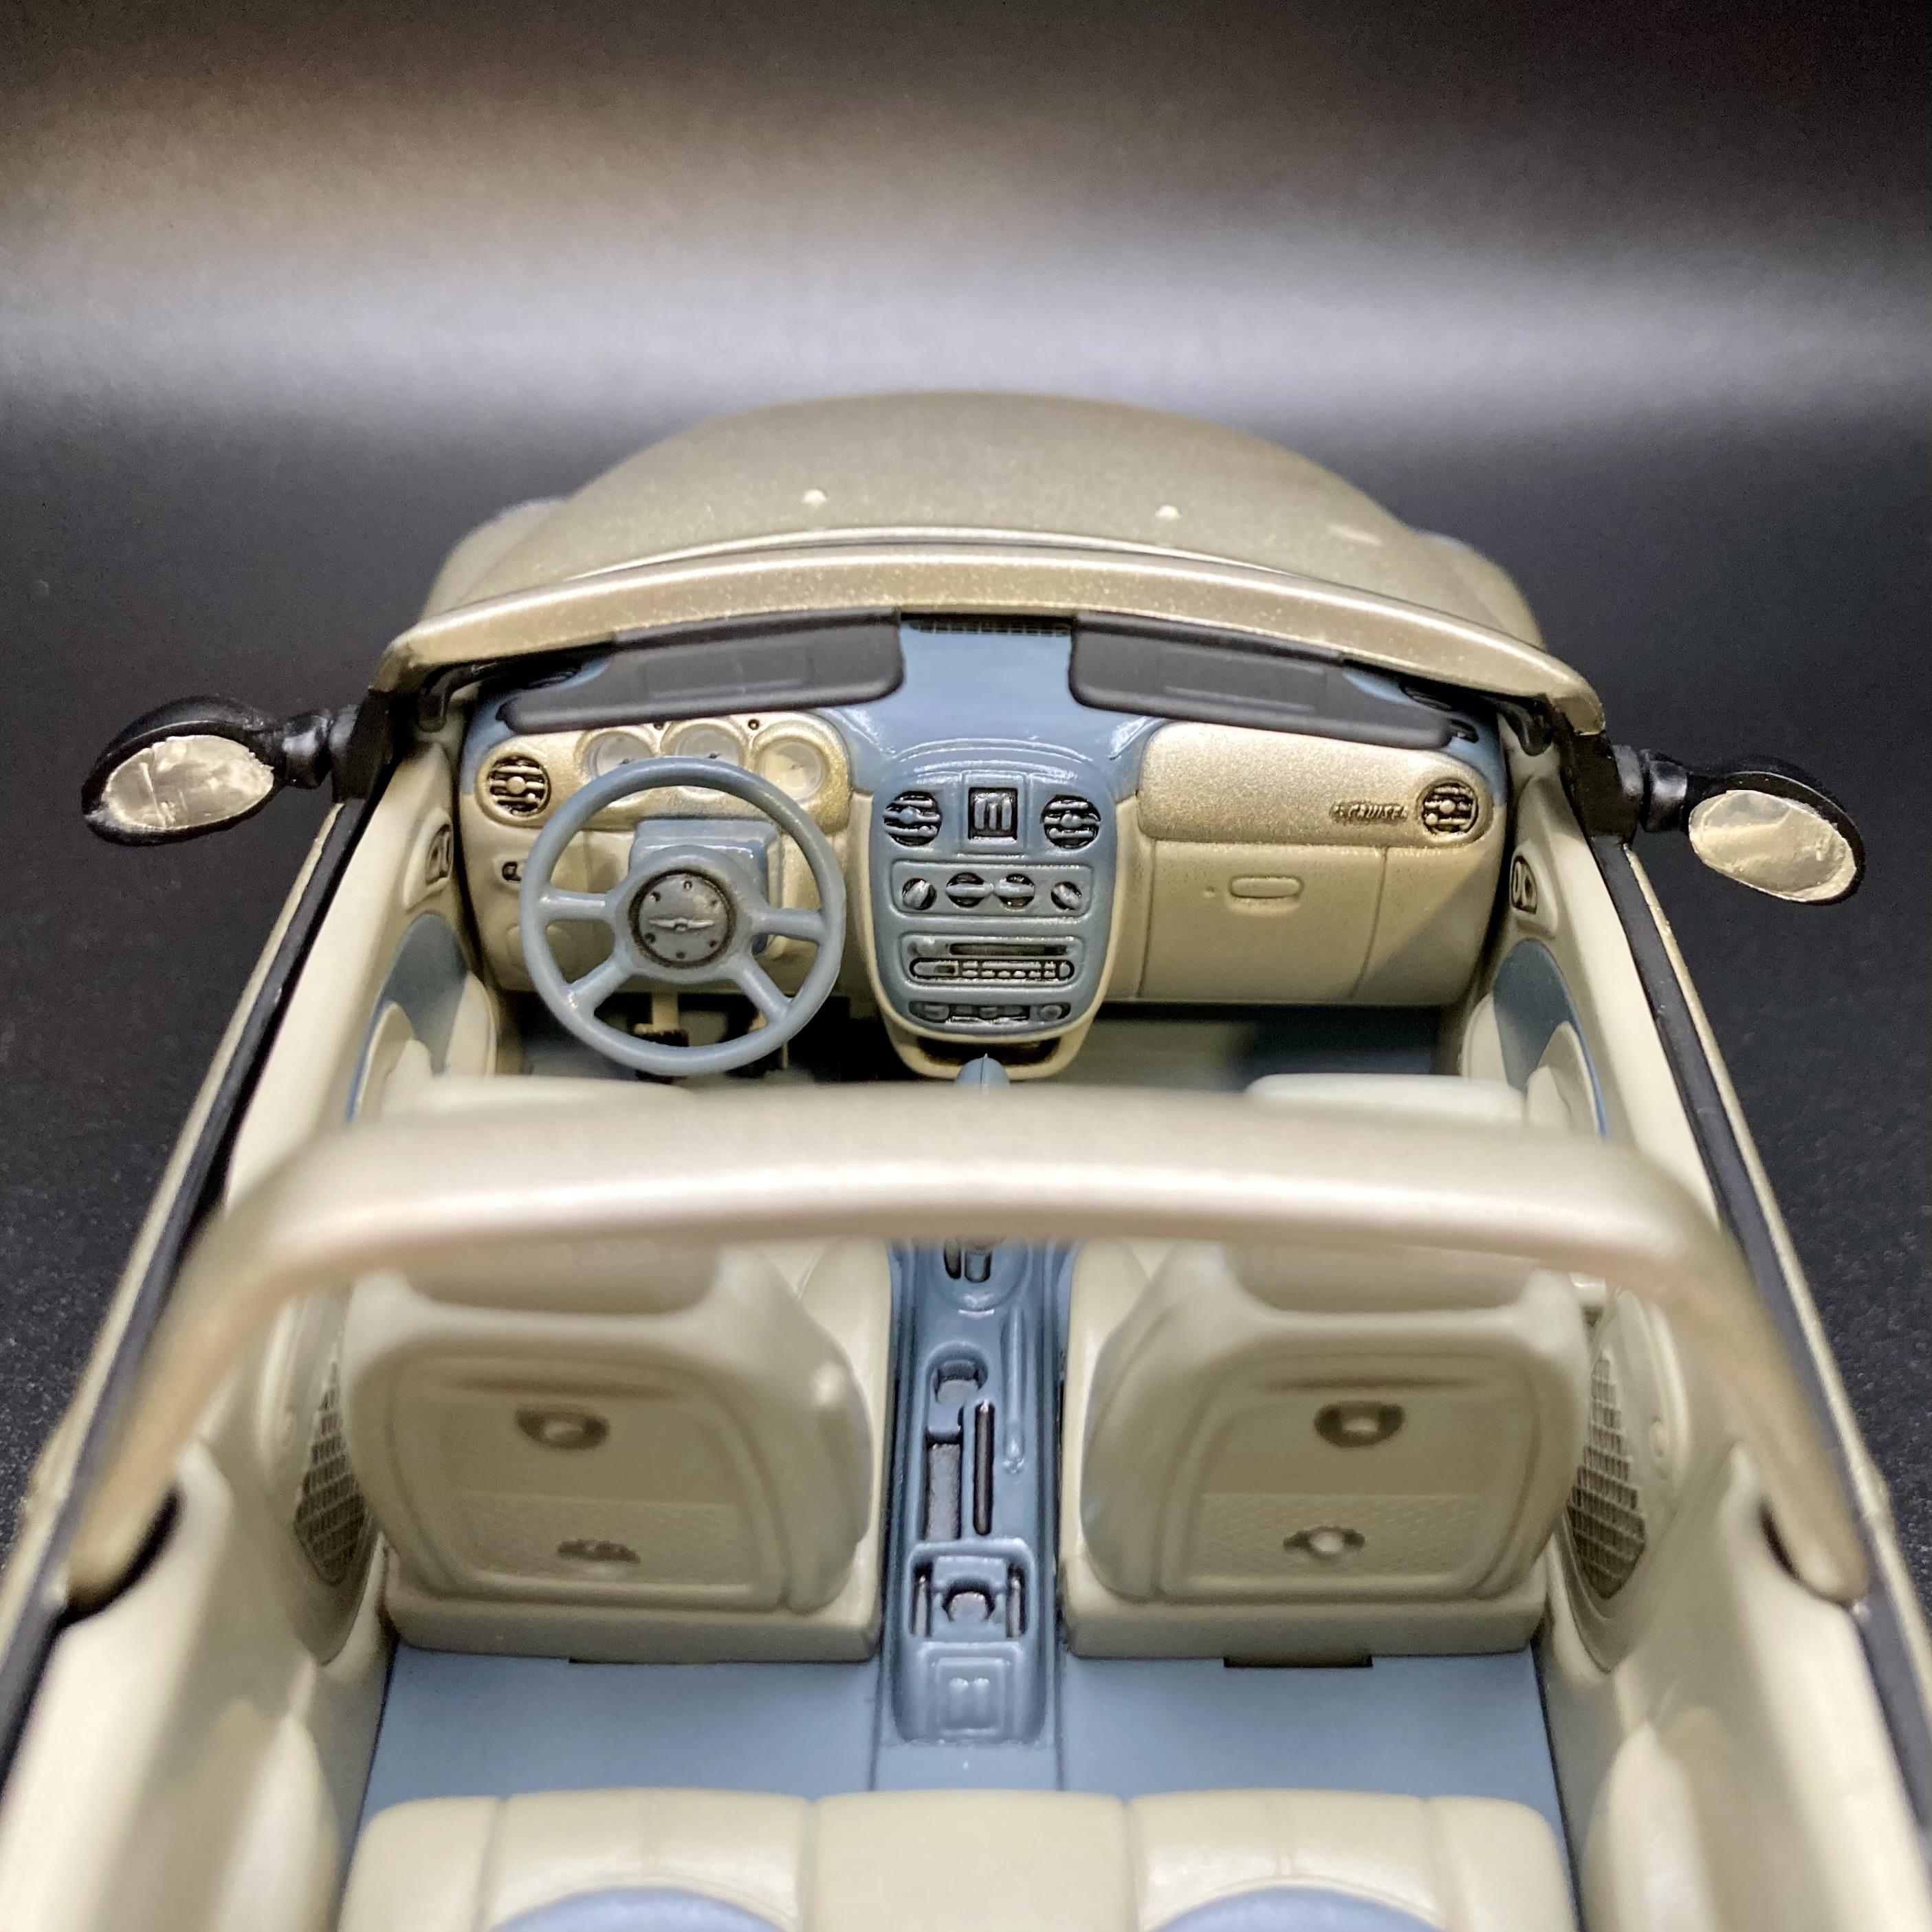
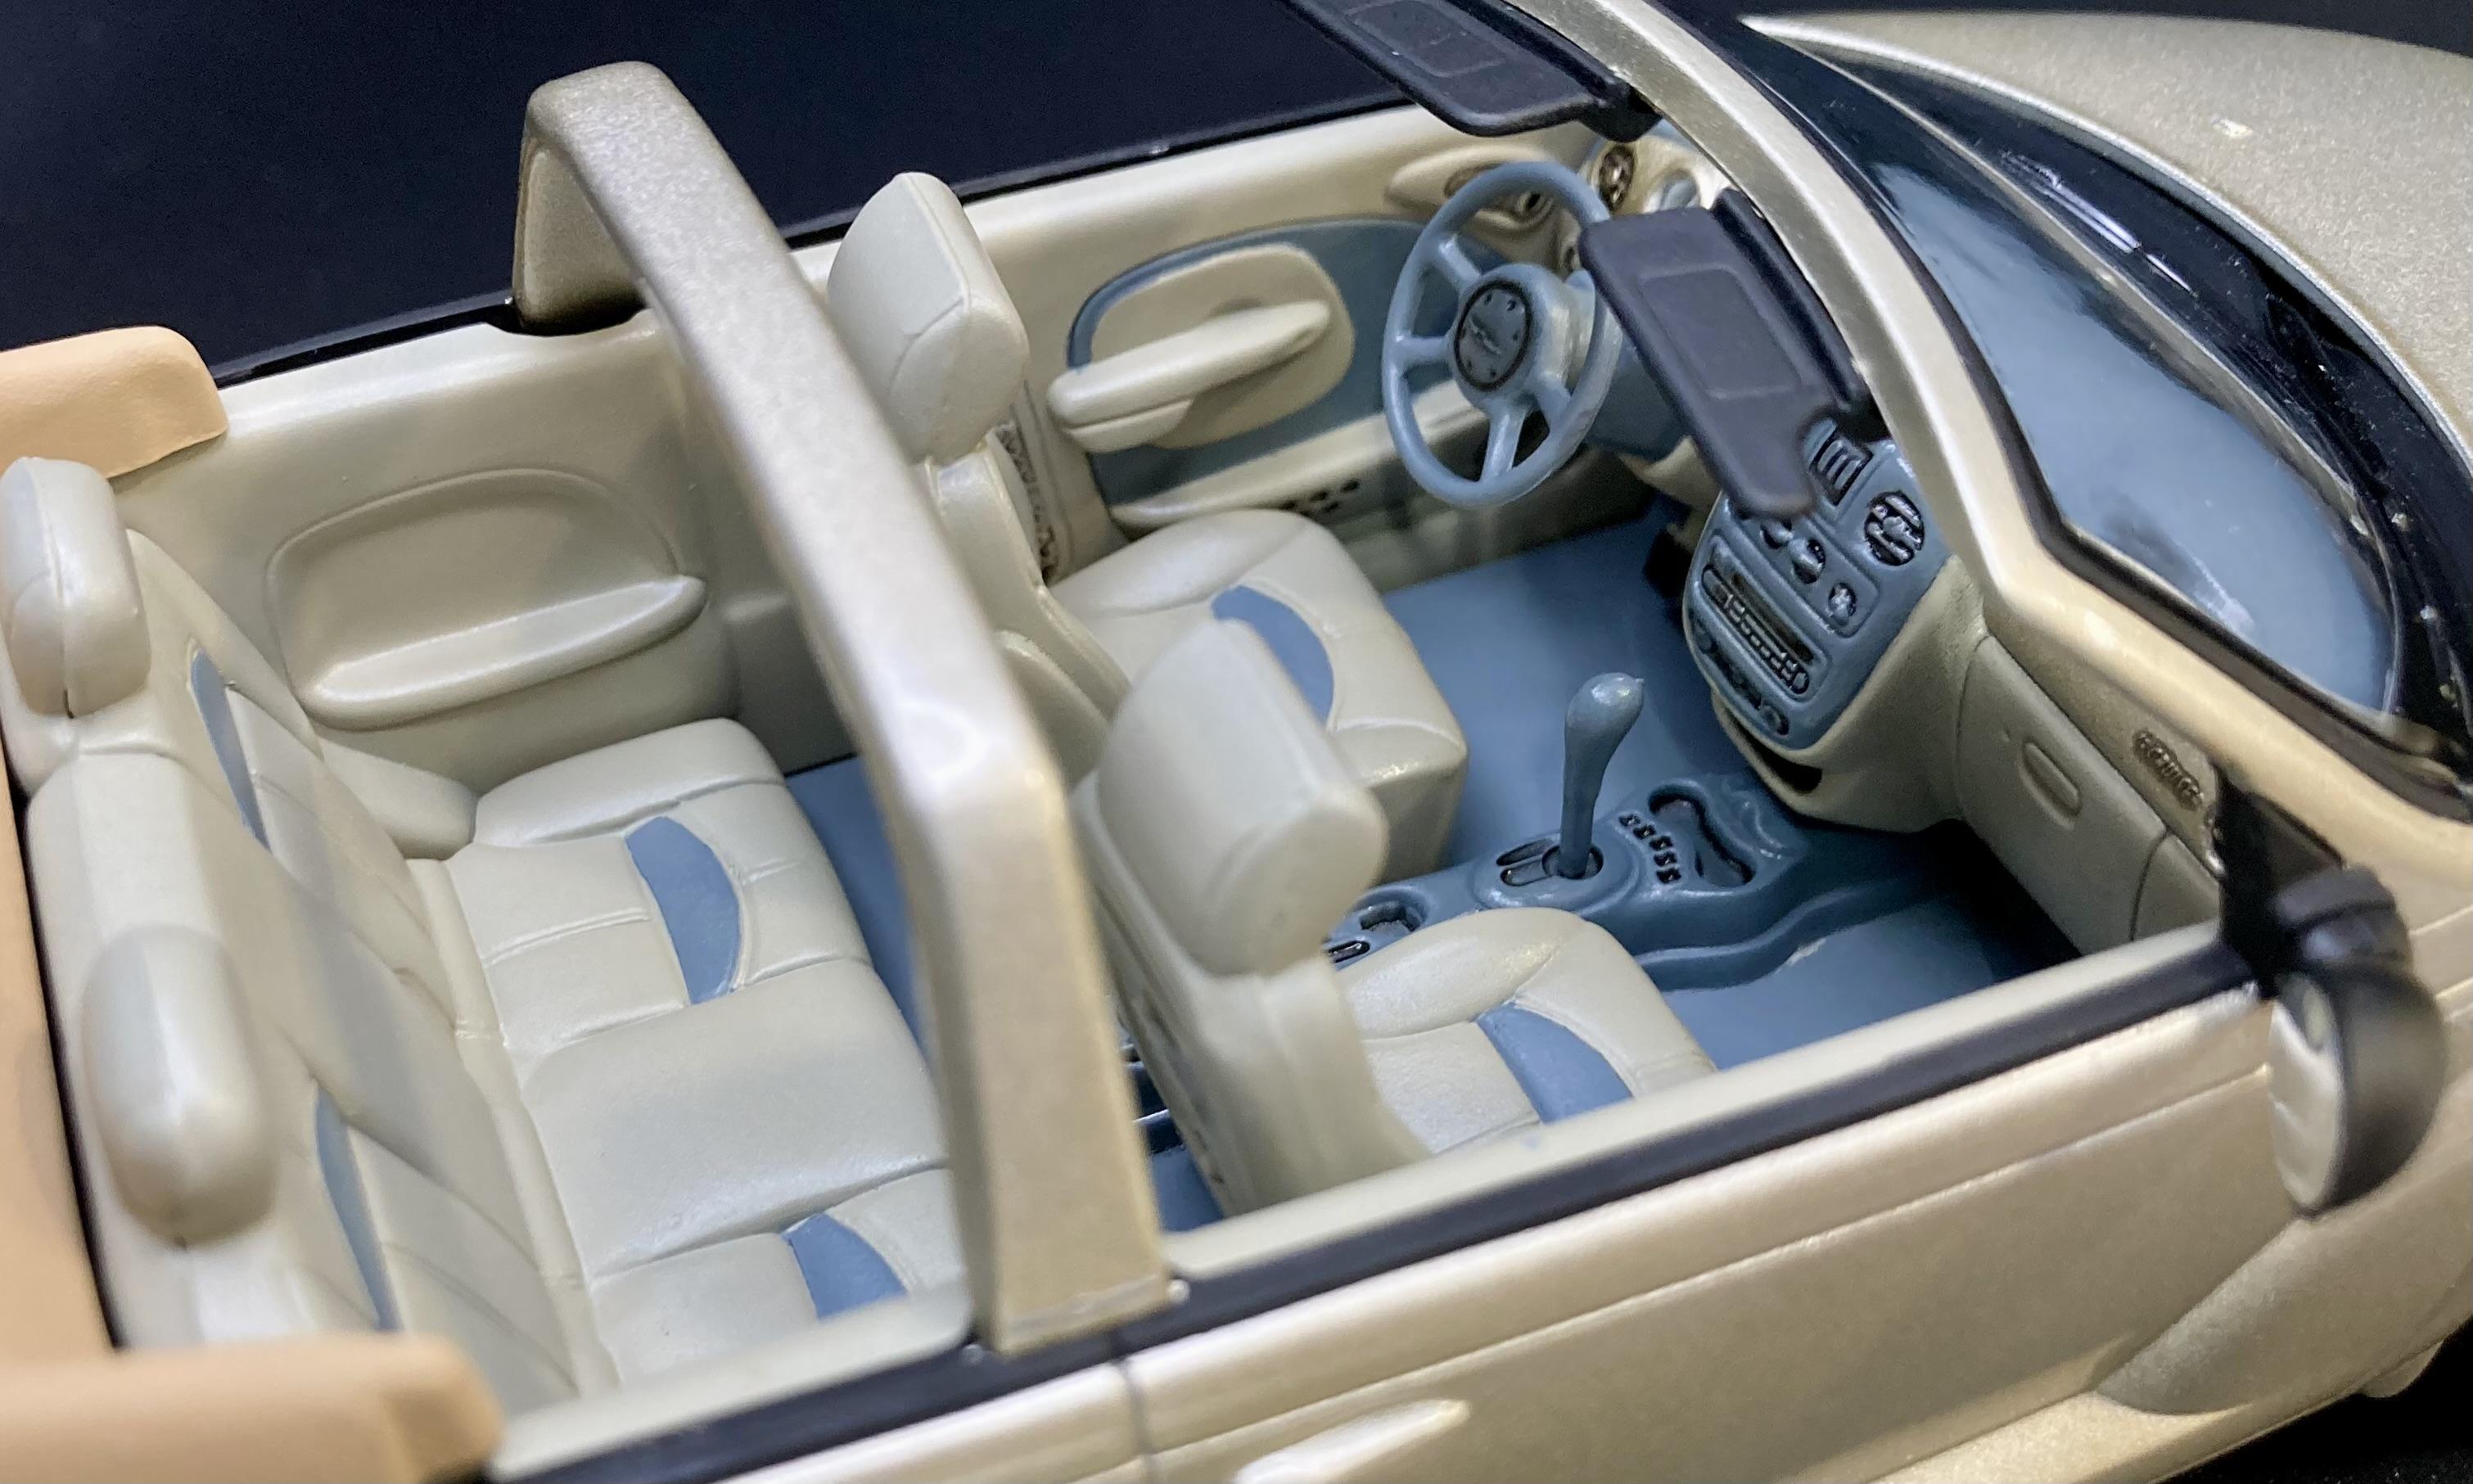
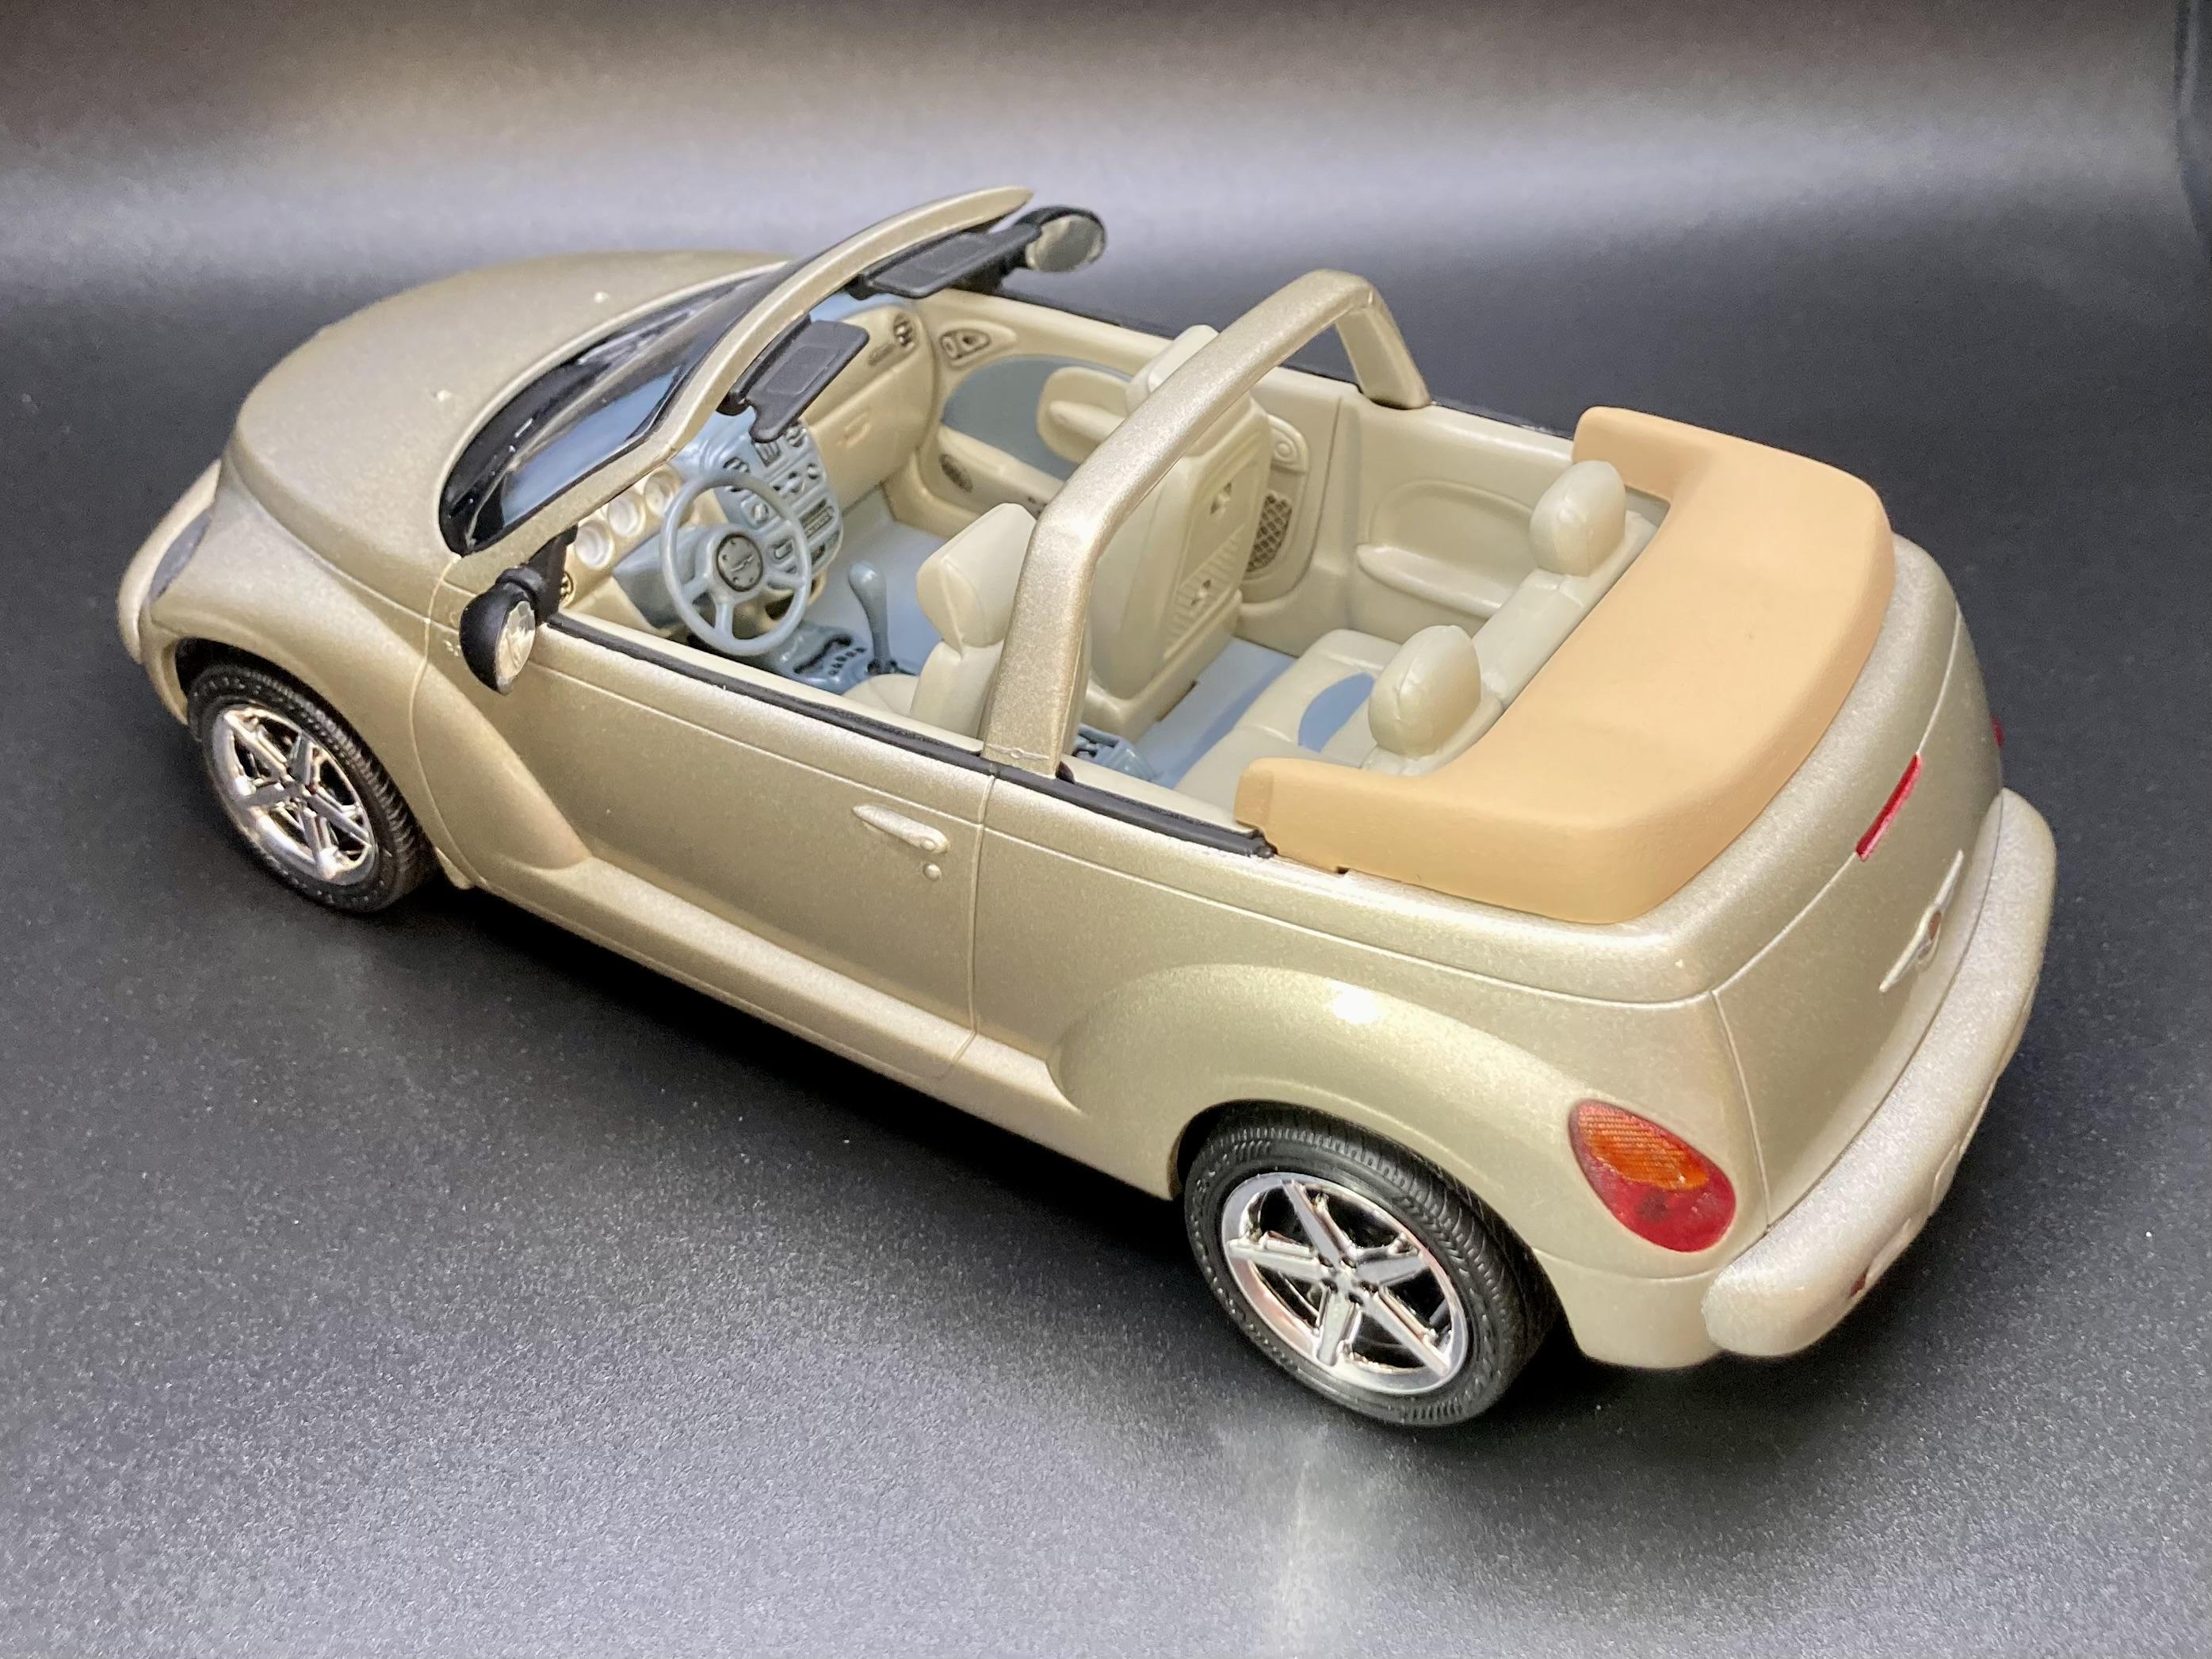
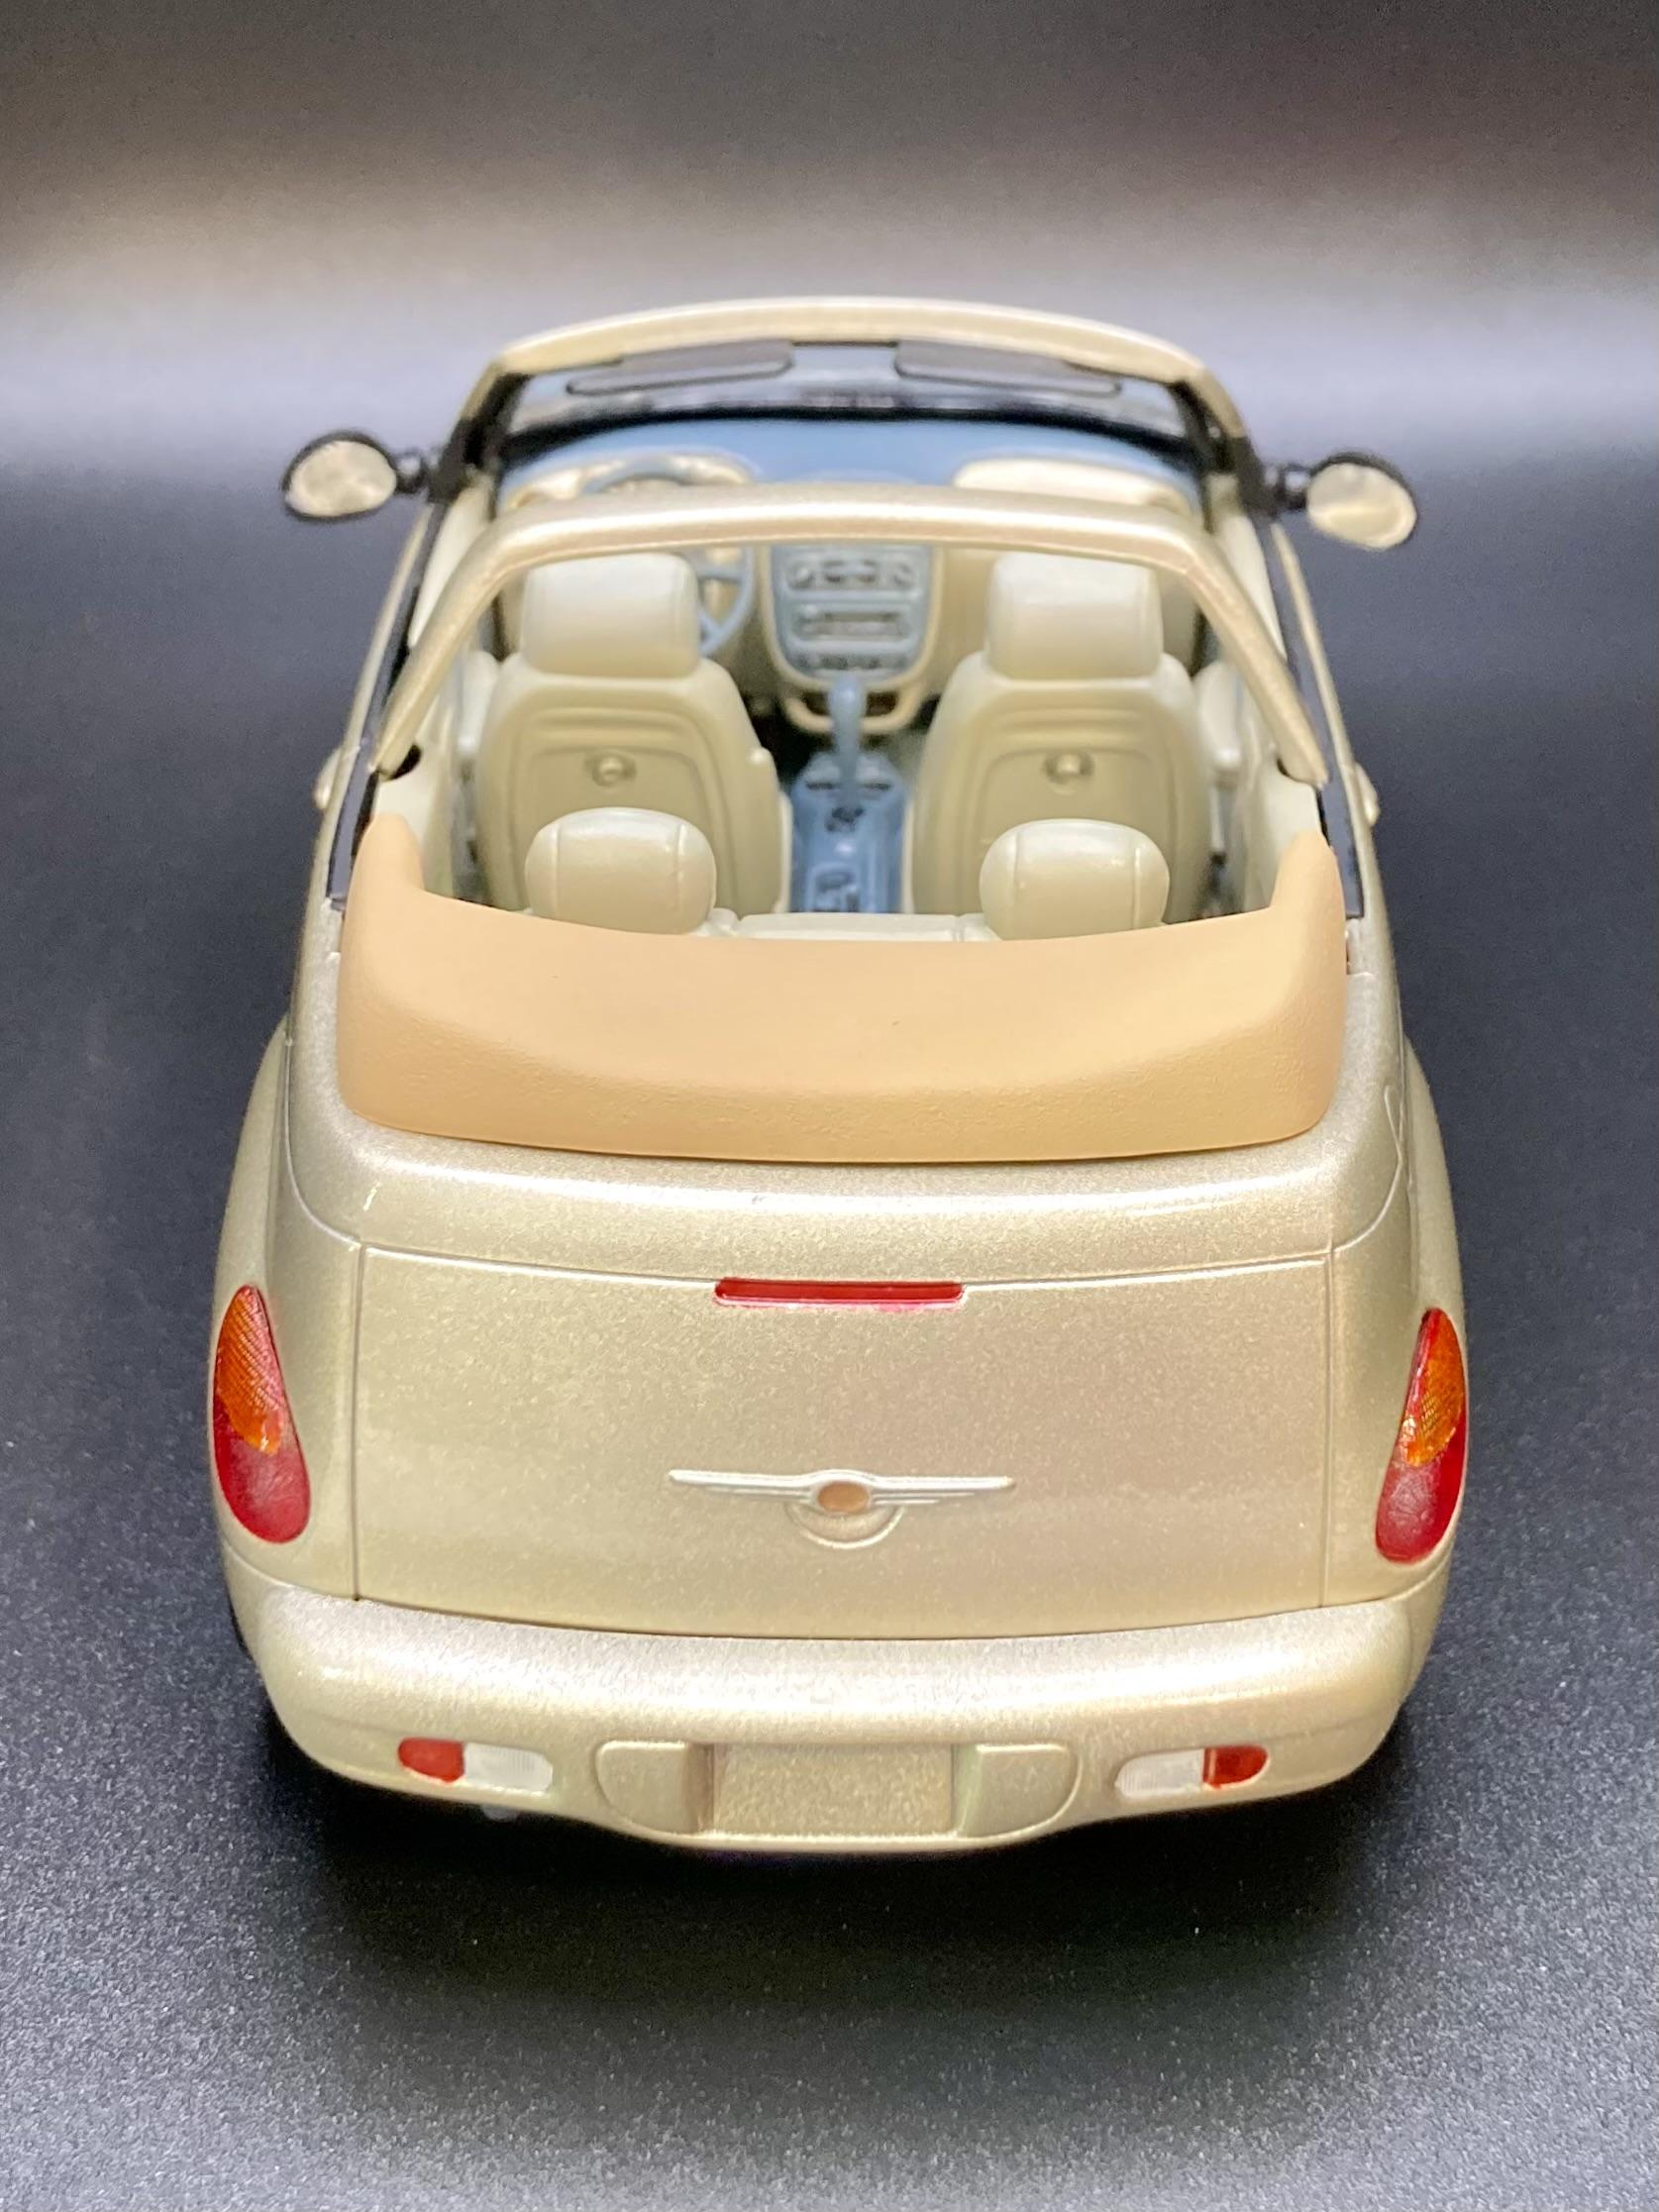
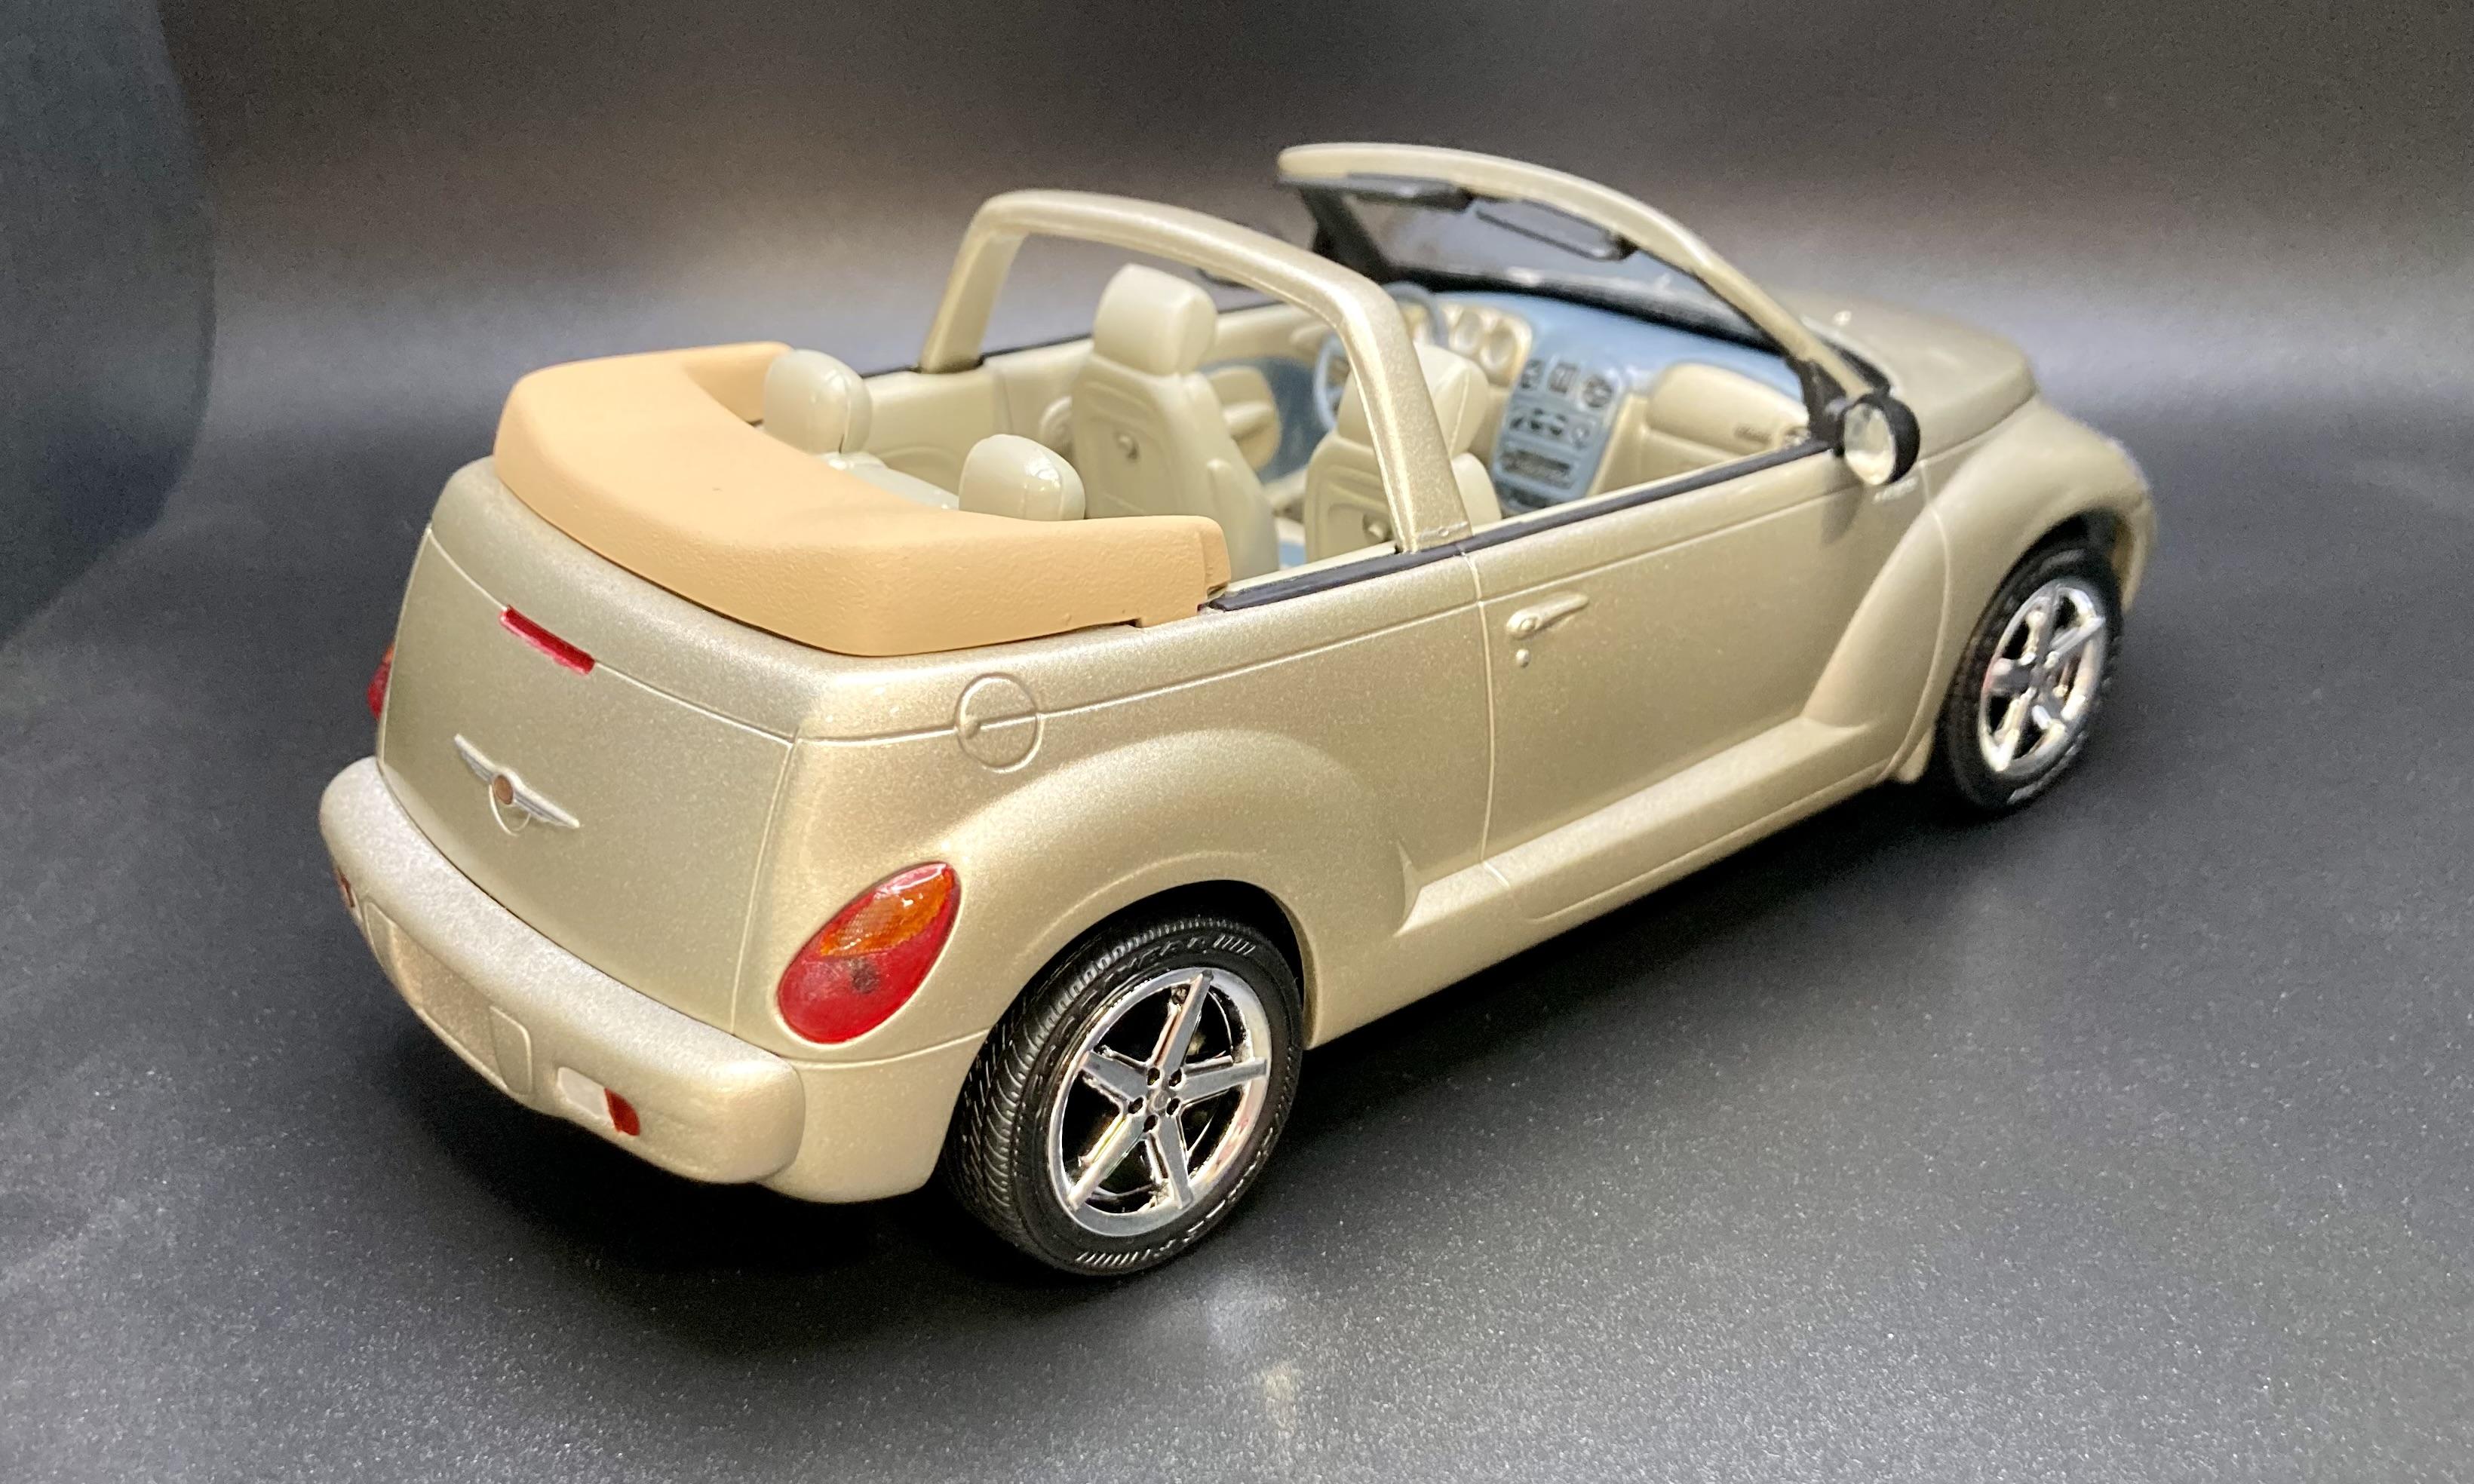
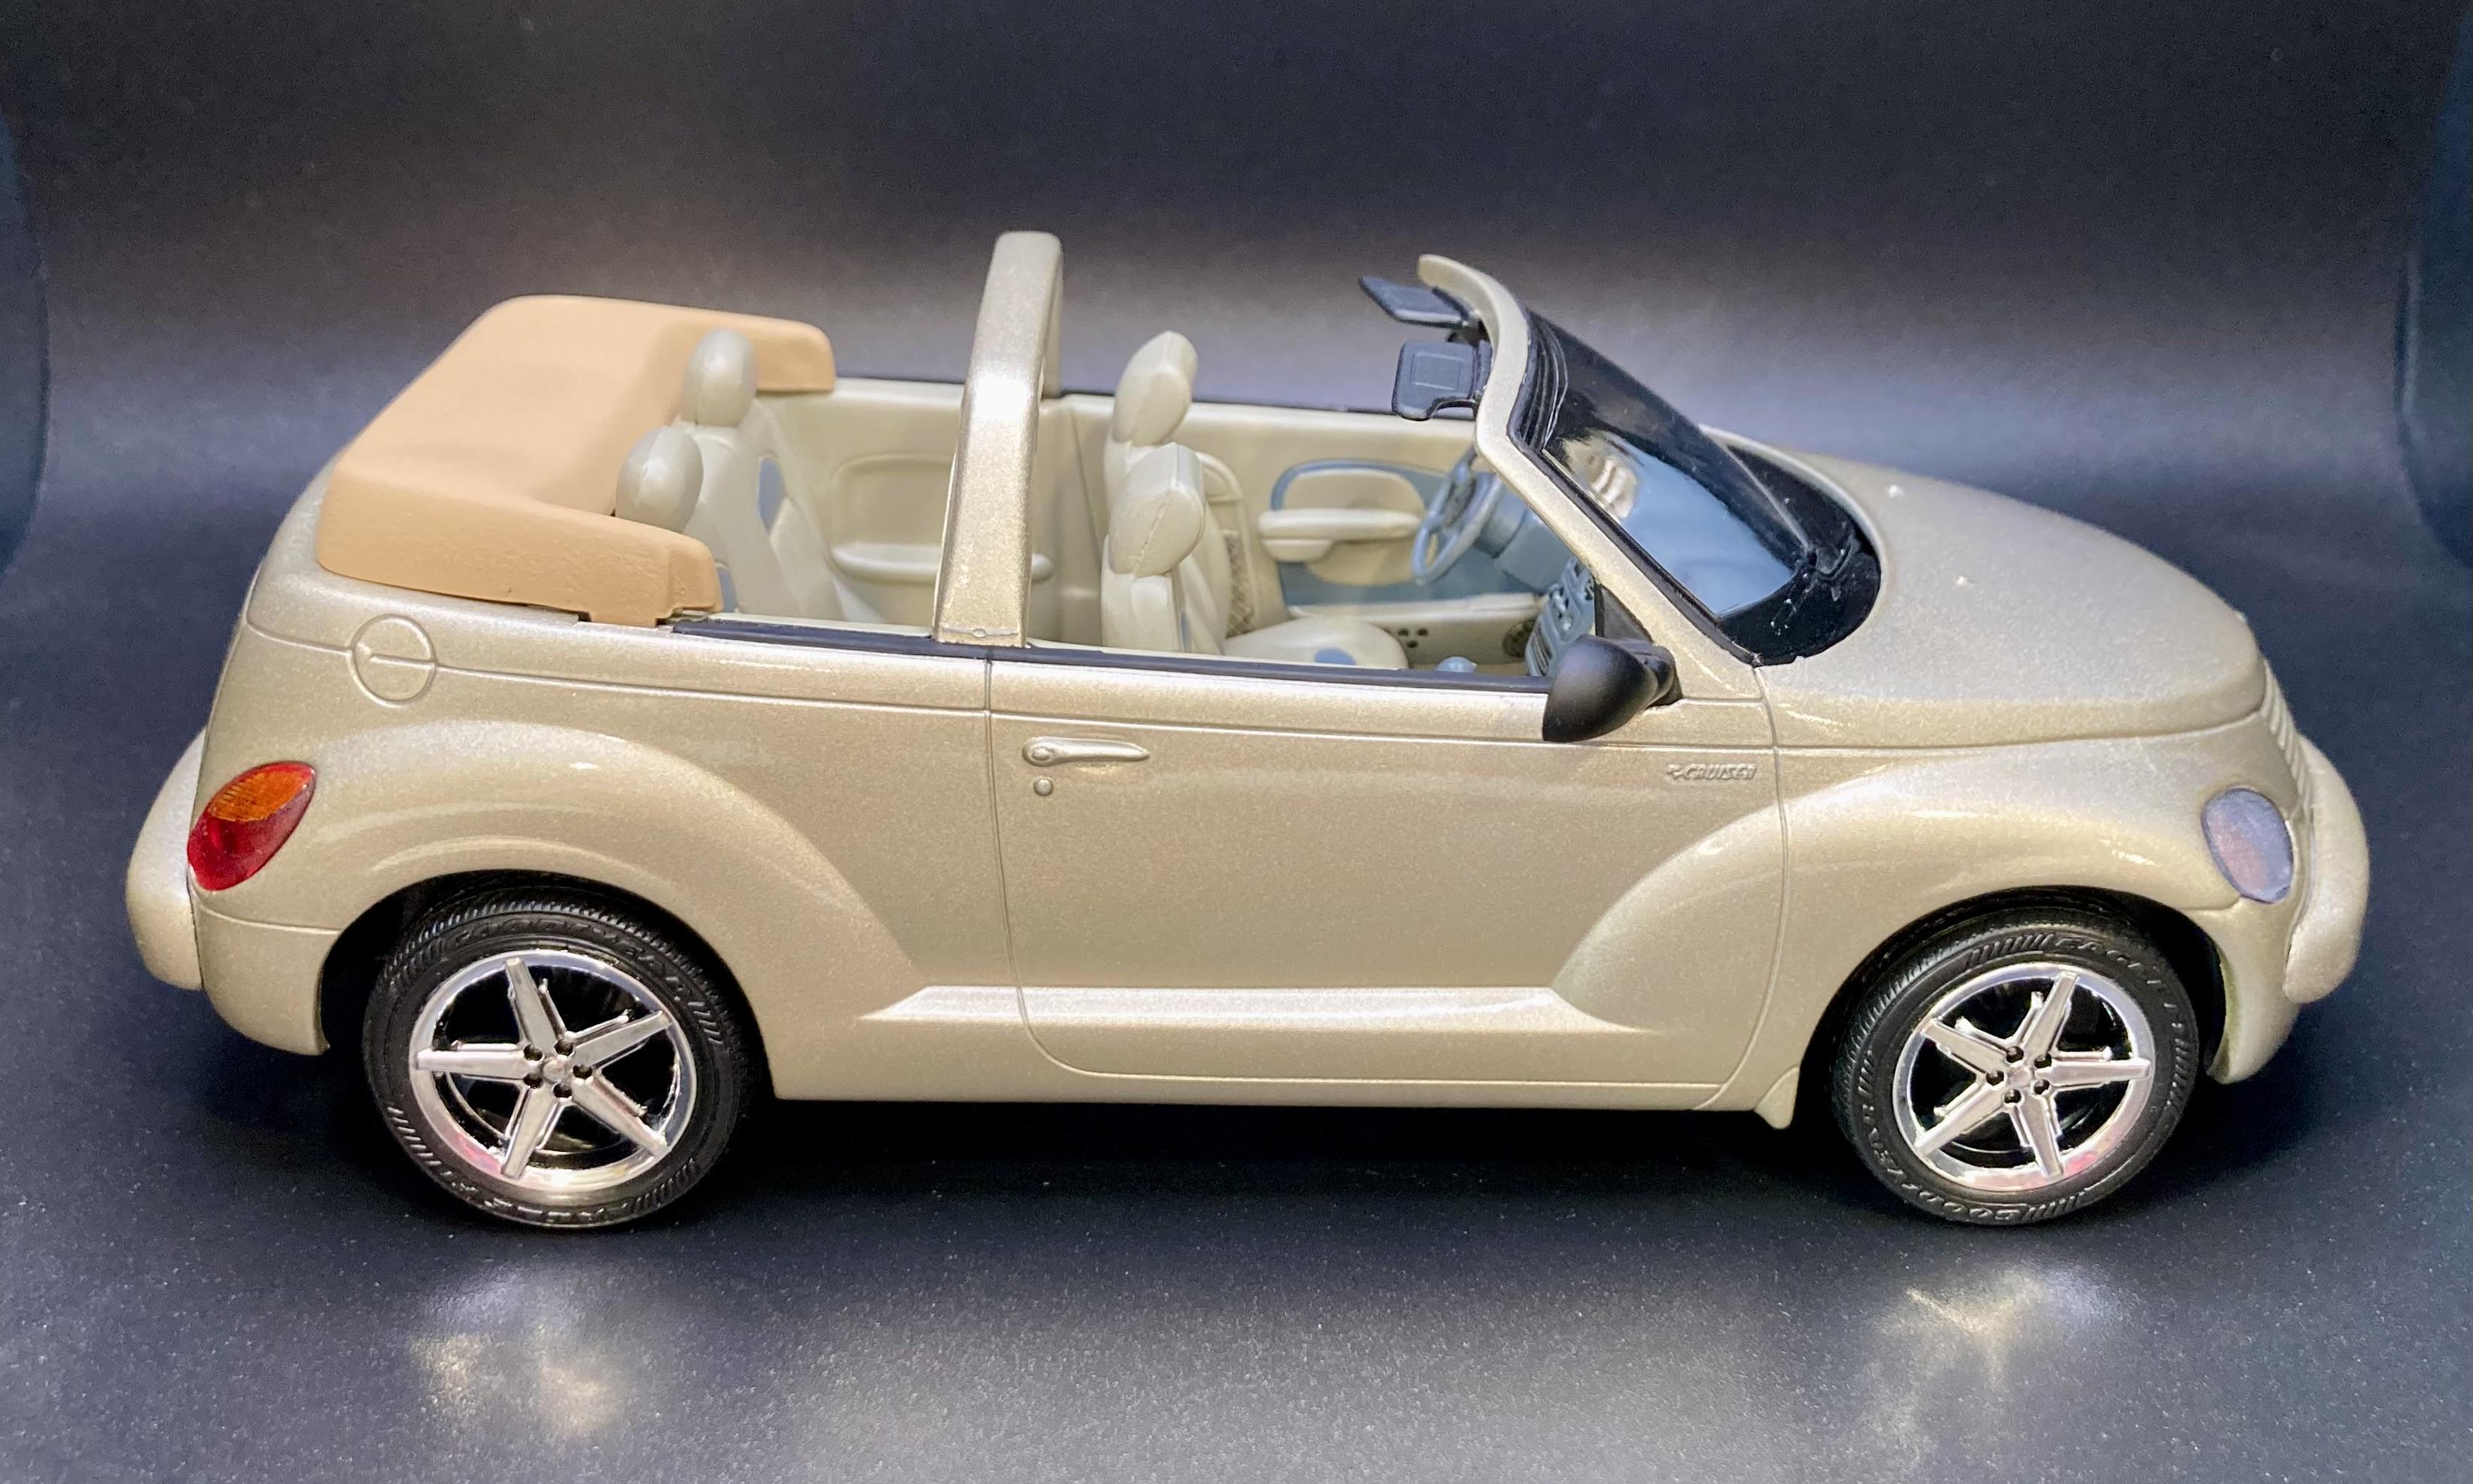
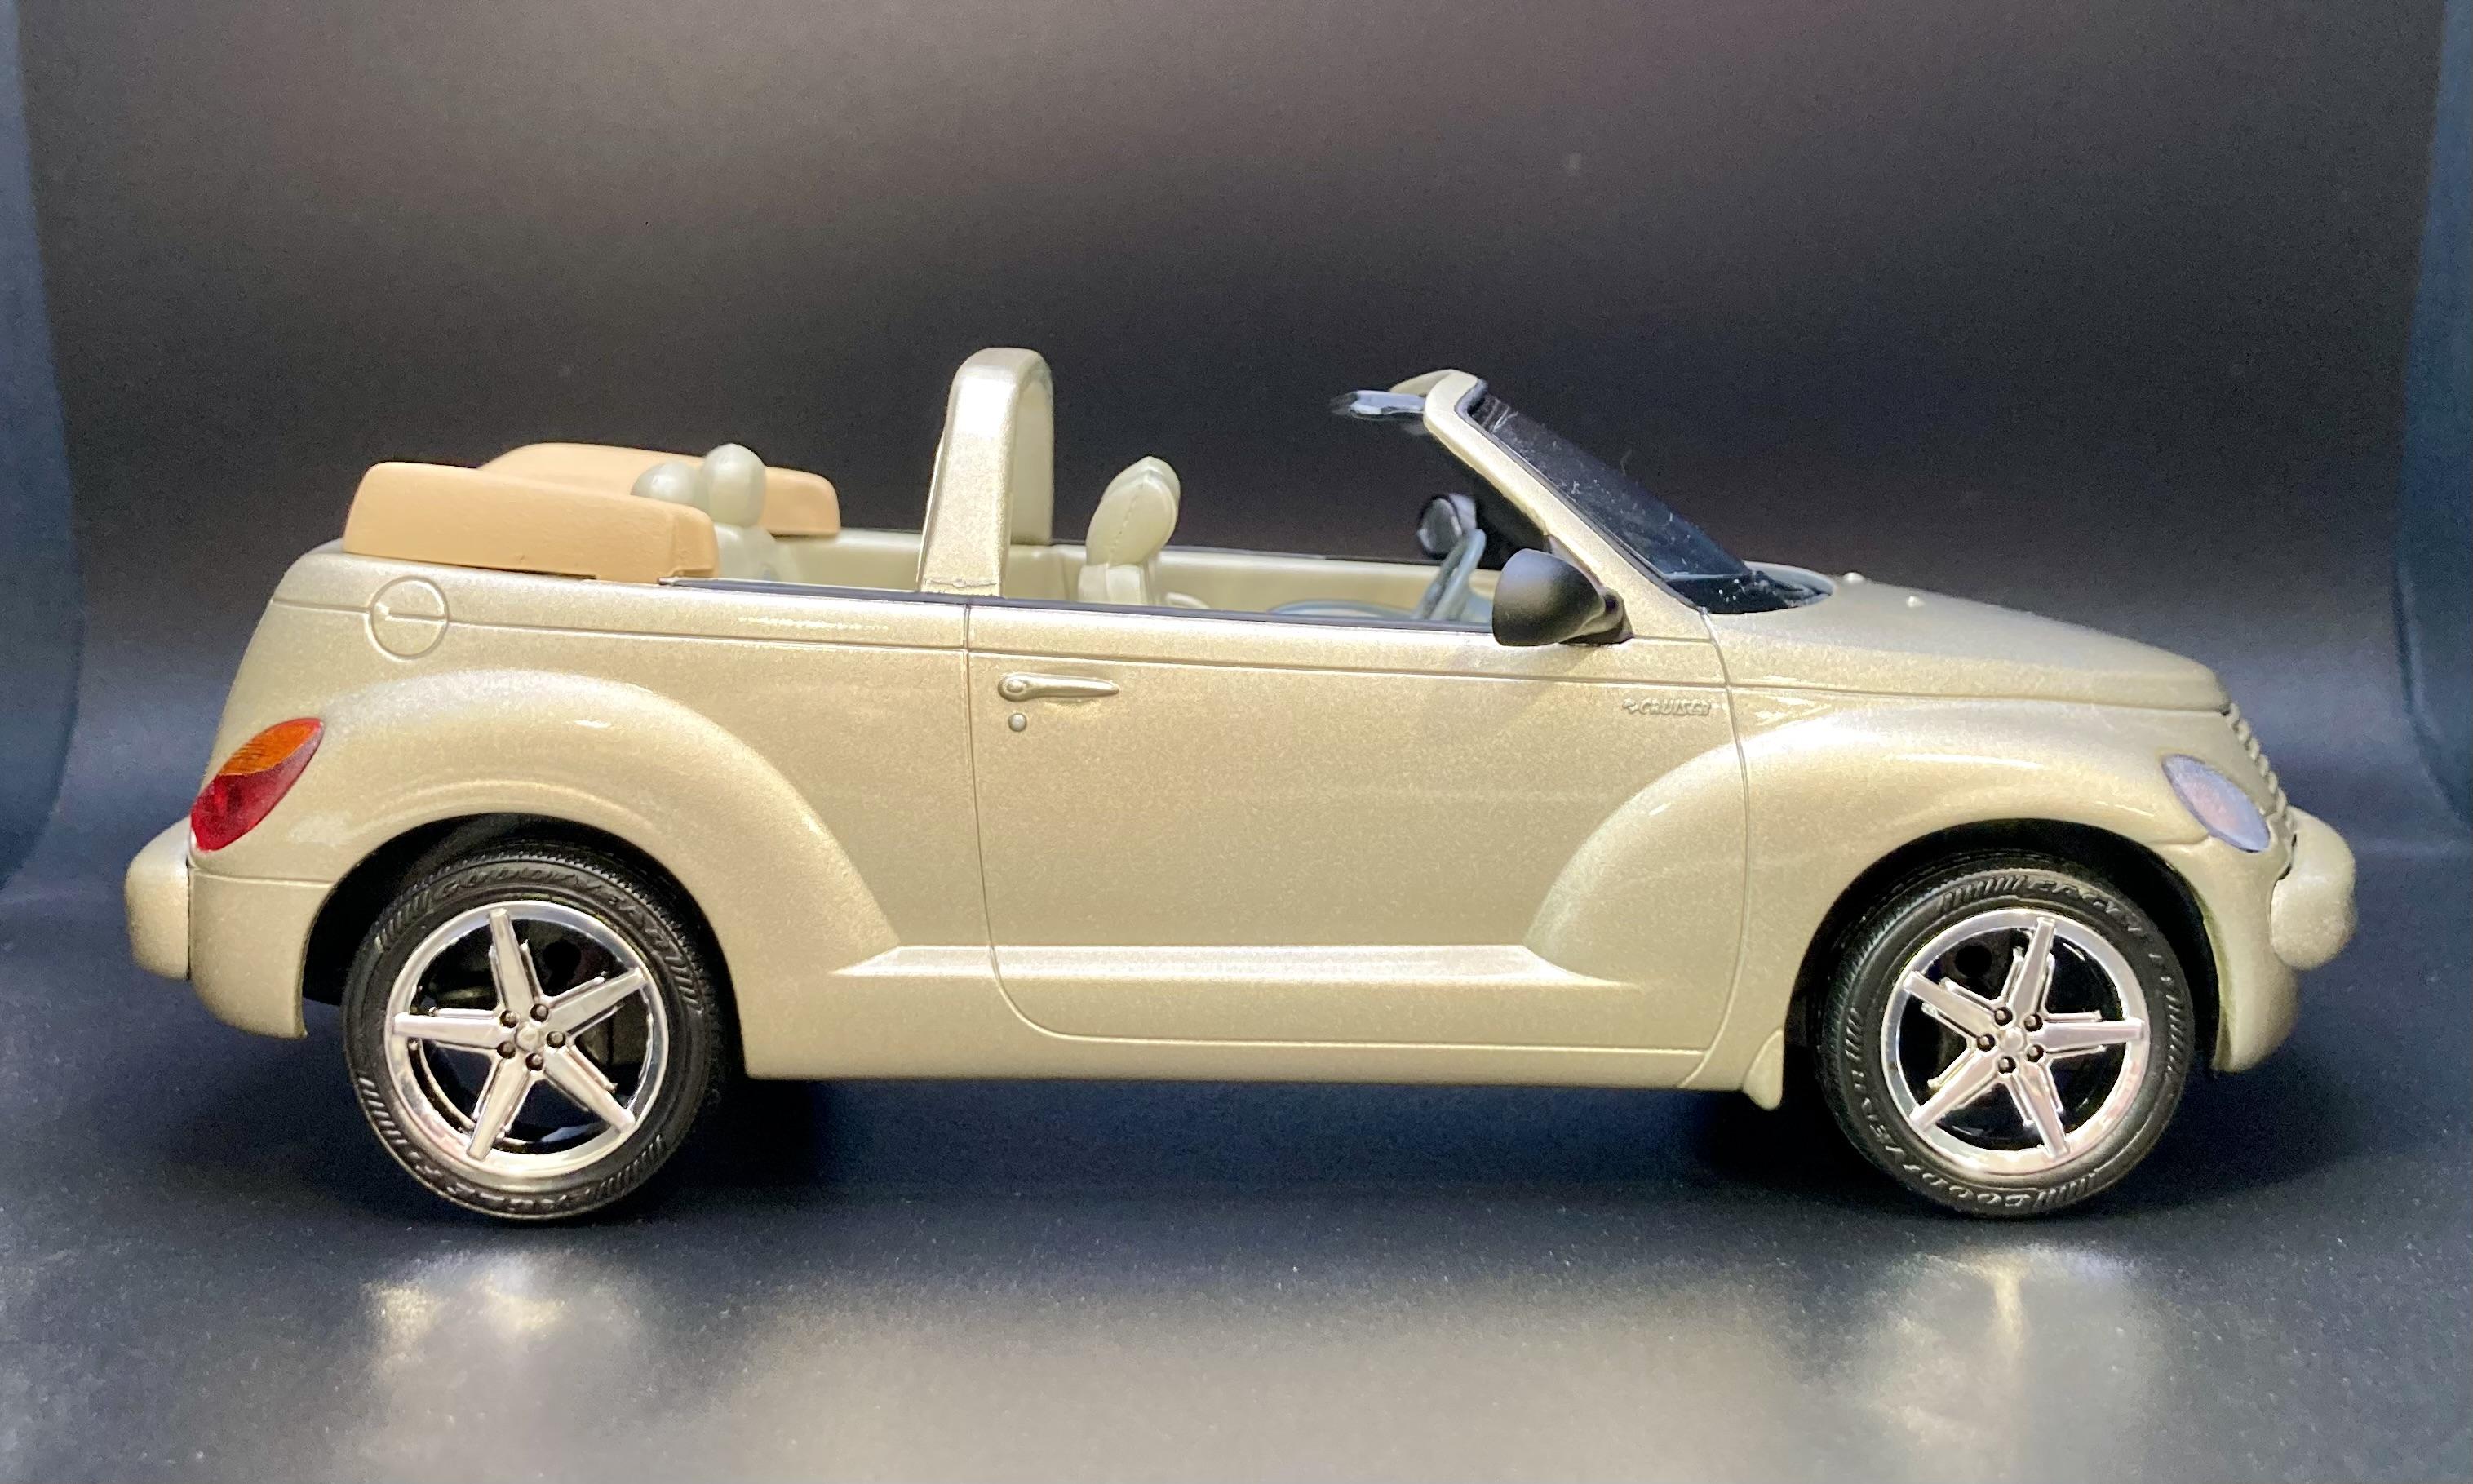
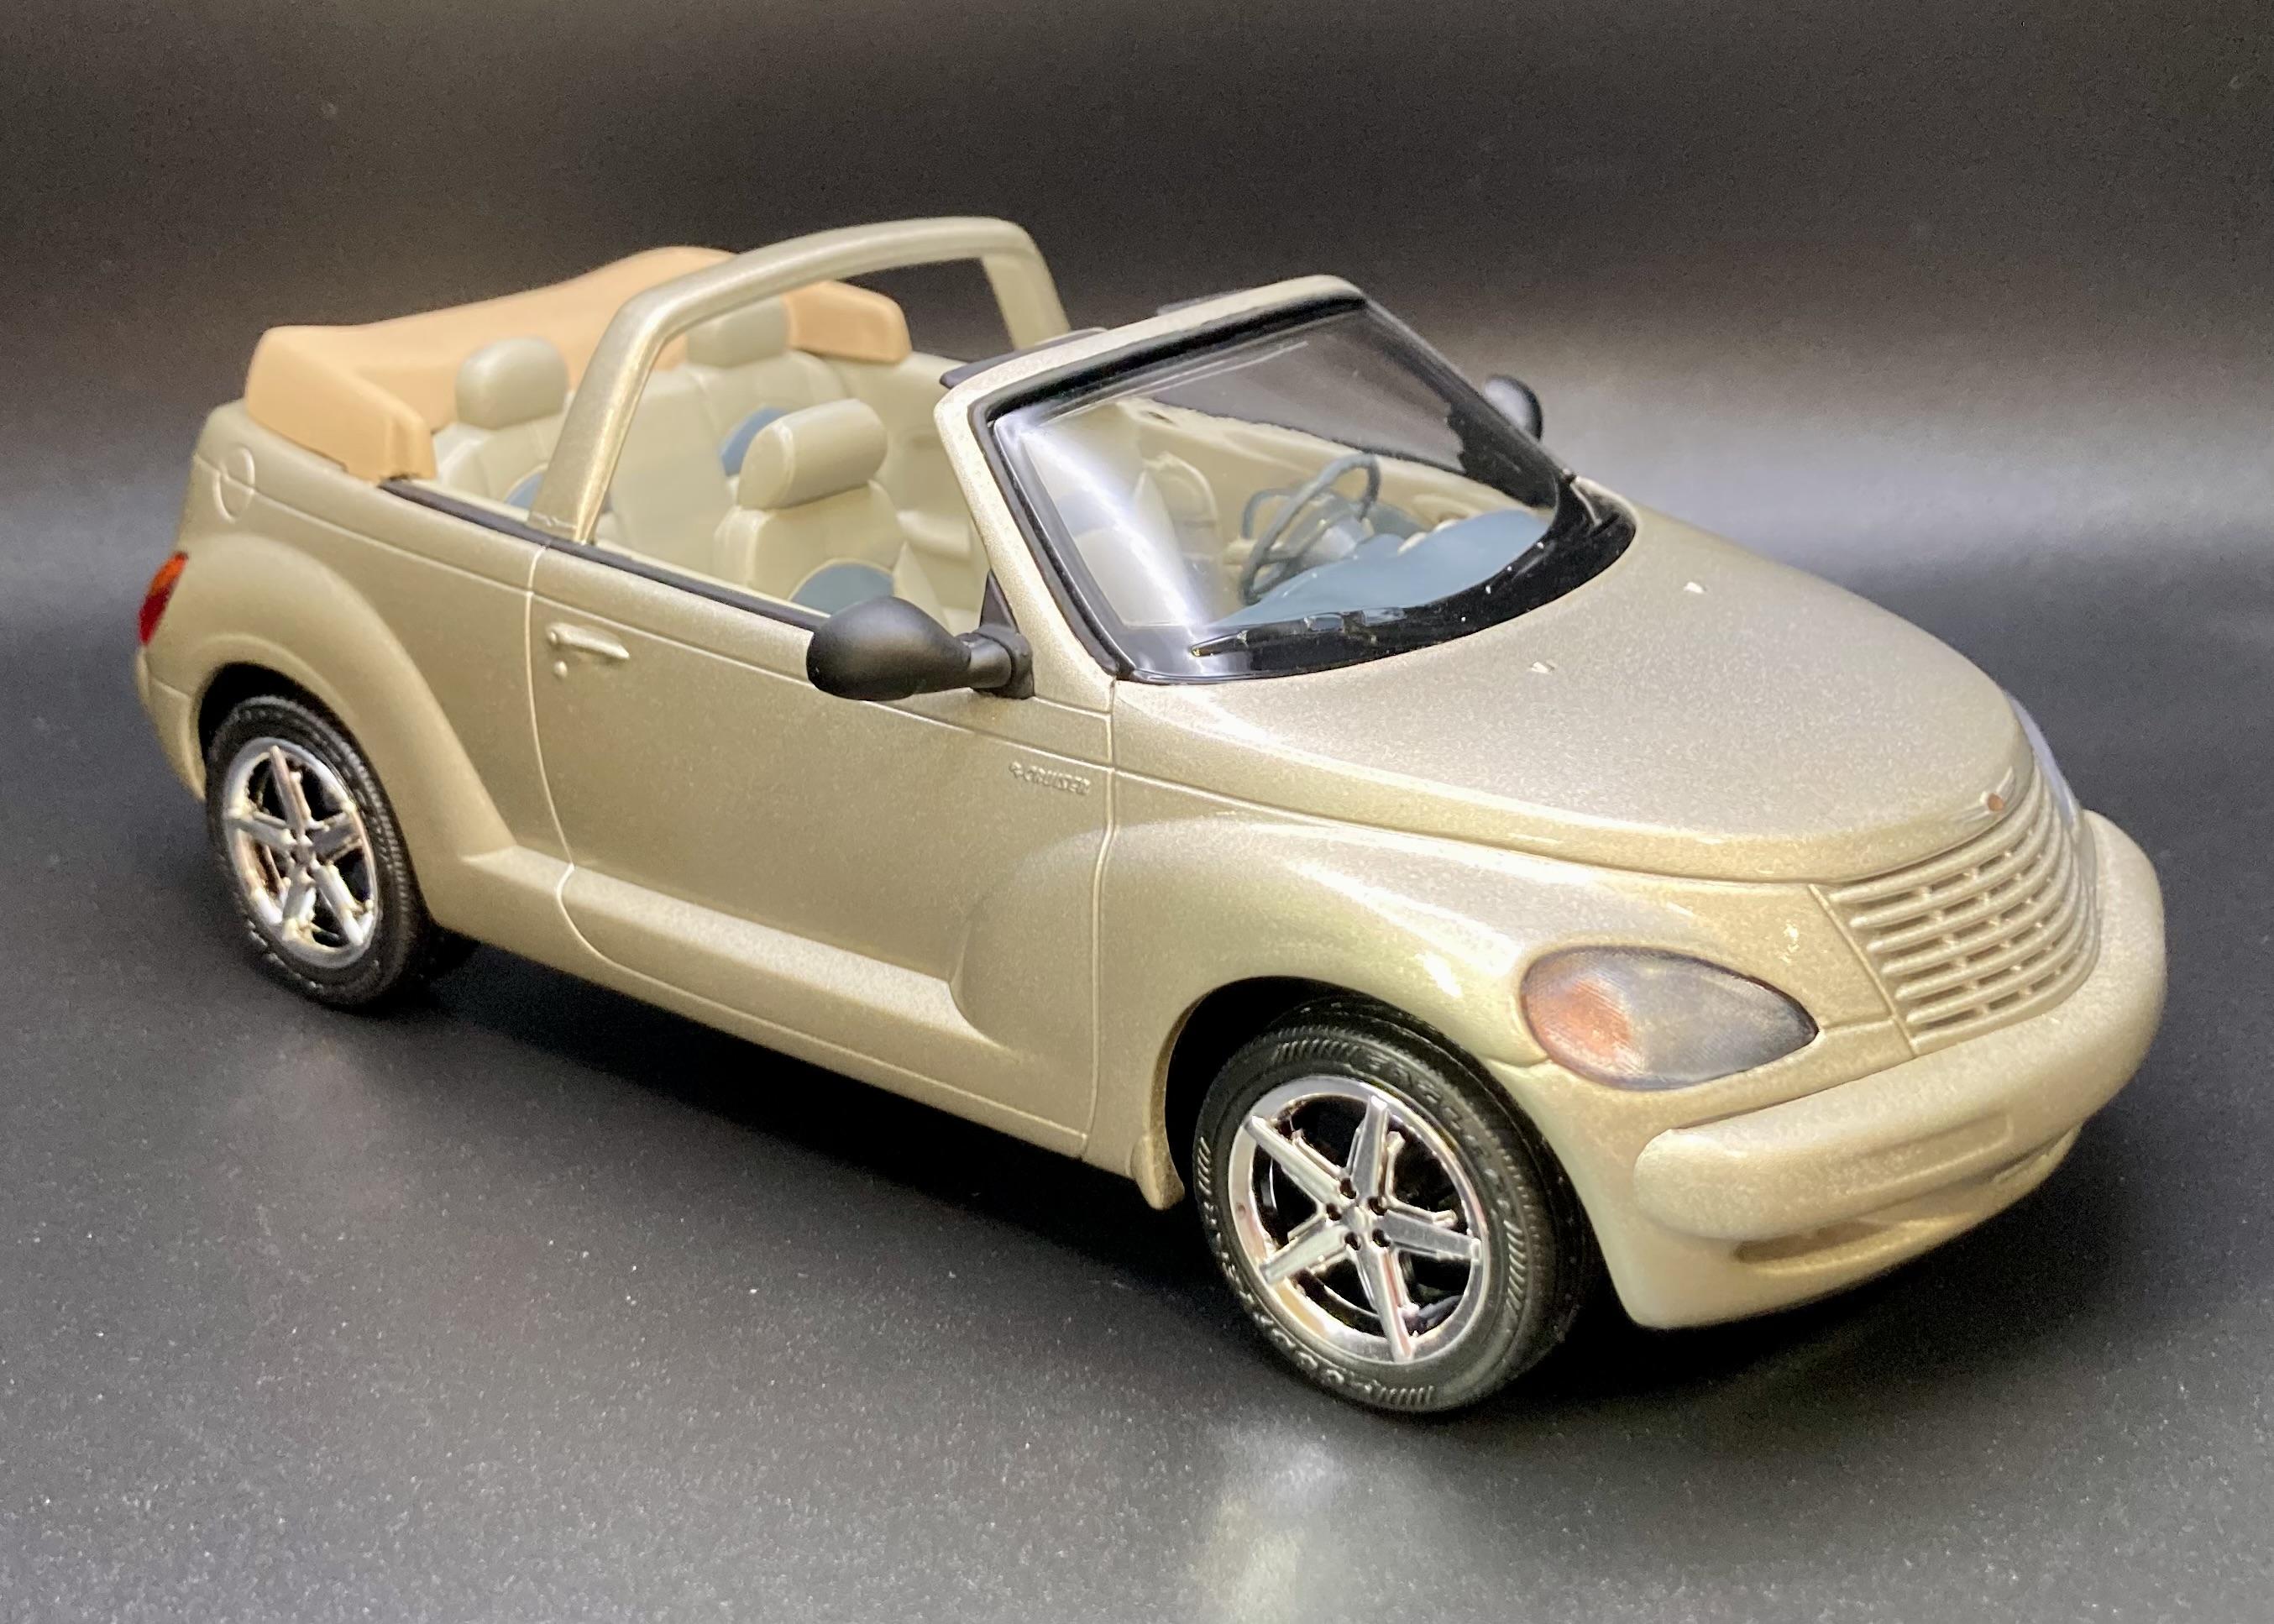
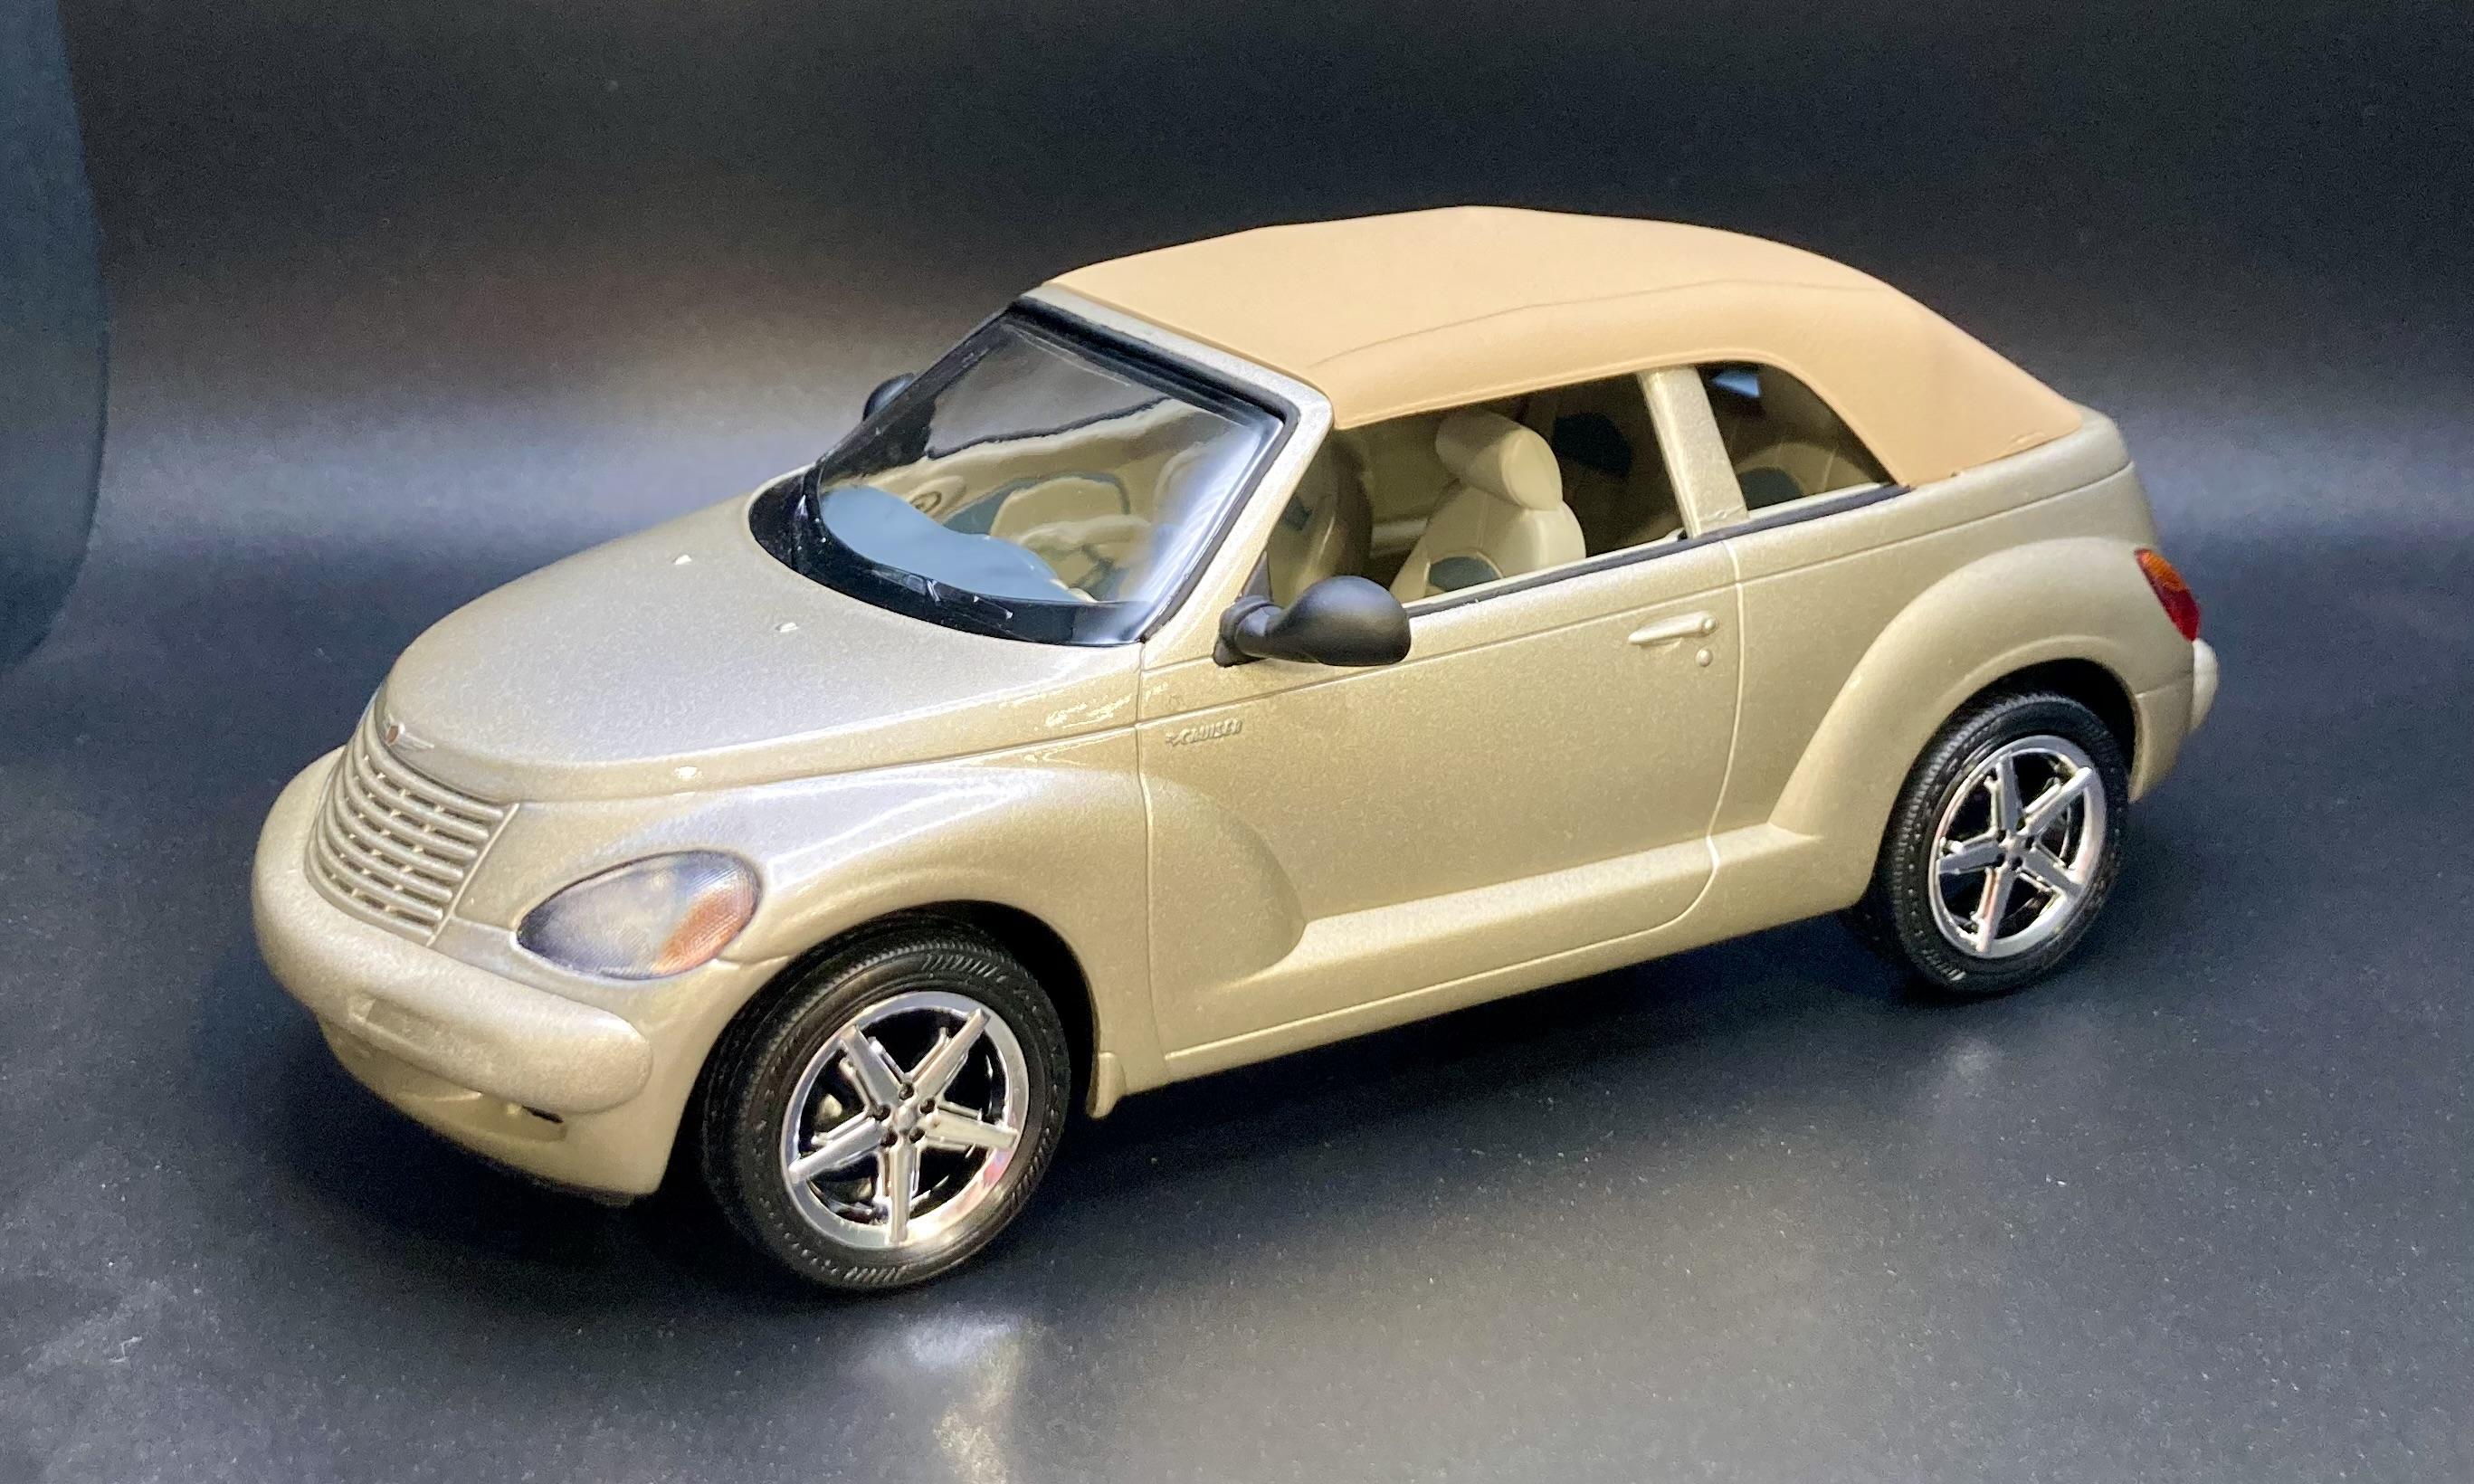
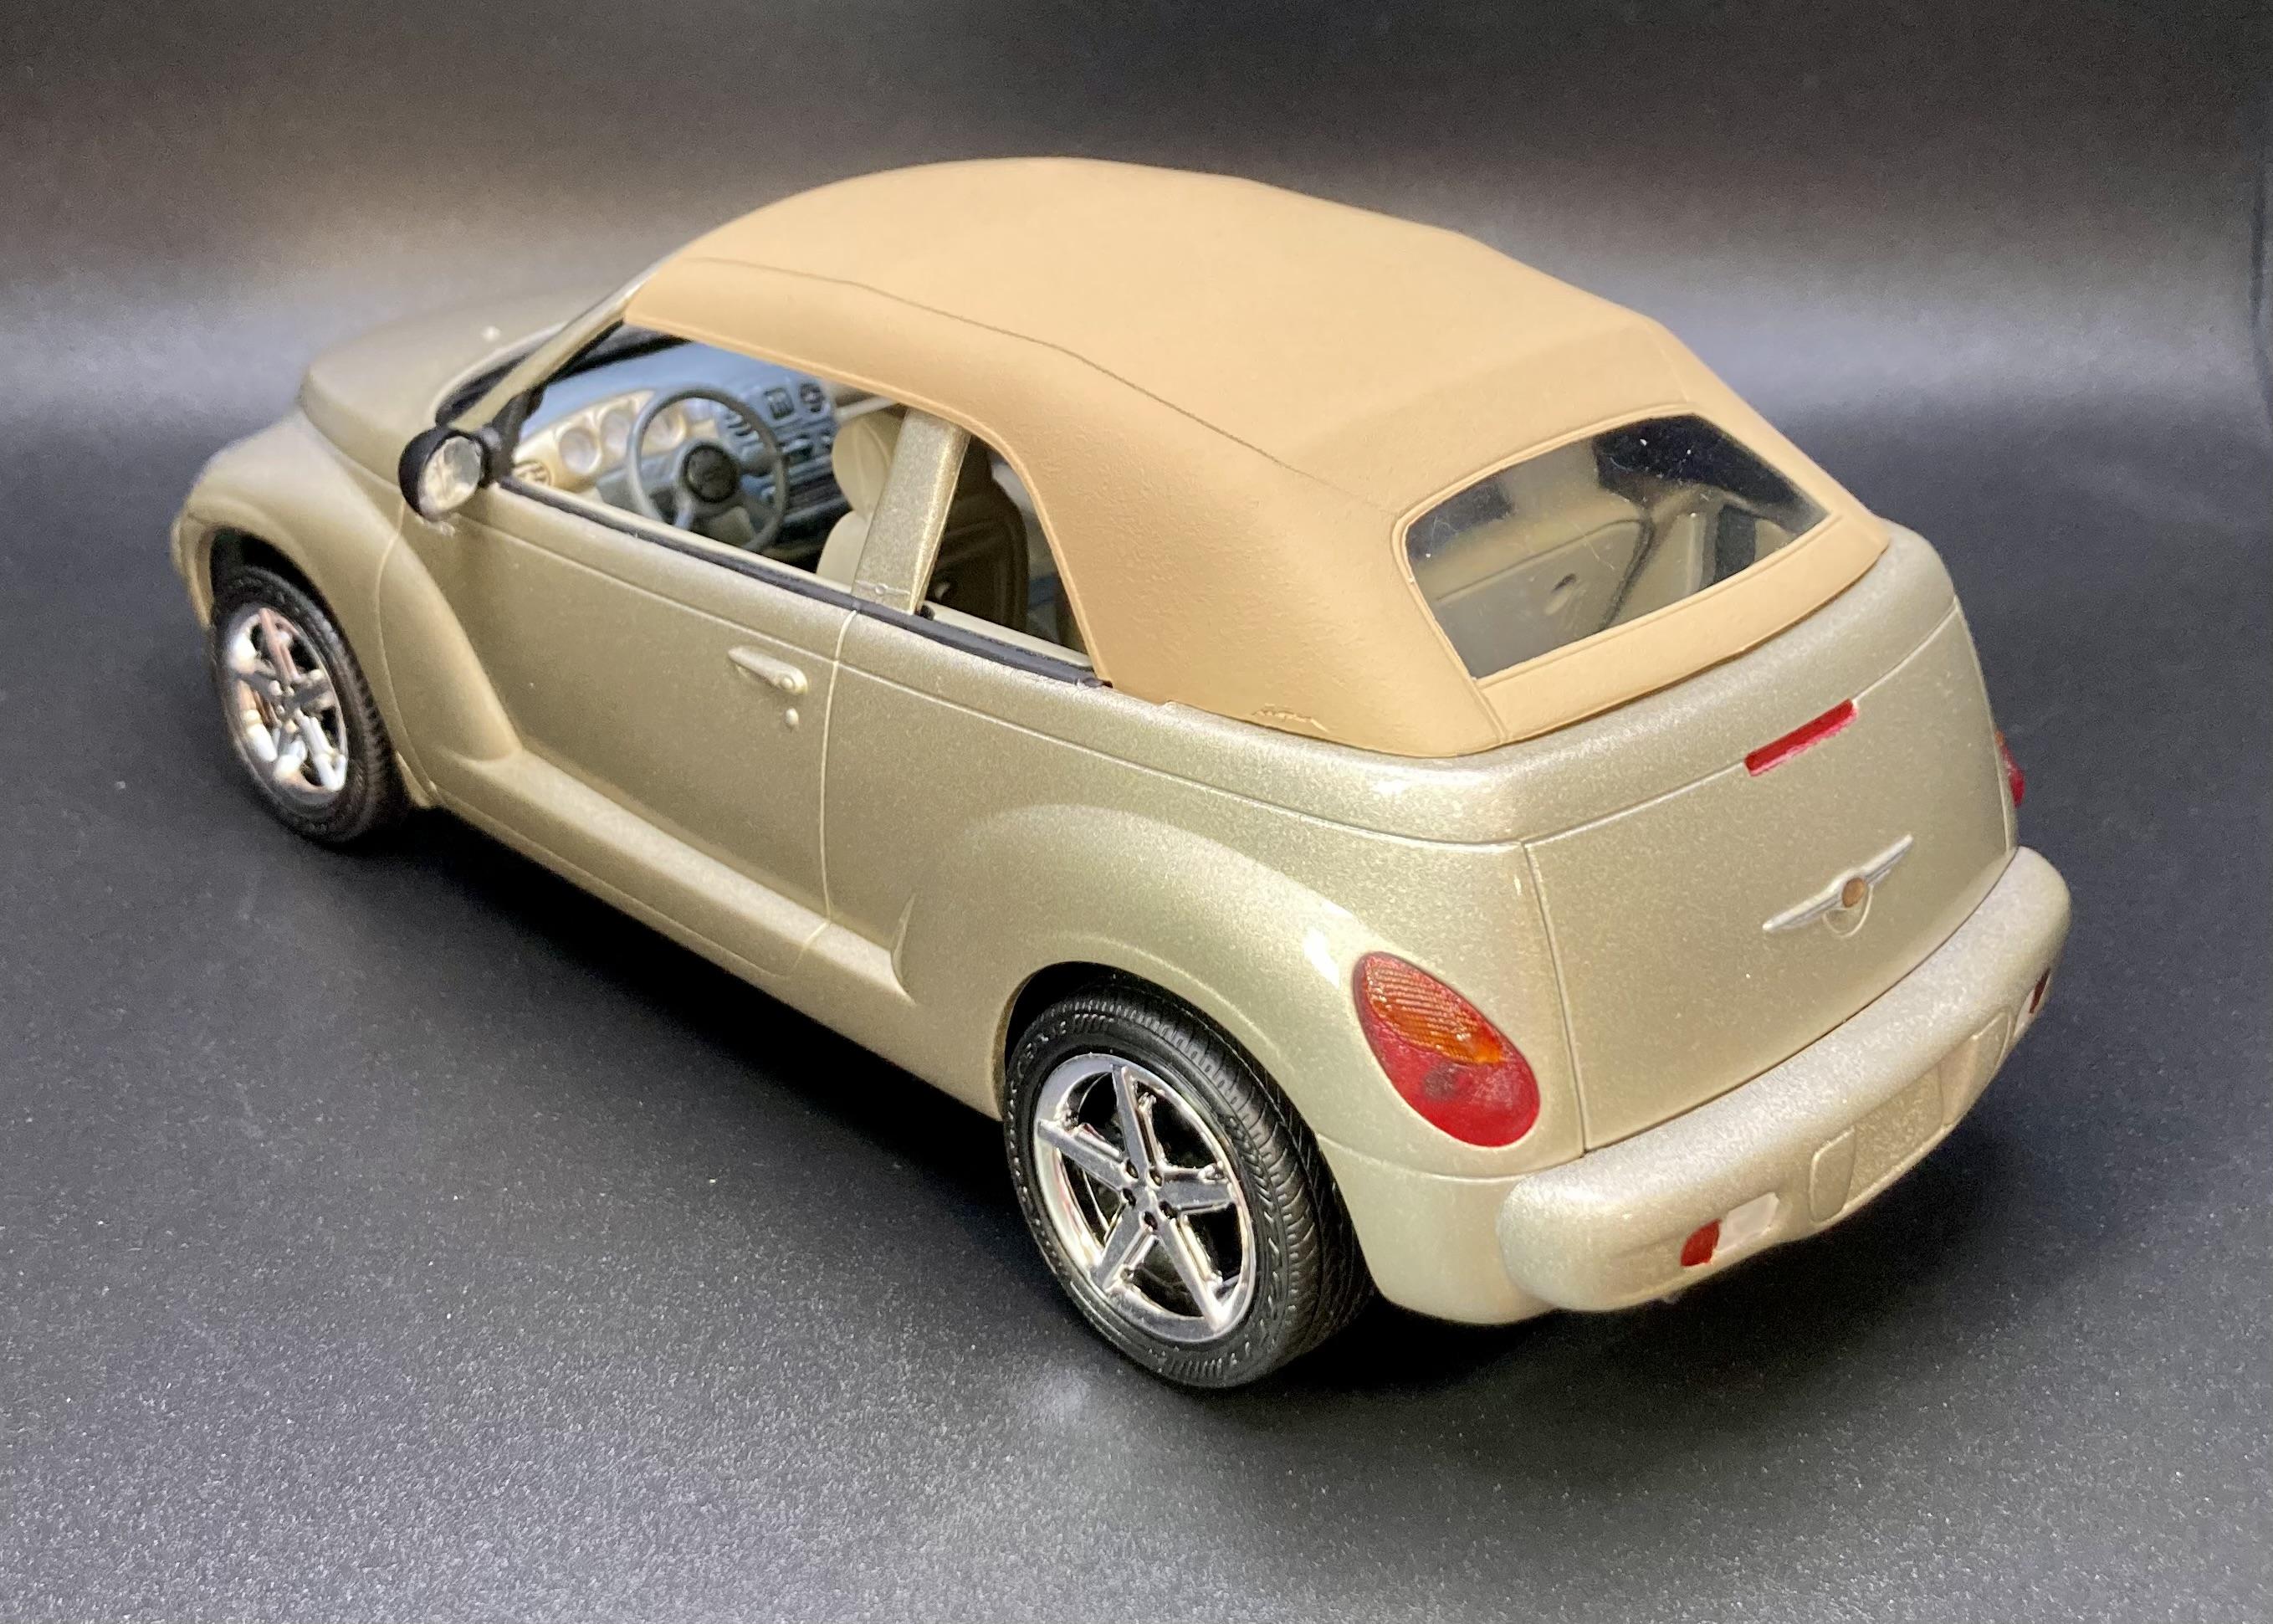
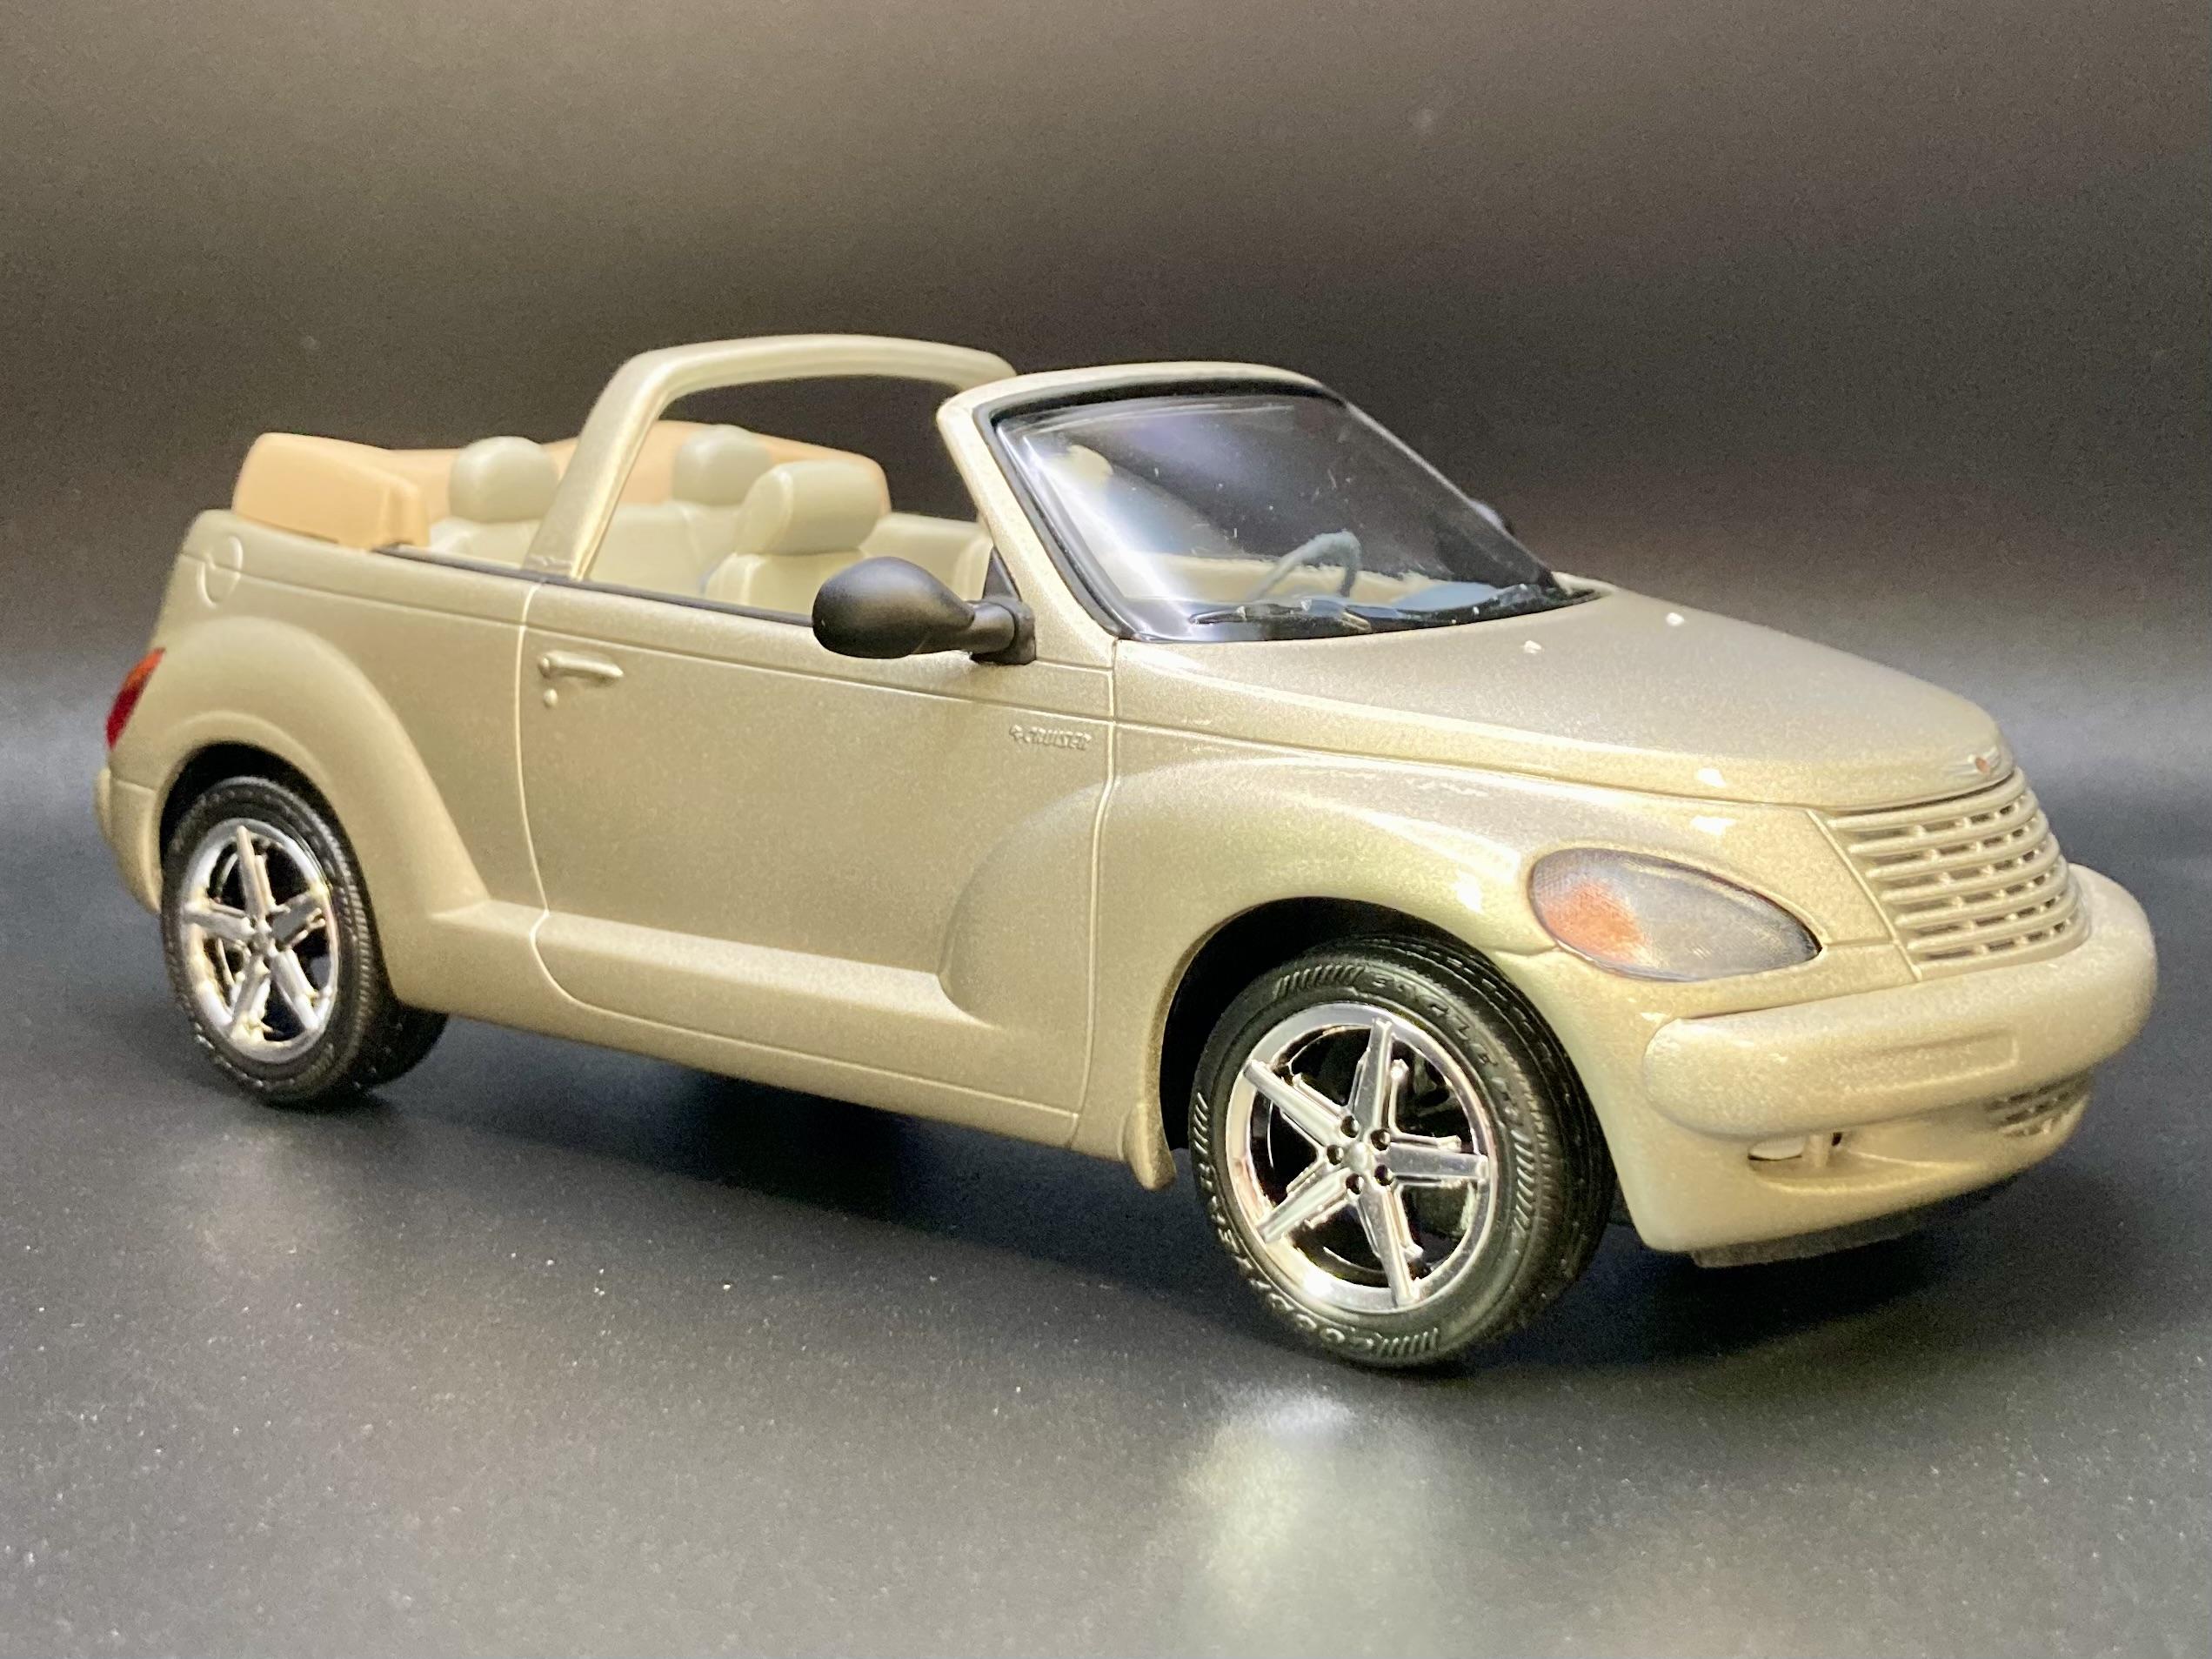
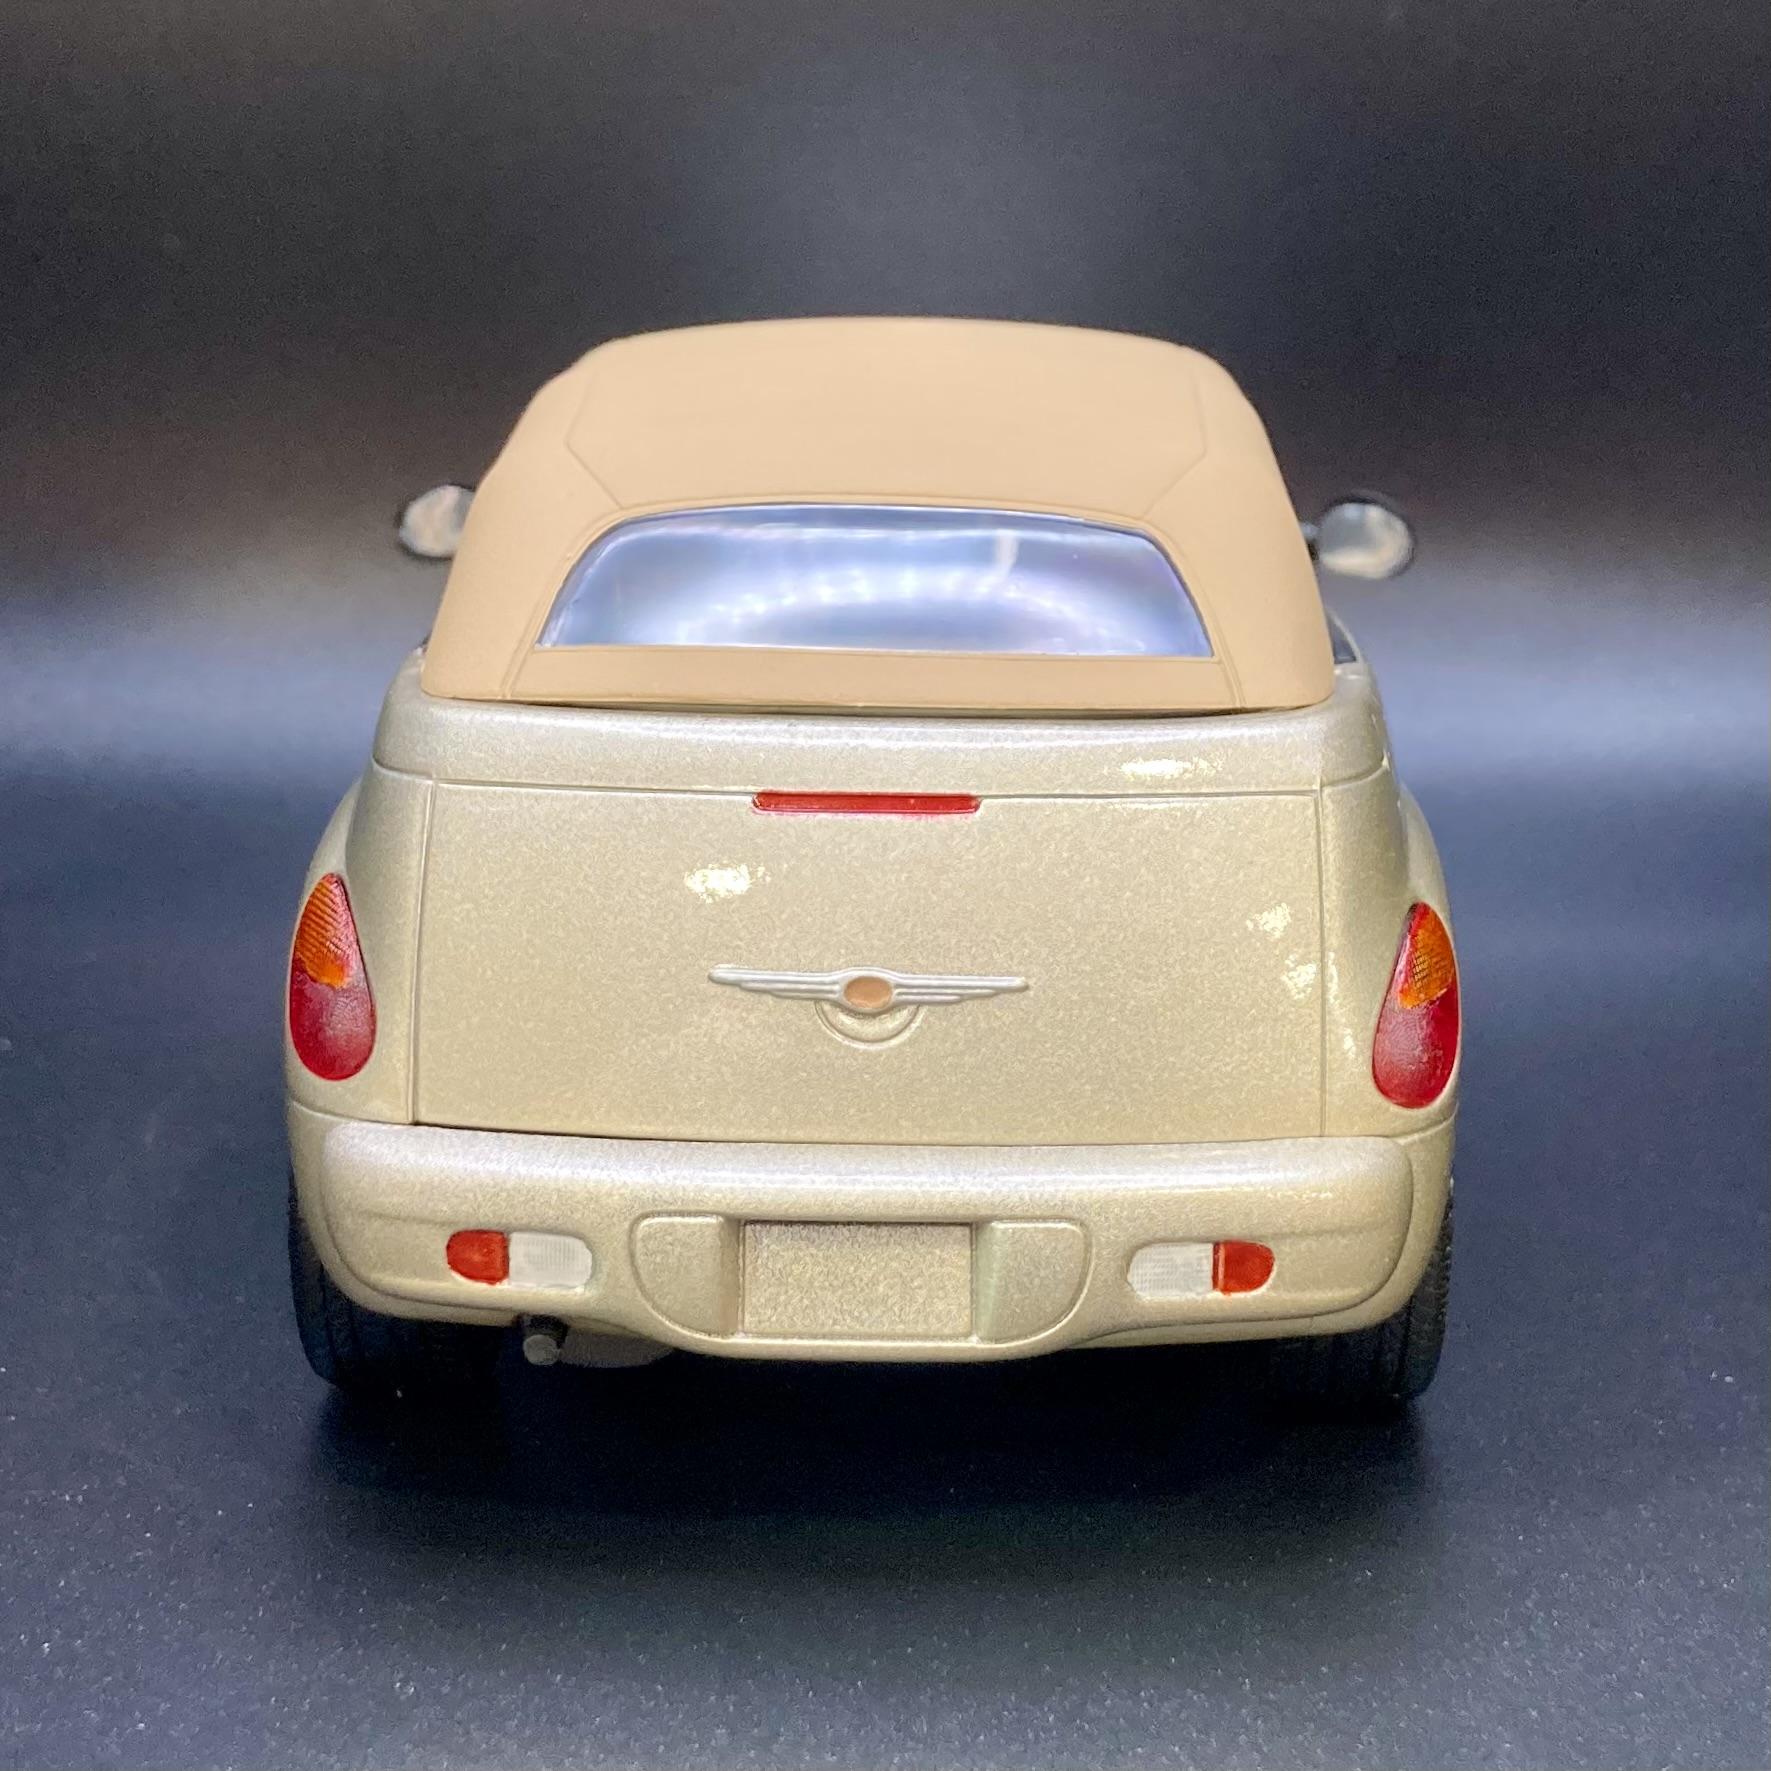
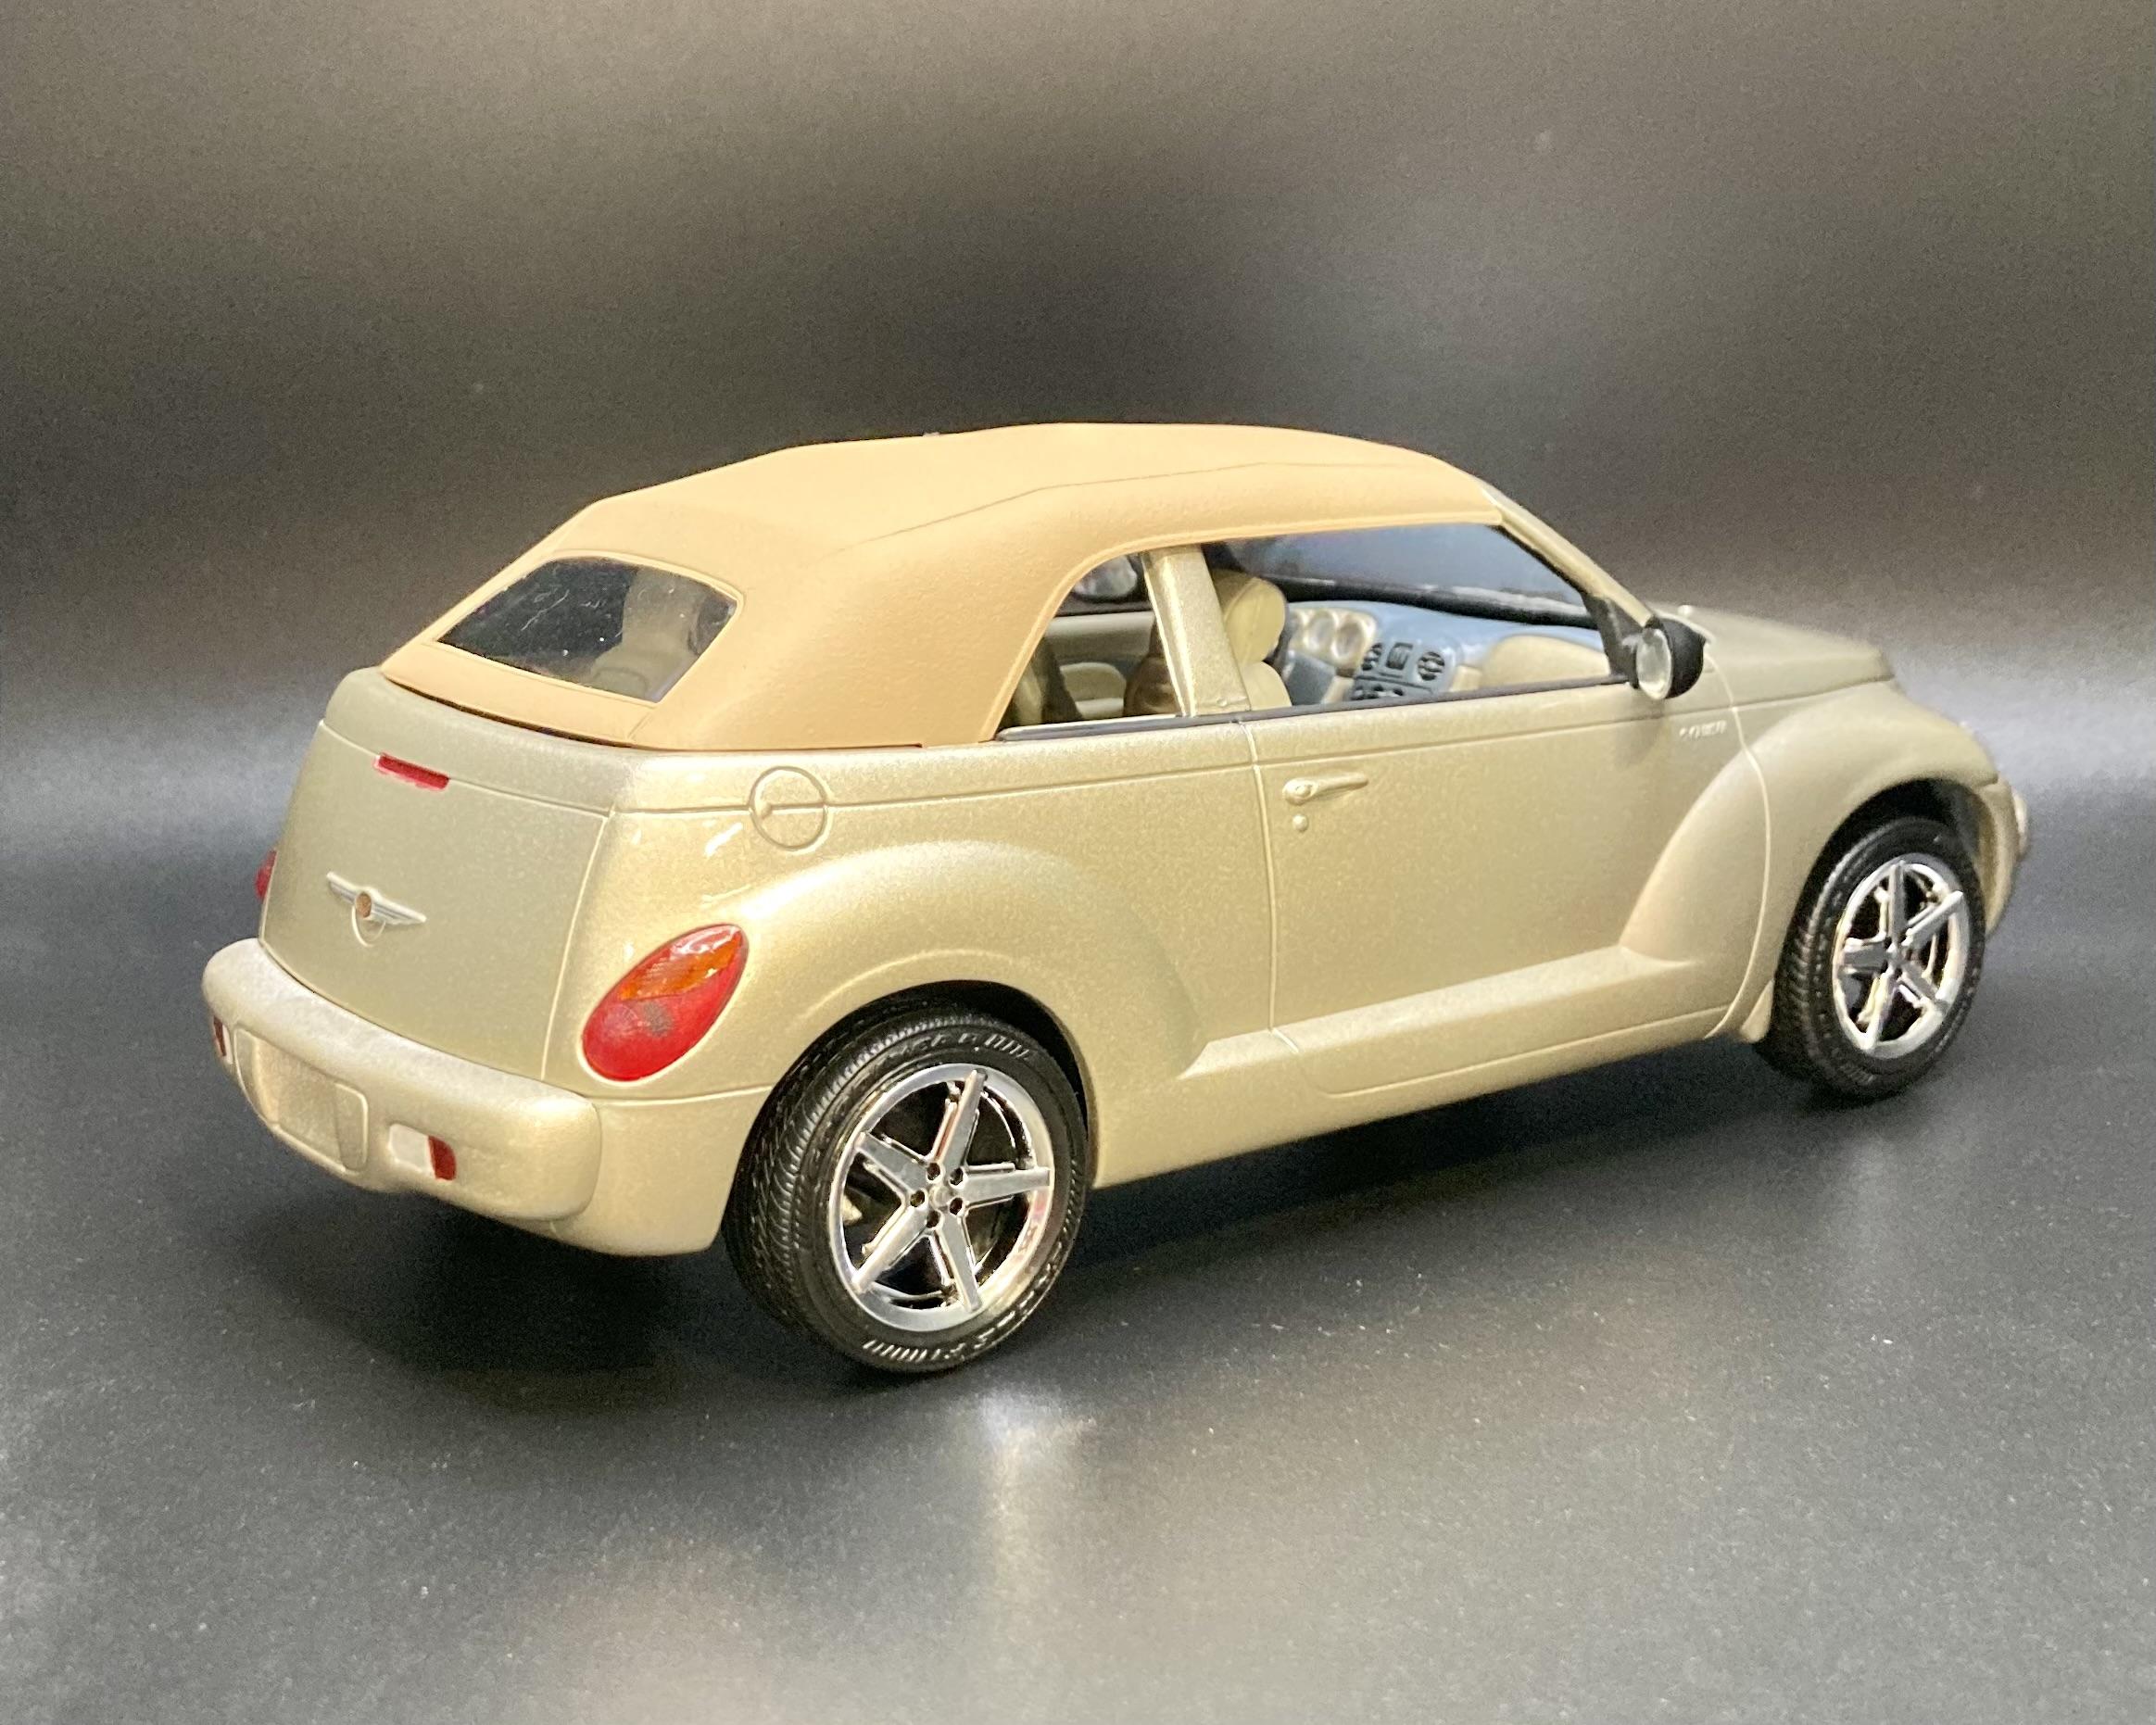
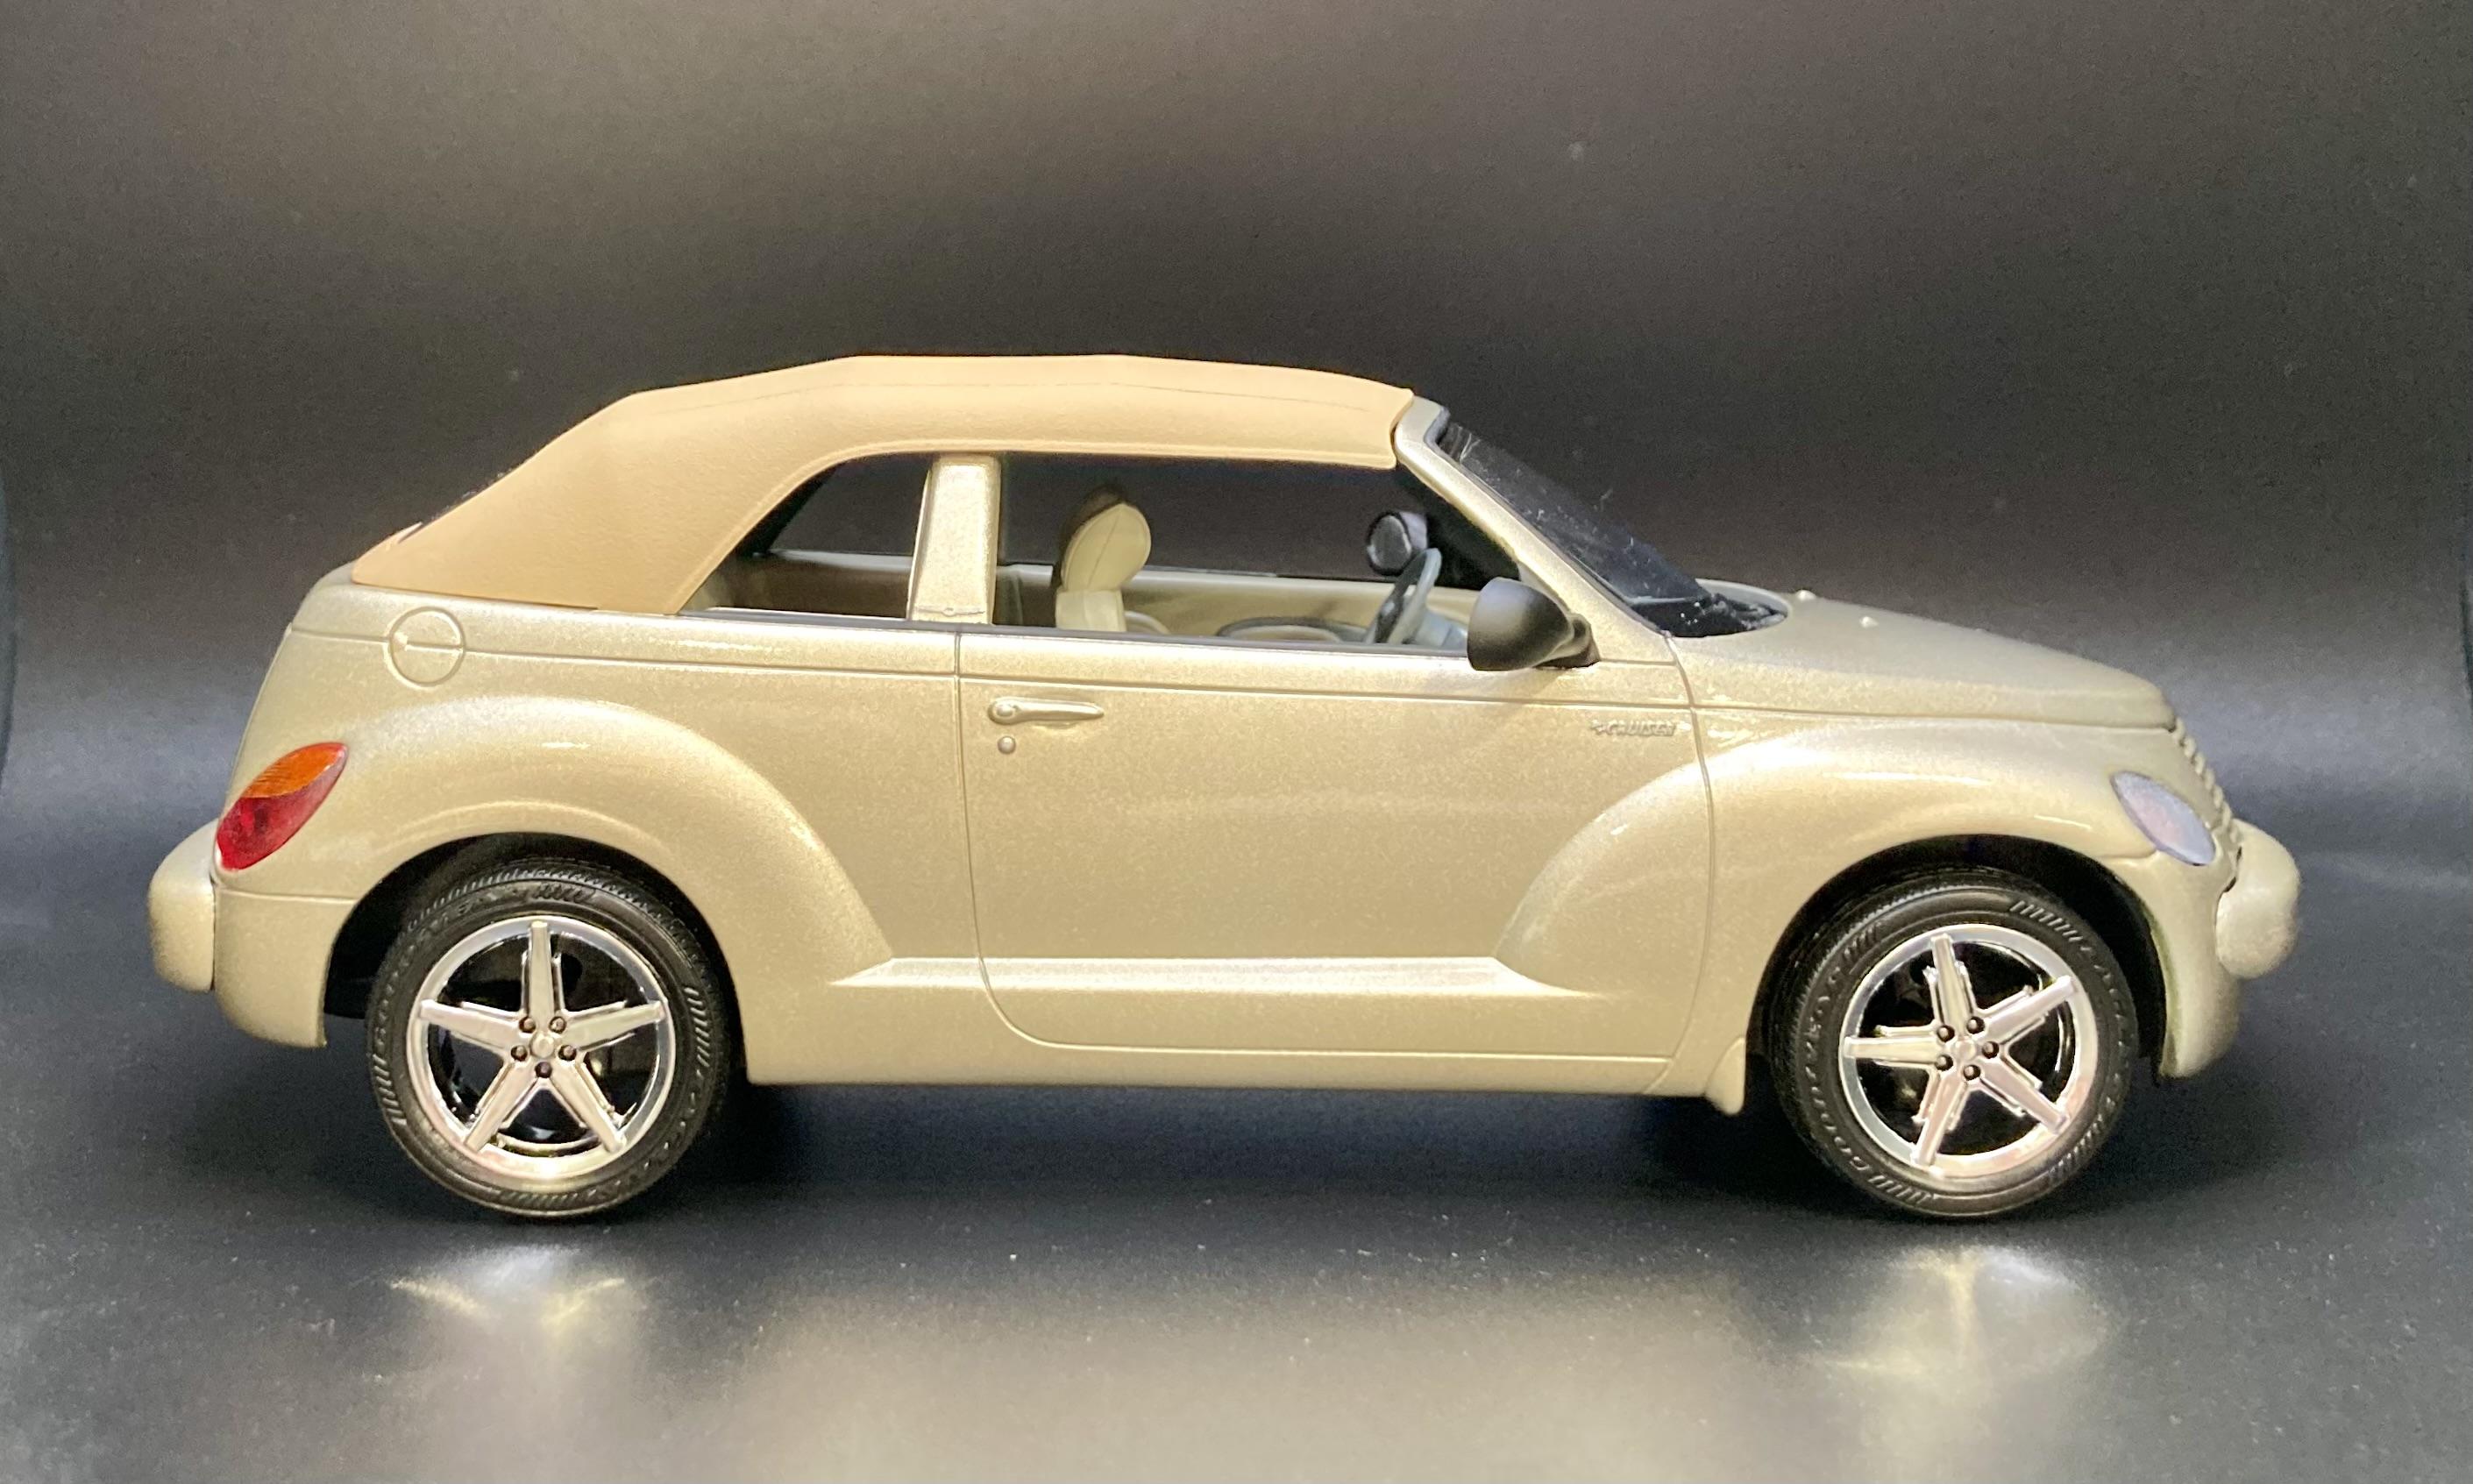
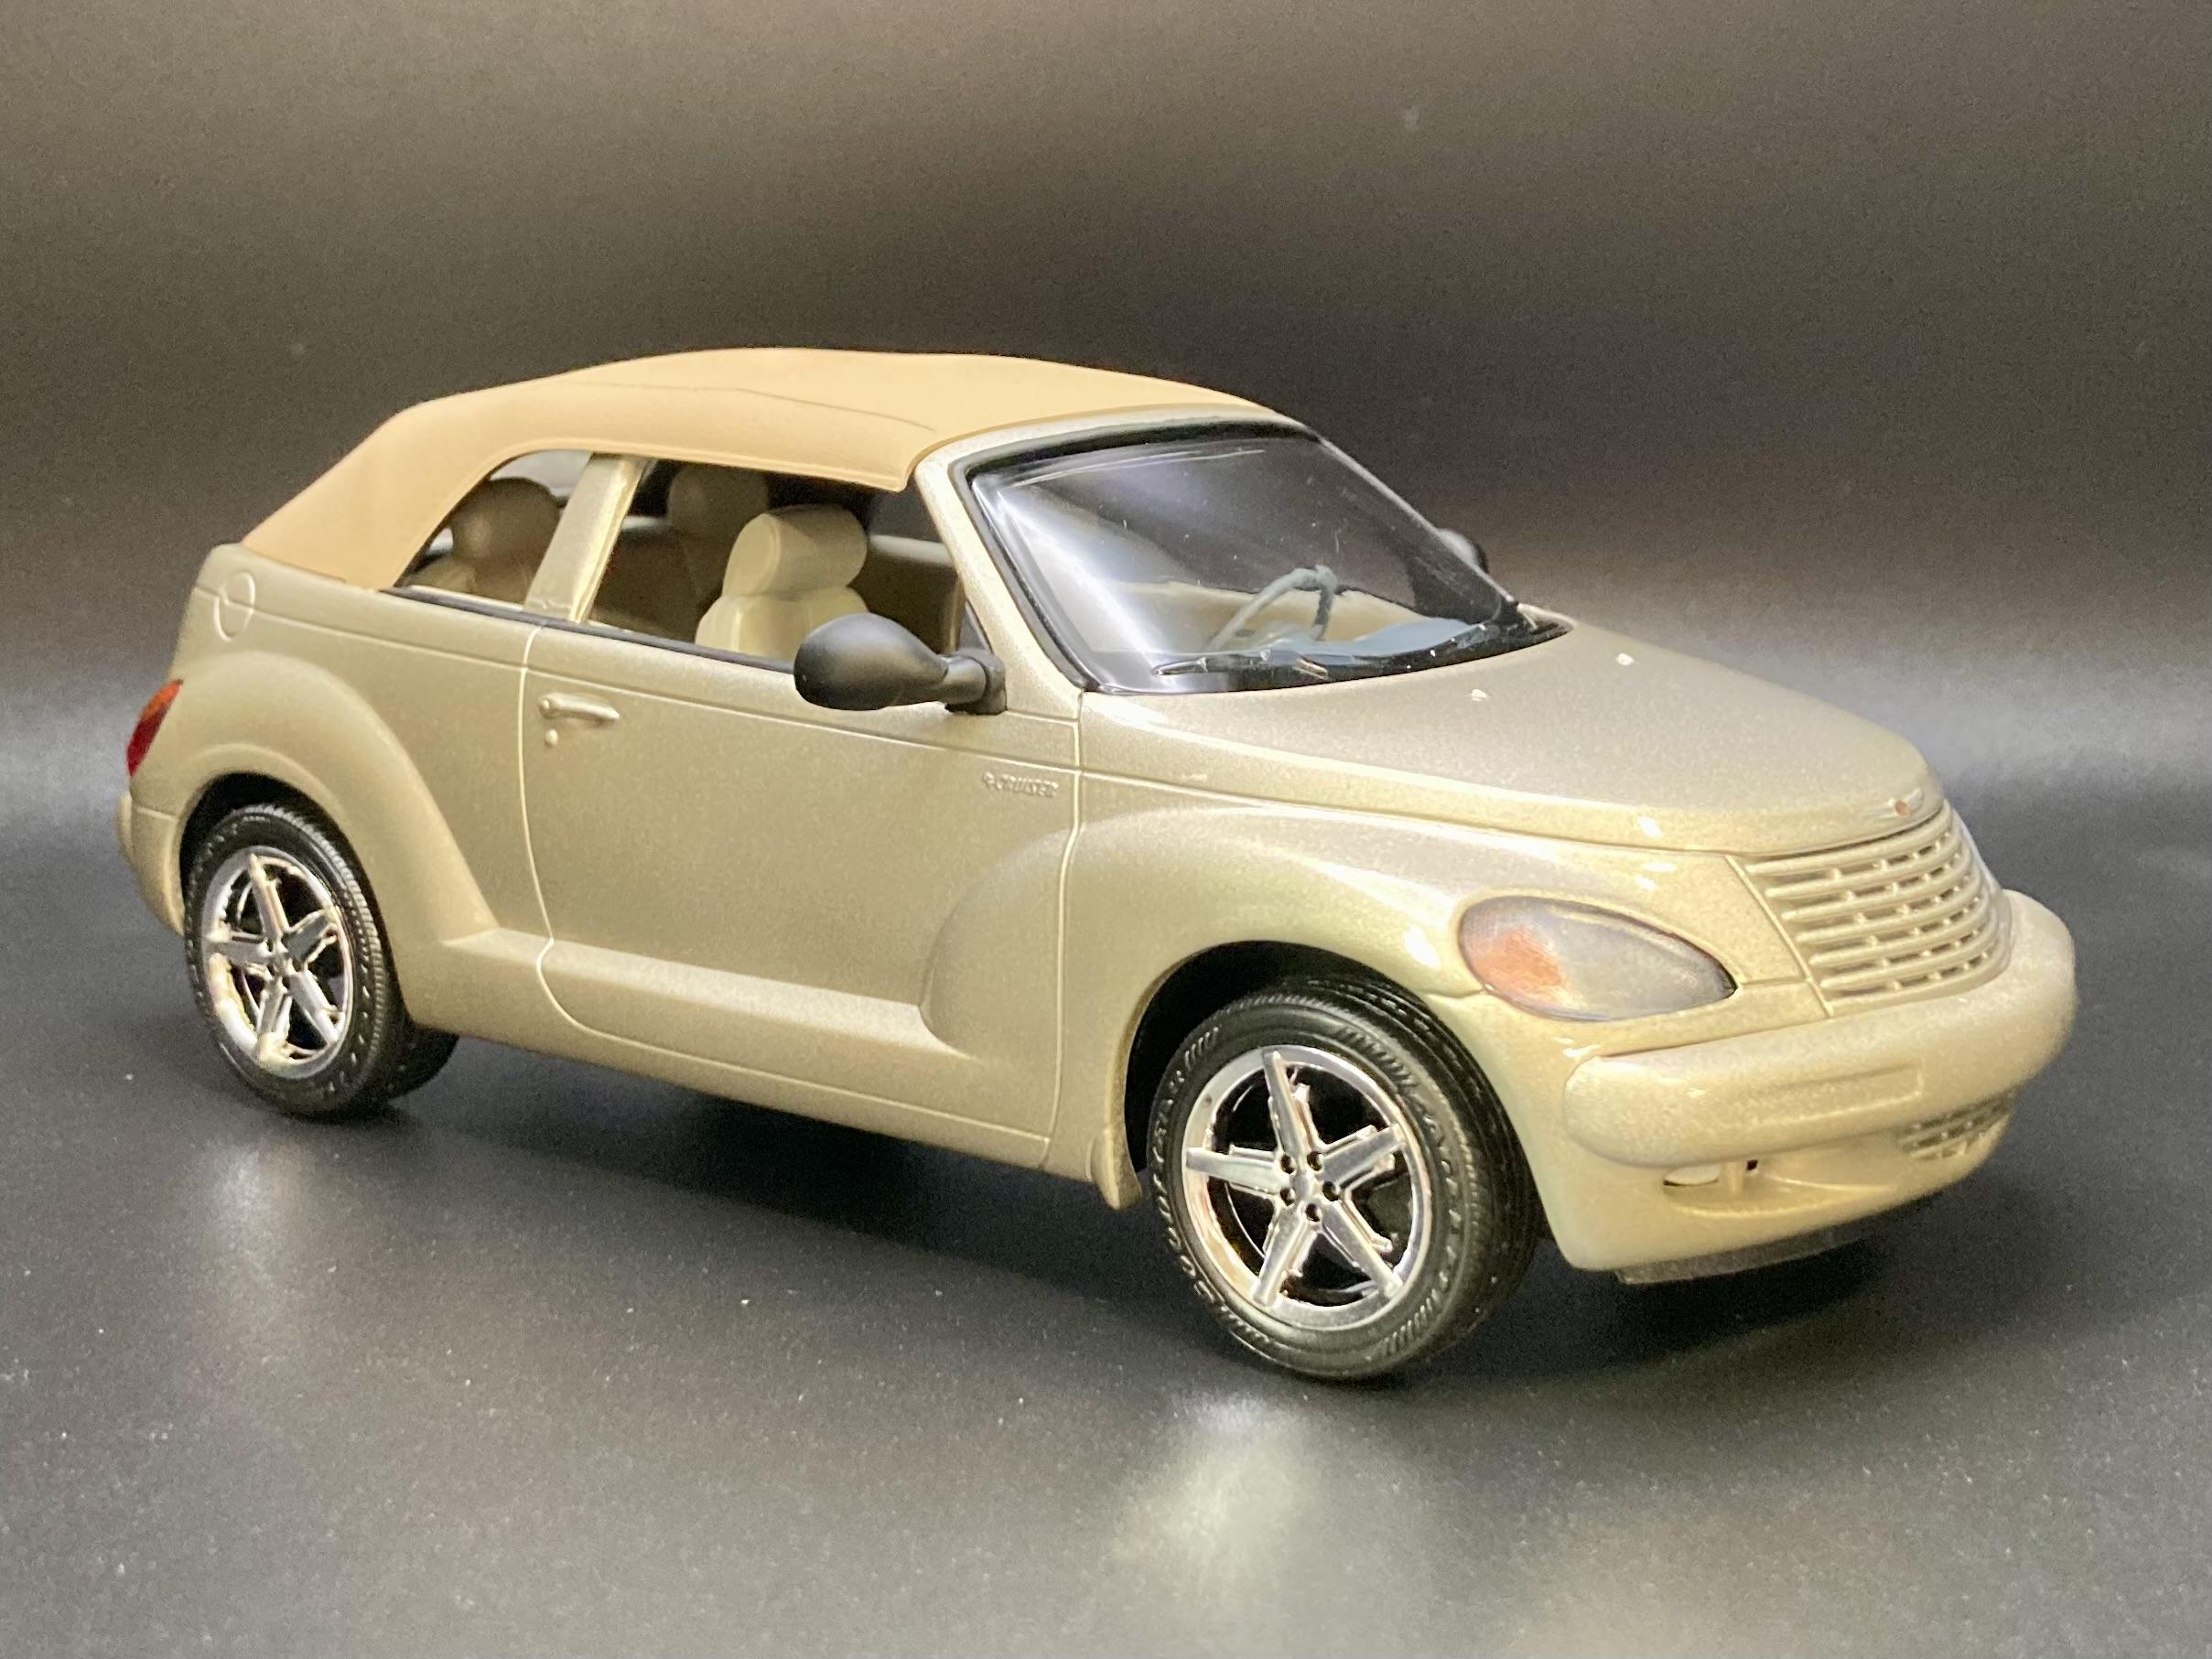
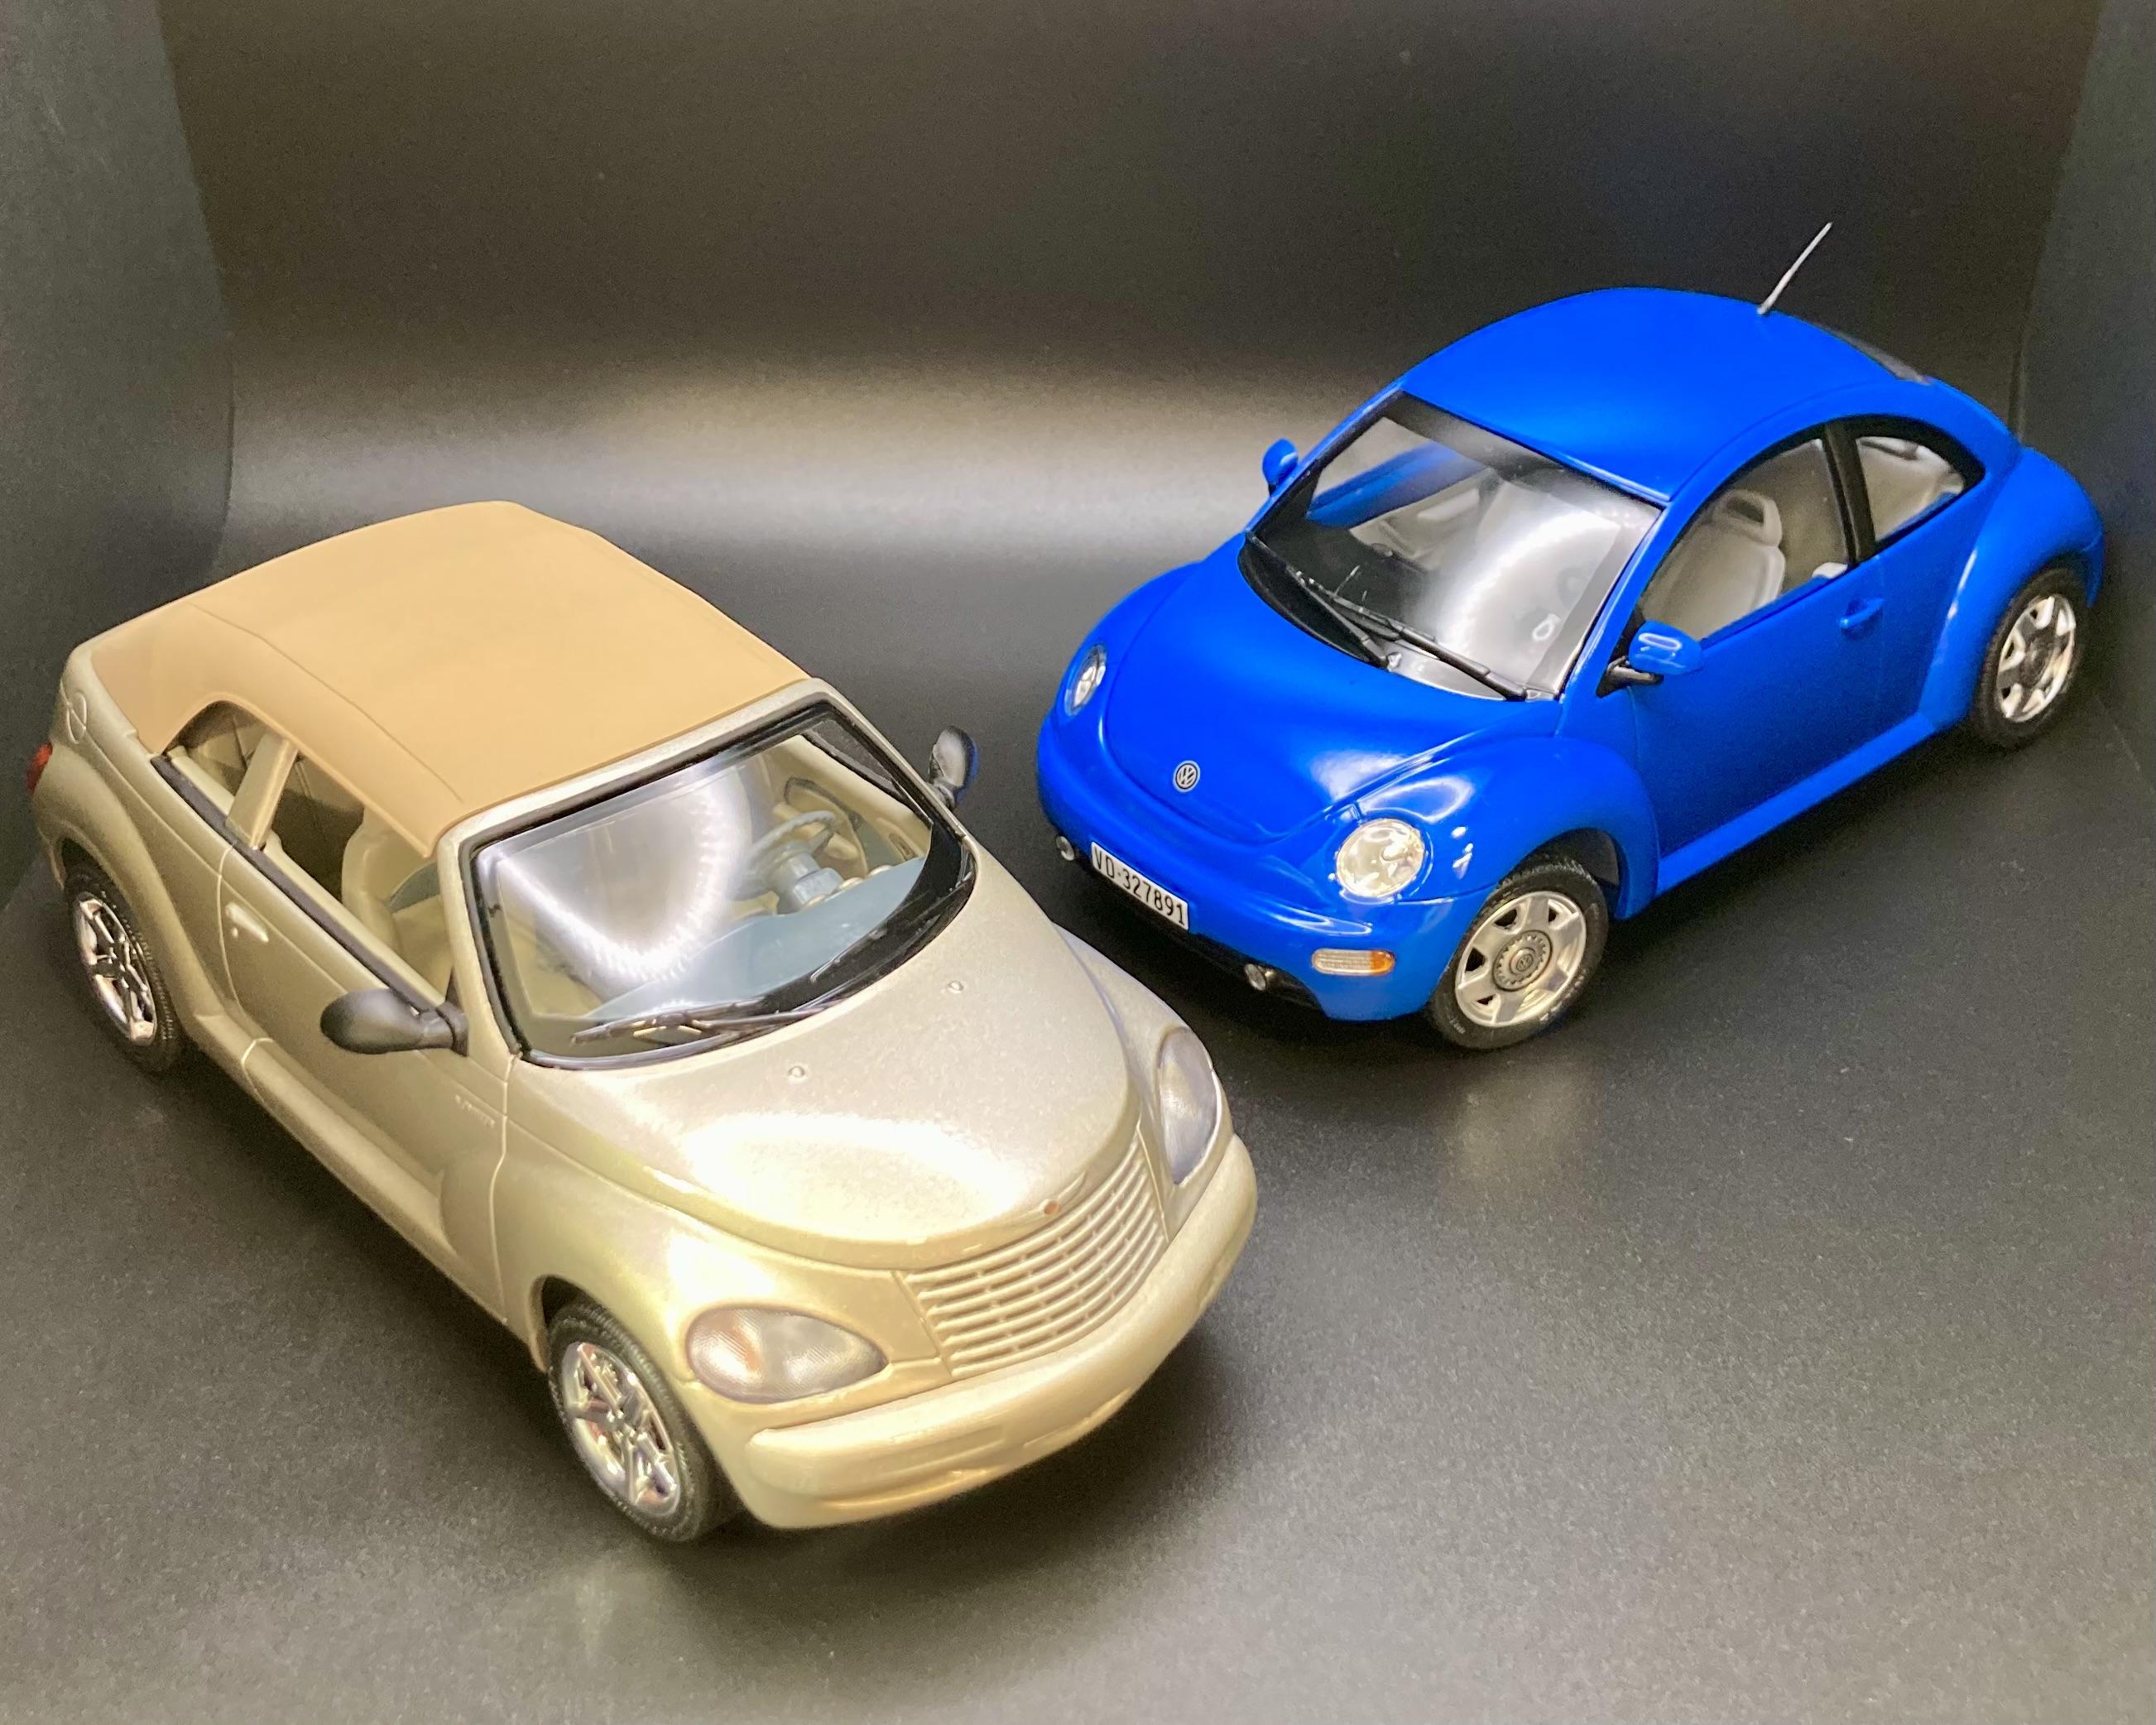
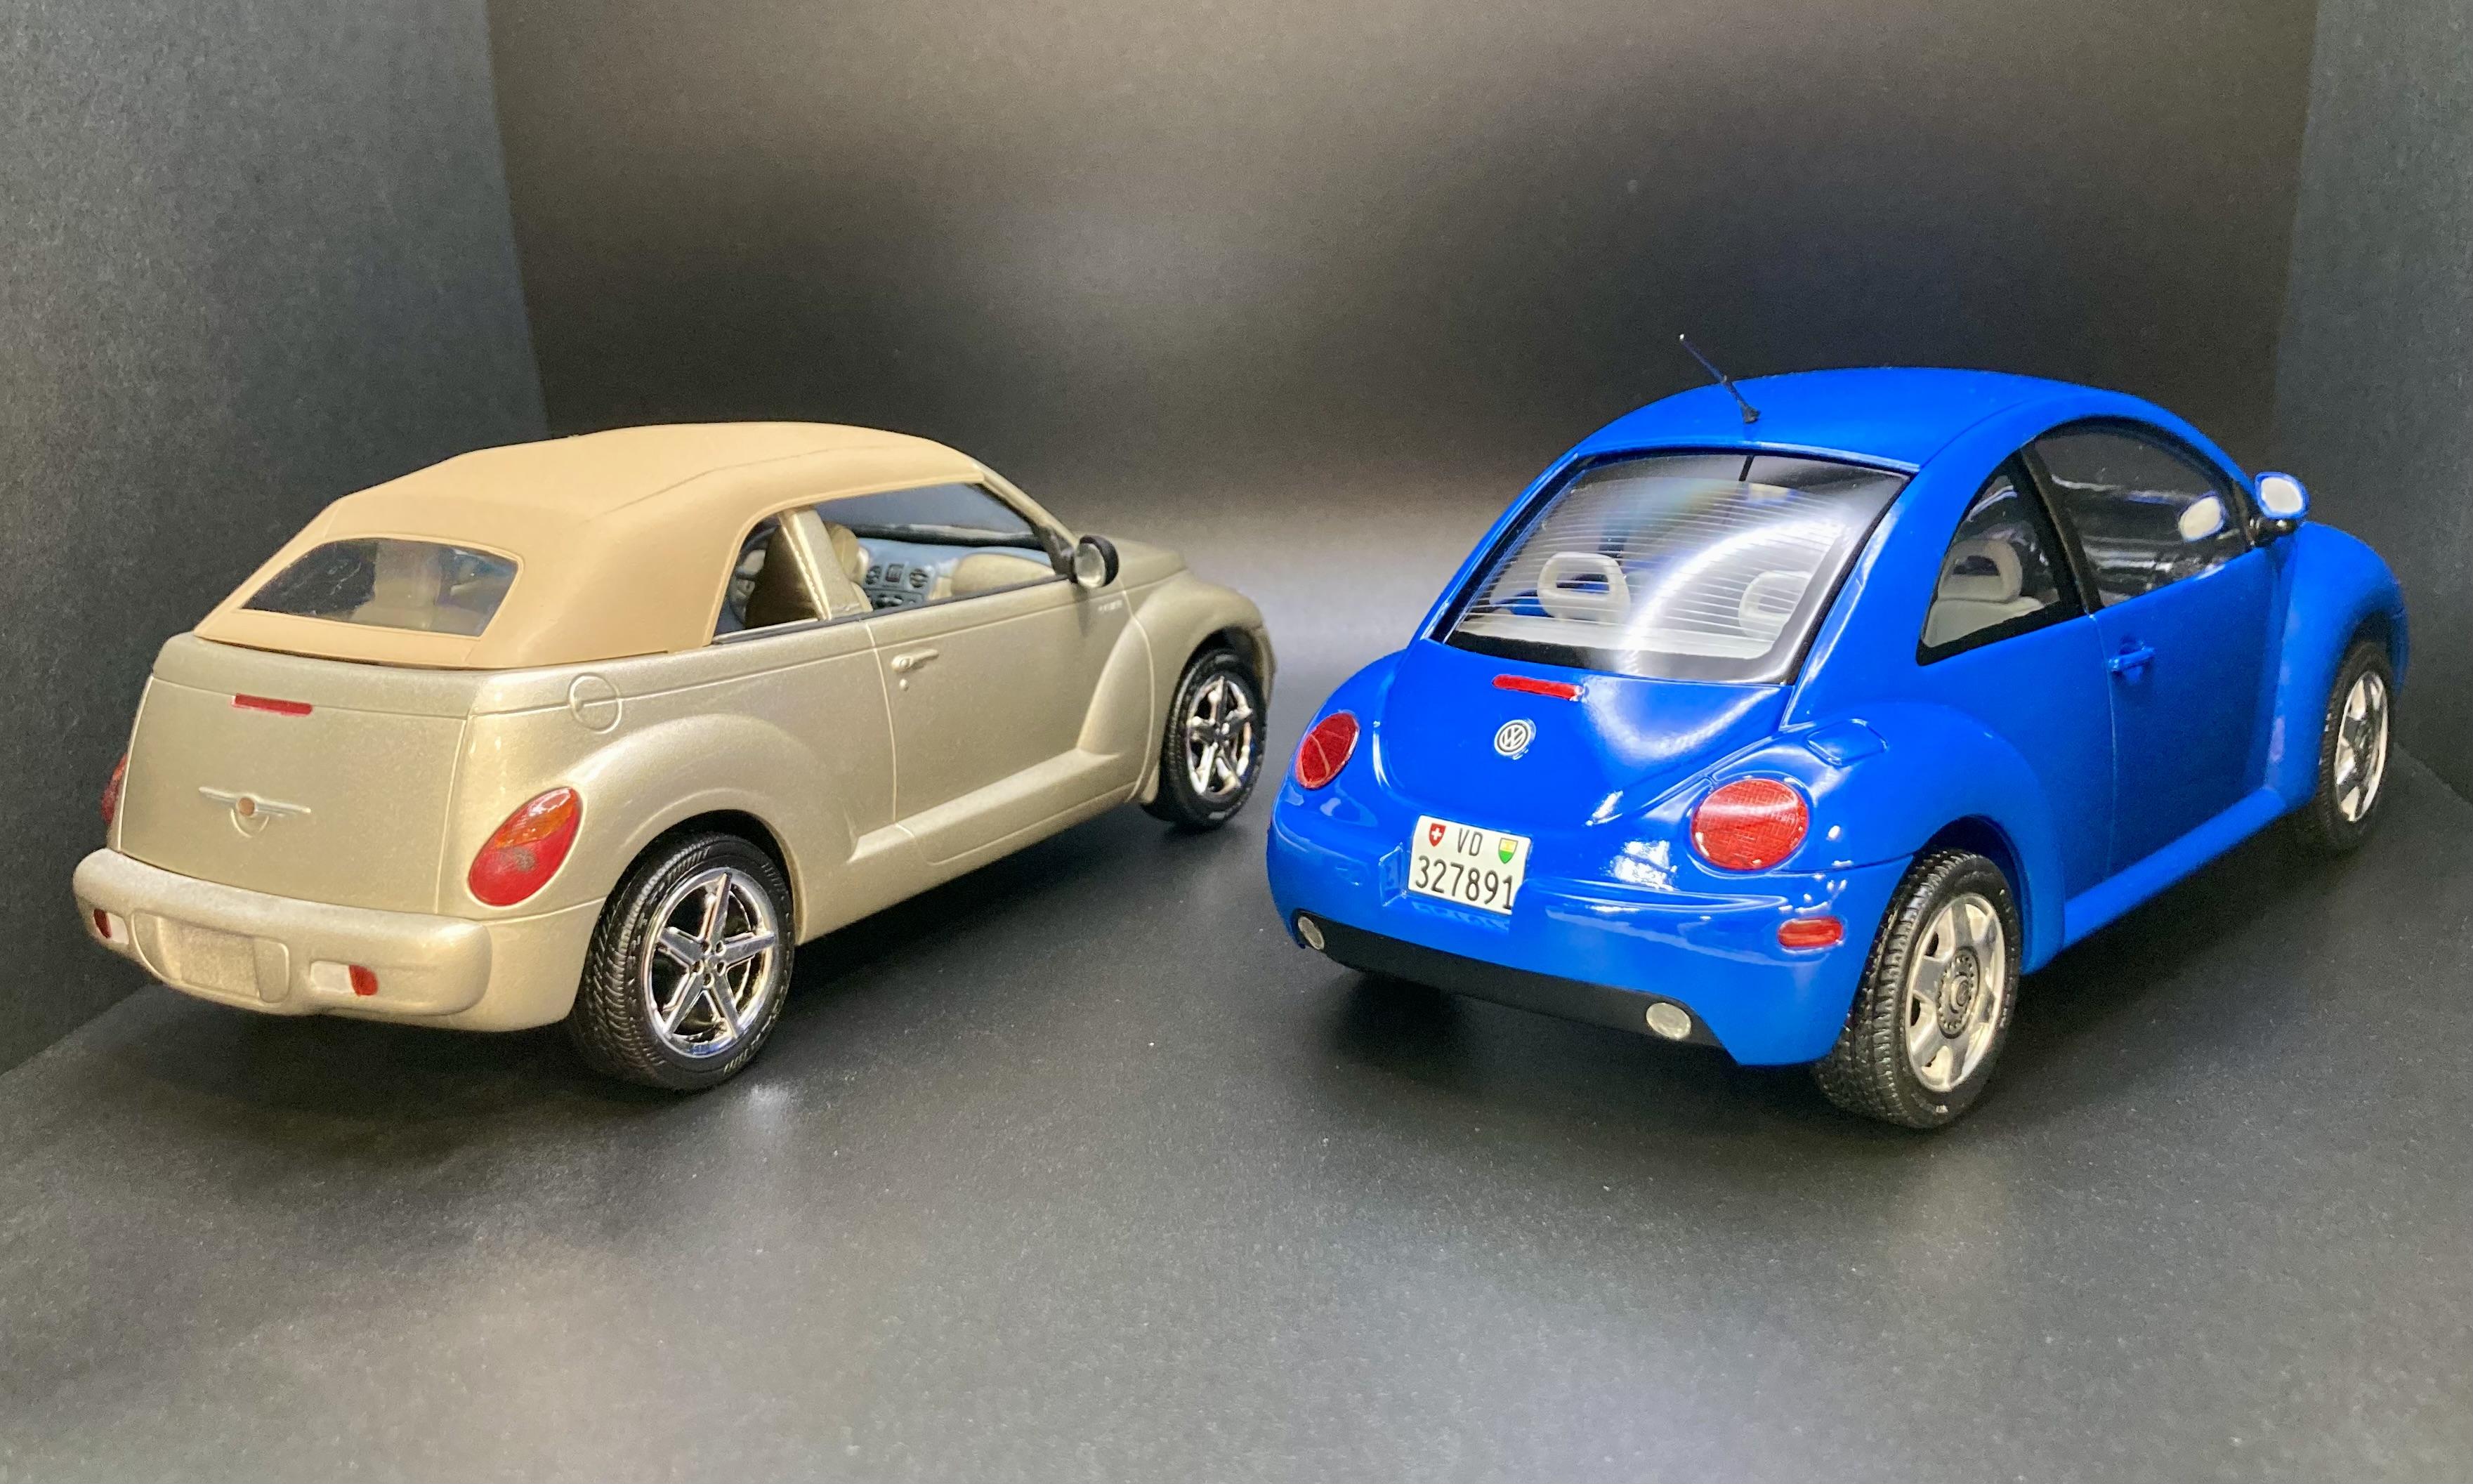
Everyone’s favorite mid-2000’s airport rental: the 2005 PT Cruiser Convertible in Grandma Gold! I never would have admitted it as a teen when these were new, but I always thought the convertible version of the PT Cruiser looked kinda cool. This is the Revell Snap kit and it goes together nicely with decent detail despite having ~30 parts. Something odd I noticed- the interior door panels don’t match the real car at all. I’m guessing Revell took the 4-door interior mold and modified it for the convertible instead of making a new mold? Anyway this was a fun quick build to break in my new hobby room! Colors used. I’ve had bad luck with Pledge floor gloss cracking when applied over air-brushed Tamiya acrylics, and Krylon’s spray clear being too hot and streaking the paint. So, I tried out Mod-Podge’s acrylic gloss clear spray can on this kit. It turned out pretty good, left a great shine with no polishing. However it was still a little hot when applied over the Tamiya acrylic, so be careful and make sure your first coat is a very light one. It also reacted with the clear headlight lenses and made them hazy so I’d avoid using it on clear parts.
- 9 replies
-
- 3
-
-
- chrysler
- pt cruiser
- (and 1 more)
-
First NASCAR build in eight years, so having to re-learn all of those atrophied race car builder skills from w-a-y back. That said this is a great one to restart with, simple paint scheme and excellent JWTBM decals. Not expecting to create any sort of 'WOW' model, just easing my way back into it. Comments and questions welcome. Cheers from New Zealand. Ian.
-
This is the relatively new Revell Jaguar XKE depicting a series 1 car. The kit was somewhat disappointing with many sink marks and a couple of short shot sprues. Fortunately, I had two kits to draw upon. I have also enhanced the kit with some scratchbuilt items. Most details of the real car were in the kit, but many were poorly rendered and not very sharp. The decal sheet is very complete and exceptionally nice, high resolution printing and in-register. The wheels are aftermarket 3D prints from Ukranian Scale Car Production and are exceptionally nice.
-
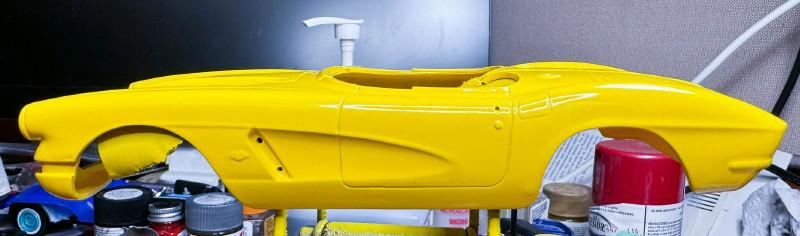
Another one started in 2015, I had some problems with the paint, so I got another body from eBay for it. Nine years later I took another look at it and decided I could fix the paint problems on the old body. Tamiya paints, Matt white base with TS-17(?) yellow. From 2015 The 2024 repaint. Since I've discovered that yellow was not a factory color in 62, I may put the chrome revers wheels on it from the 58 Vette kit. I'll see how they look. Thanks for looking all comments welcomed.
-
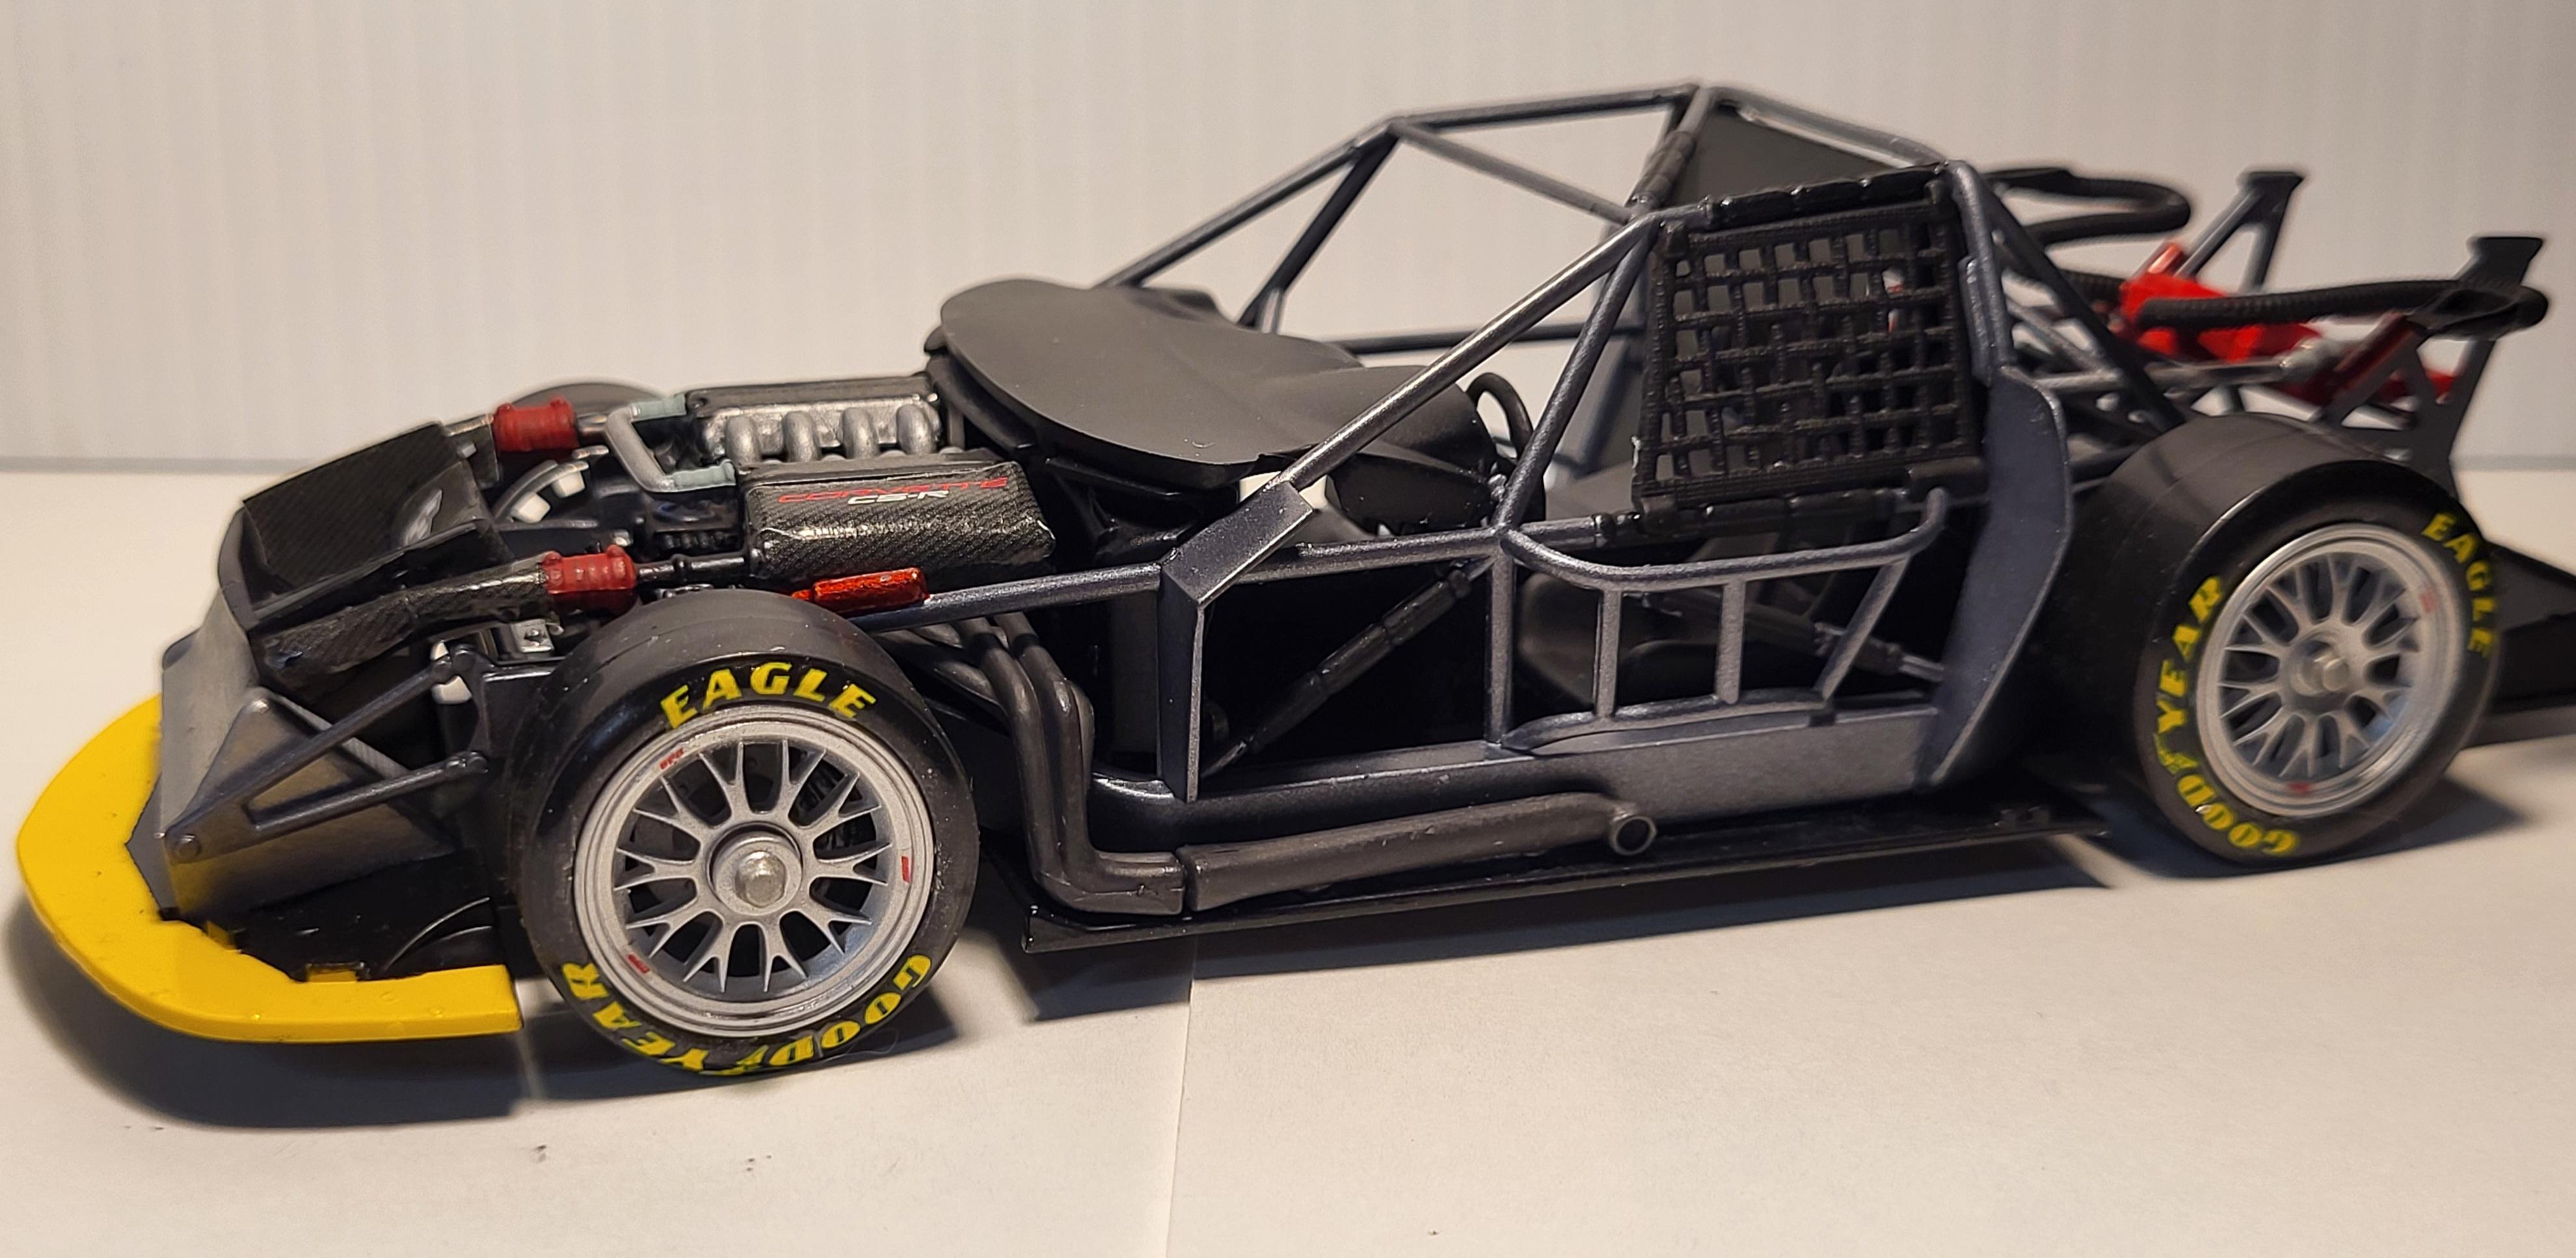
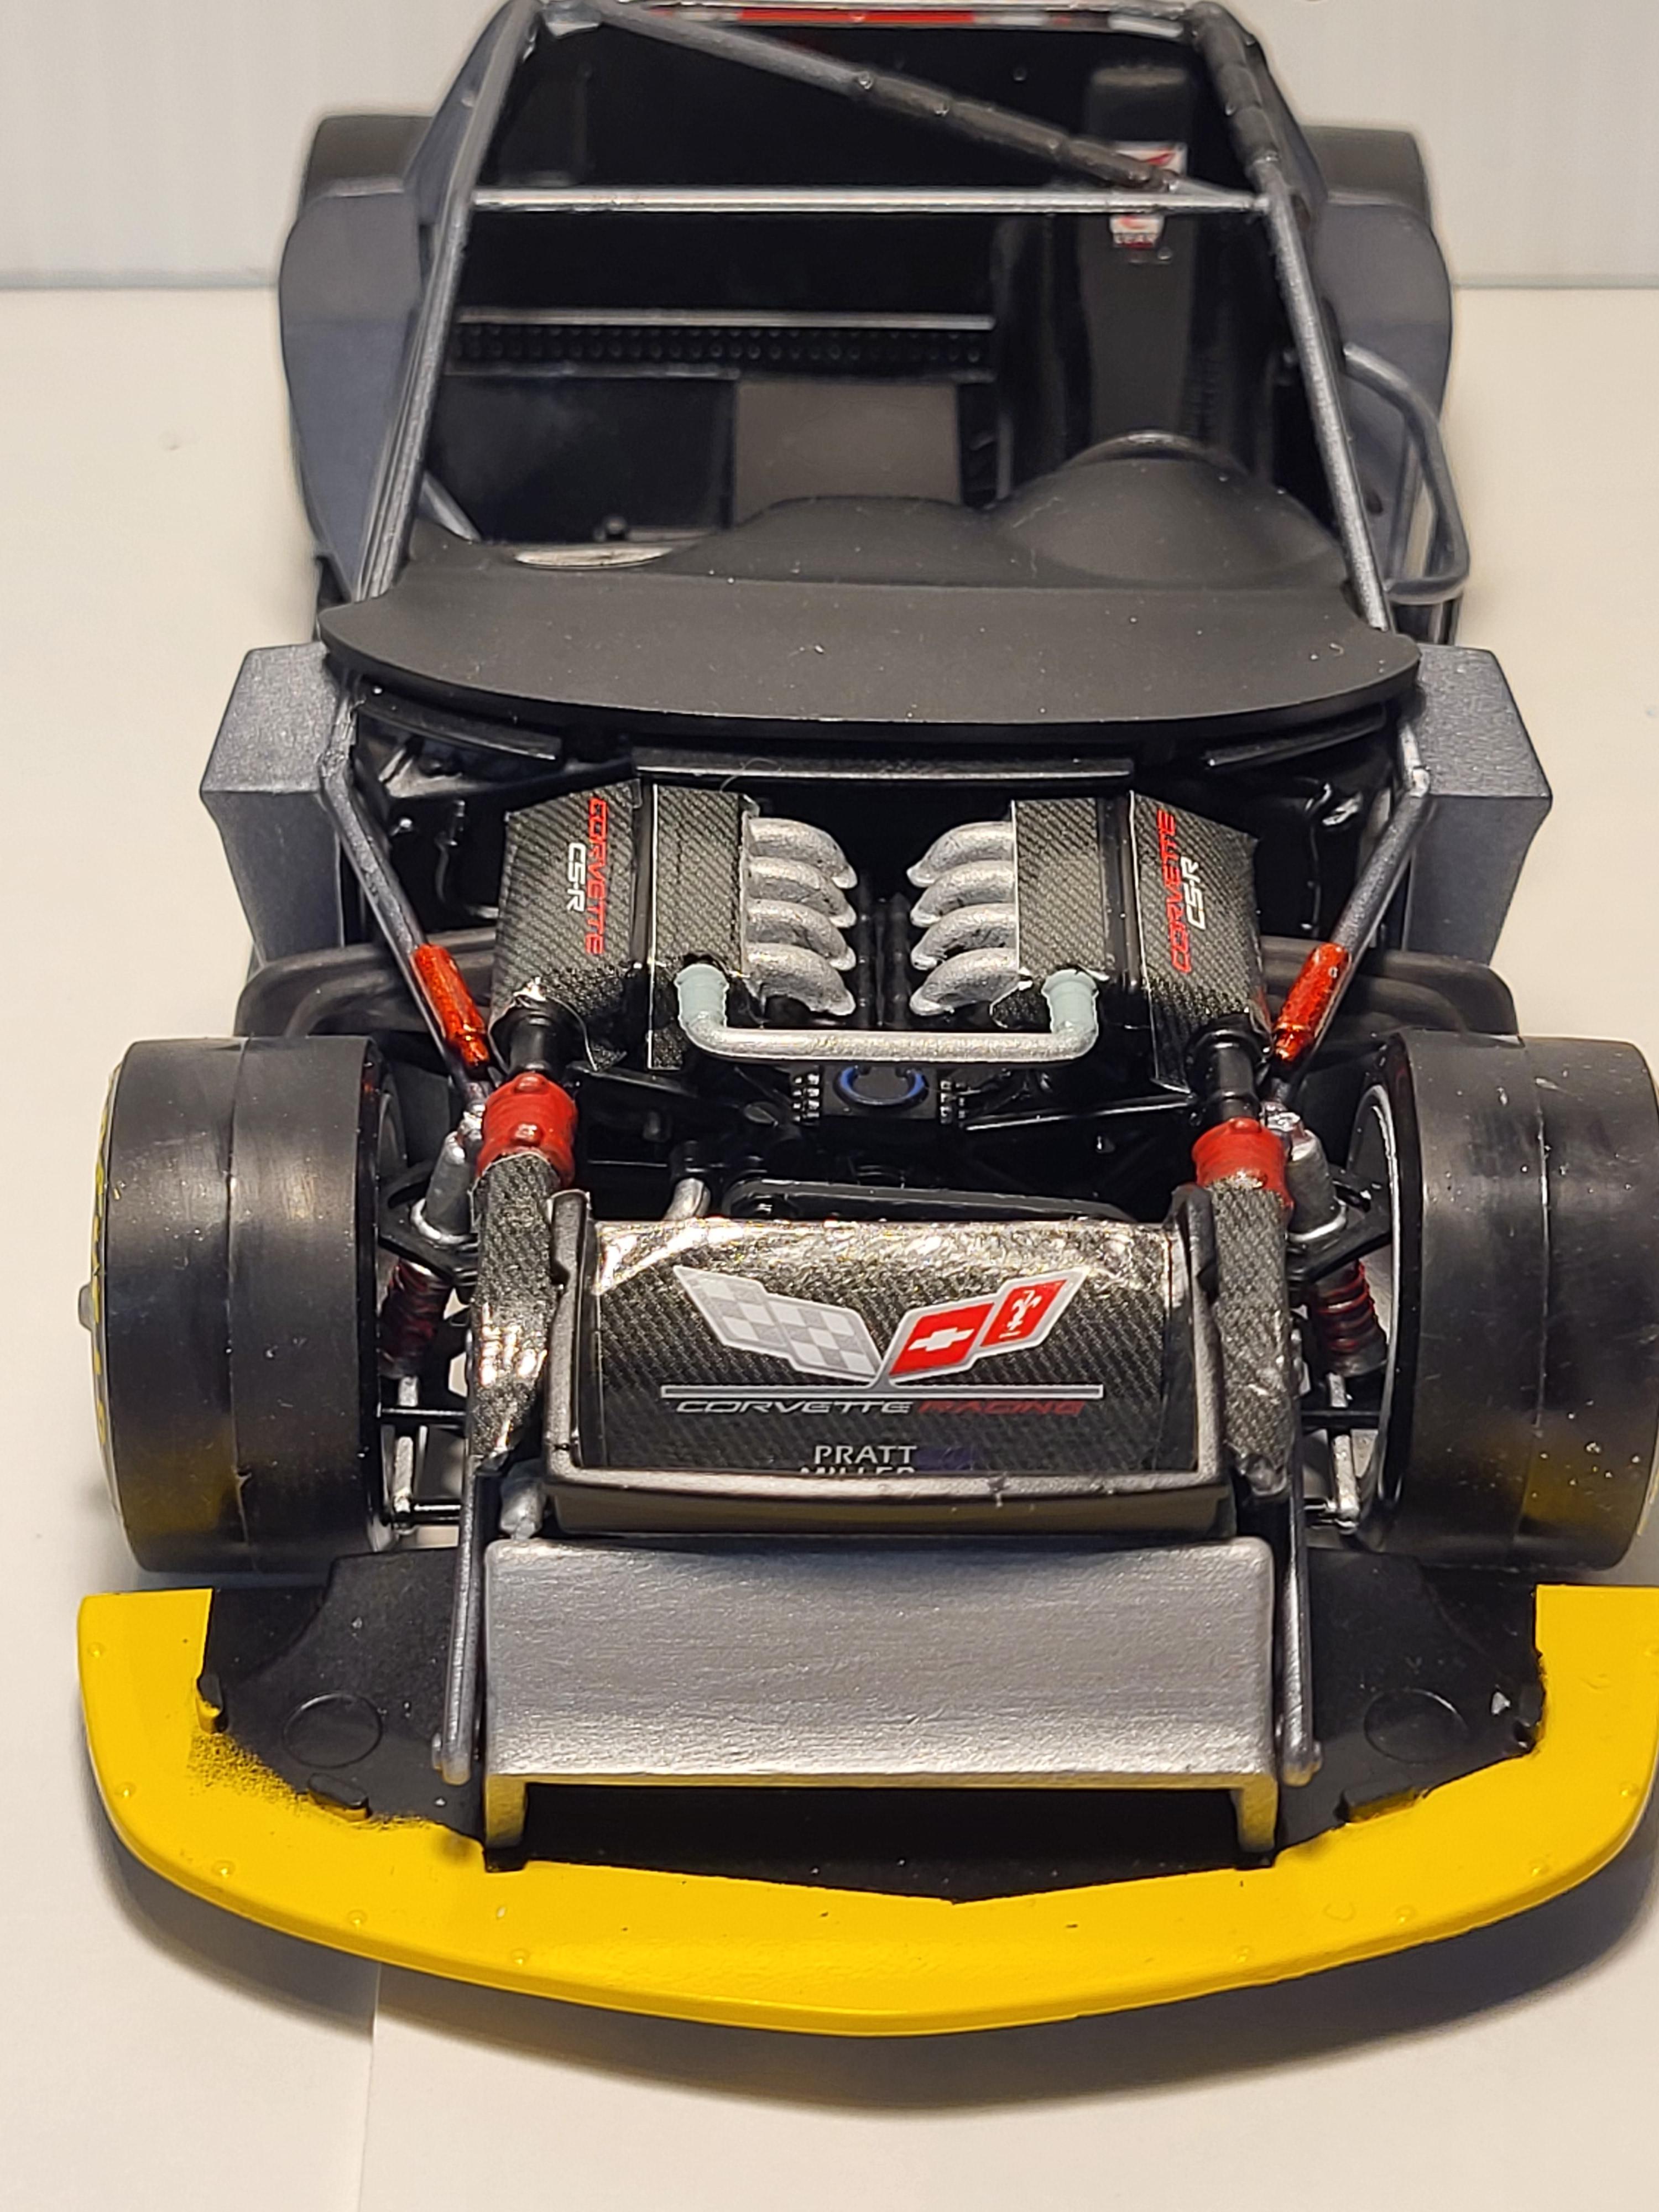
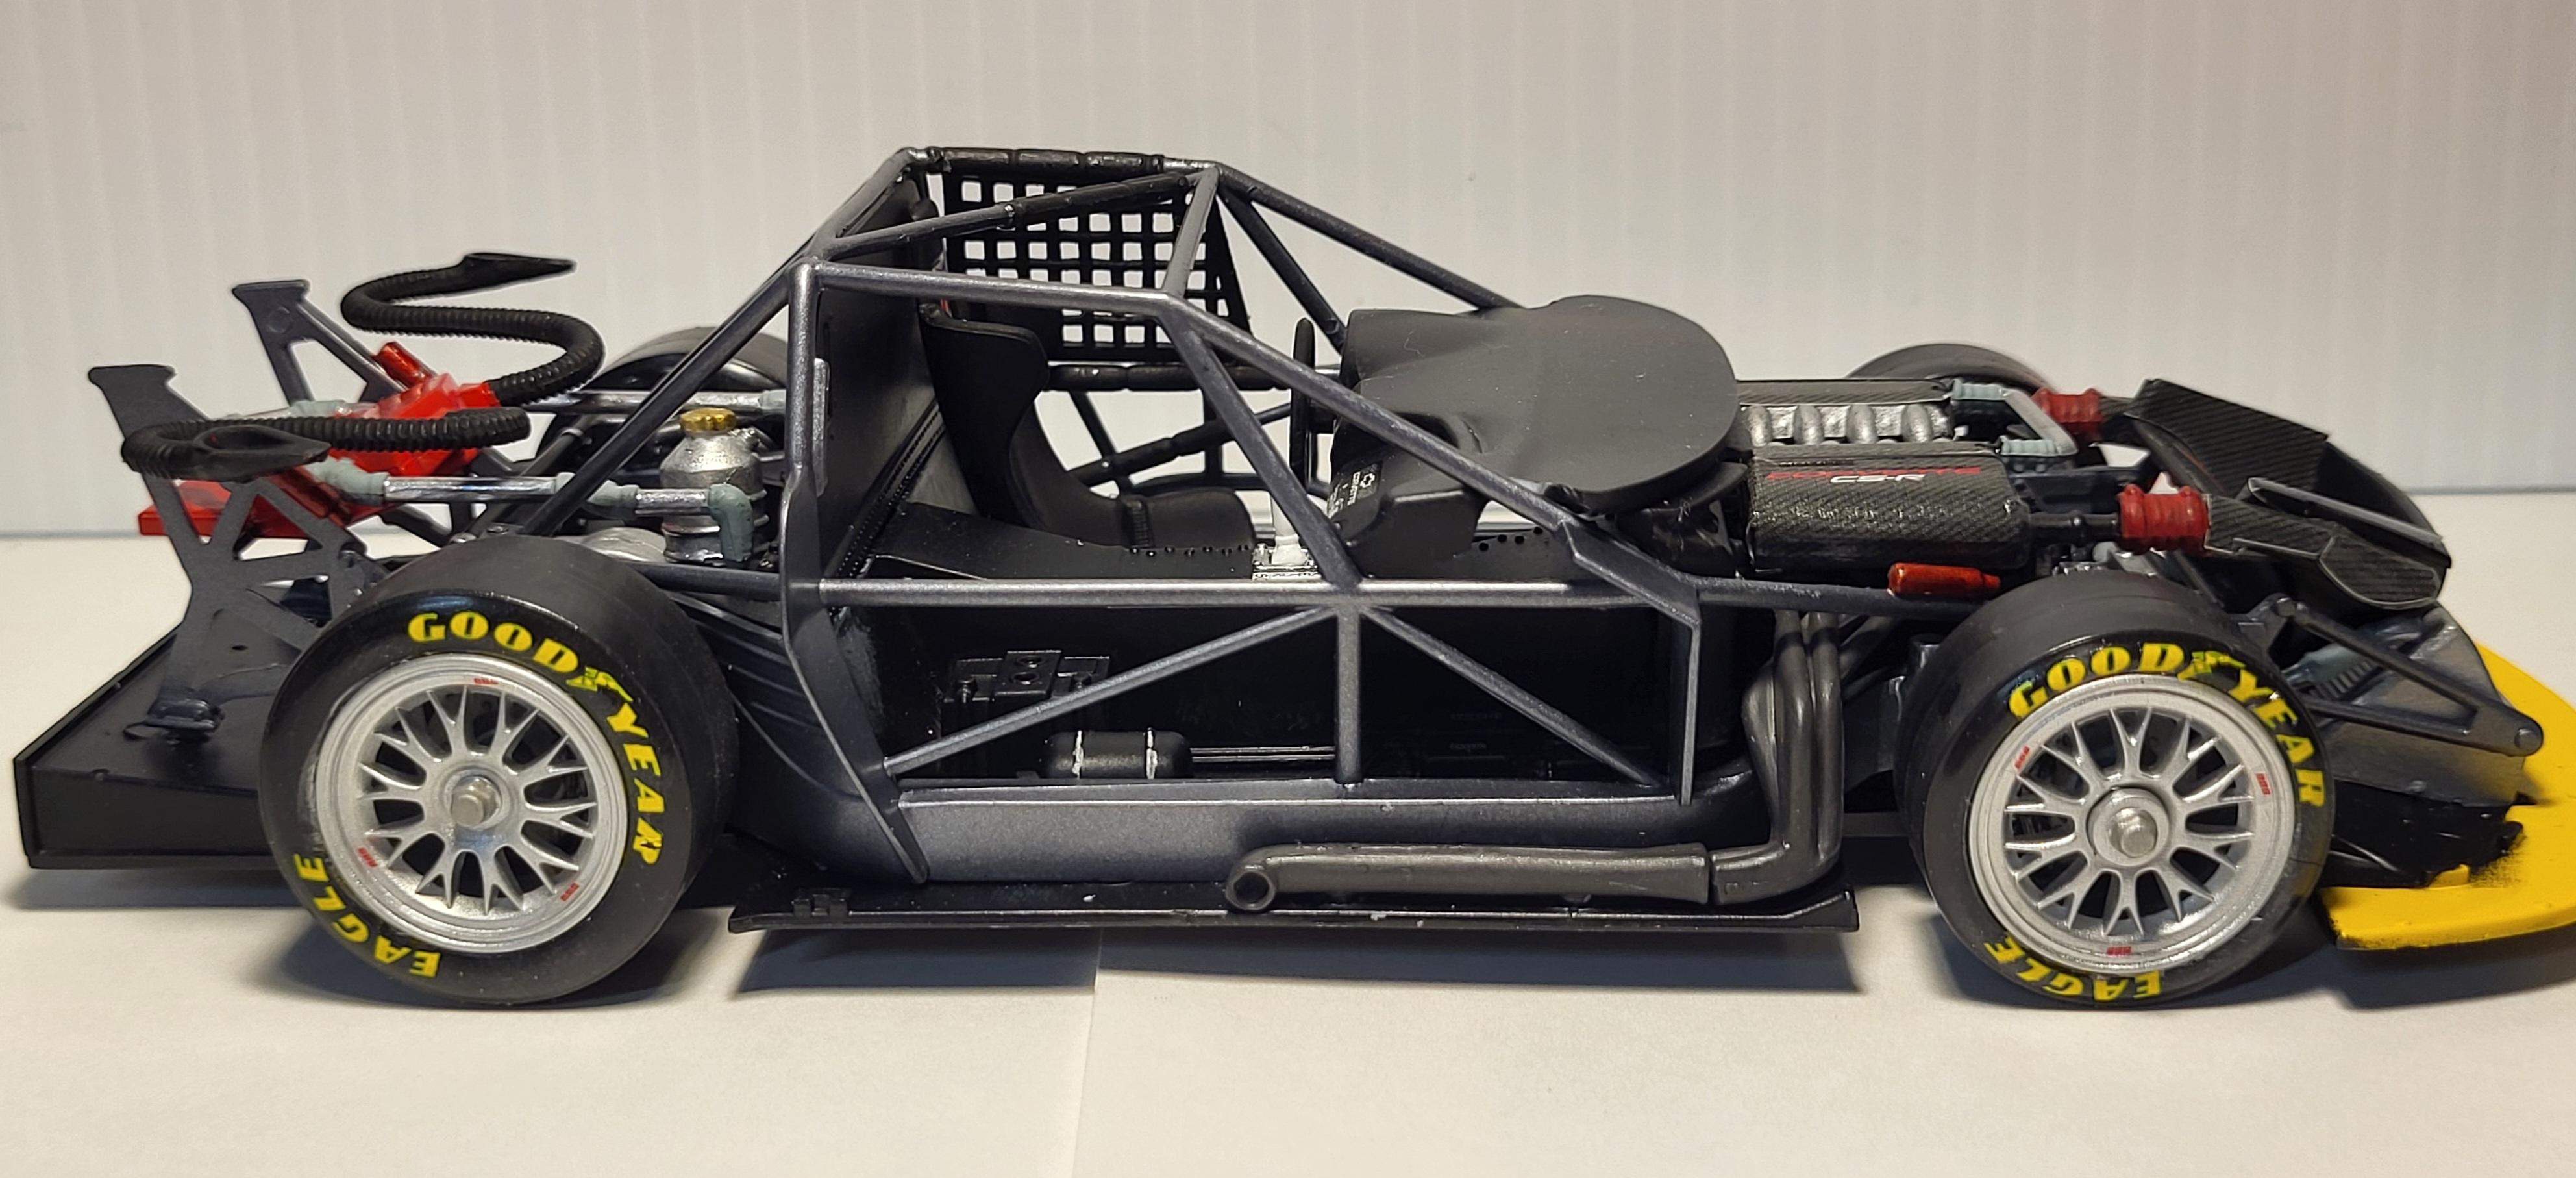
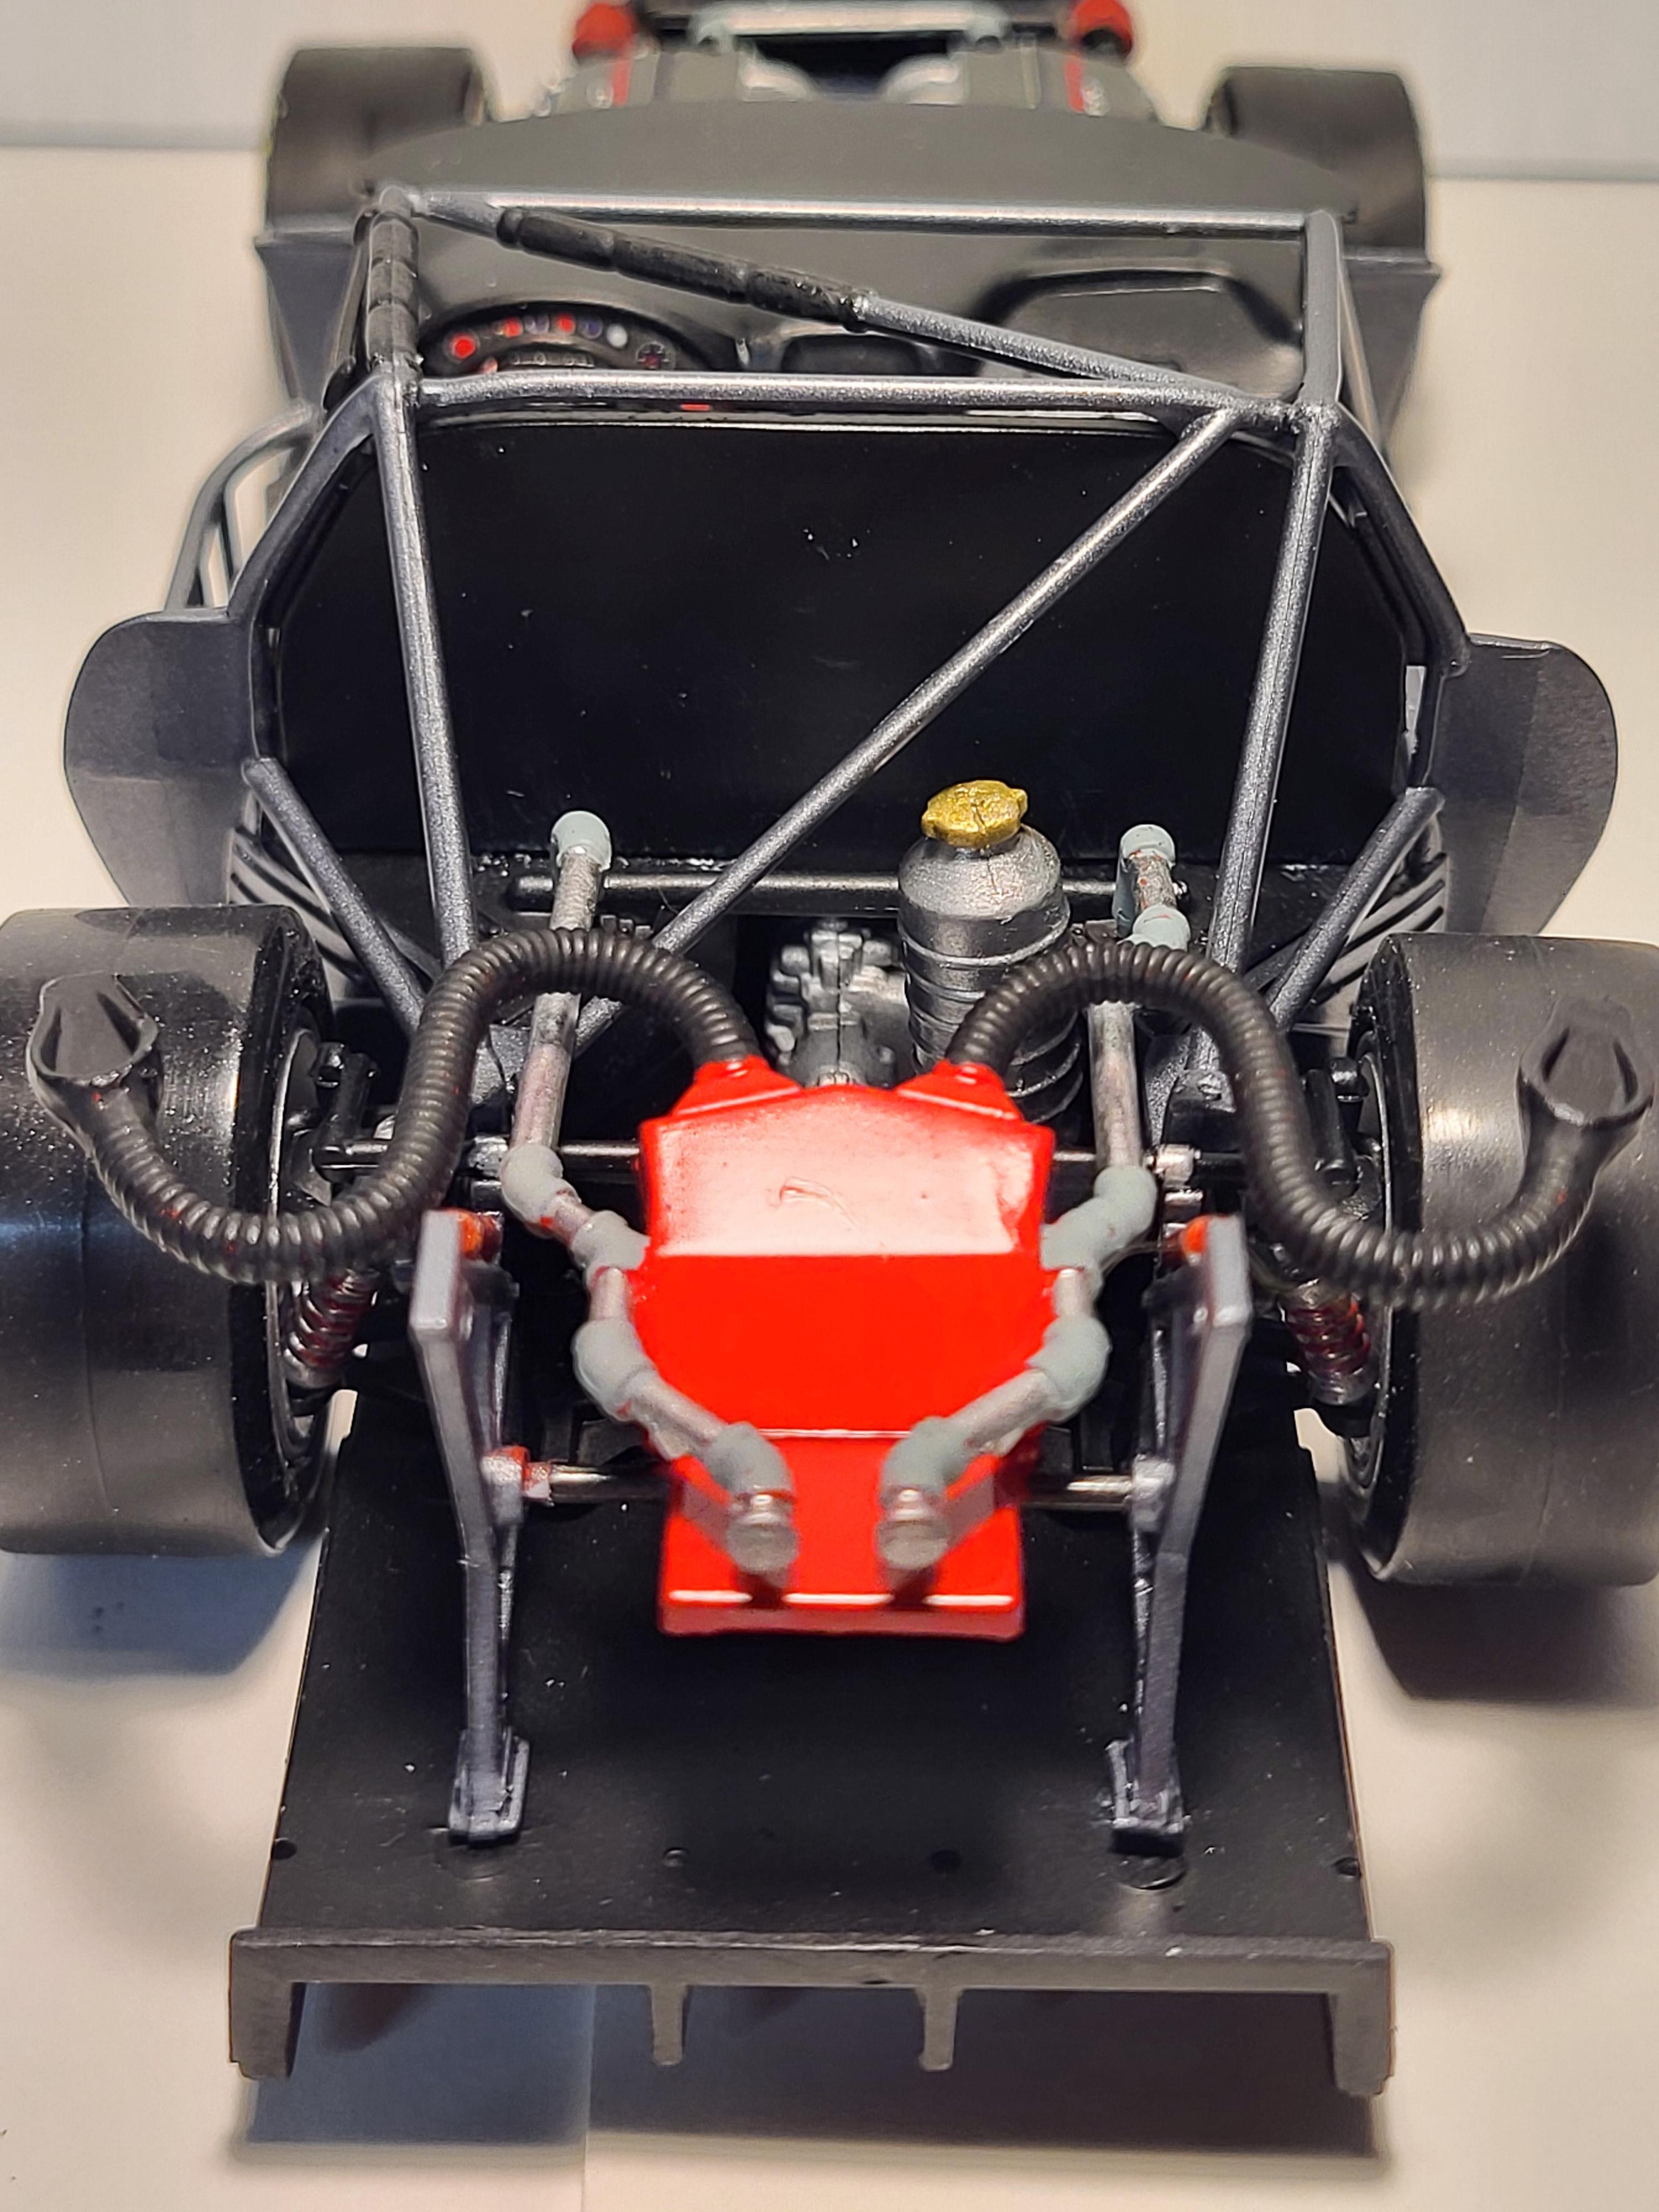
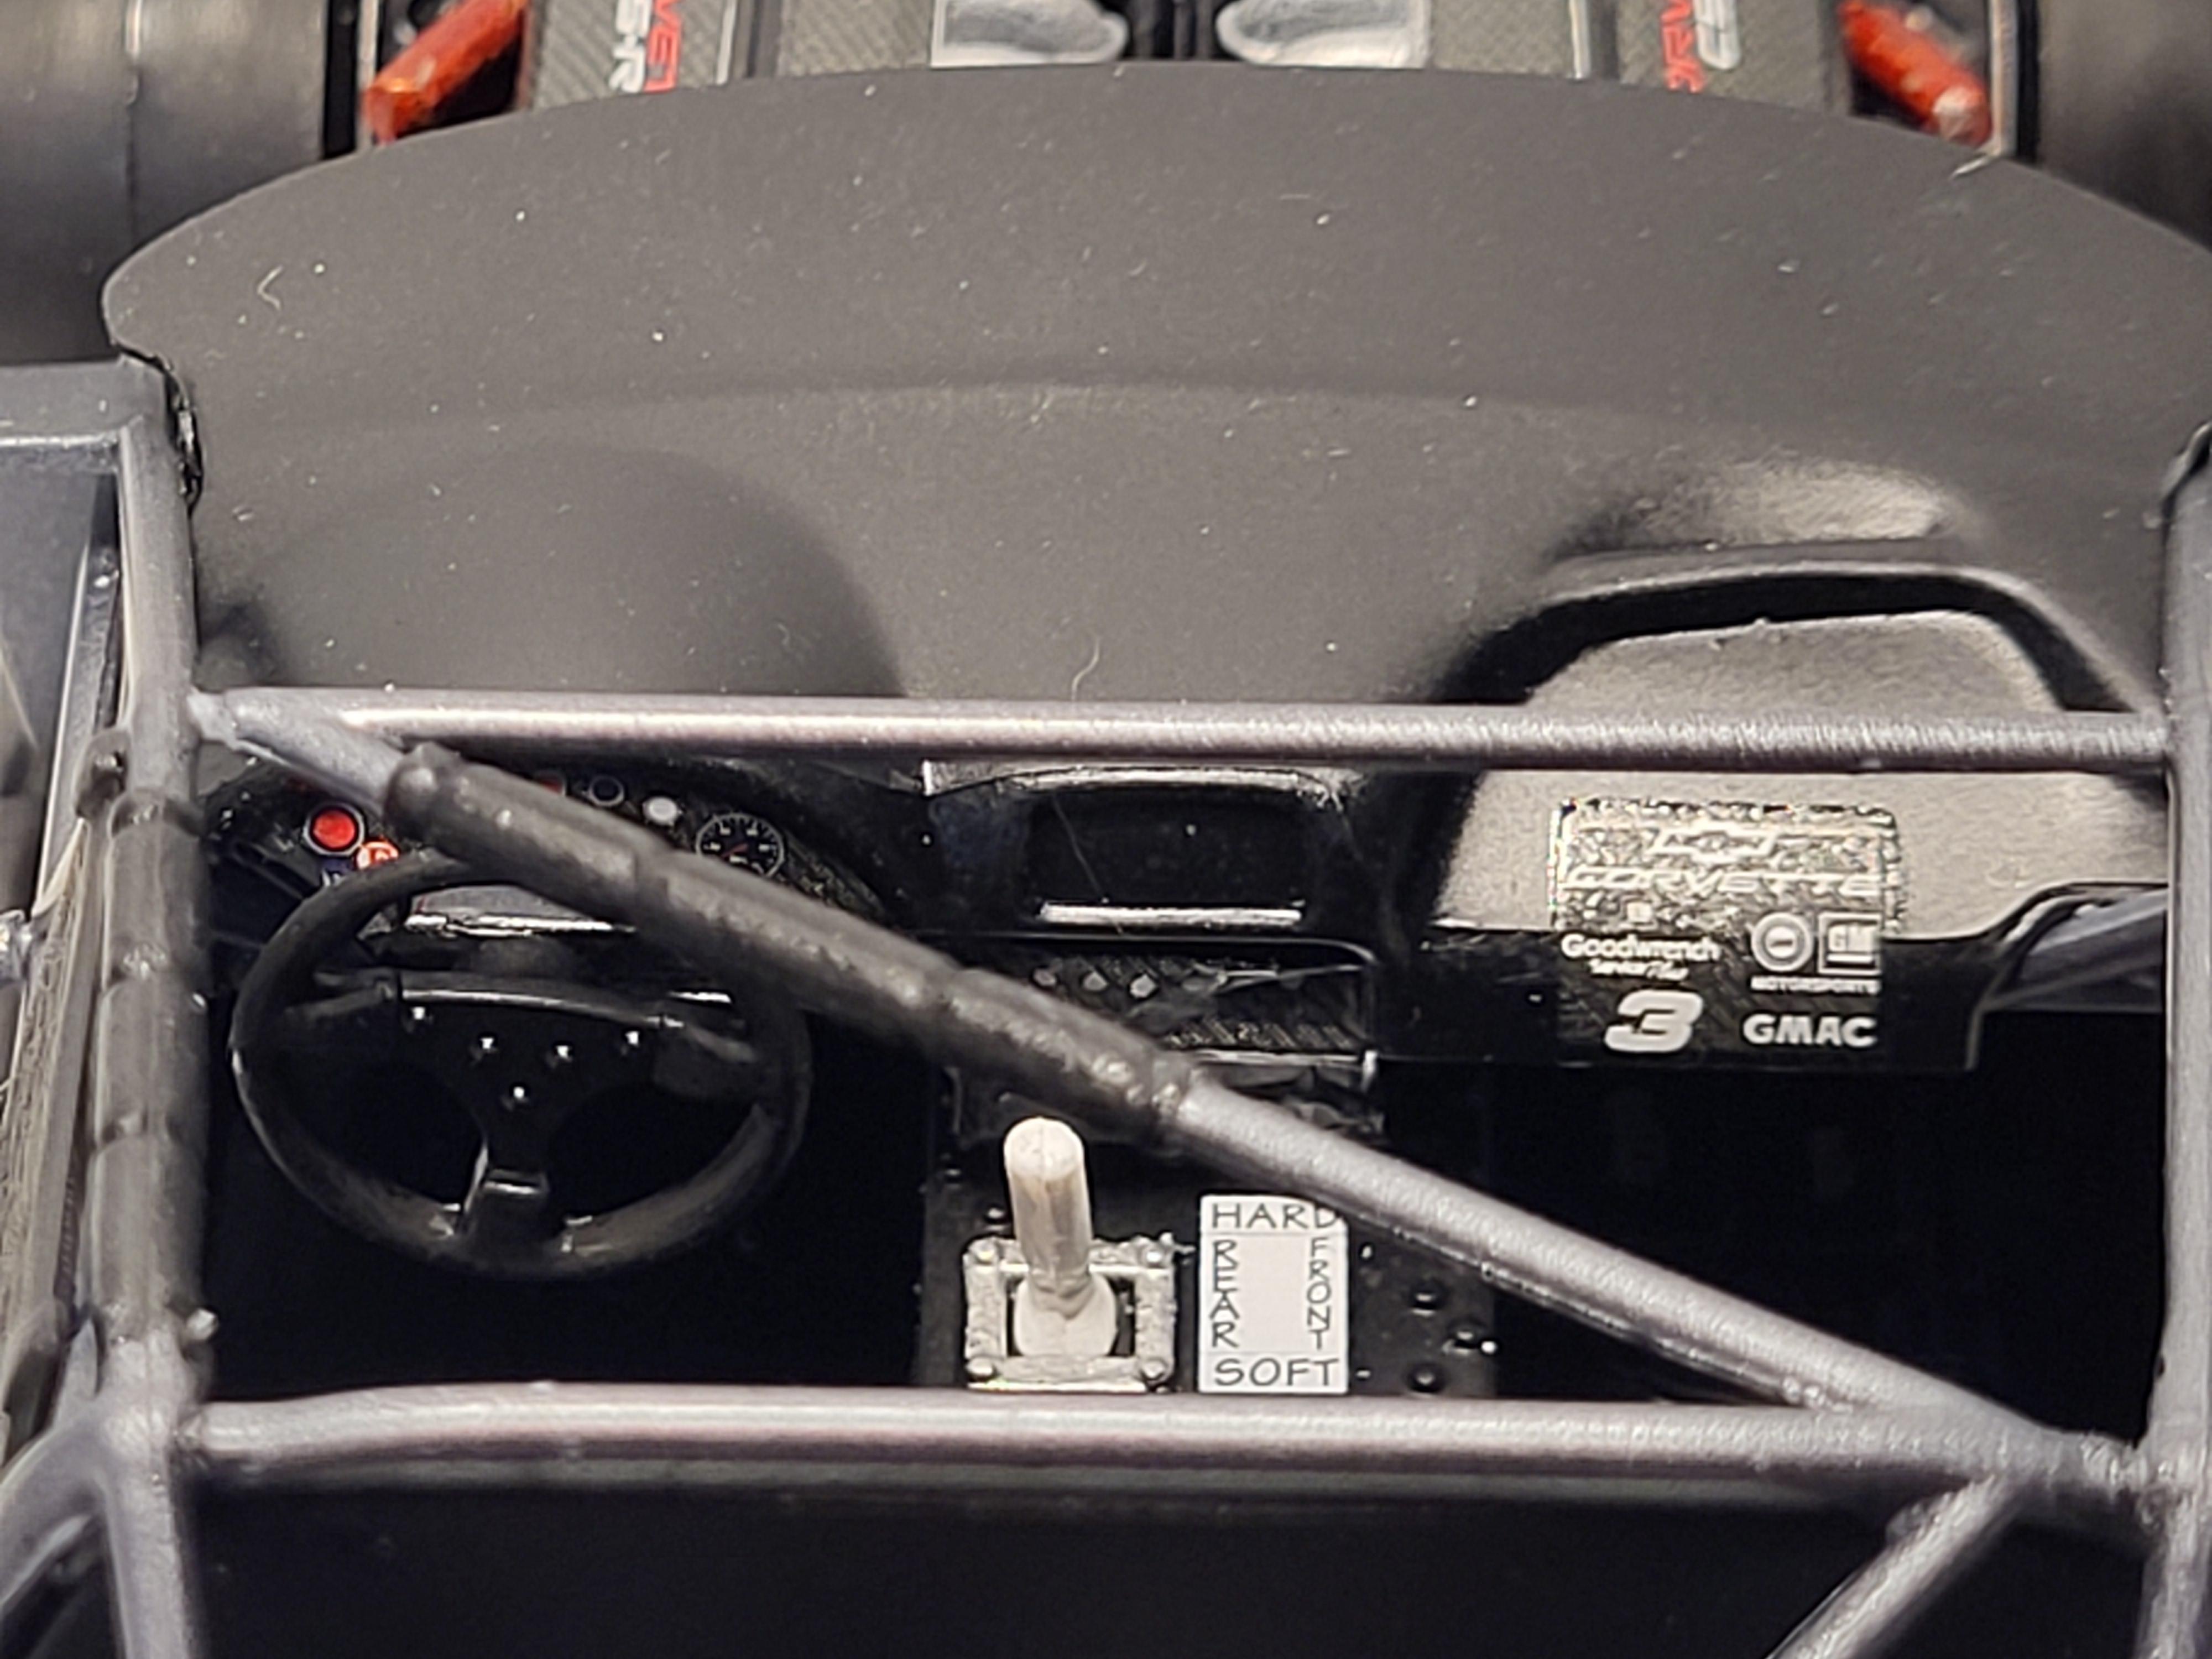
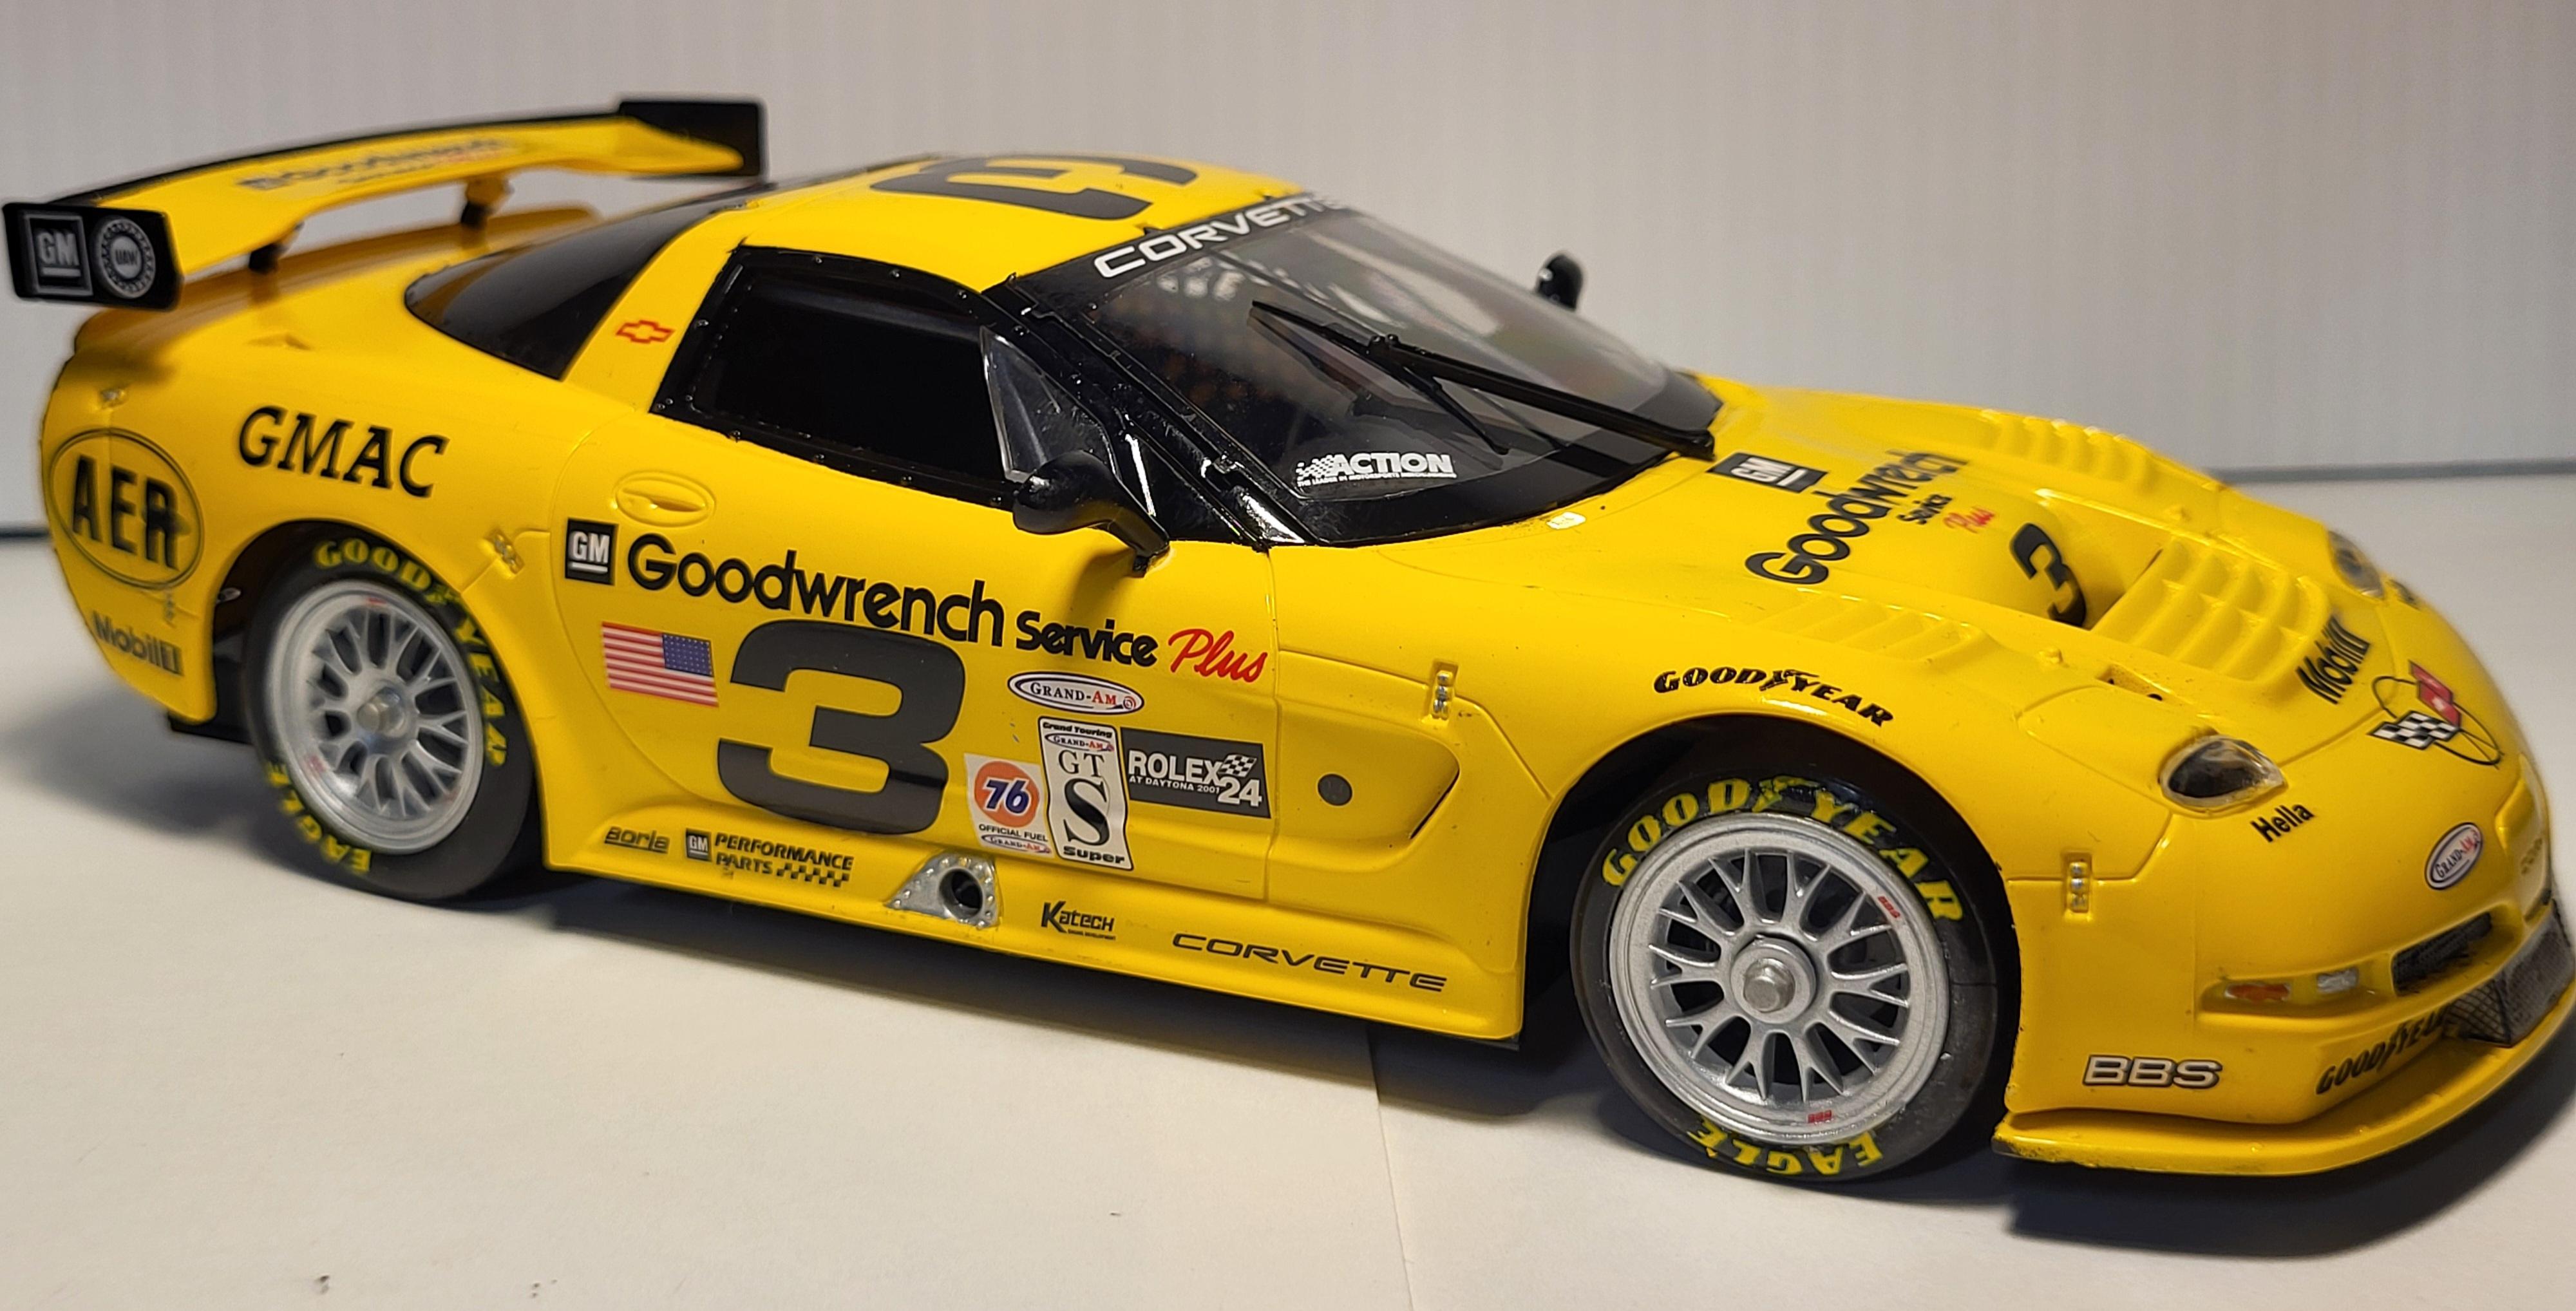
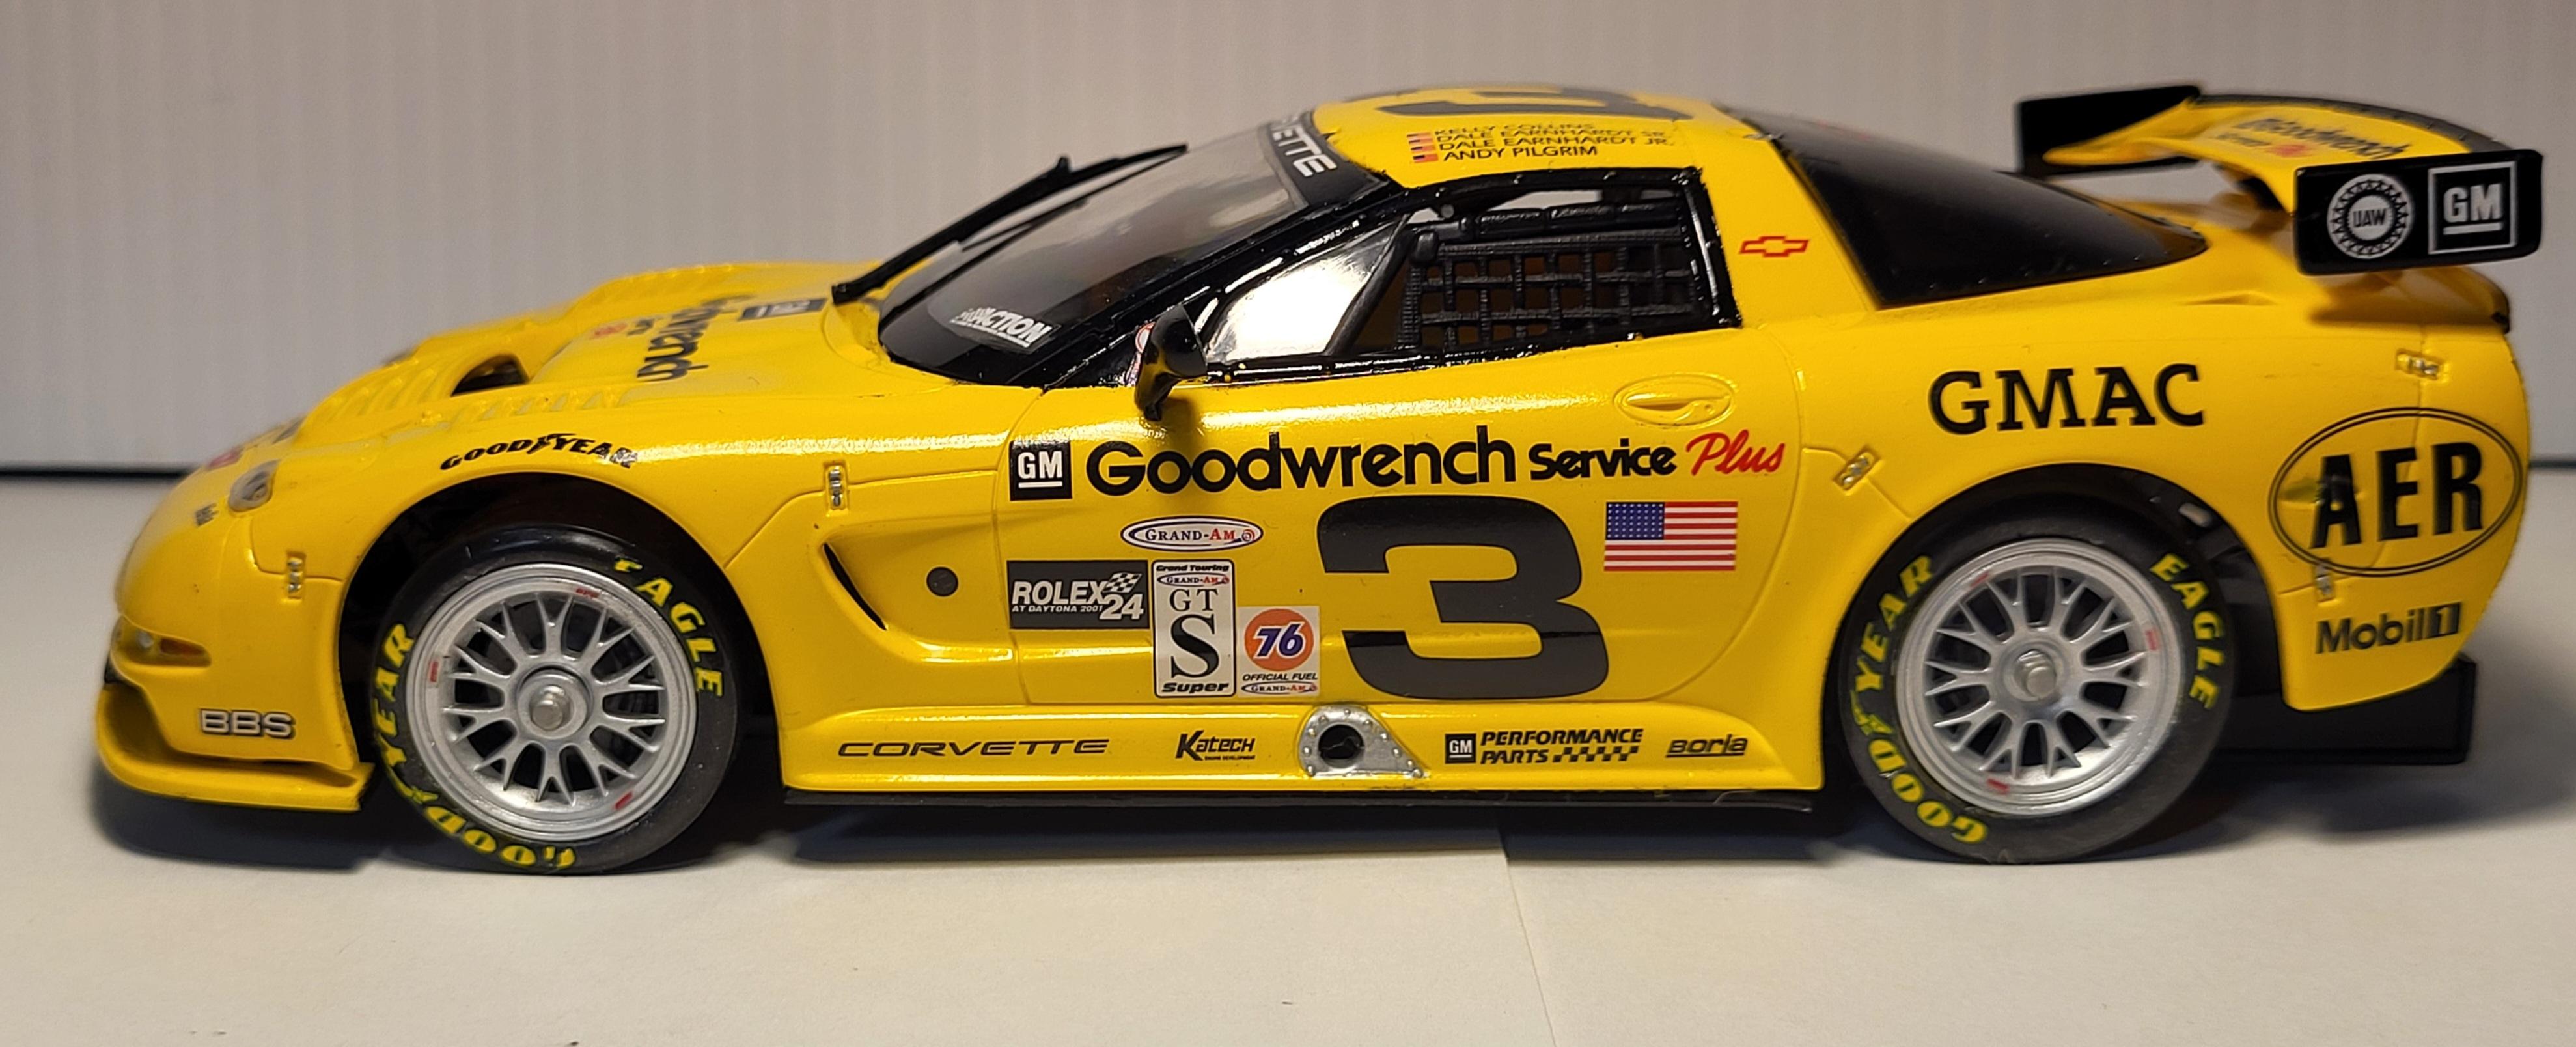
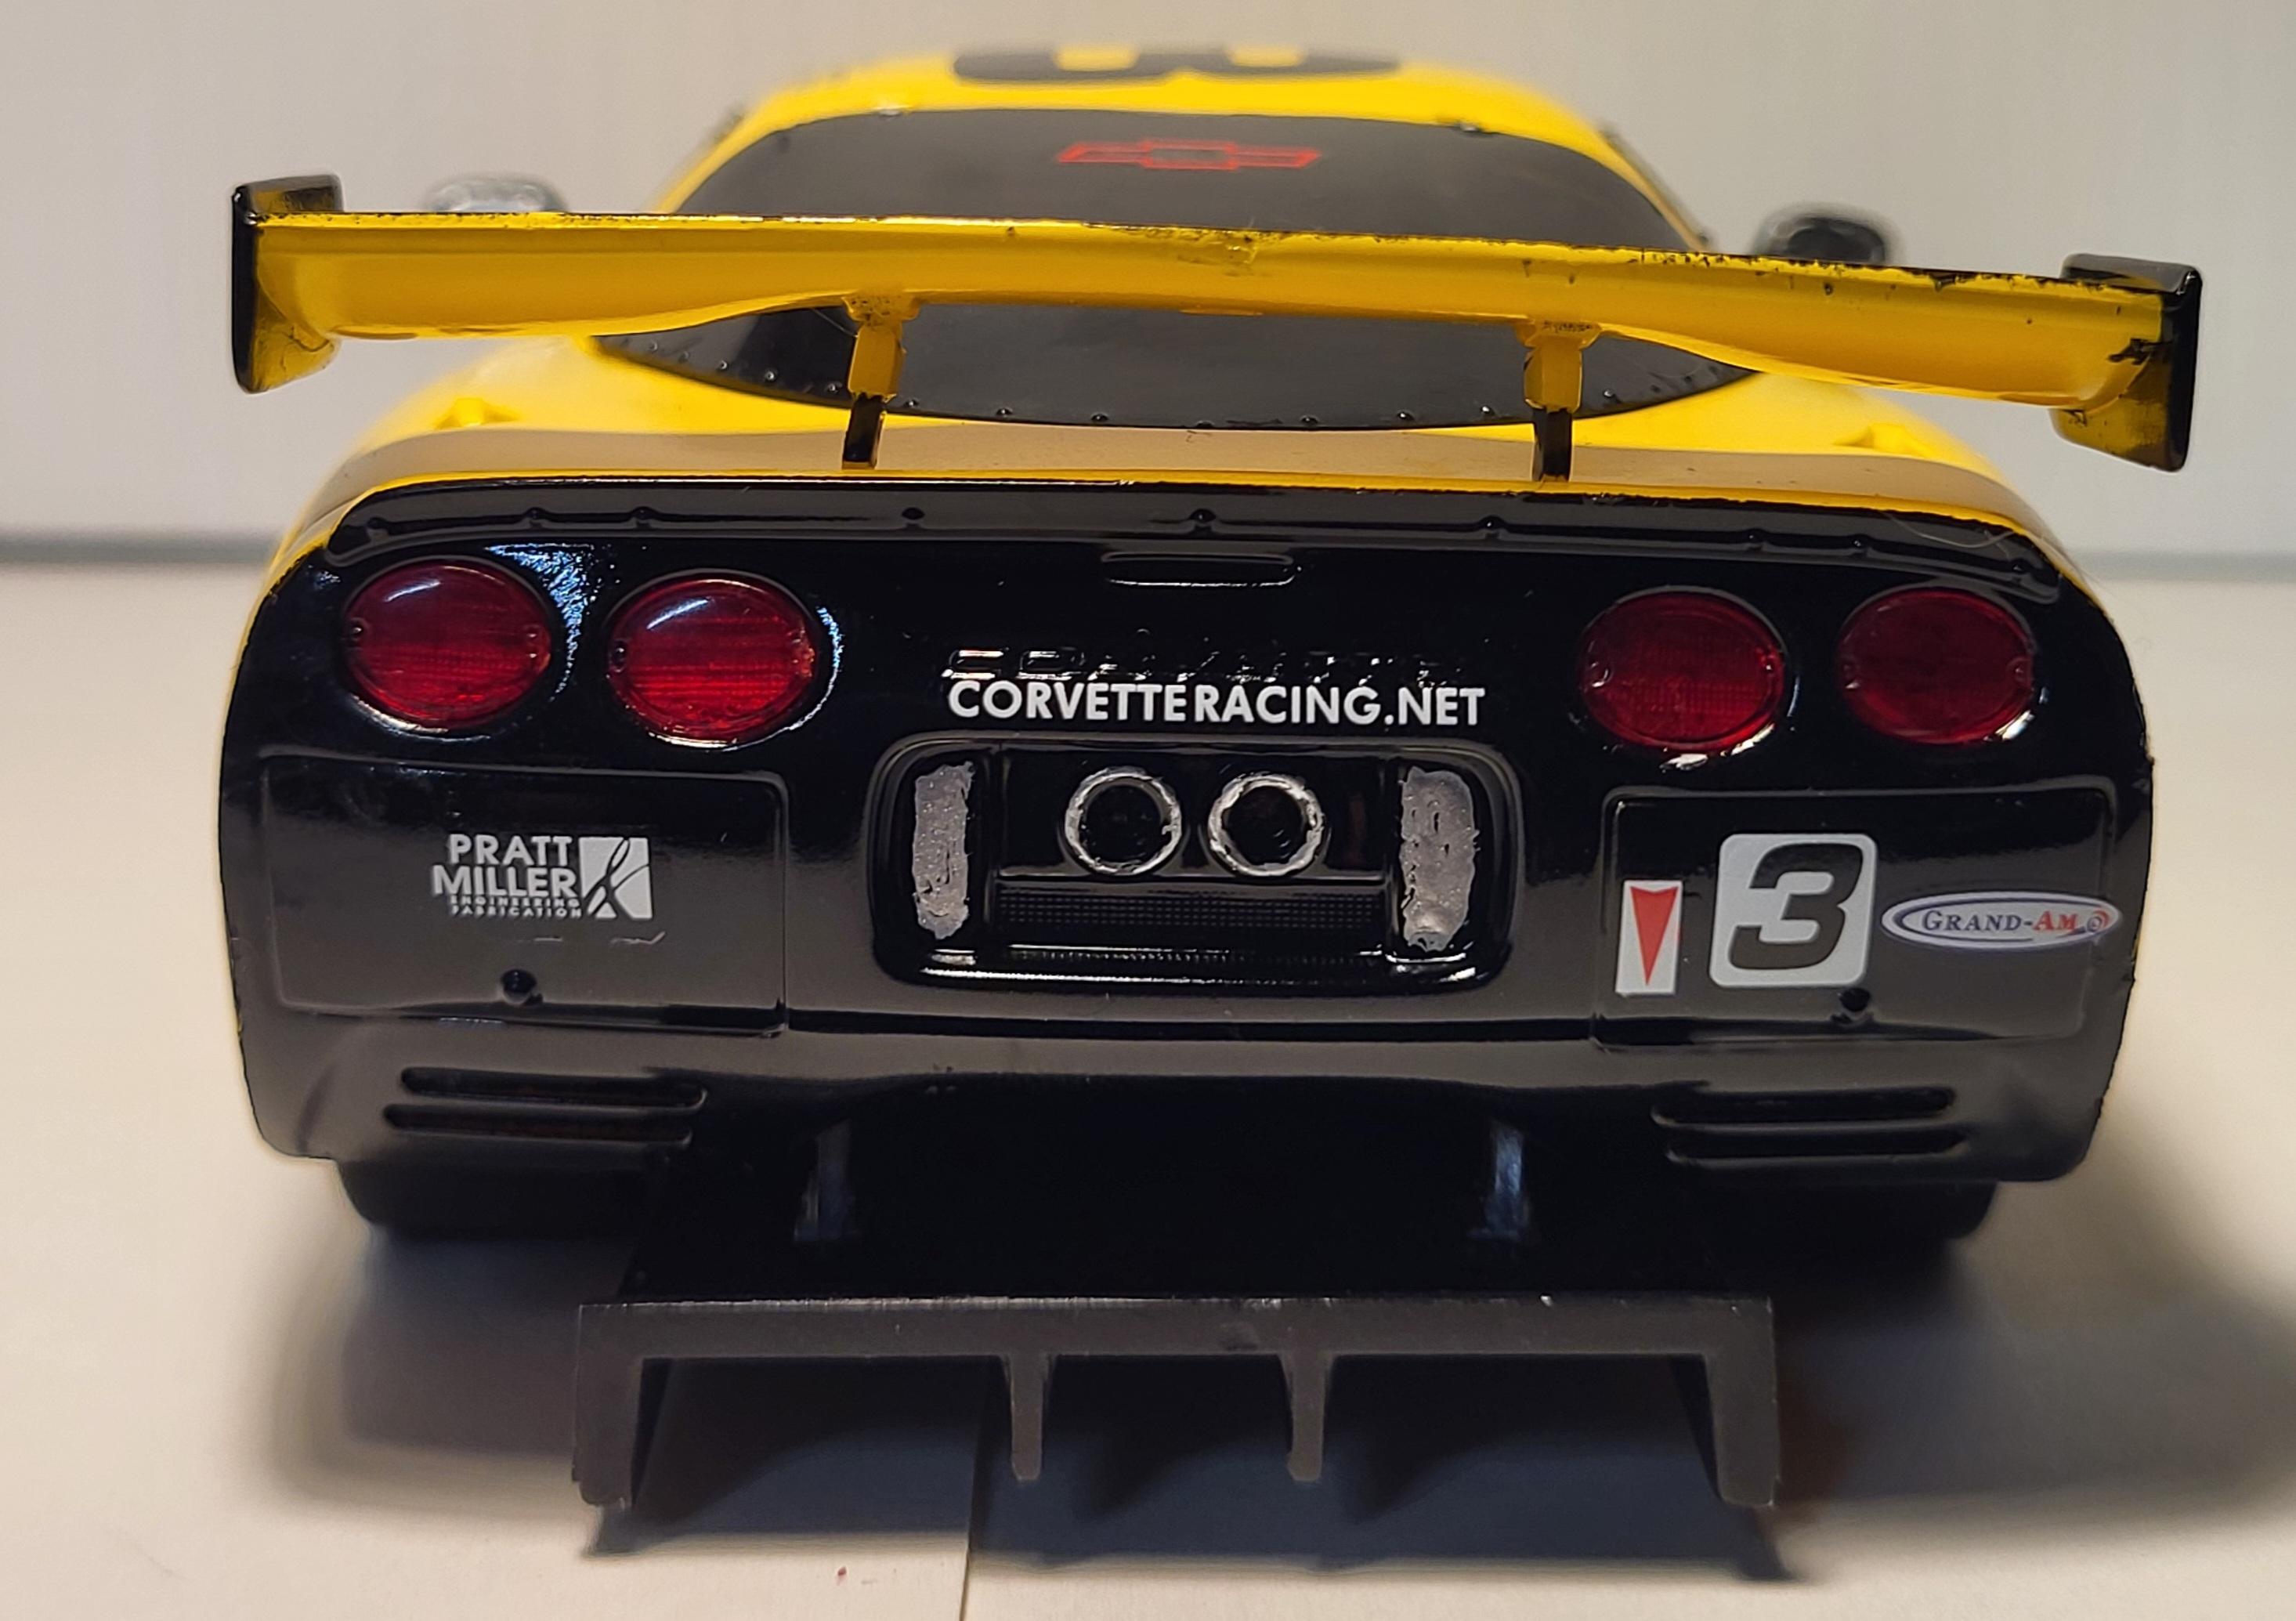
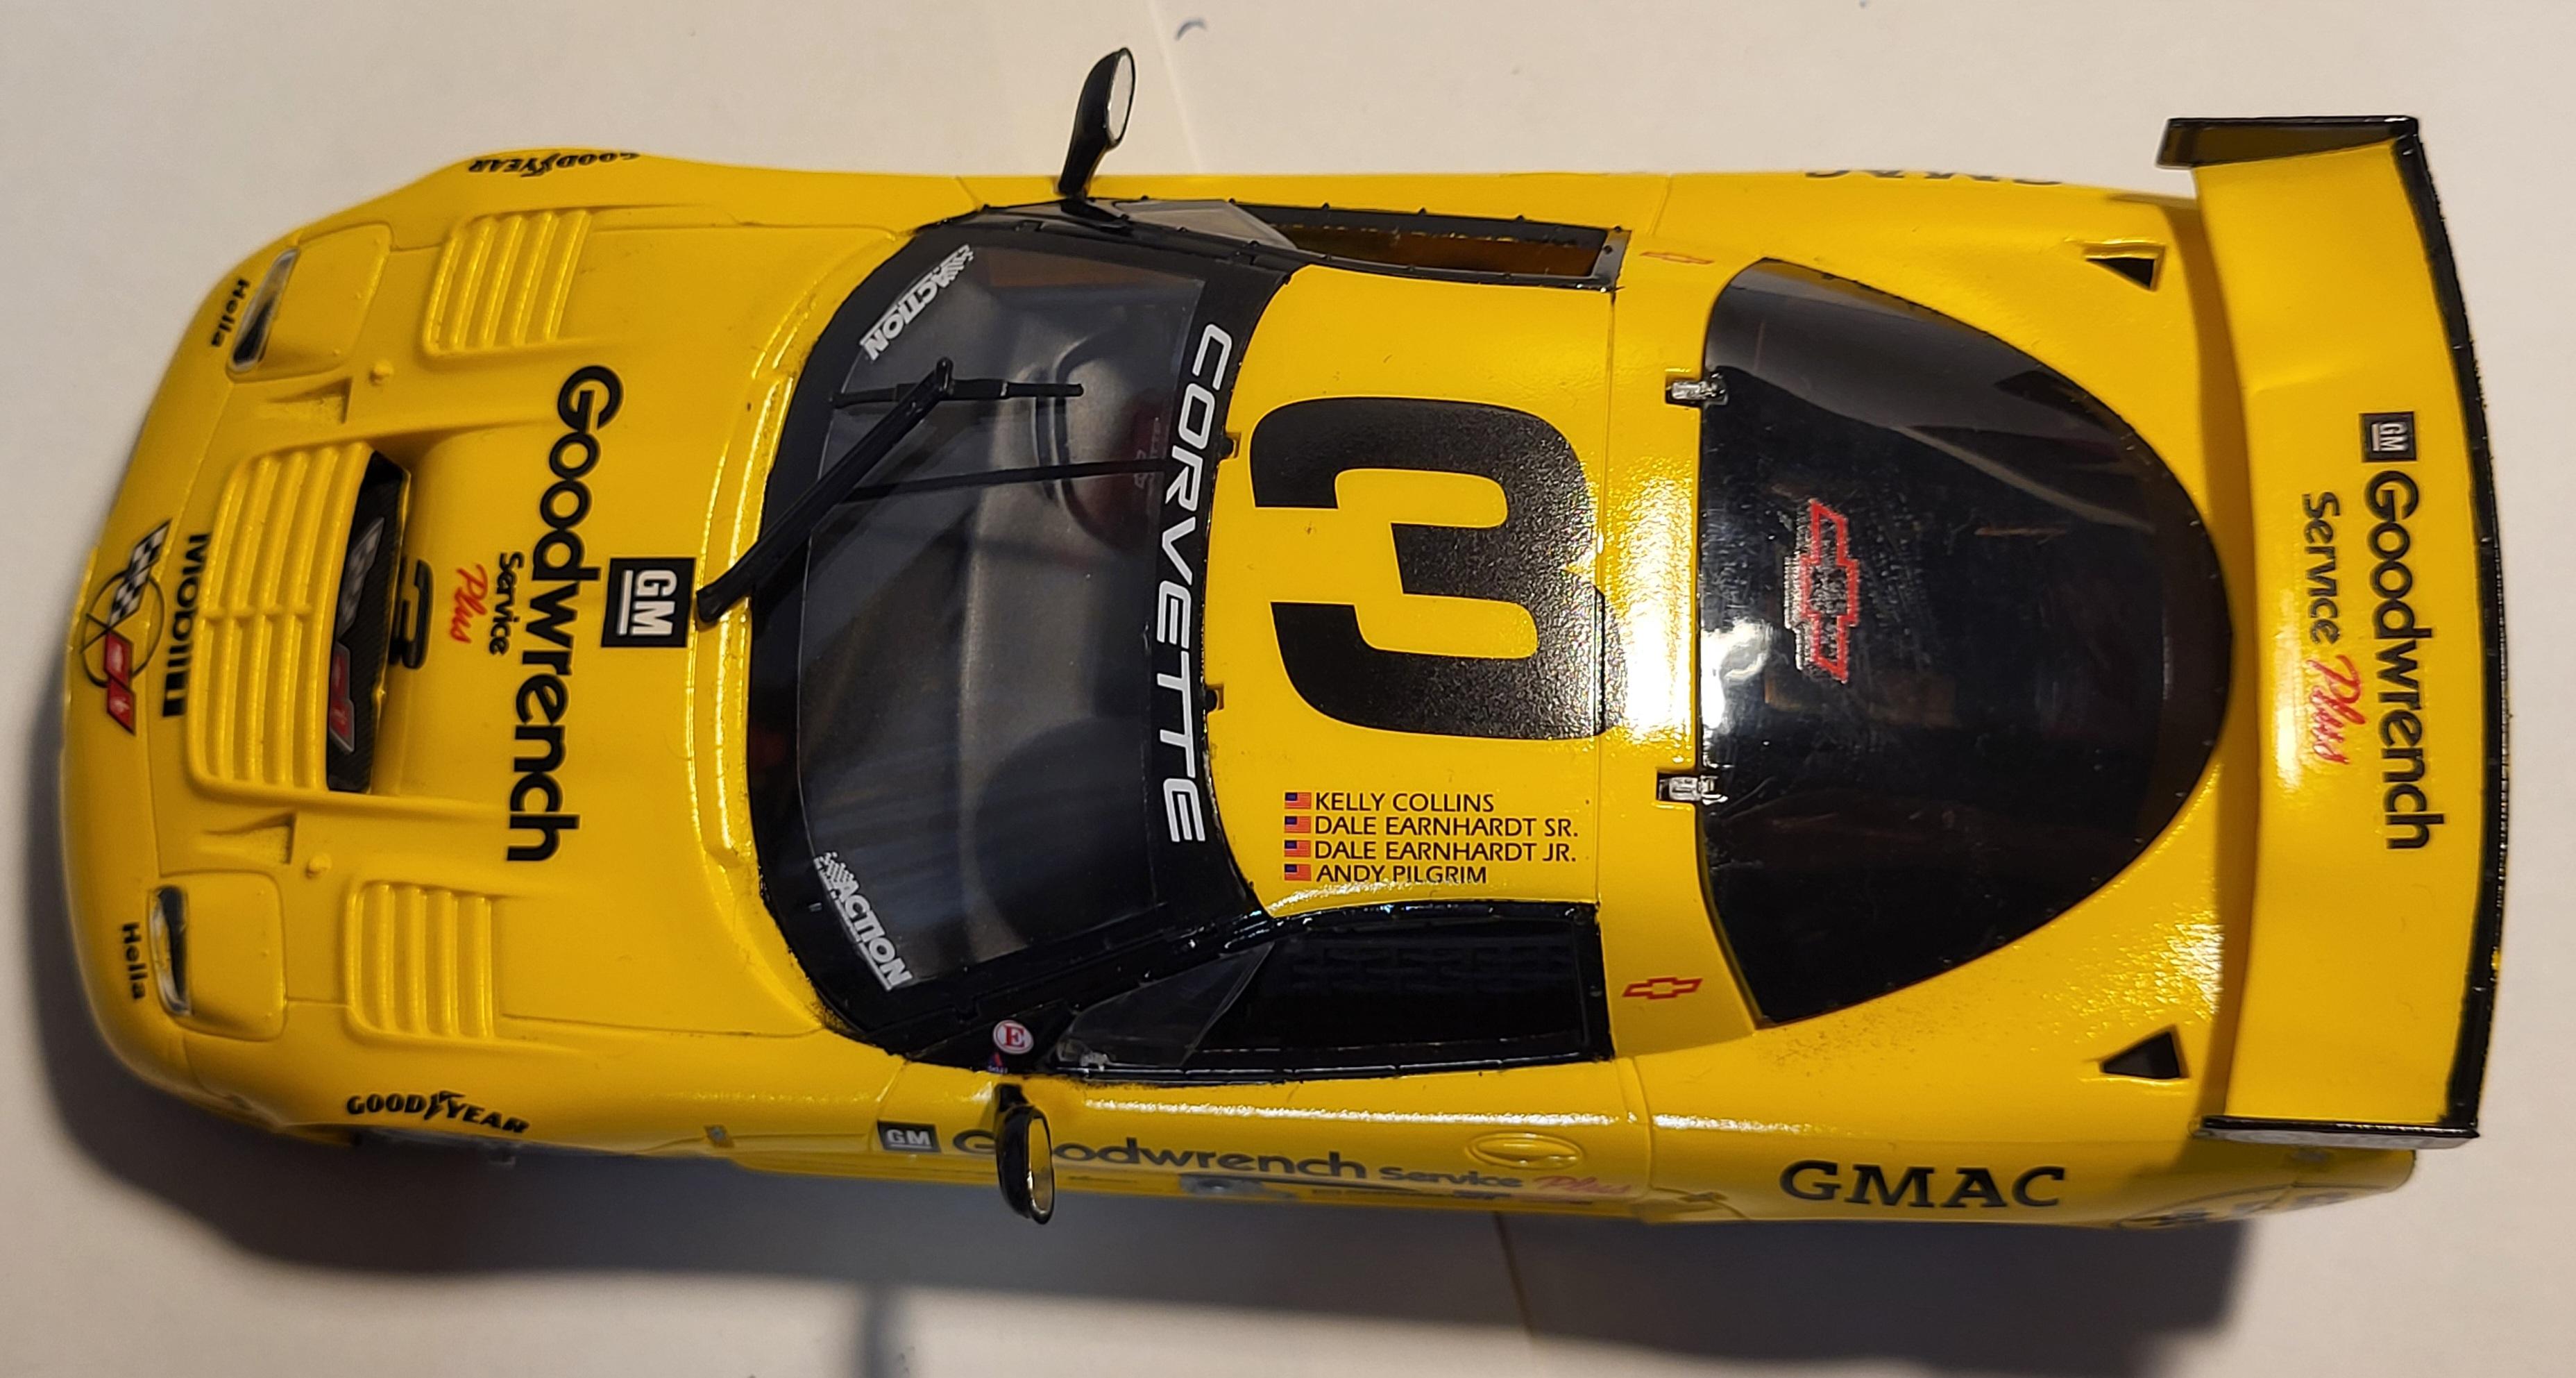
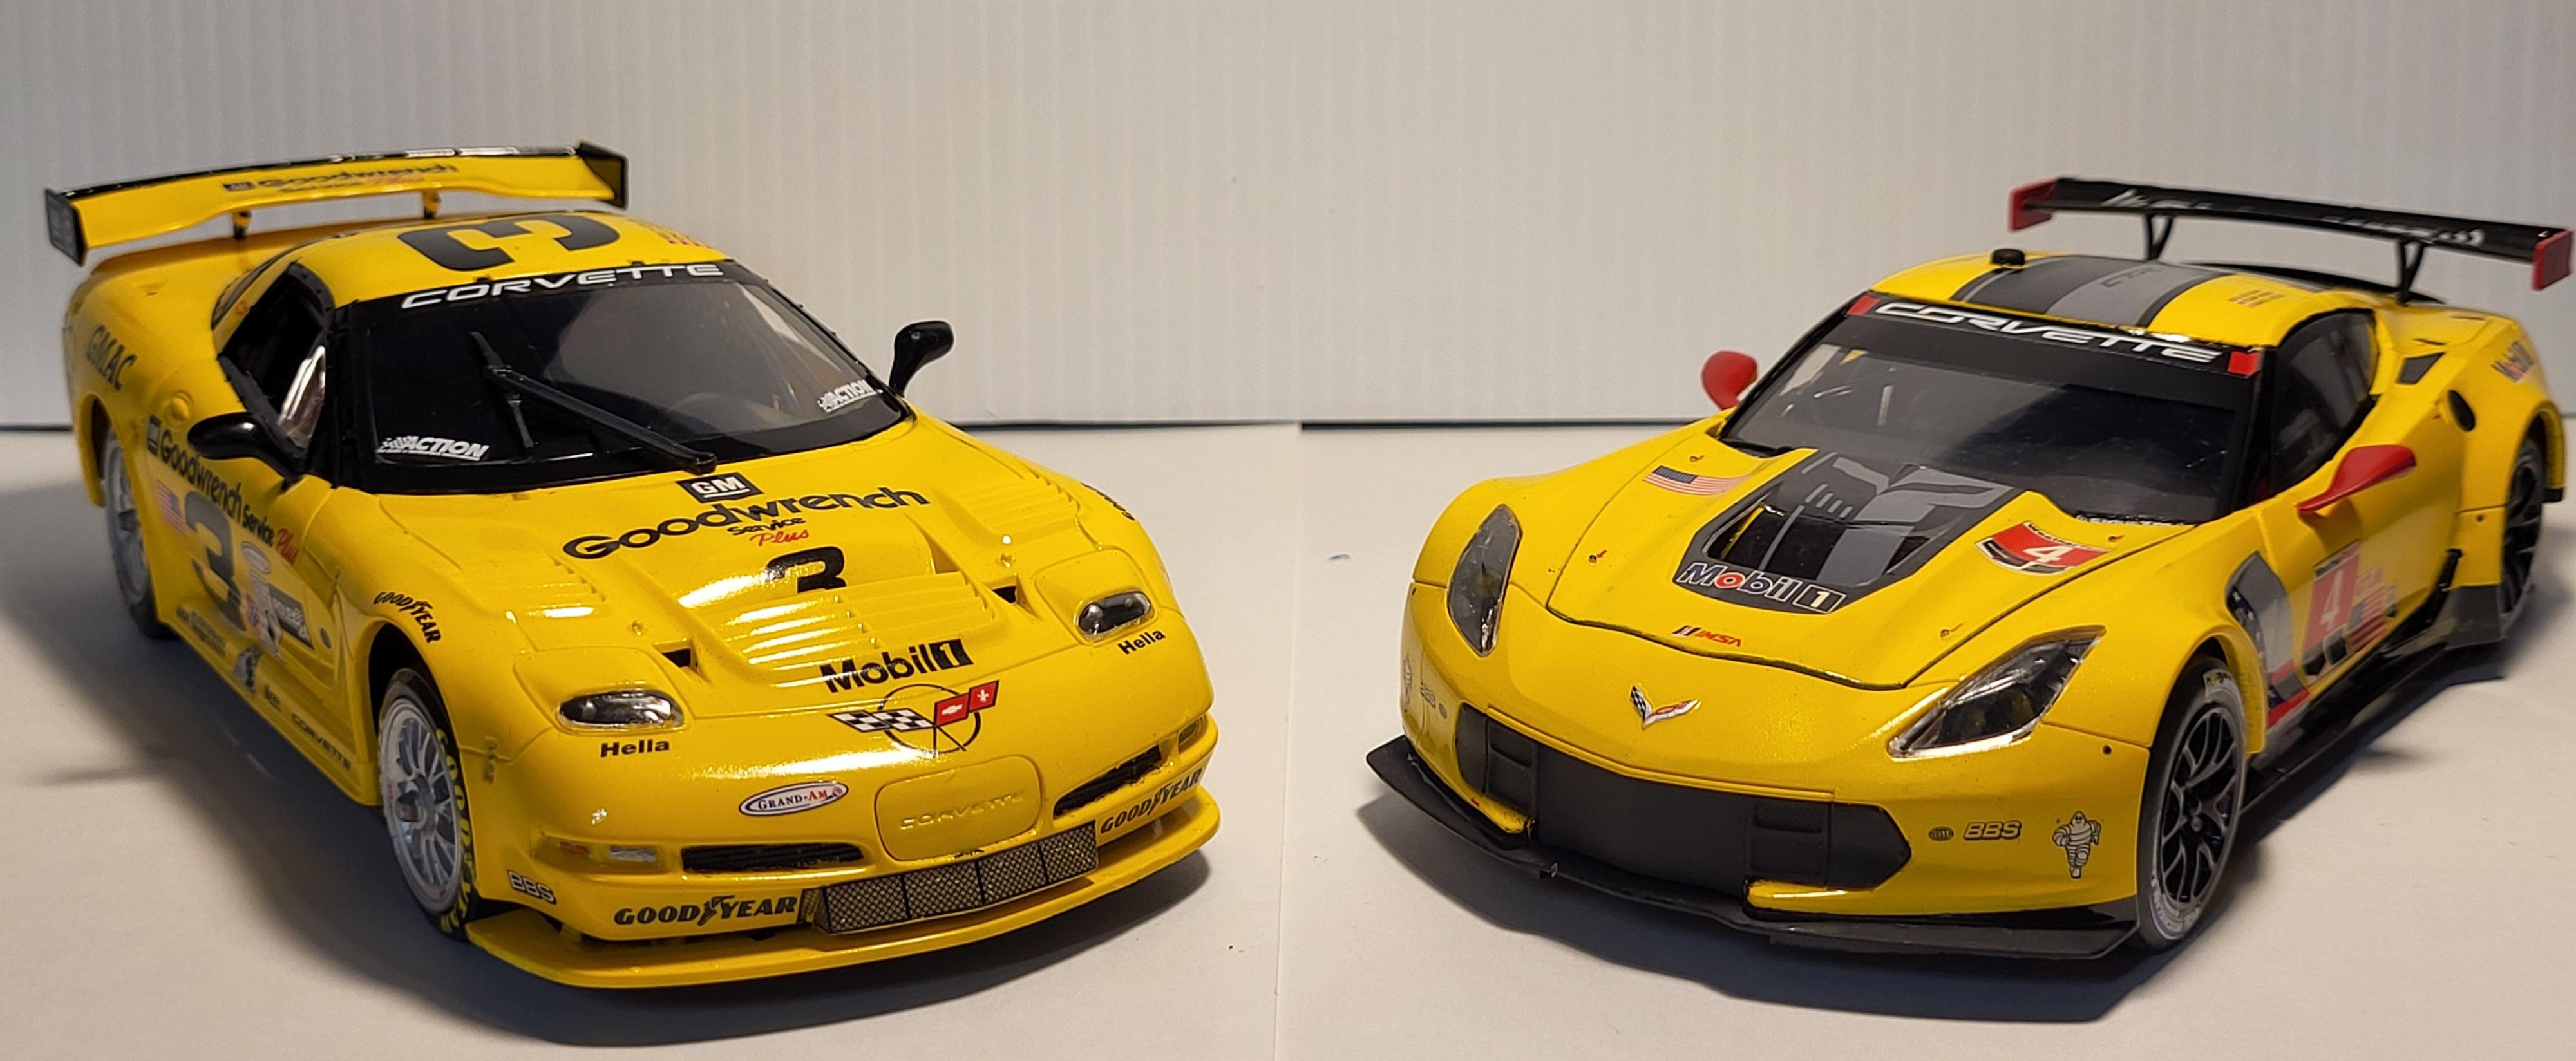
 I have recently completed my Revell 2001 Chevrolet Corvette C5.R: As it was raced in the 2001 Rolex 24 at Daytona by Kelly Collins, Dale Earnhardt, Dale Earnhardt Jr., and Andy Pilgrim to an overall 4th place finish in the GTS Class. The kit went together well, although I think my chassis was a little warped, and the decals were starting to show their age. The build is Box-Stock Plus as I did add the Goodyear Eagle tire decals & Goodyear fender logos from the Gofer Racing Goodyear Tire & Fender Logos (GOF11041) as they were not included in the kit. The color is Tamiya Yellow TS-16, and the rear window is coated with Tamiya Smoke TS-71, but I think I went a little too dark. Also, for some strange reason, the US flags on the sides of the car have 48 stars, and not 50. Go figure. Chassis shots (not very happy with the kits carbon fiber decals): Exterior: 2001 C5.R & 2016 C7.R Thanks for looking. Now I just need to find a C6.R.
-
Some of the colors for my Corvette collection. I have 4 more coming. Colors are Tamiya TS 97 yellow, testers Italian red lacquer, paint scratch touch up rapid blow, and Tamiya TS-92 metallic orange. I have one not shown that is Tamiya TS 10 French blue. The other 4 will be painted pearl white, gun metal grey, Tamiya TS 50 blue, and either a purple or lime green. I have a real 2023 HTC so I am really wanting the convertible from Revell. I will have to be happy with the hardtop until it’s released. Thanks for looking.
-
Started this build 2 years ago, but it stalled out for some reason that I cant recall. Recently got it back on the bench for completion. Its a decent kit for Snaptite. I built it for the purpose of practicing and learning how to airbrush SMS pearl paints. Sometimes its good to do simple builds that will help to develop new skills. Wip can be seen in my build thread
- 26 replies
-
- 11
-
-
- revell
- snaptite max
- (and 2 more)
-
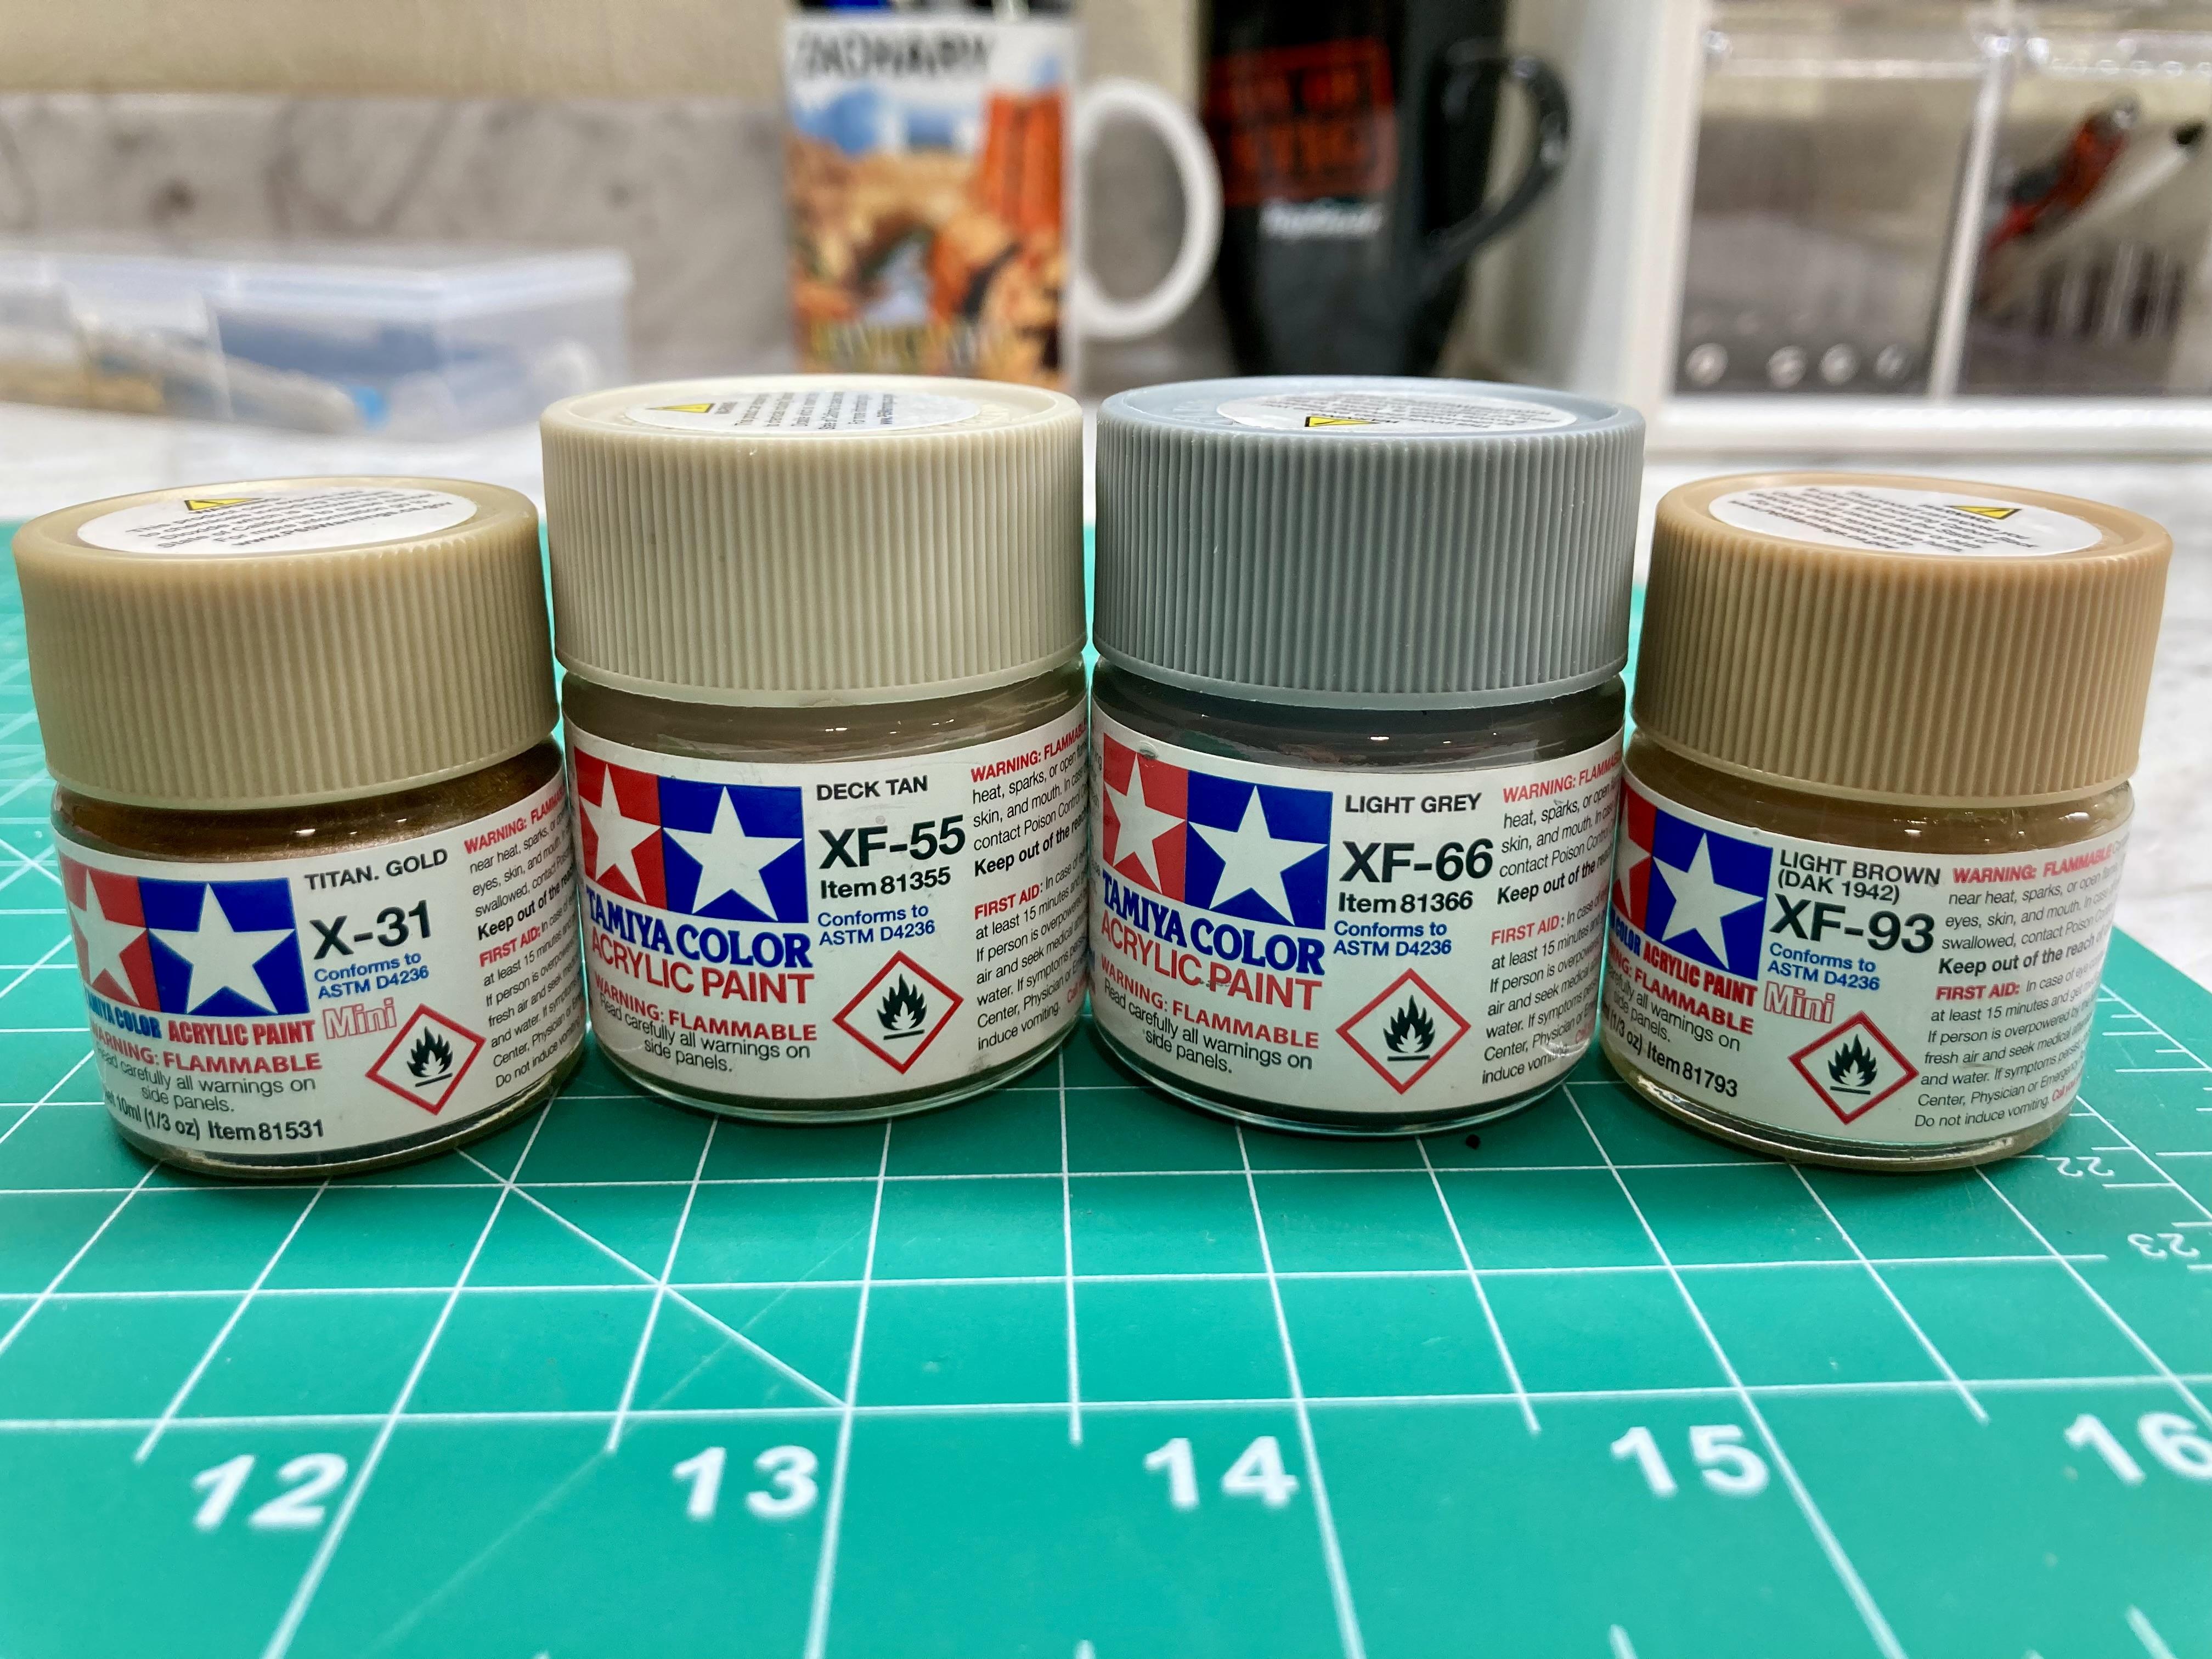
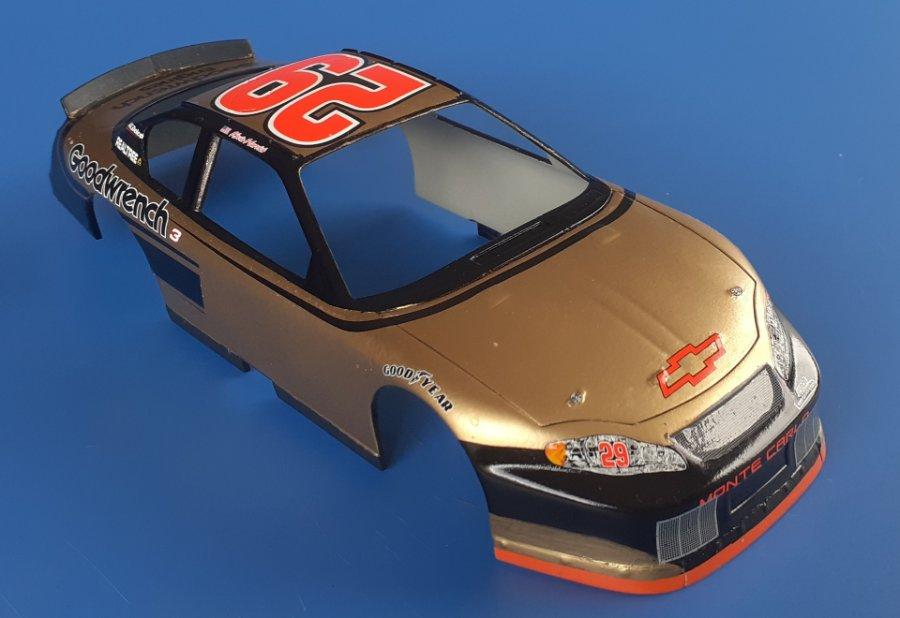
Last time I posted a completed NASCAR build was (I think) 2017... I started this one around the same time, then lost interest in all NASCAR modelling until about two months ago when I found this and all my others during a stash clear-out. Right, enough backstory, this is the less well known of the 2003 Chevy Monte Carlos driven by Kevin Harvick for that season featuring the Californian Funk Metal band 'Sugar Ray' (no I hadn't heard of them either), there aren't too many photos but I found a few, even better is to watch the end of that seasons' Richmond night race, most folks here will know how that ended, right ???. Paint here is Tamiya TS-14 Gloss Black straight from the rattle-can, when dry the larger areas were very carefully masked and then sprayed TS-21 Gold. Decals are by JWTBM, and date from 2004 - not sure if anyone reading this is connected with JWTBM, but if there is... you 'quality control' was fantastic, after twenty years the decals behaved perfectly. Four coats of Tamiya LP-09 lacquer clear sealed the decals and were left to fully cure for two weeks. Sanding and polishing-out took three days, and I'm VERY pleased with the final finish. So that's it, a toe back in the water of NASCAR modelling and I really enjoyed it. Already looking at a few of my old donor kits & decal options but got a couple of other projects I need to get finished first. Cheers from NZ, please feel free to comment, criticise or ask a question. Ian.
-
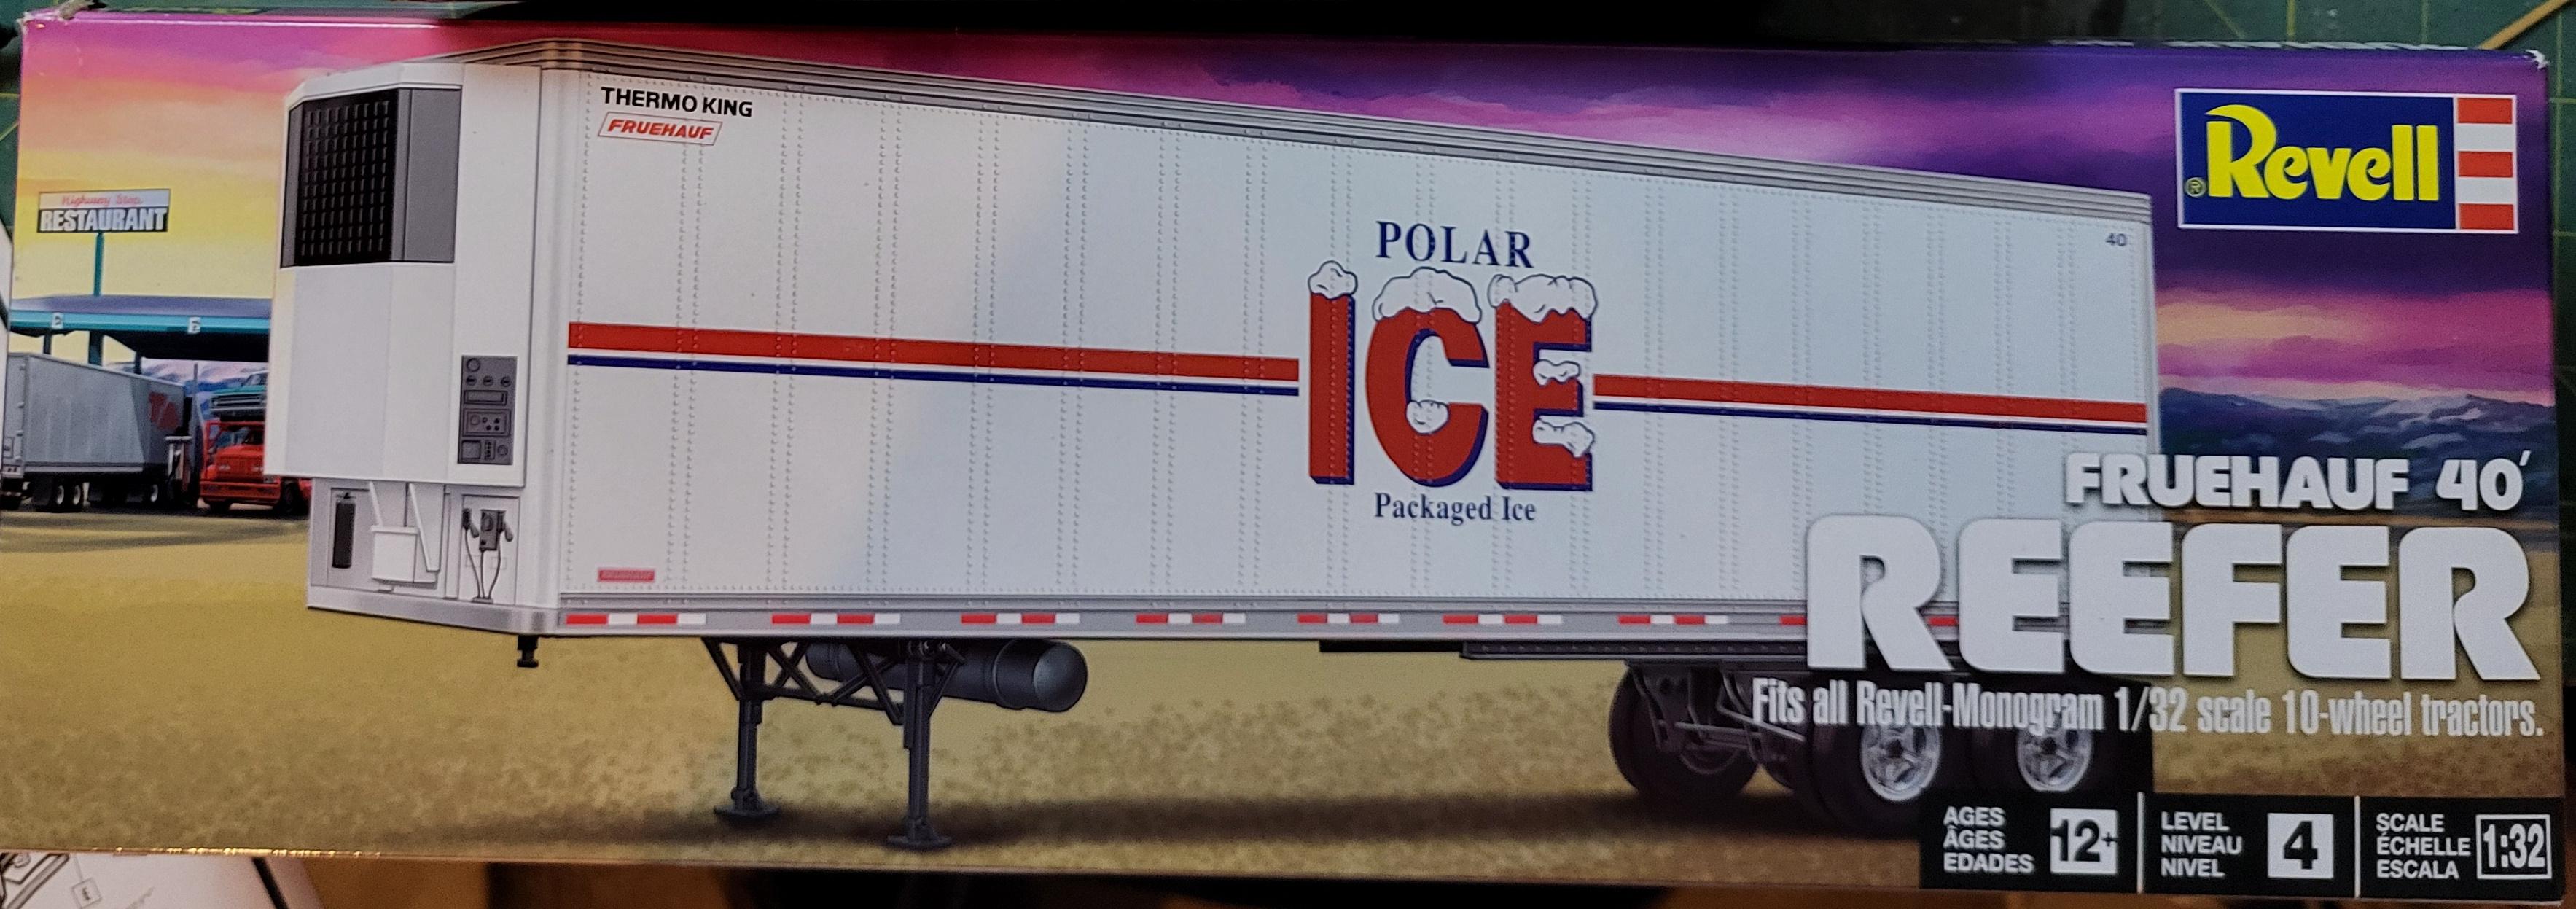
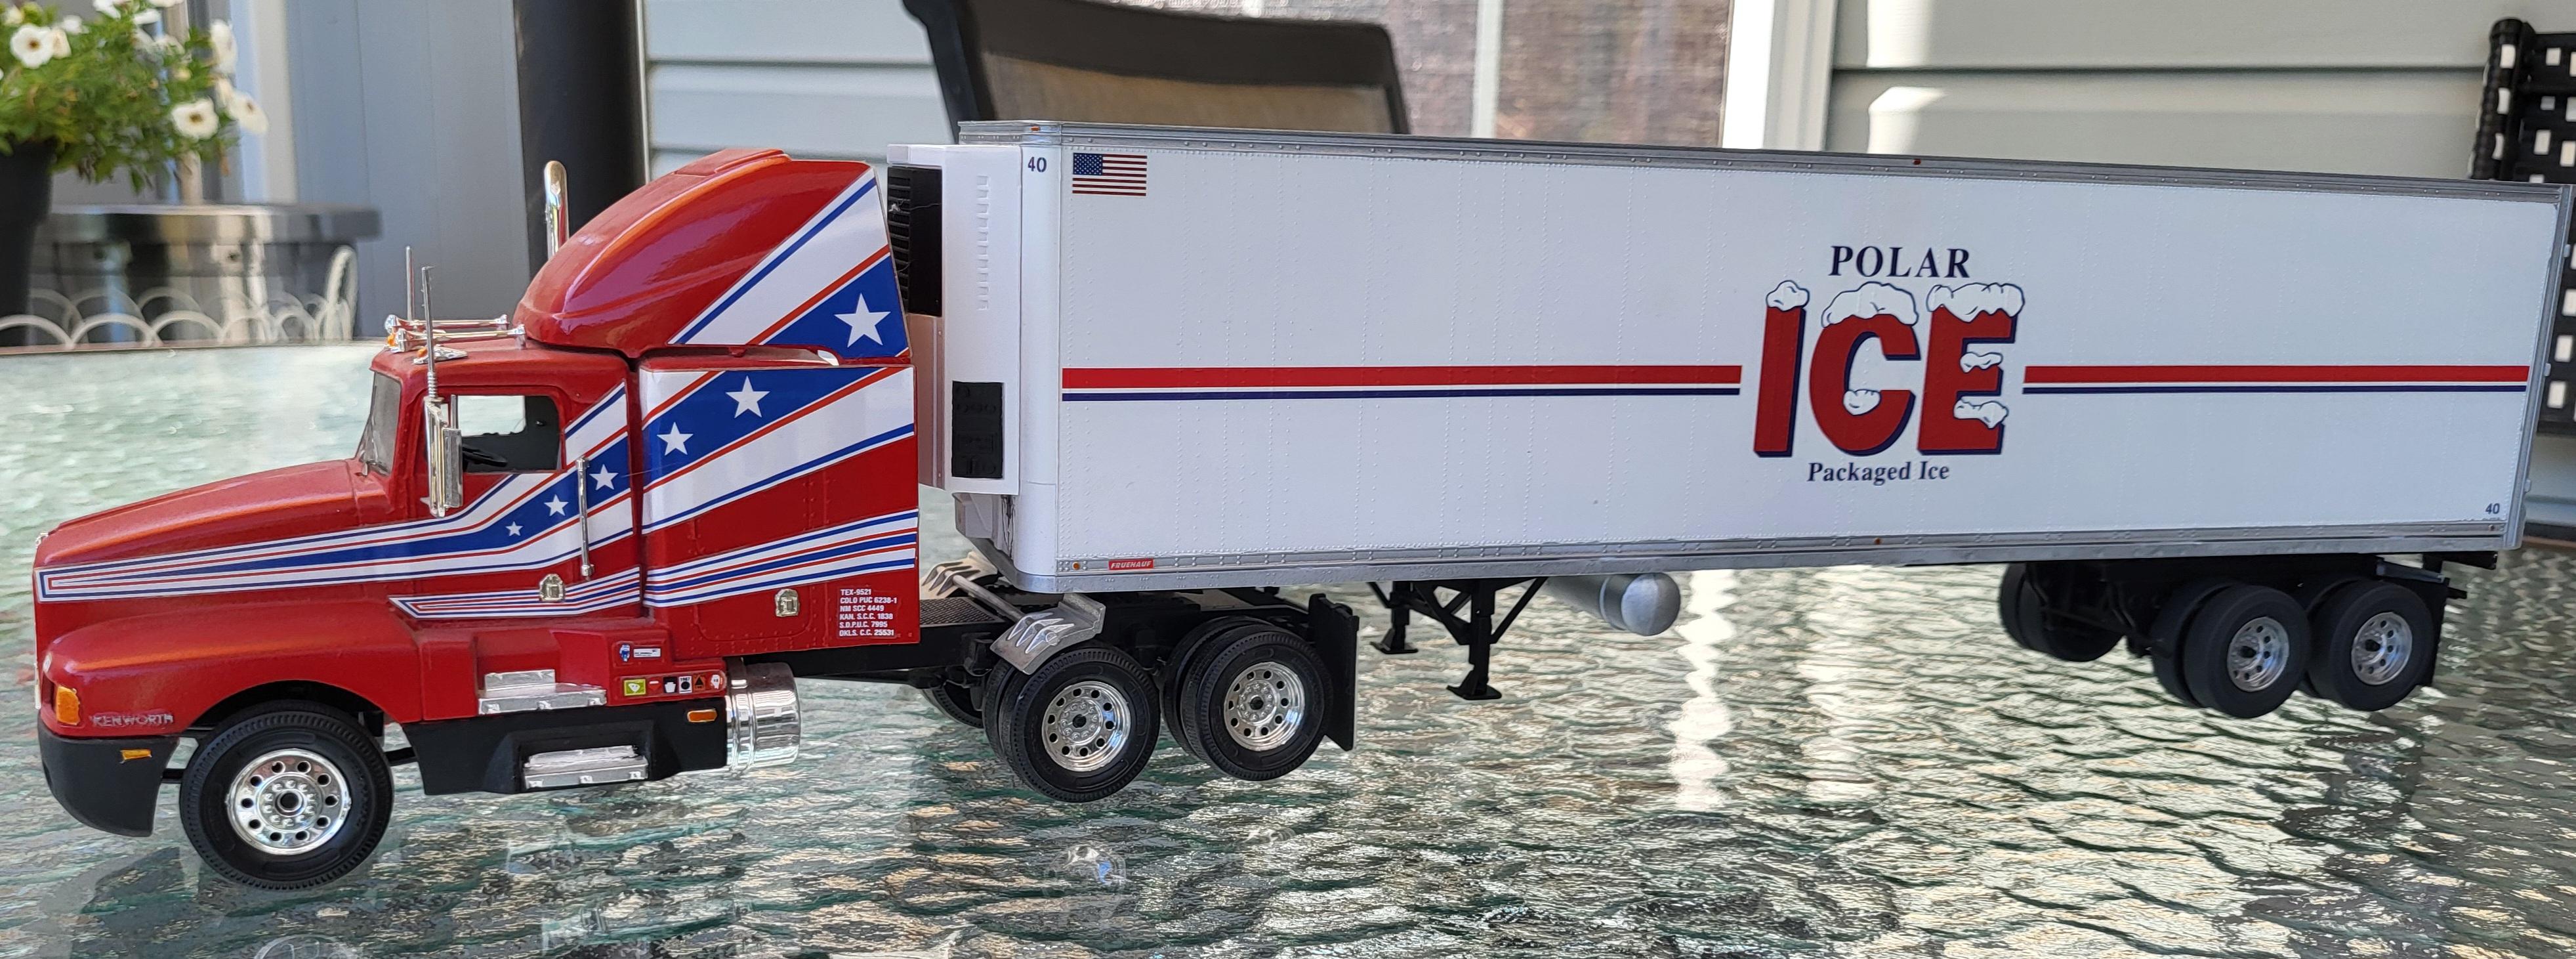
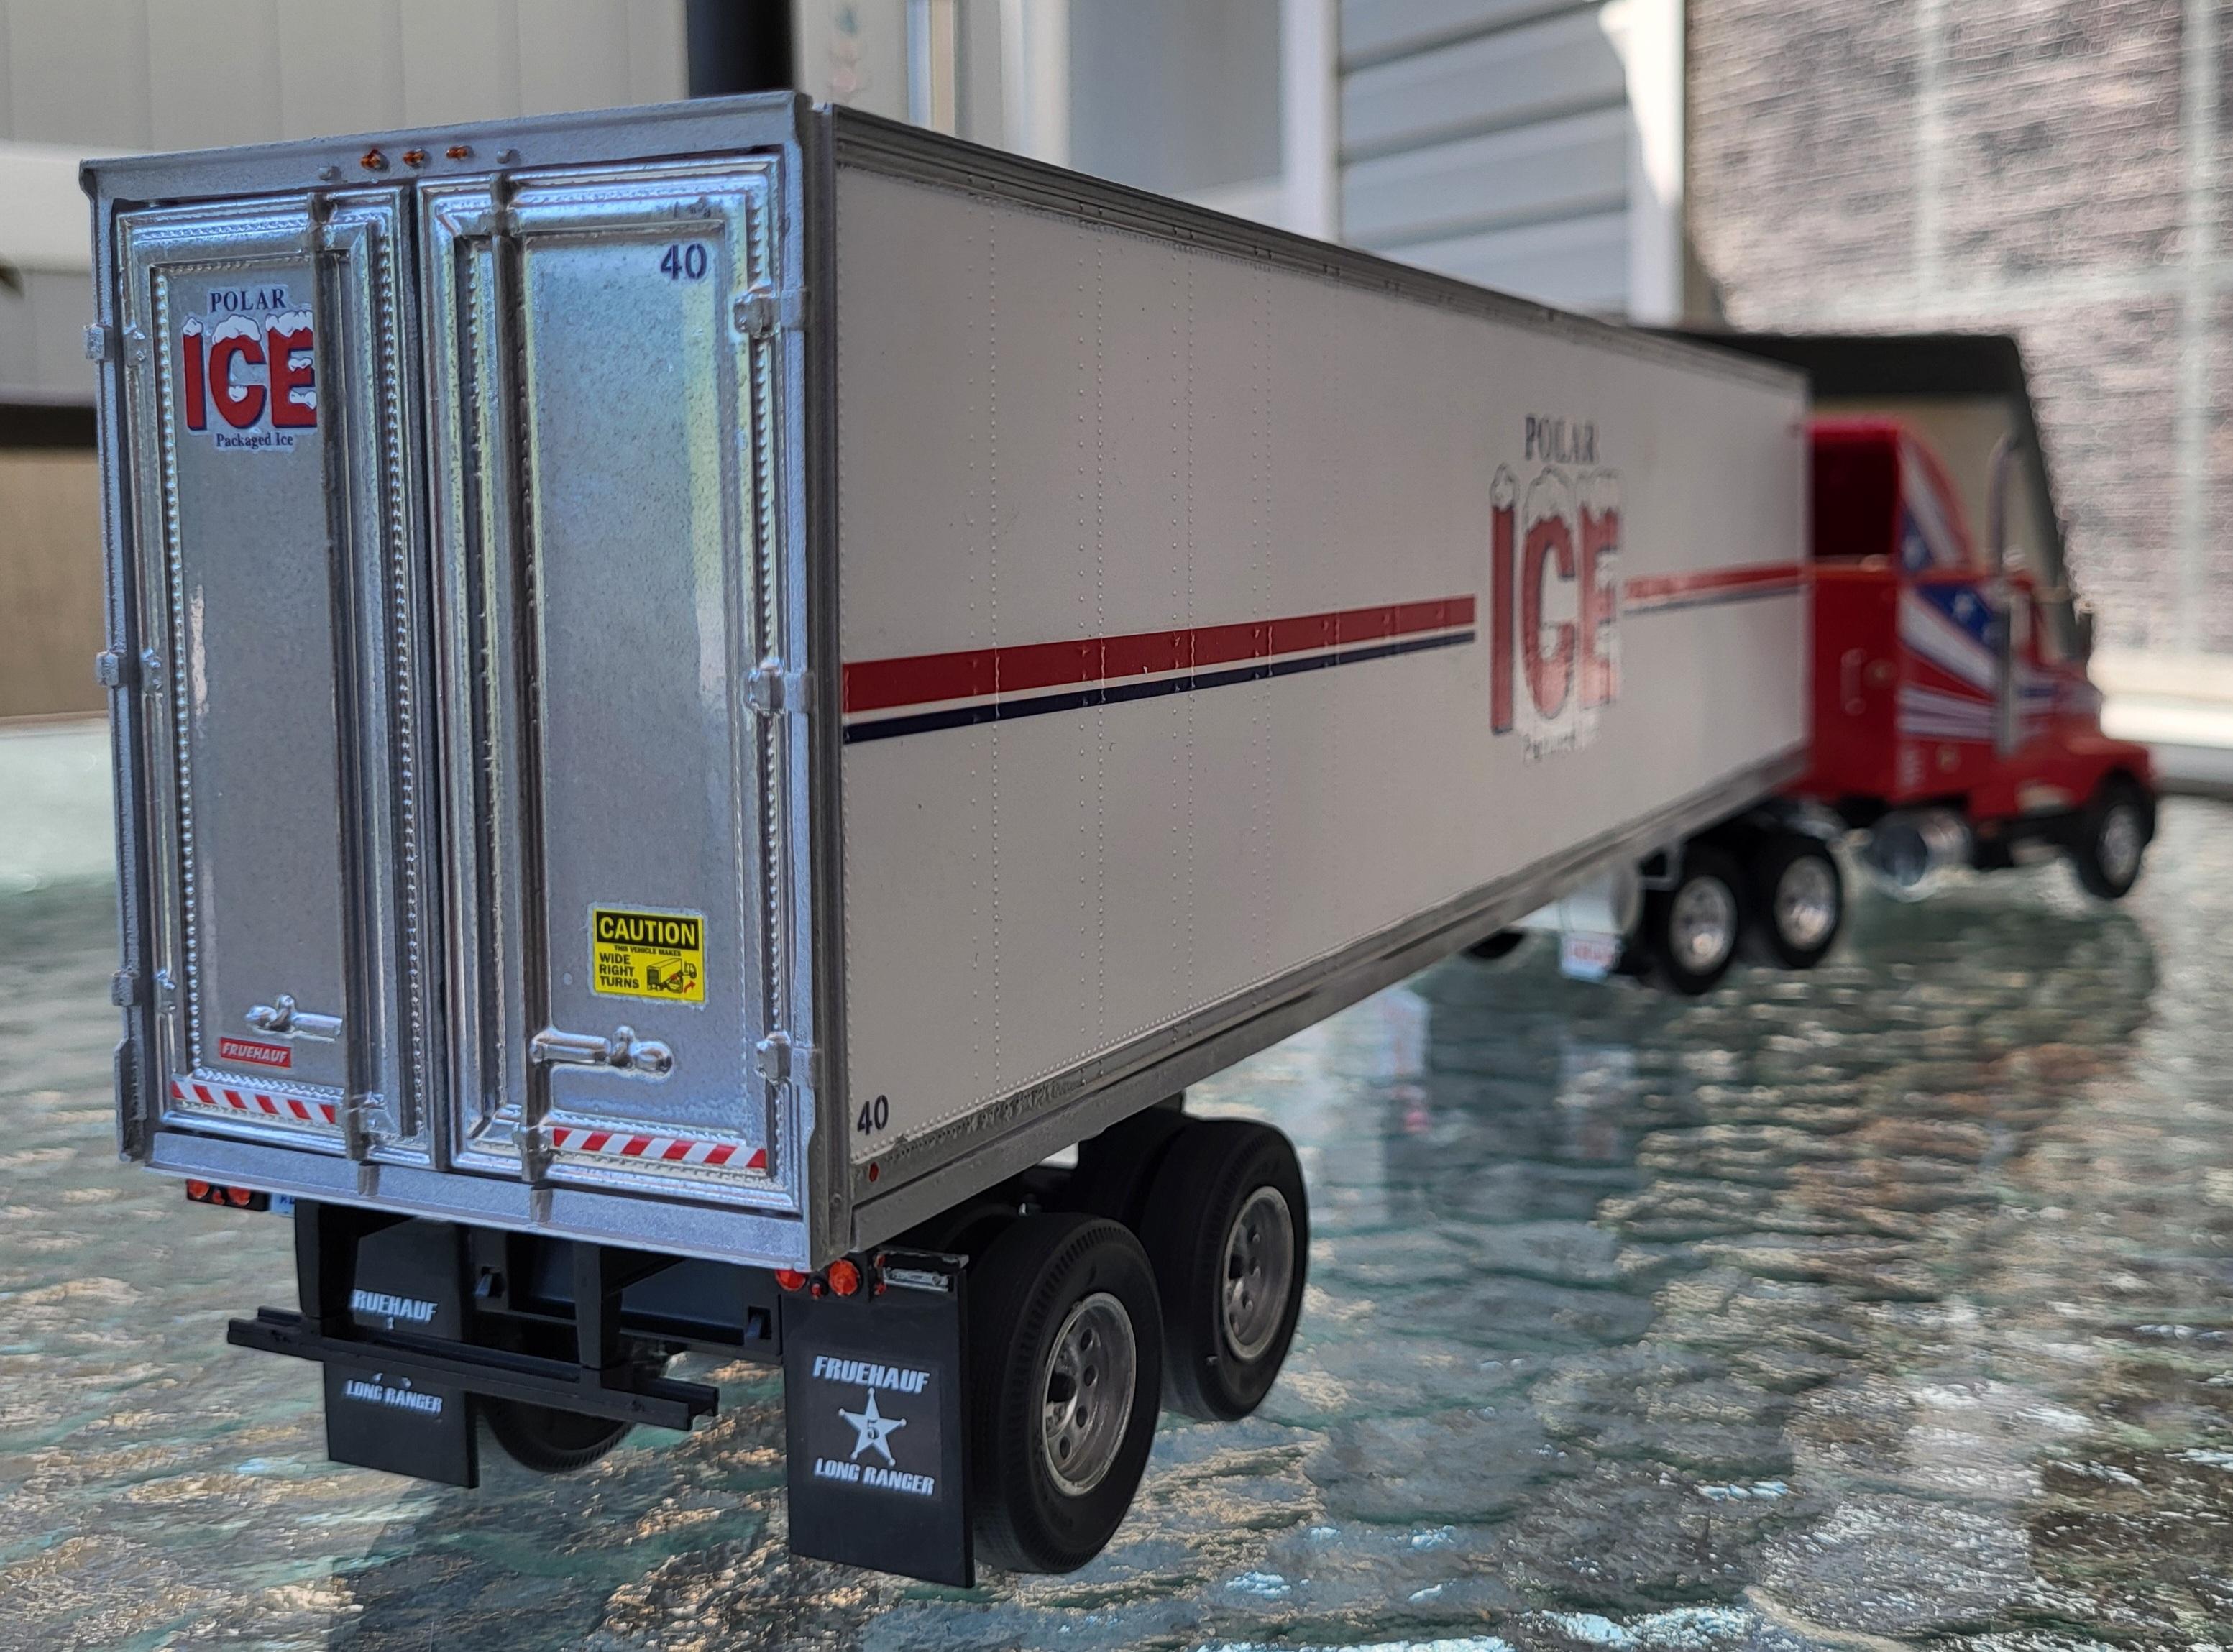
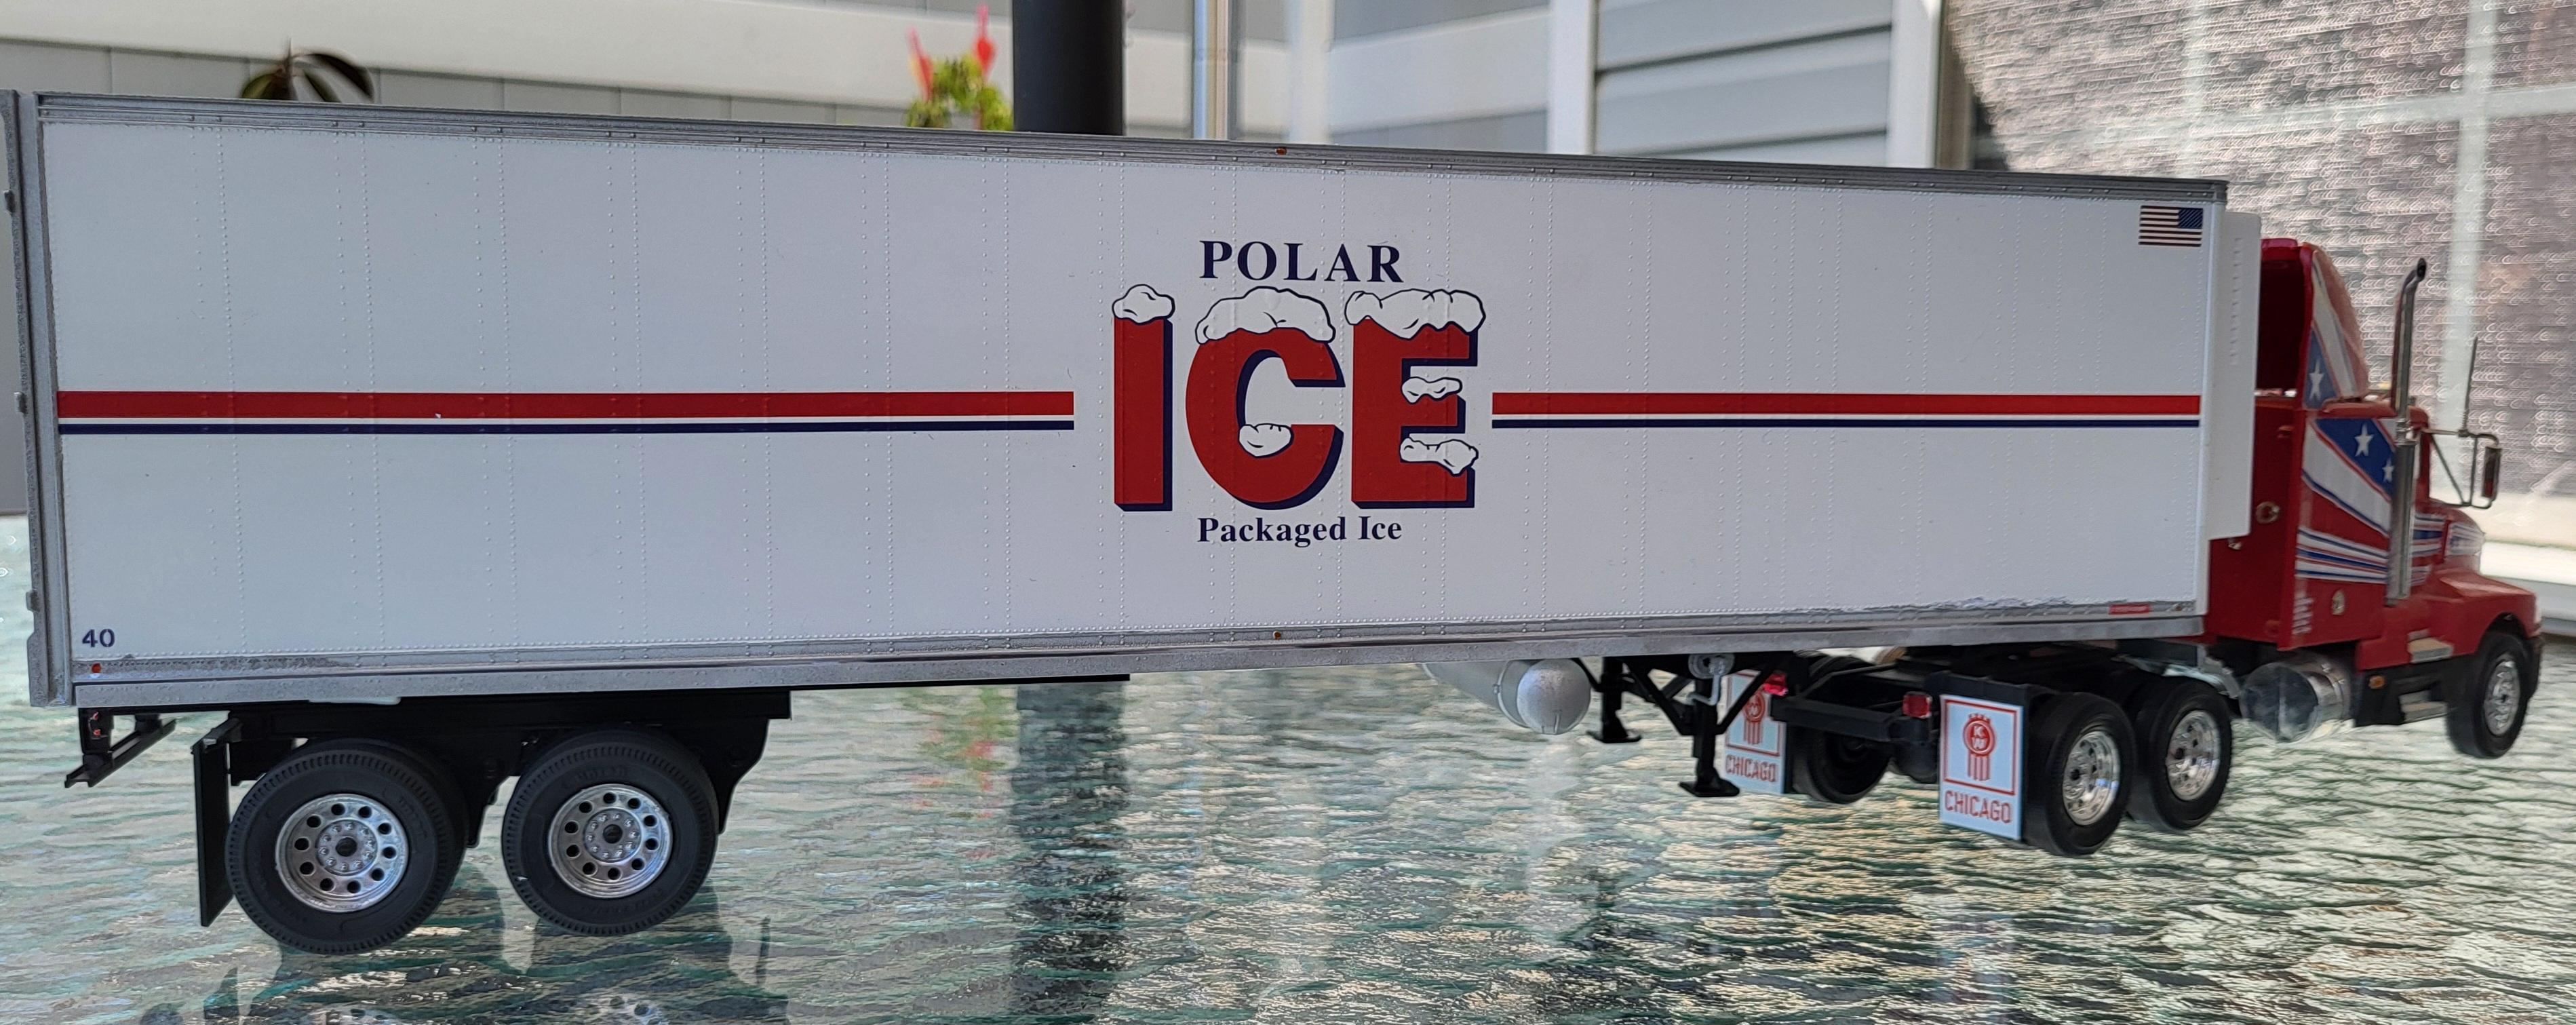
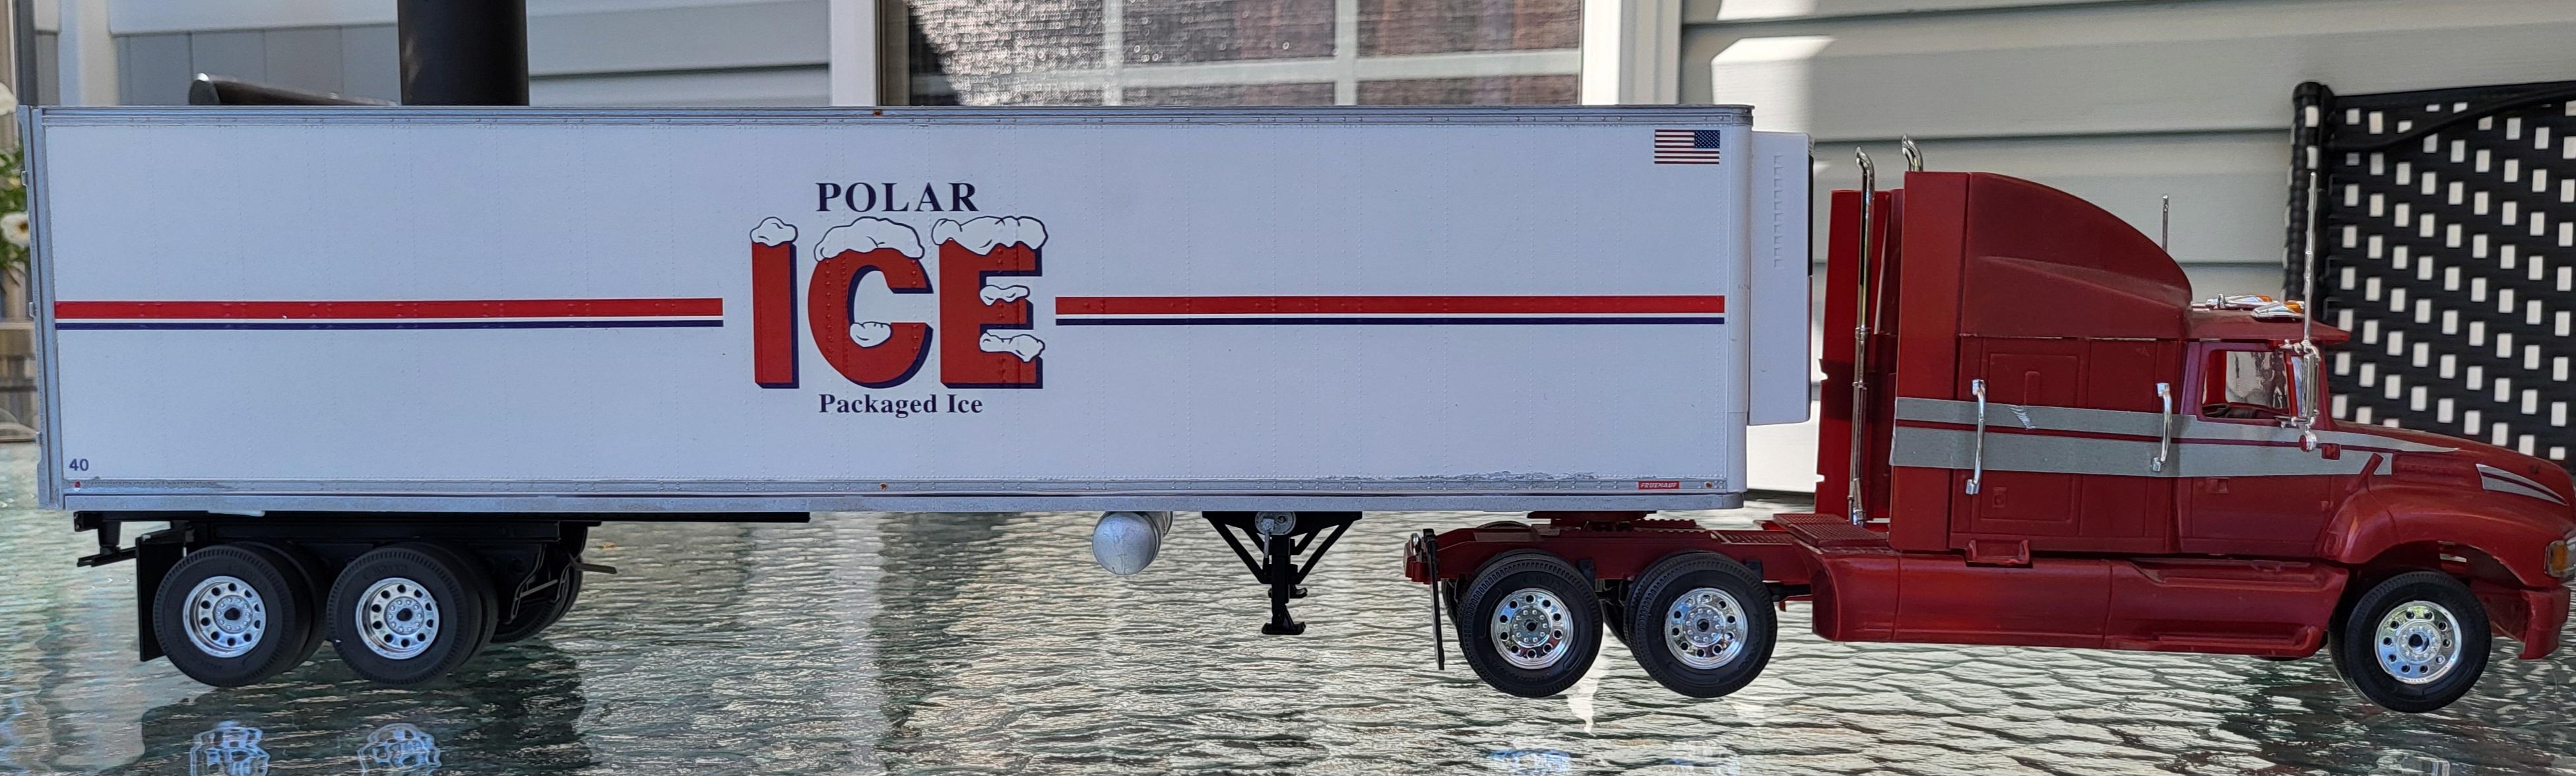
Here is my completed Revell 1/32 Fruehauf Reefer trailer. It is essentially box-stock with the exception of the 10-hole disks from the Monogram Fruehauf Tanker Trailer. The main color is Rust-oleum Semi Gloss White, and the wheels & rear doors are Rust-oleum Chrome. Reefer unit is Tamiya Gloss Pure White. Also, since The Polar Ice Company is located in Troy, MI, I put a Michigan plate from the Model Truckin’ Chemical Leaman decal sheet on the trailer. Here it is being pulled by the Monogram Kenworth T600A I finished in 2008: And here it is behind the Revell Ford LTLA9000 Aeromax my son built in 2012: Riddle me this: why do the Revell-Monogram 1/32 trailers have a big ole’ kingpin while some of the tractors have fifth wheels with pins sticking out of them?
-
 78’ GMC Big Game Country Pick up, will keep you guys posted after it is done.
-
I built this one some time ago using the revell jungle Jim kit. I swapped out the wheels with the front ones from polar lights and the back wheels from the mpc funny car. The mpc slicks really change the stance of this kit I think for the better. I painted it with testors true blue pearl and used slixx decals. This is one of the best funny car kits of all time, and there is a ton of amazing aftermarket decals available for it. I recommend the latest 2010ish version as it was updated to a one piece chassis and one piece rubber slicks. Until next time thanks for looking. Thanks mike
-
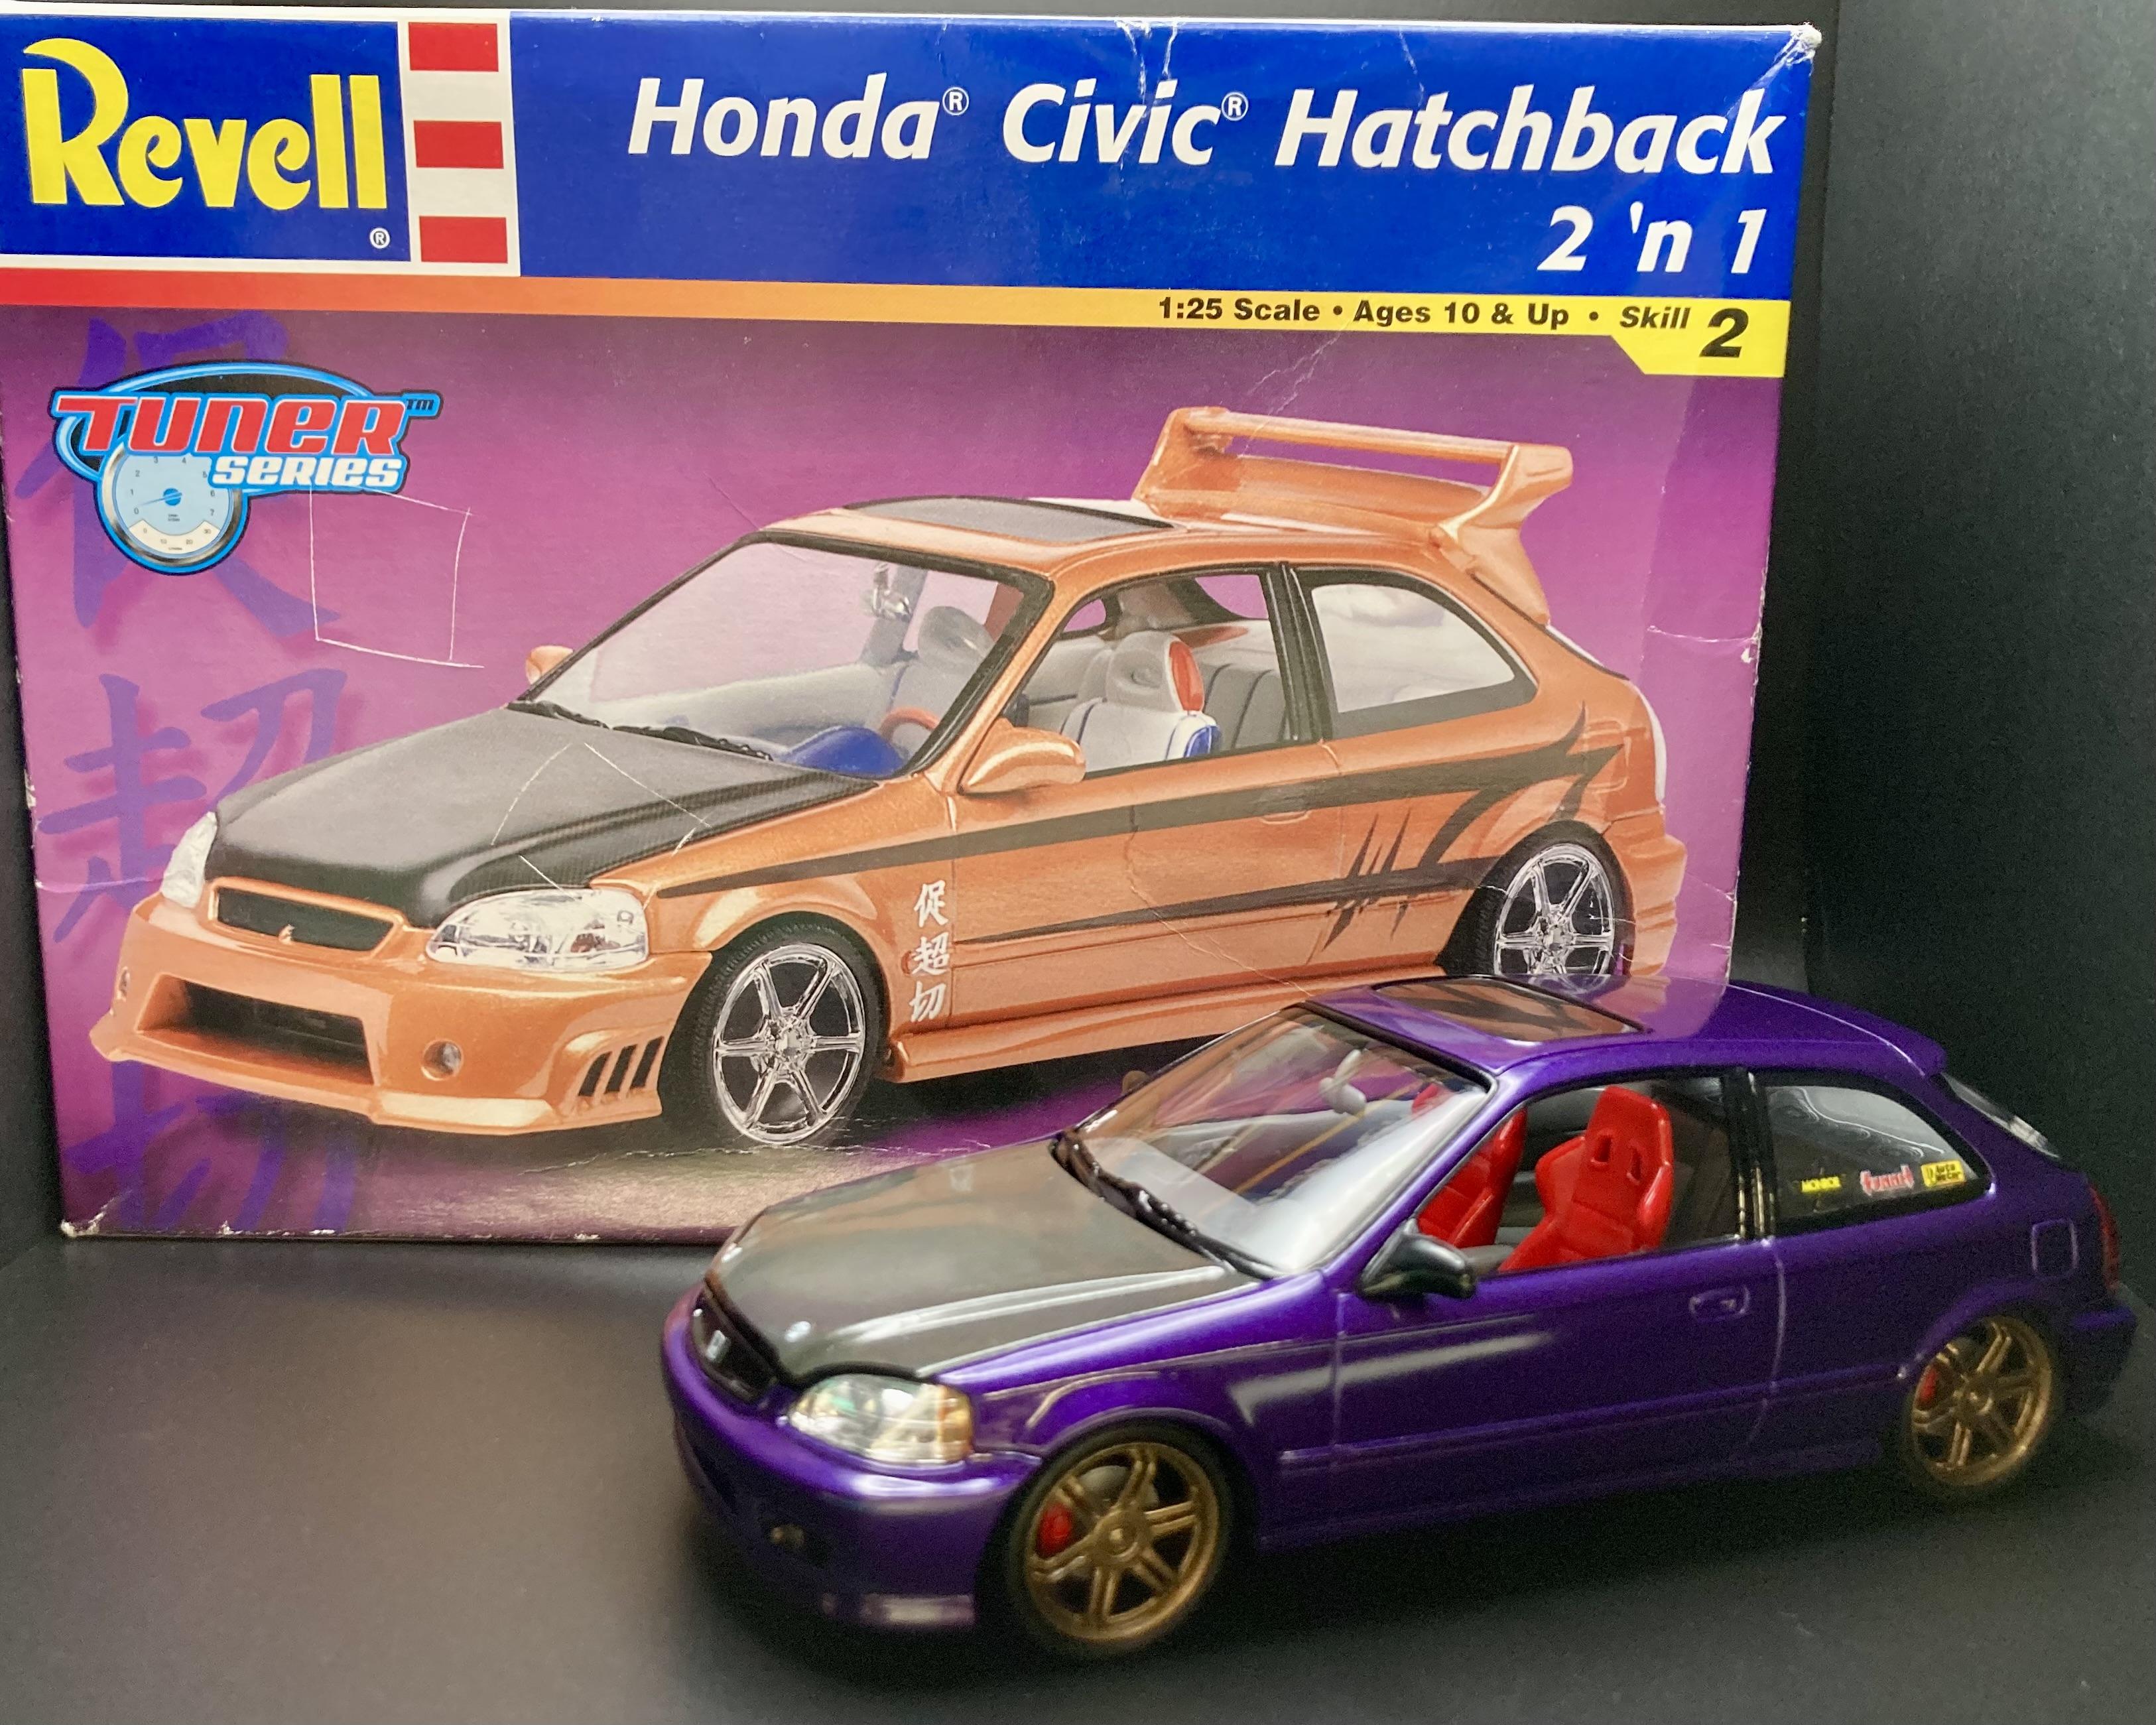
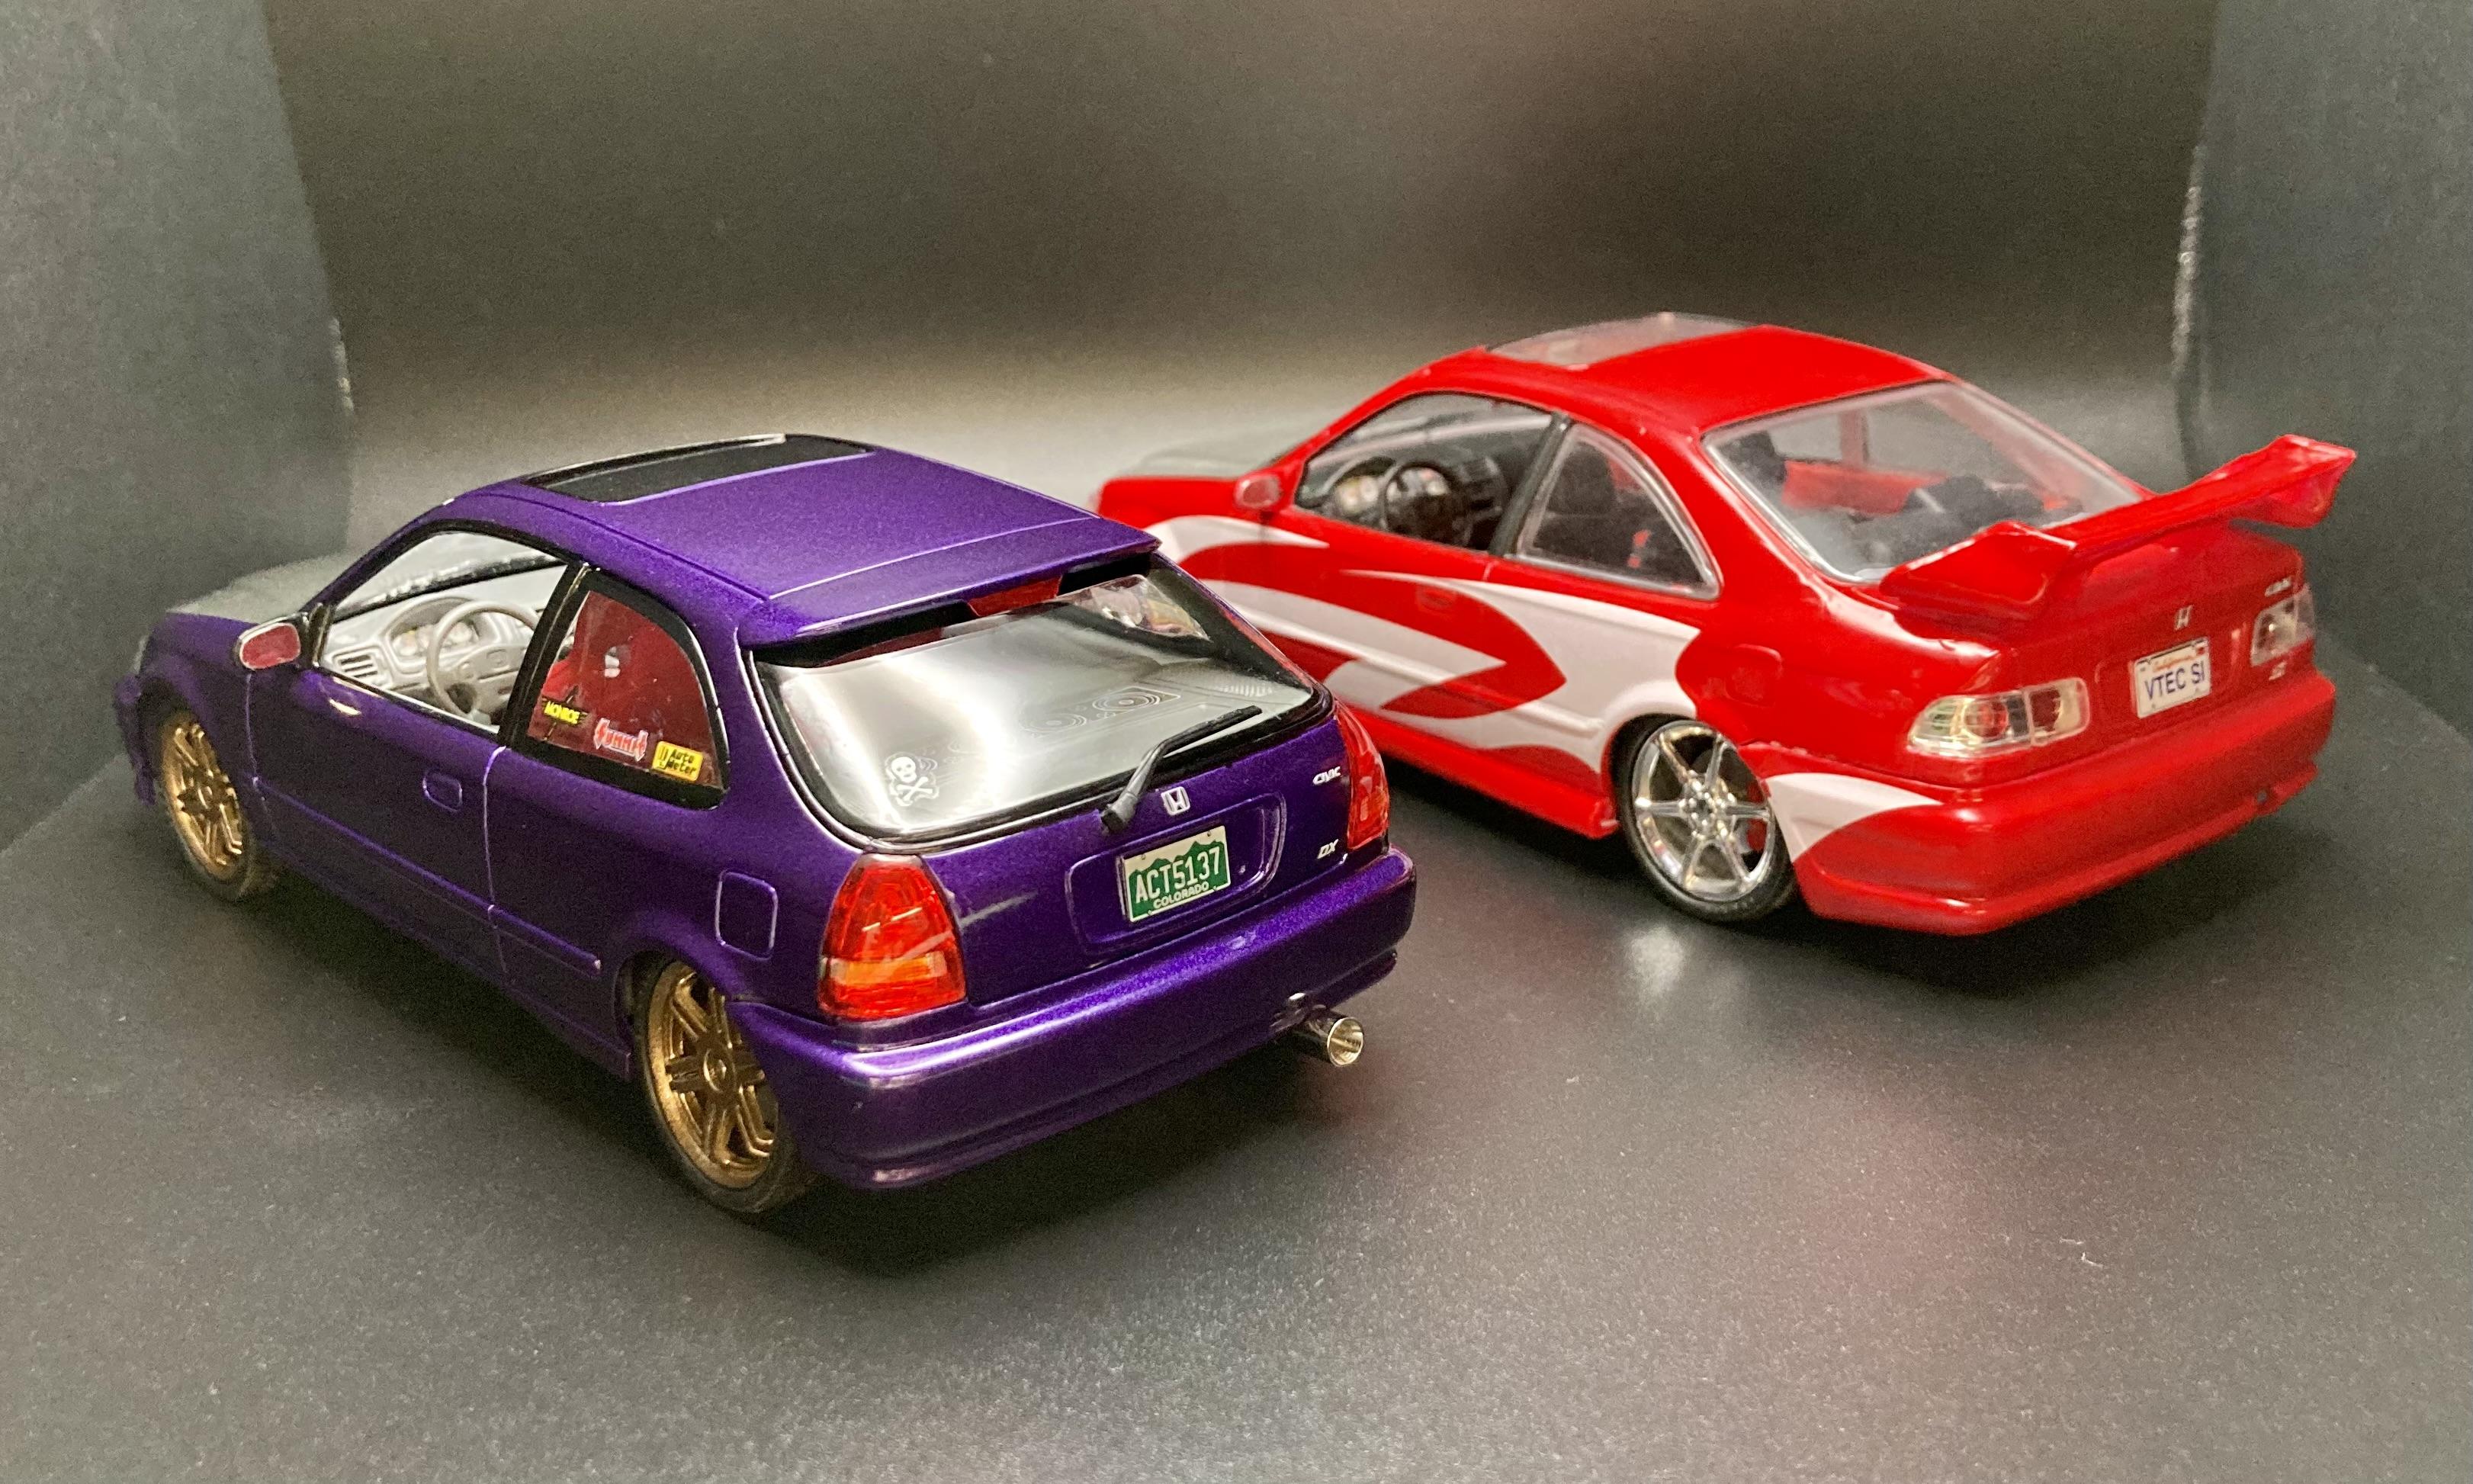
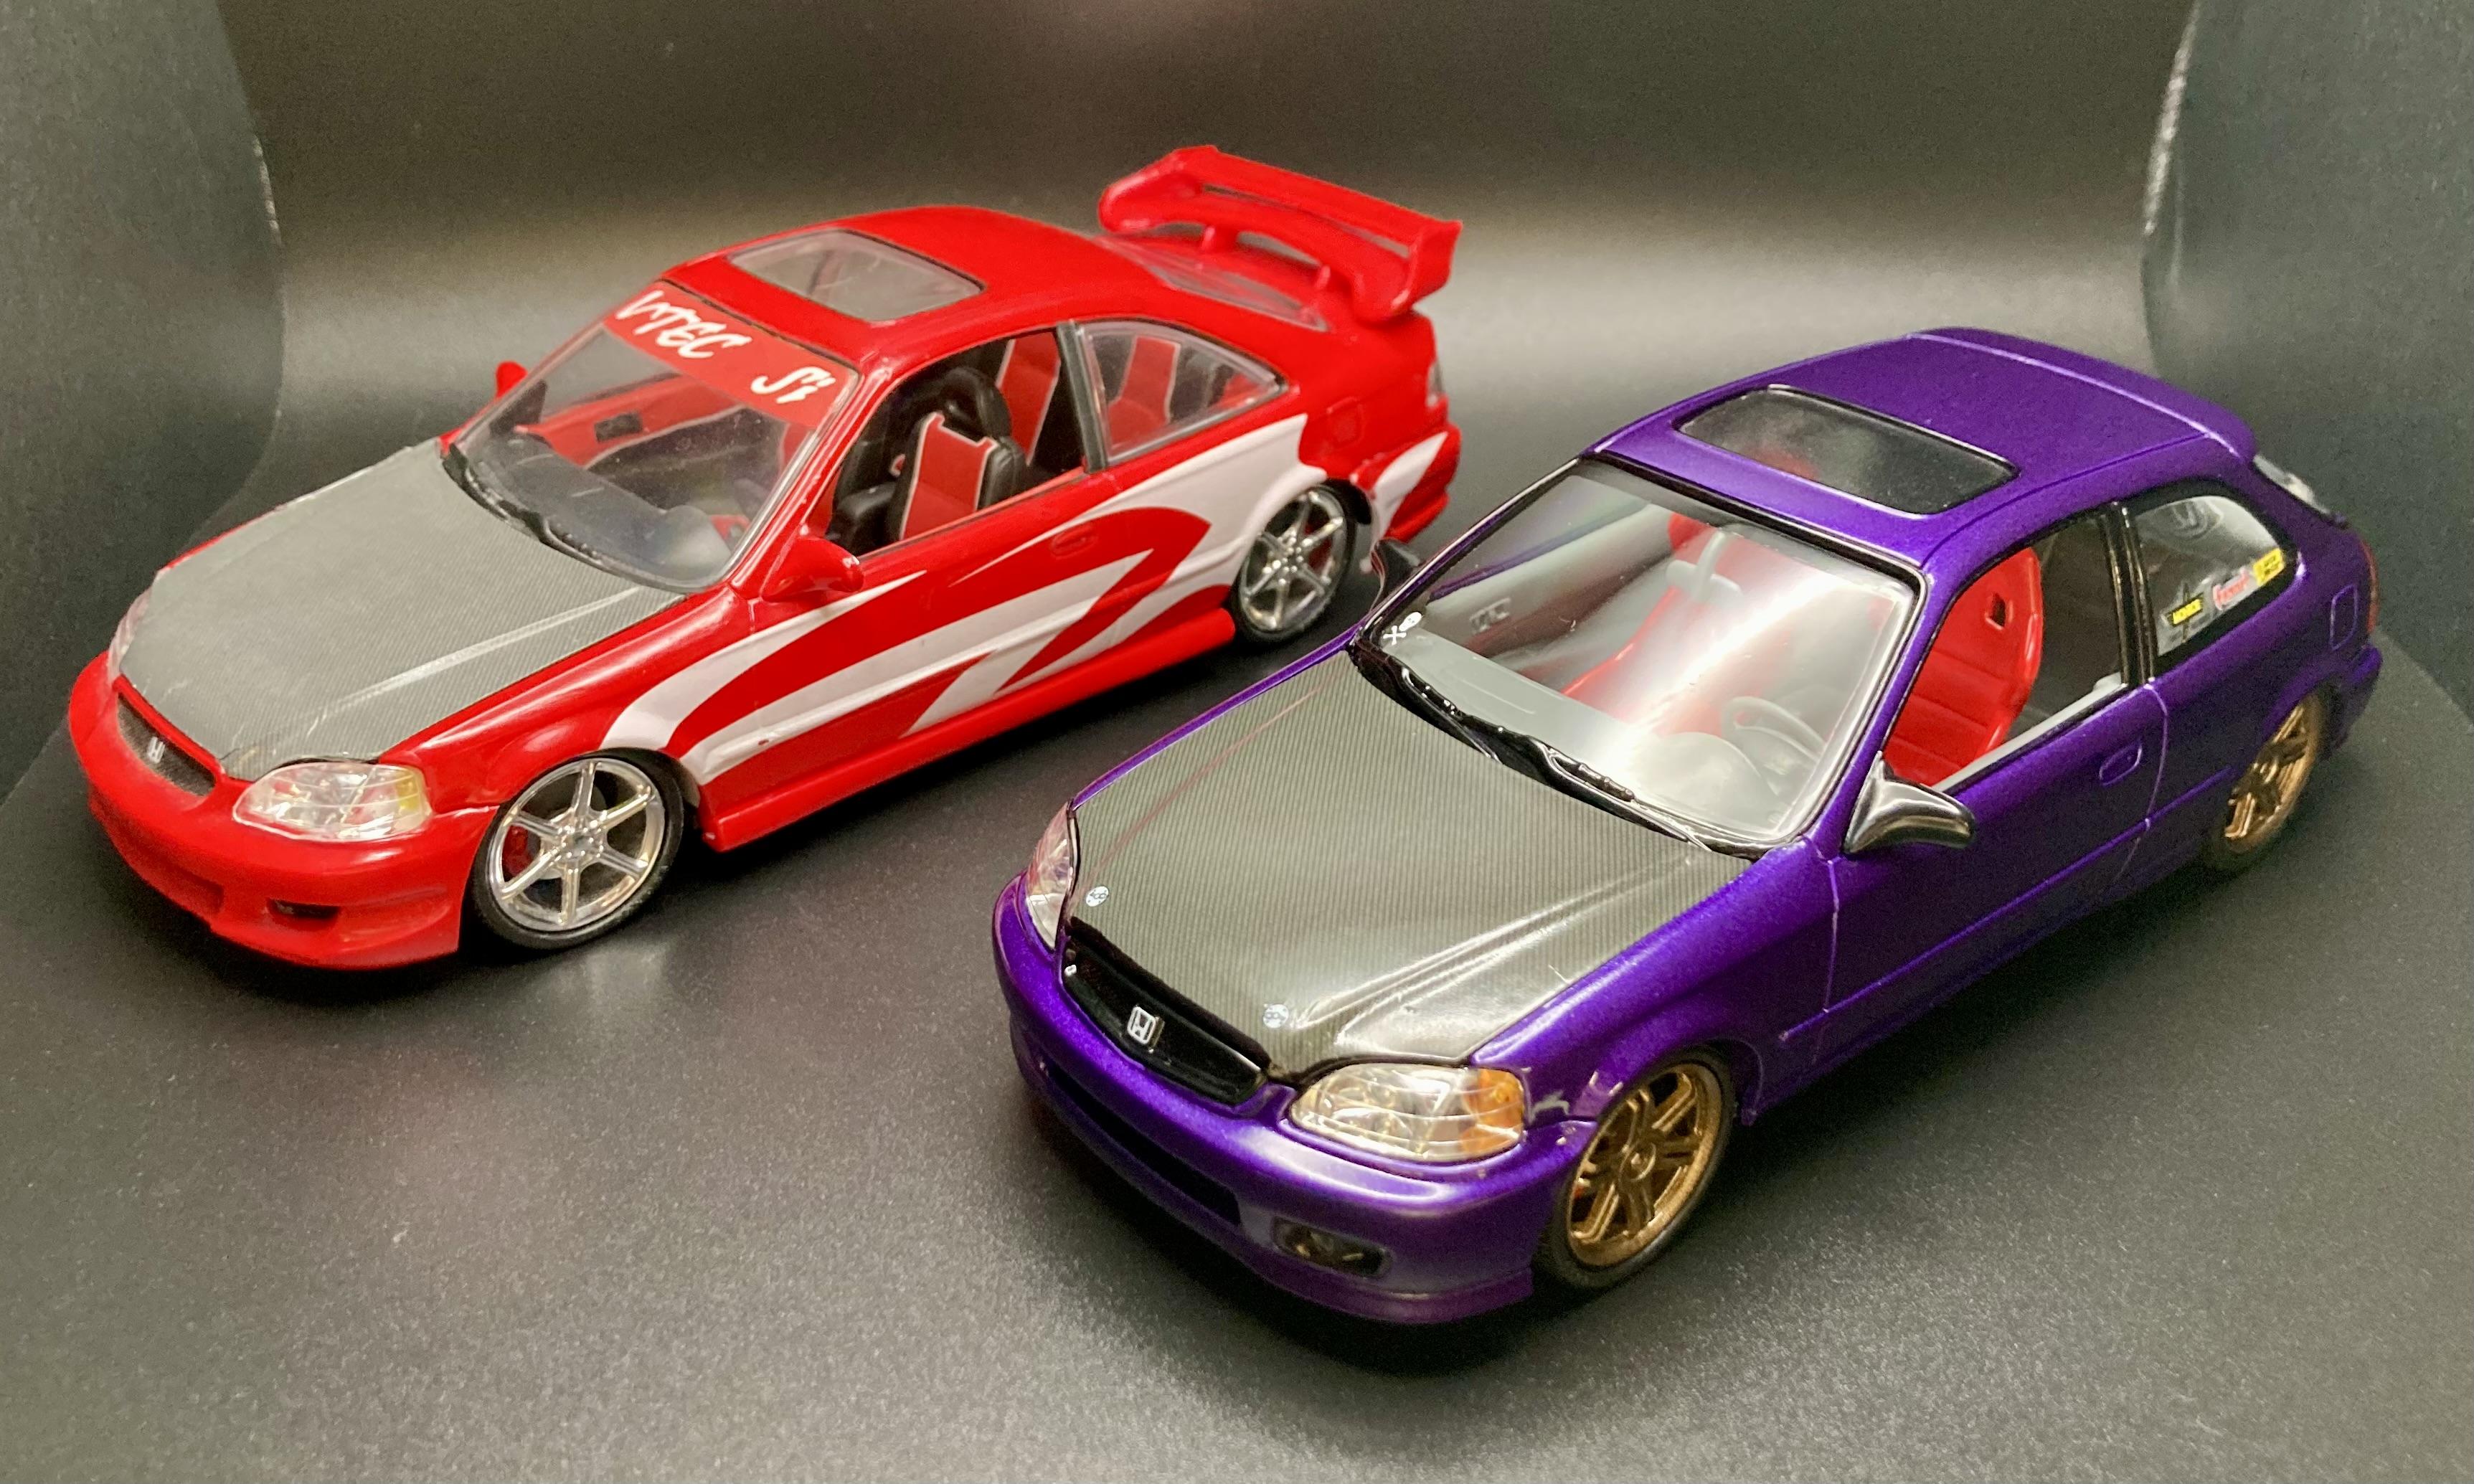
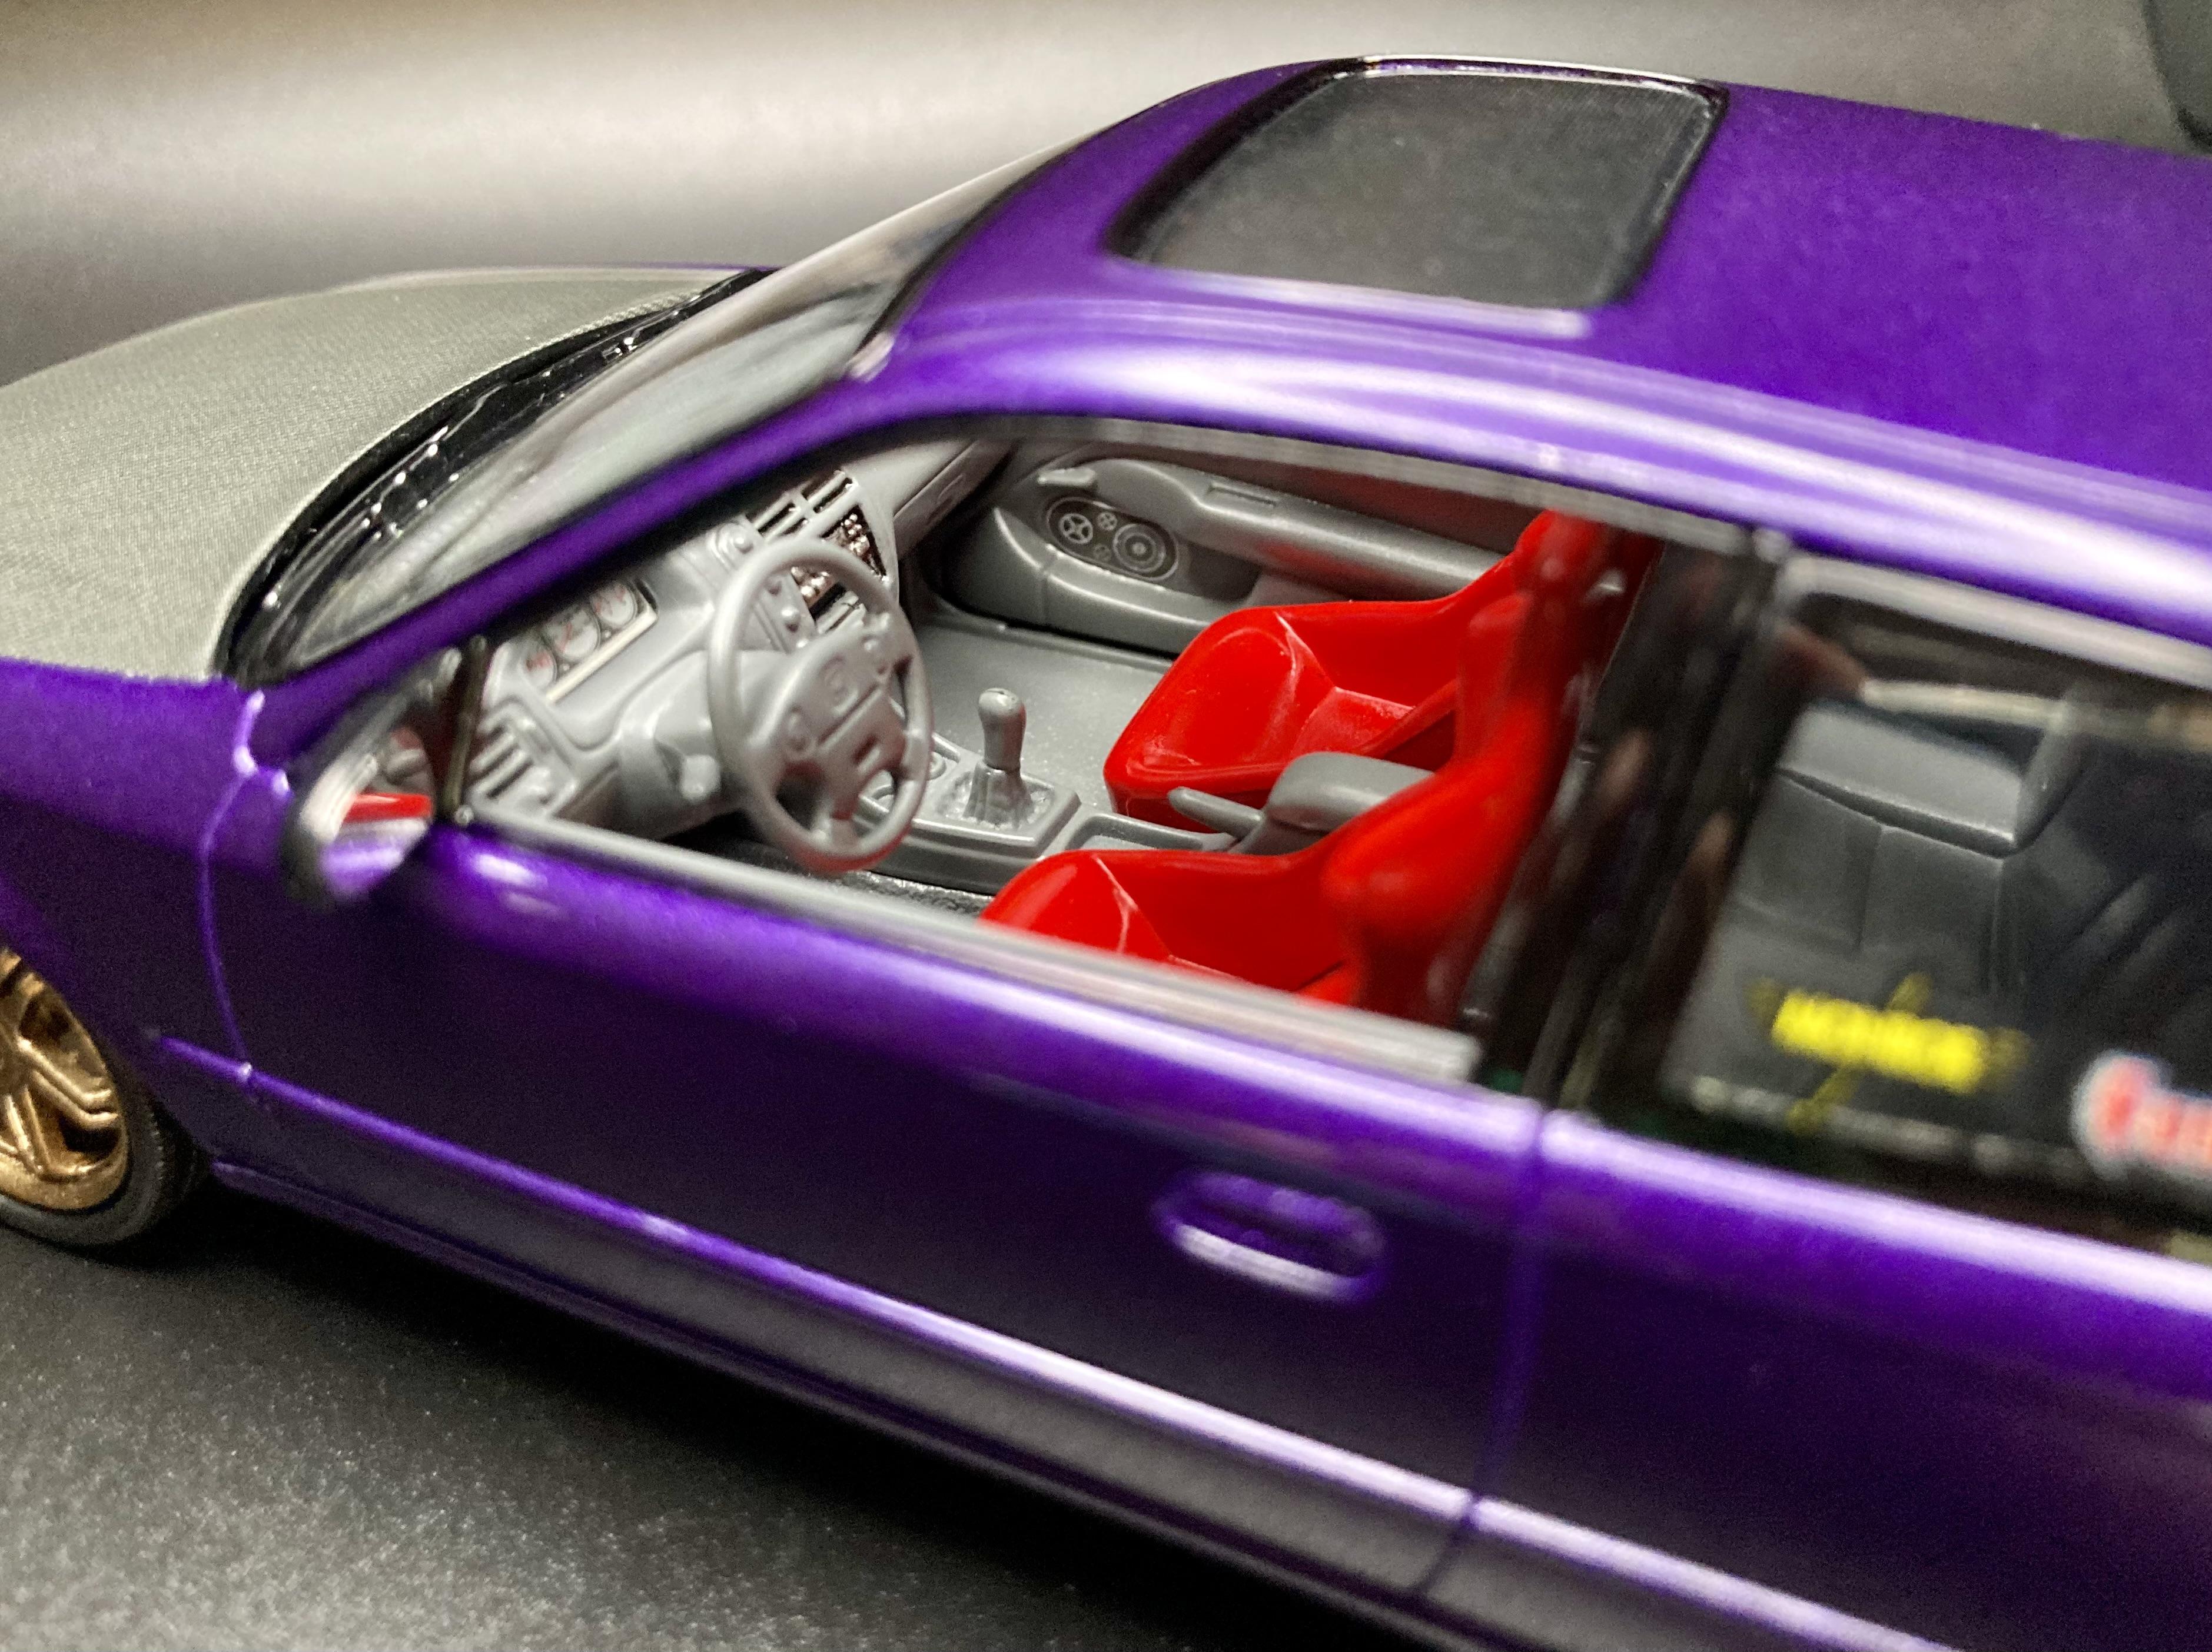
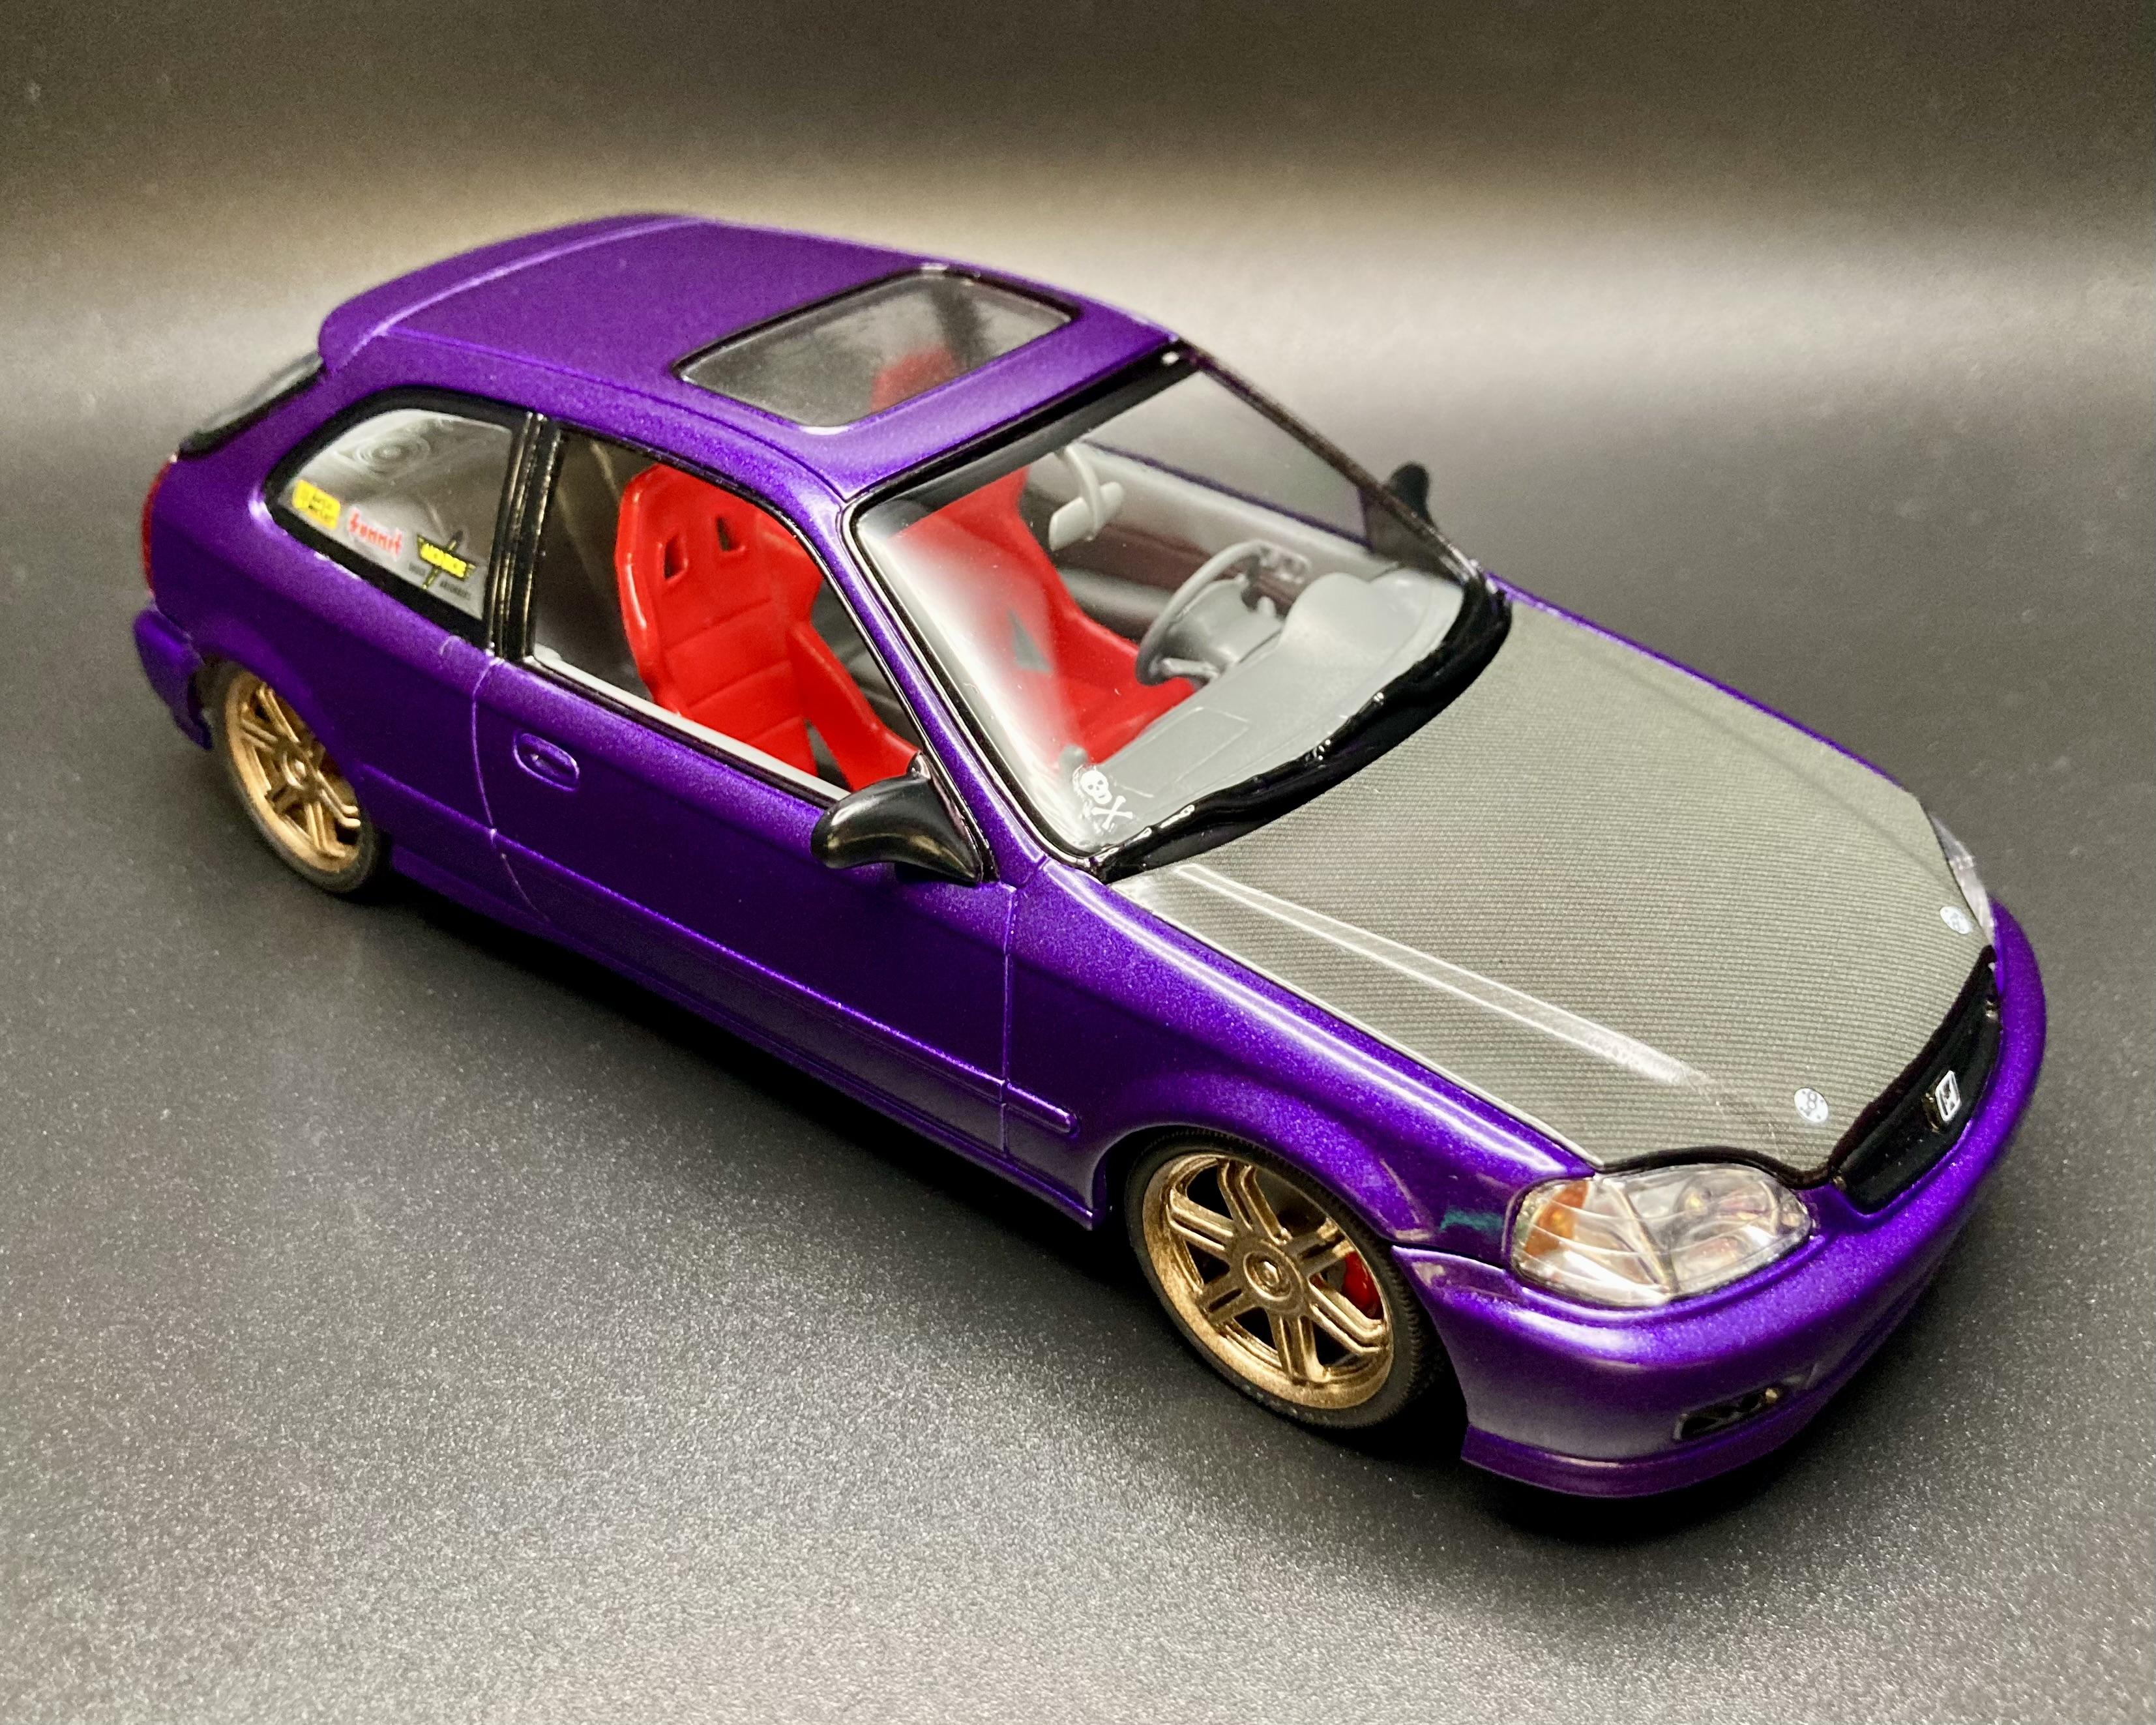
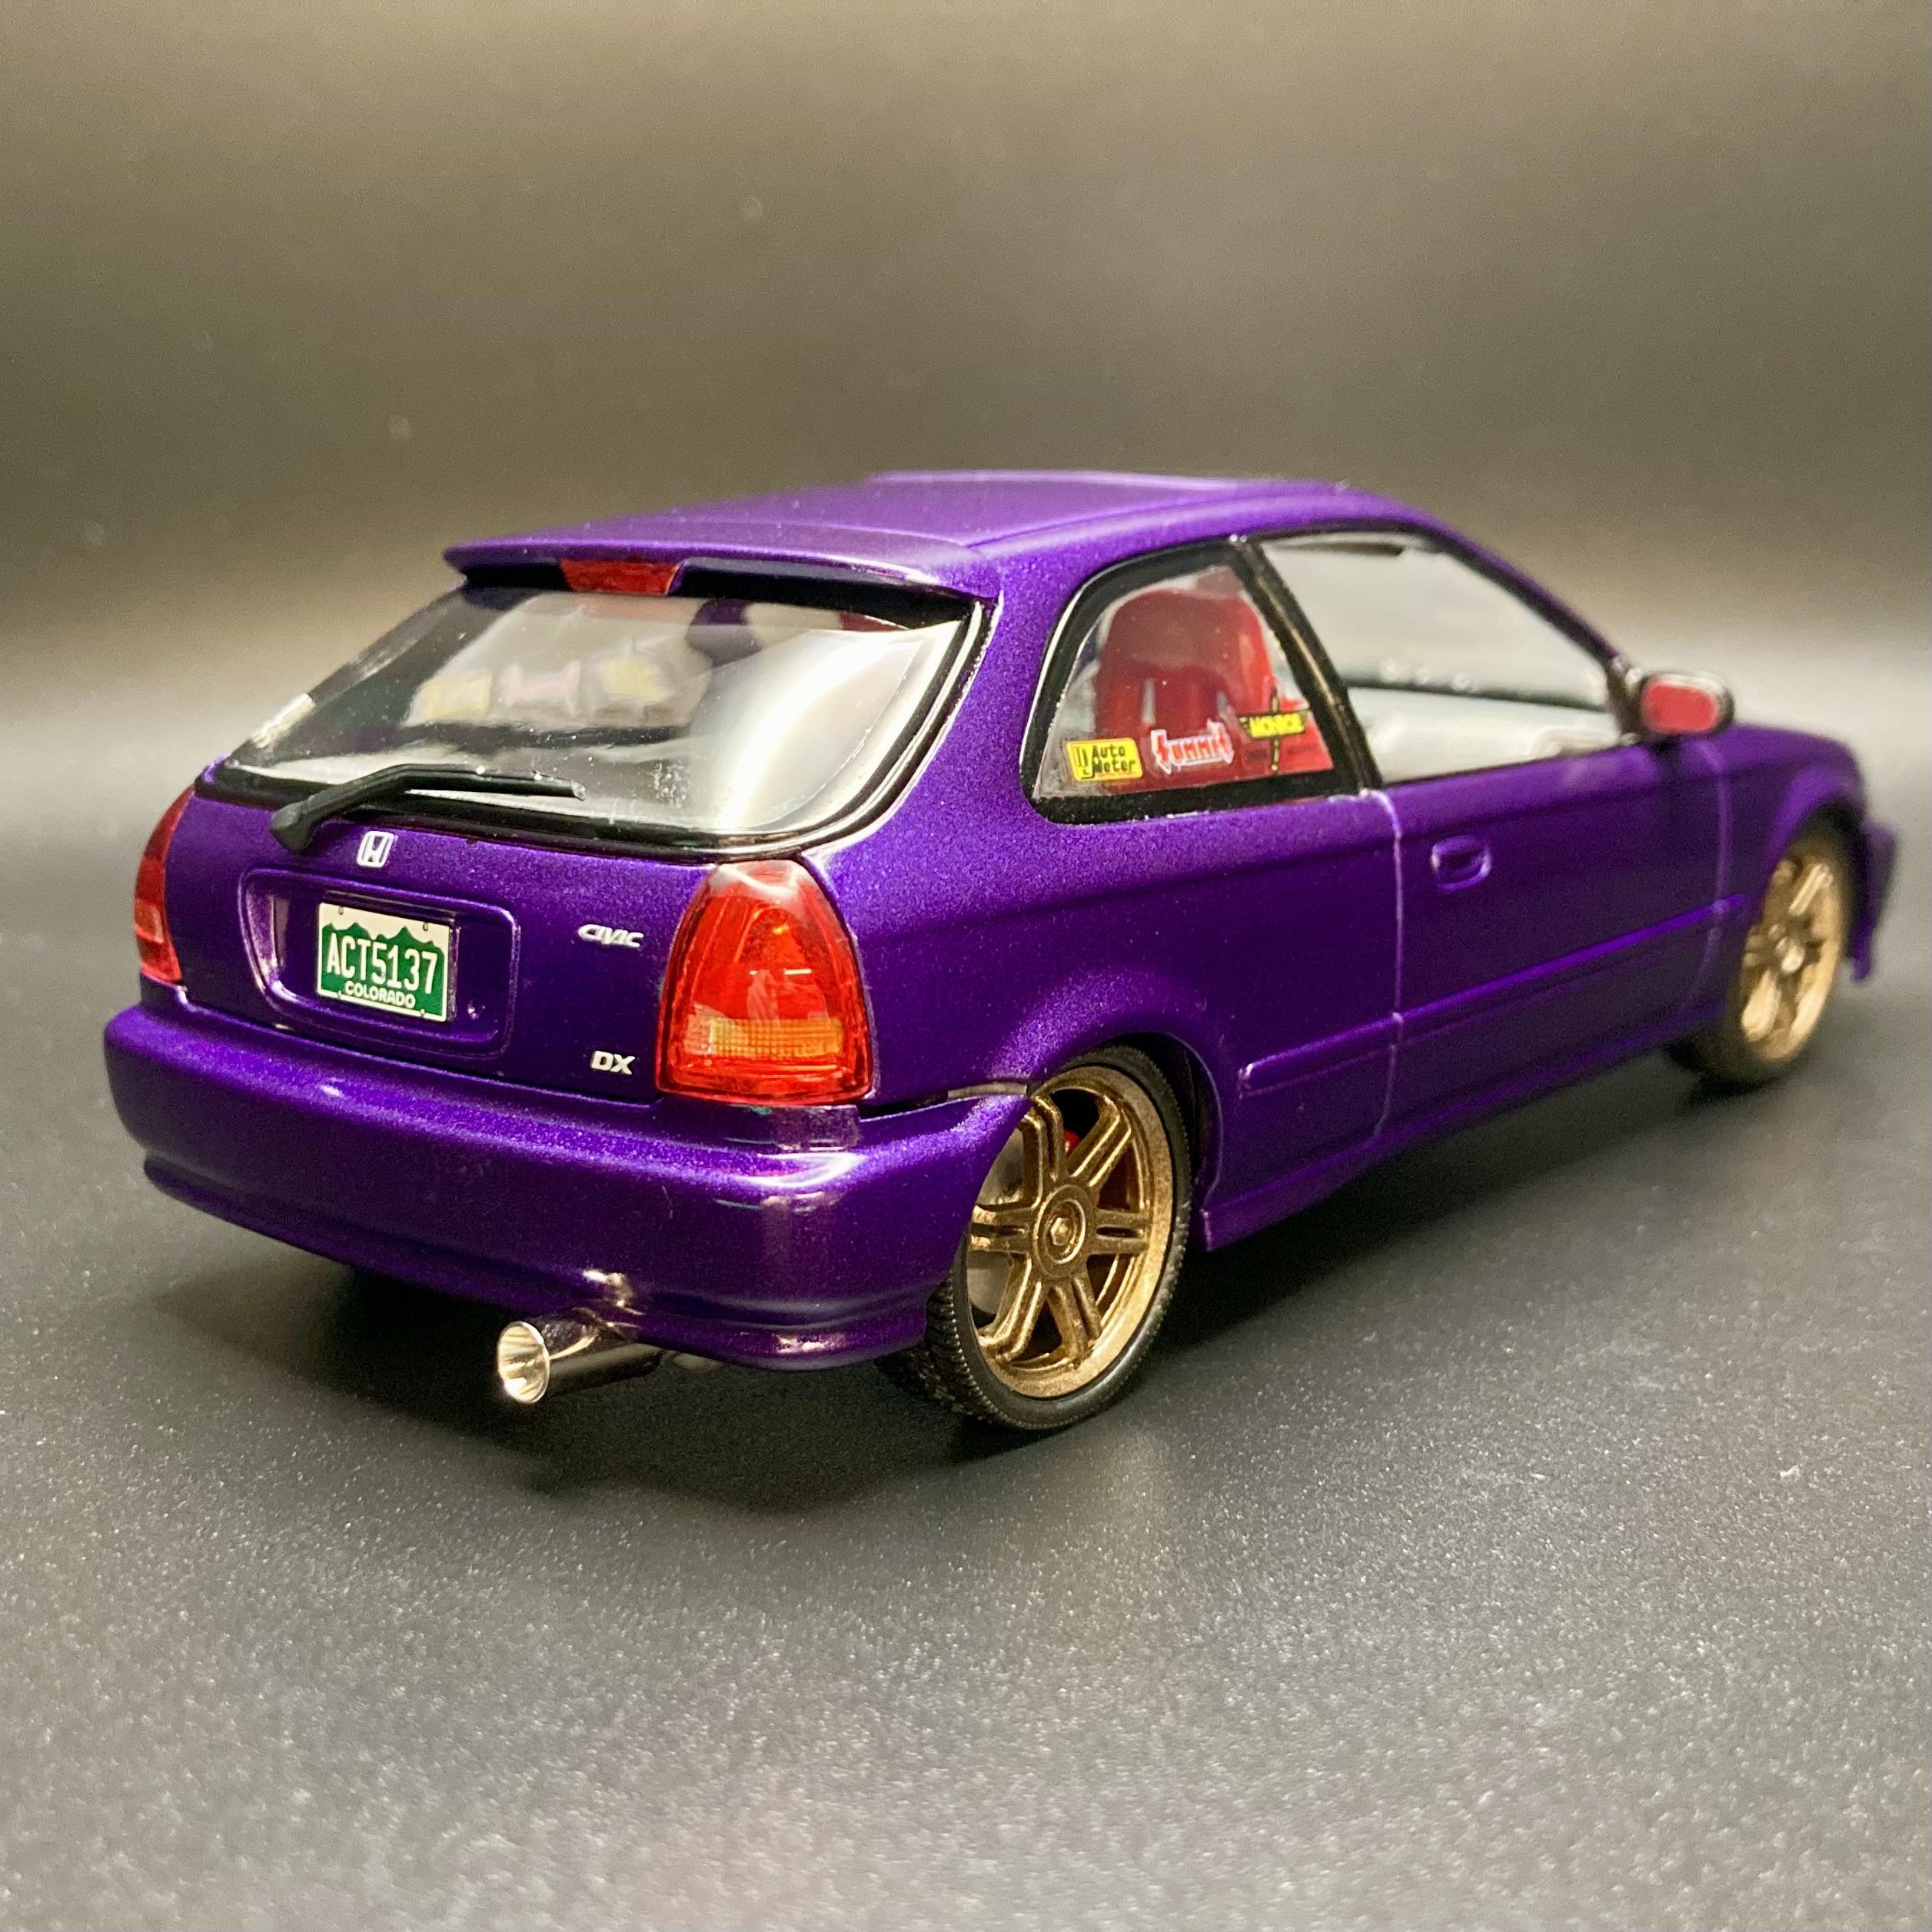
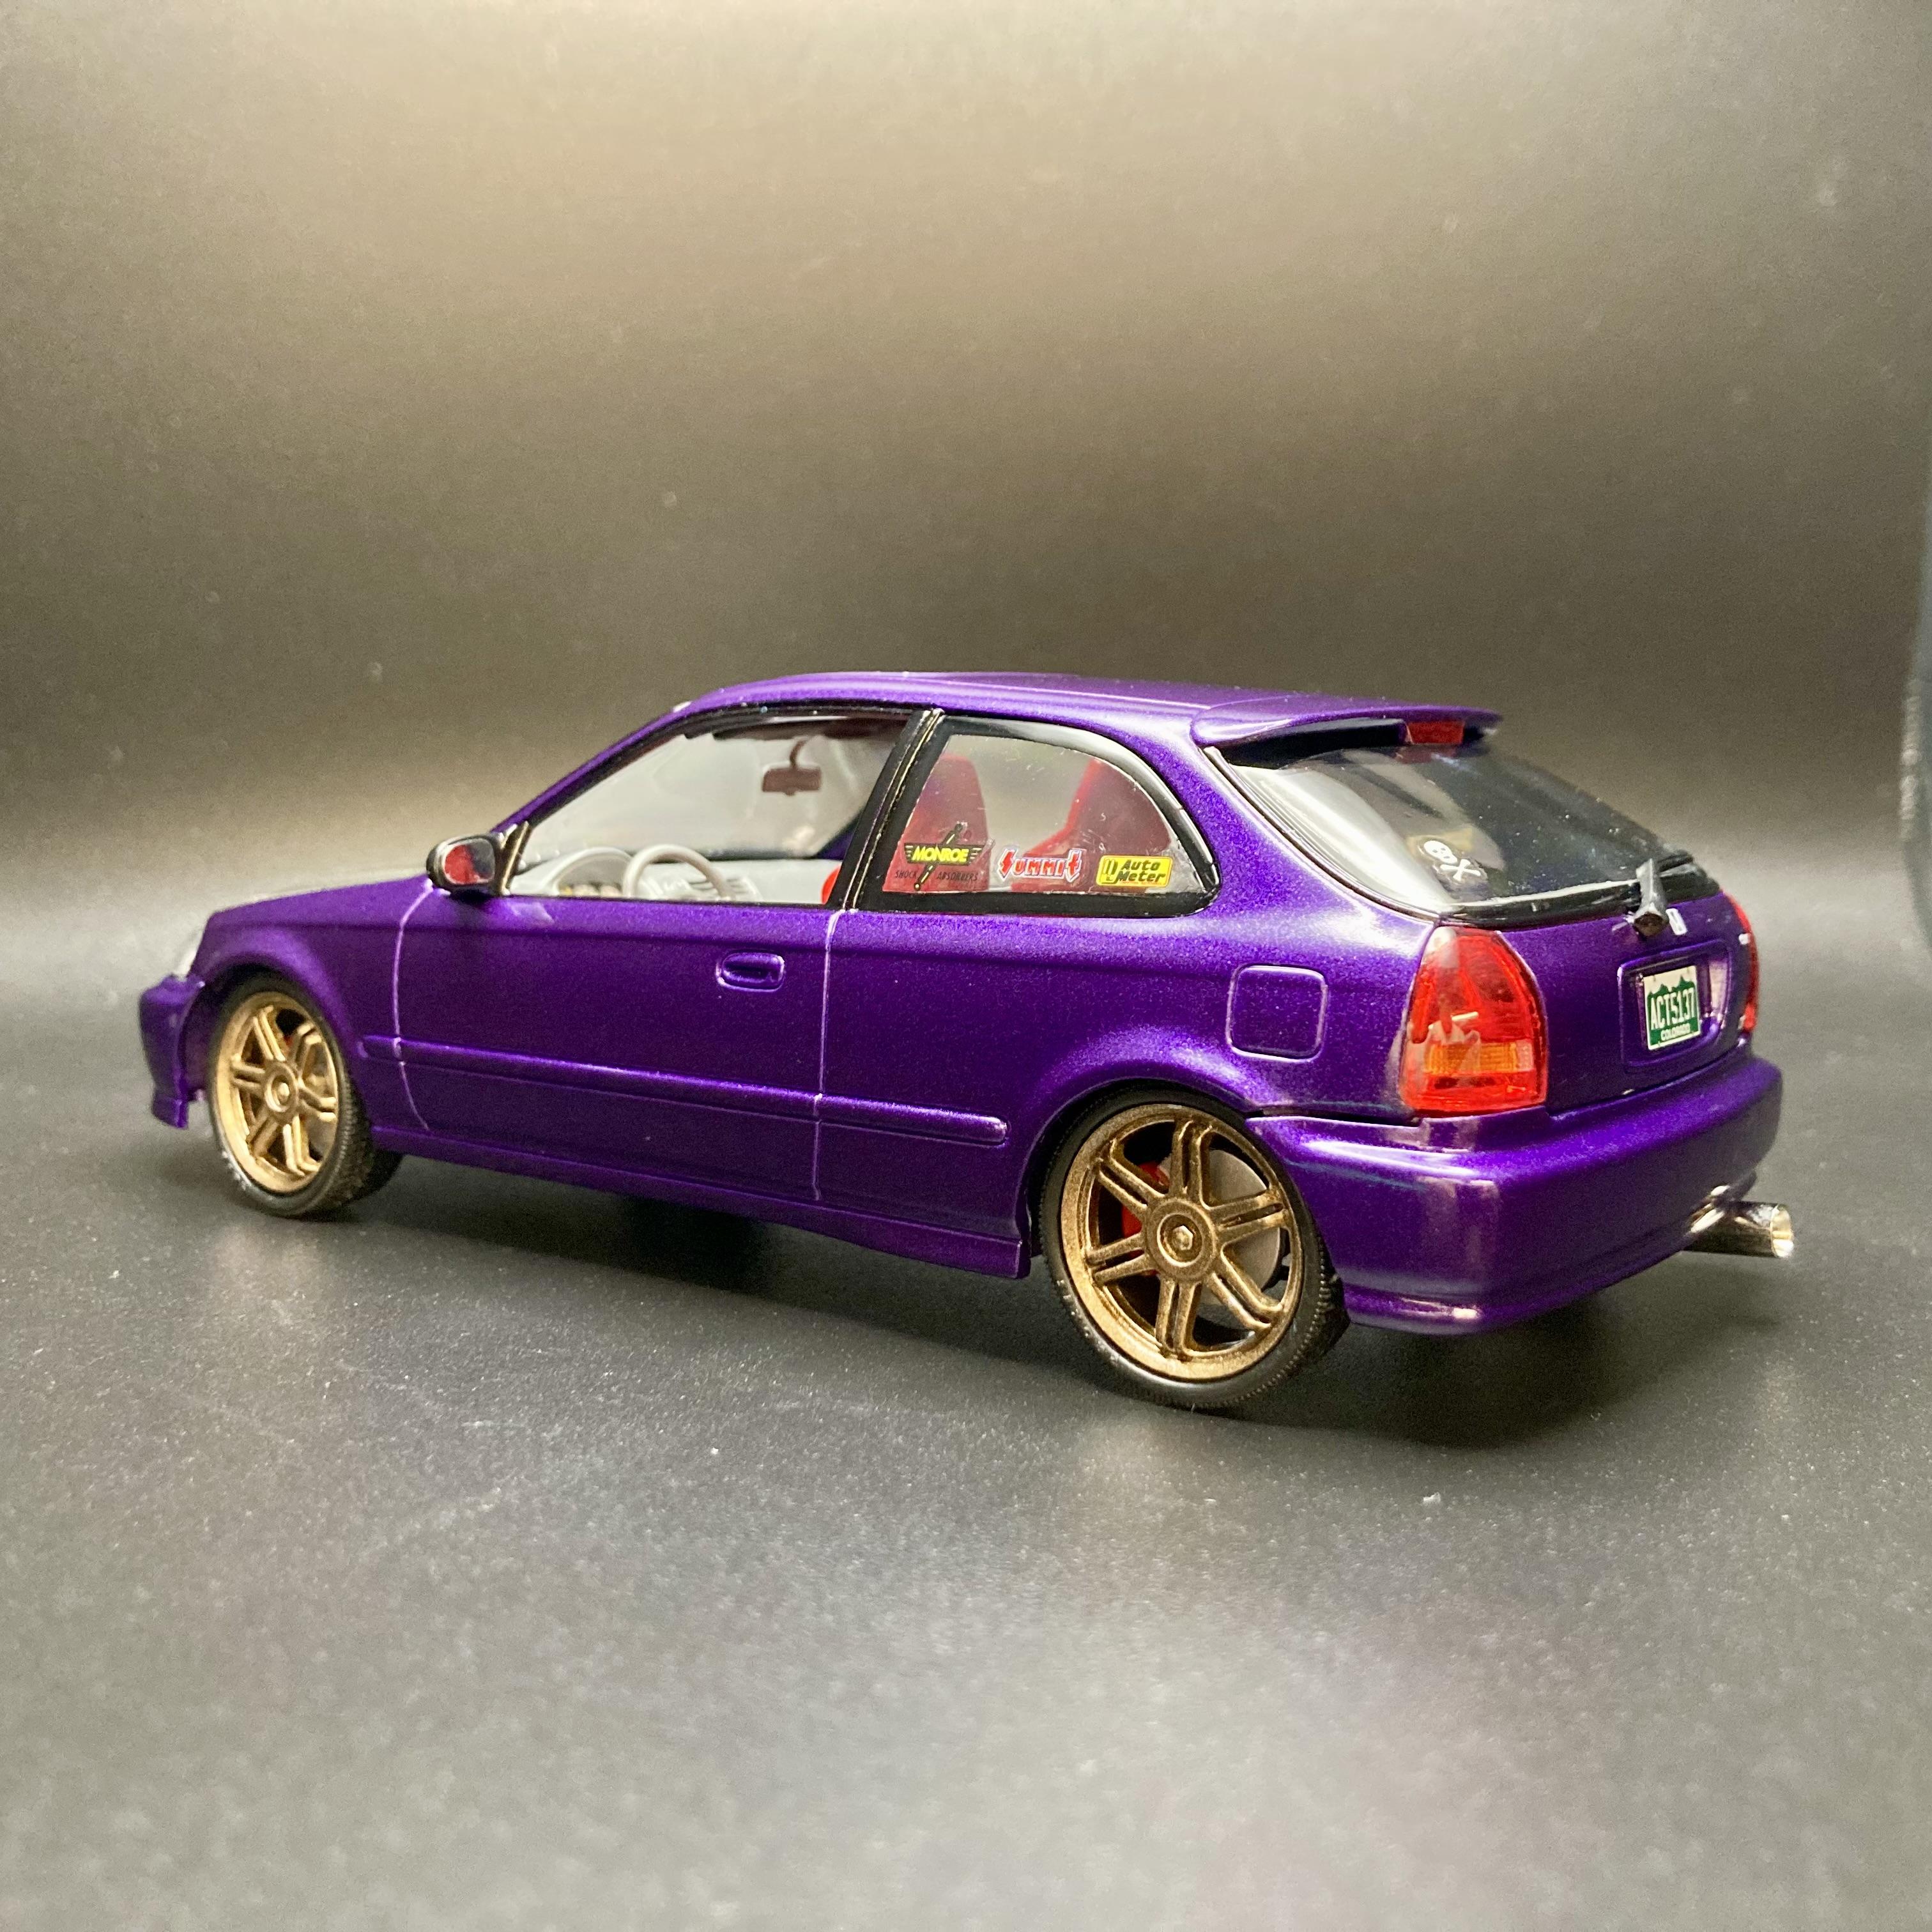
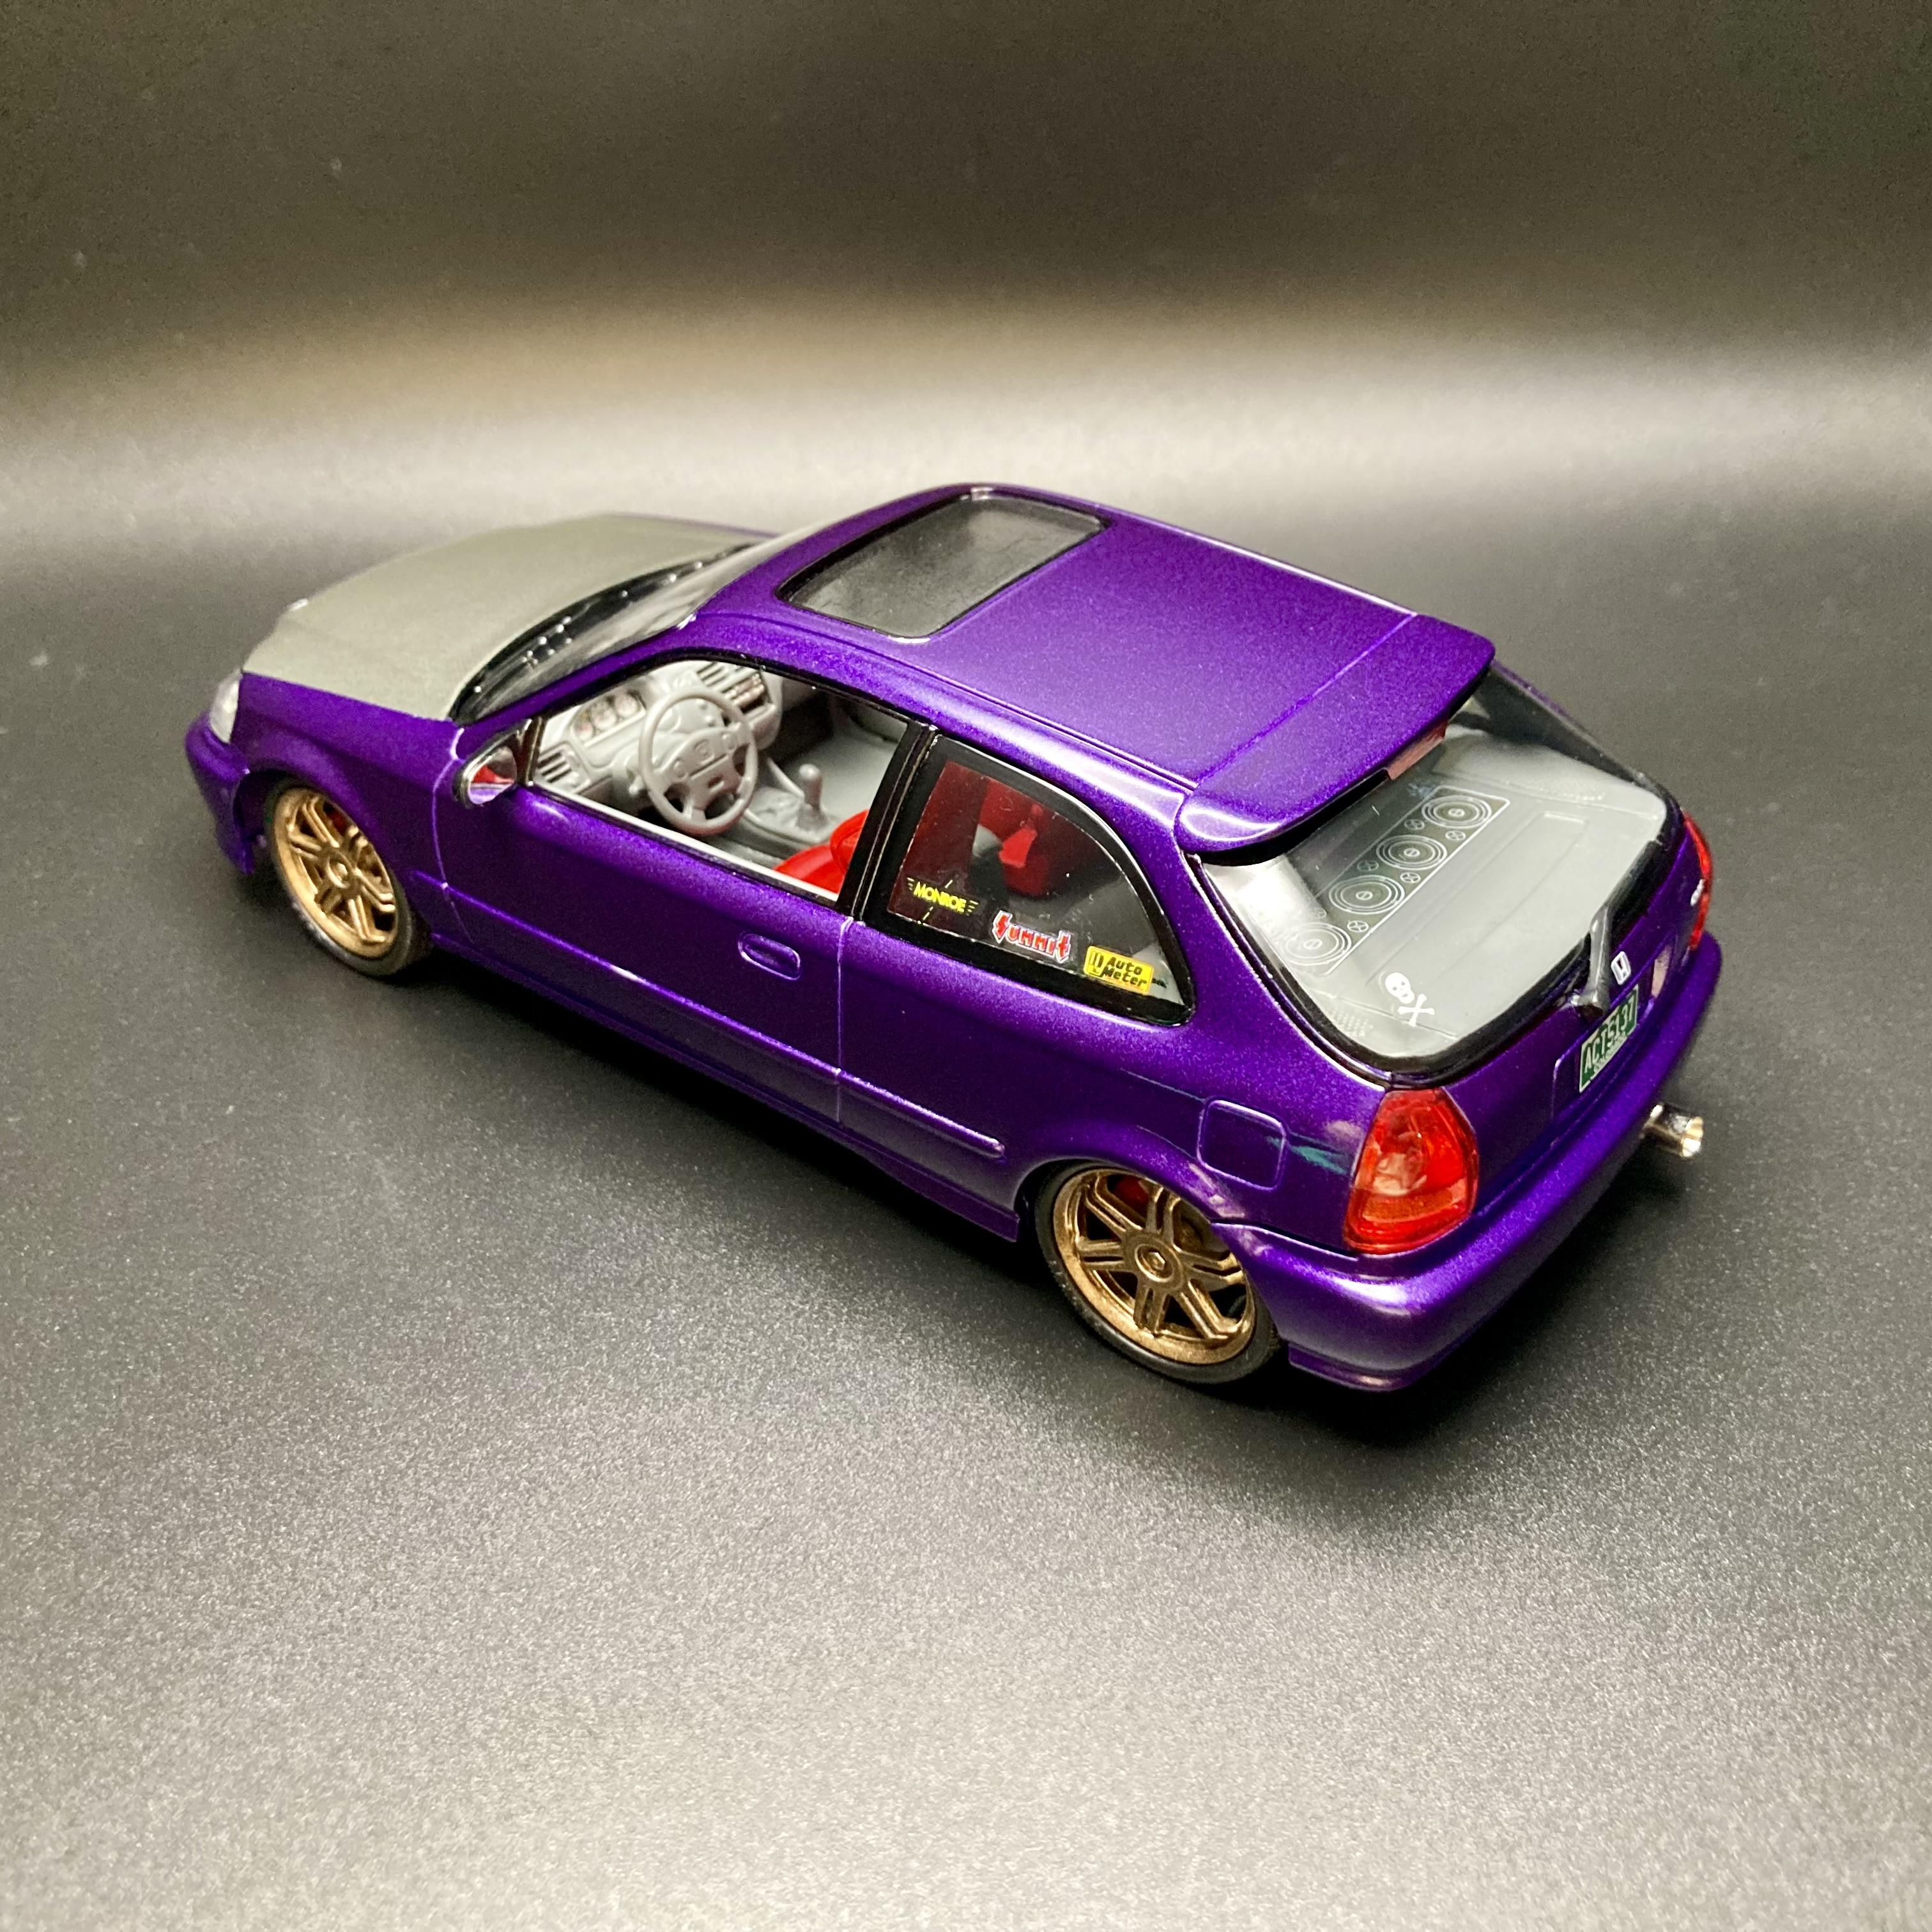
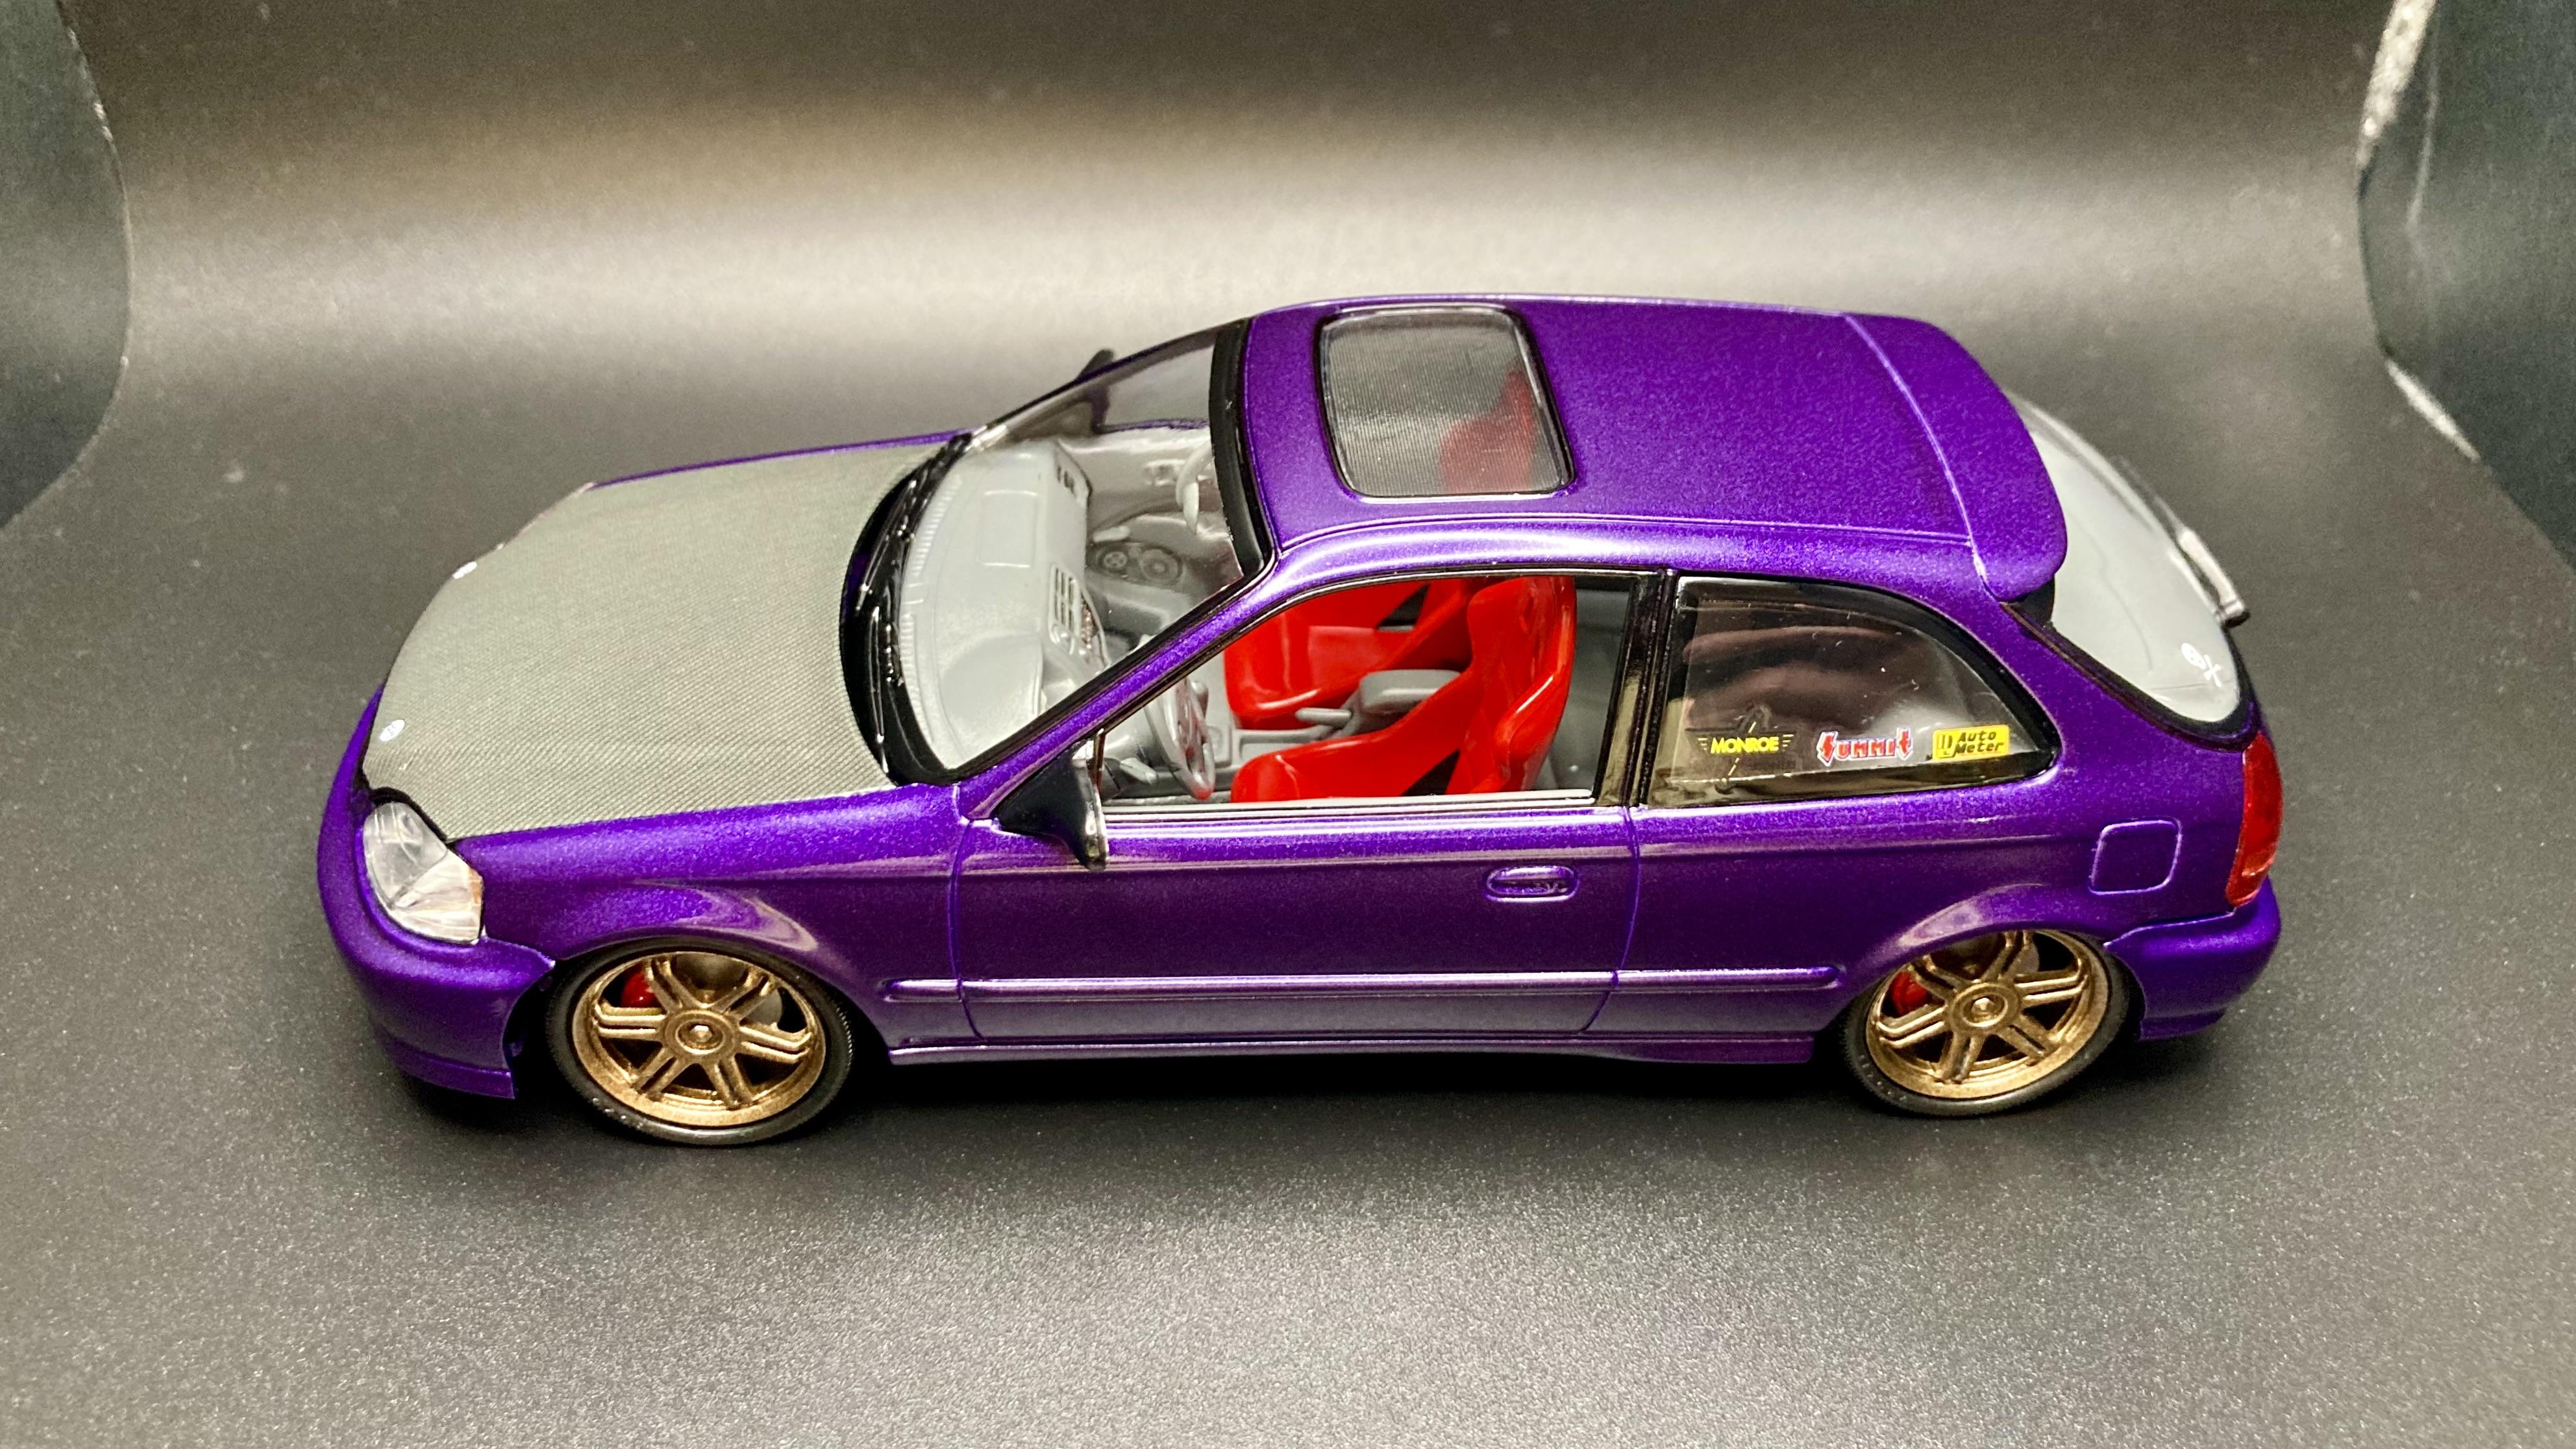
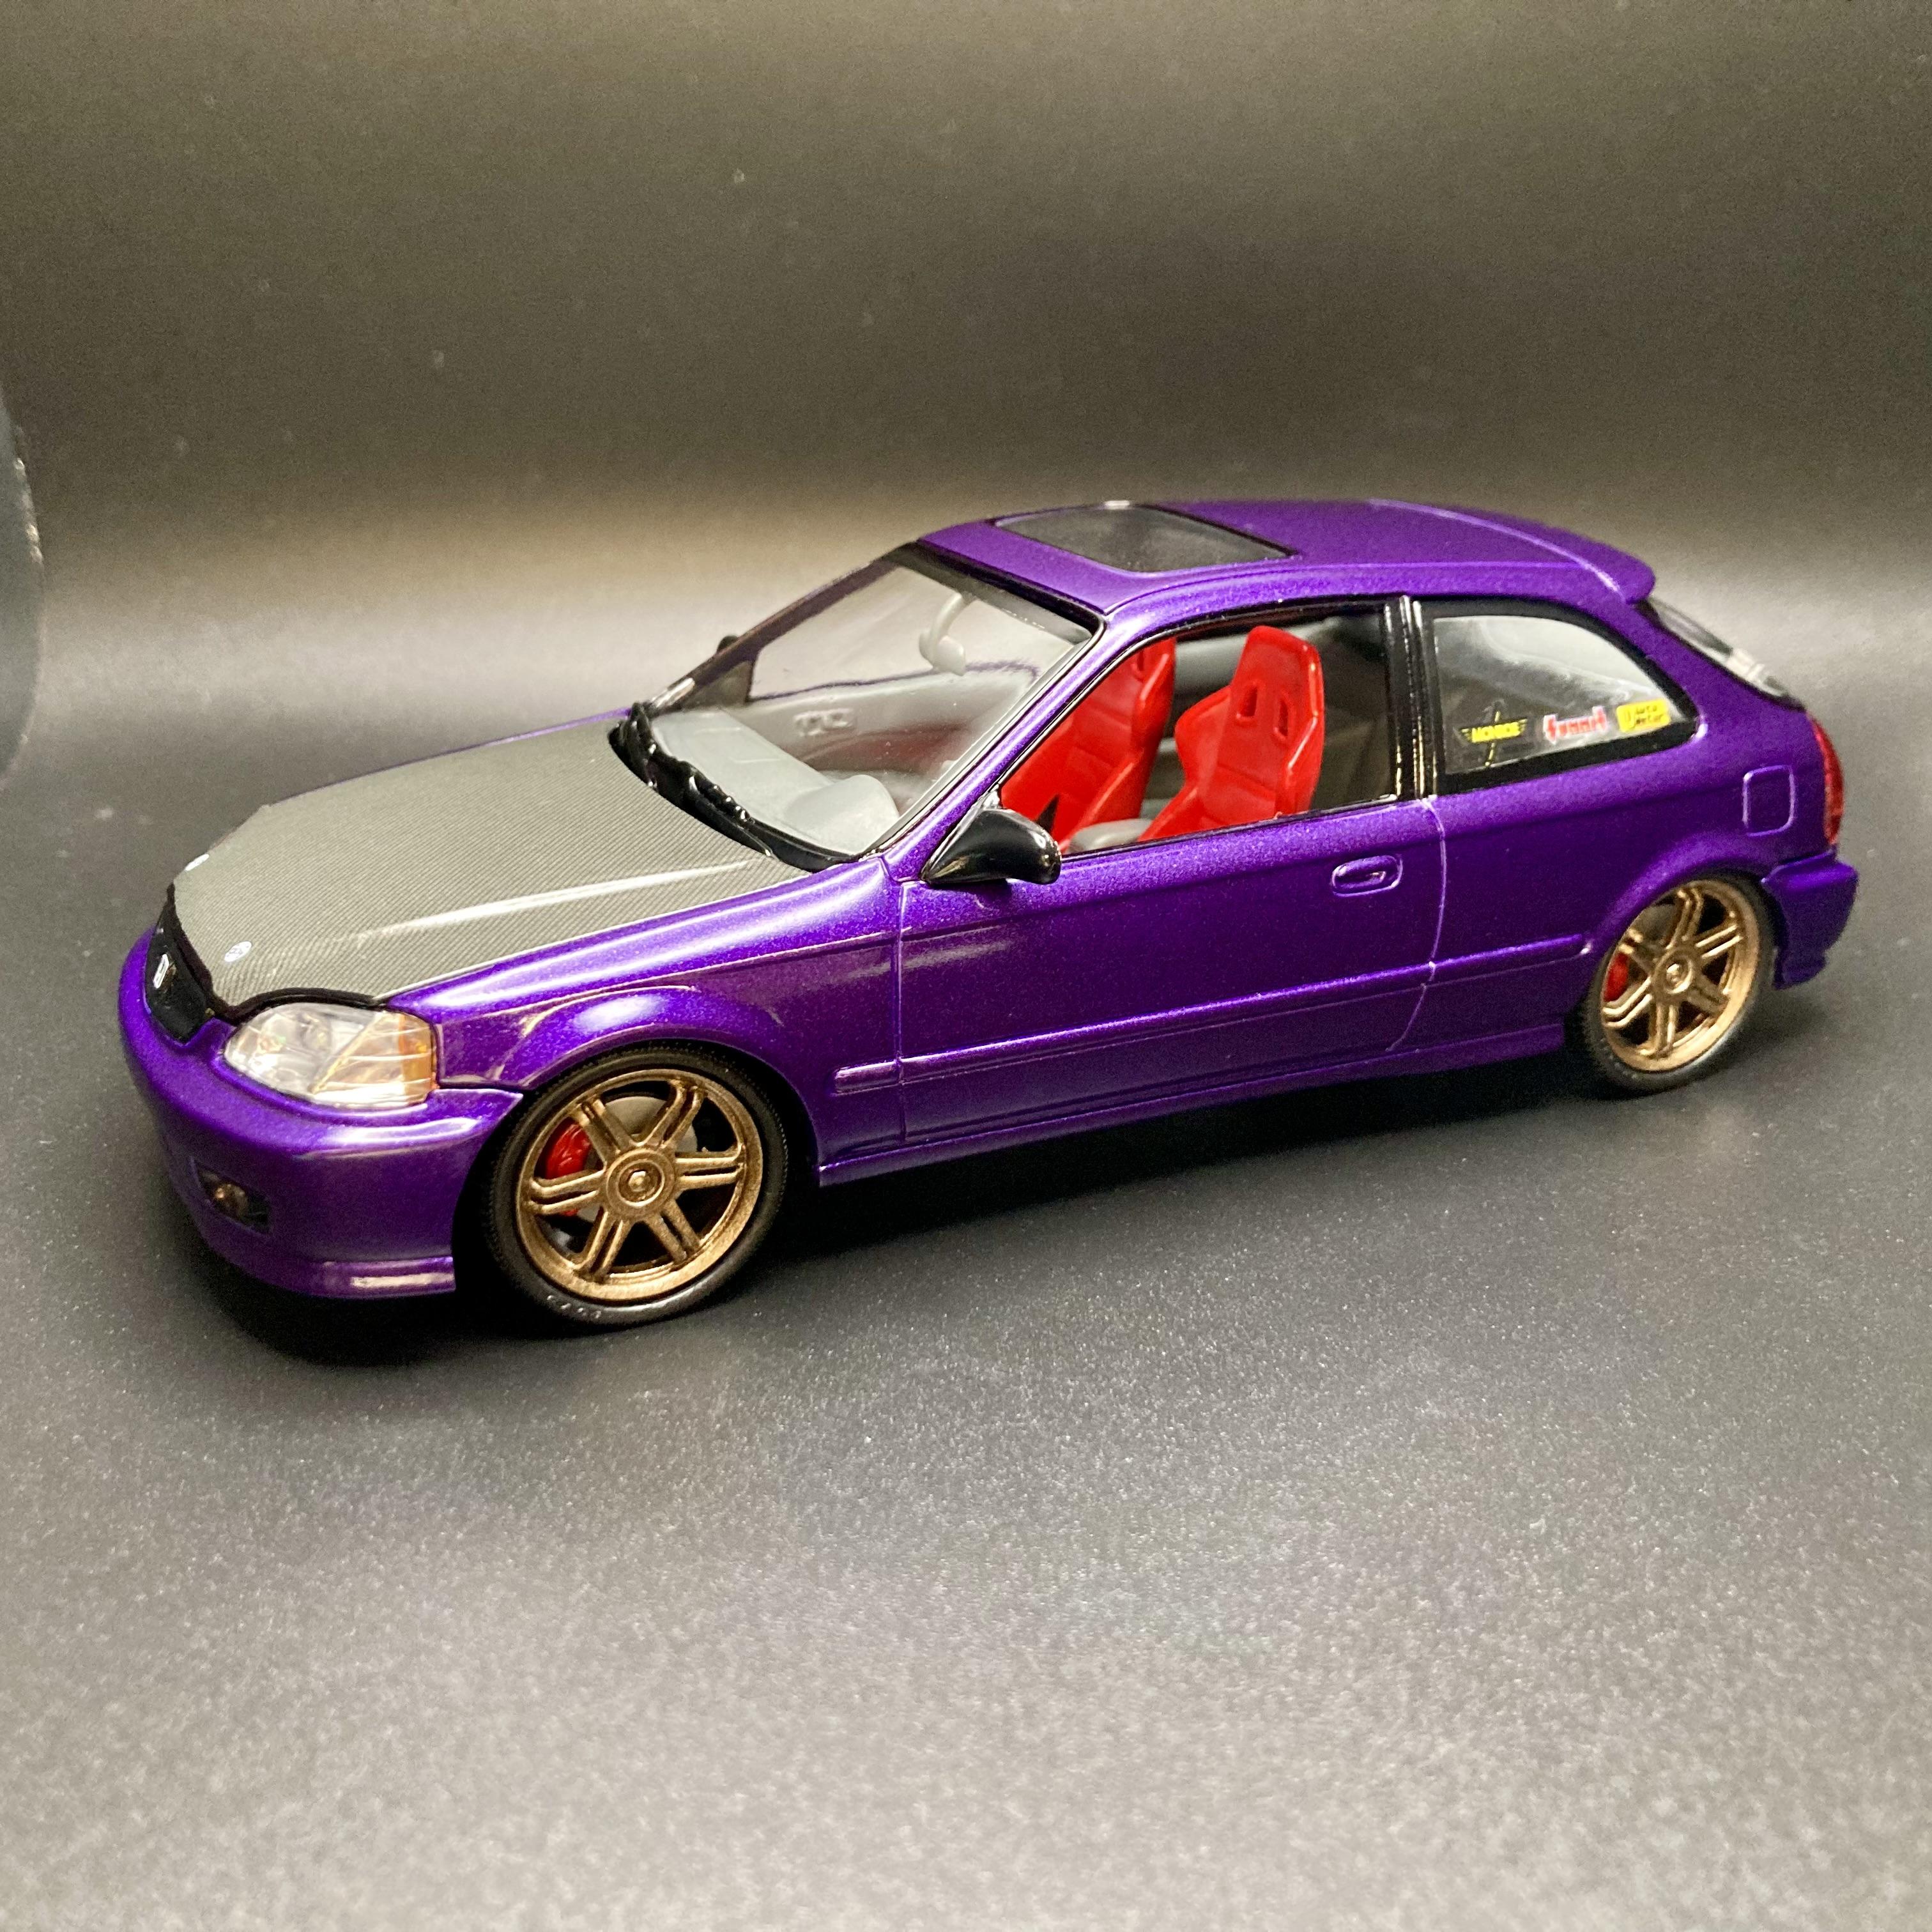
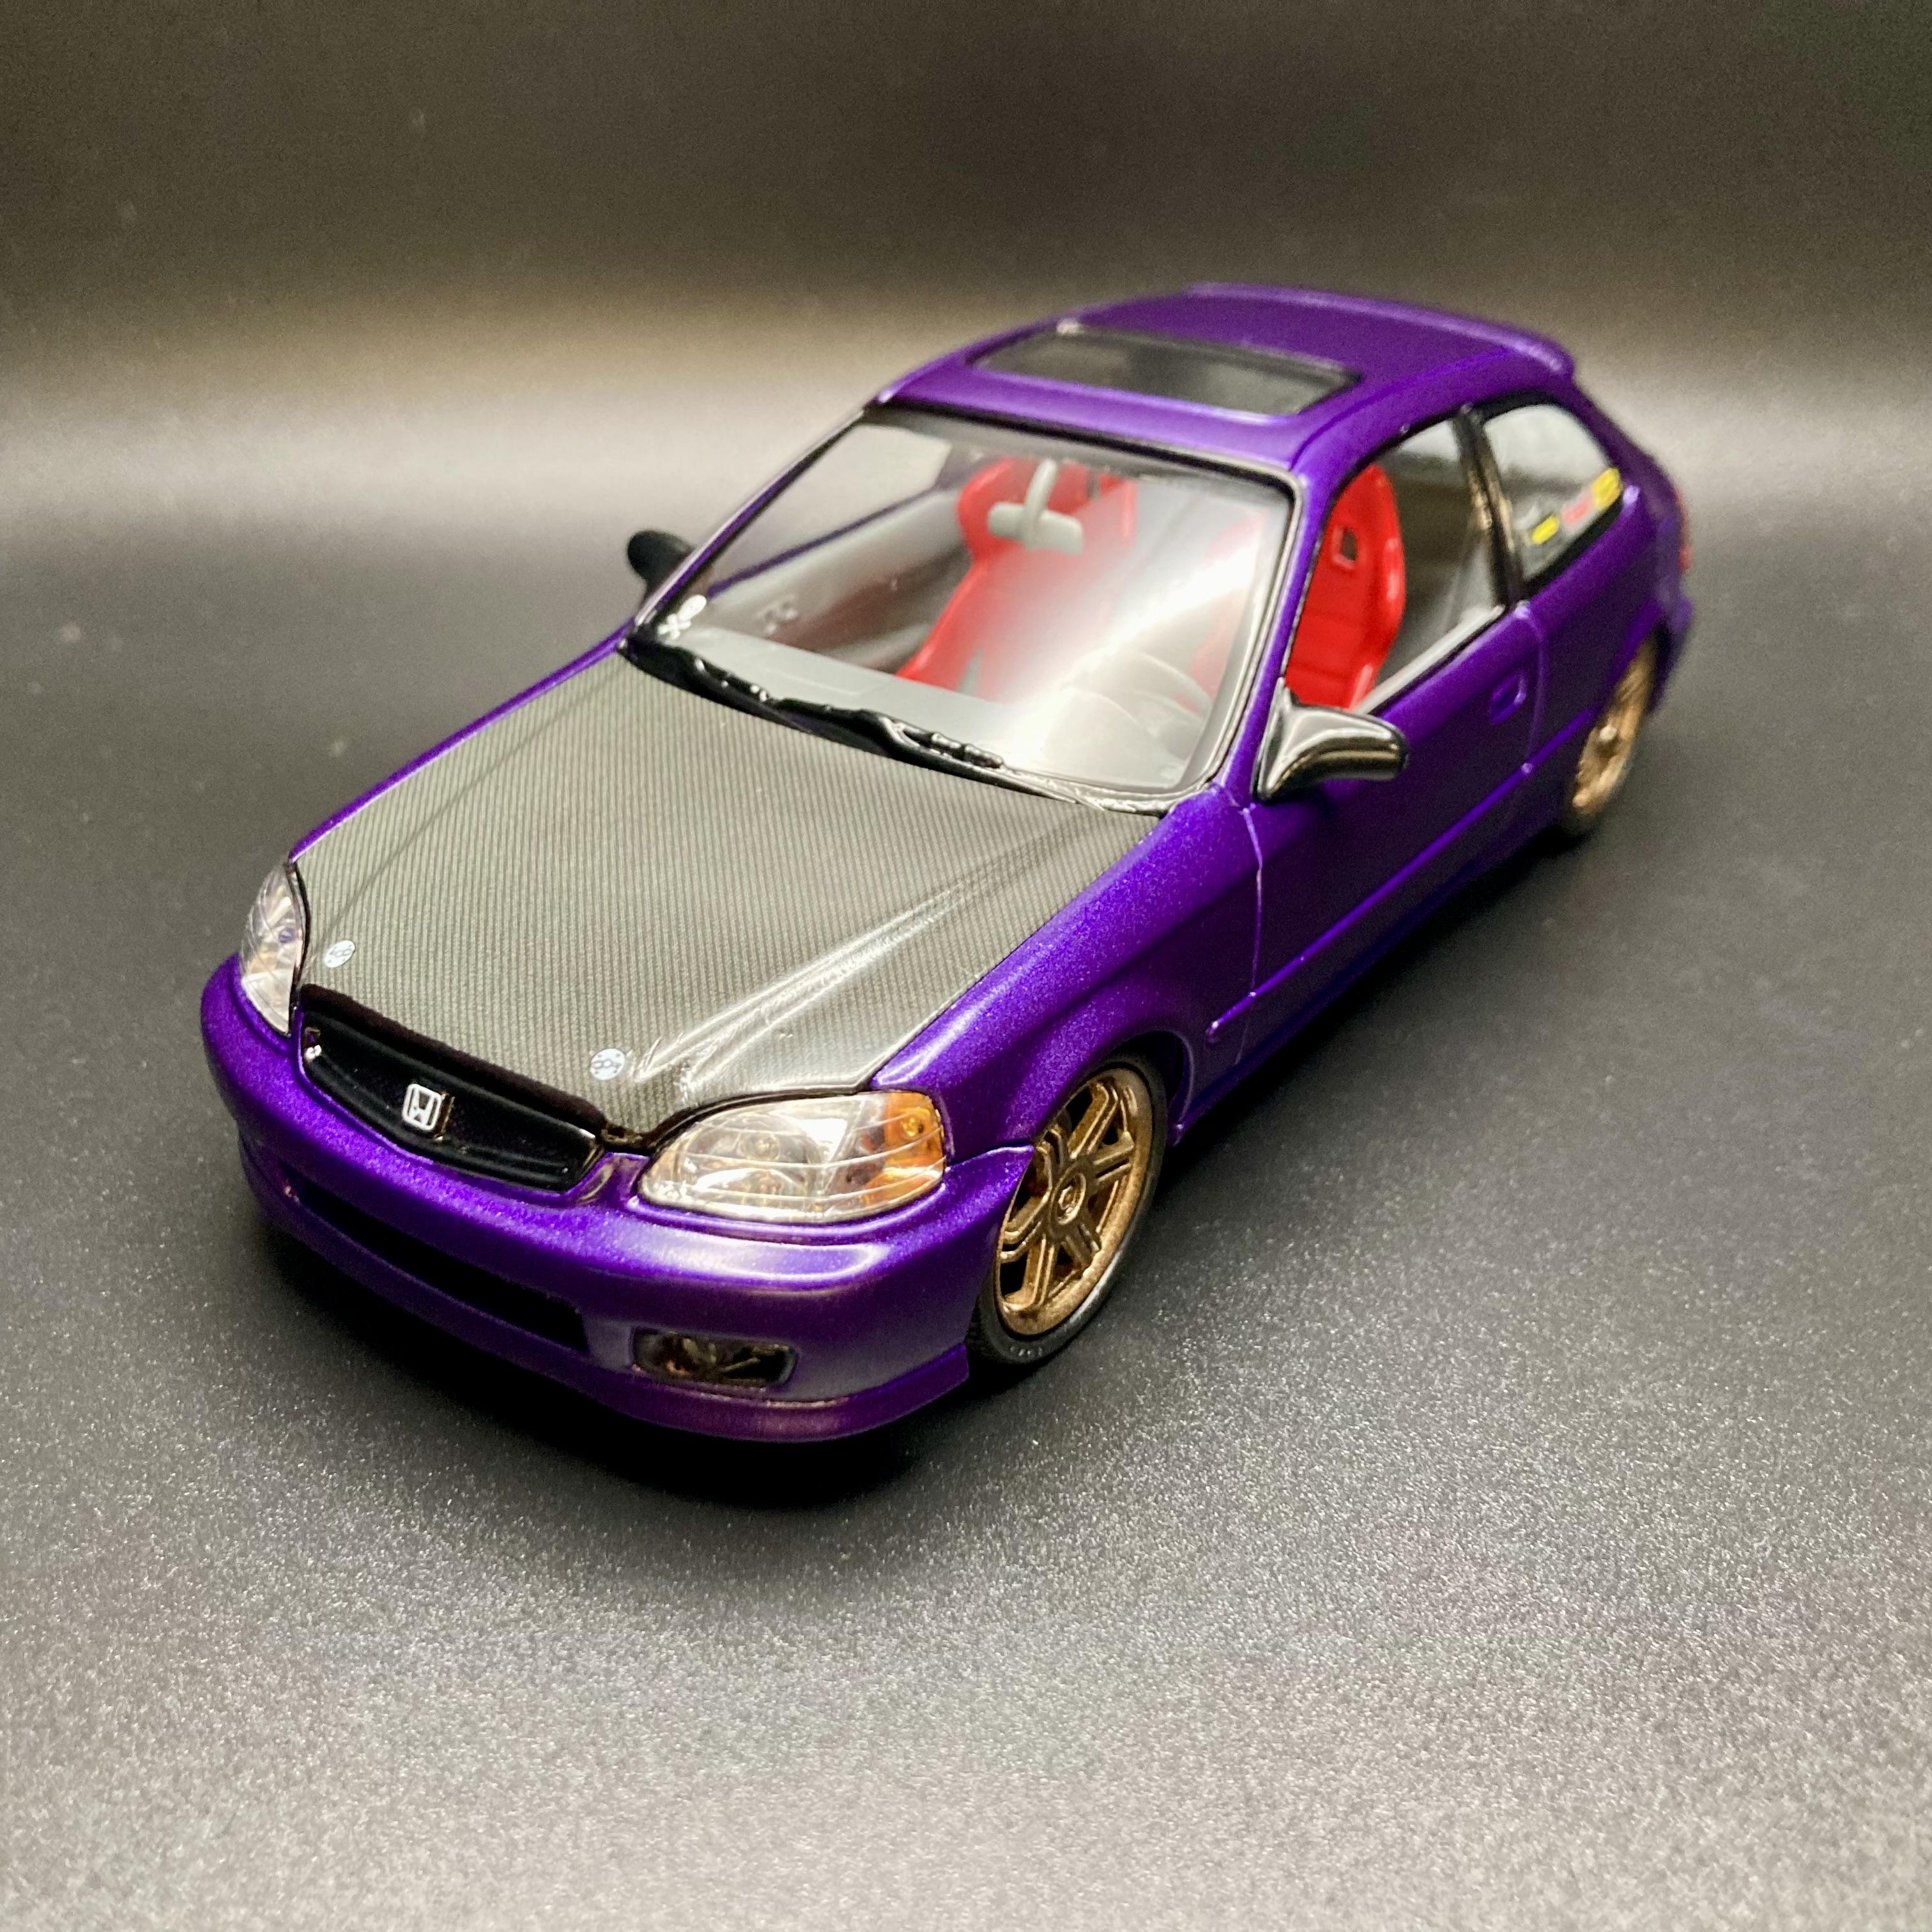
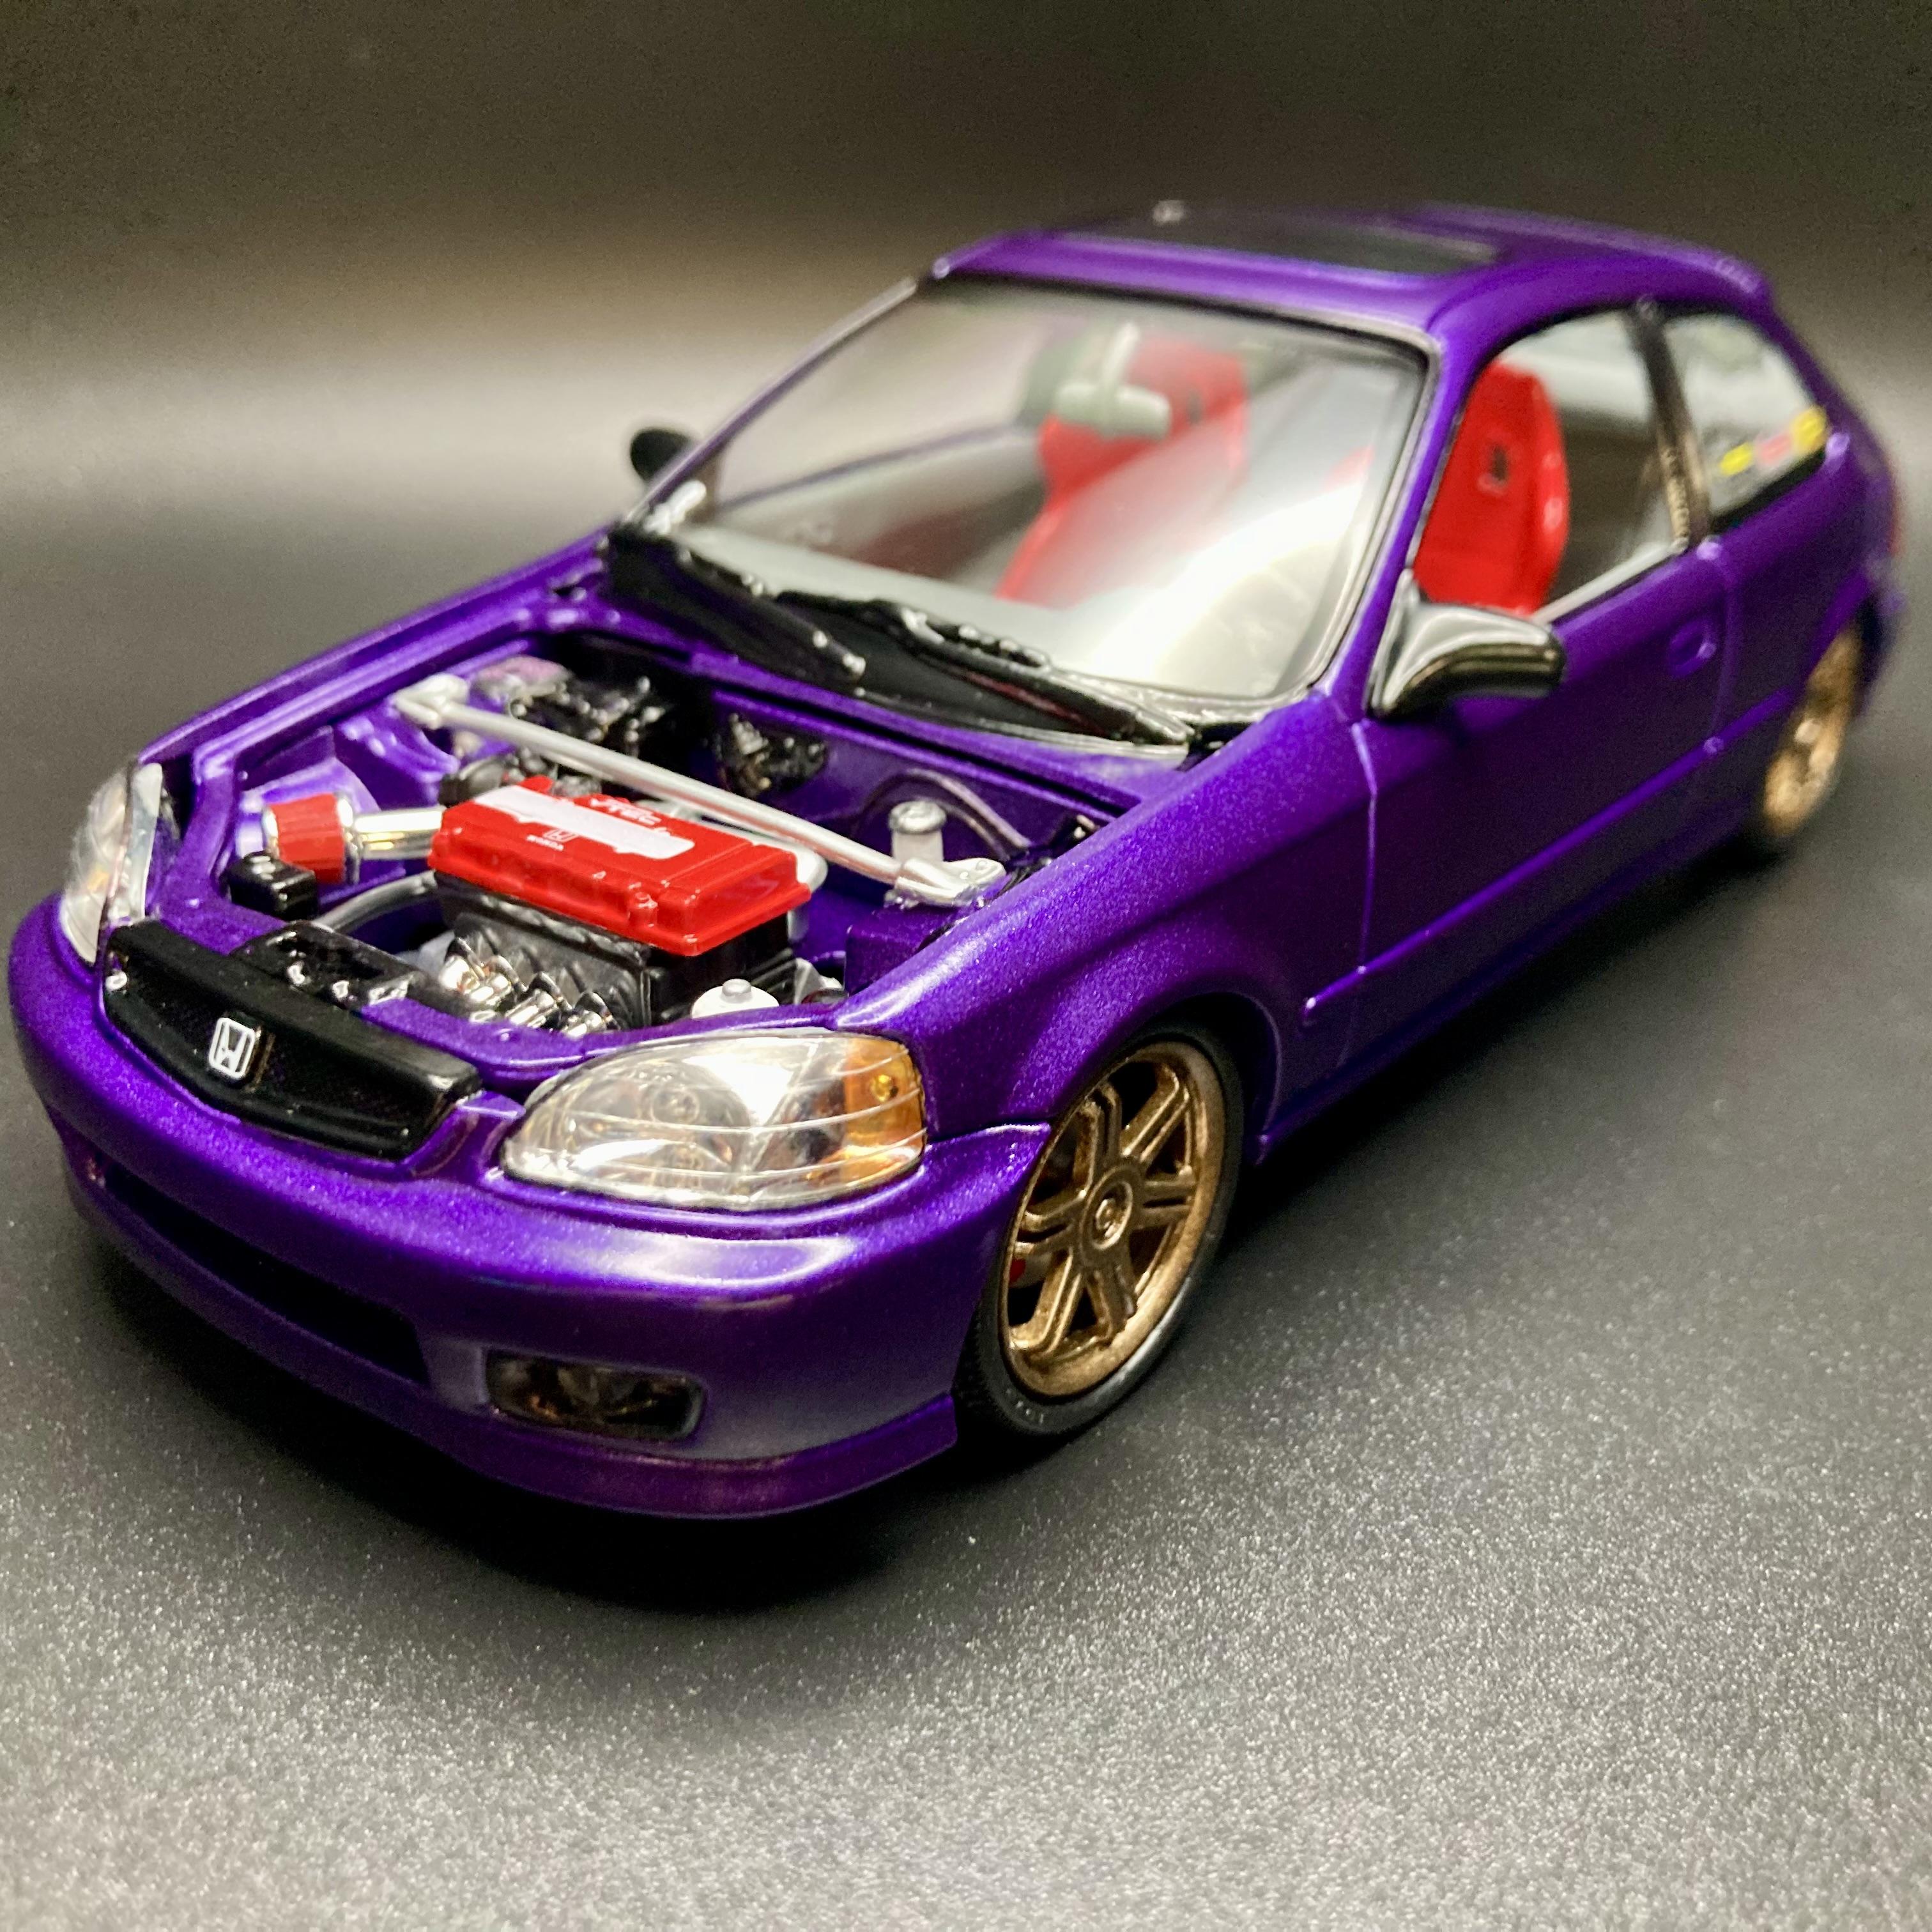
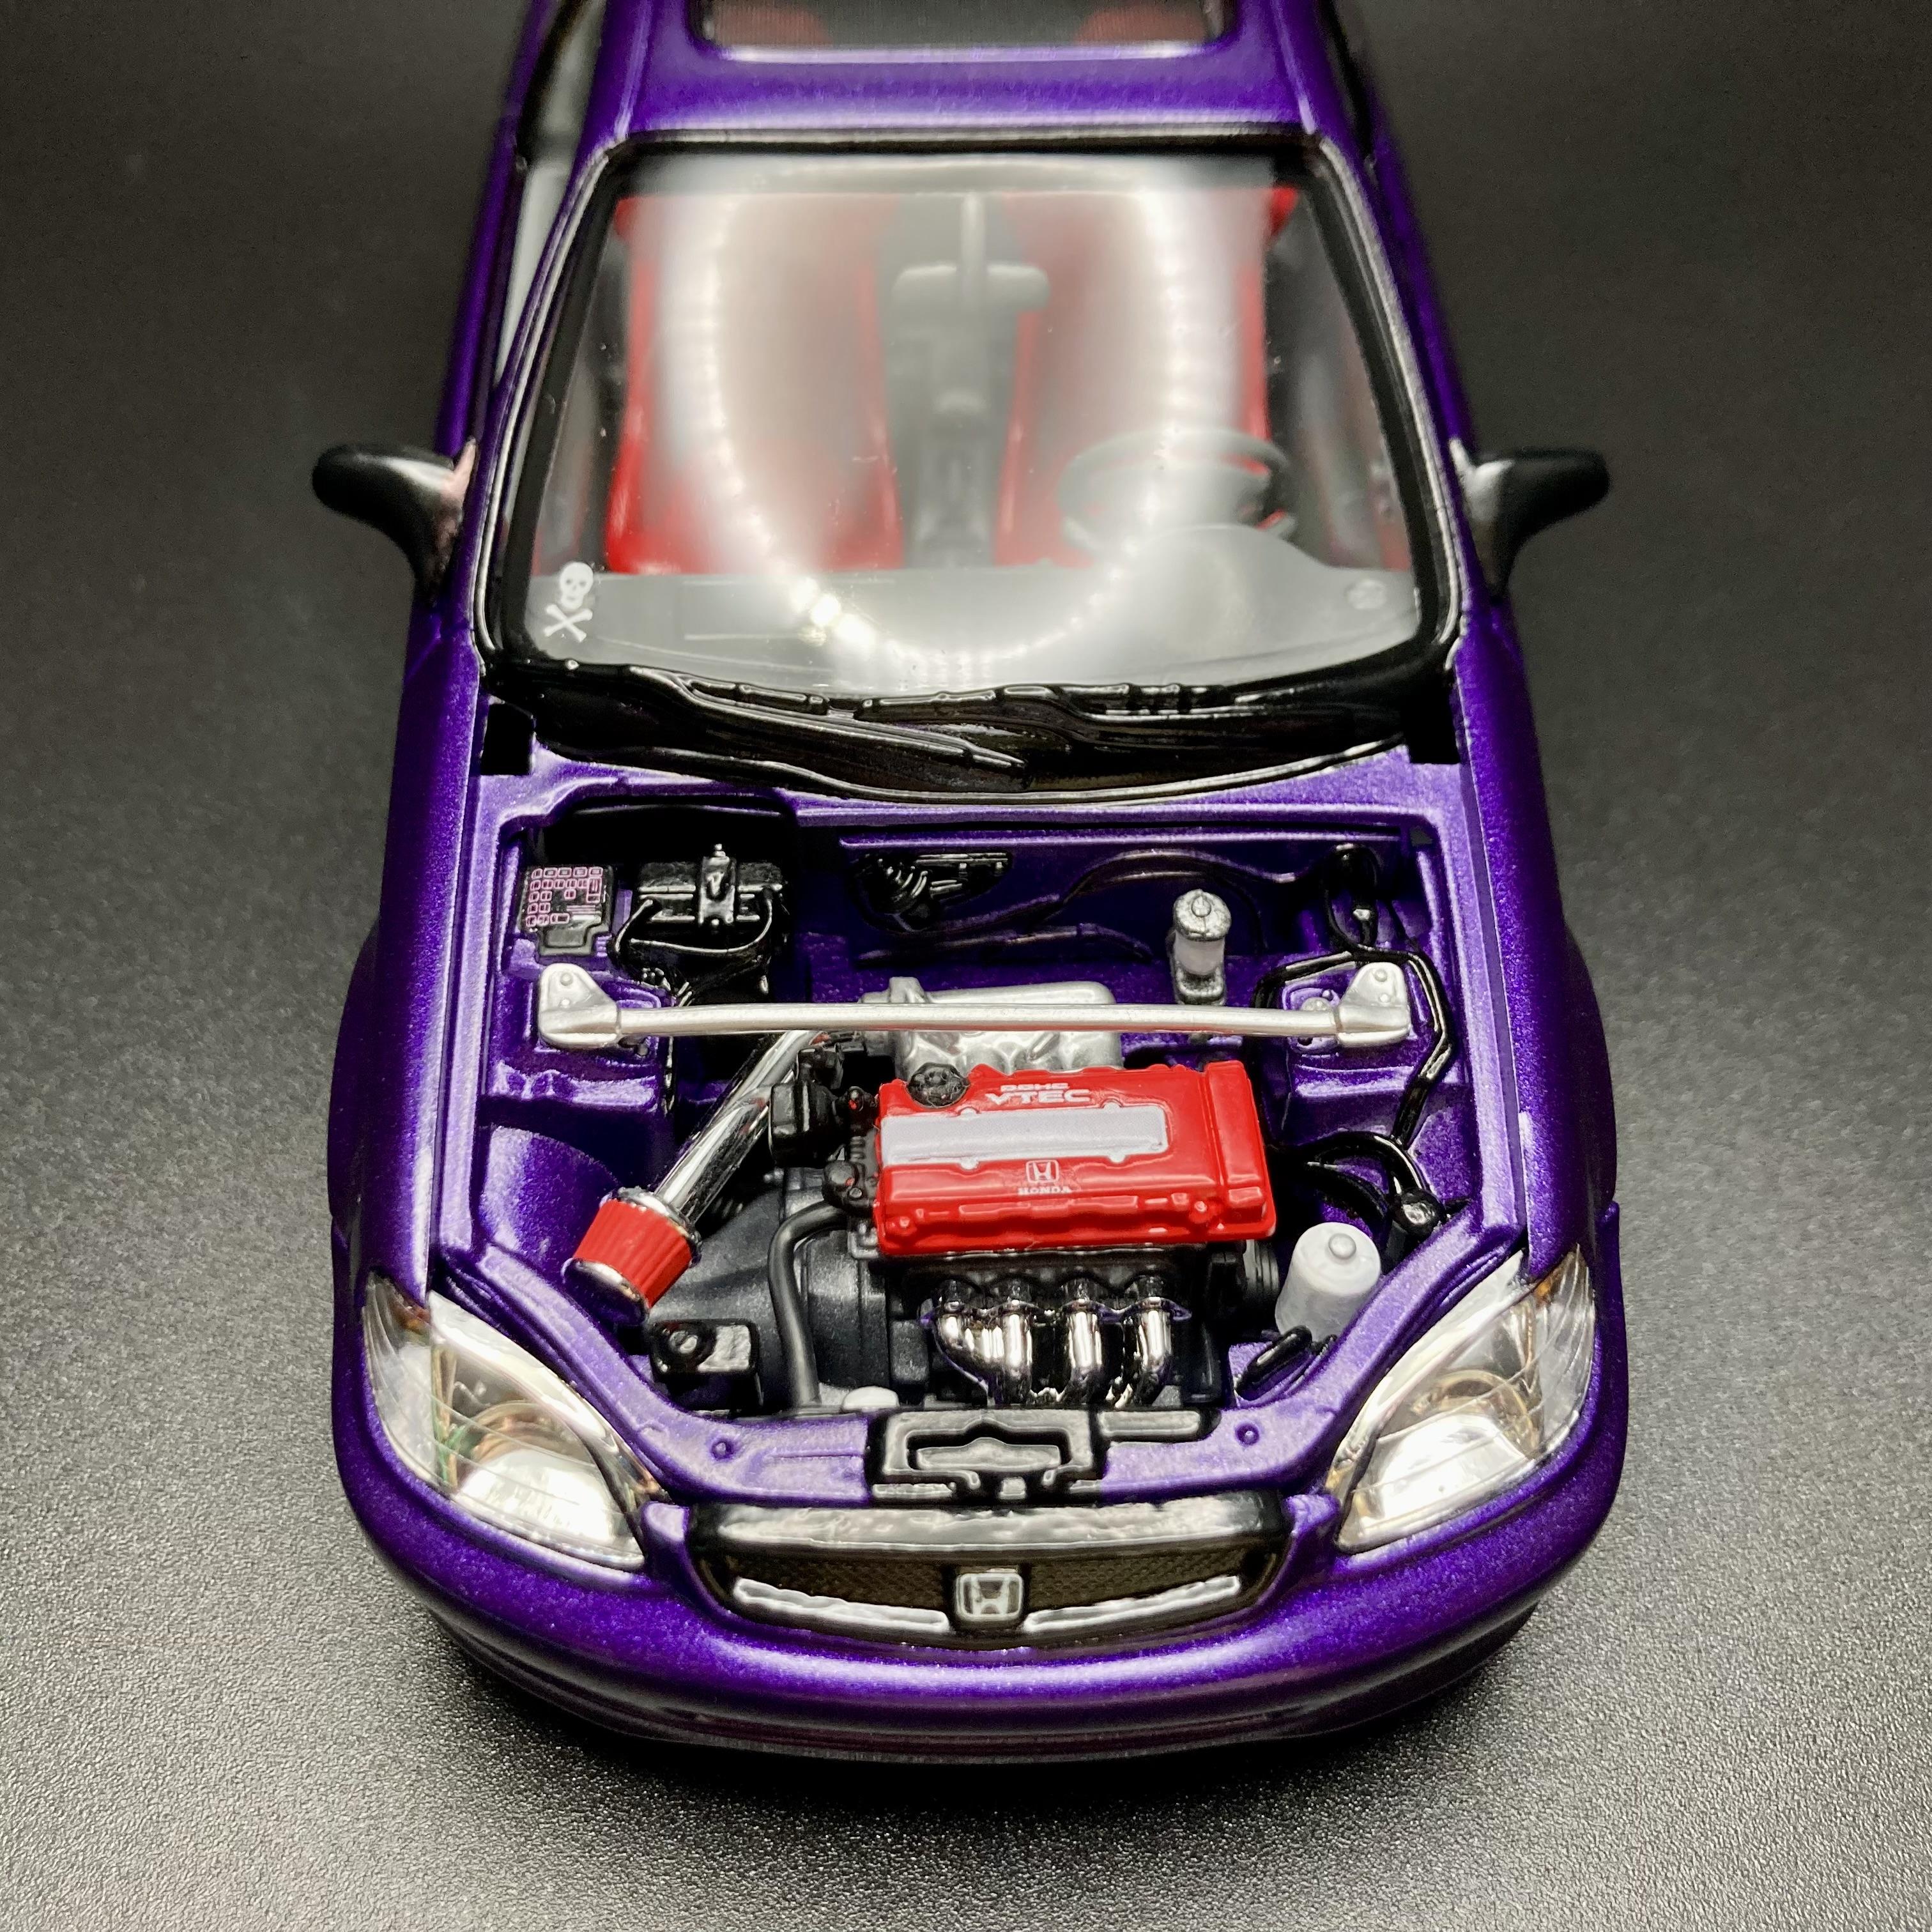
Here’s my Revell Honda Civic EK Hatchback! These Tuner Series kits are a ton of fun with lots of custom options. I built the Integra and Civic coupe as a kid when these kits were new, so this was definitely a nostalgia trip for me! I recently bought the entire series from eBay now that I have adult money; my allowance back then did not stretch far. ? I built this one with a more modern JDM/tuner look than the fun-but-gaudy 2000s style the kit represents. I painted it in Testors Extreme Lacquer Purplicious to vaguely match the best Honda color ever, Dark Amethyst Pearl. Interior is in Krylon gray. The racing seats came from the SVT Focus from the same series, in Rustoleum Gloss Apple Red. These Tuner Series kits build up very nicely. Revell seriously needs to reissue the entire series, I would buy several of each. That red Civic coupe is the very one I built when I was 12, in full early-2000s-tuner regalia. I brush painted that one in Testors Acrylic; body graphics were kit decals applied long before I knew Tamiya Mark Fit existed. It’s one of my better childhood builds of the surviving few, but the camera is definitely hiding a ton of blemishes. It’s fun to see how much my skills (and taste) have improved!
- 10 replies
-
- 11
-
-
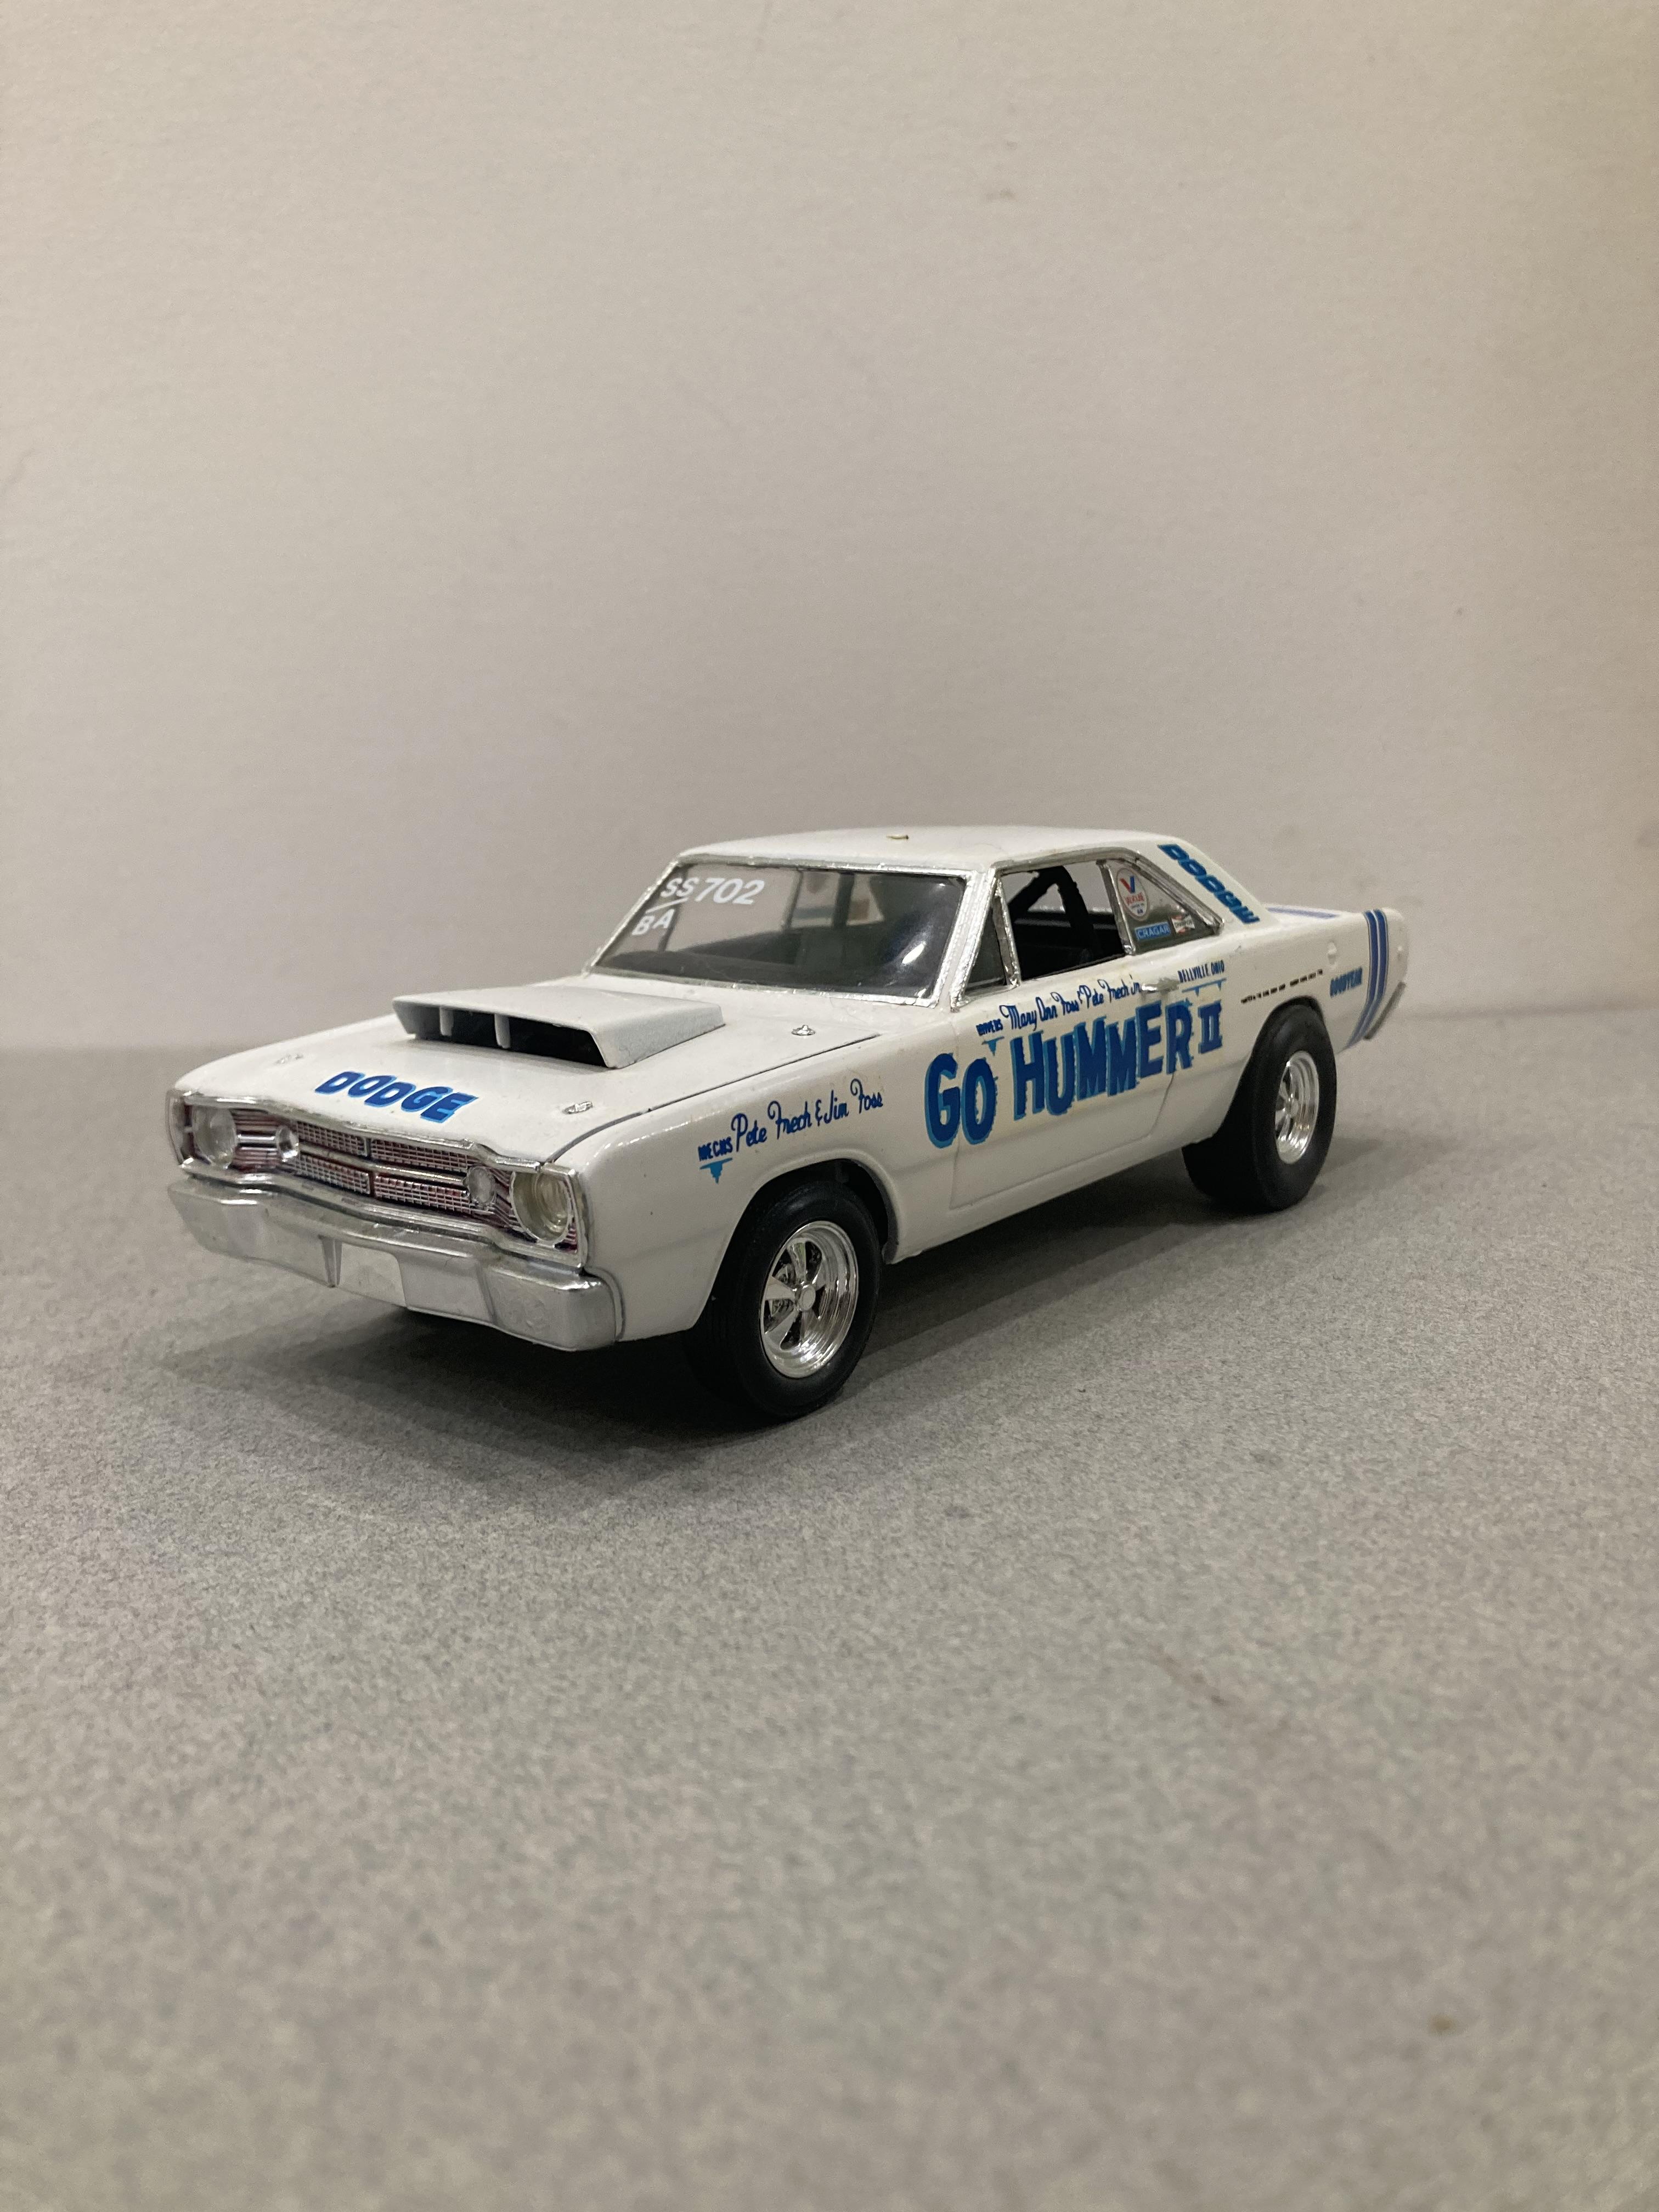
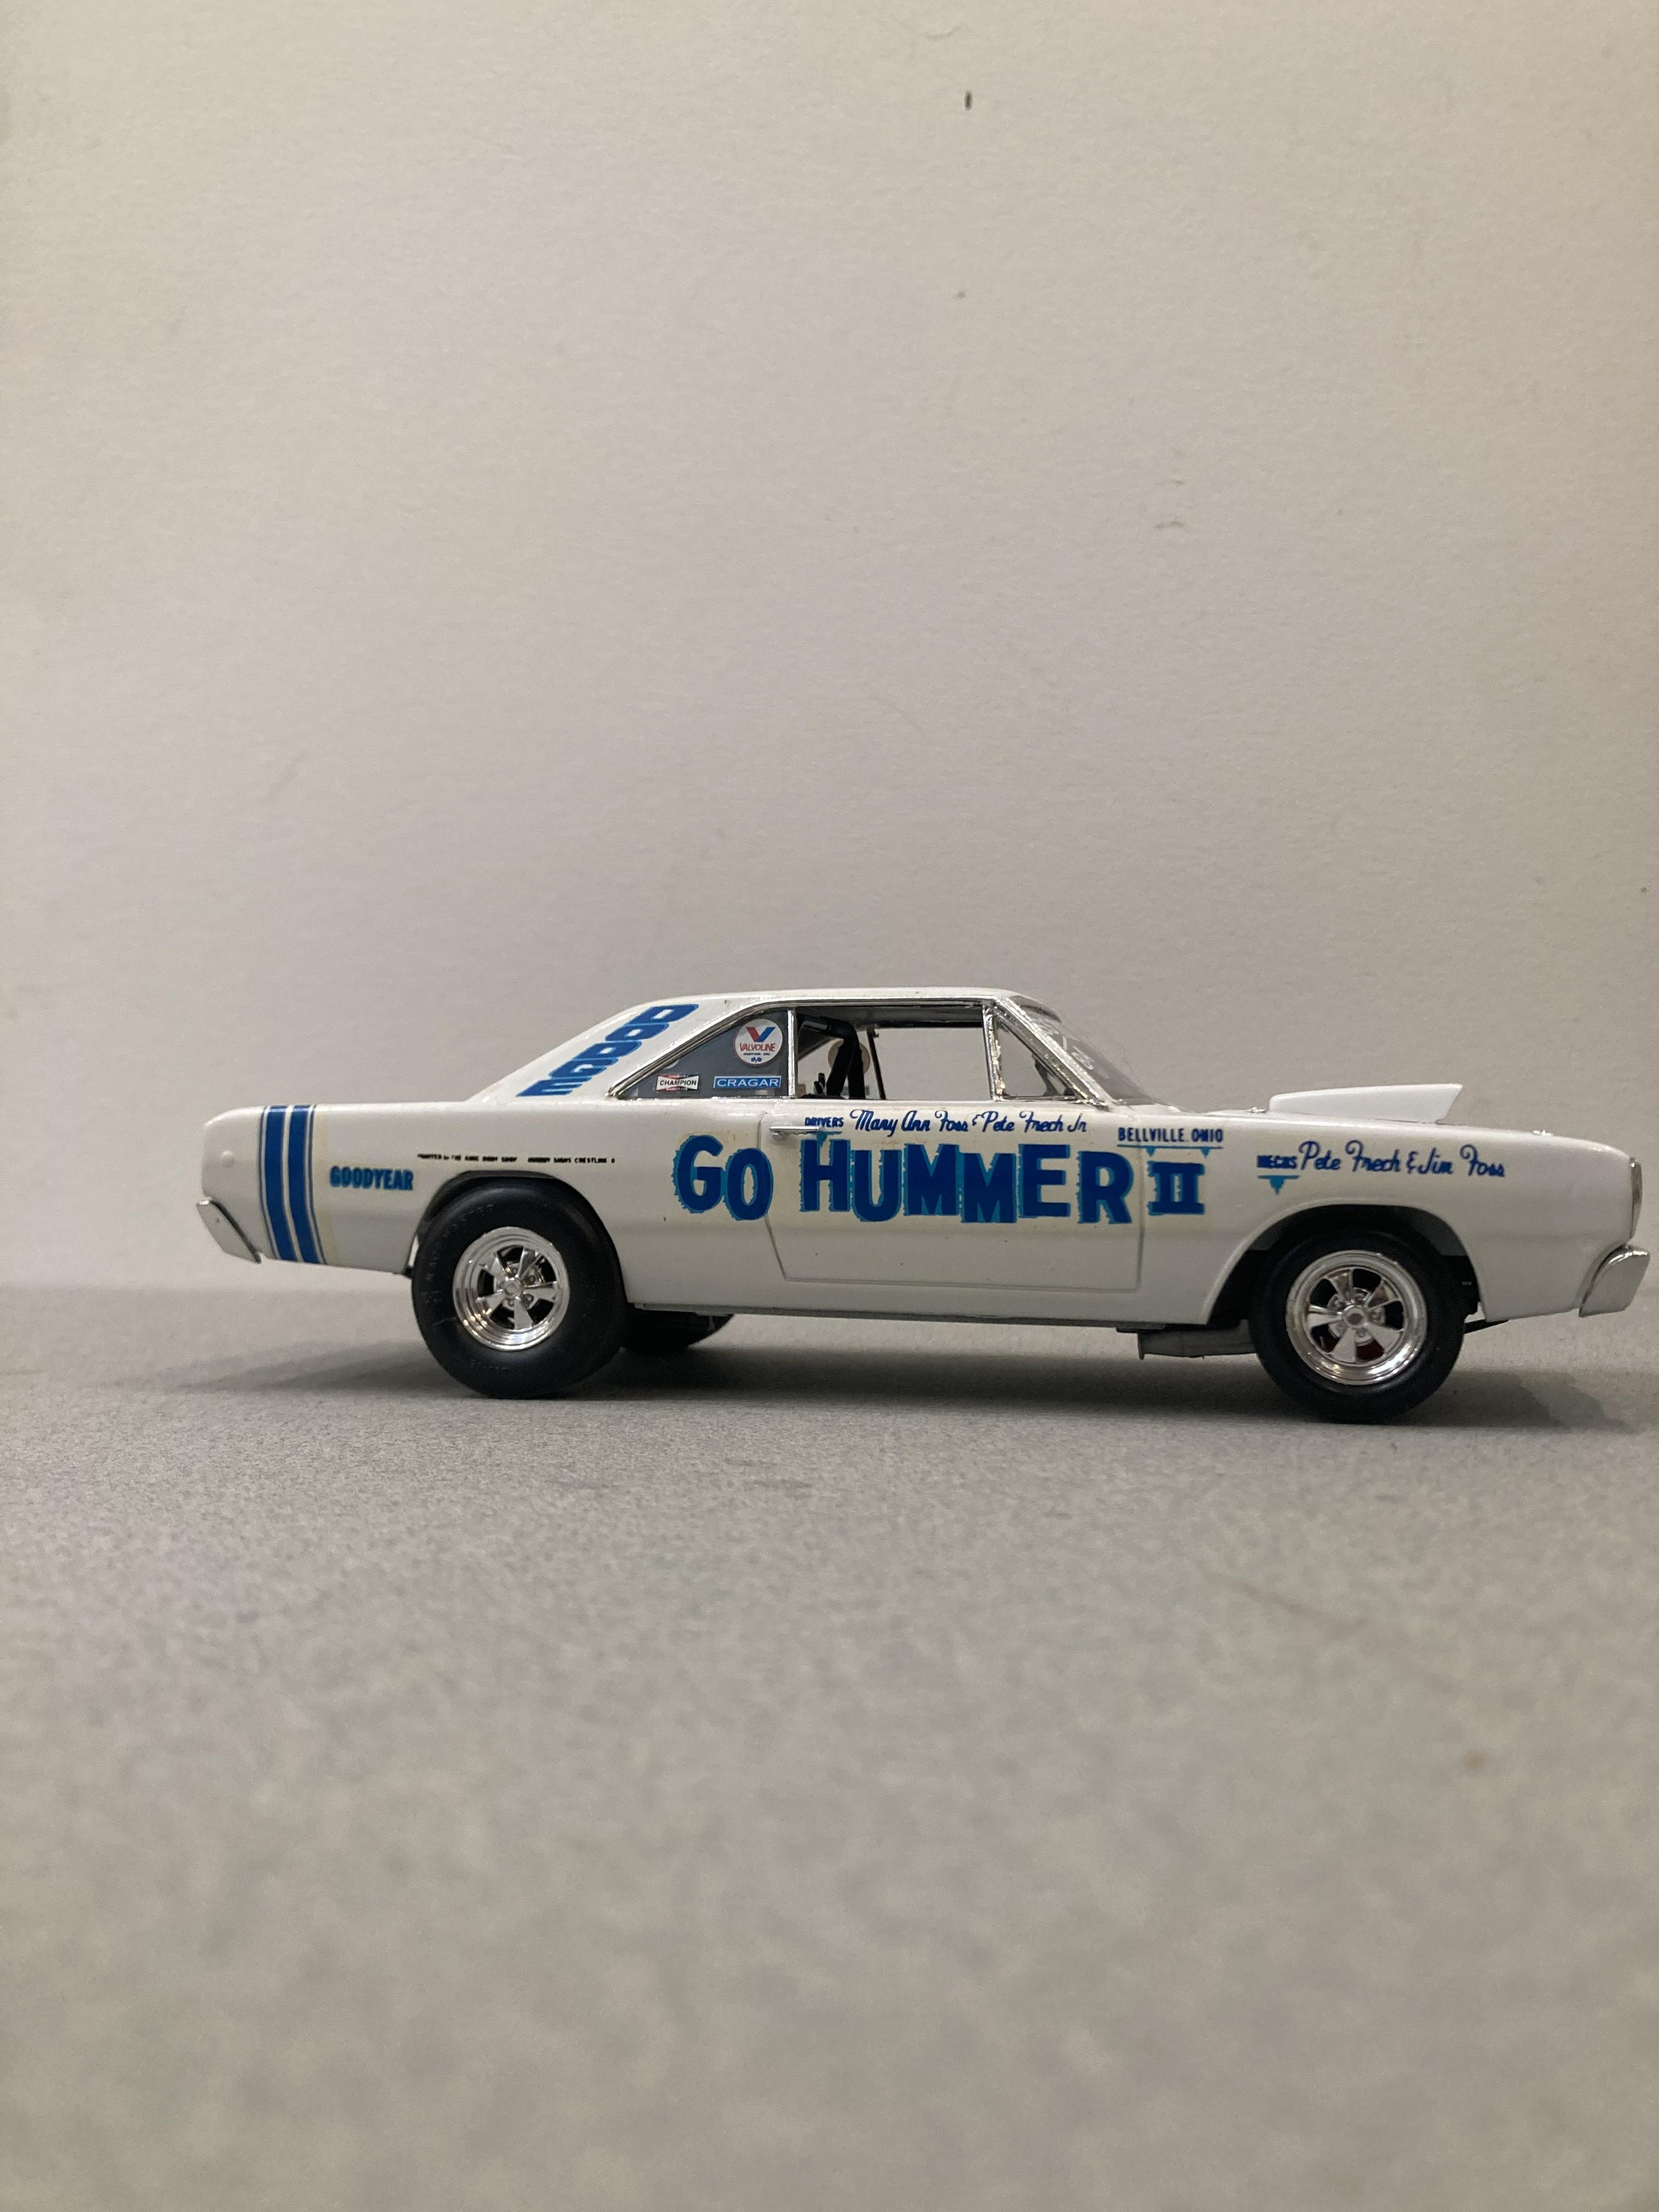
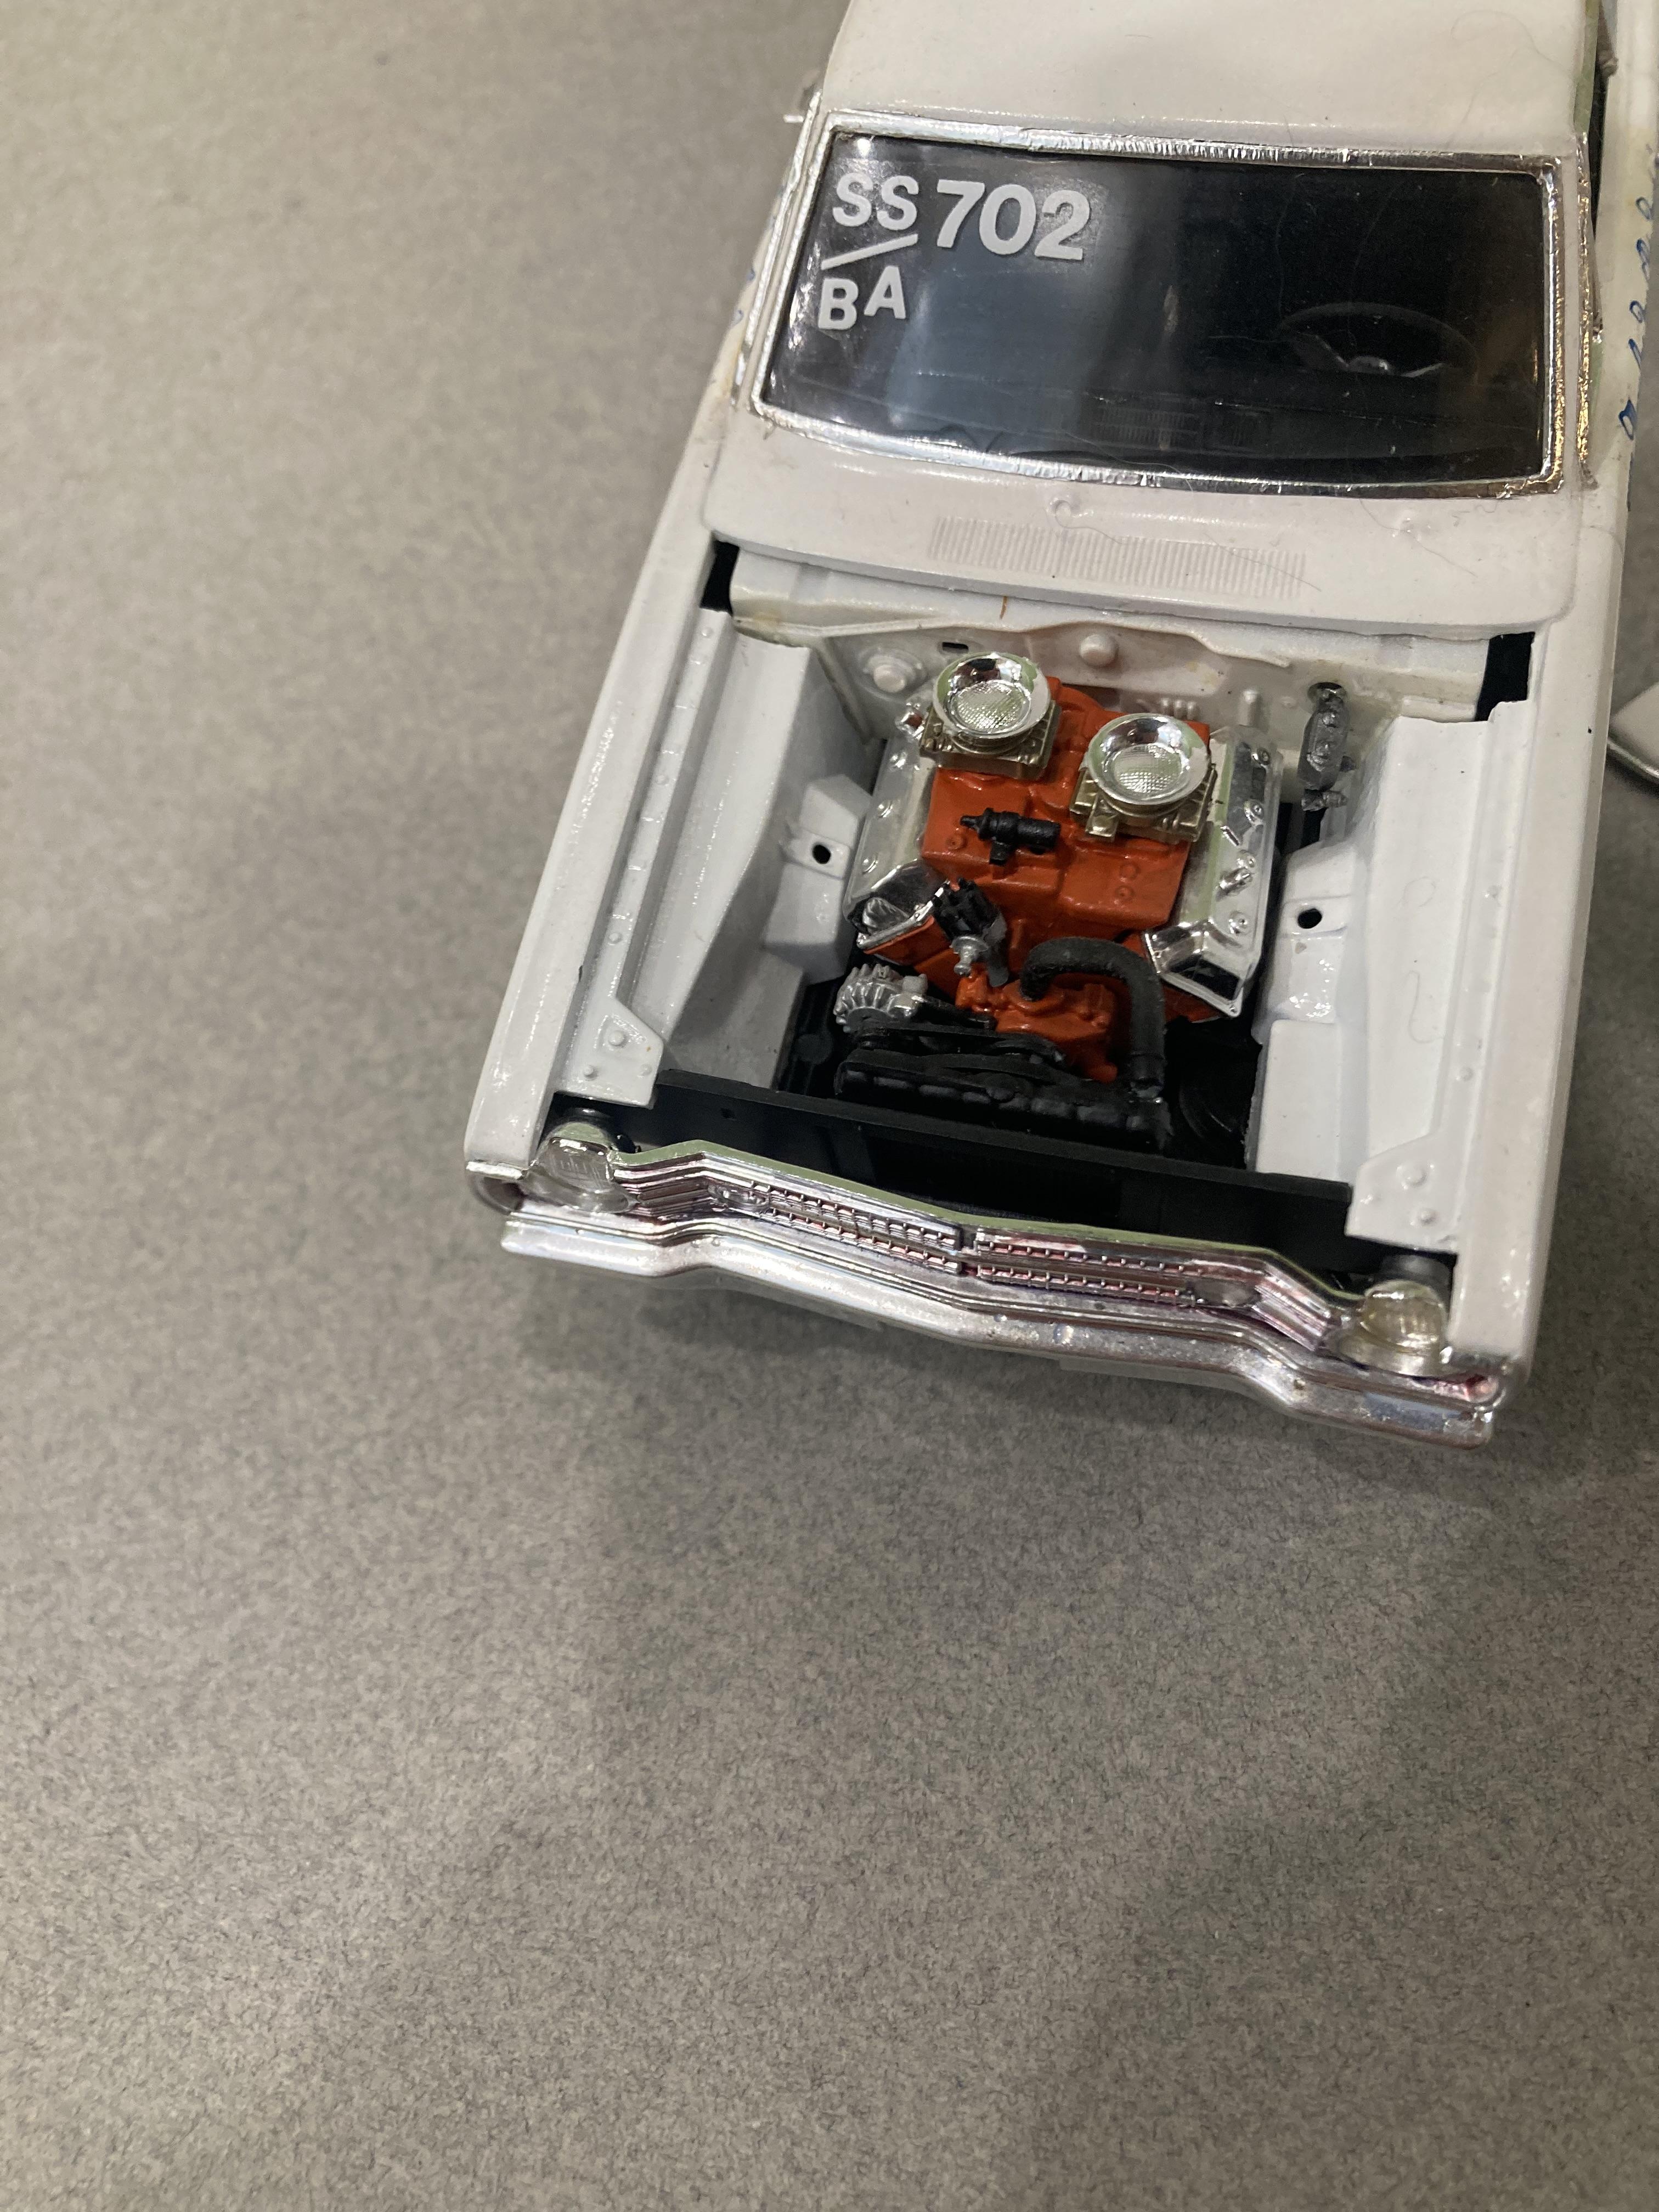
This is the excellent revell kit built box stock in testors white enamel with Fred caddy decals. This is a great building kit with lots of aftermarket decal options.