Search the Community
Showing results for tags 'shocks'.
Found 3 results
-
 I got sucked into the hype and bought the new Revell 29 Roadster. The kit is extremely nice, except for the shocks. I couldn't bring myself to use them, so I had to make new ones. The nice thing is that it is fairly easy to separate the shock caps from the body. I didn't intent to do a tutorial, so some pictures are lacking, I apologize. Meh Bought a styrene rod/tube combo pack from Evergreen First I measured the lengths of the kit shocks so I know where I would need to be when done with the new ones. Choppy Choppy. i used a PE saw to carefully separate the caps from the bodies. I then carefully sanded the flat part of the shock caps flat and level. I made new bodies out of the styrene tube I made a mockup to check the overall length. Perfect I started with copper wire, but realized I would have to paint it. I tried solder, it looks like natural metal, but it's hard to handle without squishing the springs. I used the same rod as the shock bodies and wrapped it around, then straightened it out. I left them compressed like this so I could match the lengths exactly. I then carefully sanded the ends flat like normal springs. I left the solder springs on the plastic rod as a support while sanding, otherwise it would just bend all over the place Then I used the shaft of a pick to put in between the coils and spin it. This spaces the coils evenly. I also made shafts that go in inside the tube and will mount inside the holes I drilled in the caps. This way they will be sort of pinned in there with glue for a secure bond. Also, this will keep everything together and elminate the chance of any bending of the solder springs. Here is the finished mockup. I will still need to paint the bodies and caps. I wanted to do the body from Aluminum tube, but didn't have the right size. This is the right solder size for these shocks
 -
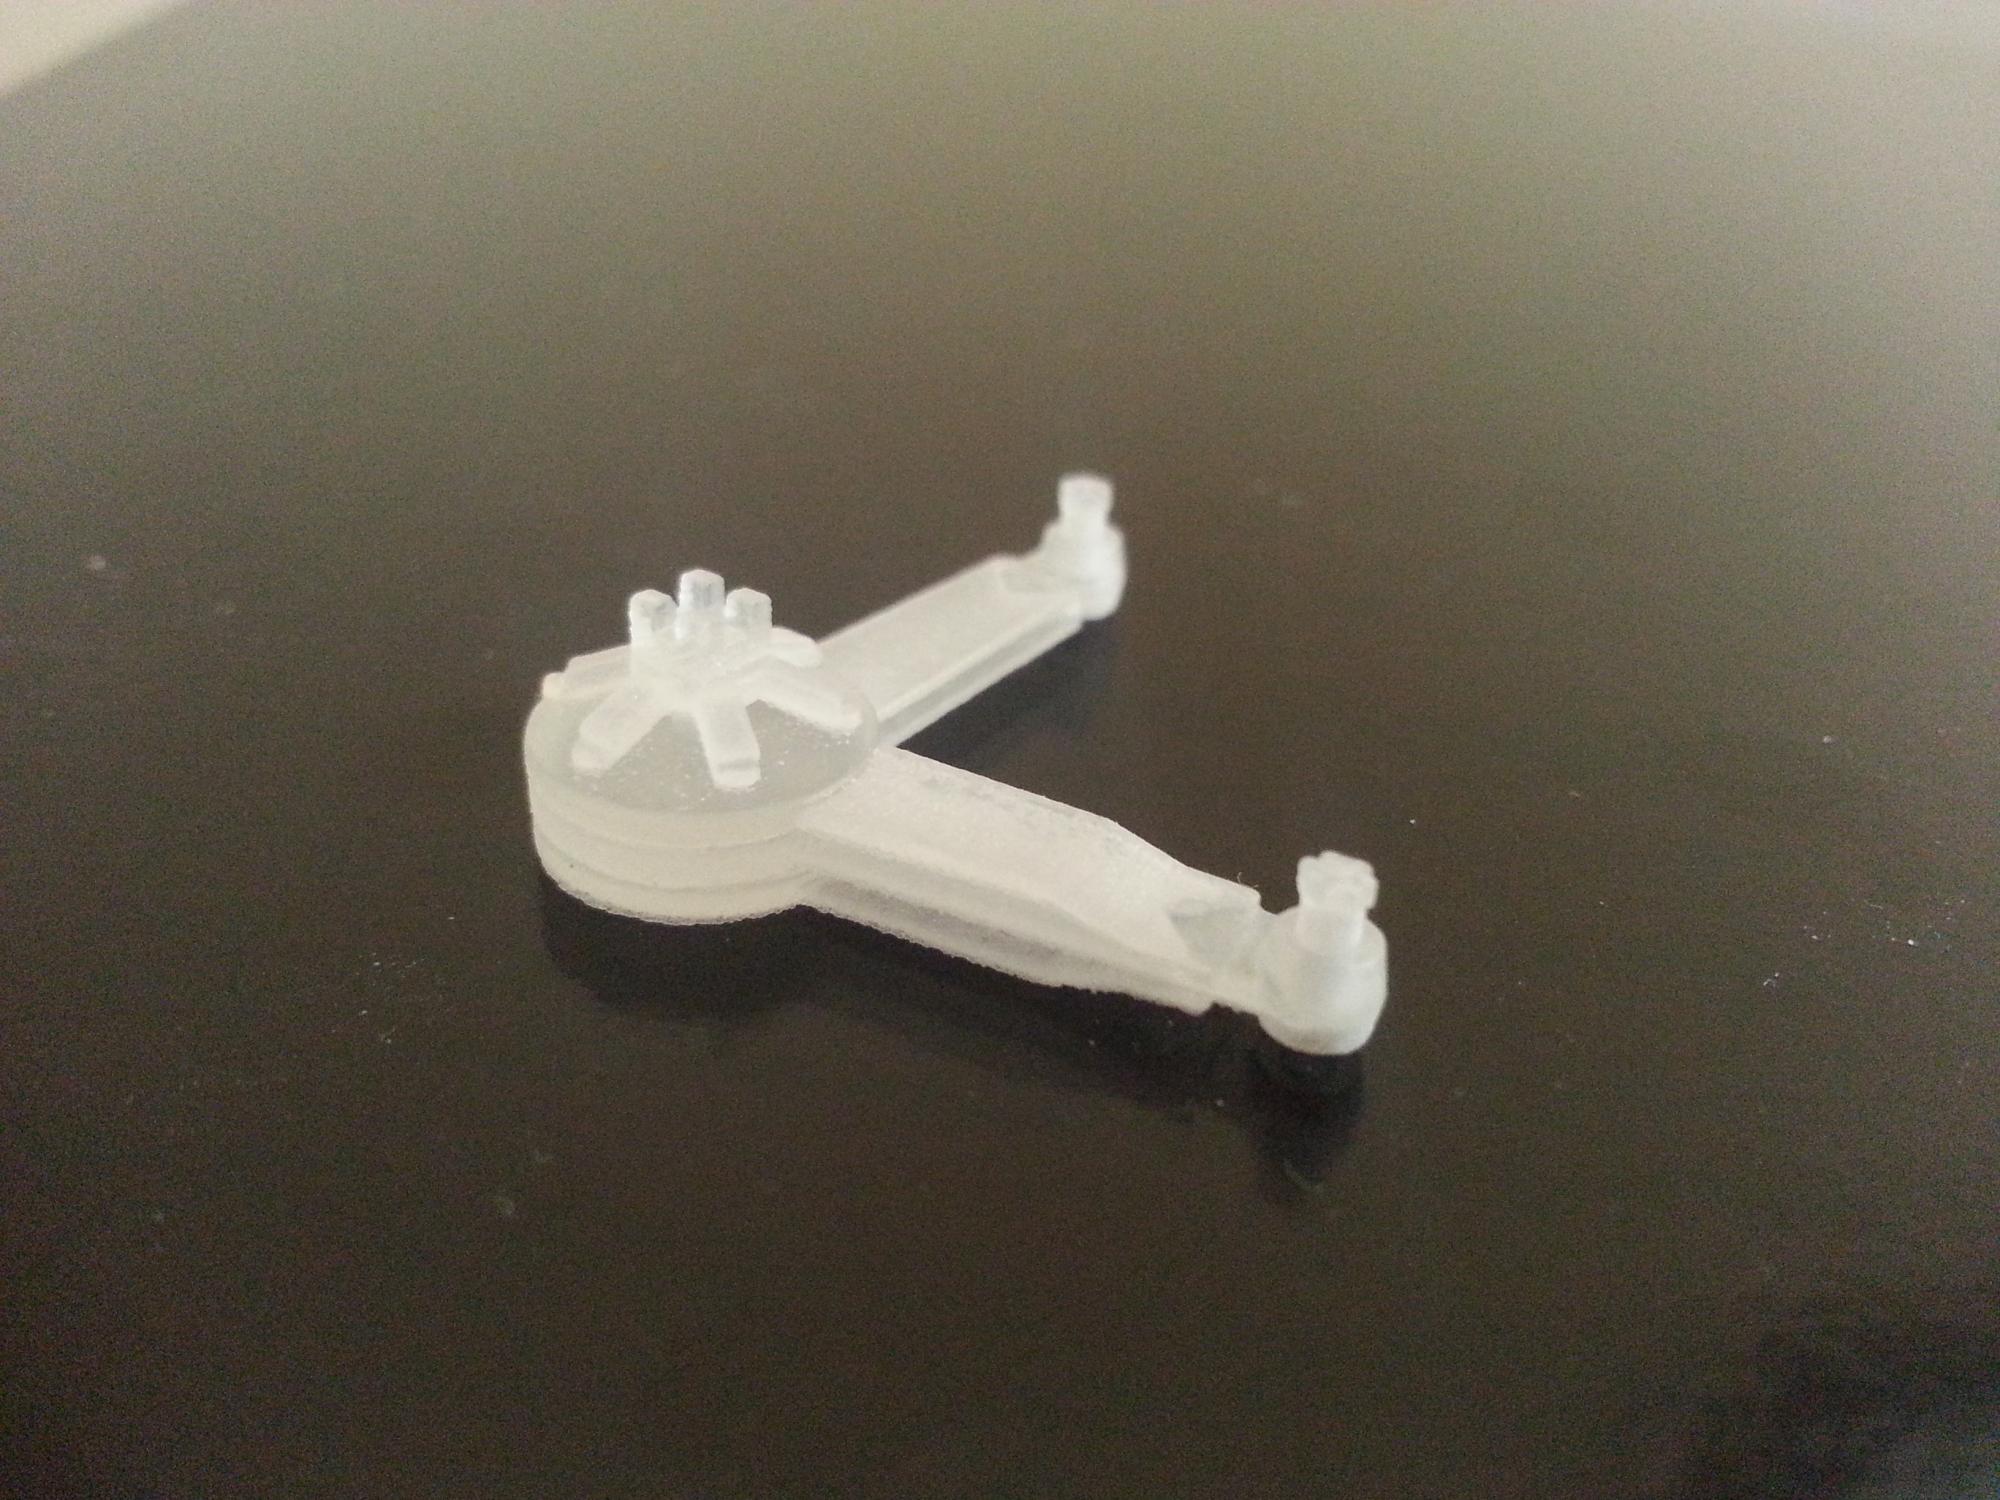
 Hi all, Due to the positive feedback I received for my 3d printed friction dampers, I have made them available via Shapeways for anyone who is interested. https://www.shapeways.com/shops/ibdetails They are available as a set of 6, and as a single unit in case anyone breaks one and needs an extra! They are not "handed", instead the mounting nuts and friction adjuster are mounted on pedestals and should be removed with a razor saw, then reattached after the shocks have been mounted. The mounts are not included: either modify the kit ones with .040" (1mm) rod or scratch new ones, the mounting holes are integral to the part. I searched all over for aftermarket parts for this old kit and couldn't find any, so hopefully these will help people out! I hope you like them! Ian
-
I'm doing research to build a lifted 4X4 Blazer. I want to take a shot at making my own coil over shocks. So far Ive found it easy to find shock length. But what I can't find is coil size, turns per inch/ft., pretty much any other sizes Anybody have any specs or maybe some place I could look?