Search the Community
Showing results for tags 'simple'.
Found 1 result
-
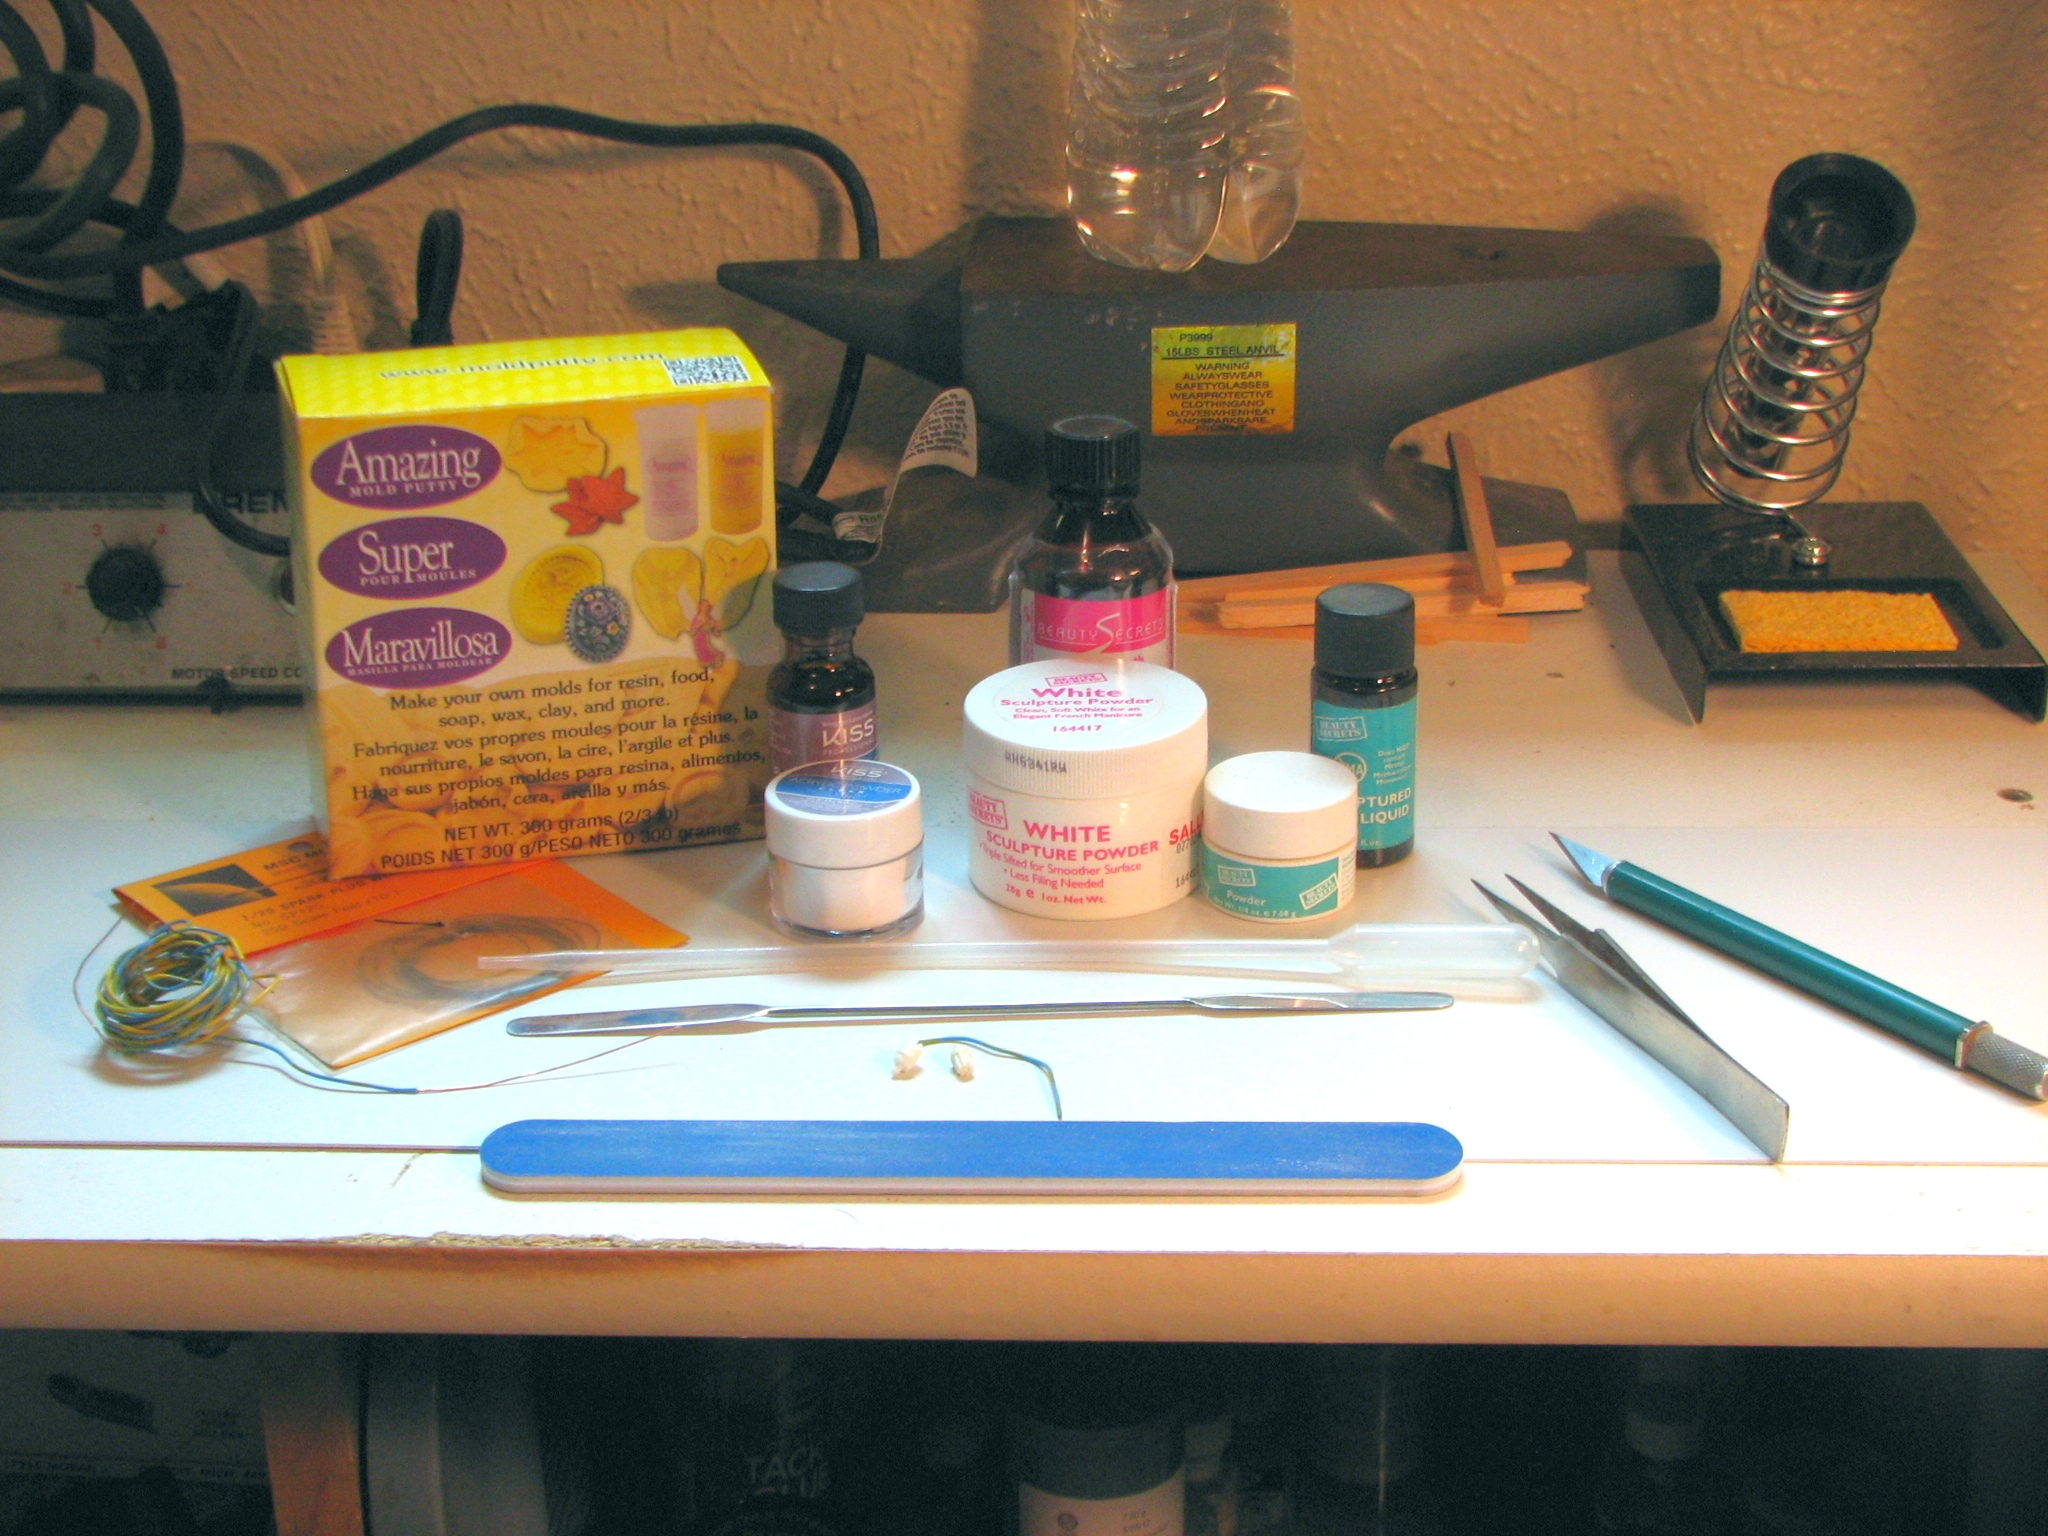
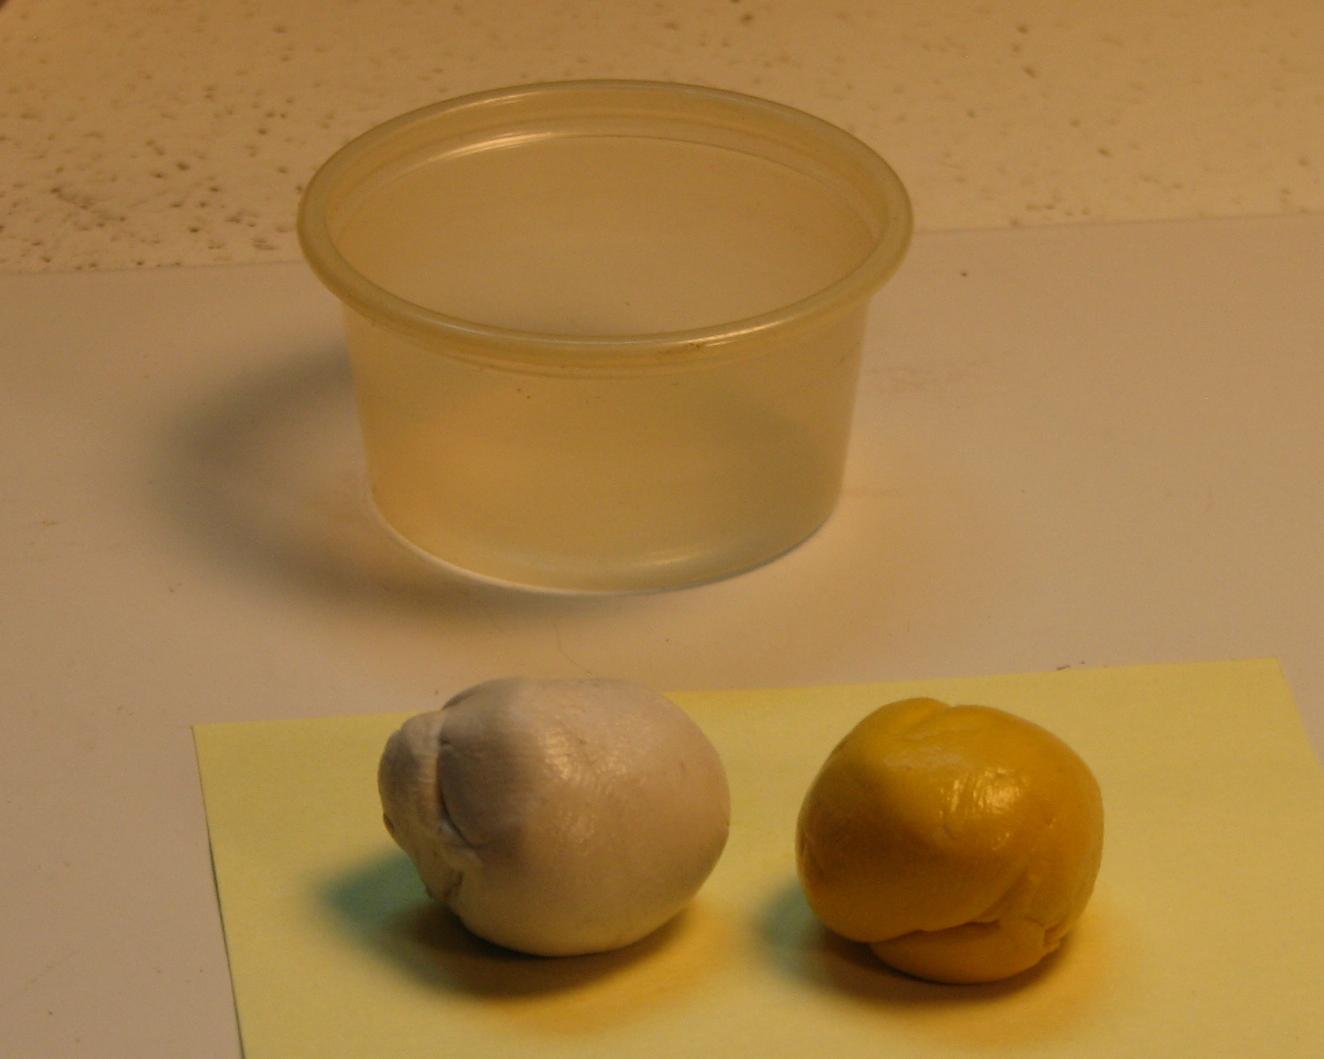
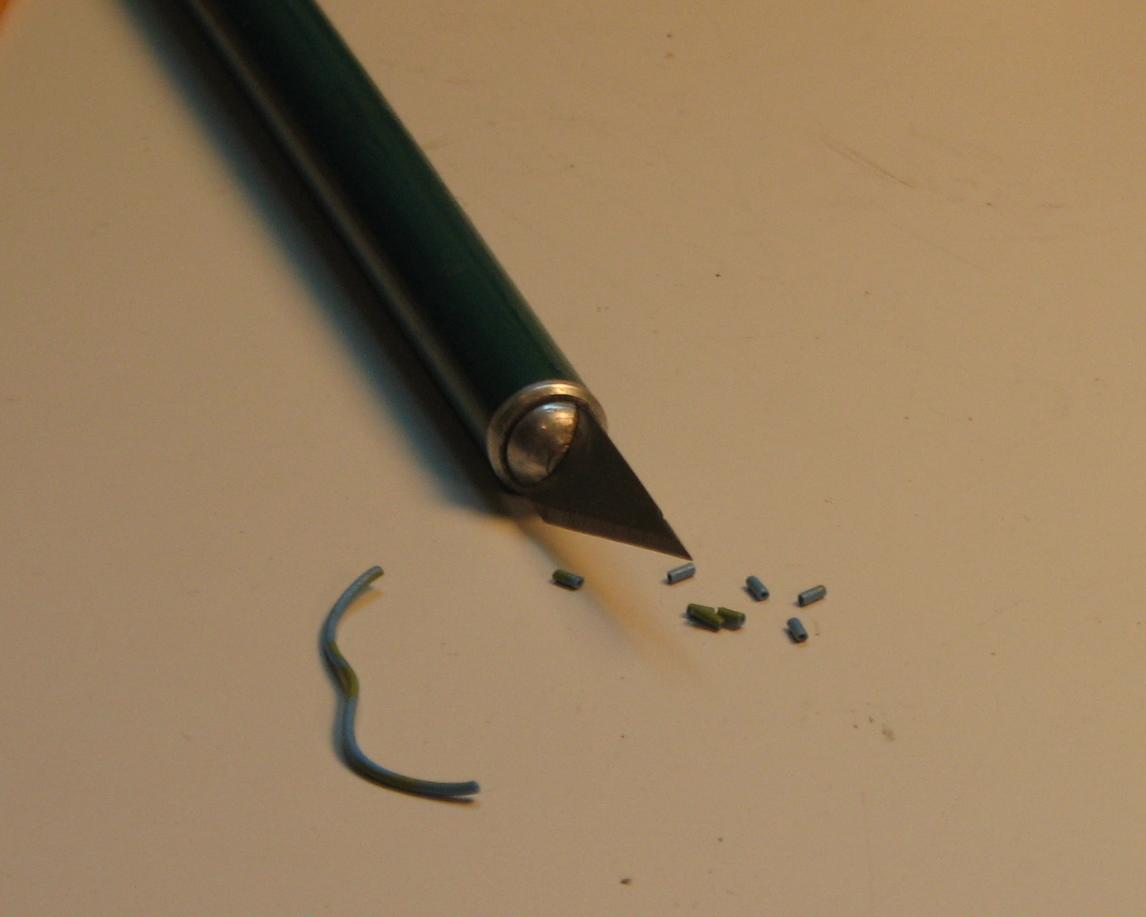
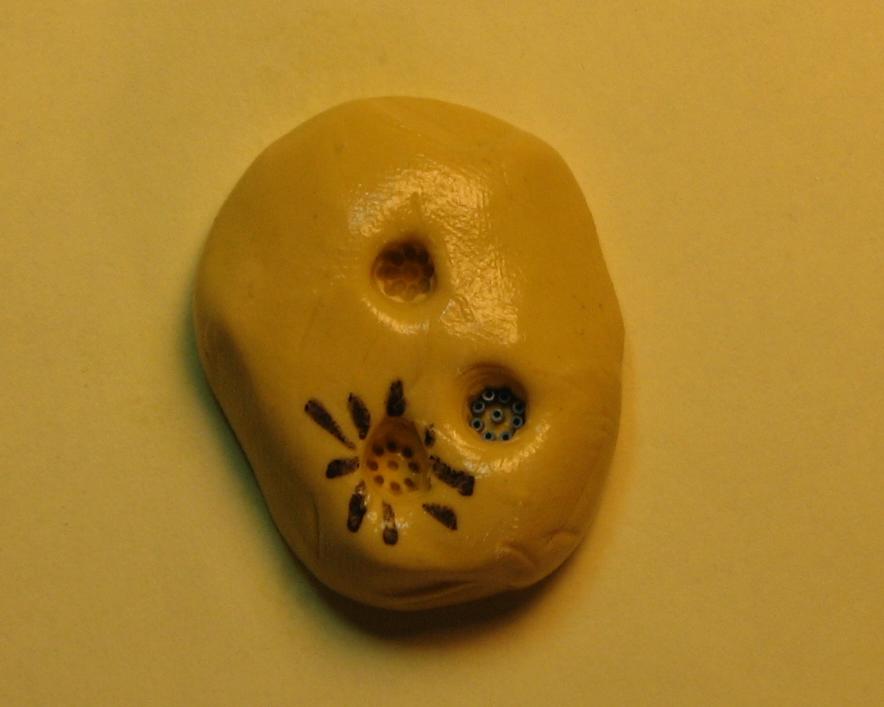
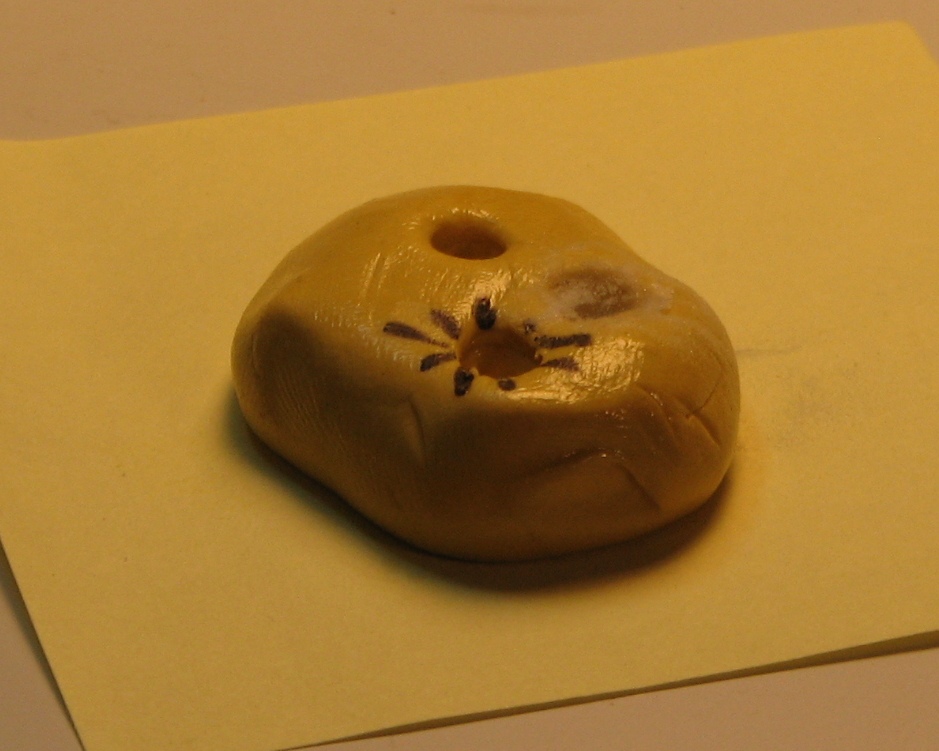
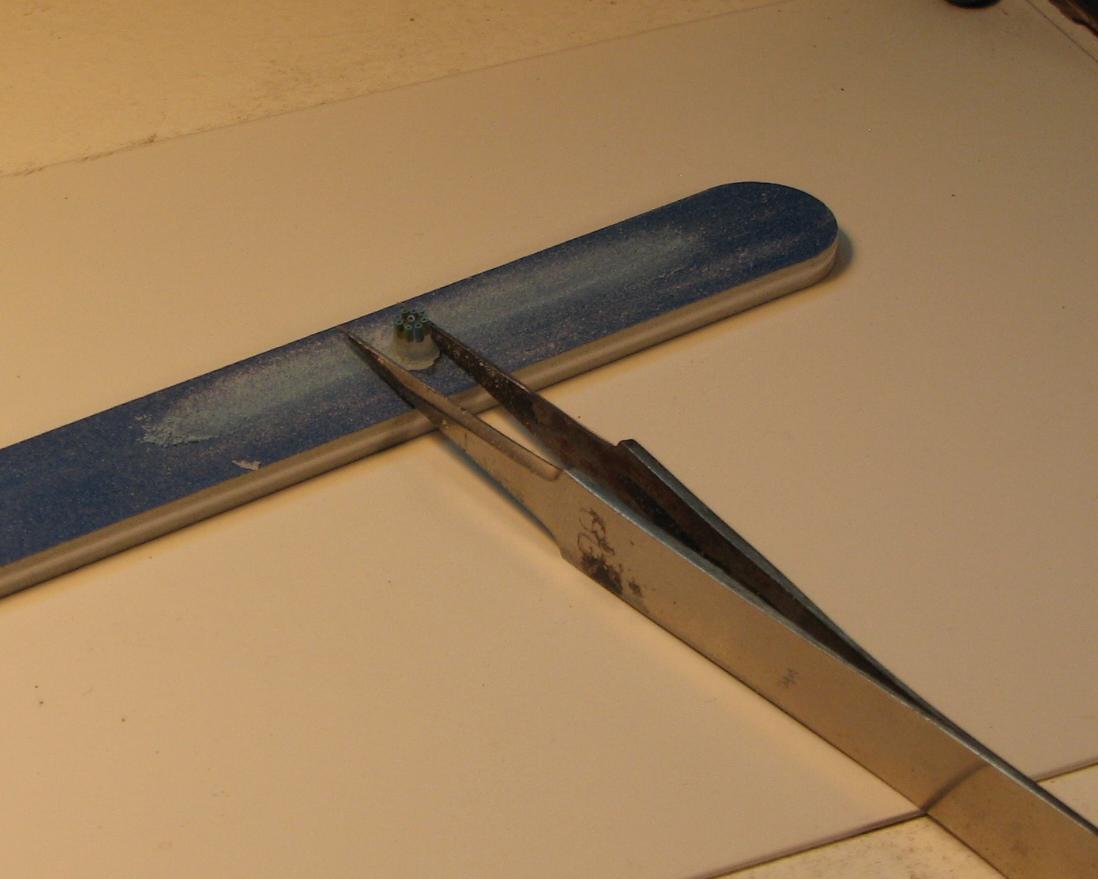
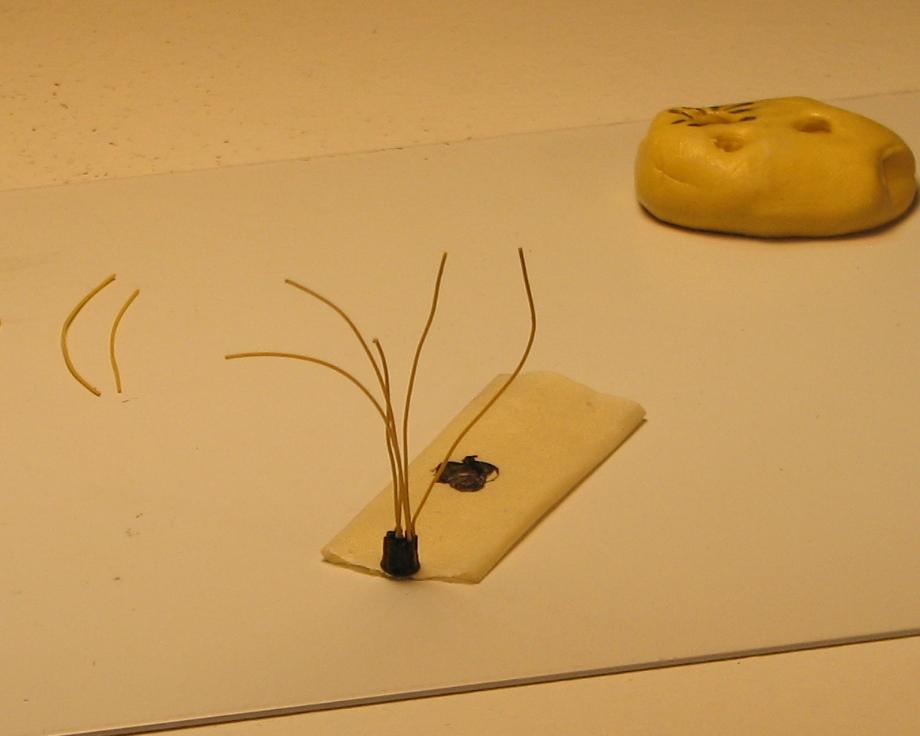
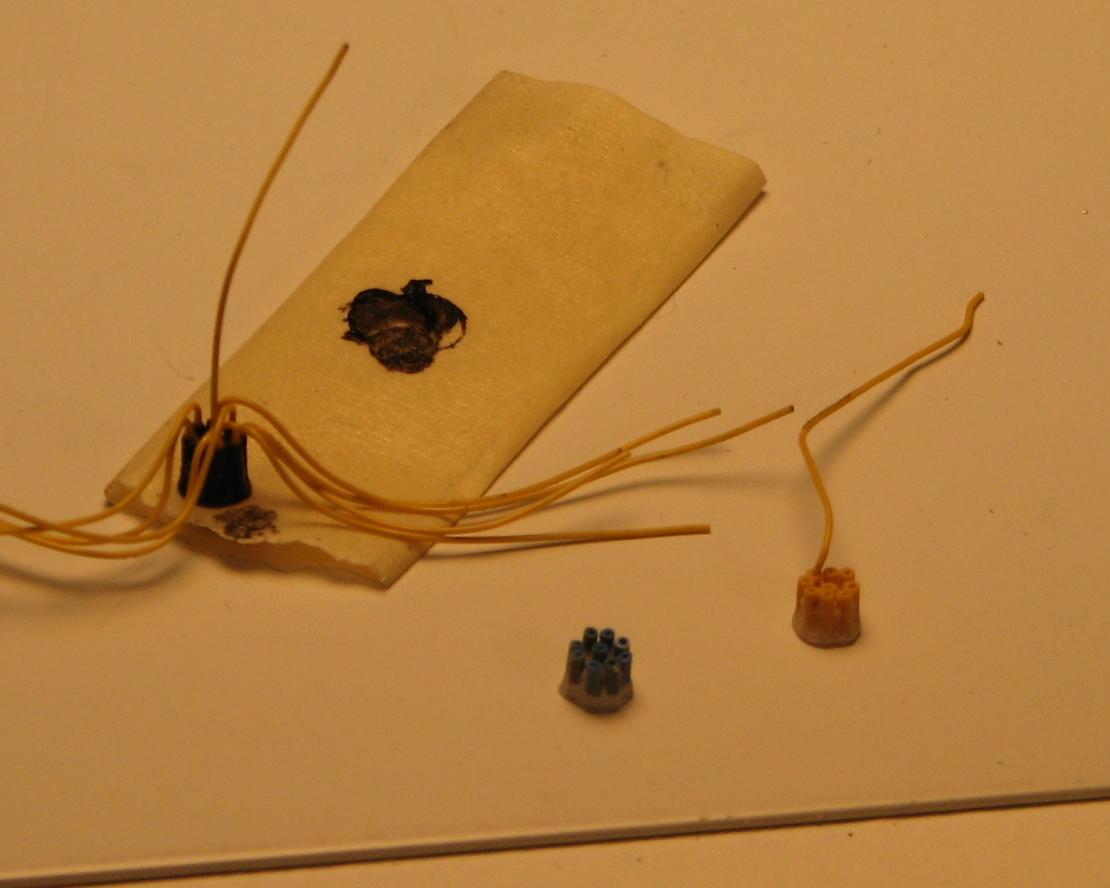
I mentioned this in the thread for my 1975 NHRA Modified Production '70 Malibu. It's a quick and easy way to make pre-wired distributors using readily available, and fairly inexpensive supplies. Begin by assembling the tools and supplies required (chefs call it mise en place). The first photo shows what you'll need. I got my mold putty through Amazon. It's made by Alumilite, so it's likely that Hobby Lobby has it, as well. You'll also need acrylic nail sculpting compound. It's a two-part system that is available from Sally Beauty Supplies, or, the Kiss brand is available in Walmart (at least those with larger cosmetic sections). The rest is stuff you likely have on-hand. Items include X-Acto knife, tweezers, sanding board or sandpaper, phone wire (or equivalent sized vinyl tubing), your choice of scale plug wire, a dropper for the acrylic liquid, a spatula to transfer the acrylic powder, super glue (I prefer a gel type, for this application), and a distributor with pronounced "lug" detail. Begin by mixing equal parts of the mold putty. A note about the Amazing Mold Putty--it's non-toxic and food safe. That's always a good thing! Once the putty's mixed, press the ball onto a flat working surface, insert the kit distributor, top down, and wait. The putty will cure in 15-20 minutes (to ensure a quicker cure rate, I usually pull a desk lamp down near the mold, to provide a bit of extra warmth to the reaction). Now is a good time to cut the wire insulation into lengths of about .100". You can also cut your plug wires now, too (just be sure to cut them long enough, so that they'll fit your engine of choice.). Once the mold has cured, remove the kit distributor from the mold, and check the mold for imperfections. Bubbles aren't a problem with this putty, so, your mold should be ready to go. Now, begin inserting the wire insulation into the depressions inside the mold. Be sure they are aligned properly--they should plug right into the holes. Continue until all the holes are "plugged". Next, draw a small amount of acrylic liquid into a pipette or dropper, and flow it down the inside edge of the mold, until it covers the bottom of the mold. Follow the liquid with a small amount of acrylic powder. Repeat this process until the mold is topped off. Wait...the acrylic resin will cure in a few minutes. Again, the lamp can help to speed the reaction. Pull the new distributor from the mold and inspect it. If it's satisfactory, grasp the distributor with pair of tweezers, and work it back and forth across an abrasive surface (sandpaper or a sanding stick), rotating it in the tweezers every few strokes, to keep the bottom level. Once it's sanded flat and smooth on the bottom, the distributor is ready to finish, and add plug wires to. Paint the cap to represent the brand you want it to be (Accel, Mallory, etc.). When the paint dries, dab the tip of a length of plug wire with super glue, and slip it into the hole in the end of a piece of the wire insulation, which has become the nipples on the cap of the distributor--and they all have a perfectly sized hole for the insertion of the plug wires! Insert all nine plug wires (for a V-8), attach the cap to a distributor base, and mount it to the engine. Now, simply run your plug wires home and you're done! For a minimal investment in materials and time, you can create a mold that will provide many distributors for wiring, without the difficult and often frustrating task of drilling all those holes without blowing out the side of a distributor, and ruining it, and wasting all the time you spent on it, up to that point. Hope you all find this helpful and informative! Comments and questions are welcome!