Search the Community
Showing results for tags 'toyota'.
-
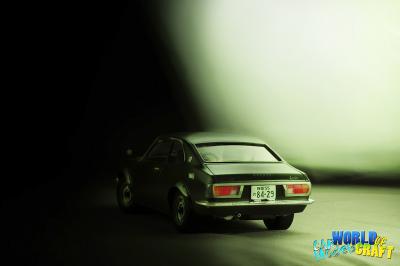
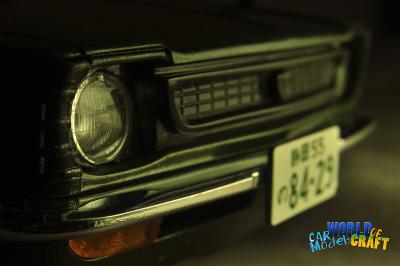
Got this pretty simple kit a couple months ago. It's pretty much a slot car kit. Not much to it, but it came out alright and I have a nice example of a car I've been wanting for awhile. And, it didn't cost me as much as some of the other kits on the market. SAM_1848 by Eric Lucas, on Flickr SAM_1849 by Eric Lucas, on Flickr
-
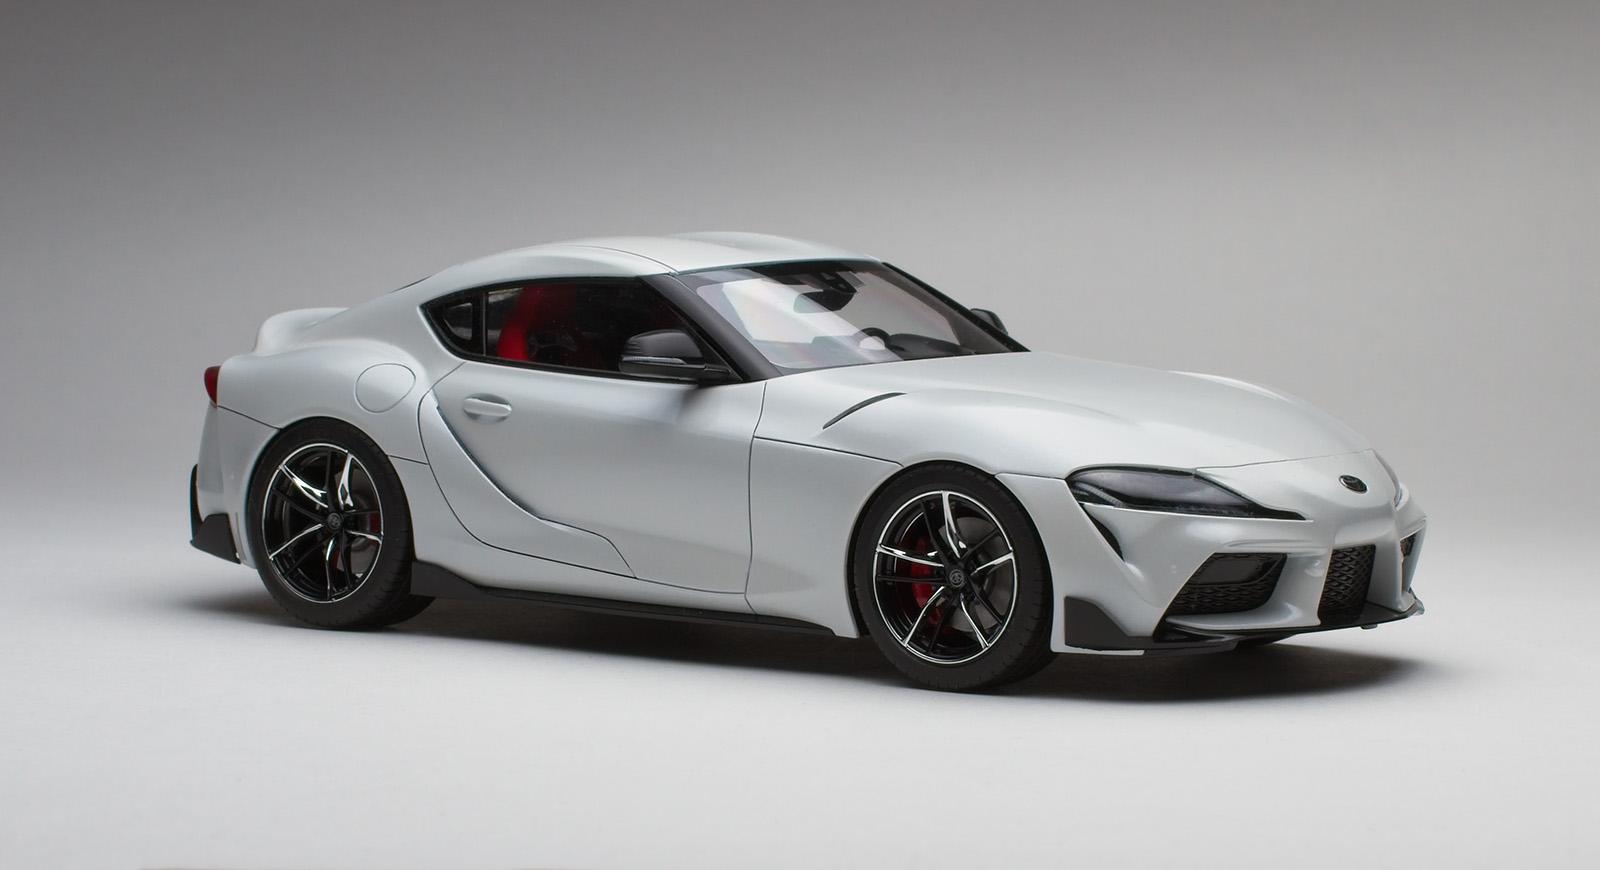
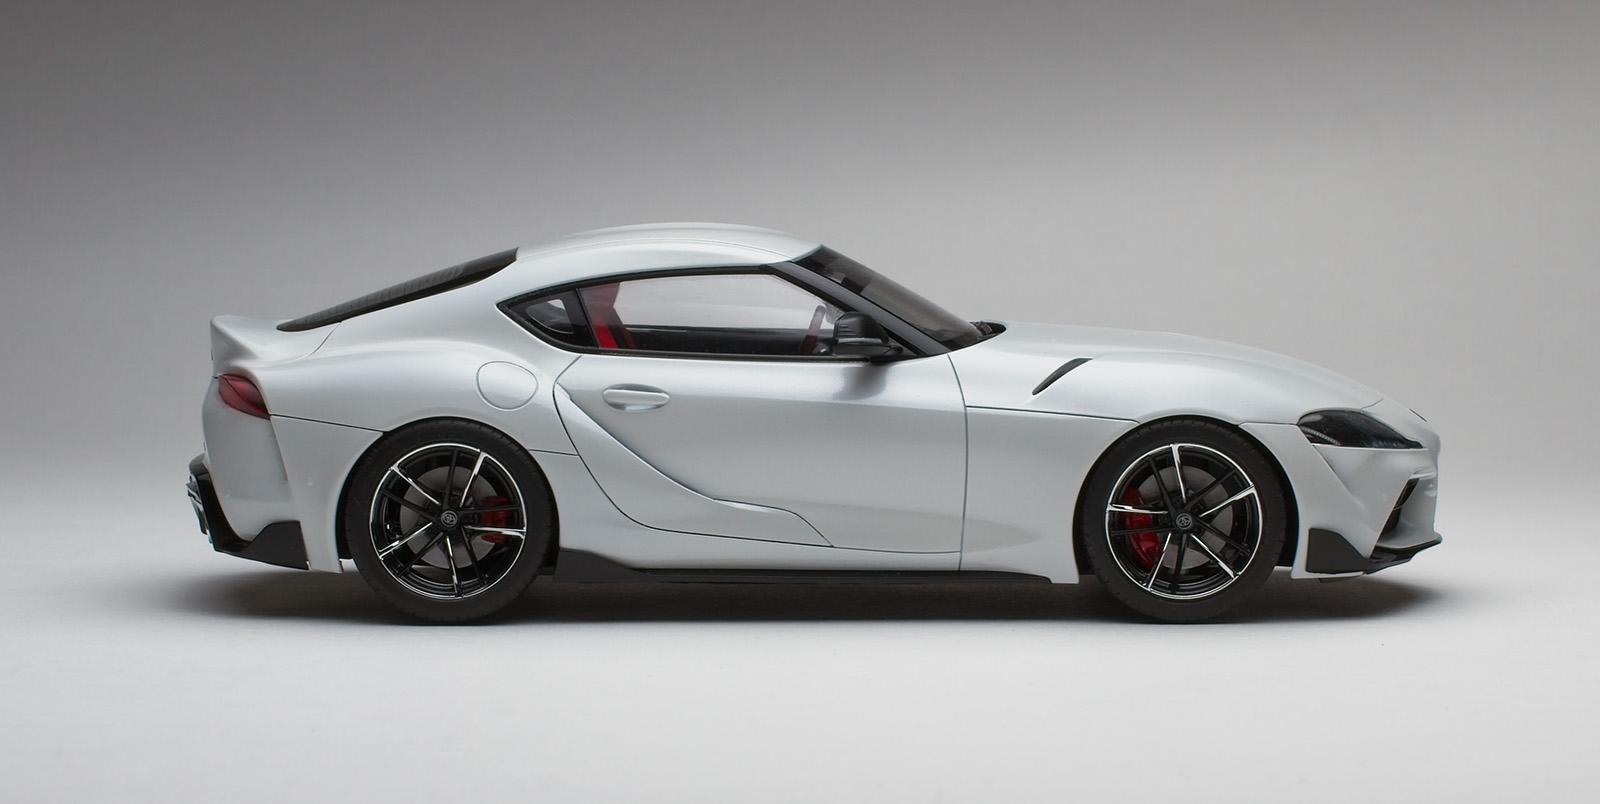
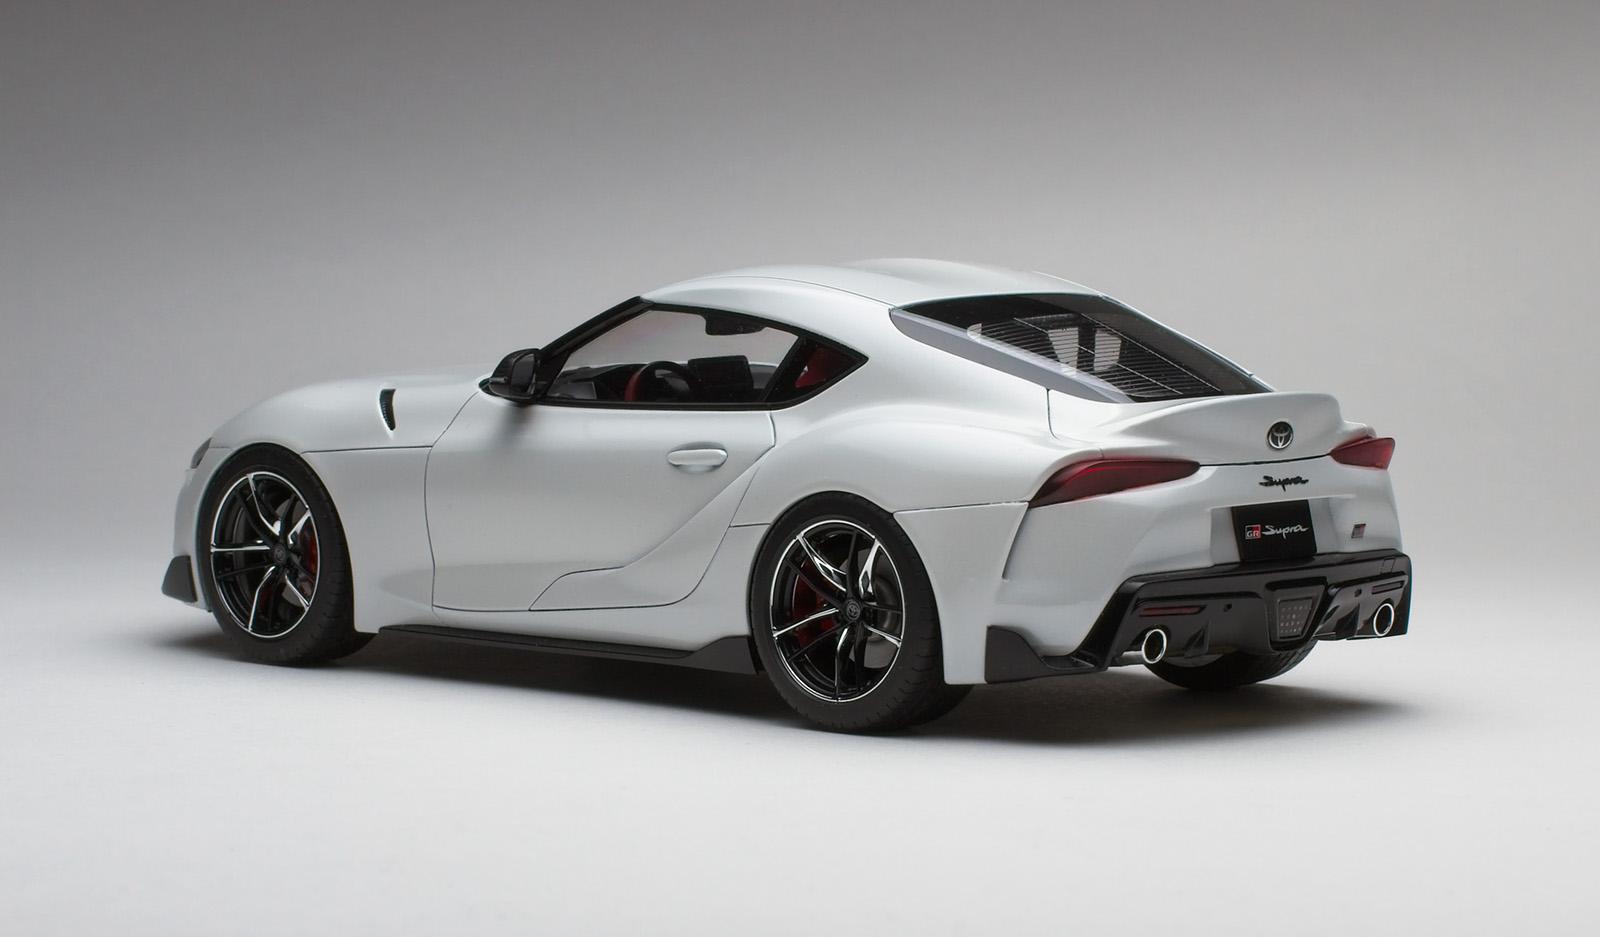
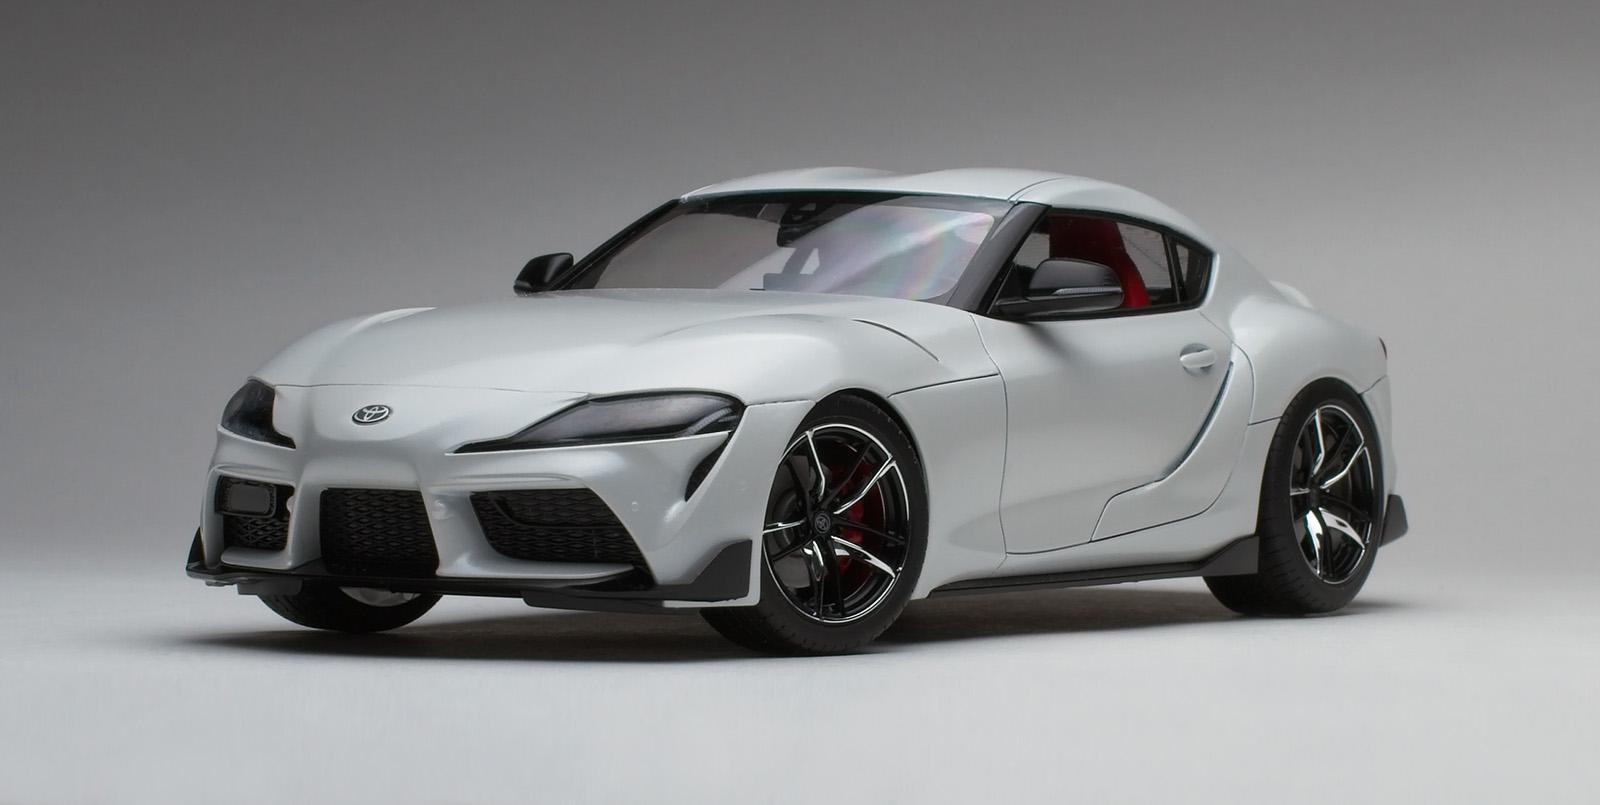
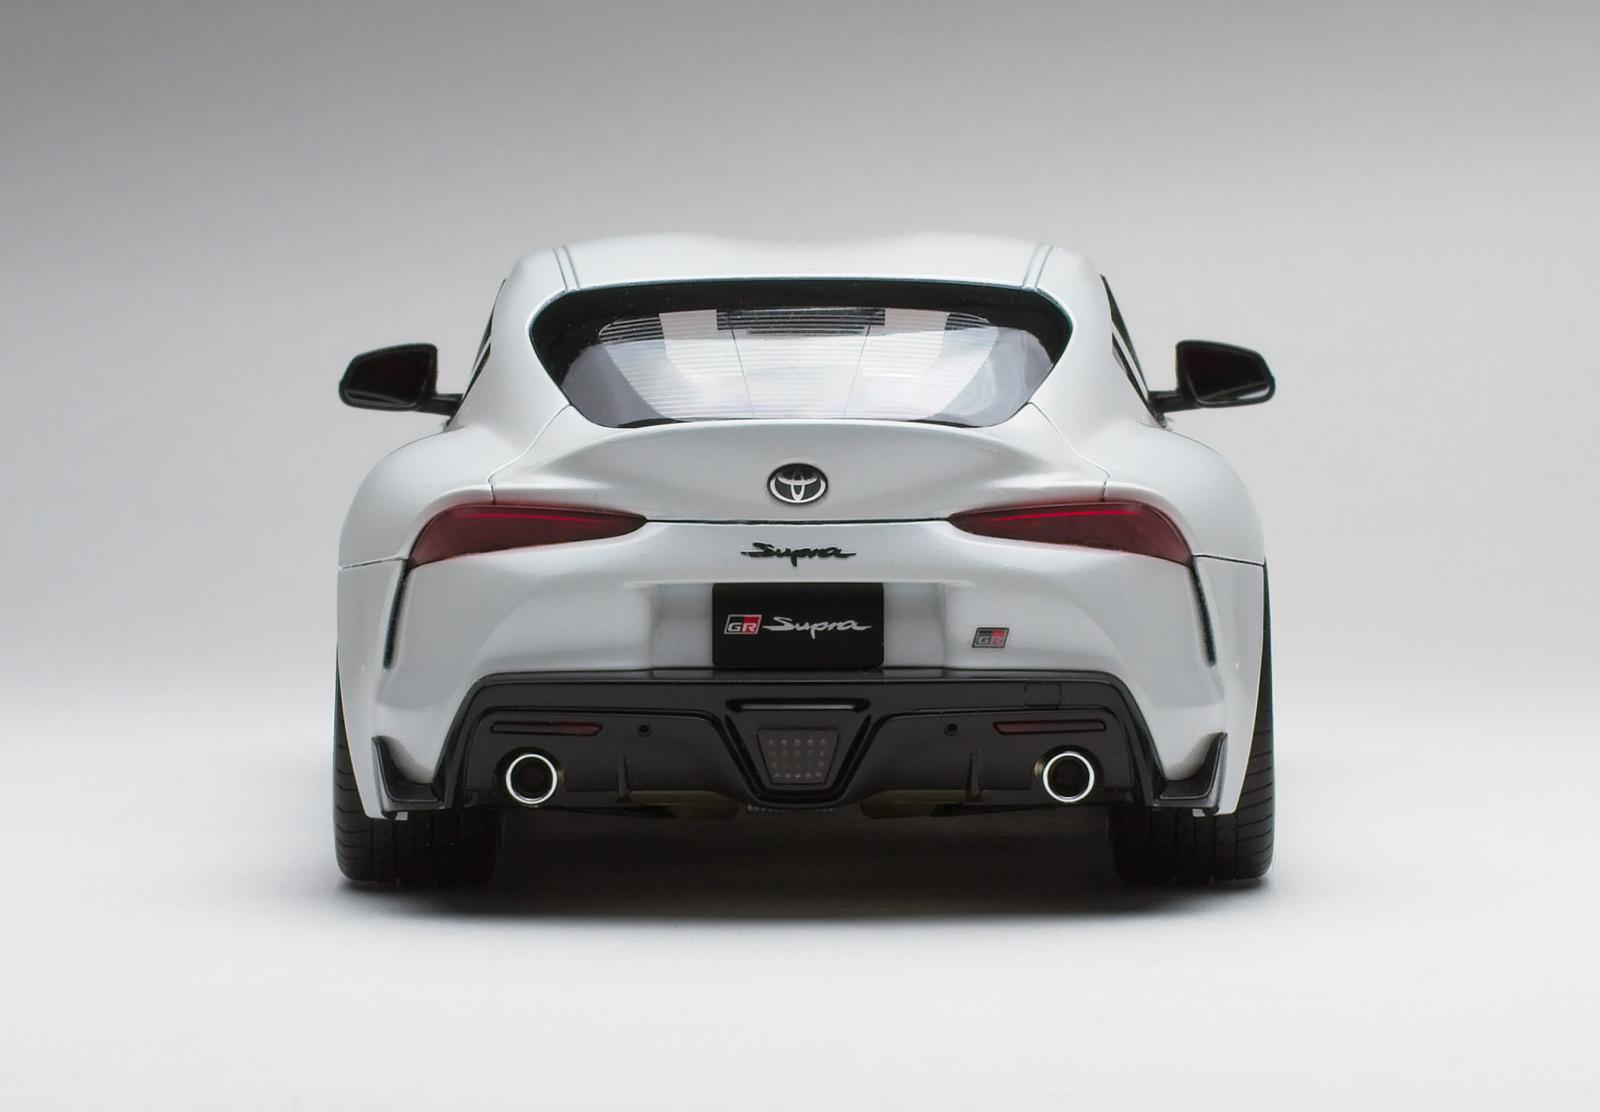
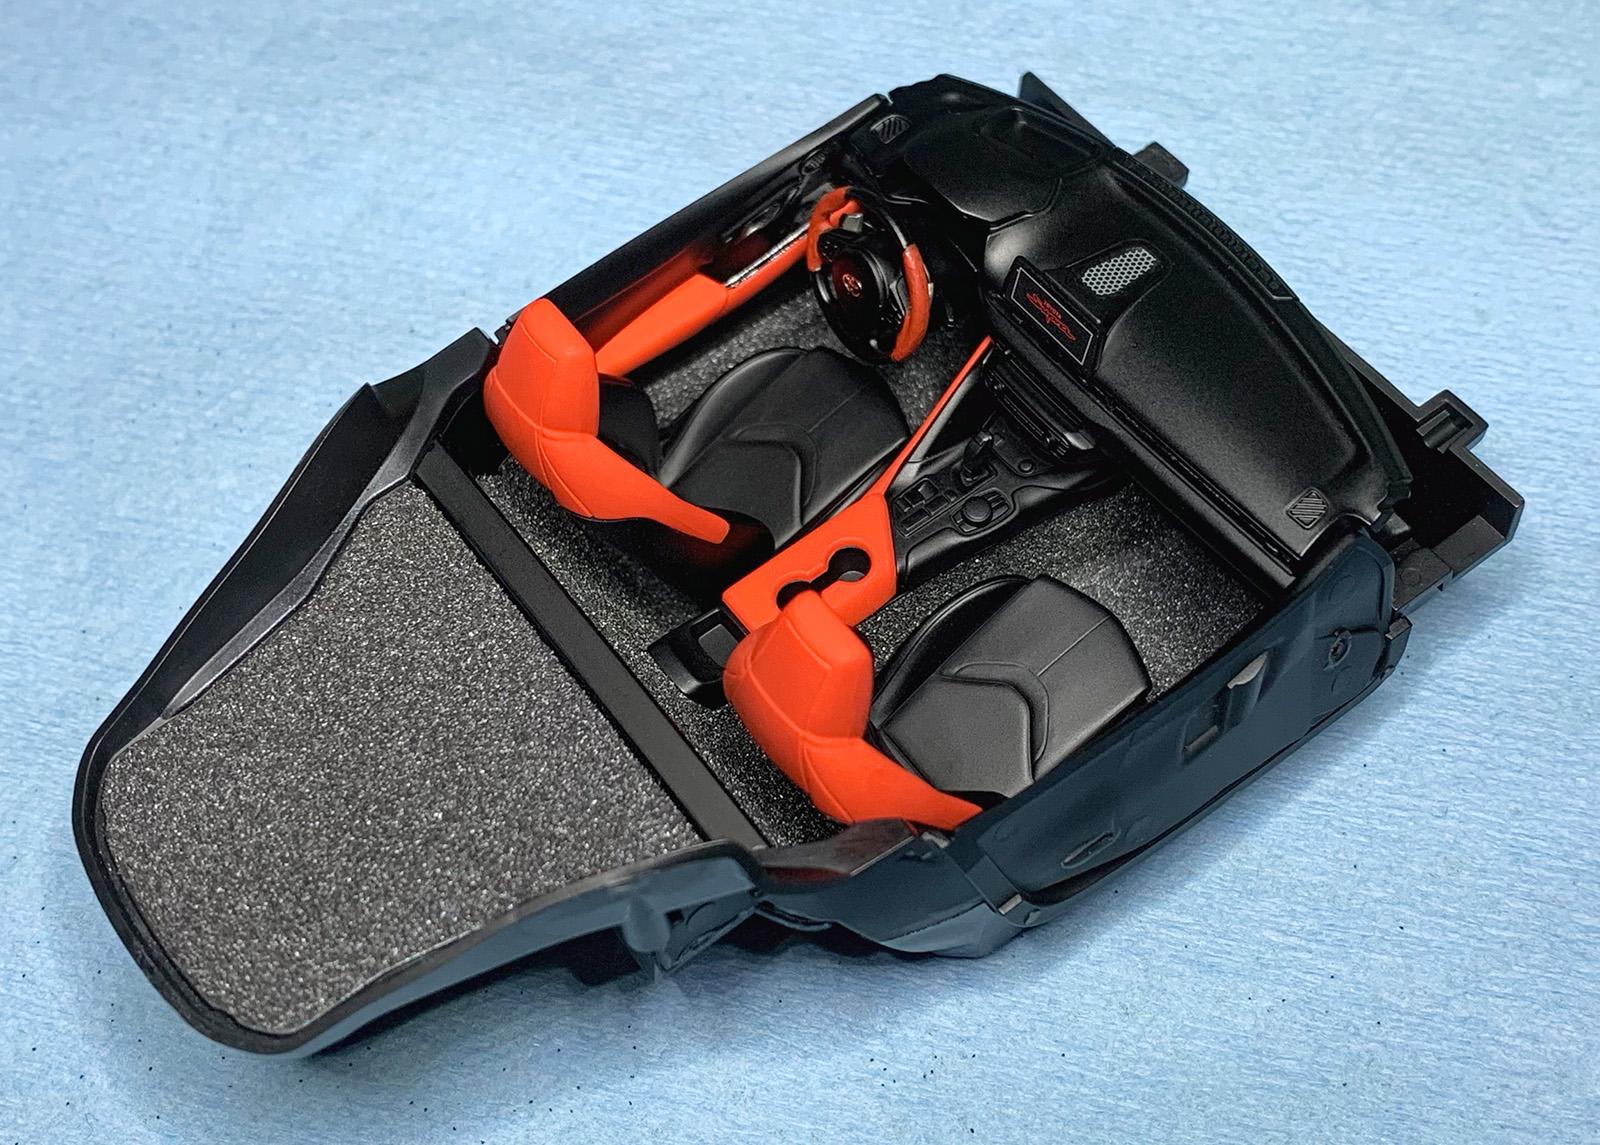
Good Evening, This was my first Tamiya kit... I now know why people rave about the quality of their kits. Pretty sure you could toss the kit into a bag and the parts would fall together. There was no engine and some tiny parts that could probably have been moulded as one but overall a pleasure to build. Great window masks were included - a first for me. The body was primed with decanted Mr. Finishing Surfacer 1500 Black and painted with decanted Tamiya TS-45 Pearl White. The TS-45 took several coats but never really covered that well so I decided to apply 2 coats of Tamiya LP-43 Pearl White and sealed it with decanted Tamiya TS-65 Pearl Clear. I did not use primer on the interior. The colours are Tamiya X-18 Semi Gloss Black and XF-7 Flat Red. I used Ranger gun metal embossing powder for the carpeting. Of course it wouldn't be a build if I didn't make a couple mistakes along the way. What I learned from this build: 1. I turned a tiny dust speck into a bigger boo-boo and had to strip the paint. Oven cleaner worked okay but brake fluid seemed to work better. Thanks for the tips I read here on the forum. ? 2. This was my first time using Tamiya's LP lacquer paint. It sprayed nicely thinned 1:1 with Mr. Levelling Thinner and I would choose their LP over acrylic for car bodies every time. 3. Not sure about colour similarity between their TS and LP line. Tamiya's Lacquer Compatibility Chart says TS-45 and LP-43 are the same but the LP-43 looked warmer to me. 4. I used a heavier application of white glue with the embossing powder which worked well. 5. The decals seemed a little thicker and less sticky. Had to use multiple applications of decal solution to make them stick and conform. Merry Christmas & Happy New Year! ?
-
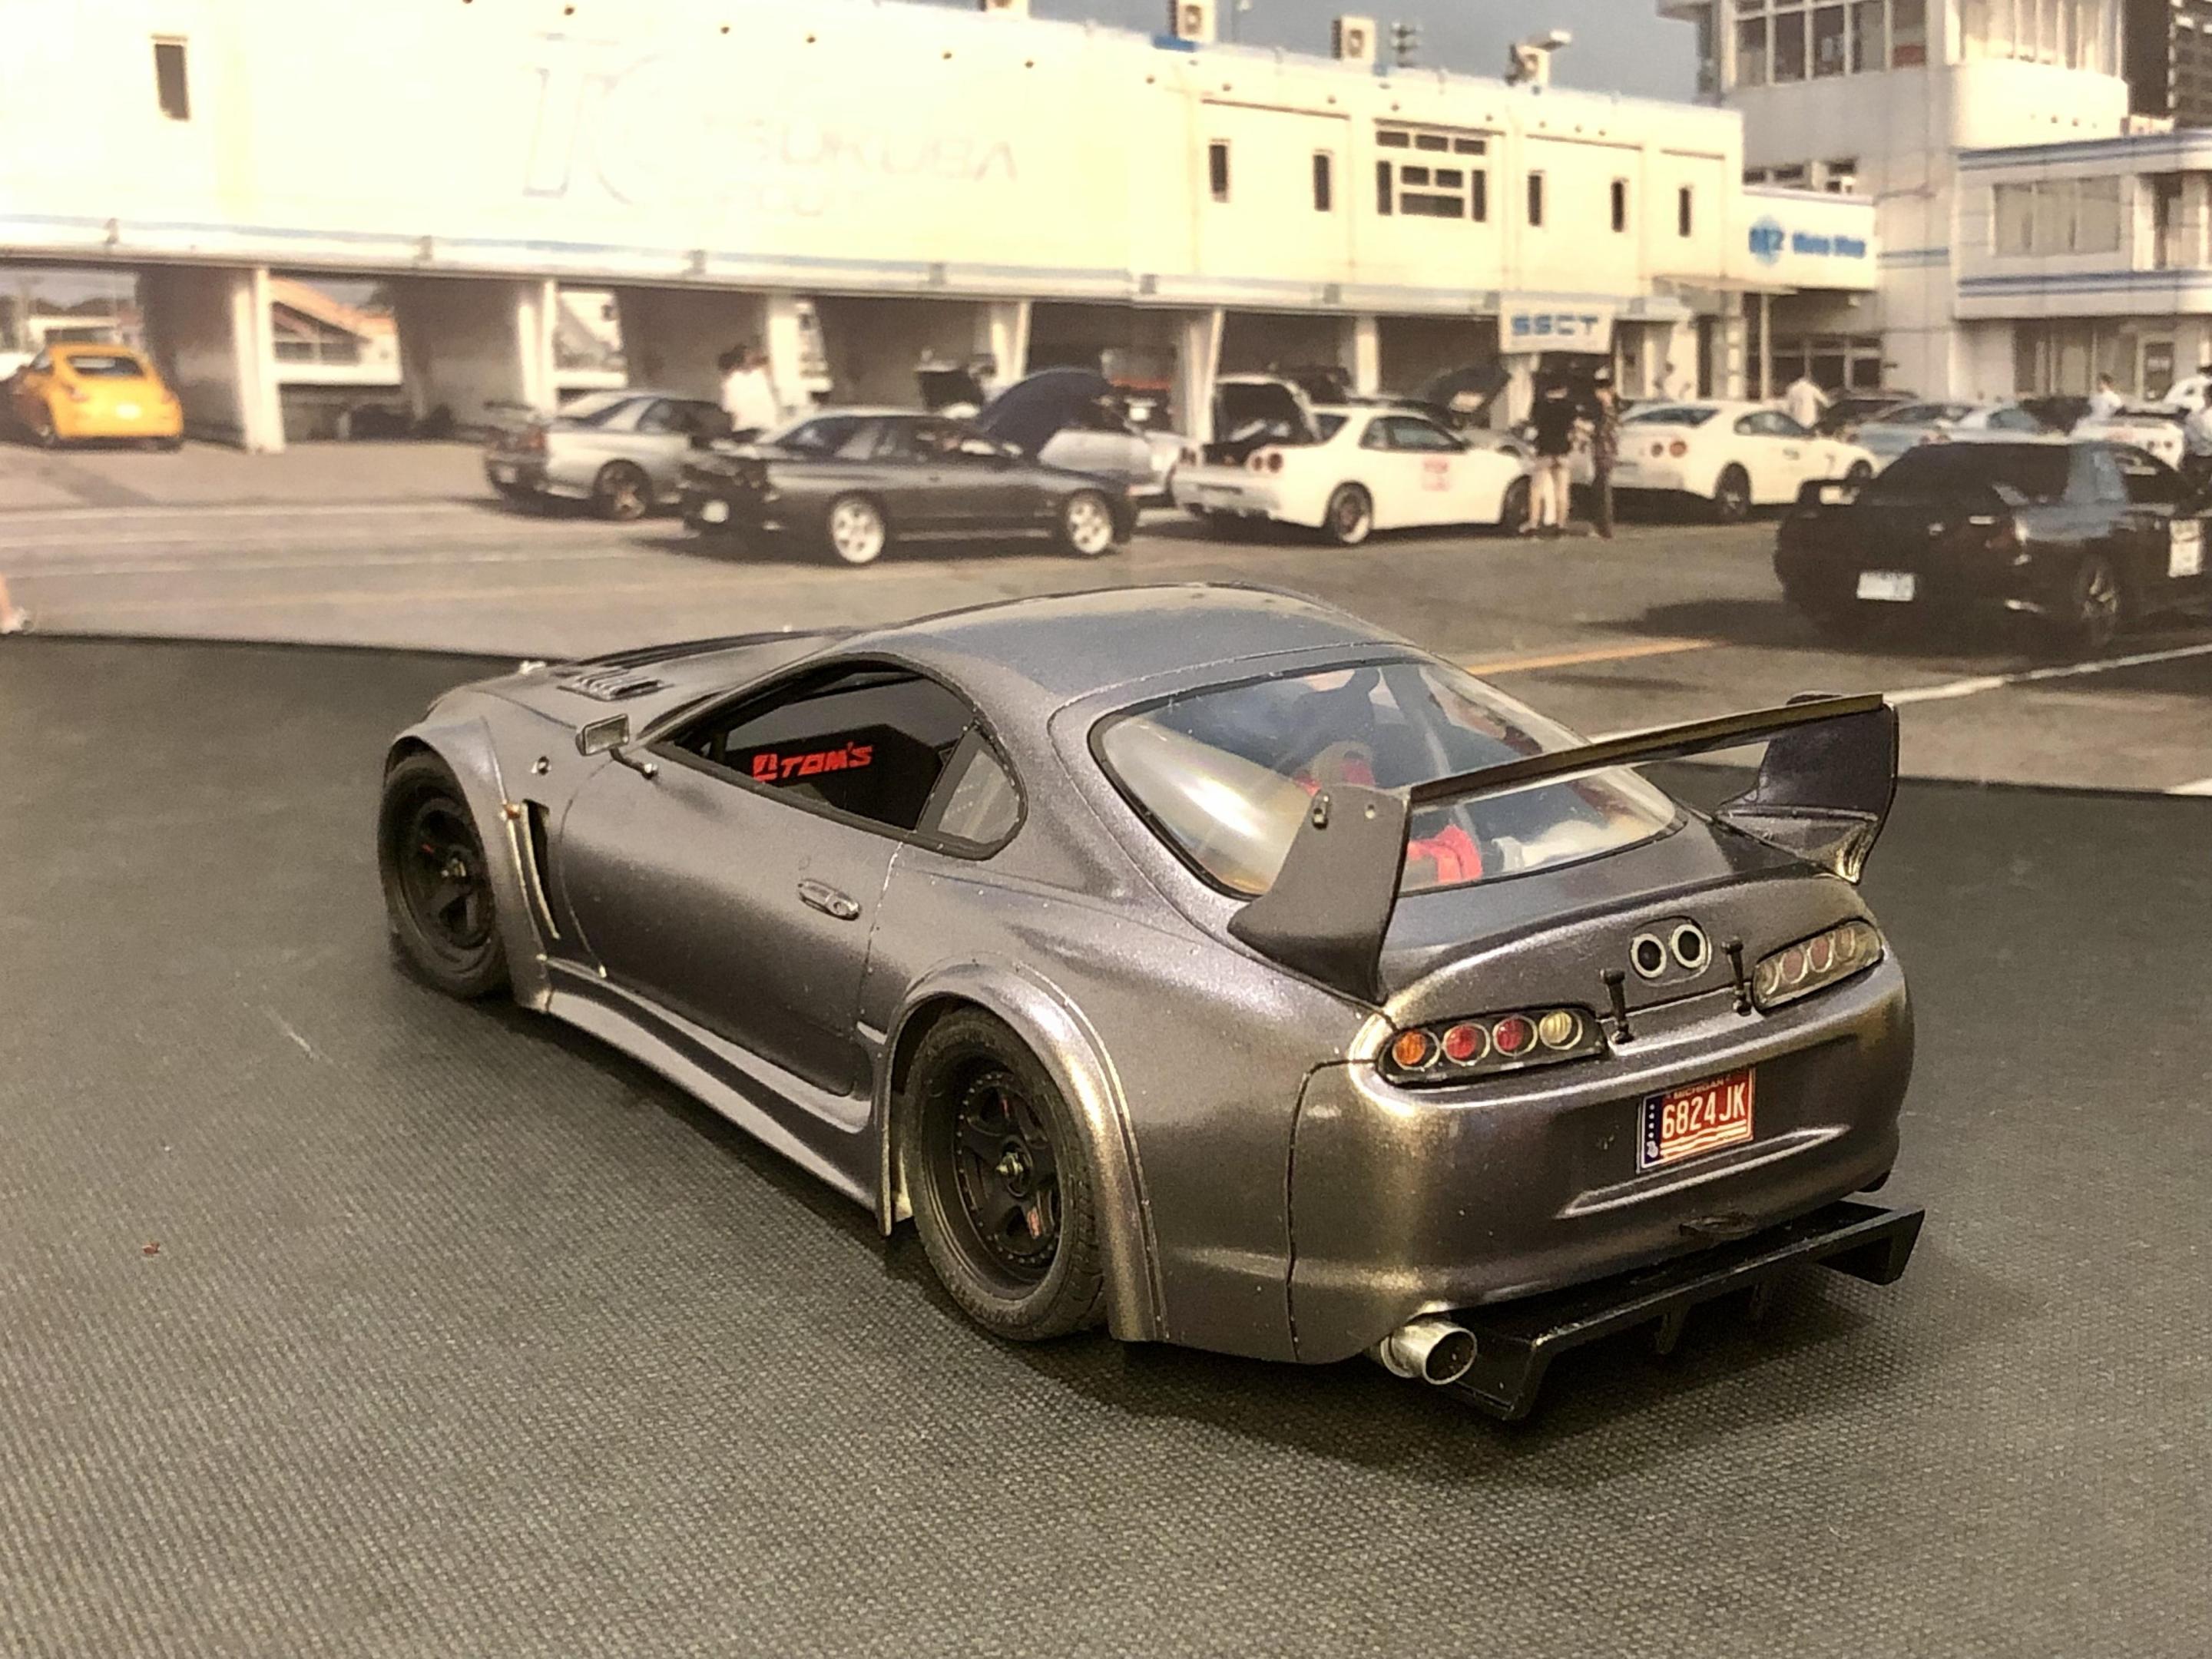
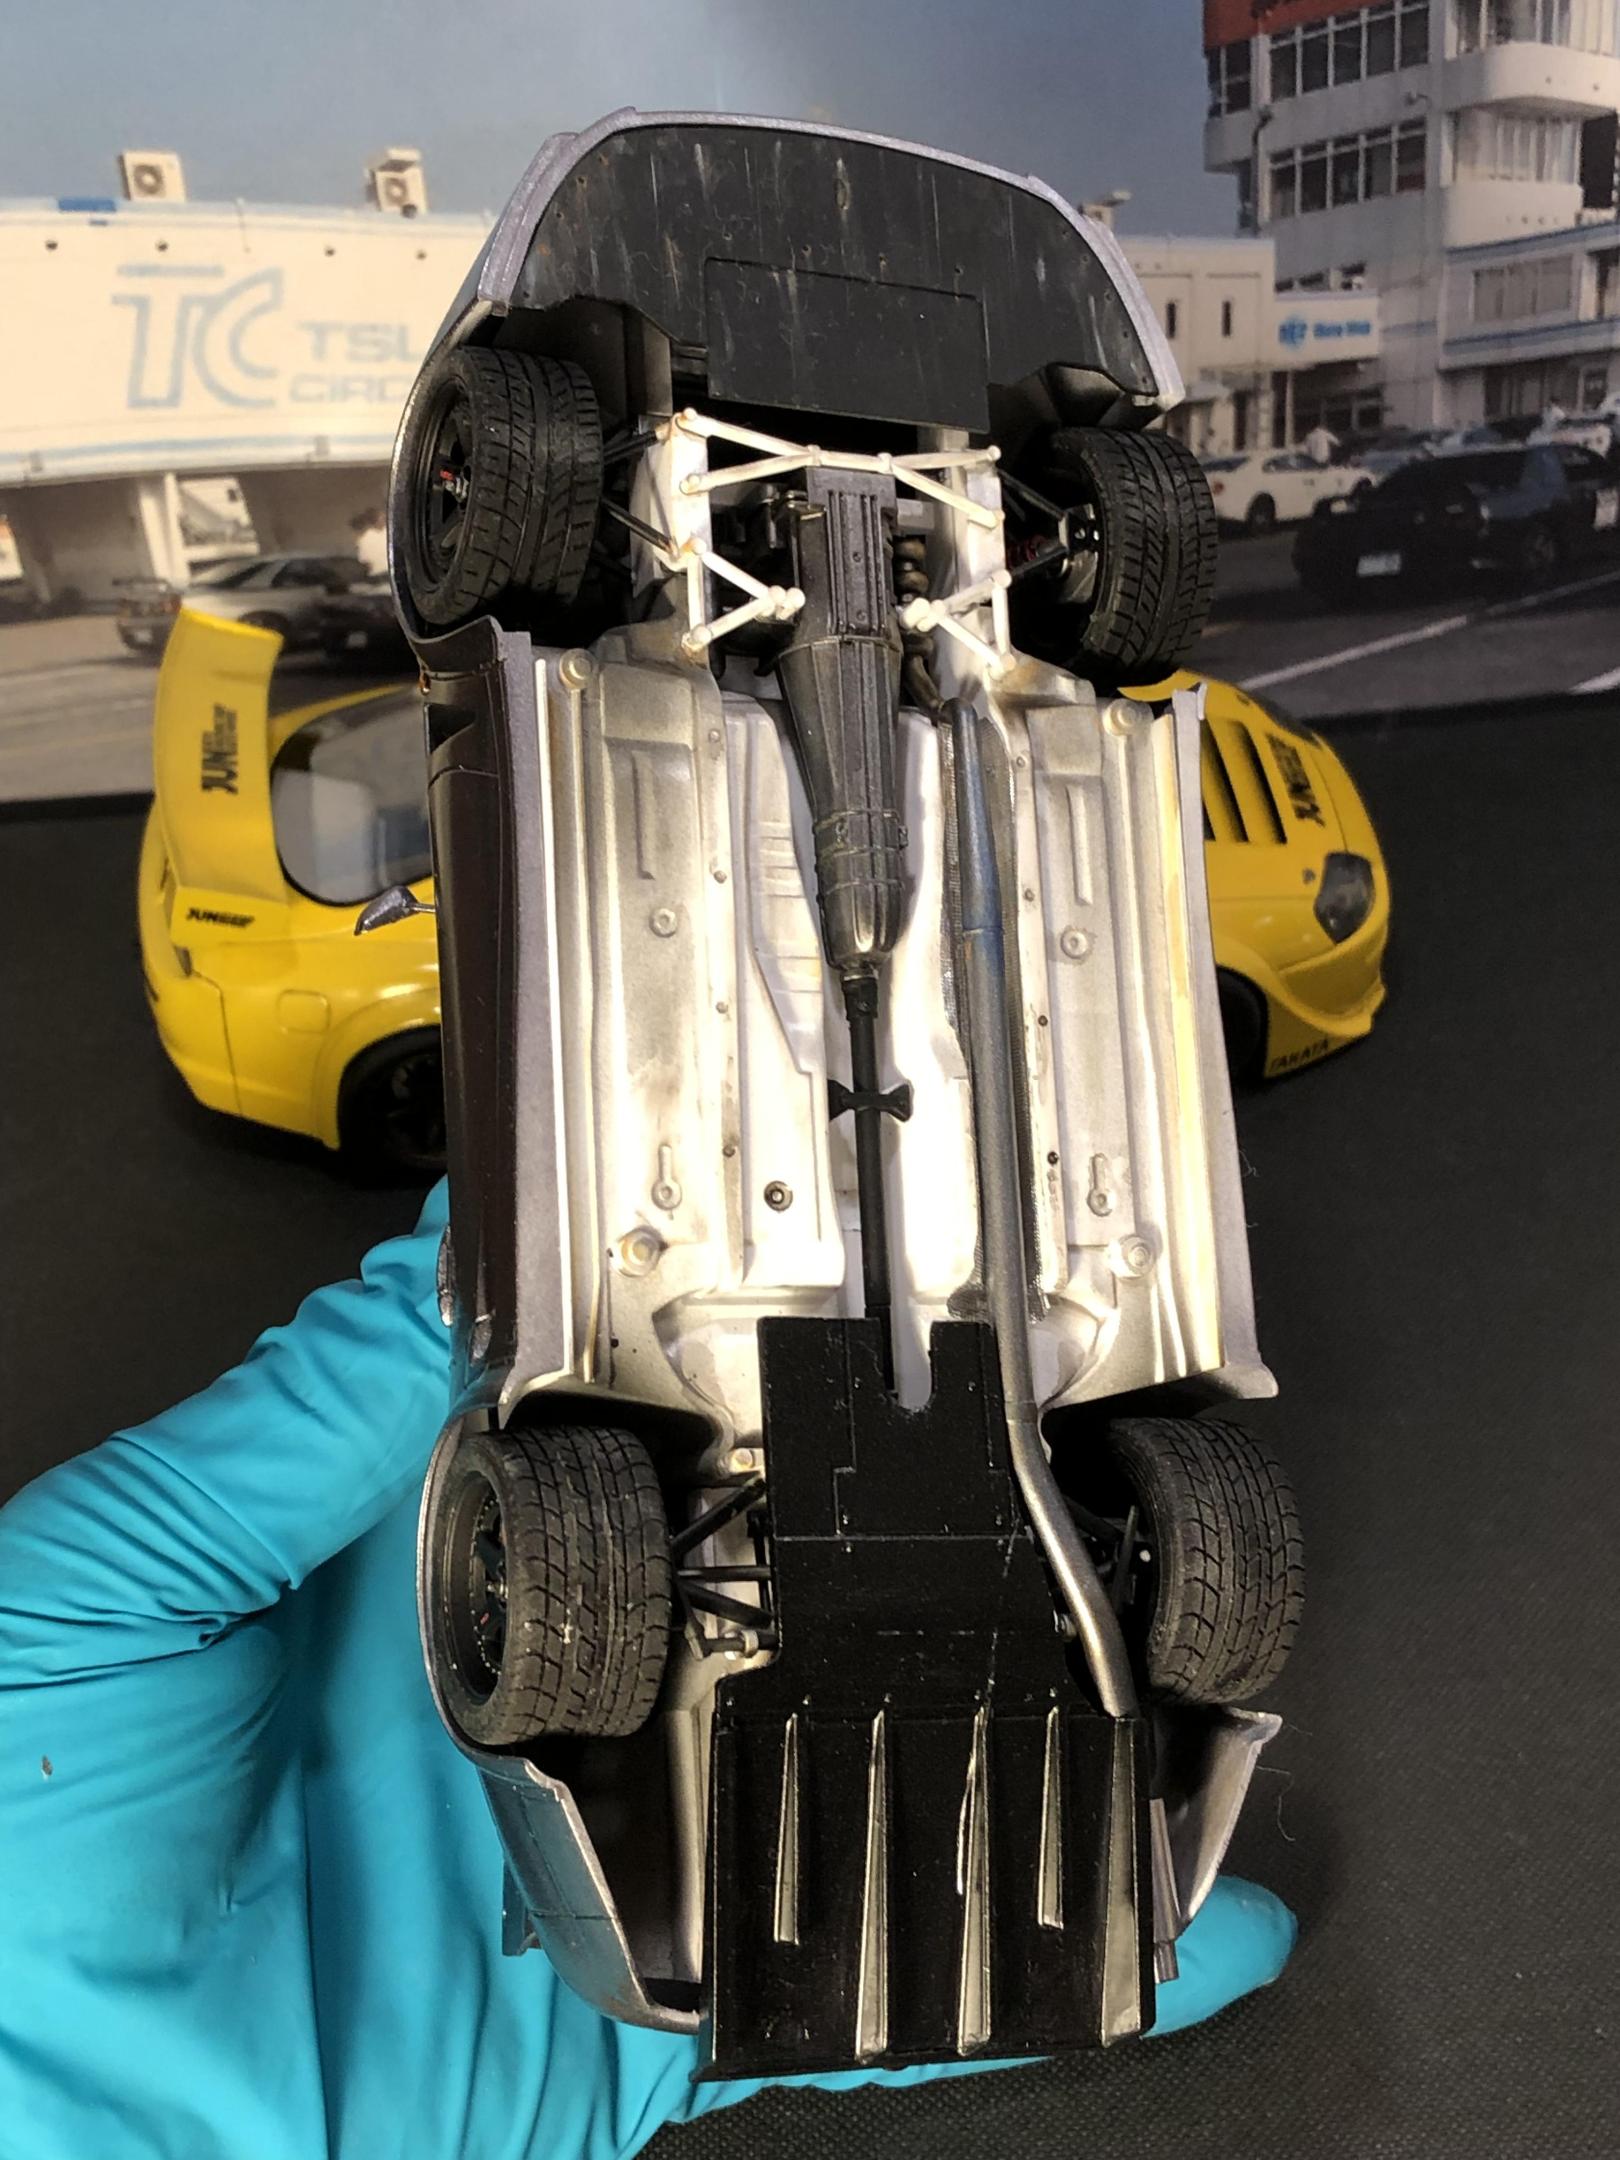
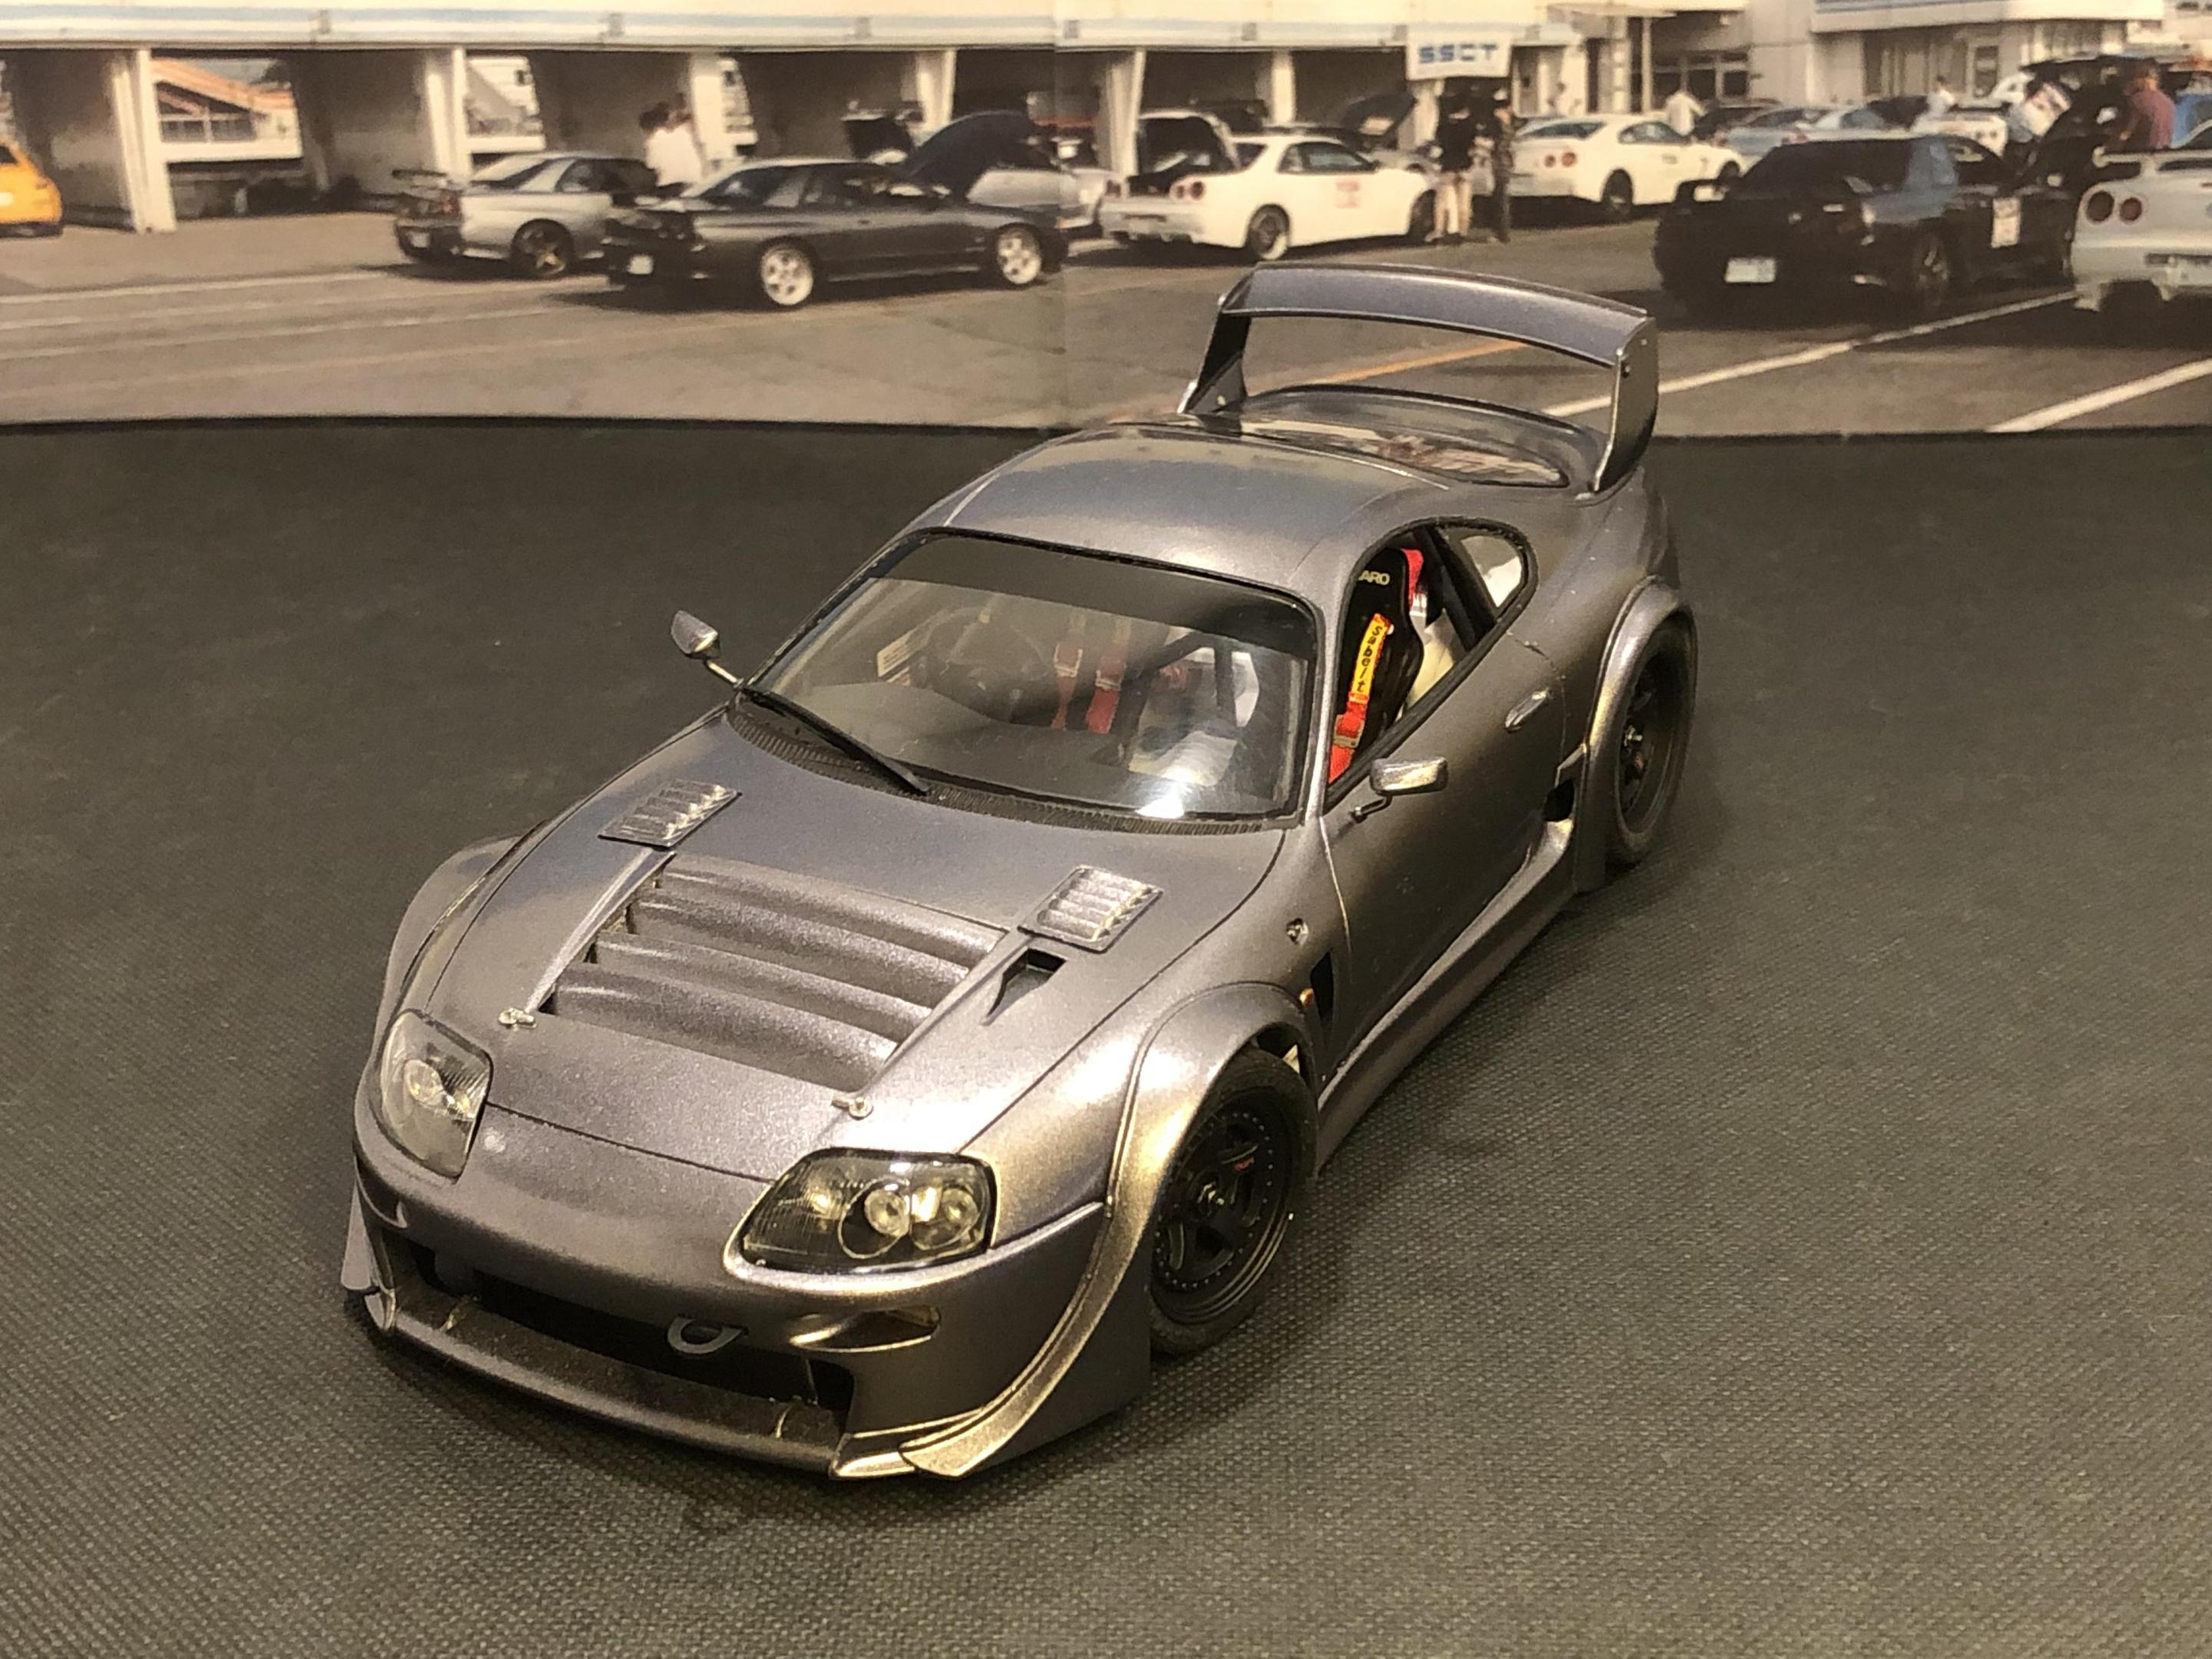
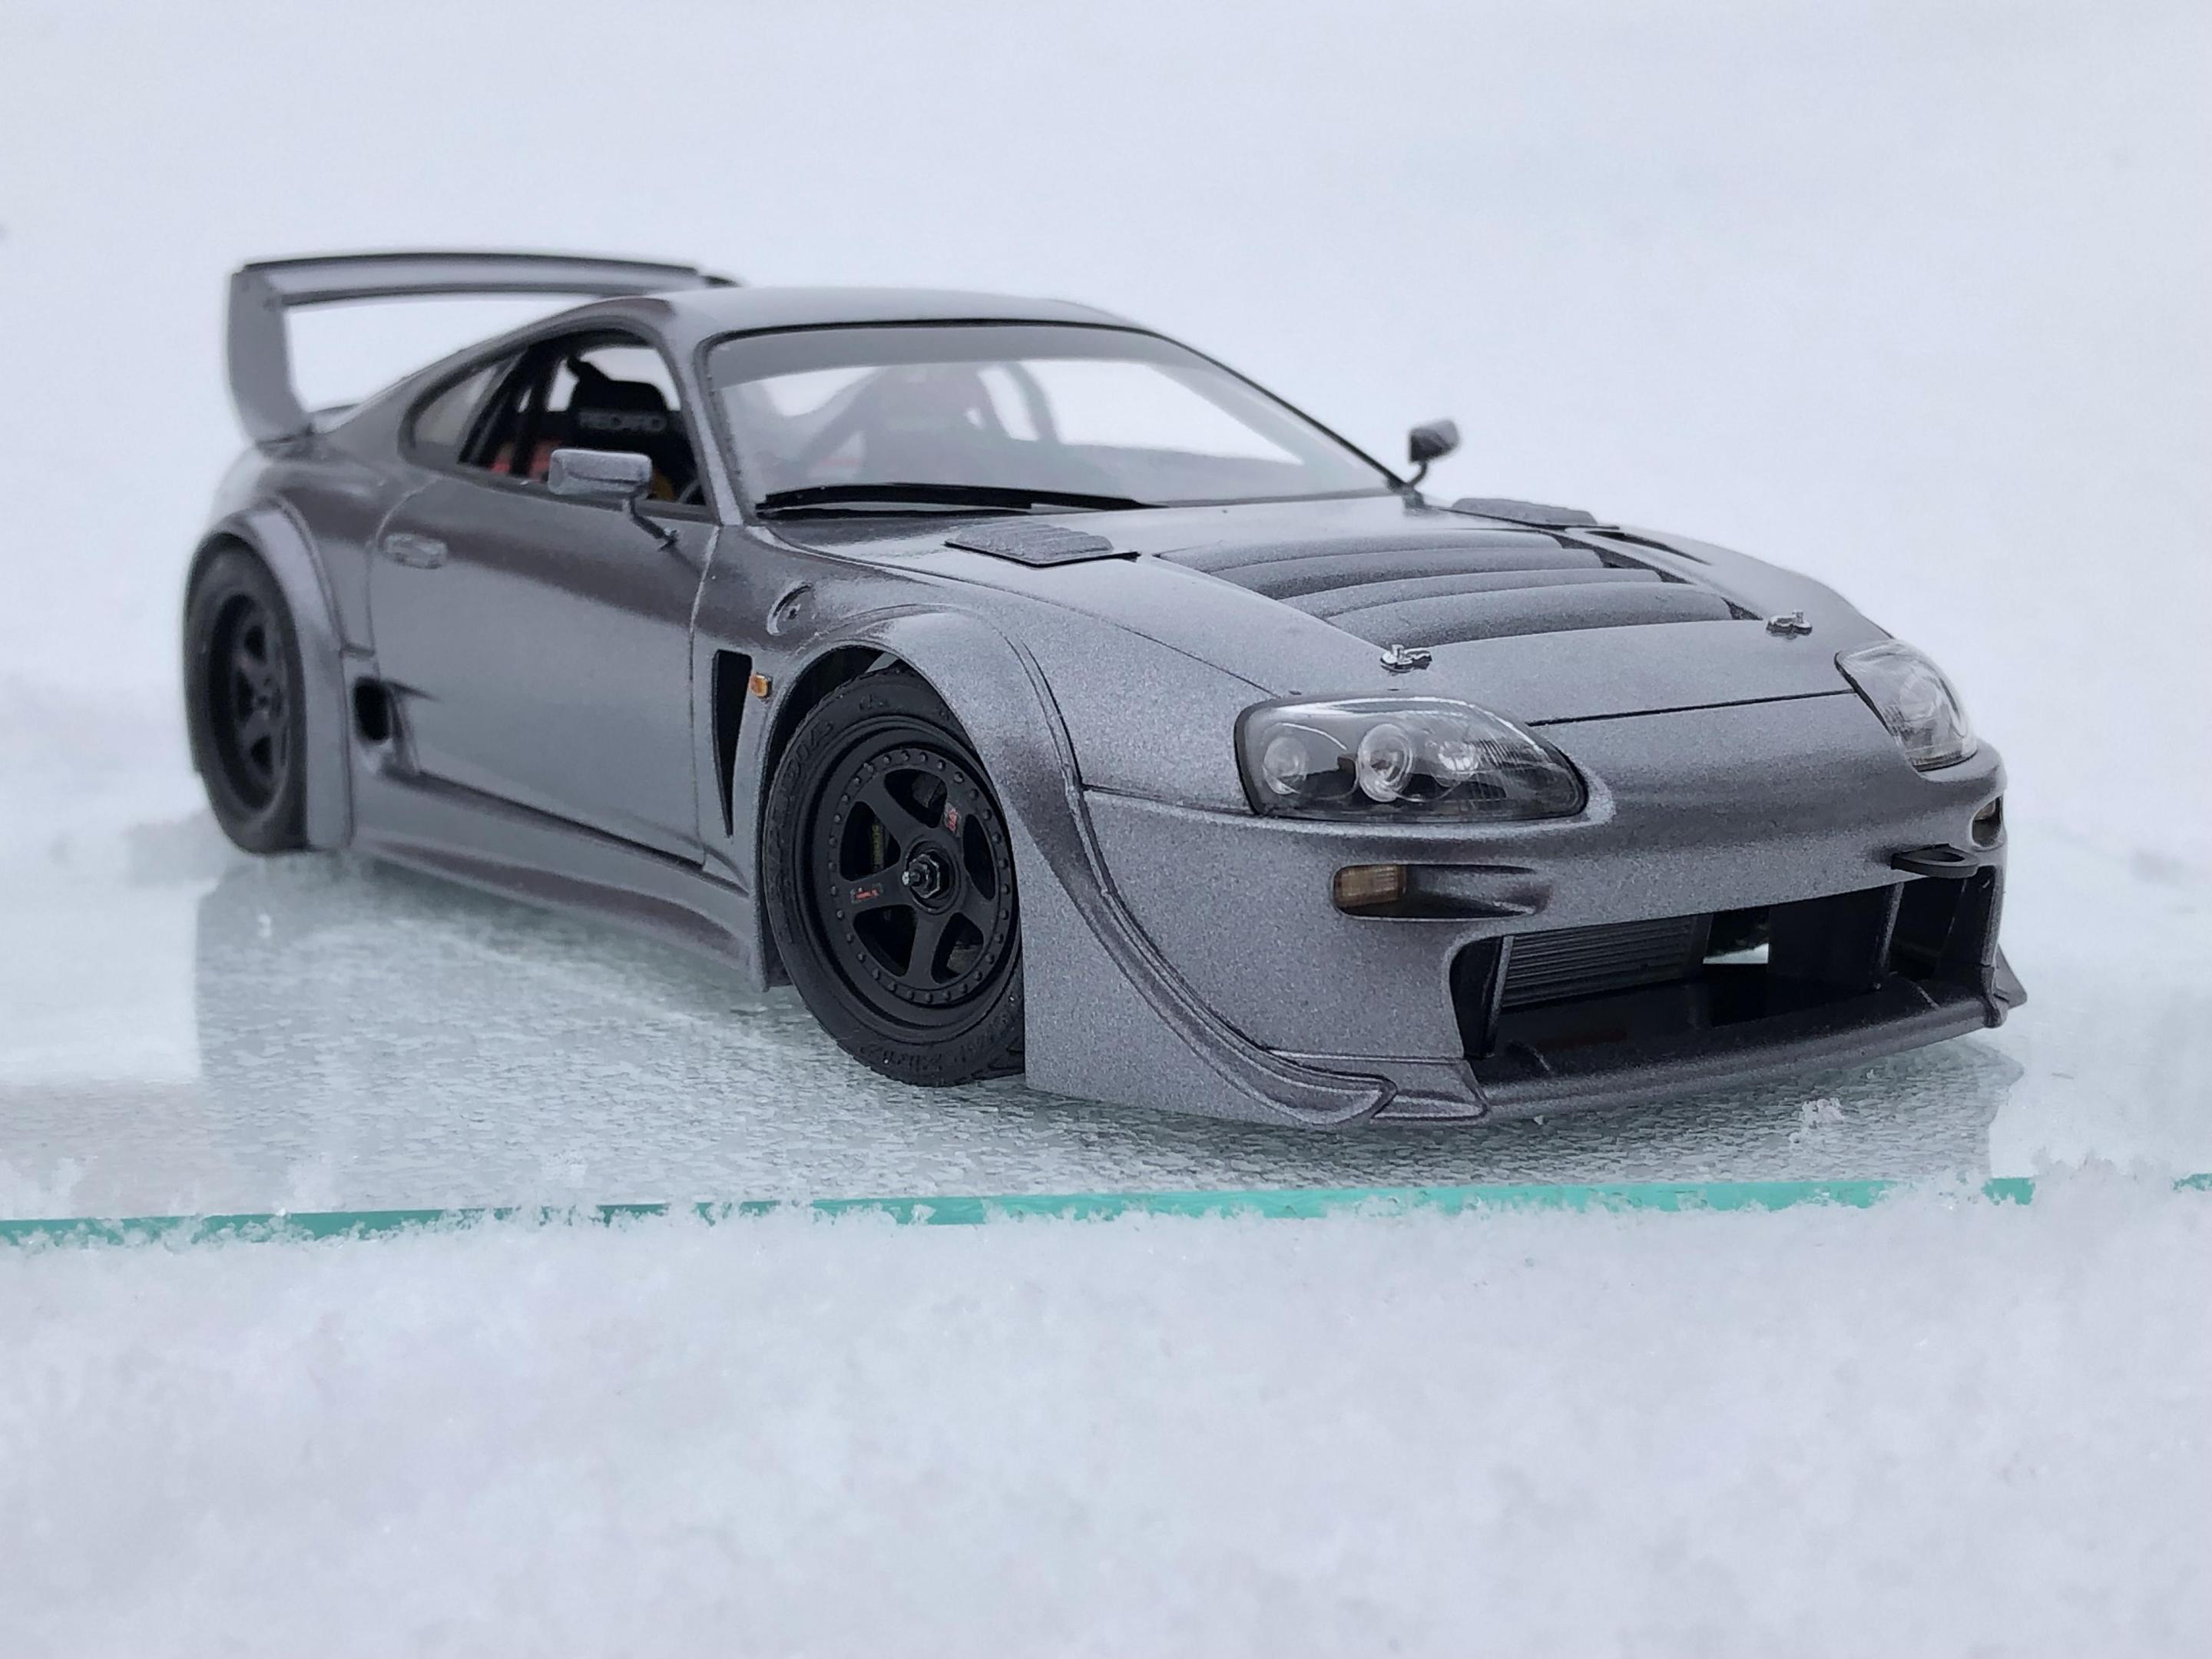
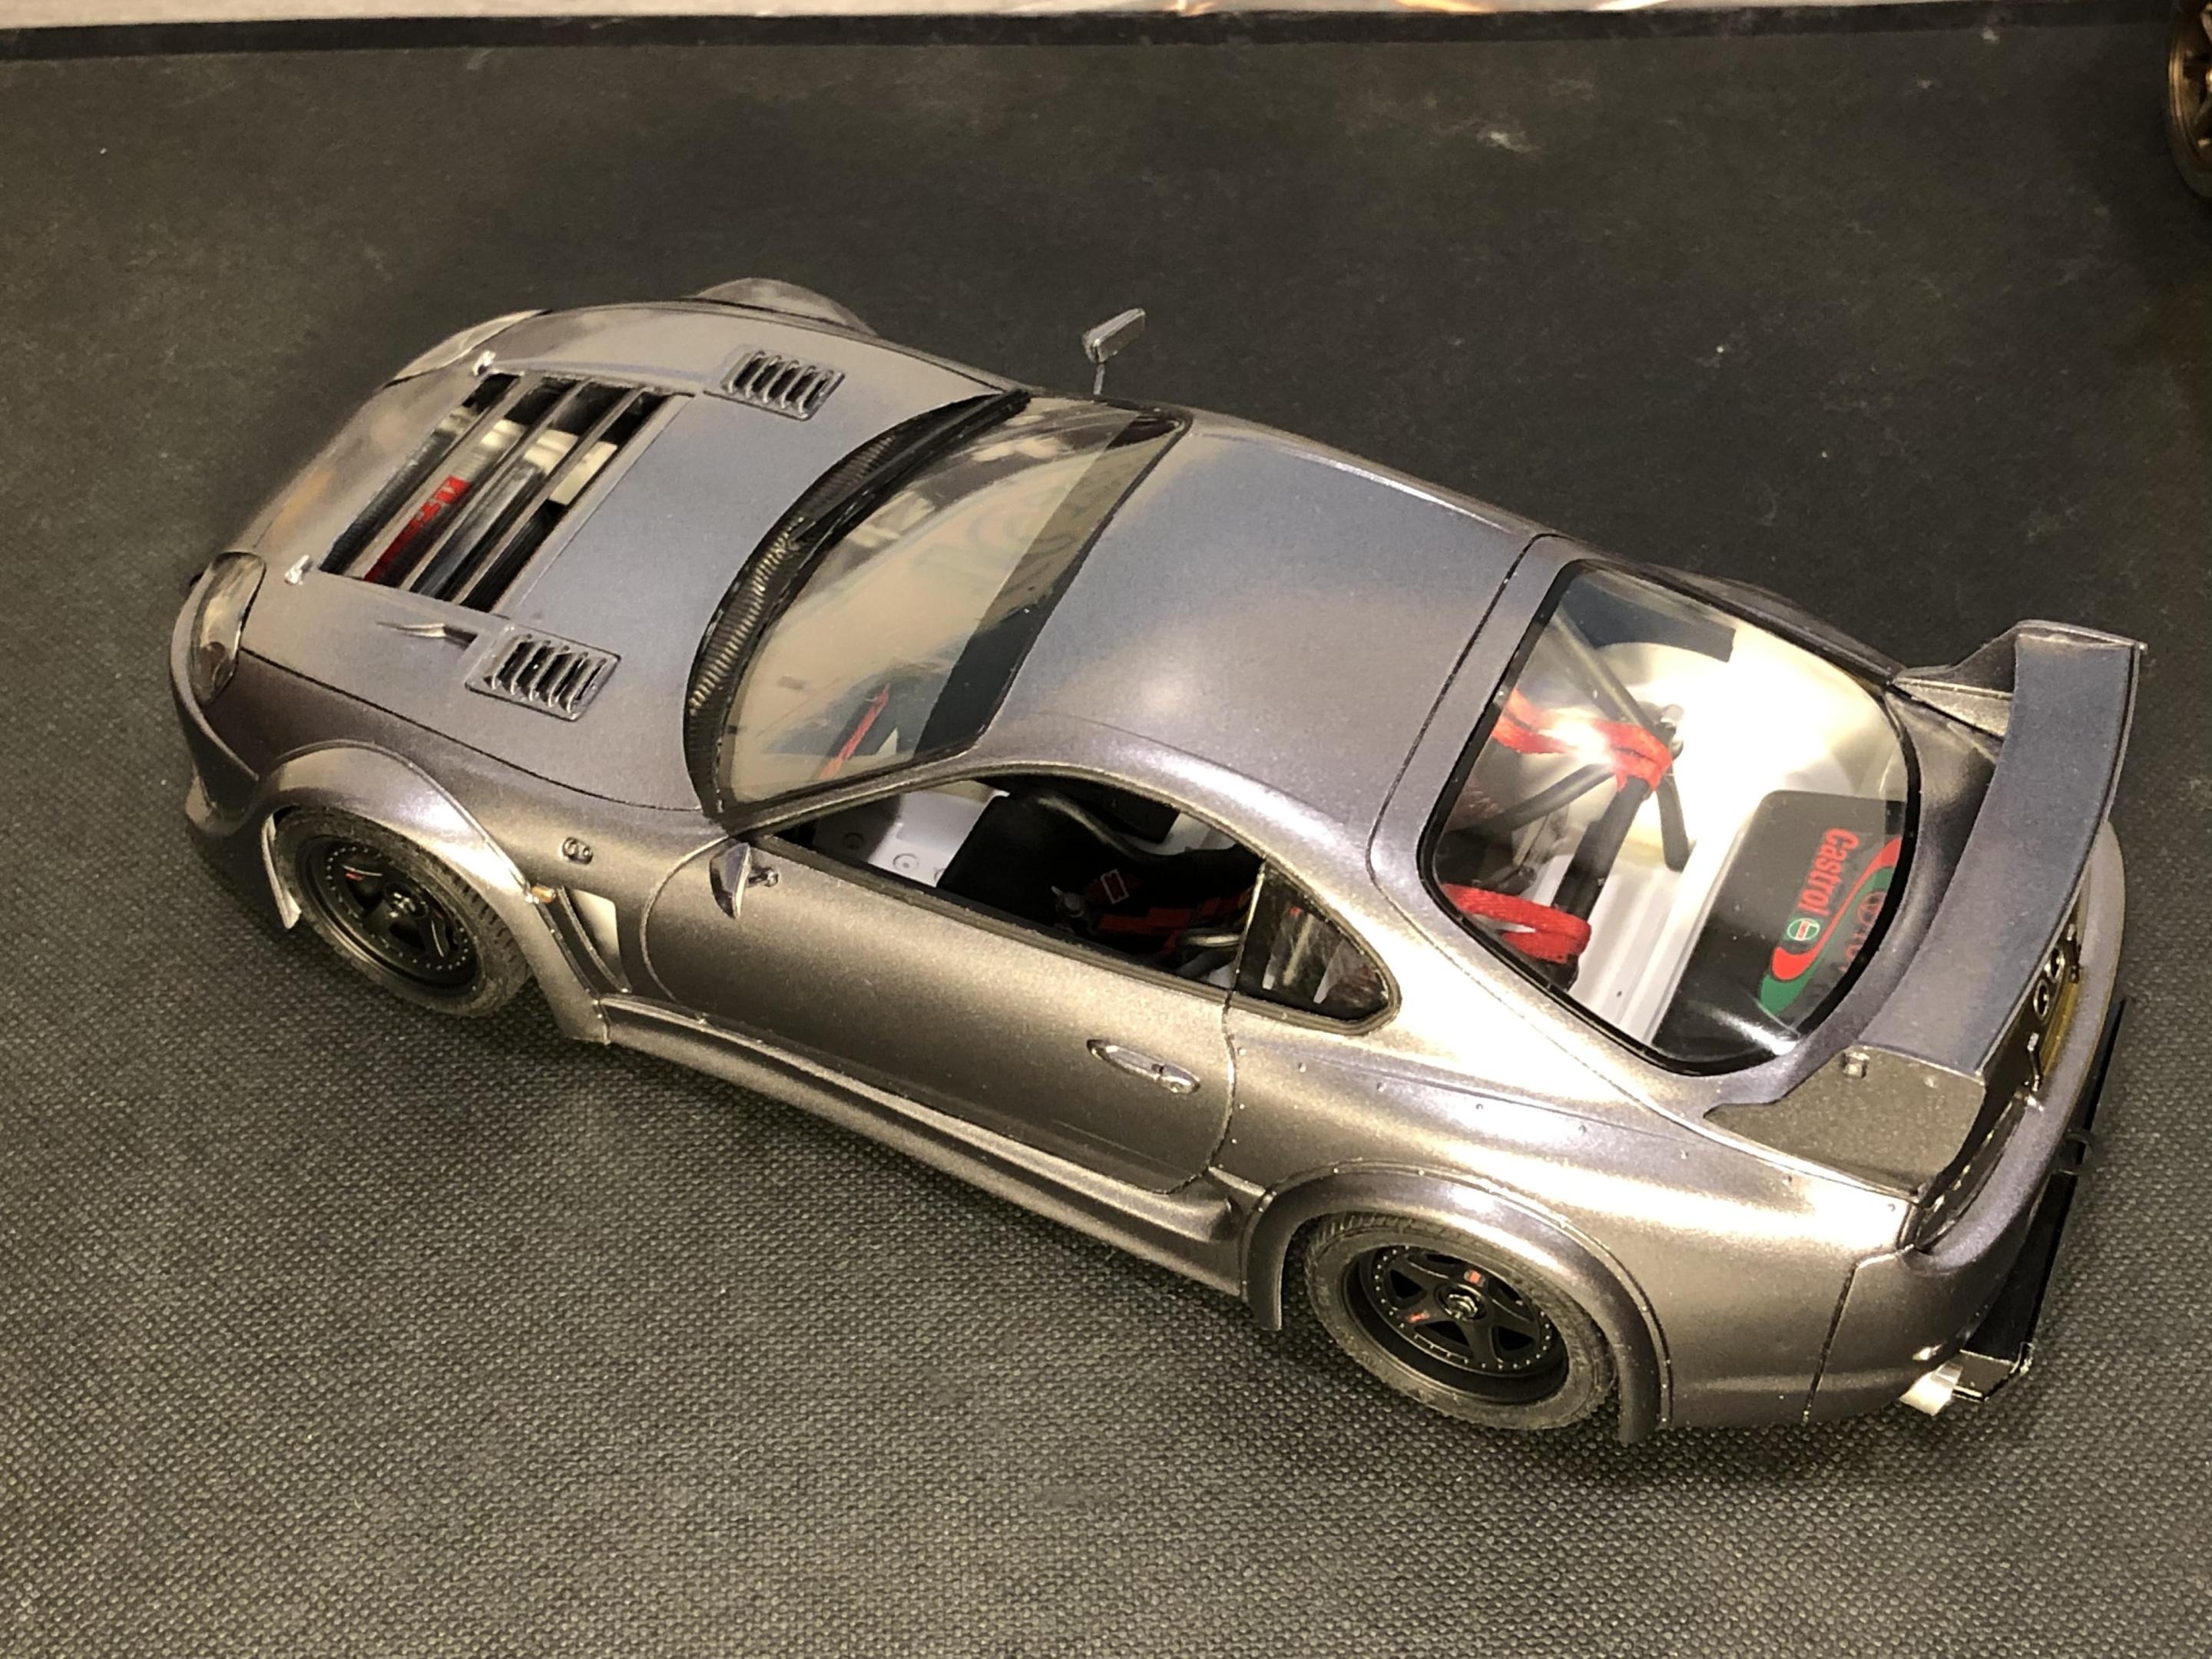
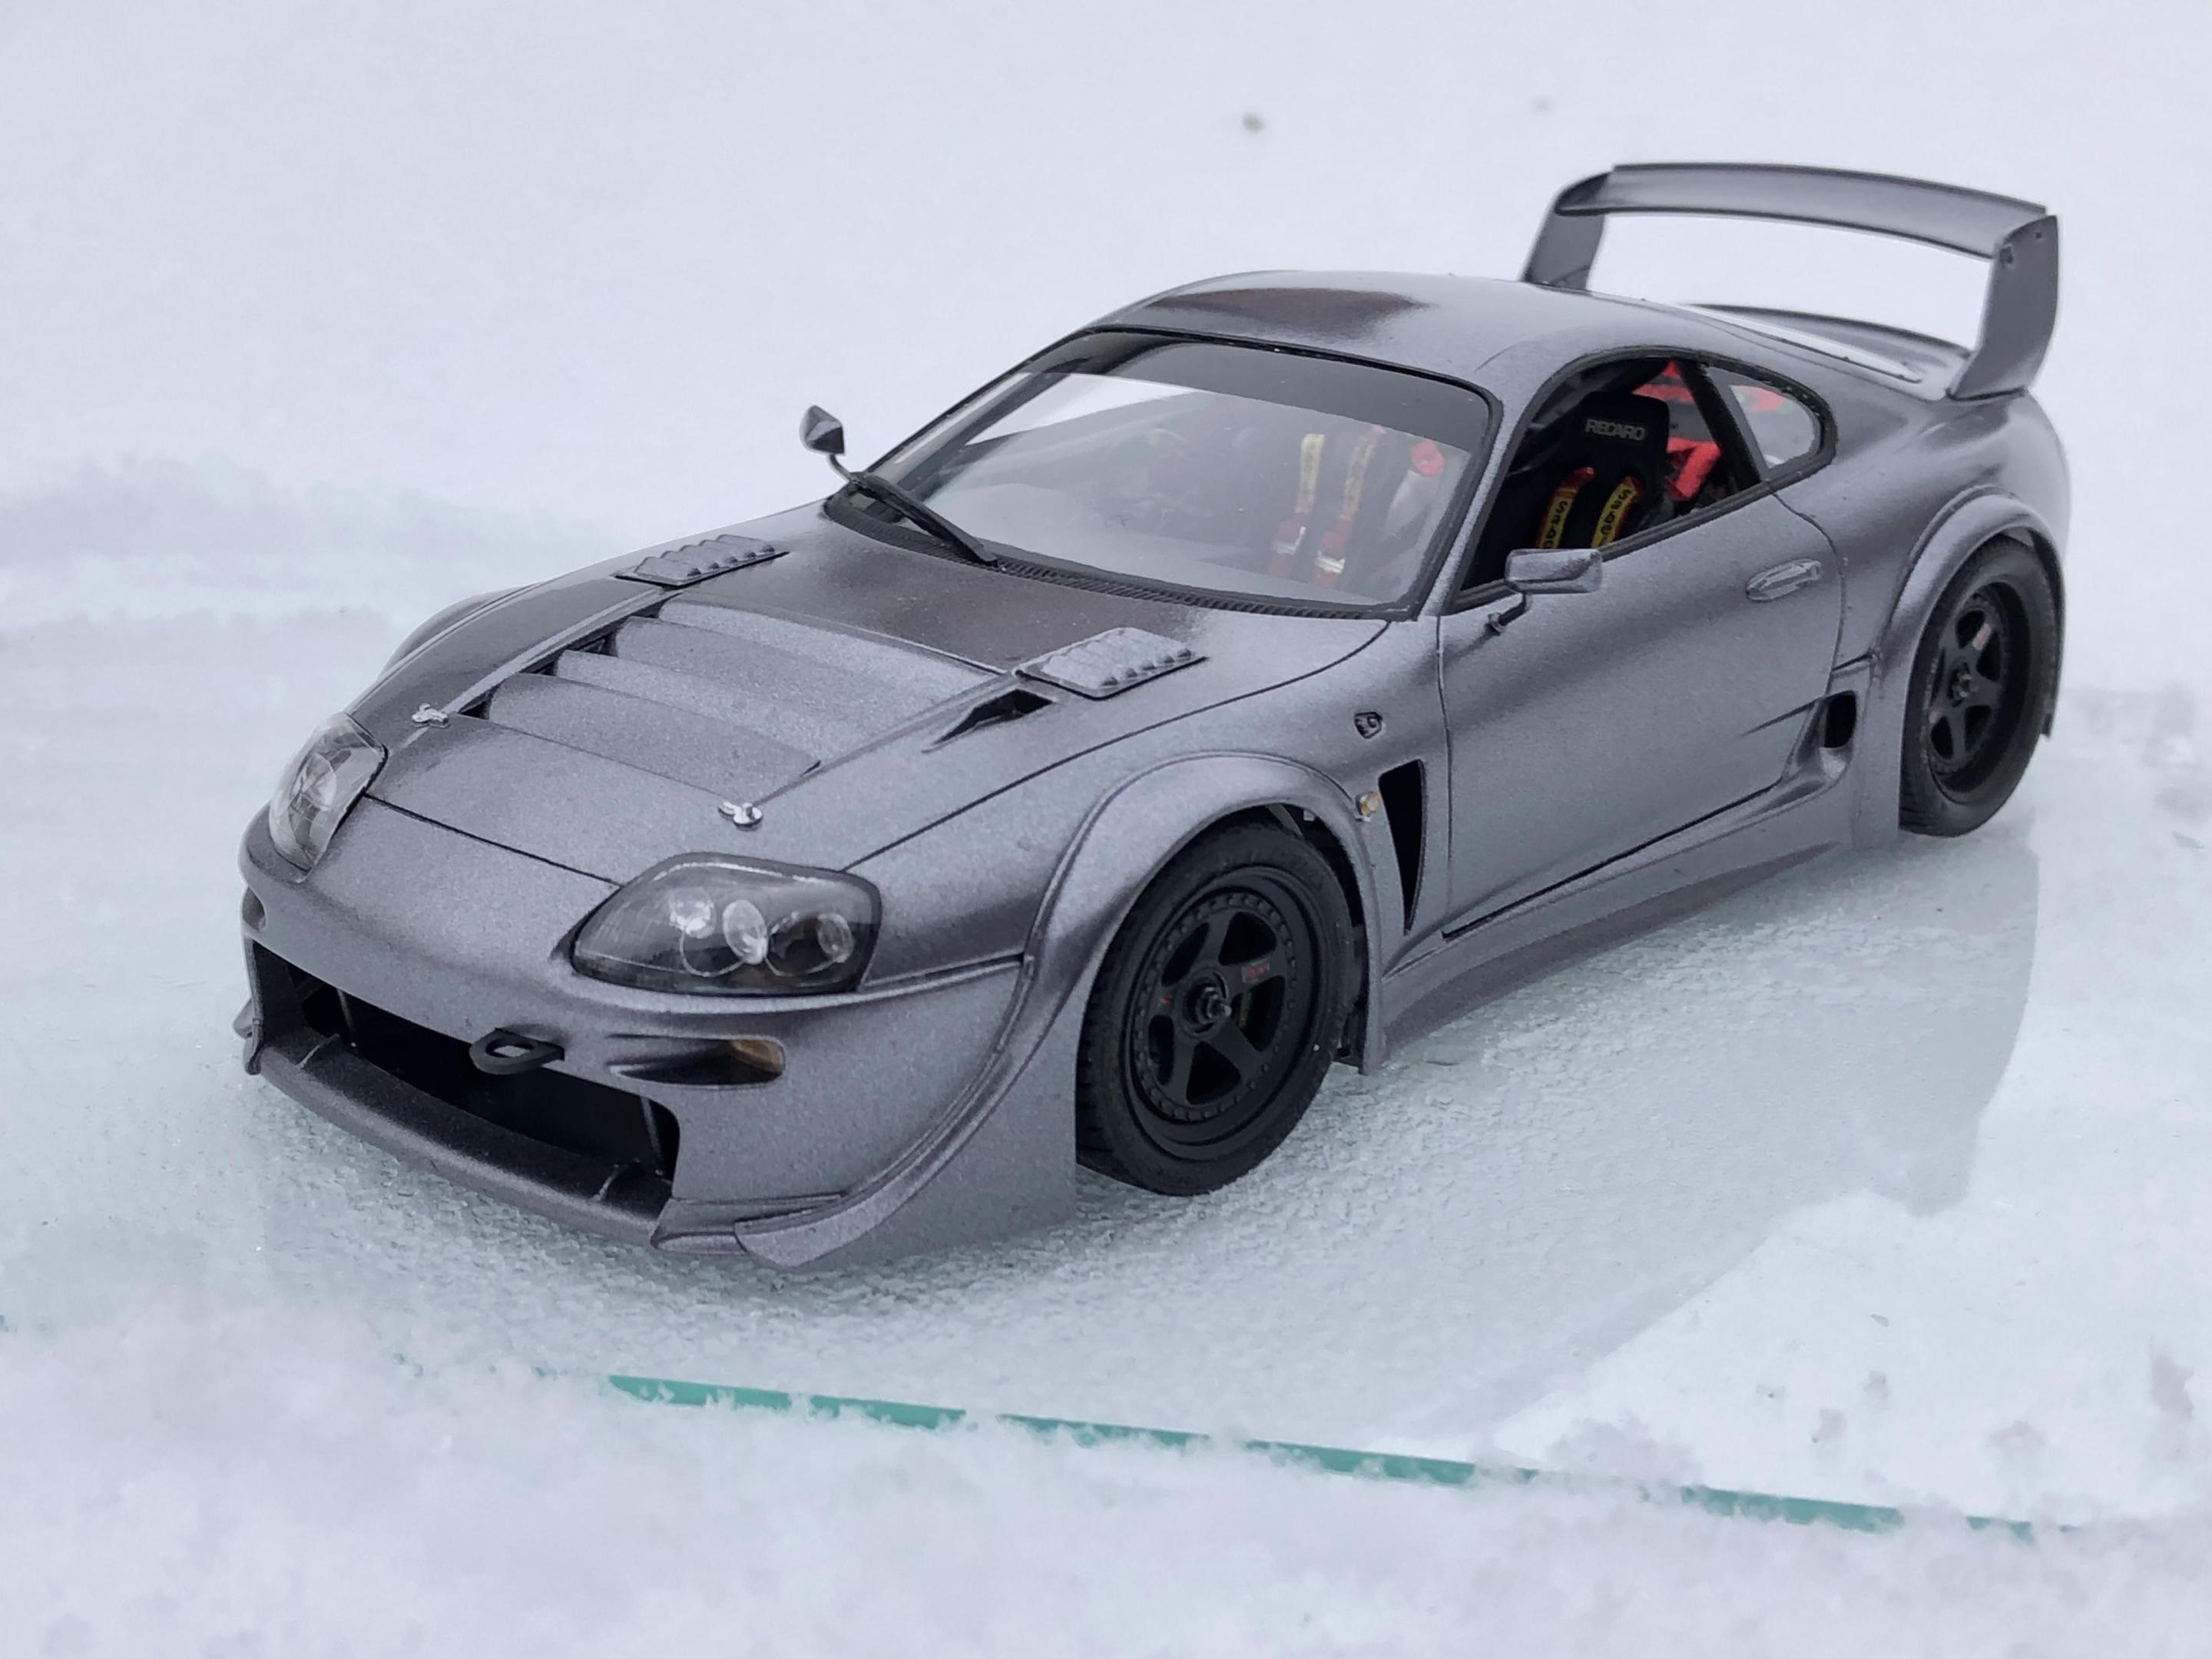
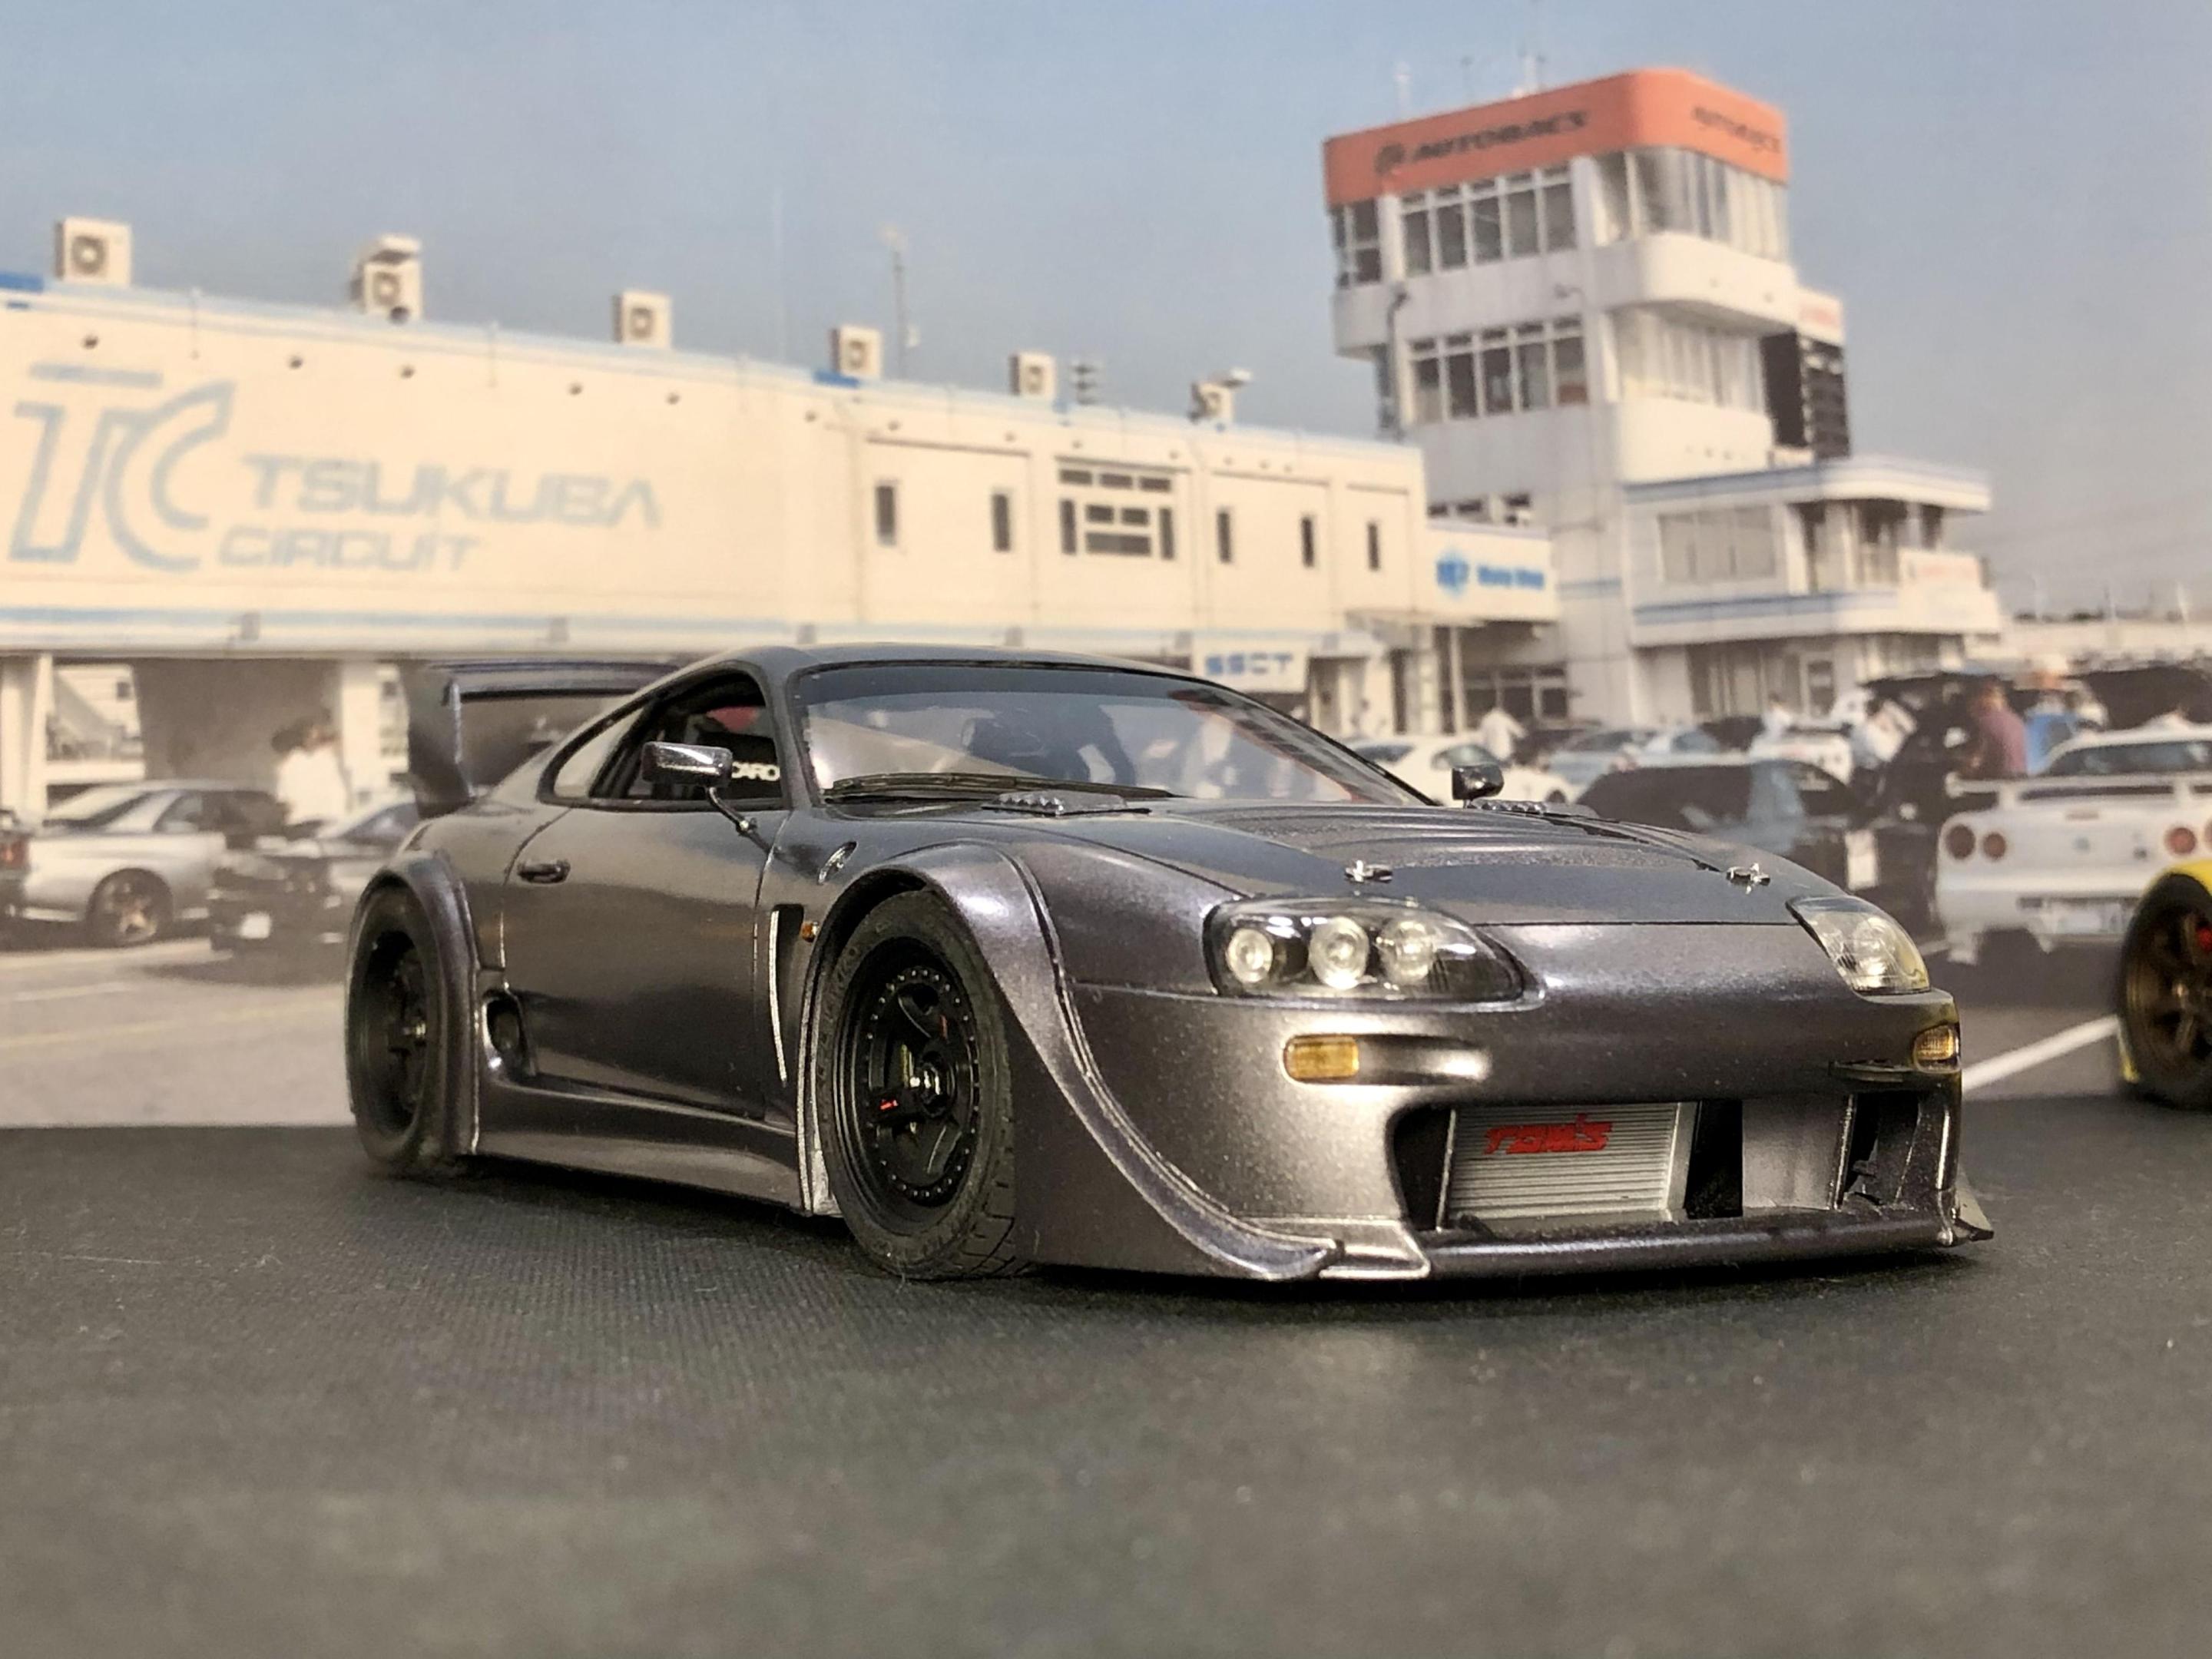
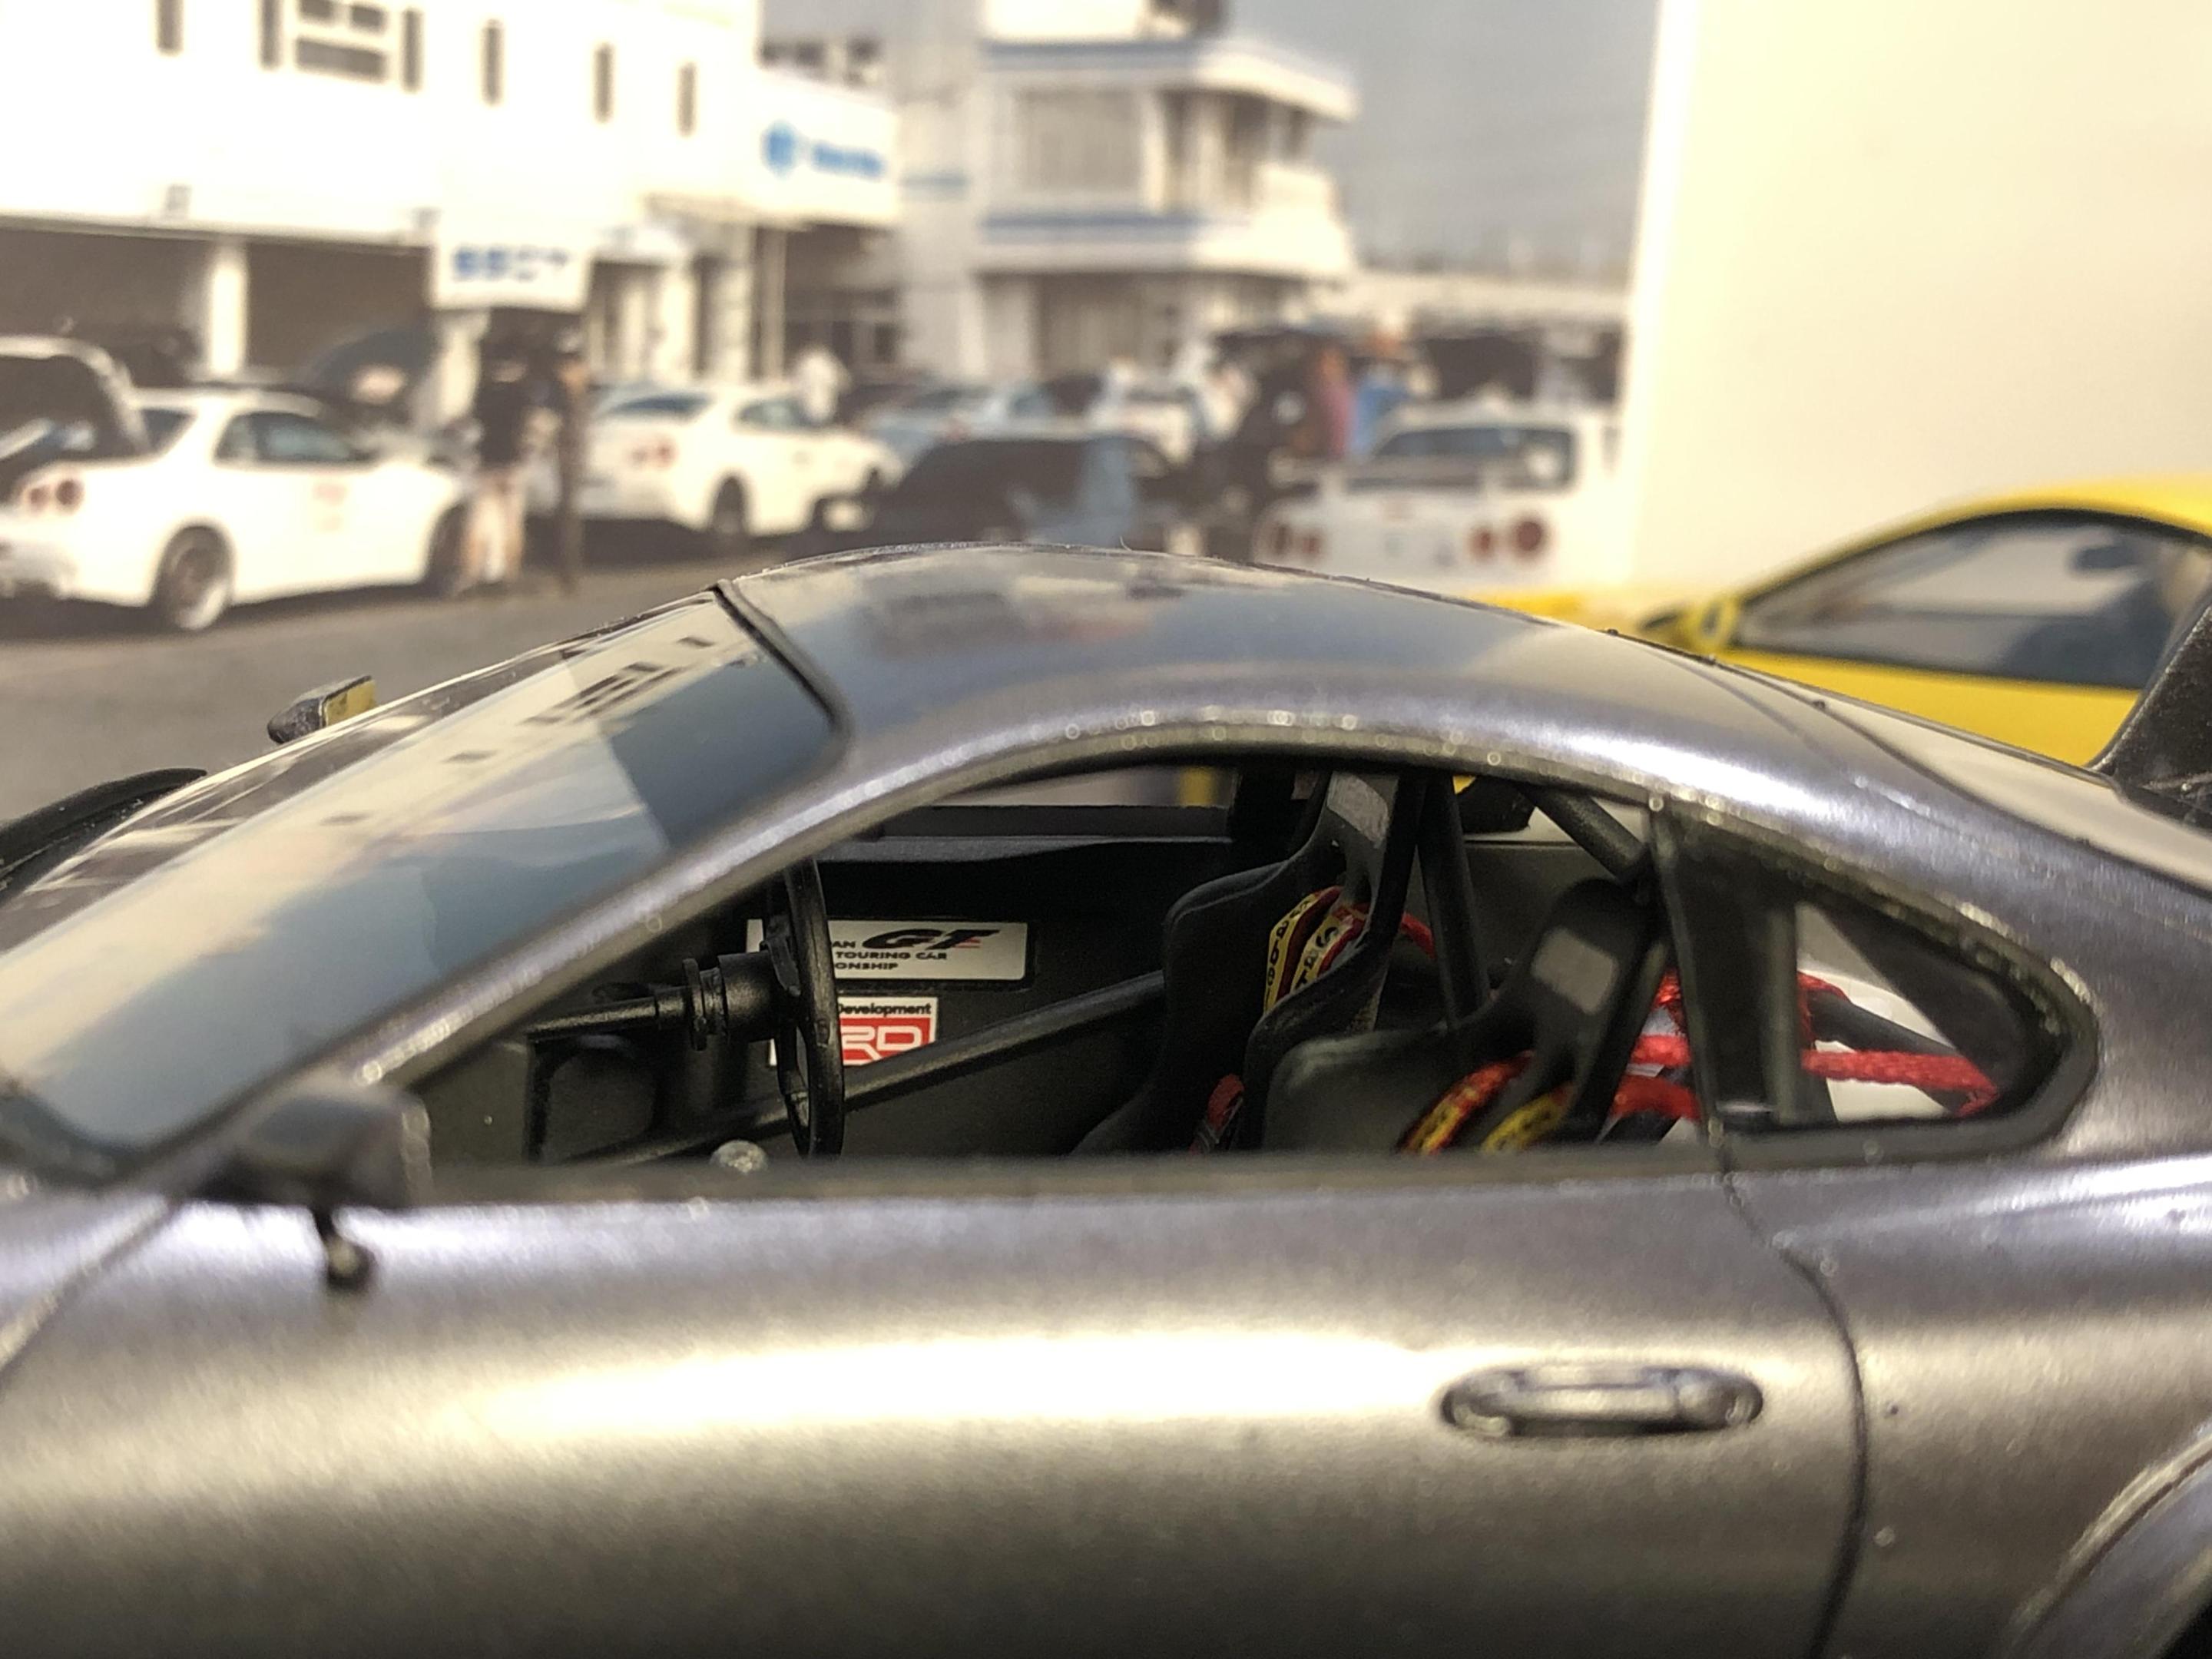
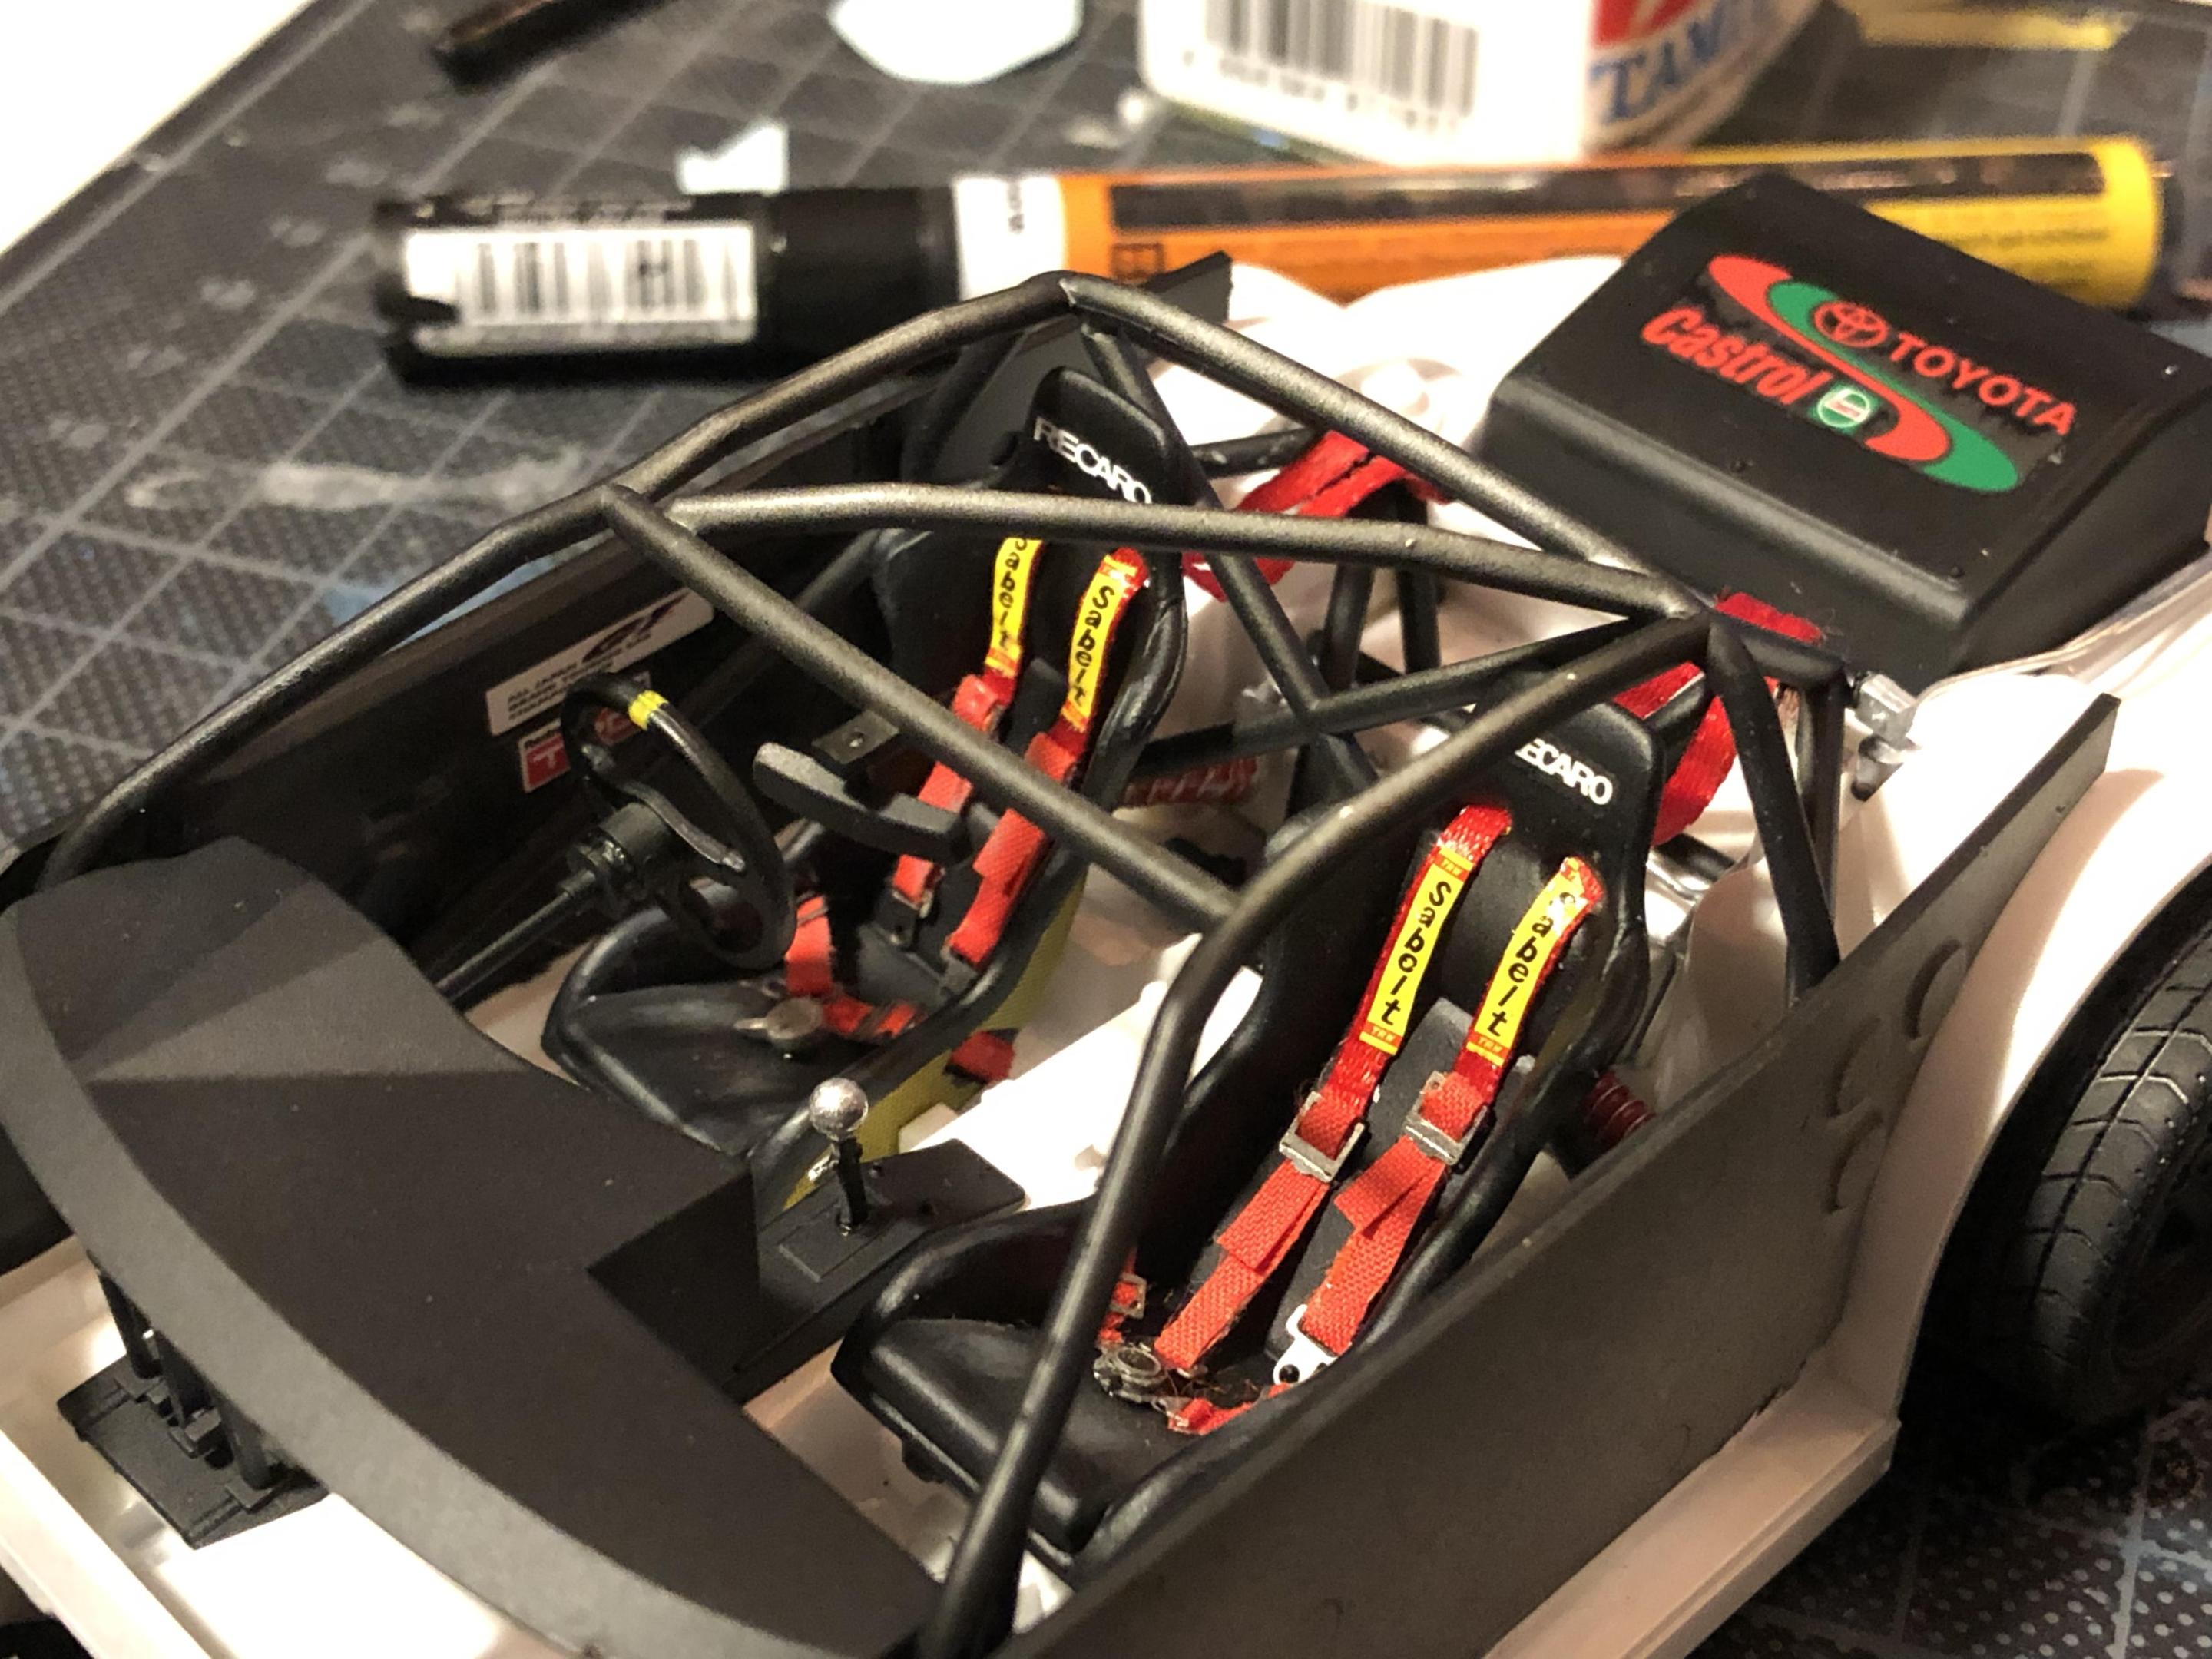
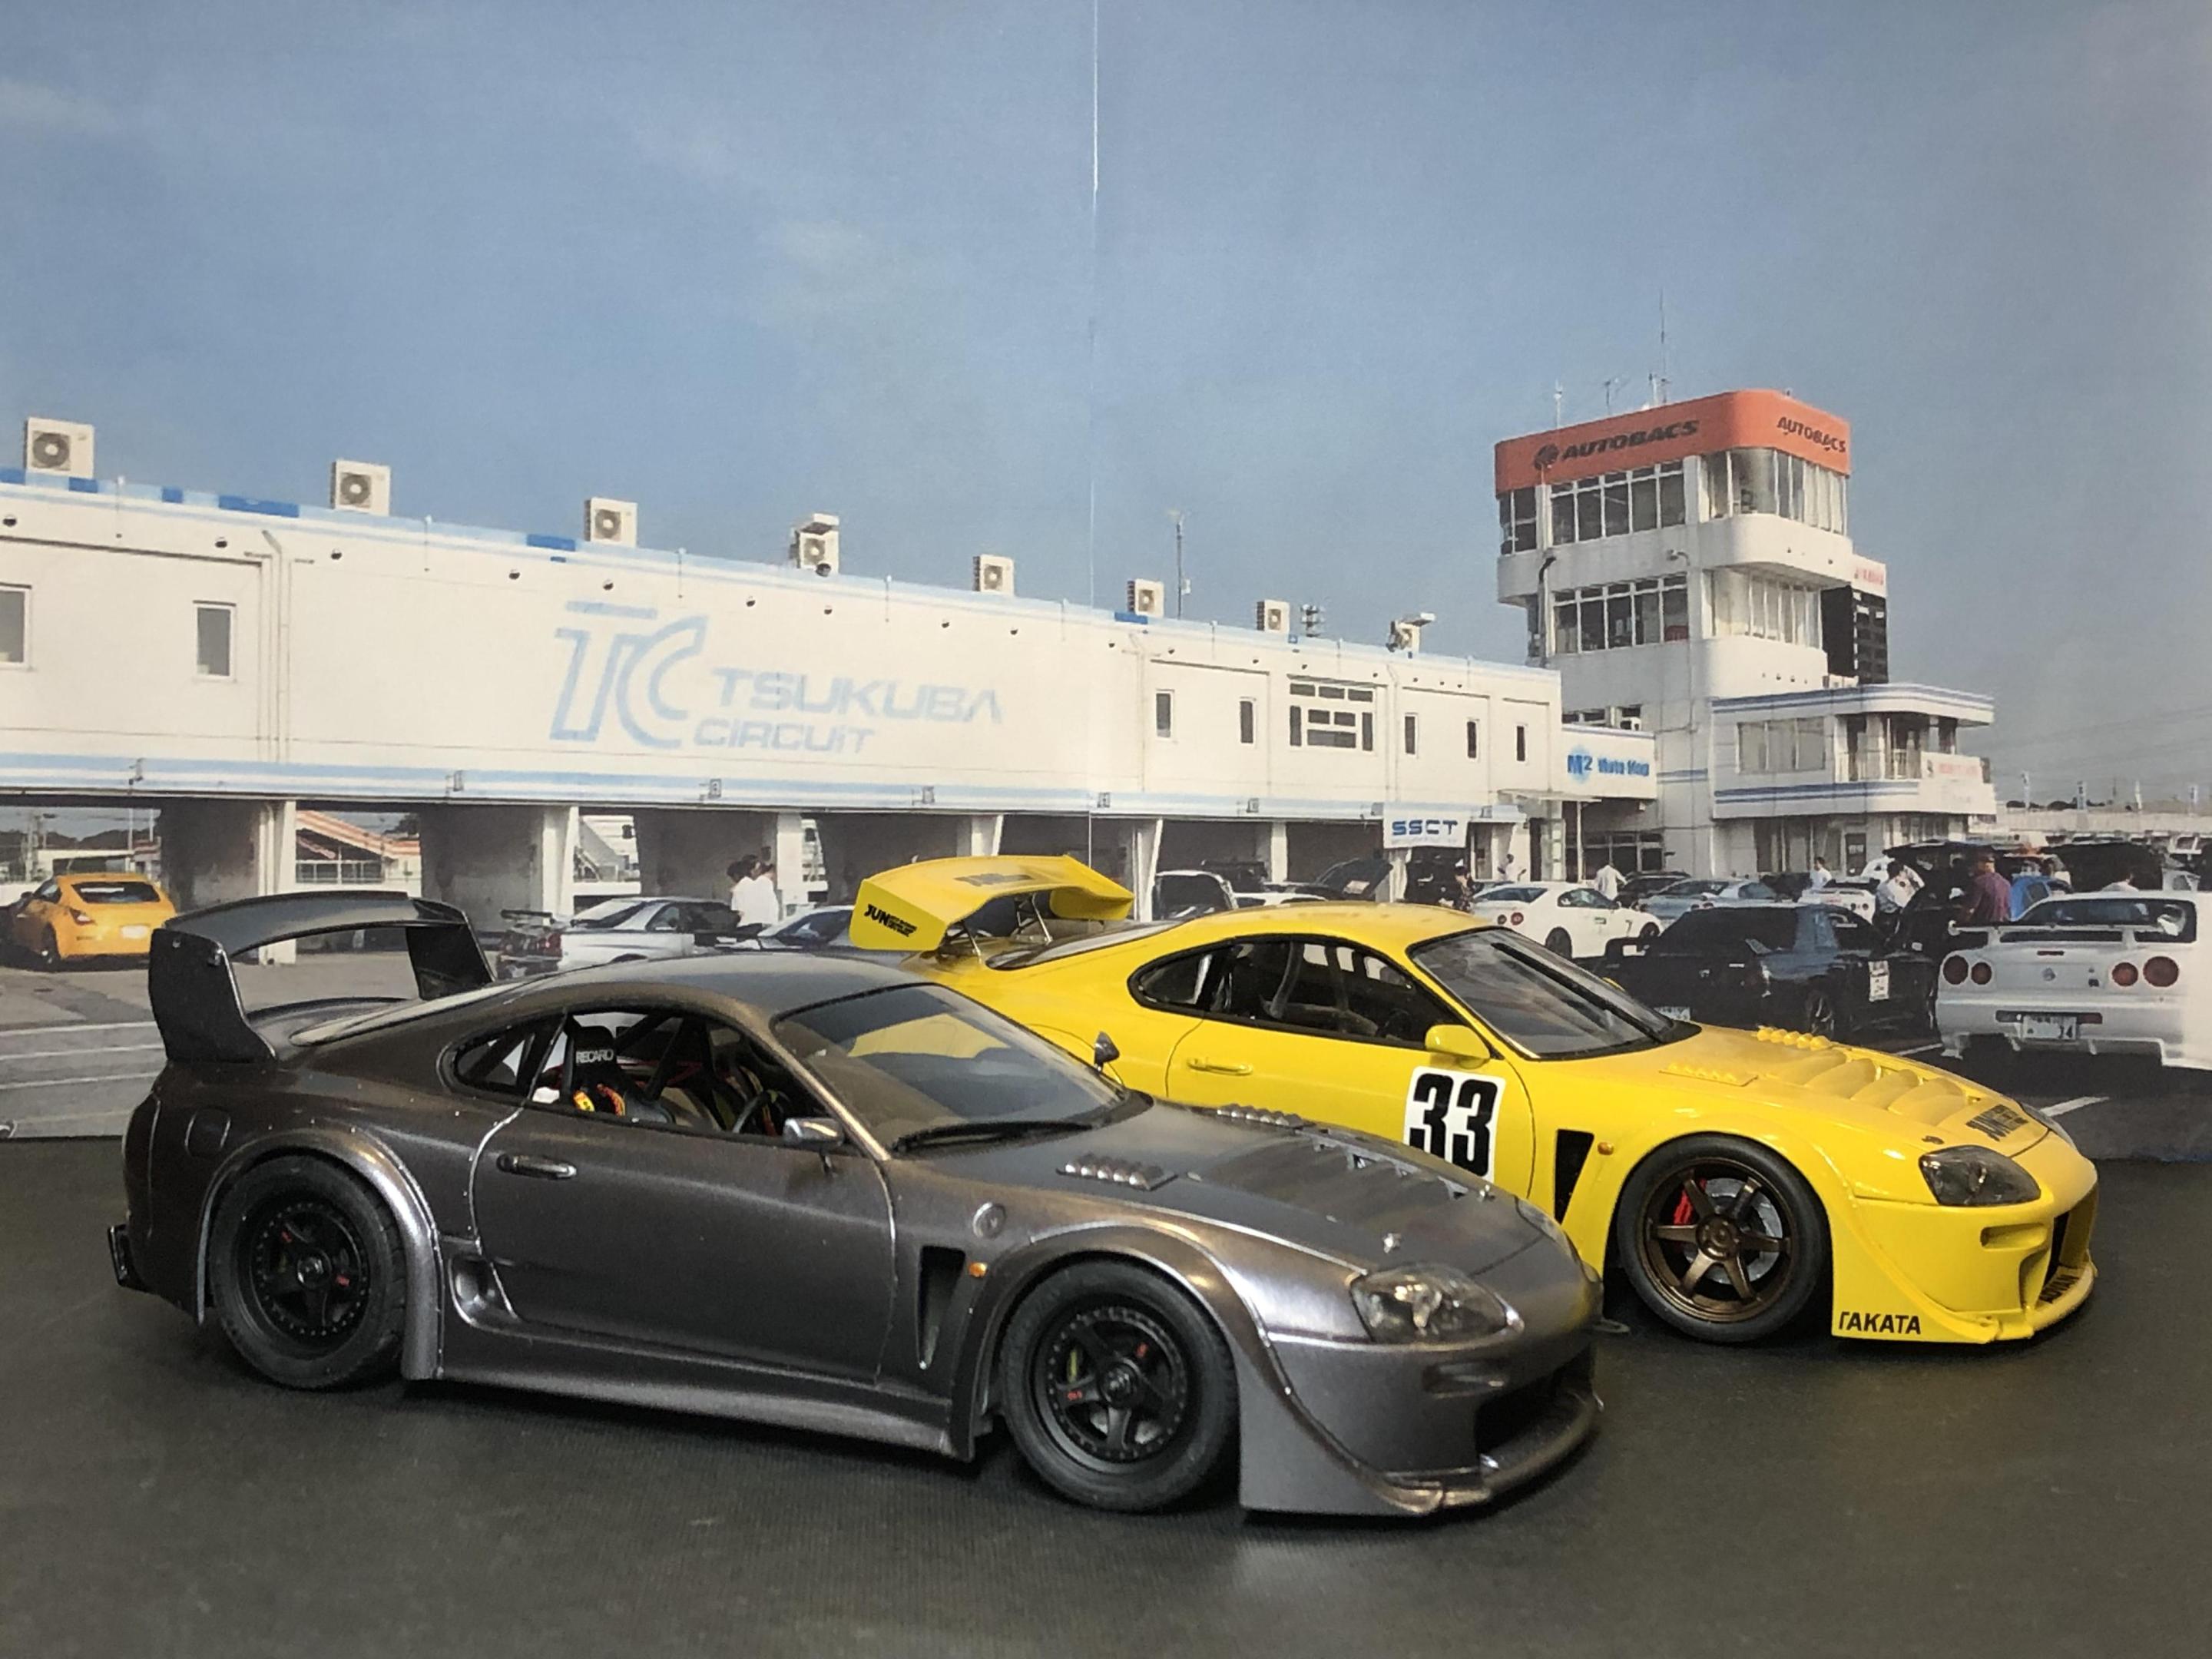
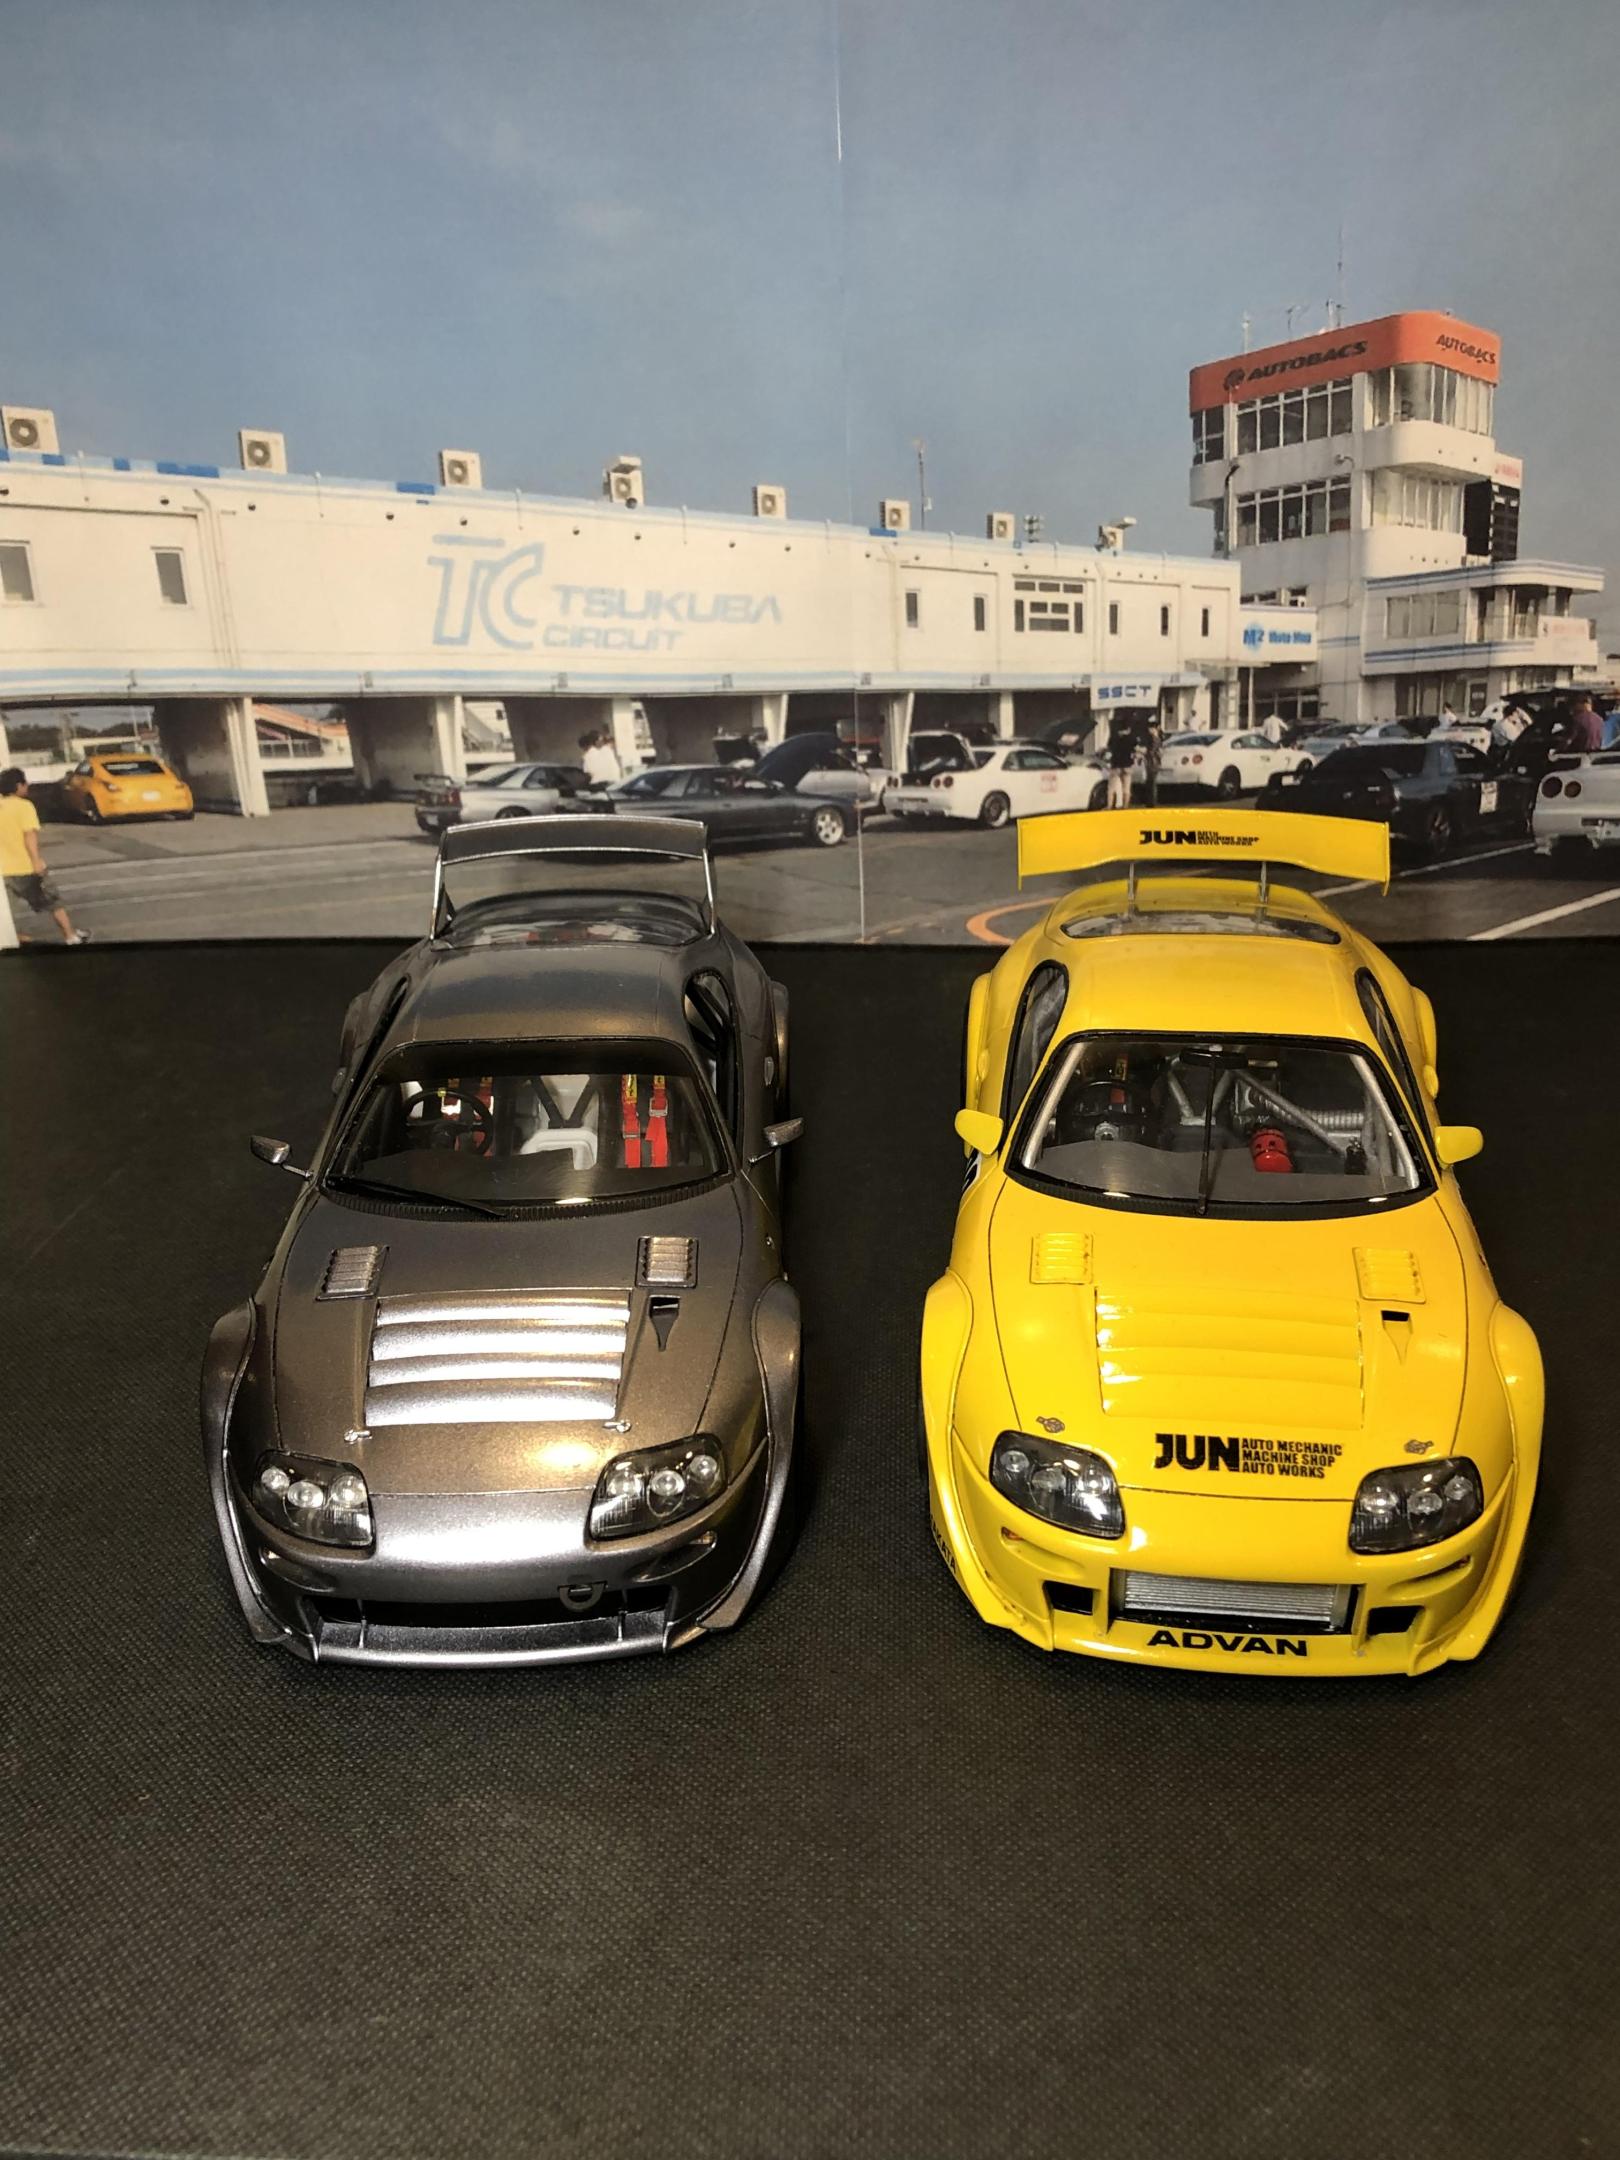
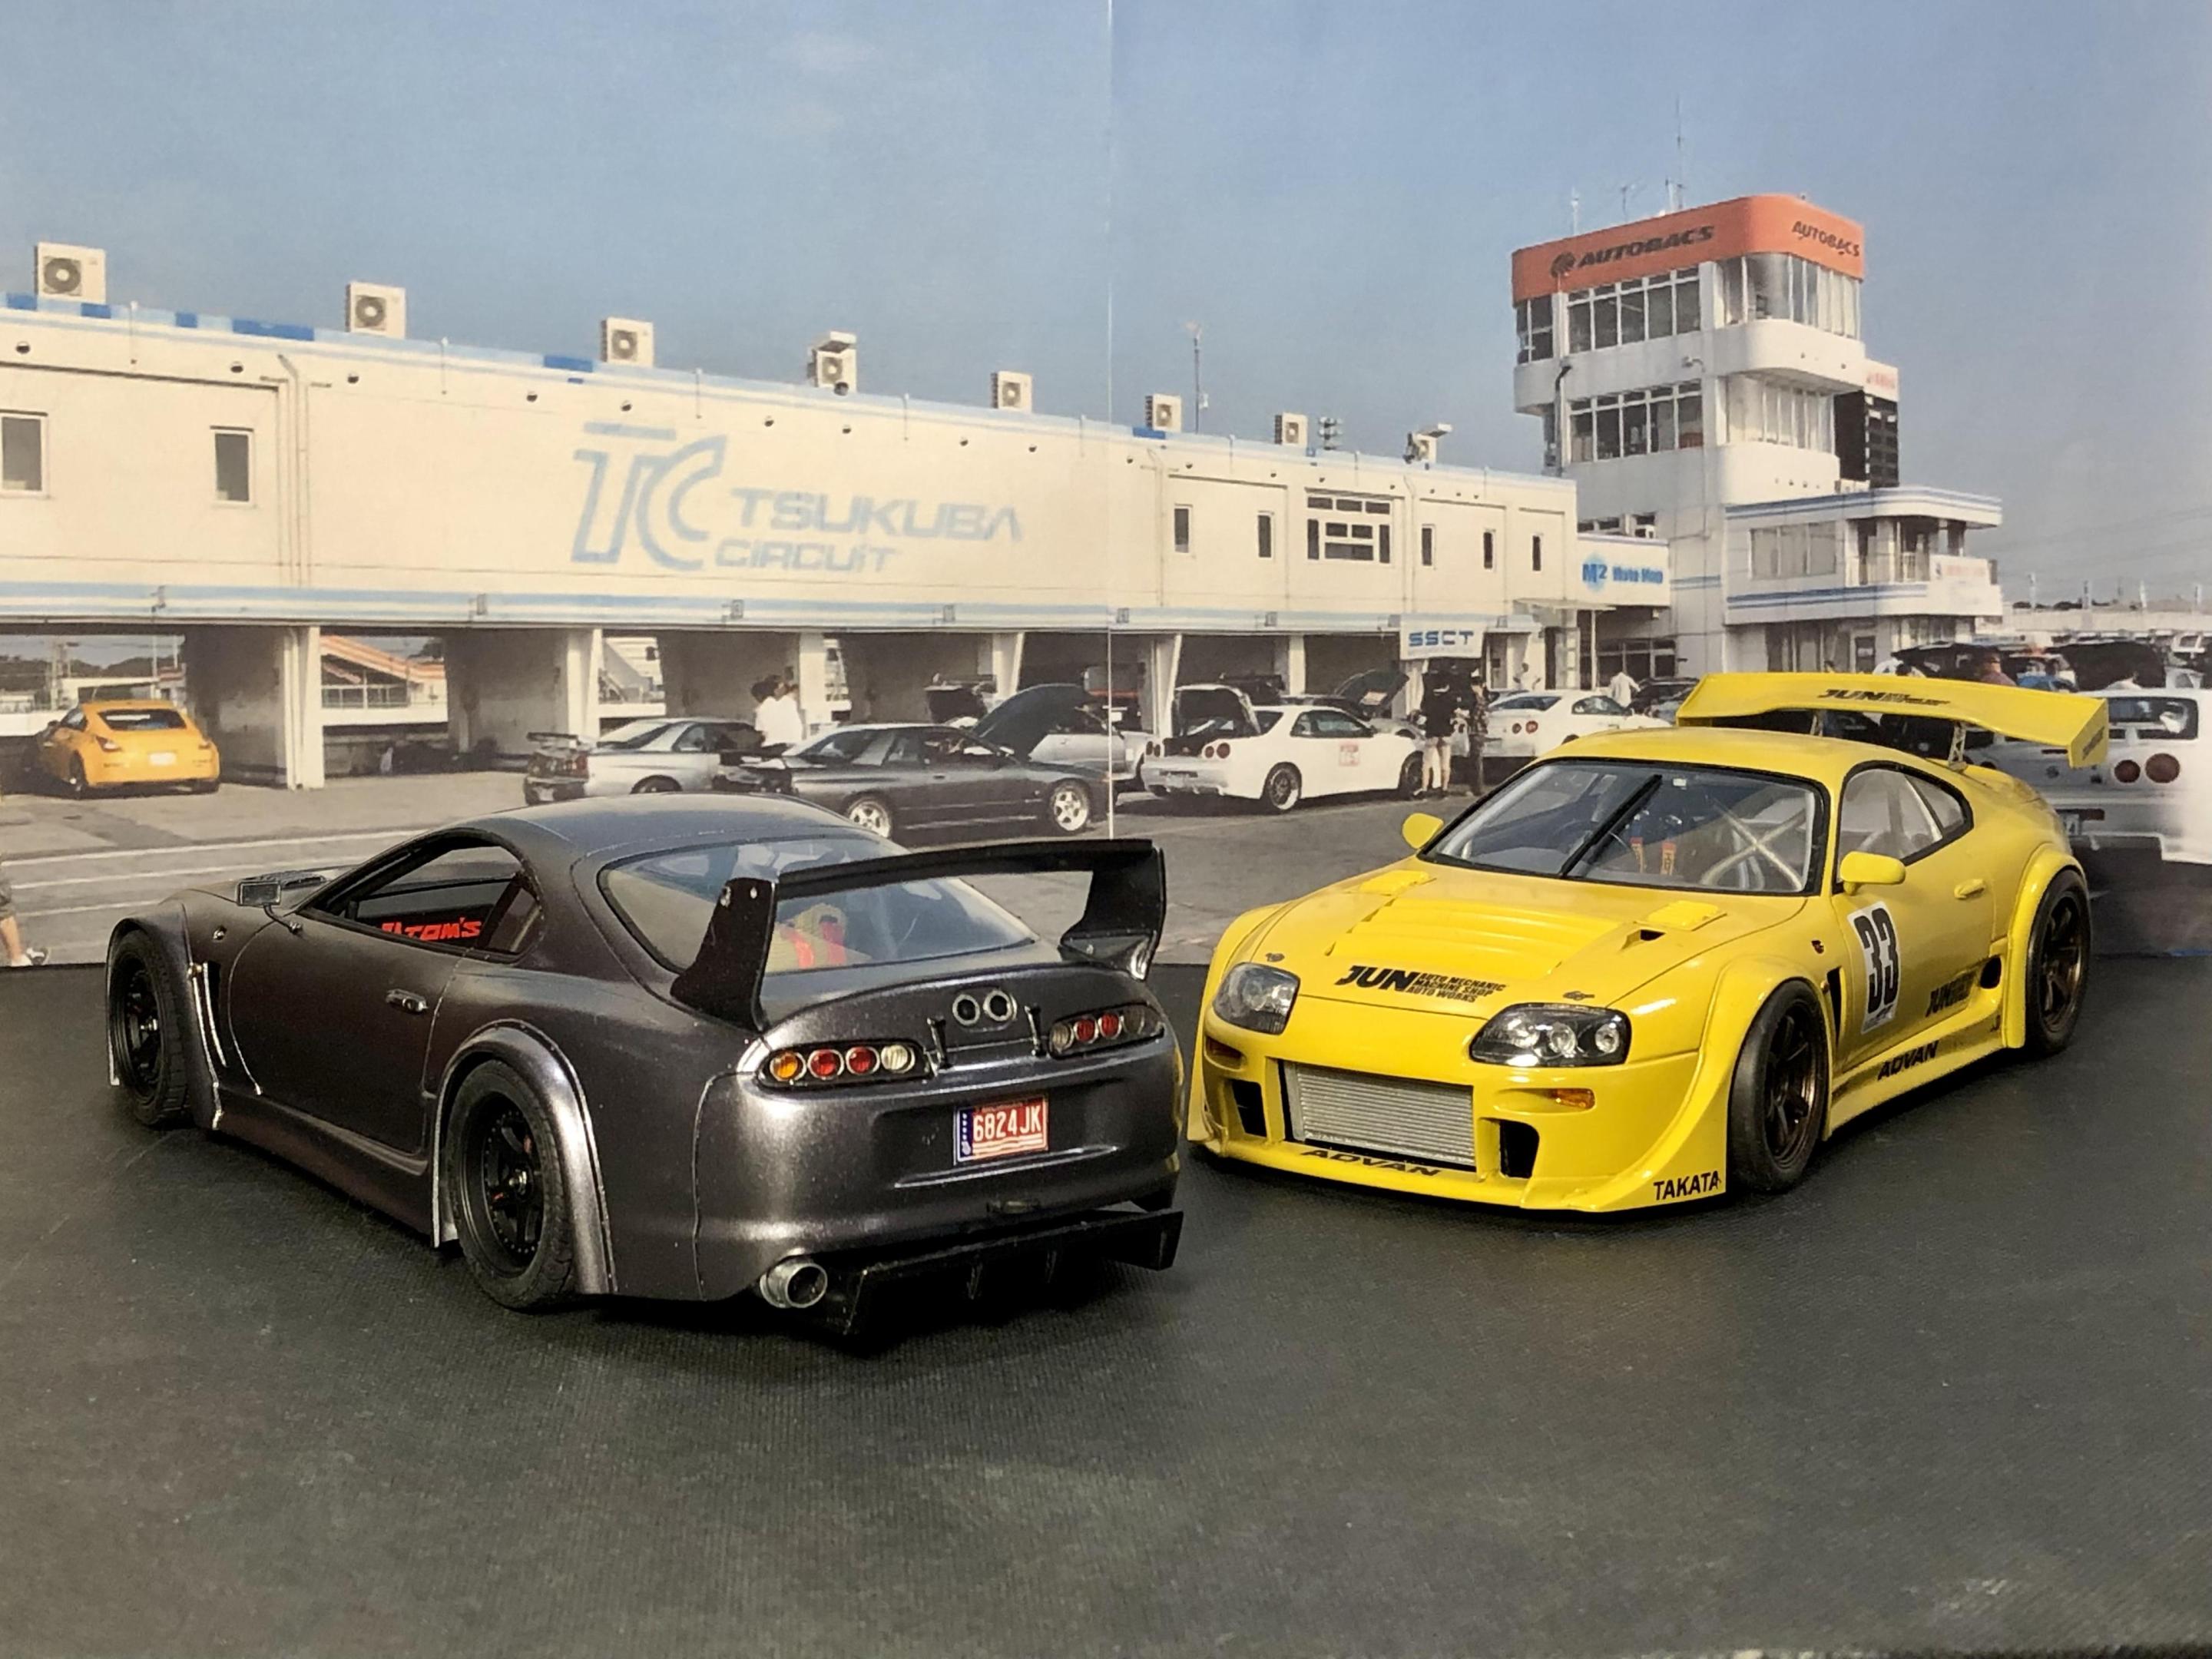
Here is my revised Cannonball Run Reuse build. Started with my C5R that snowballed and the time was not there to finish it as I wanted to so one month ago I switched to this. Tamiya TOM’s Castrol JGTC Toyota Supra from the 1995 season where it was street derived cars competing. This is one of the most iconic Japanese racing cars in modern time thanks to games as Gran Turismo 2, where the Supra was one of the must have cars in the game. The 1995 TOM’s Castrol Supra got dragged out of storage, sprayed in an more discrete color with some minor modifications and a added extra seat for the co driver. If you look closely you can still se hints of its previous life as well as the wear and tear of 26 years of use and neglect. And I broke my own record and finished it in 33 days from idea to Finnish! Custom wing made from the original wing sides and a Porsche GT2 “wide” wing blade. Period correct side mirrors. Typical JDM Mufler. C5R difusor. Extra seat with PE seat bases for both seats. PE seat belts. And again, thanks to everyone at the forum for al the kind words and encouragements!
-
Specifically a Tamiya Toyota Sprinter Trueno GT-Z AE92. My second model in 20 years after the brown Crown I posted awhile back. Here's another megapost with some inspo and more fun photo experiments! Here's the two of 'em together, chillin'. The kit: The inspiration - went for kind of an Okinawa surf vibe with this one...wanted to see if I could make blanket seat covers like that. Weird little 1/2 mudflaps... Fixed. Added the pop-ups from the Initial D AE86, I guess Takumi will have to deliver during the day. Built boxes behind the lenses since this snap-kit only had decals. It's little details like this I never thought of before and now they're all I see, haha. Choppin' it up Adding powerrrr Filling sinks Makin' masks and wow do I suck at this. Noticing that Tamiya white tape (plastic) leaves cleaner lines than Tamiya yellow (paper). My hands are not steady enough for this. Tough to see the depth and color of the Tamiya dark metallic blue in the sun but it looks nice here. Some of that surf vibe coming in. Realized nothing has enough weight to hang so even invisible thin line has to be shaped and glued. Making space for the deep Focus Racing Fins 1 piece, lotsa making Her undercarriage, as interpreted by whatever paints I had lying closest to hand. Had some Amuse decals so I tried to do one of their wild R1 Titan exhausts, just about the limit of my airbrush ability so far. Pretty close... Mmm...smell the exhaust... Mexican blanket method from YouTube, nice n' easy! Going for the pattern in that Honda Civic...definitely relaxing to make these. No risk of the thread reacting to the tape and going all orange peel or anything. Add fringe... ...then chop it up... ...and in it goes. Having some fun in the interiors...real titanium shift knob (a nose ring), little data logger made from clear blue plastic, and interior door handles though I think I got the driver's side one wrong for an AE92. Gotta have the Sparc-o and the Bride-o Ok, to the outside! Gotta use a stencil from now on for intercoolers...I'm not sure a decal can ever look quite right. Tried out some auto film for the tint...not really to scale and it's on the outside of the glass (!) but hey, everything's an experiment for me at this point. I do like the 3 colors of flop I get out of it. To the indoors where I had some more fun with lighting - here with one of those LED tracing boards/light panels above the car, going for a full marketing photoshoot setup, hehe. Which is really great if you want to highlight every. single. imperfection in a surface. I see why CAD designers and clay modelers use zebra stripes now. Still, looks kinds cool... Full-on 90's now with a little light writing (bike light on a stick, 3-5 second exposure) Dragging my hand along the back added some nice floor lighting. Yeah I'm getting weird at this point. Halo! Ok enough of that, just smooth... "Bad Human Being: Women, Liquor, Drift...etc"
-
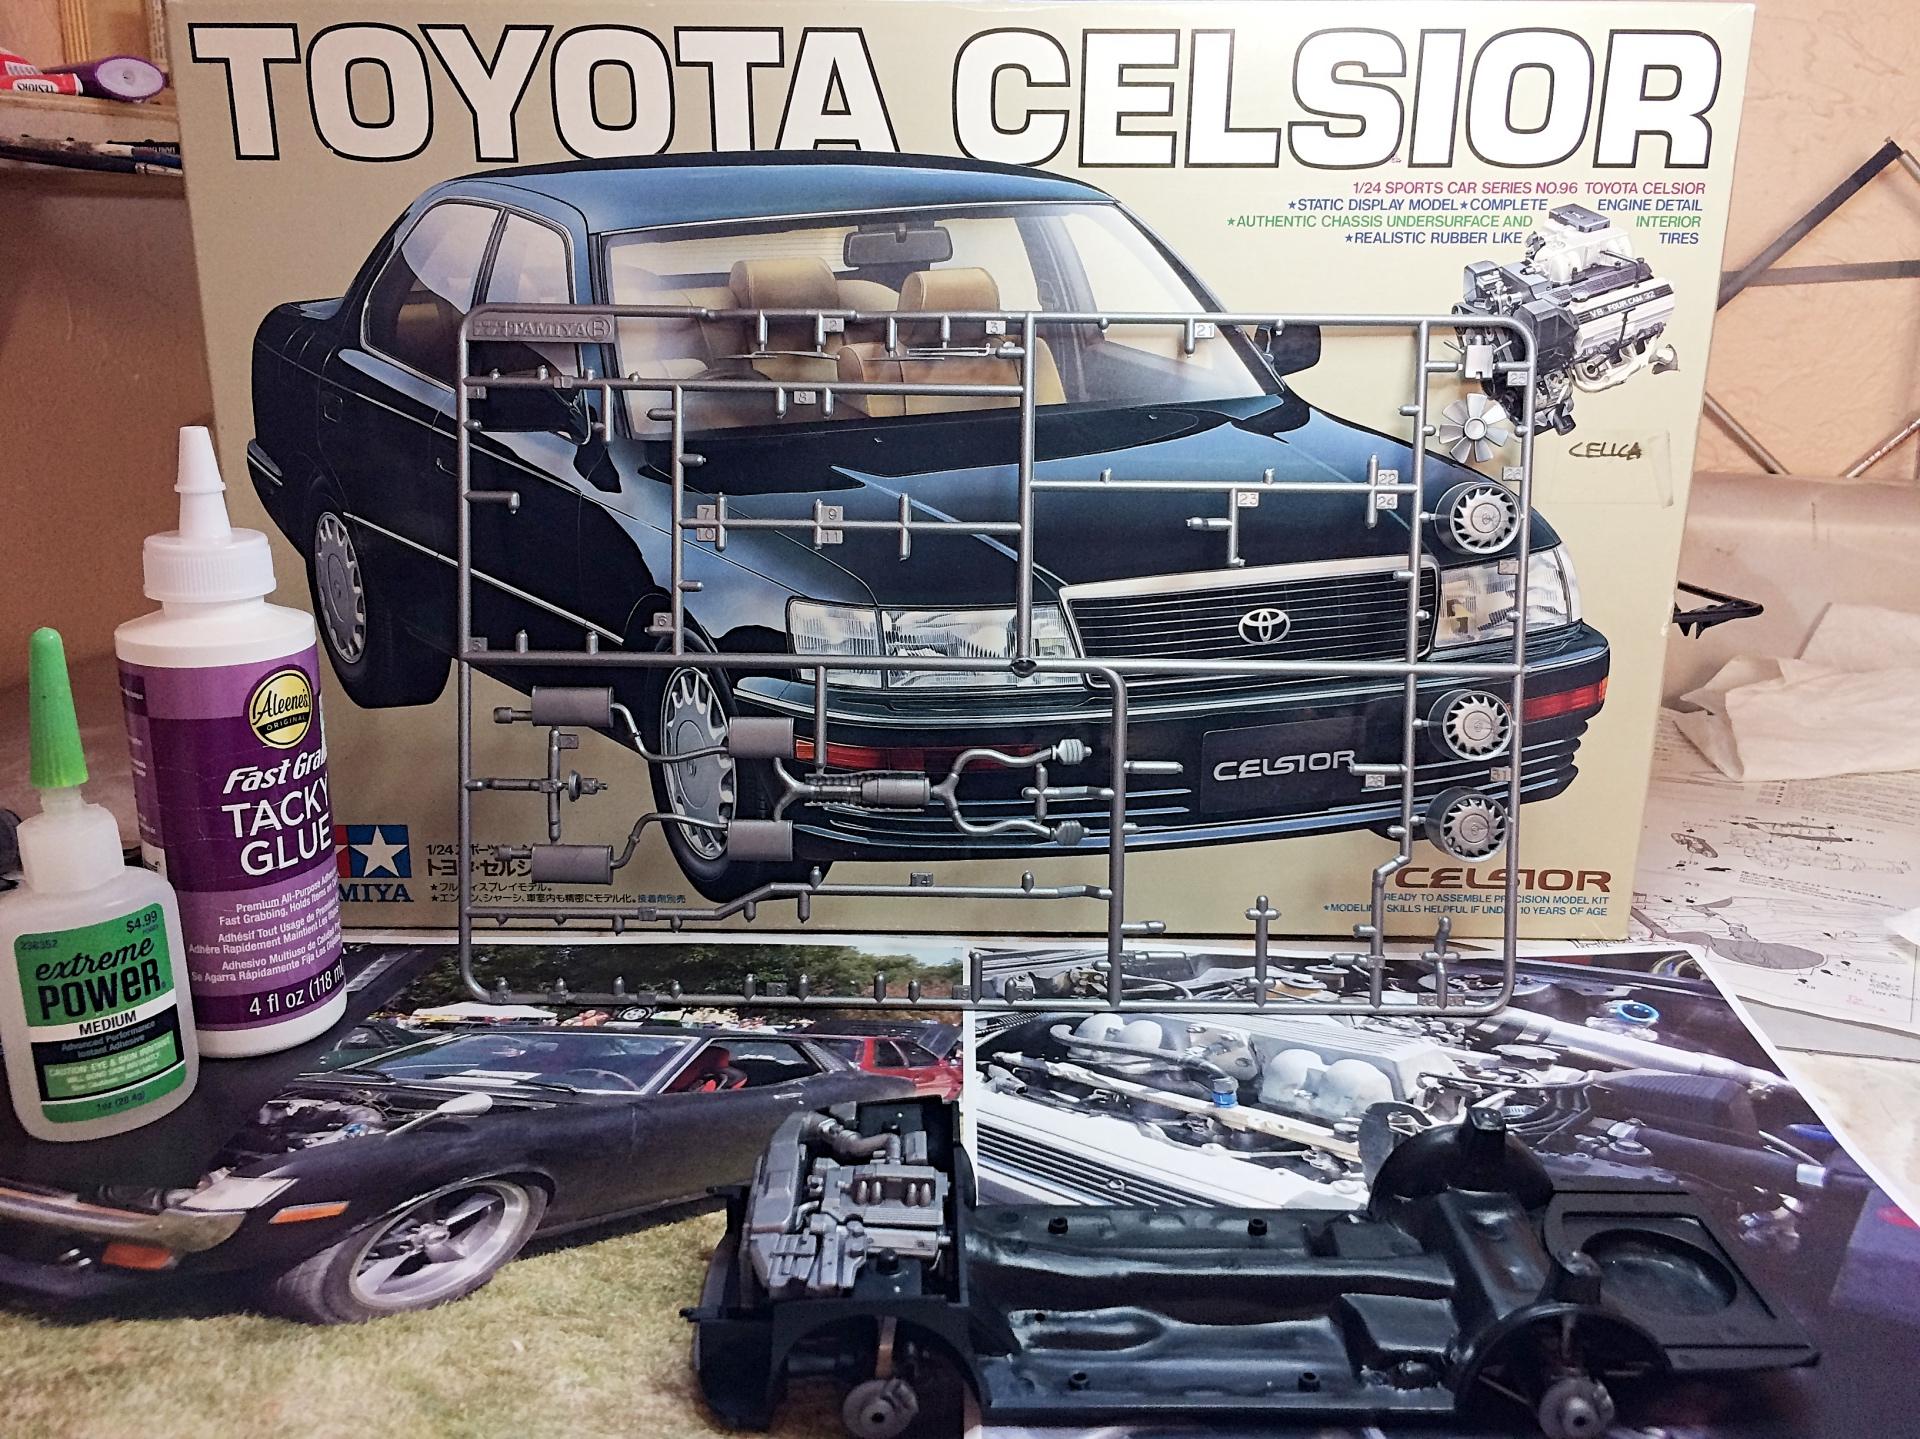
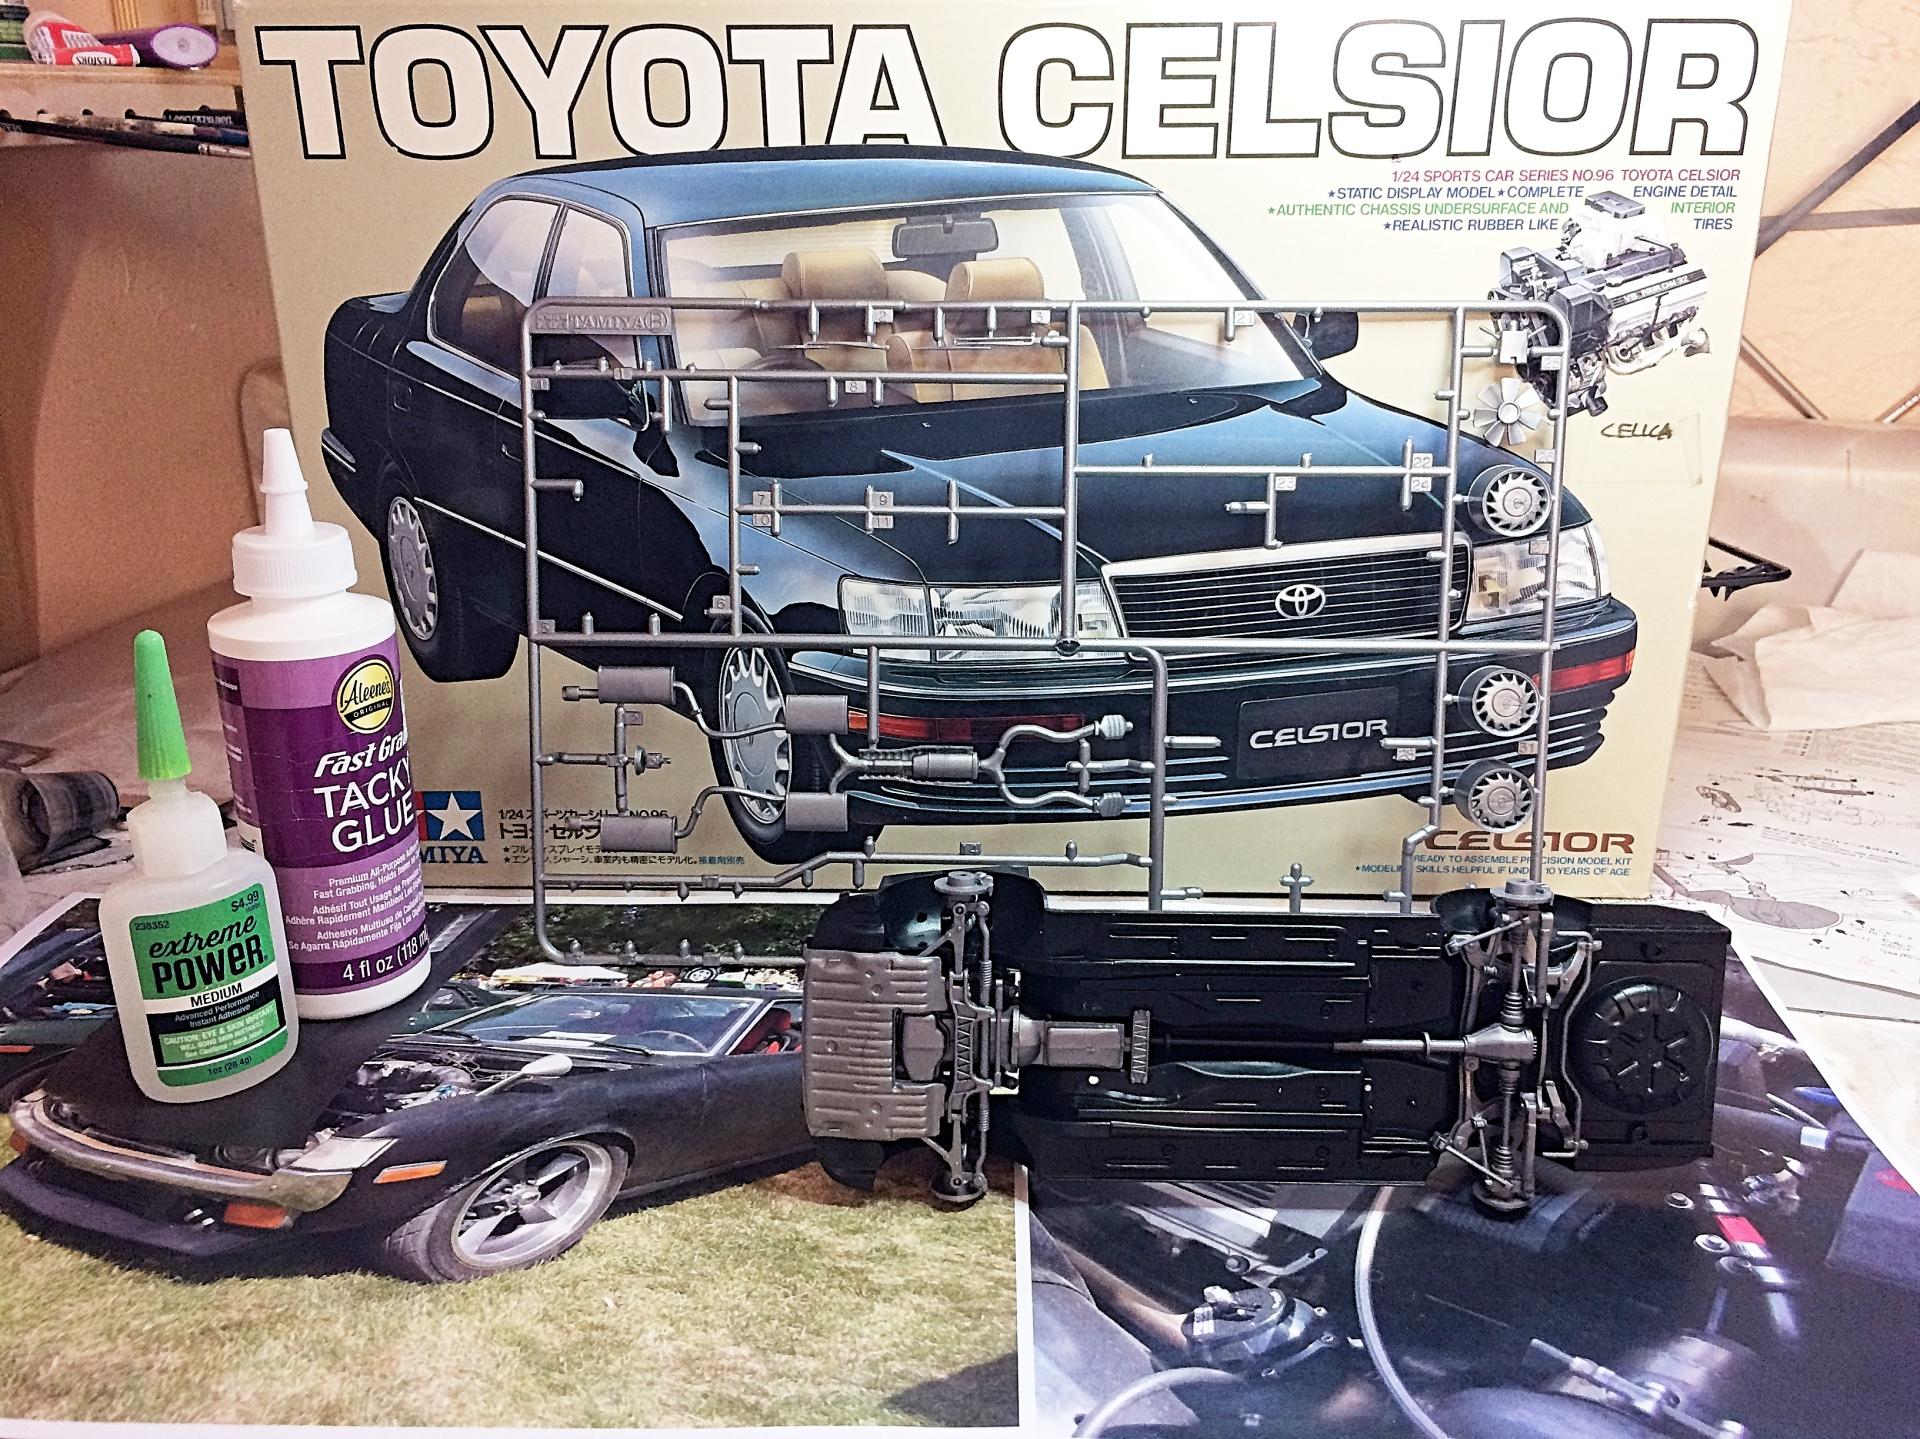
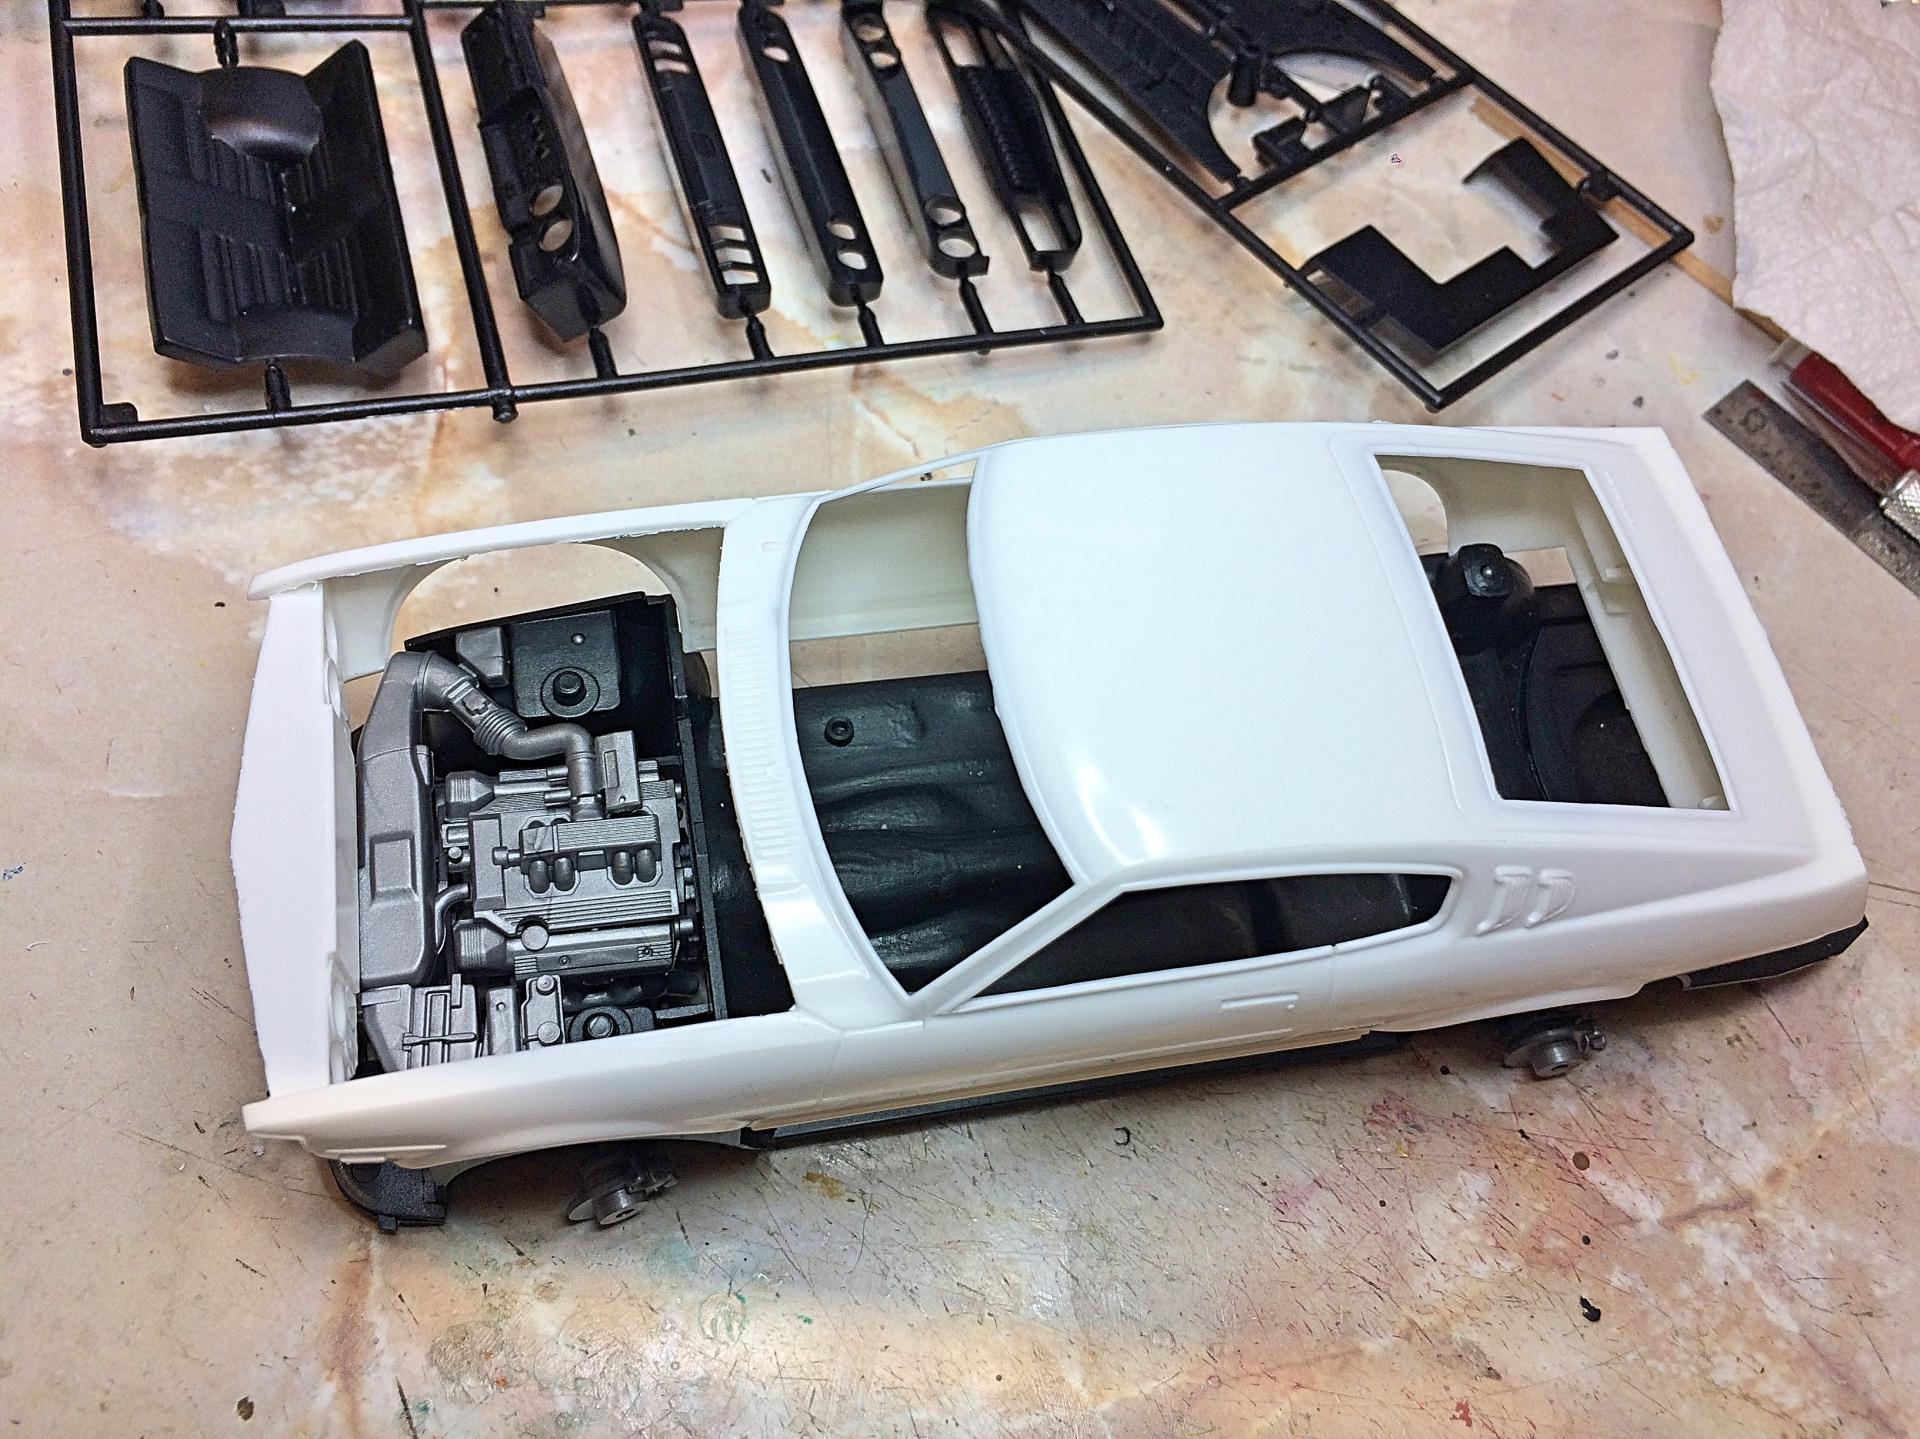
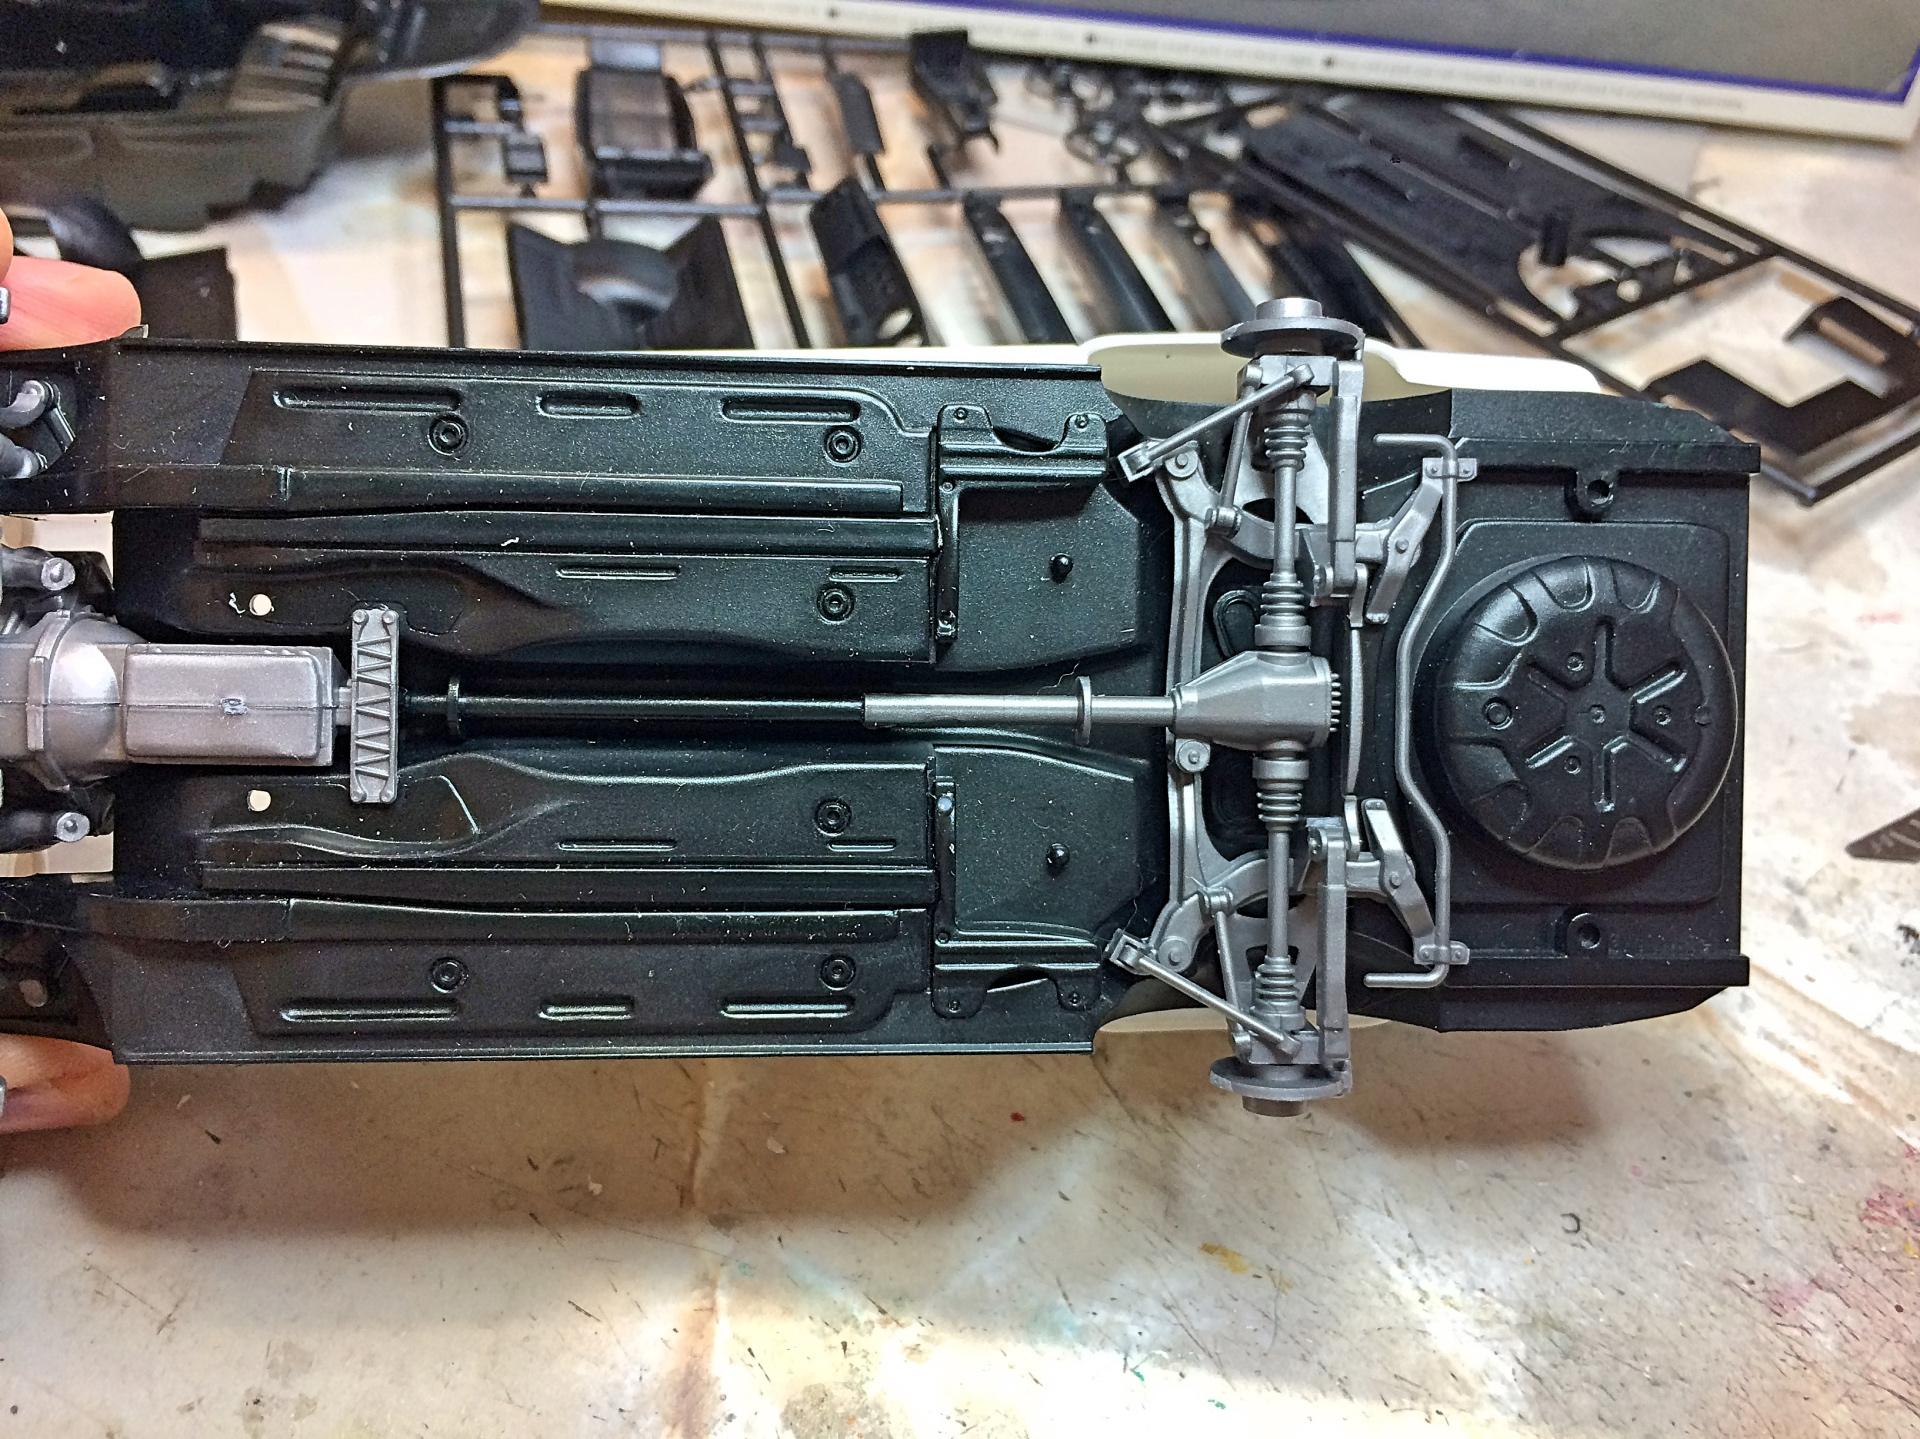
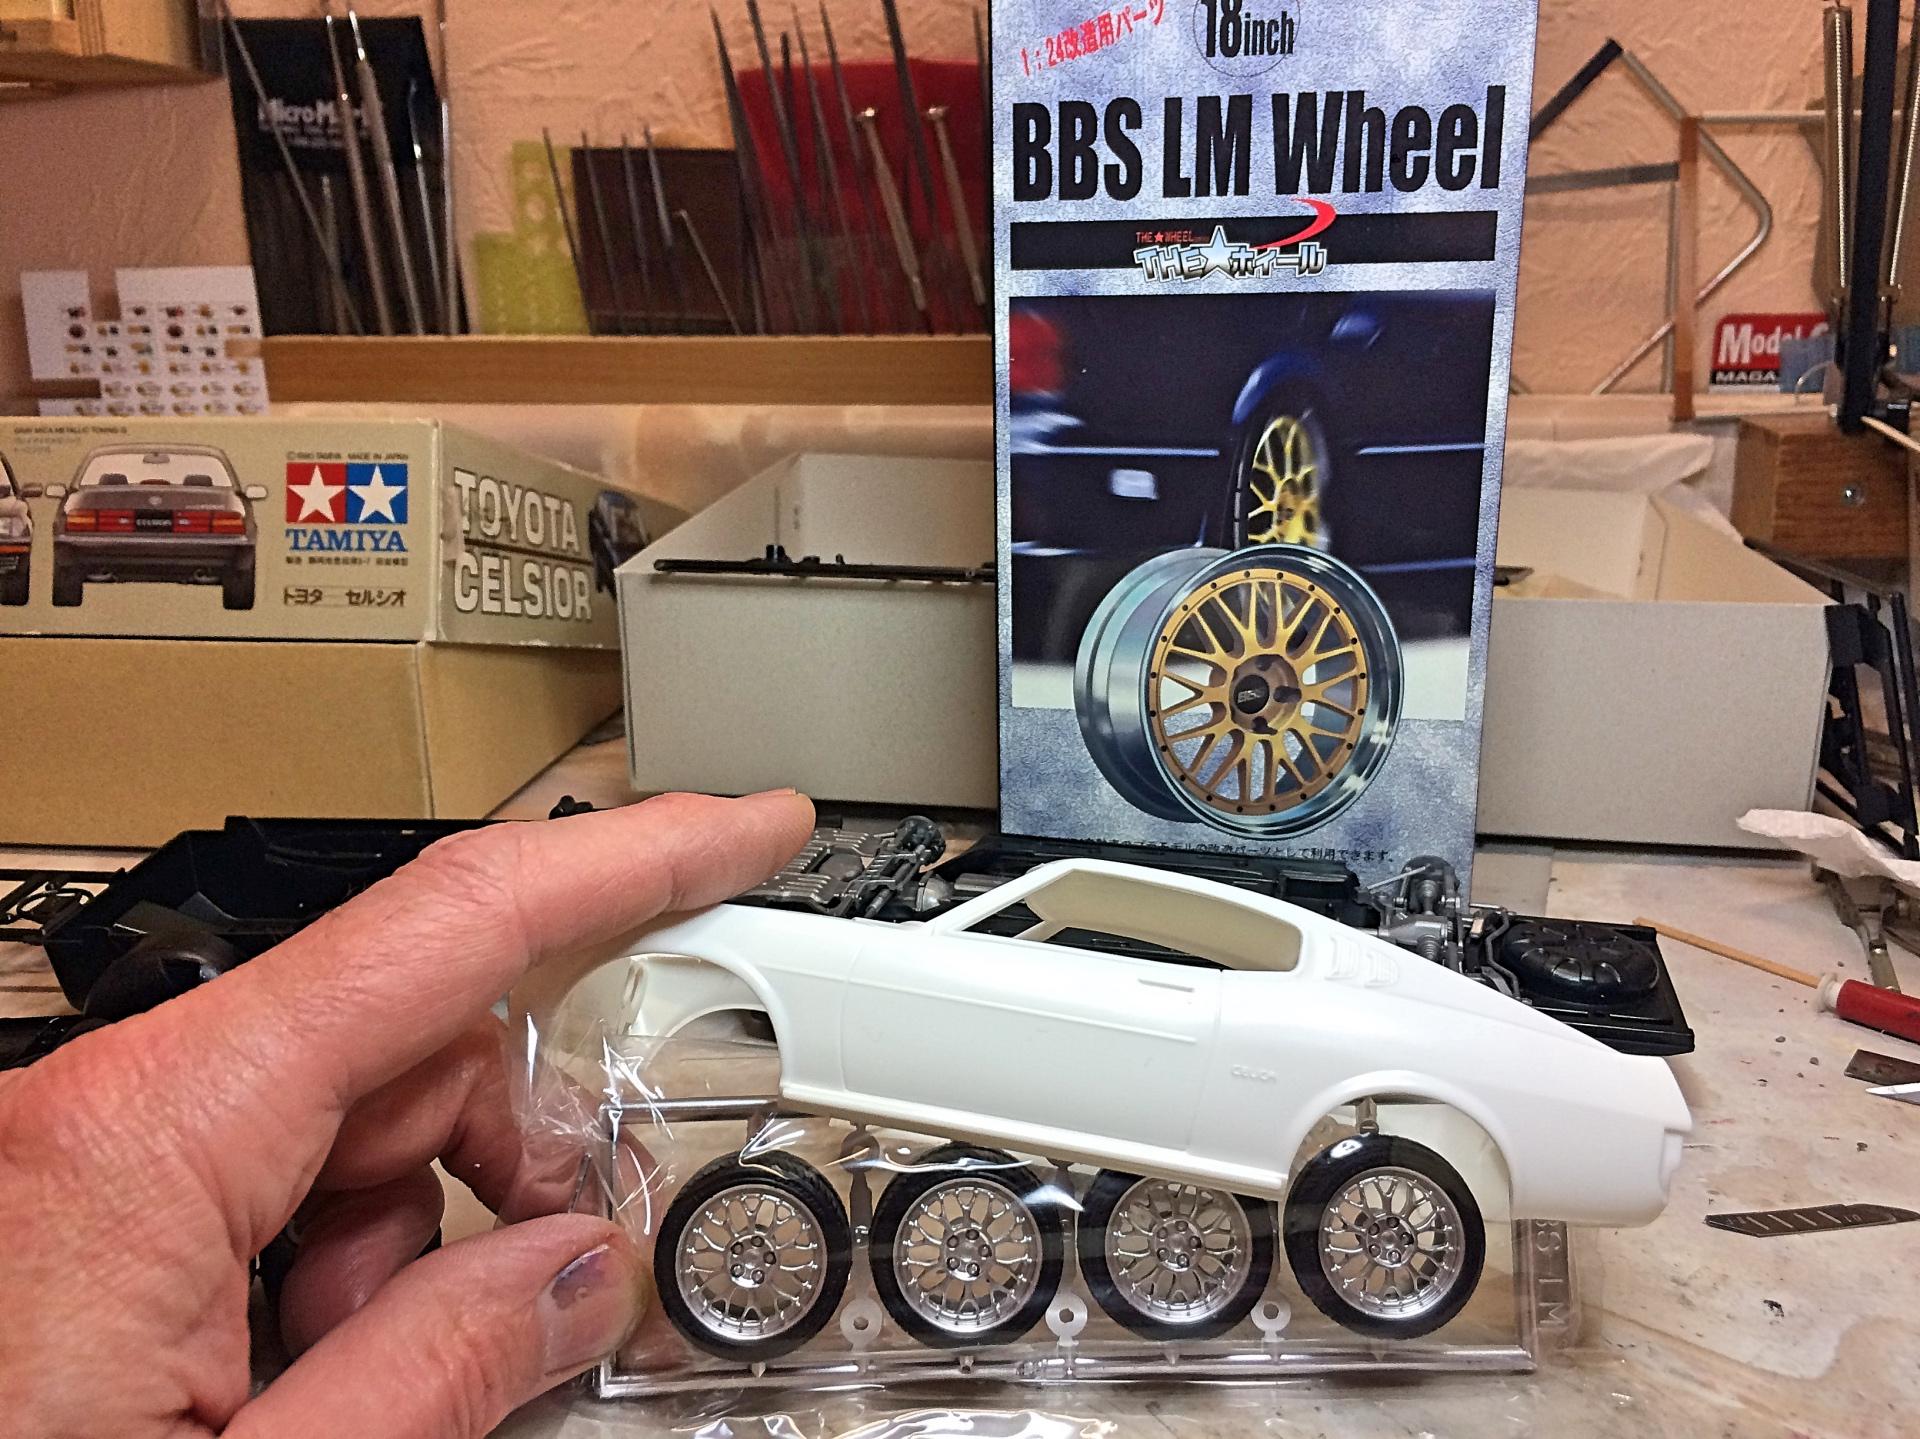
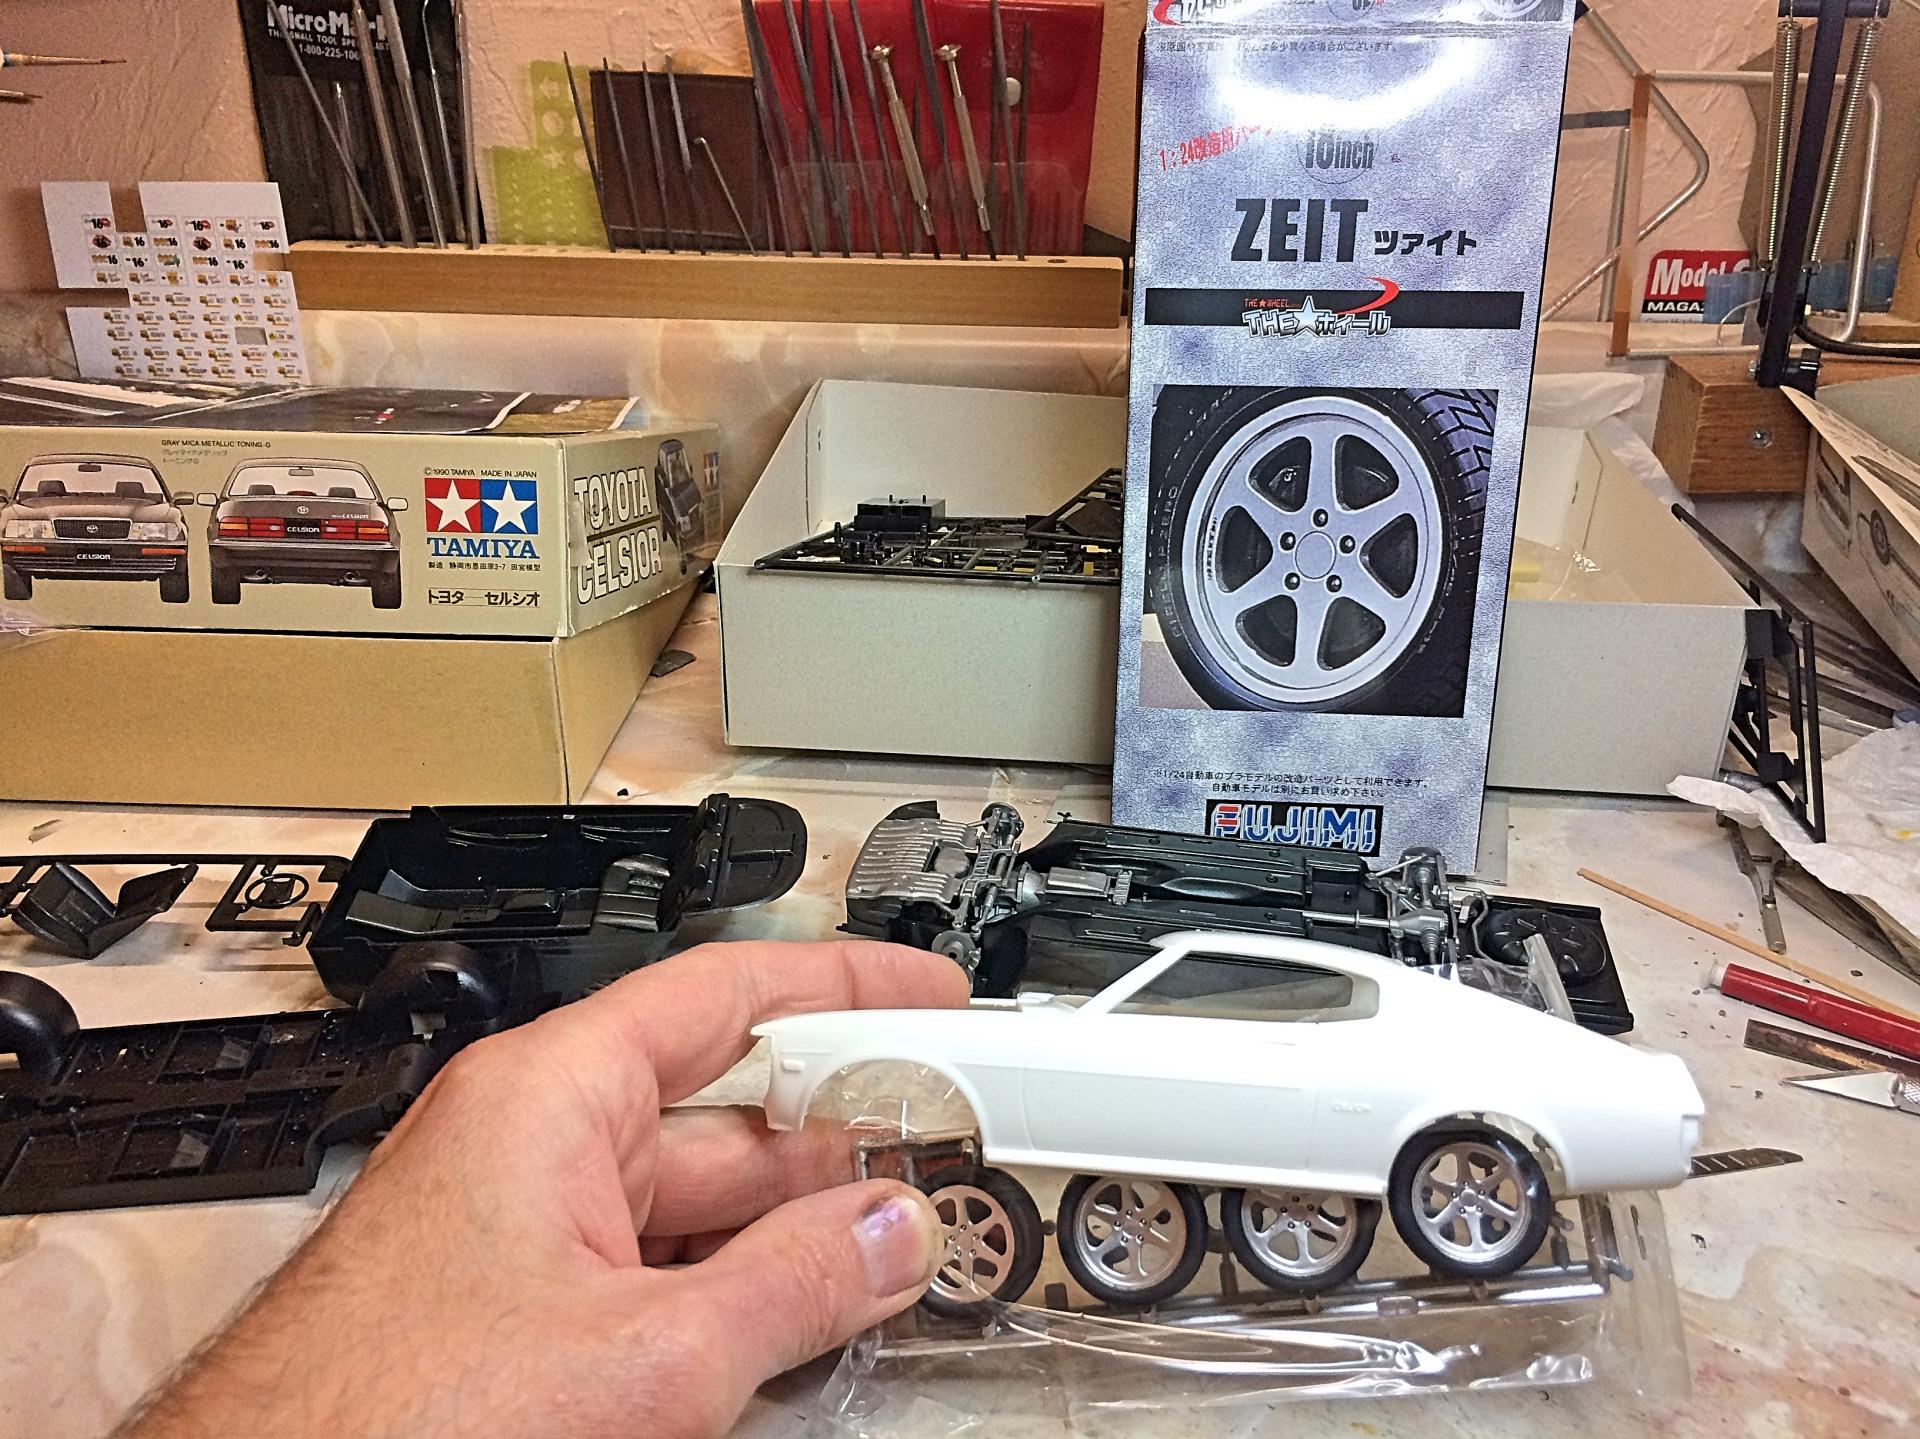
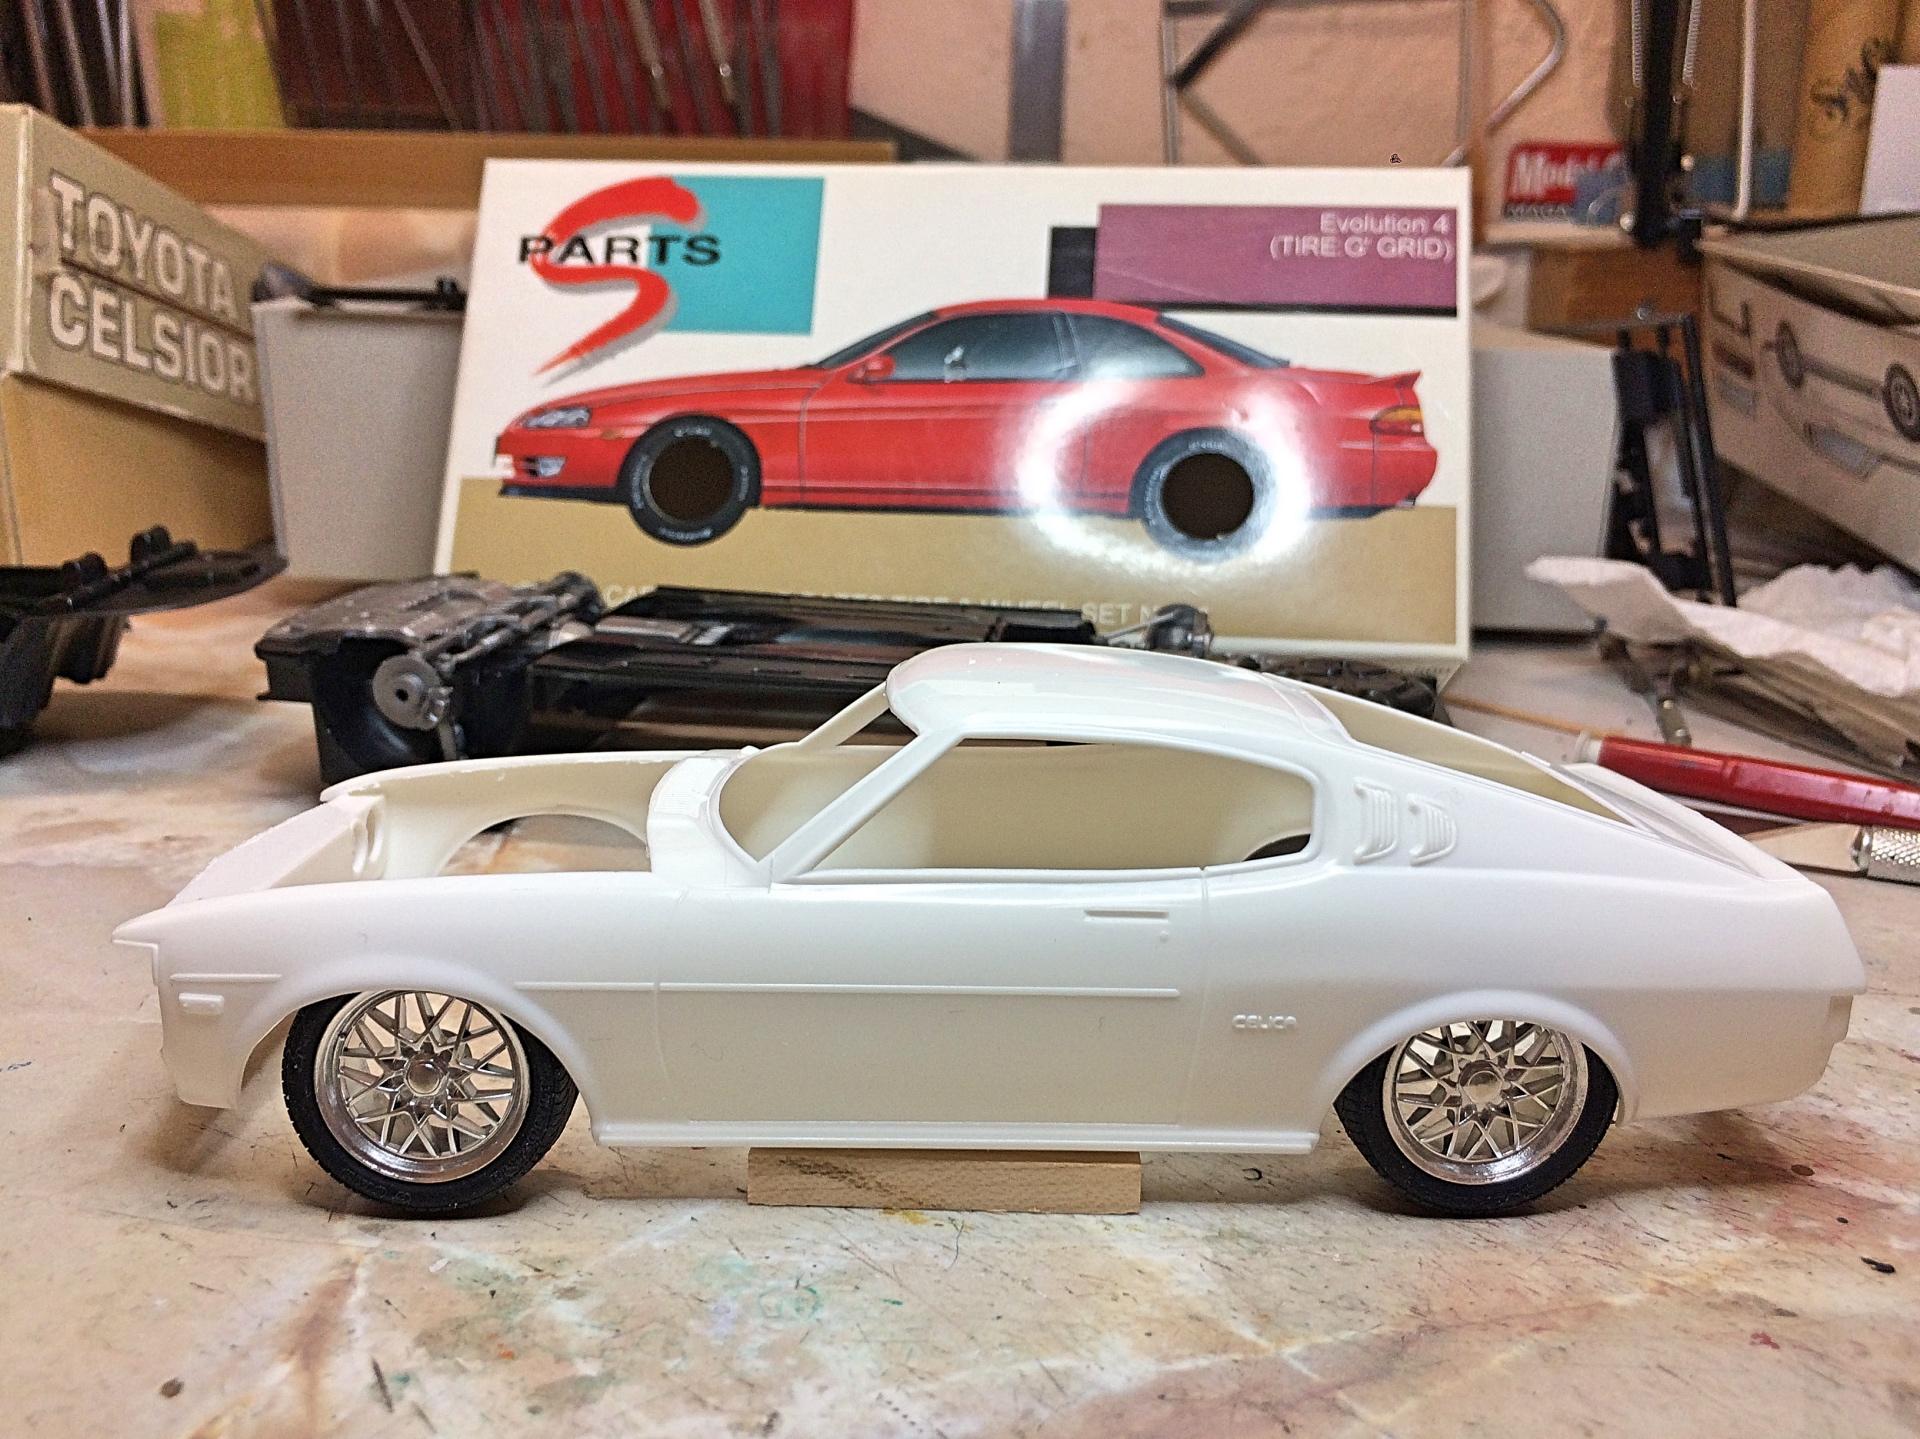
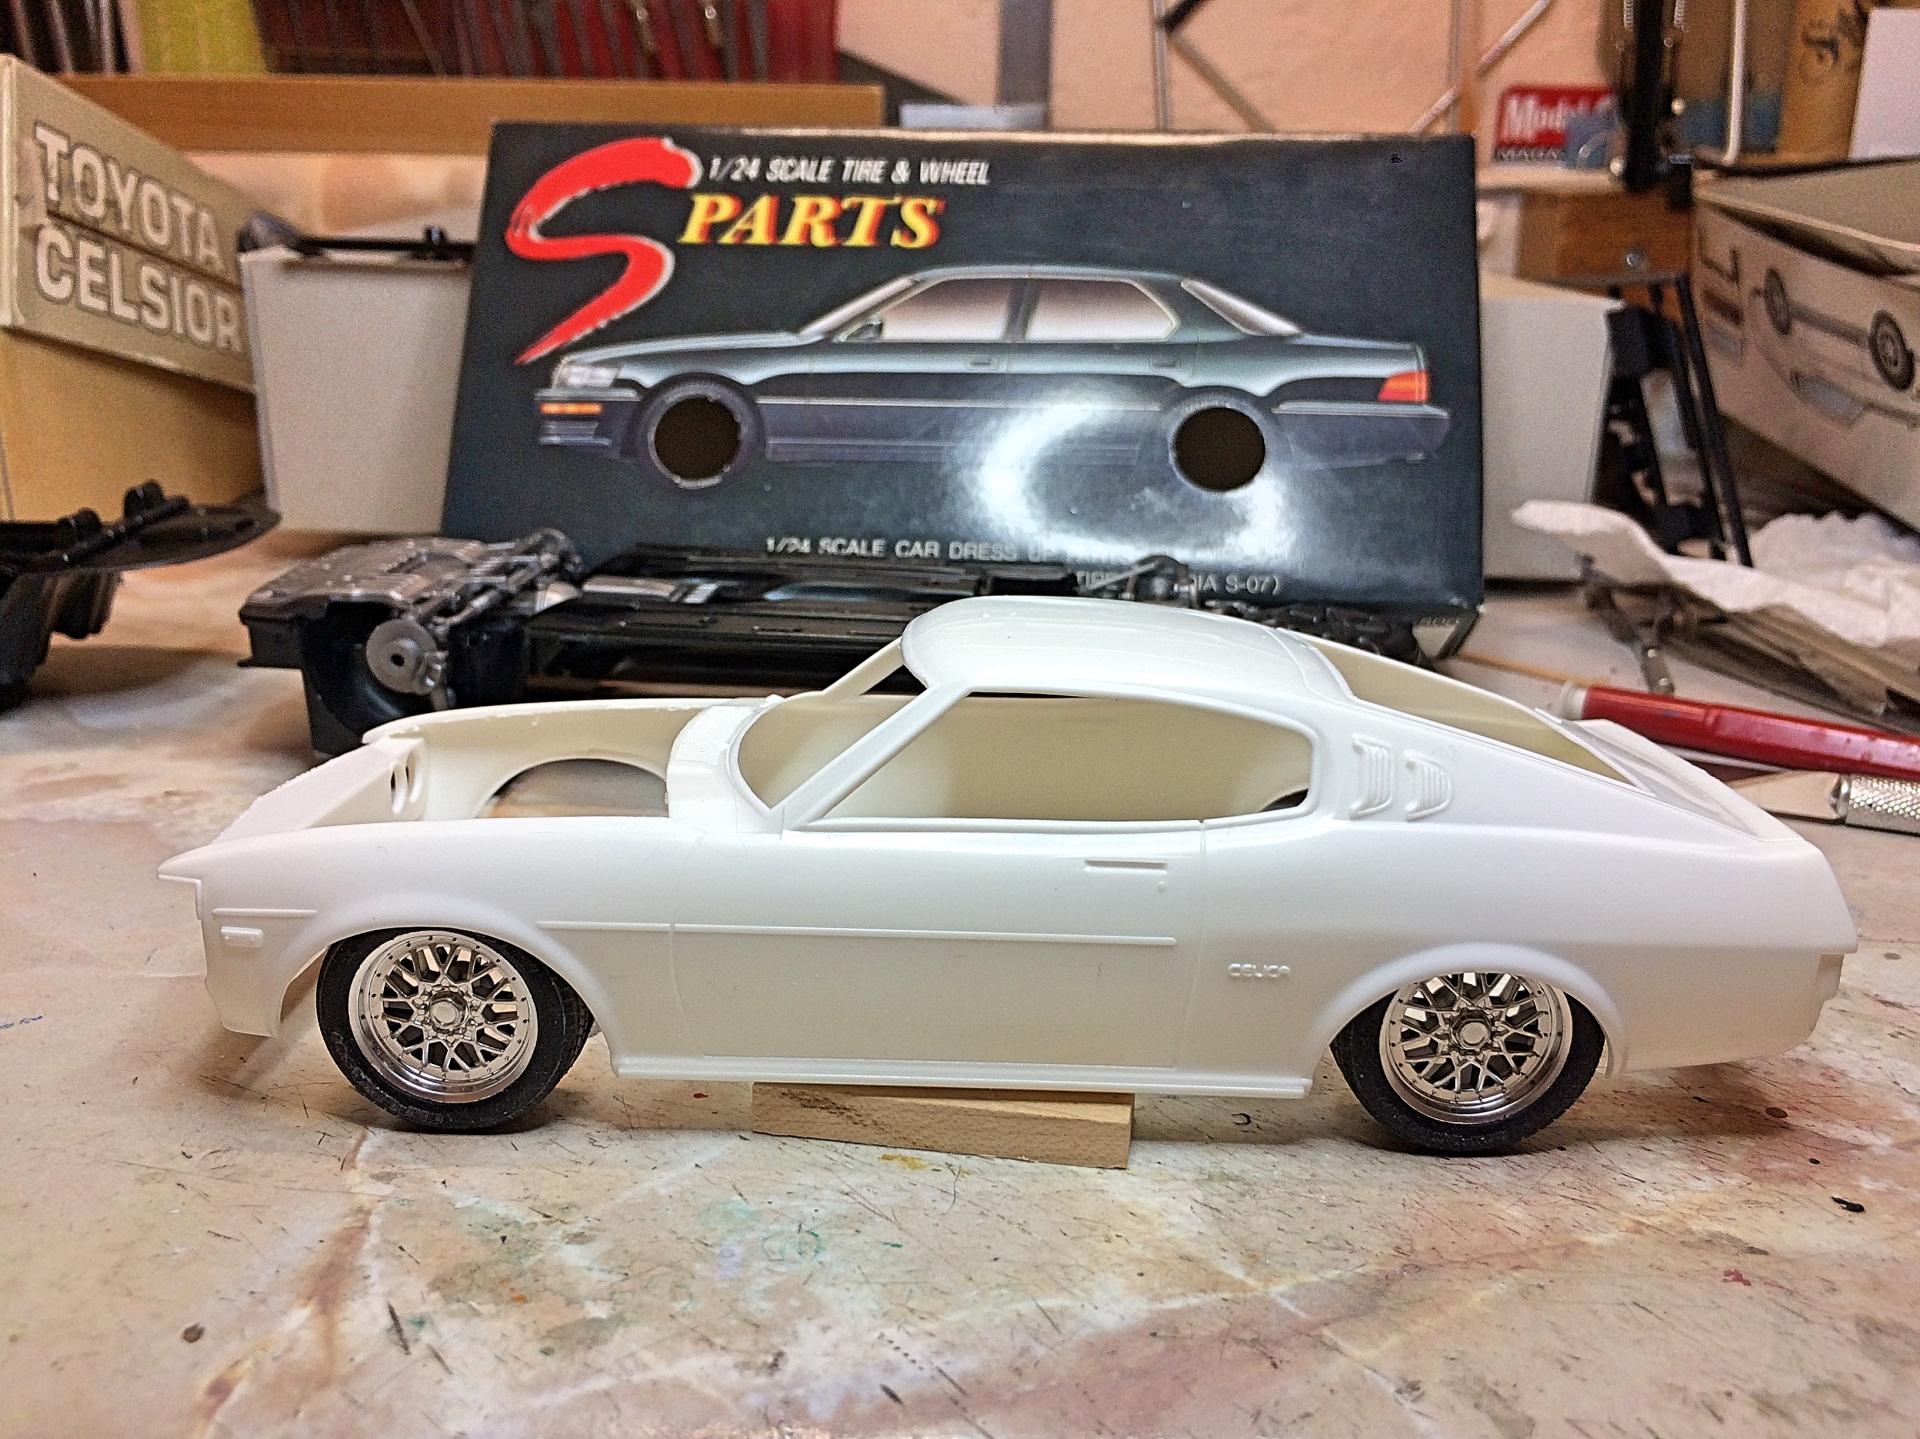
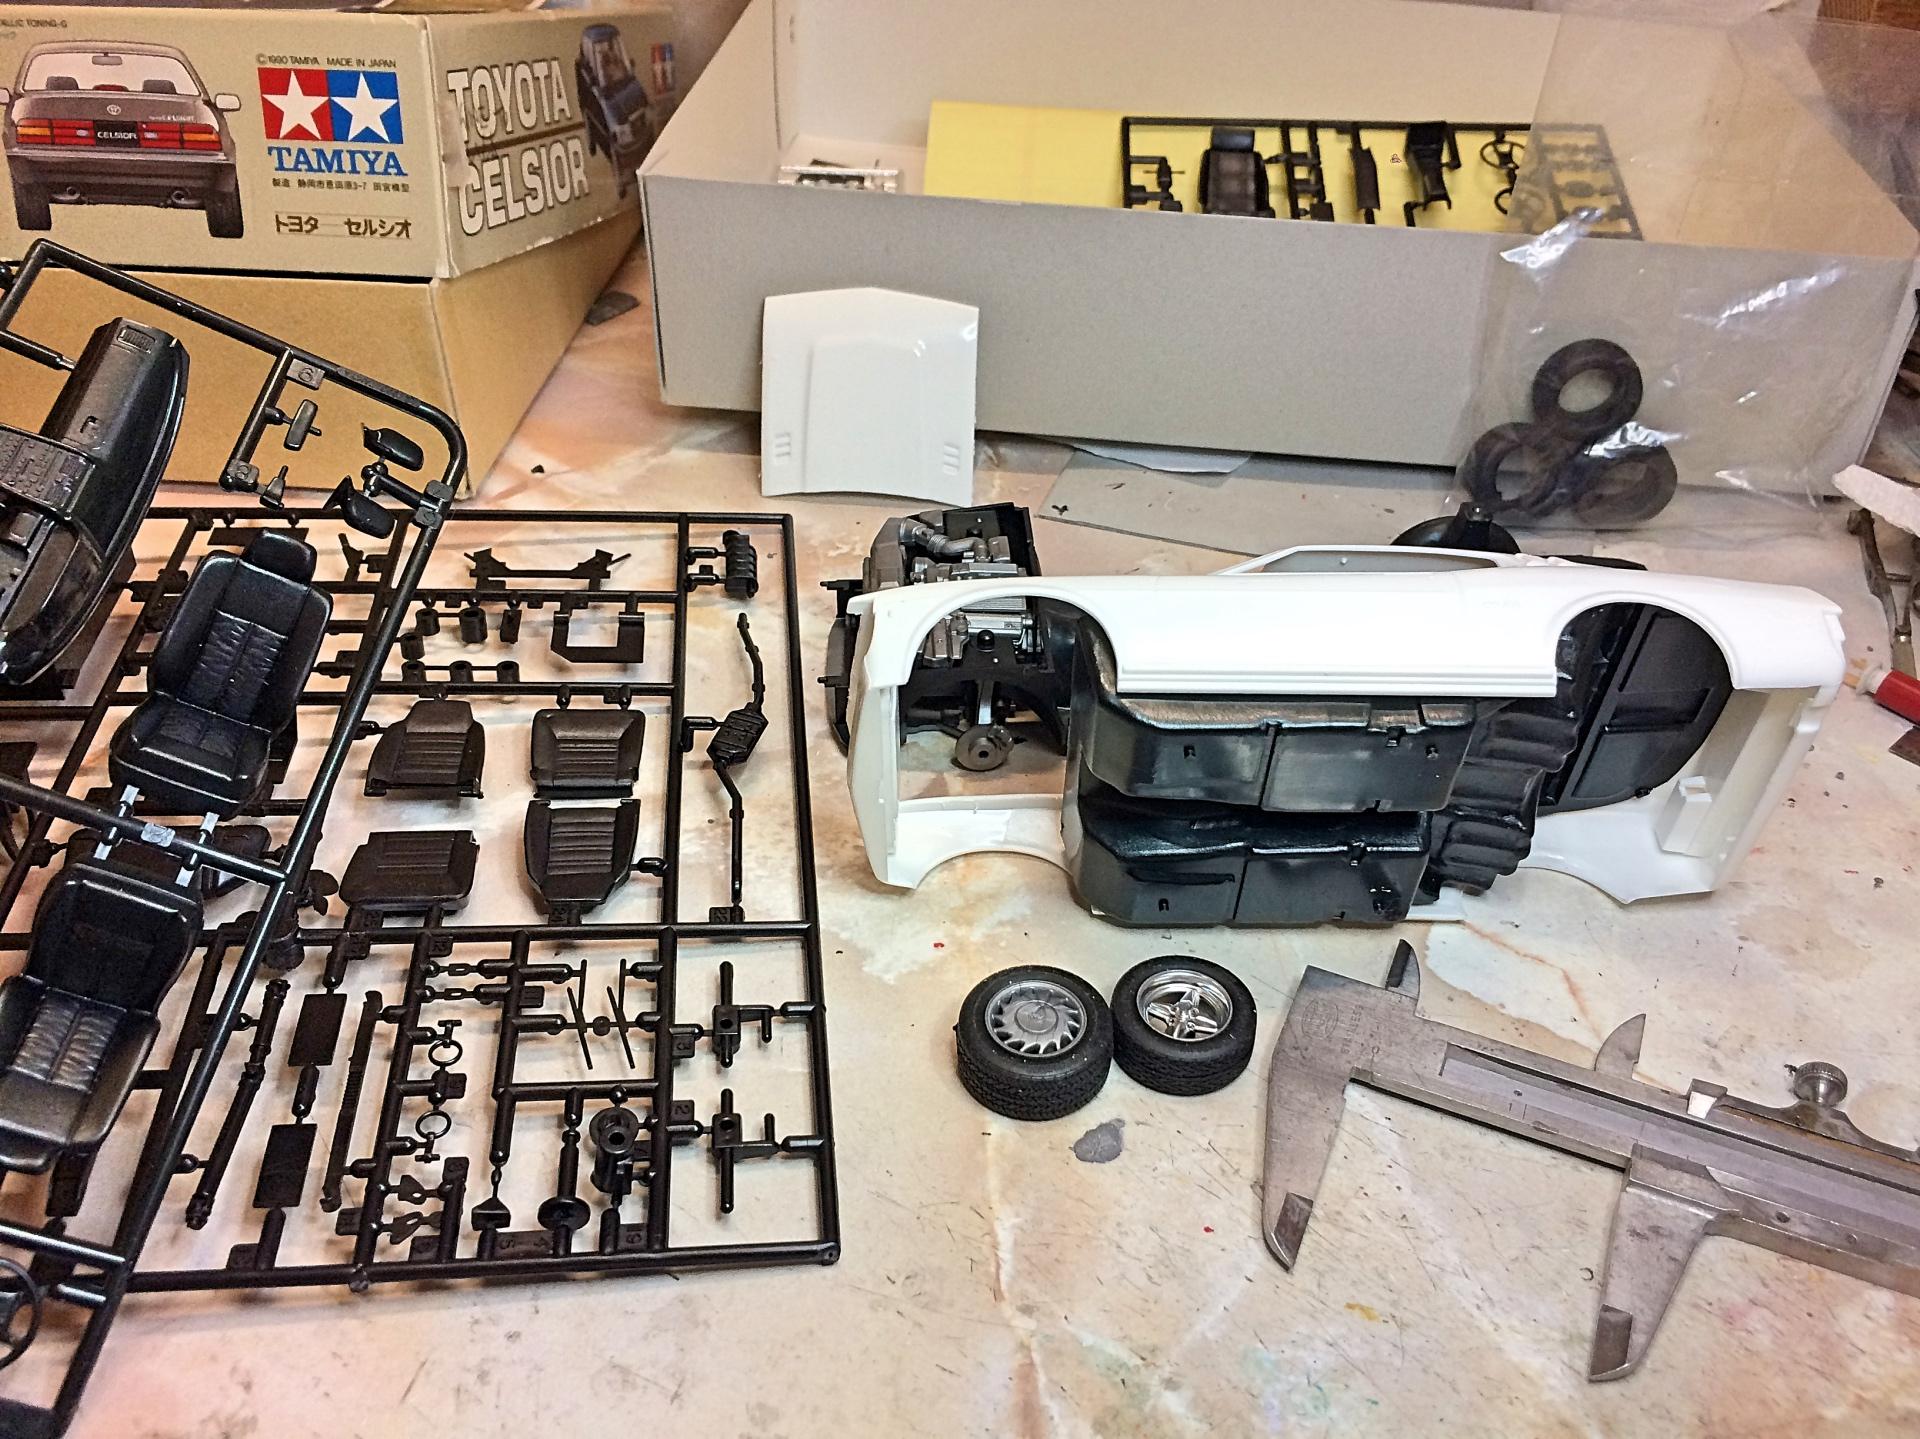
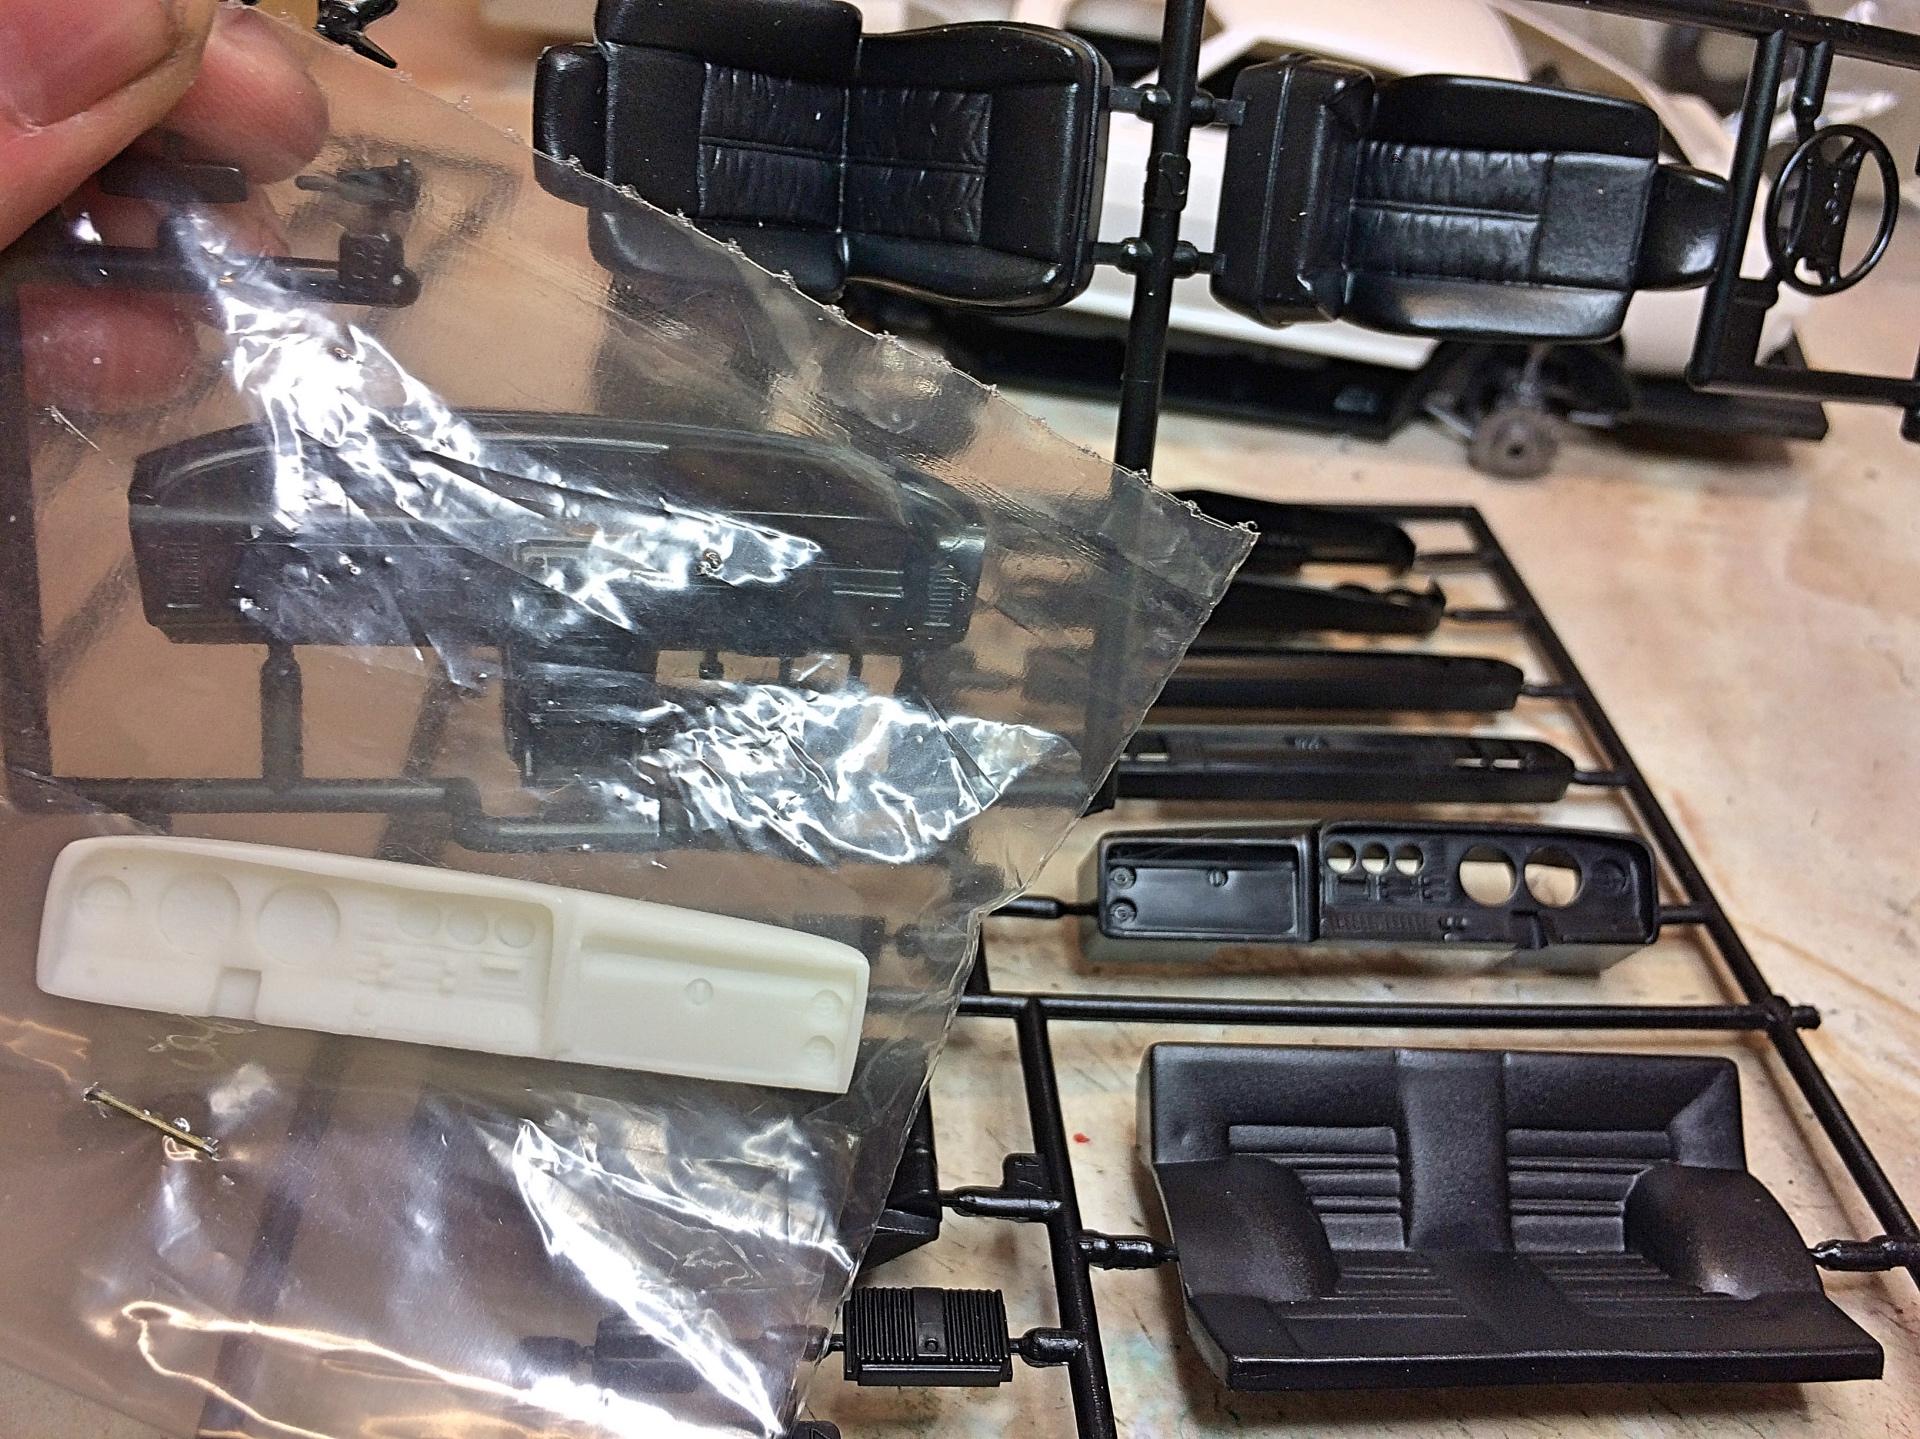
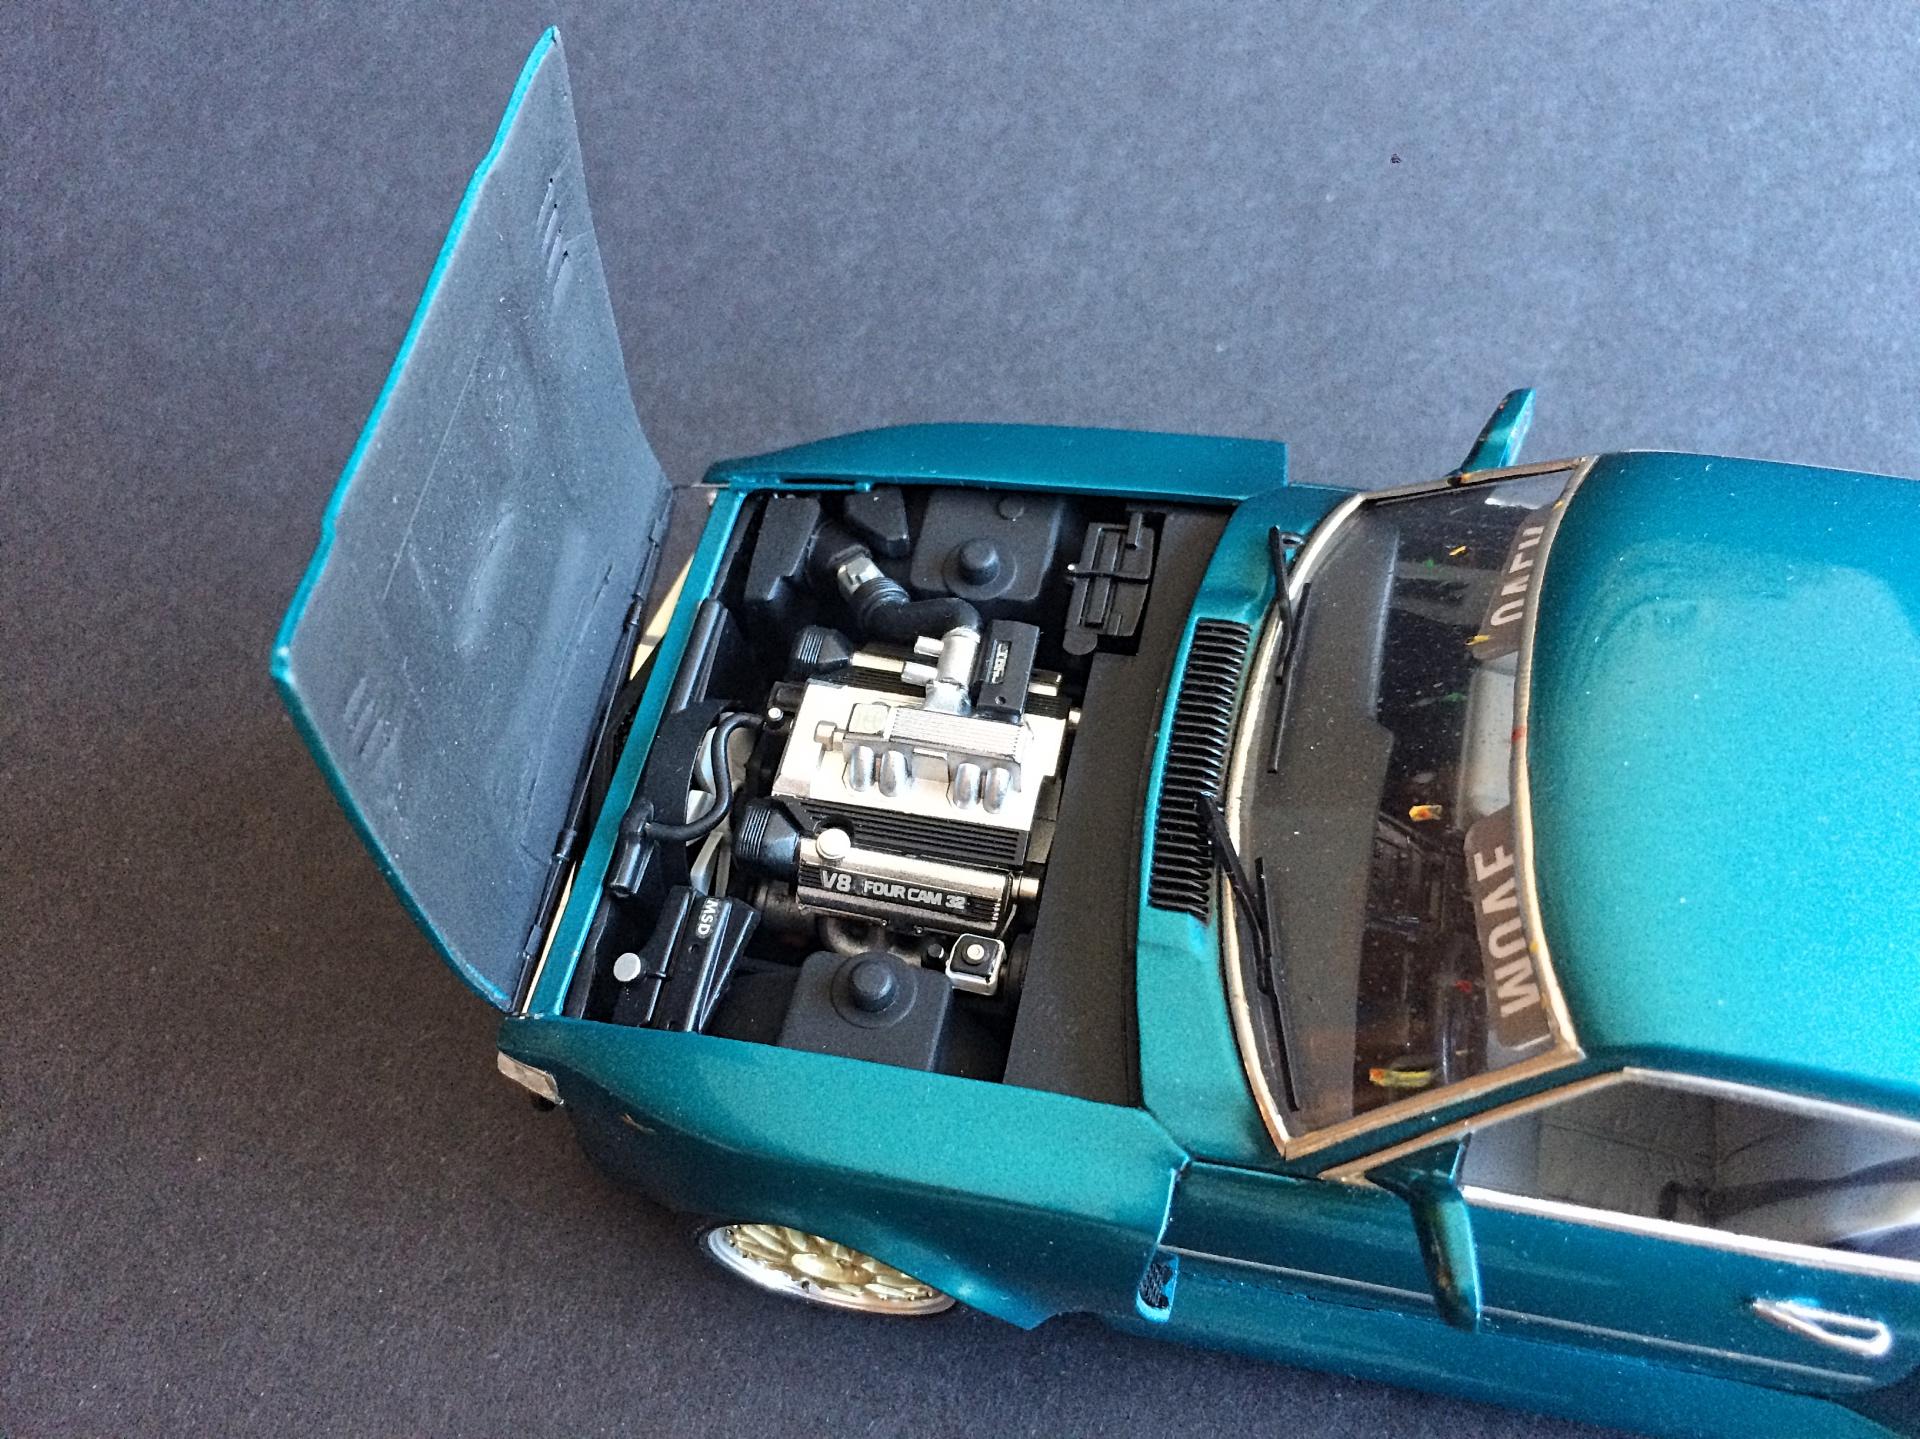
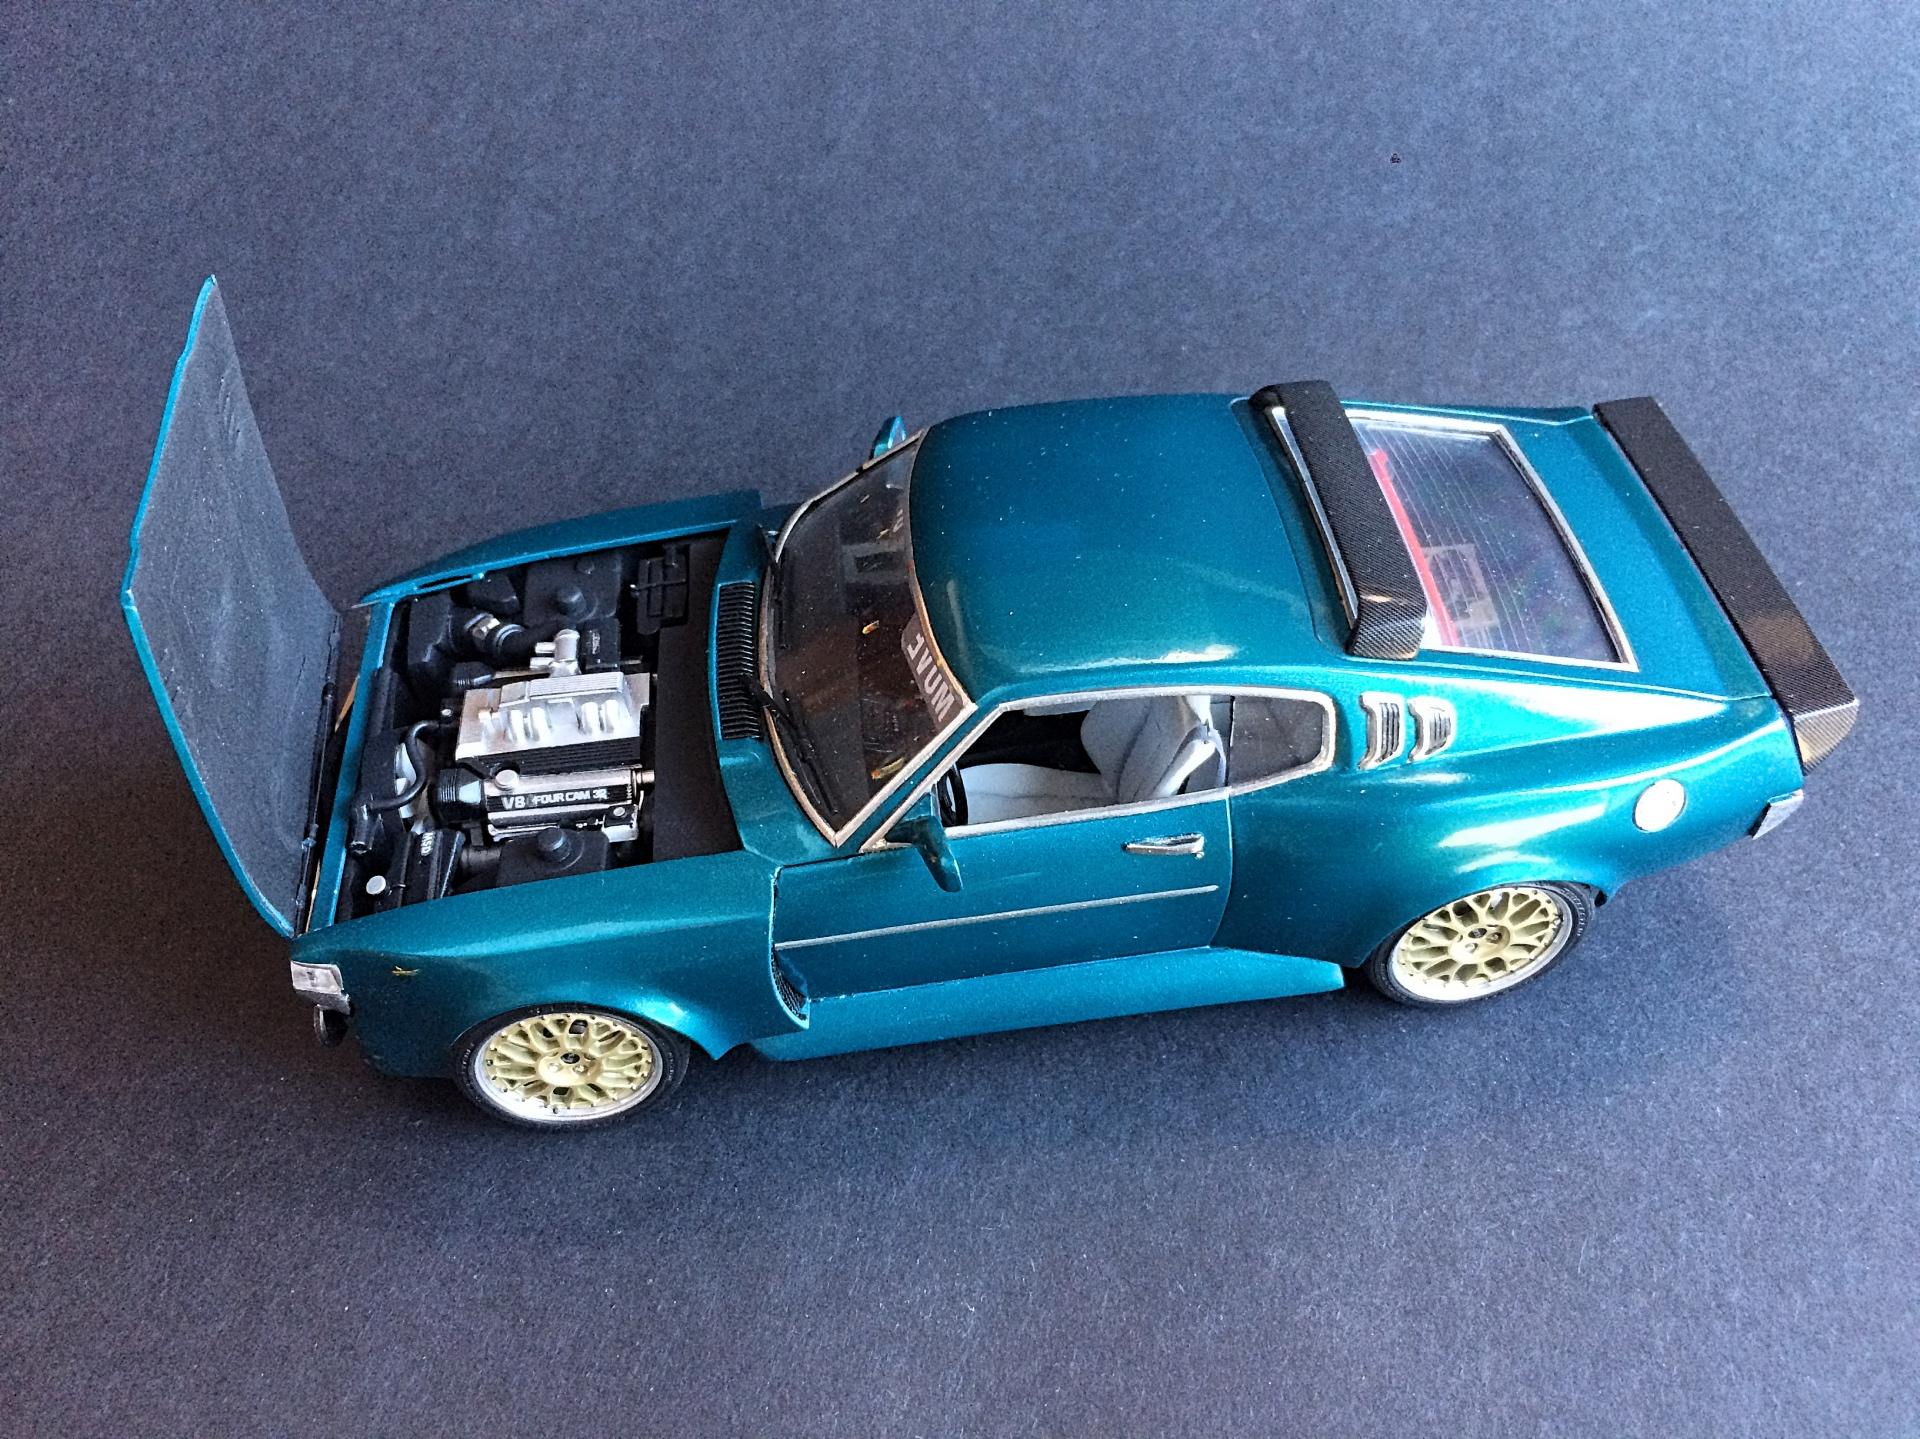
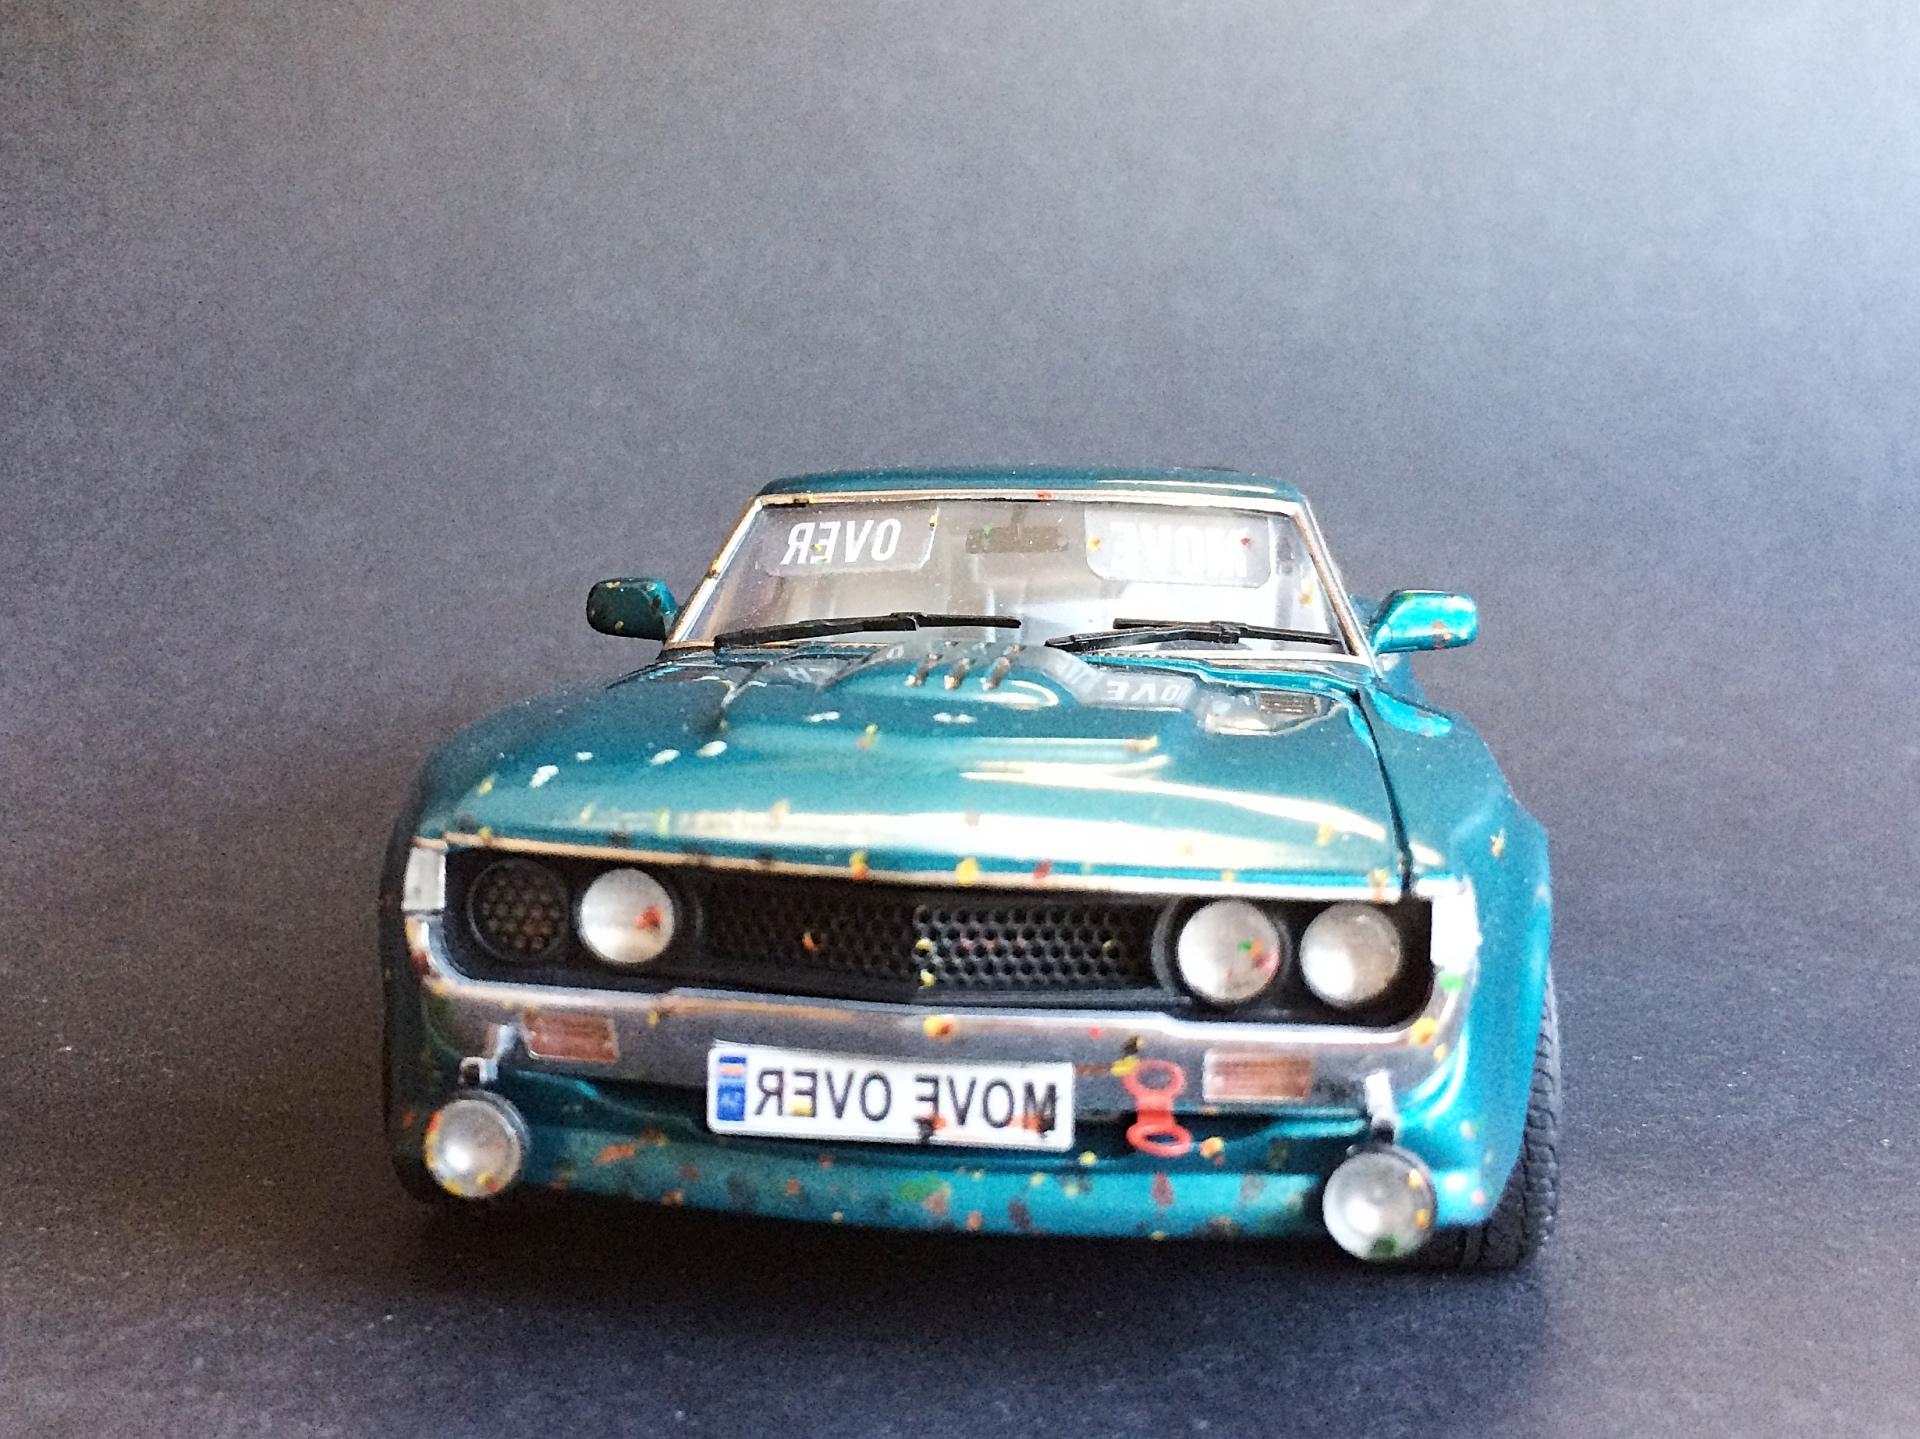
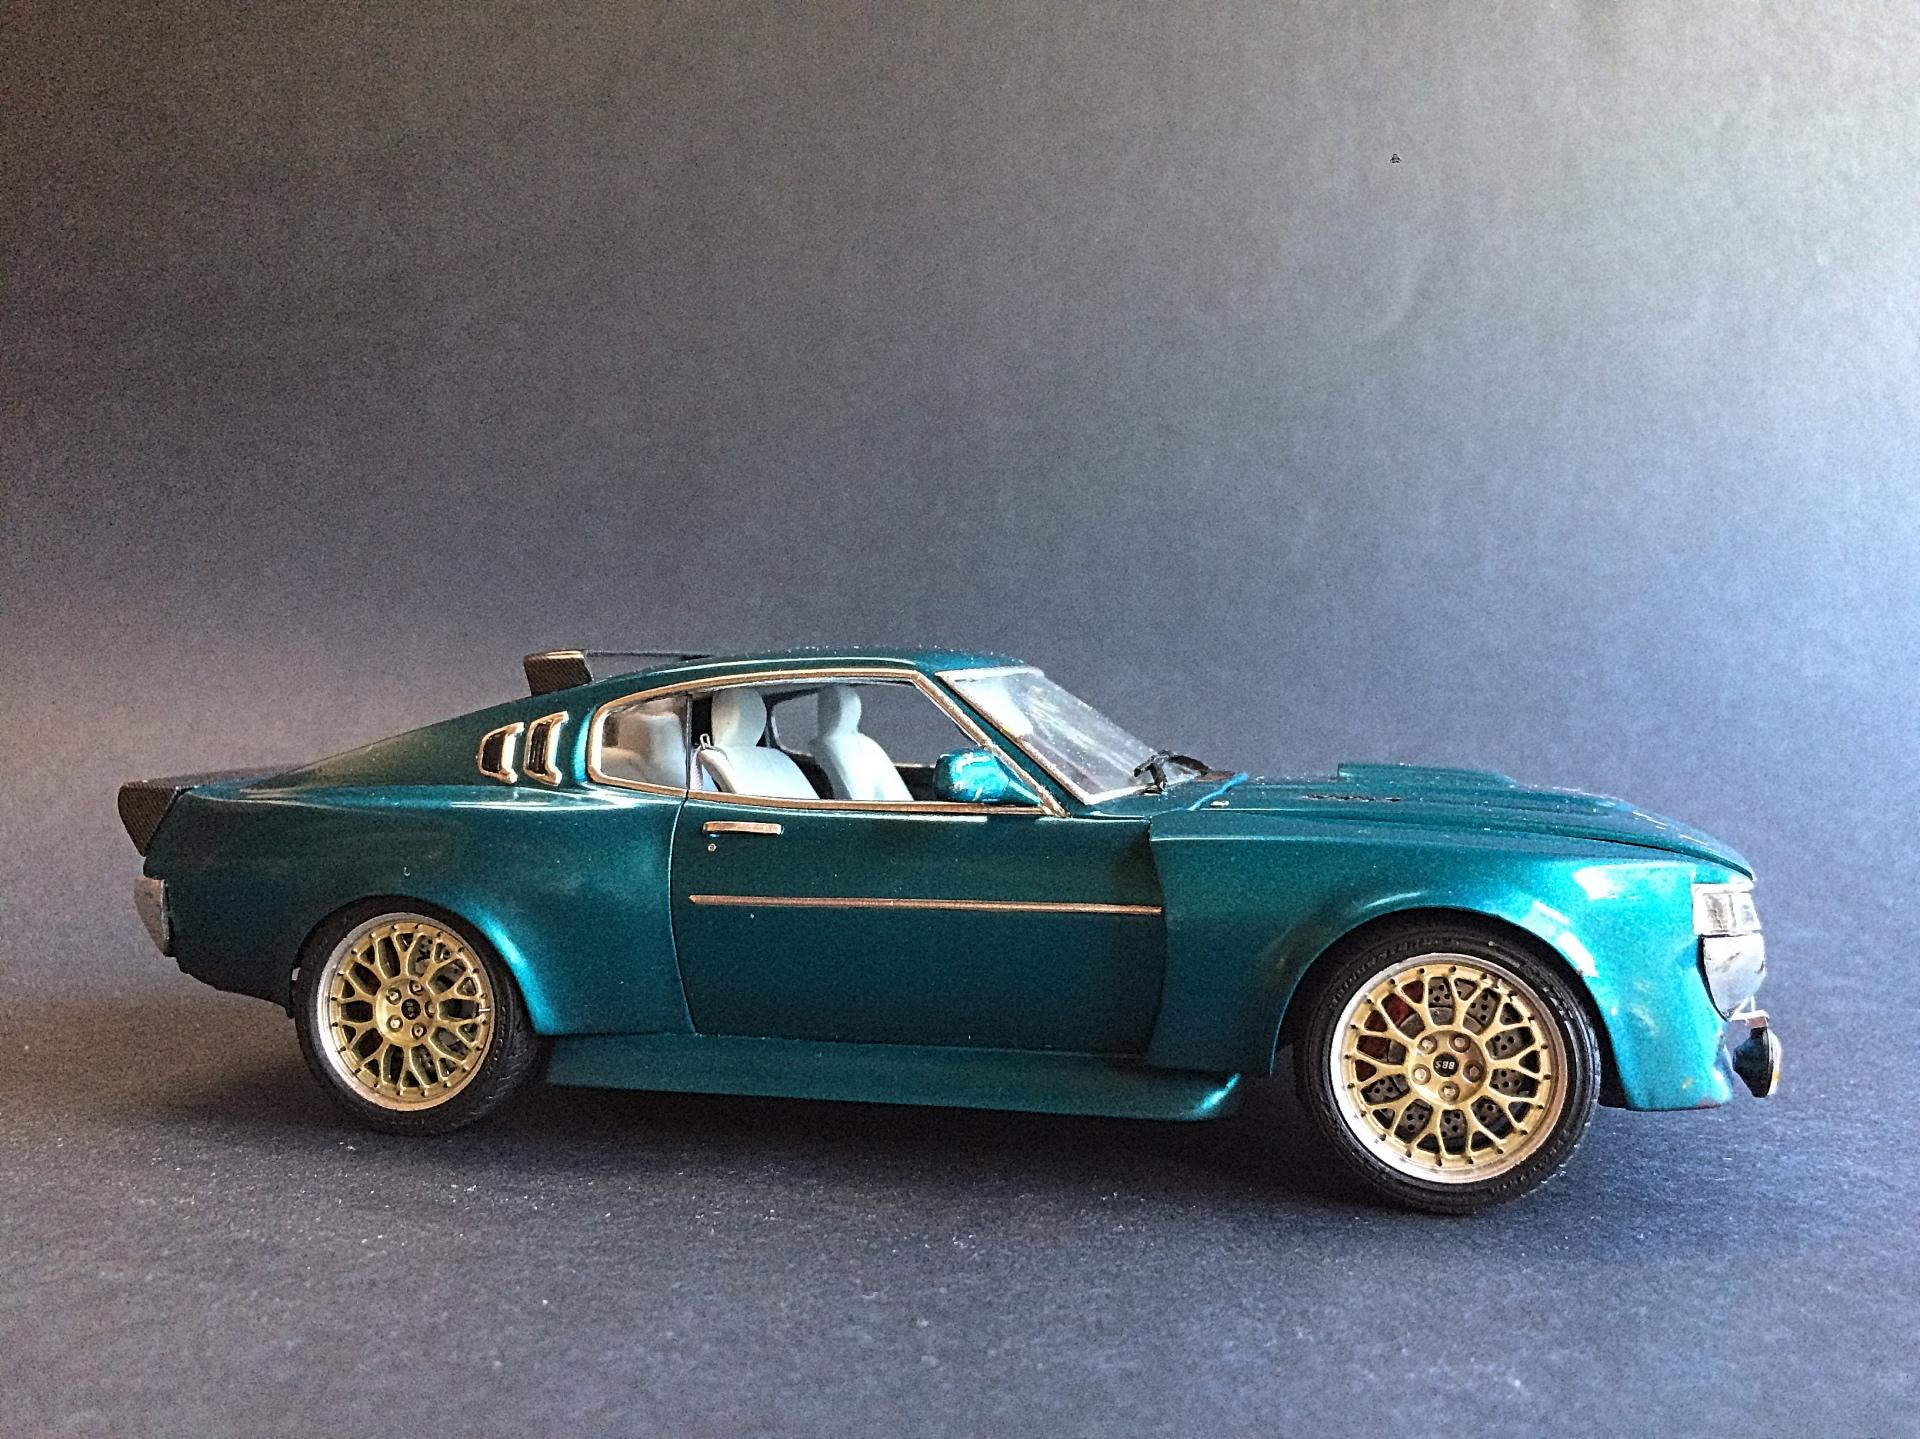
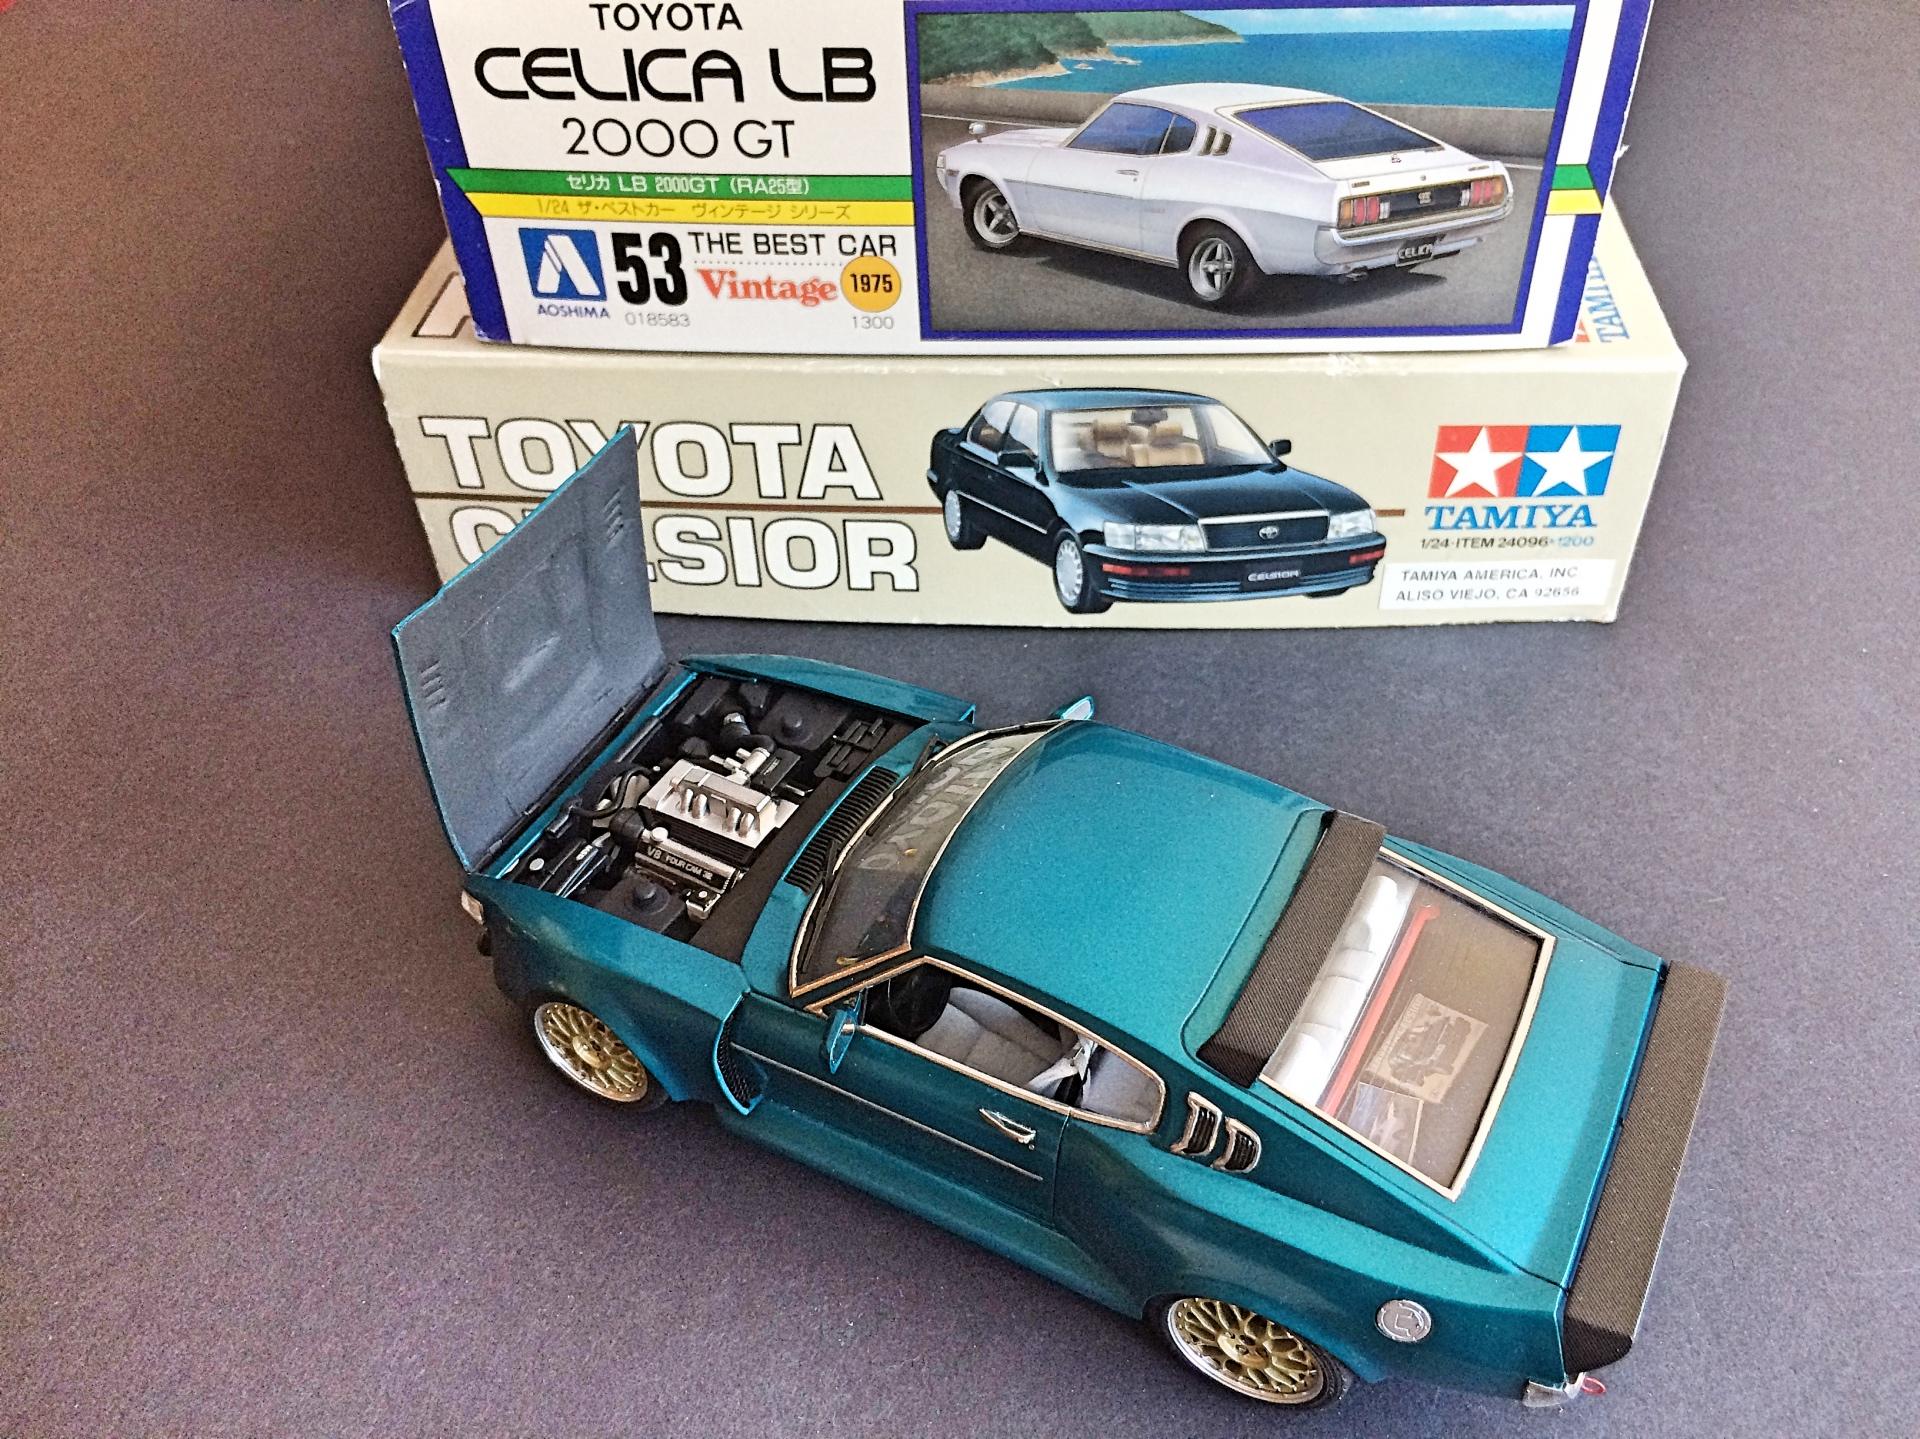
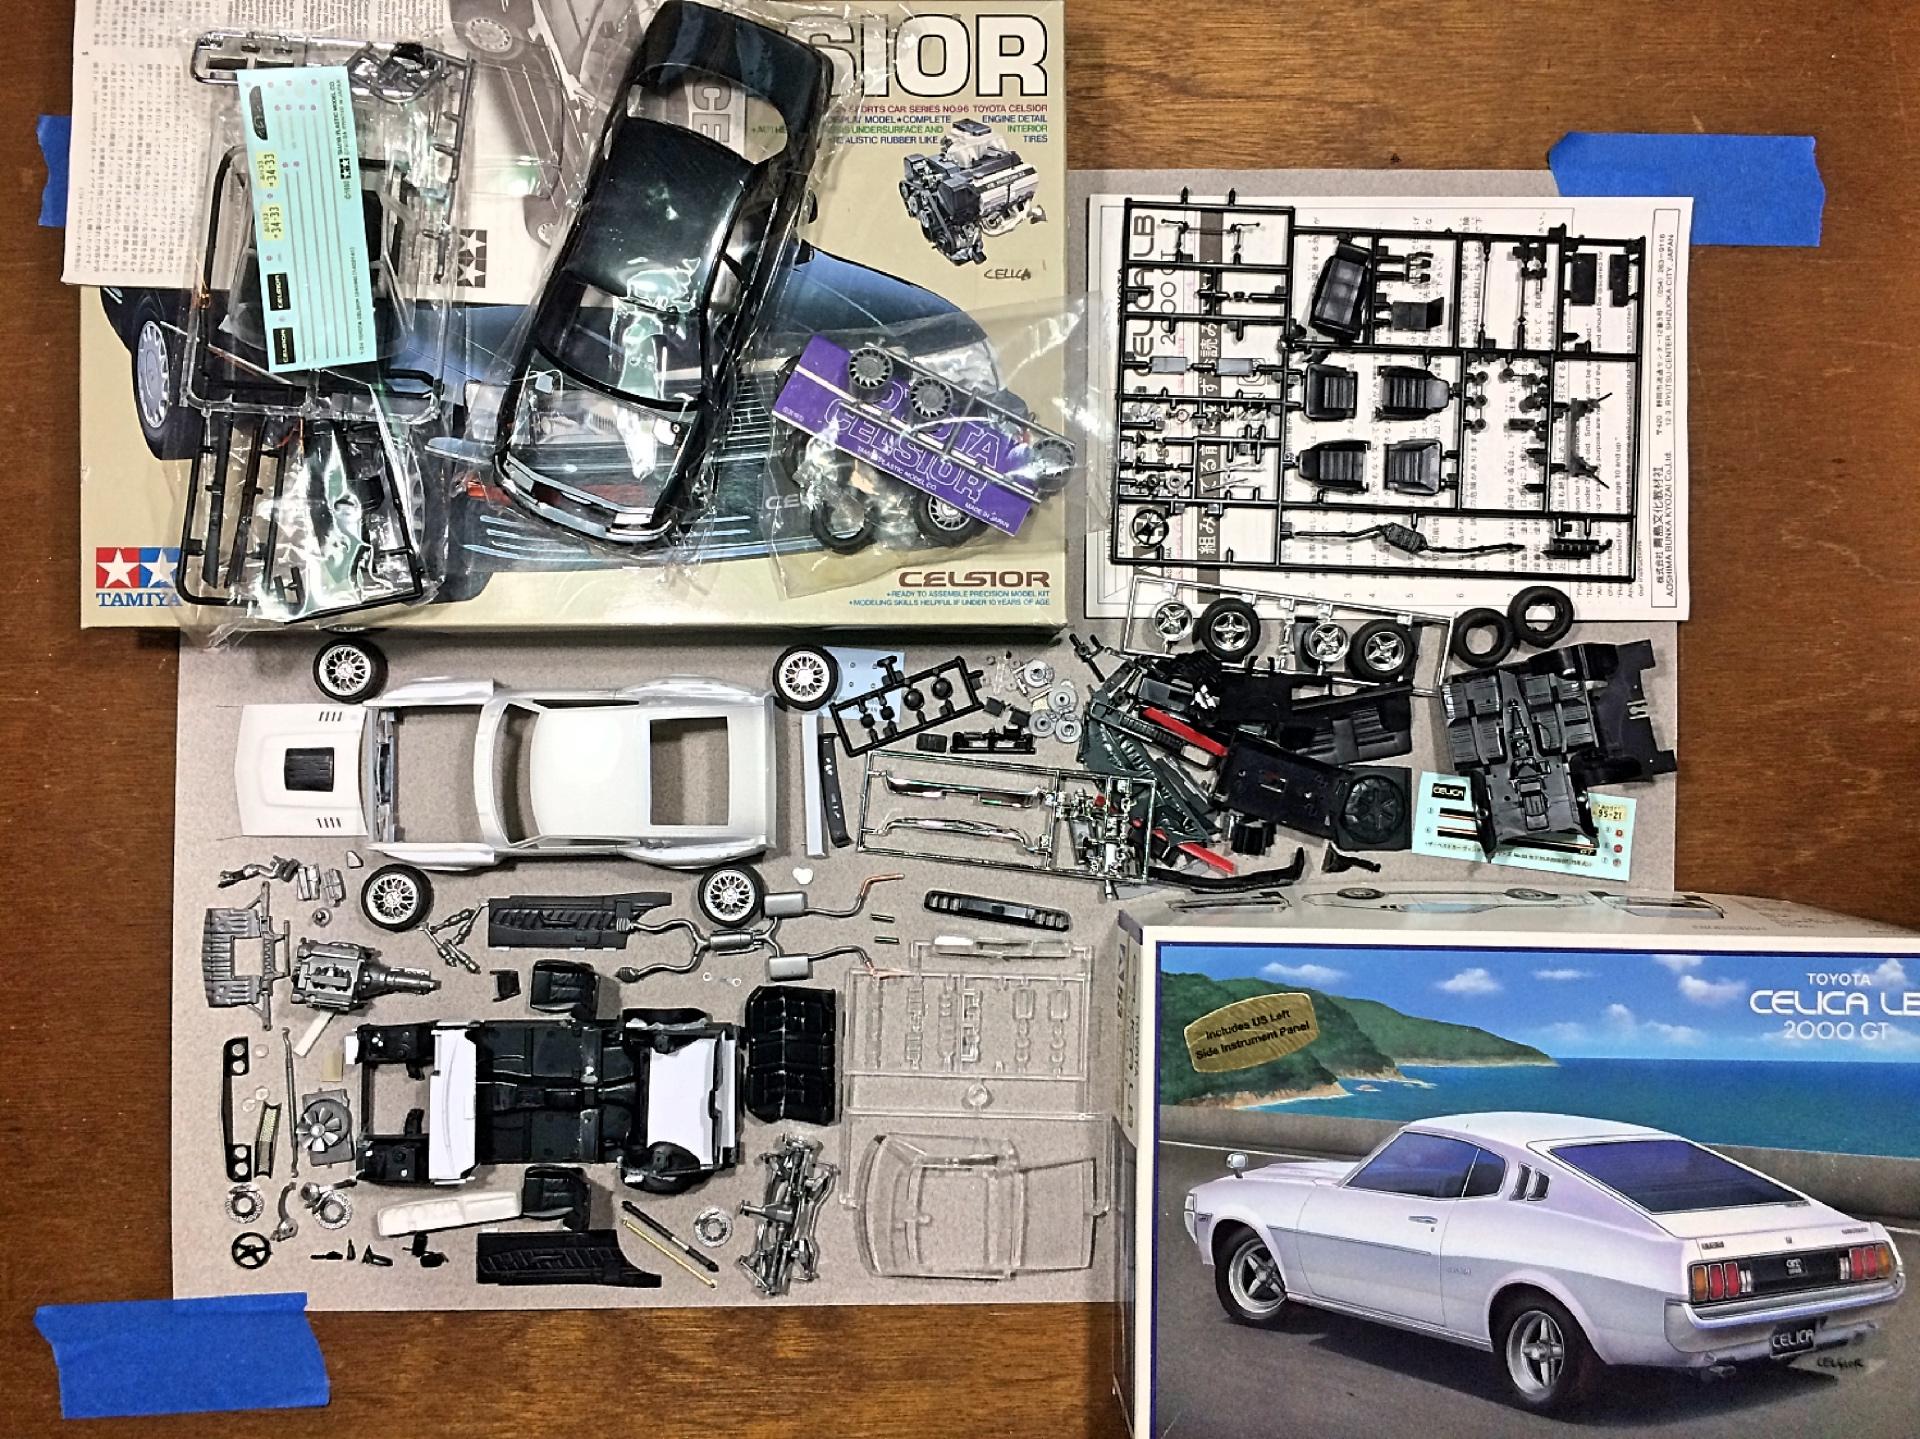
Kitbash of the Aoshima Toyota Celica LB 2000GT Liftback and the Tamiya Toyota Celsior (USA market Lexus LS400). Been thinking of this project for some time. Have a couple of photos found on the web of a Celica with a turbocharged Lexus V8, so that is where I started. Assembled the chassis and engine, mostly with Tacky glue. Cut off the hood, using the Tamiya scriber. I knew there might need to be flares, design pending. Chassis pan will be shortened in the middle, cut off the back, and much of the front overhang removed. Looked at my choice of wheels. This is my first choice, has two widths of tires, and Brembo brakes. I like the look, but same width tires. Maybe, but no brakes. Only because the box shows the Lexus. Interior tub width is a very close fit. Planning to chop off the back seat, and fabricate a simple back area. Lexus seats are really nice. The dashboard is the challenge, sort of. The Aoshima kit came via Satco, which made the resin LHD dashboard. I couldn't let the dust settle after finishing the VW Microbus, so I'm off and ruining two perfectly good kits.
-
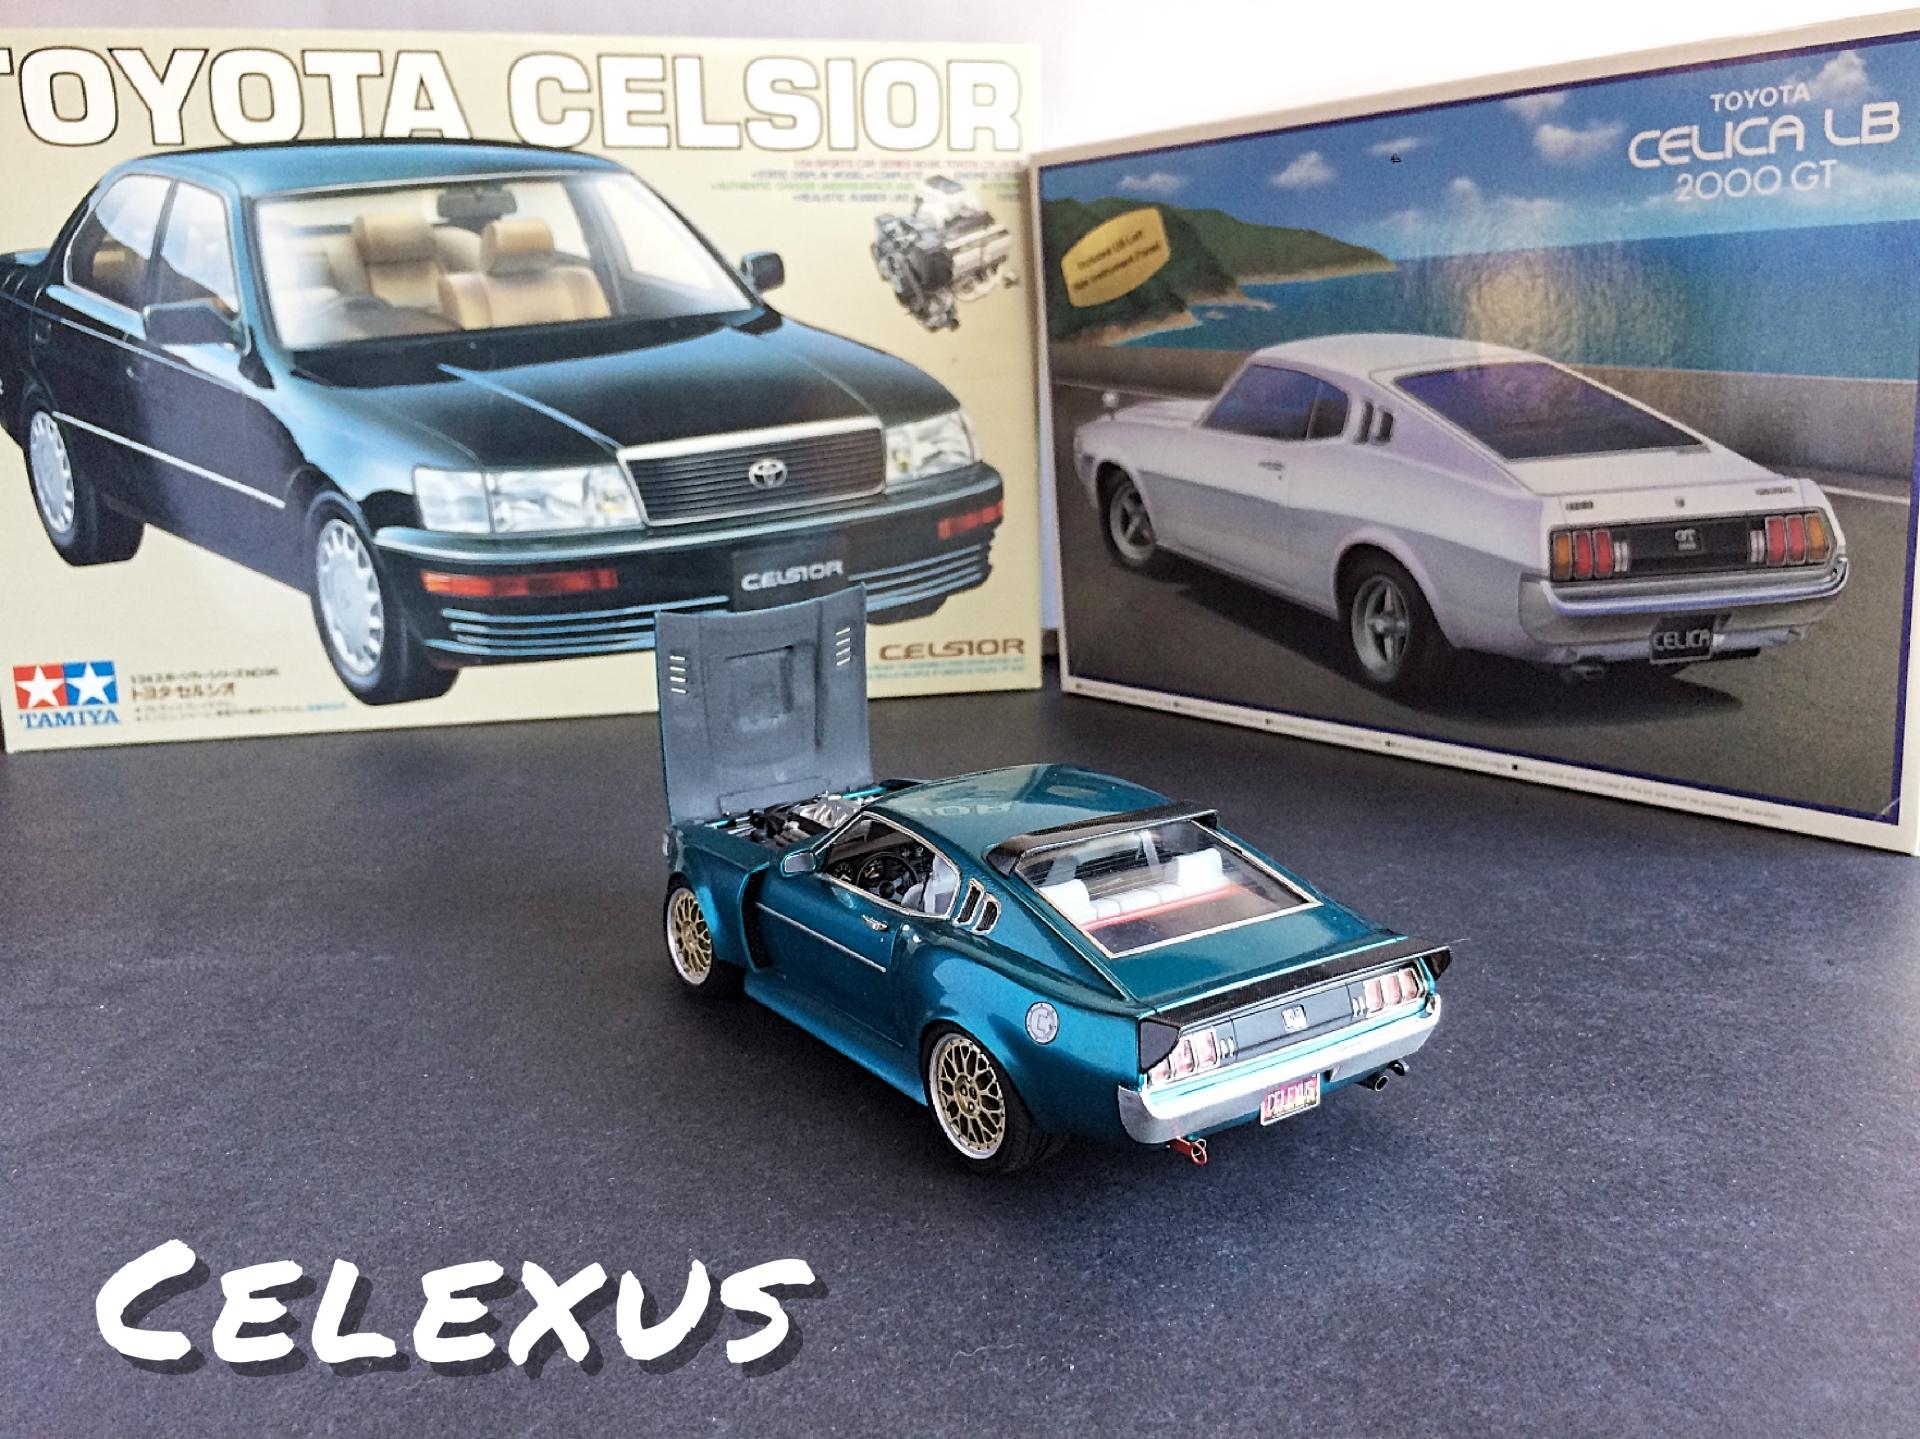
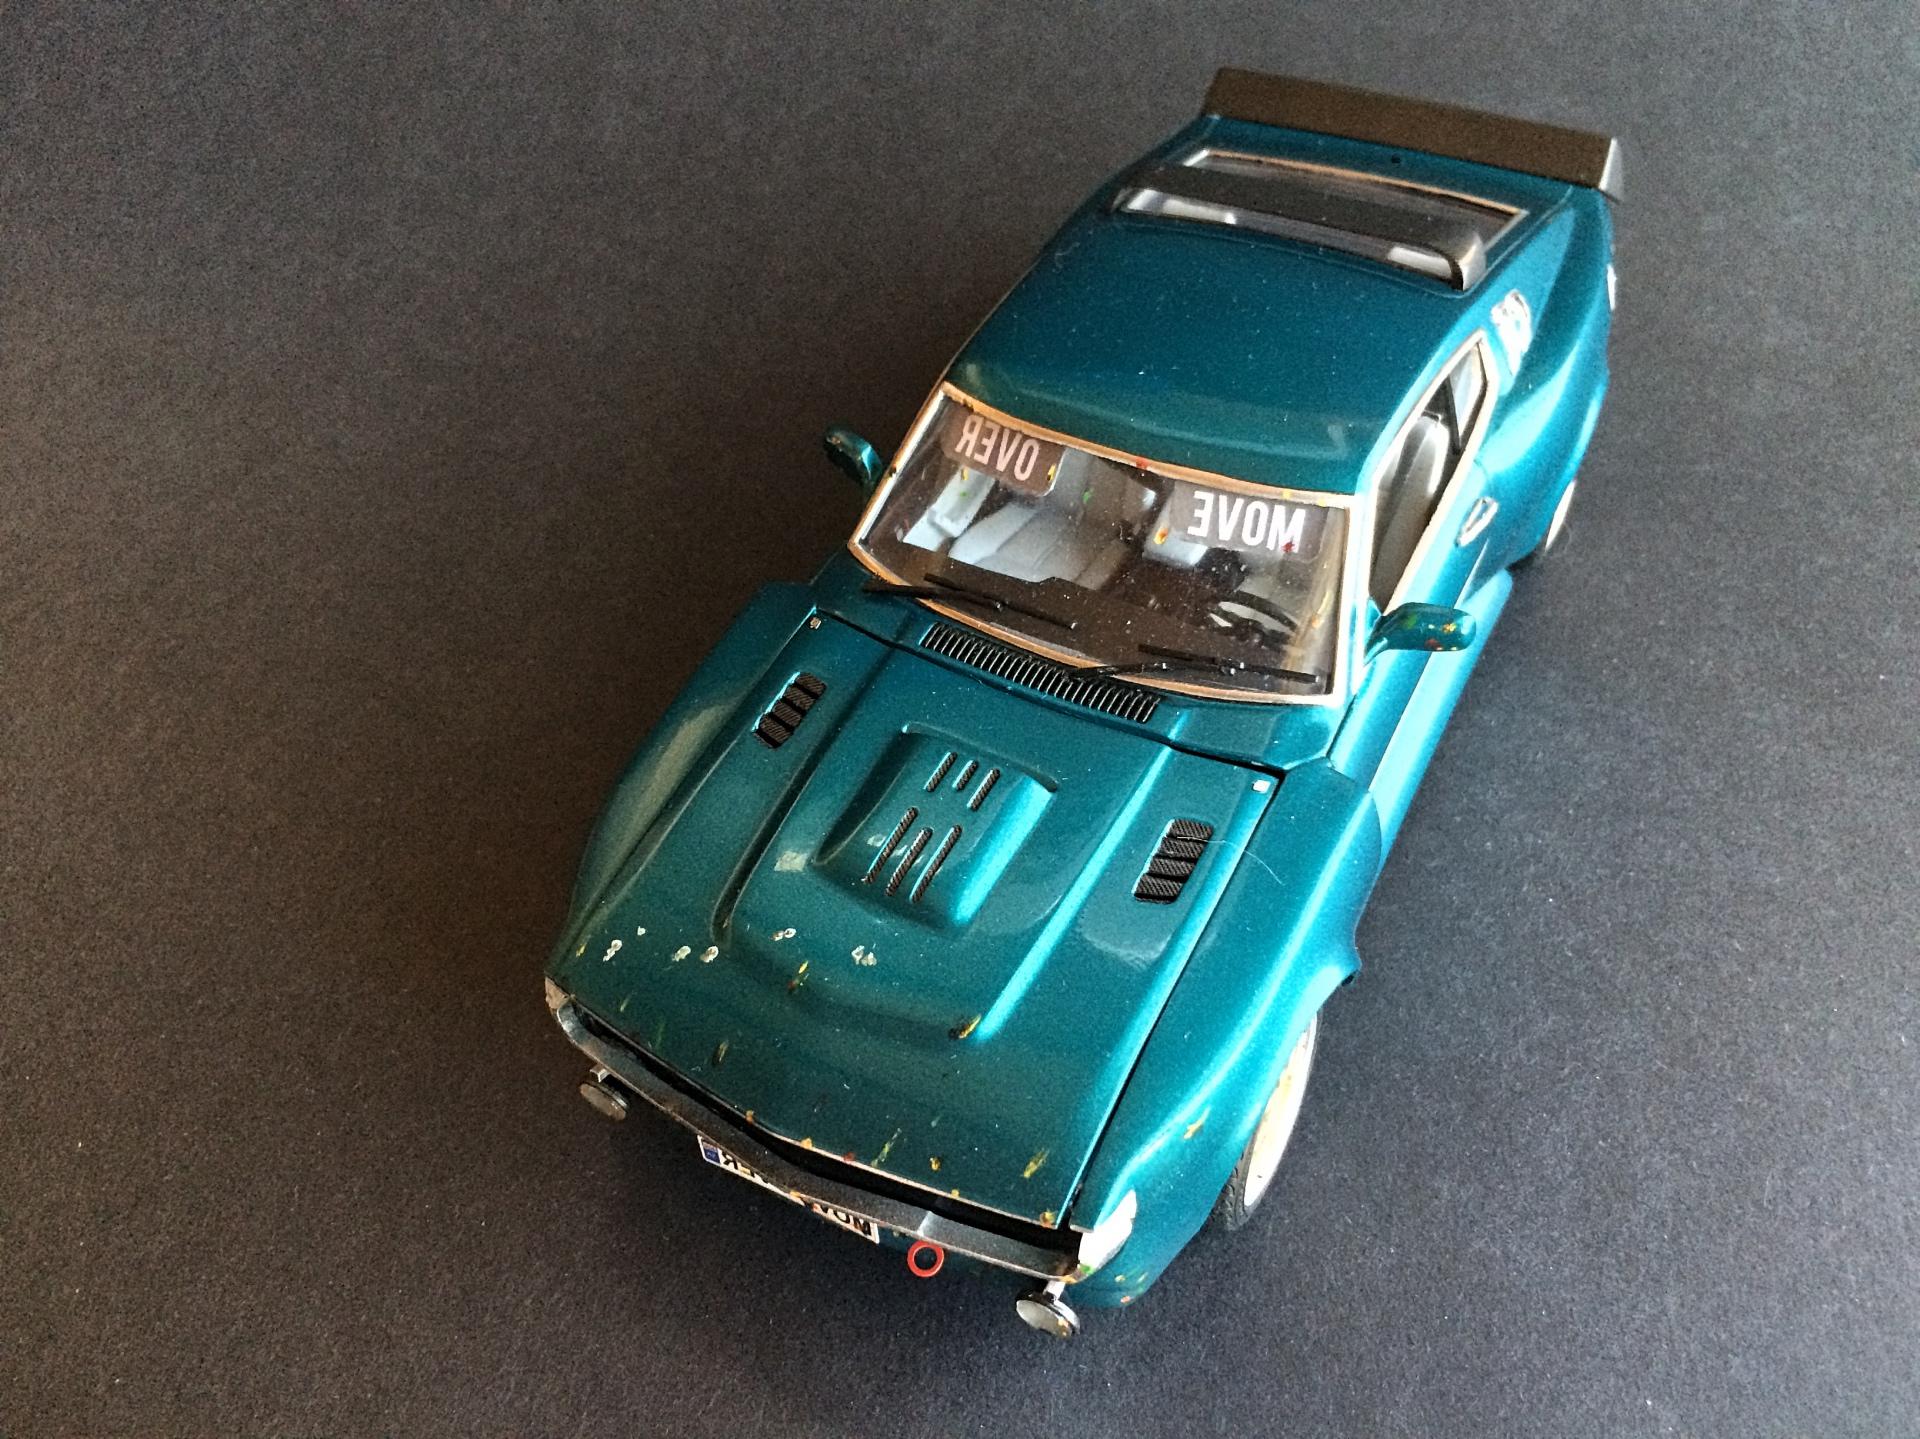
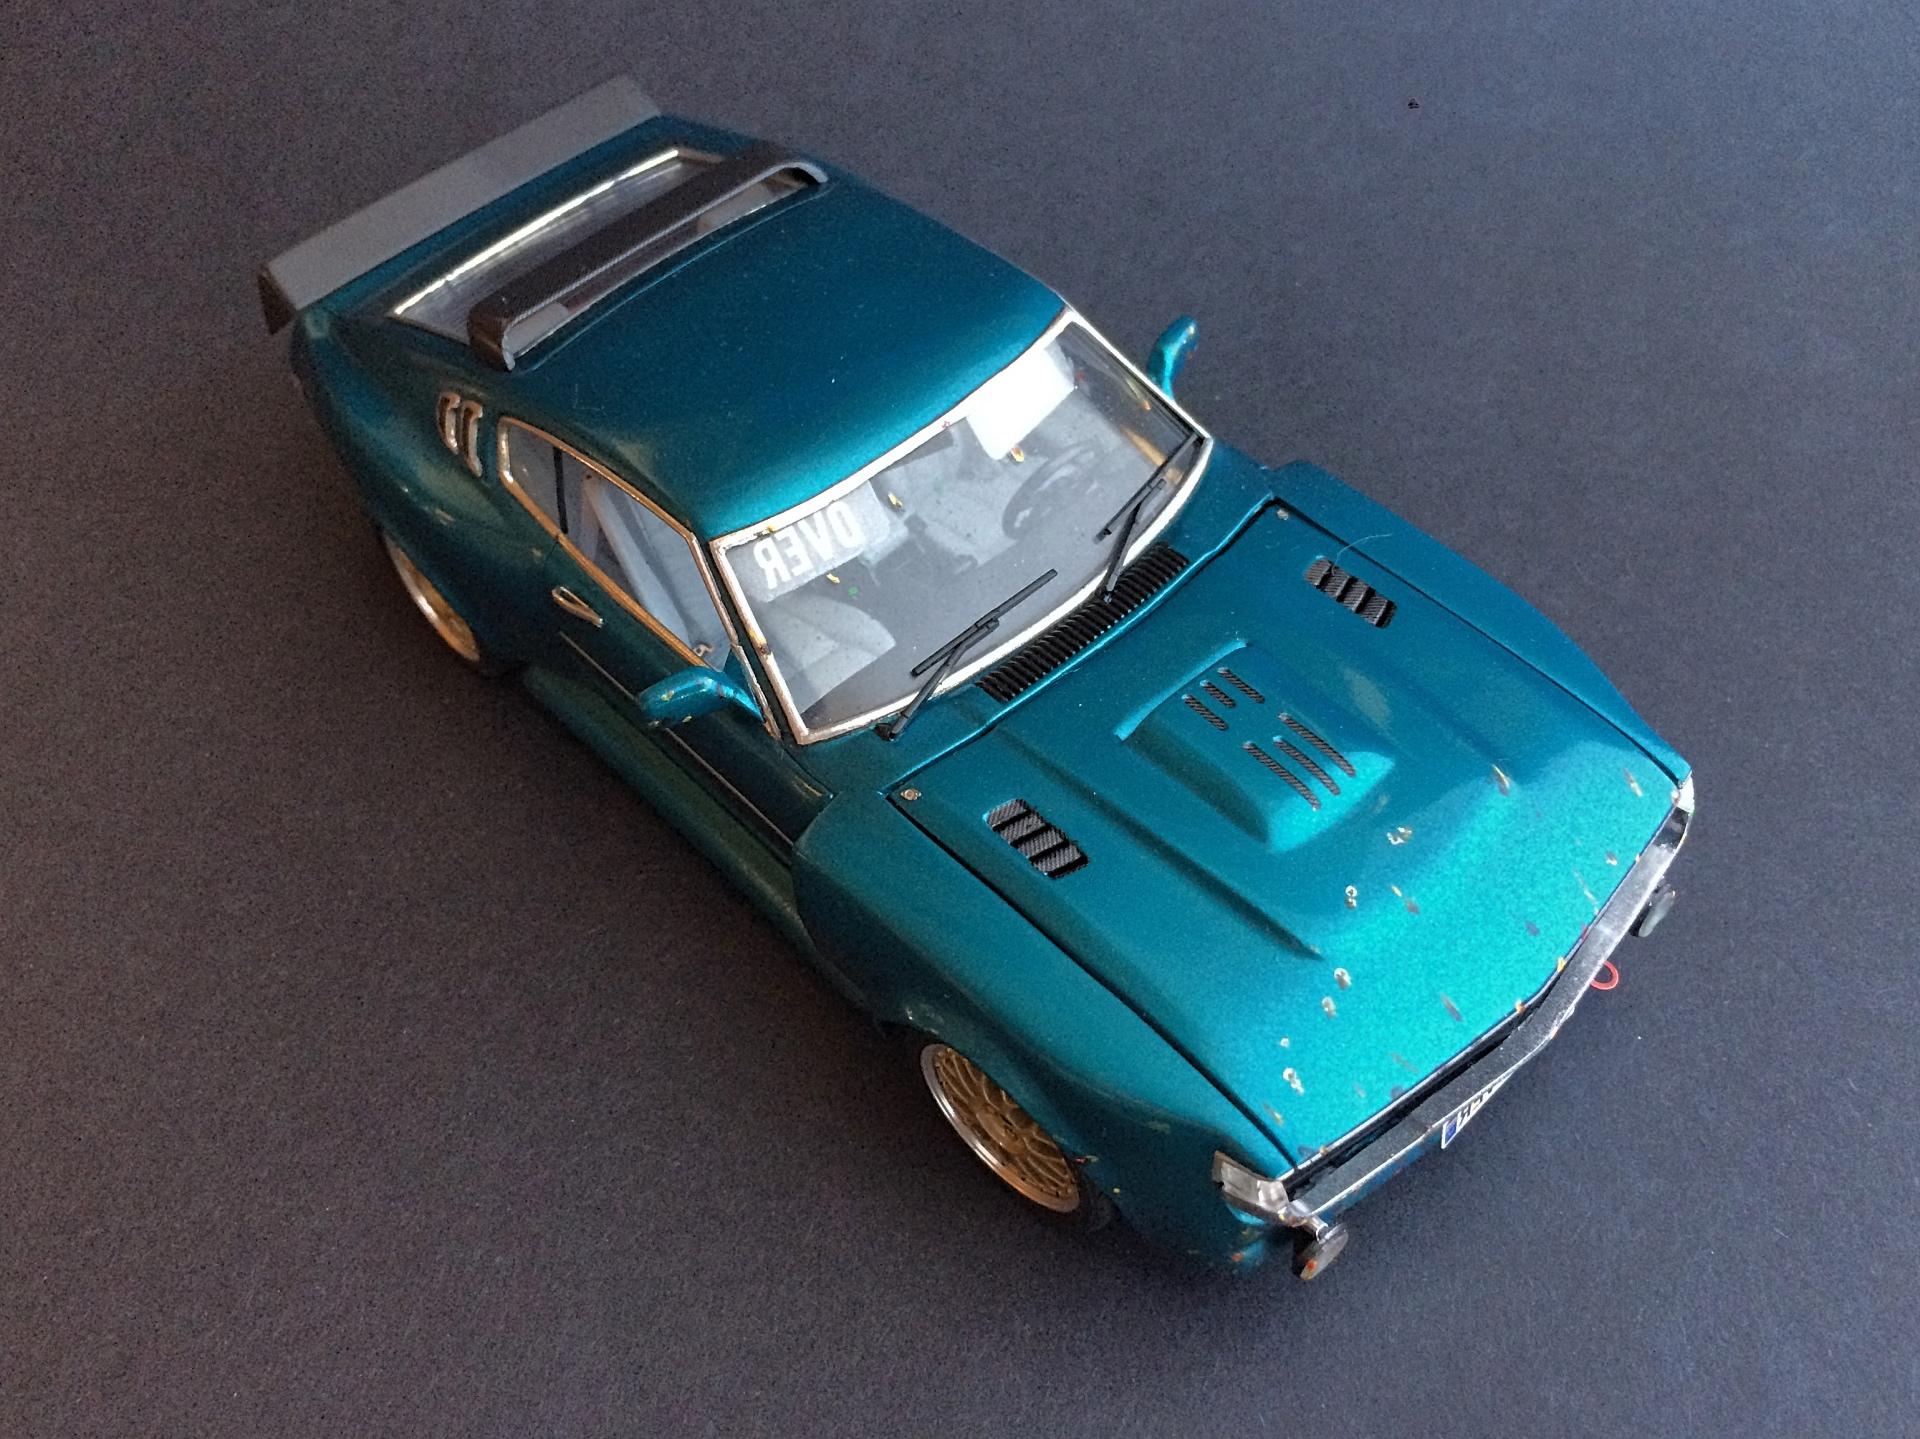
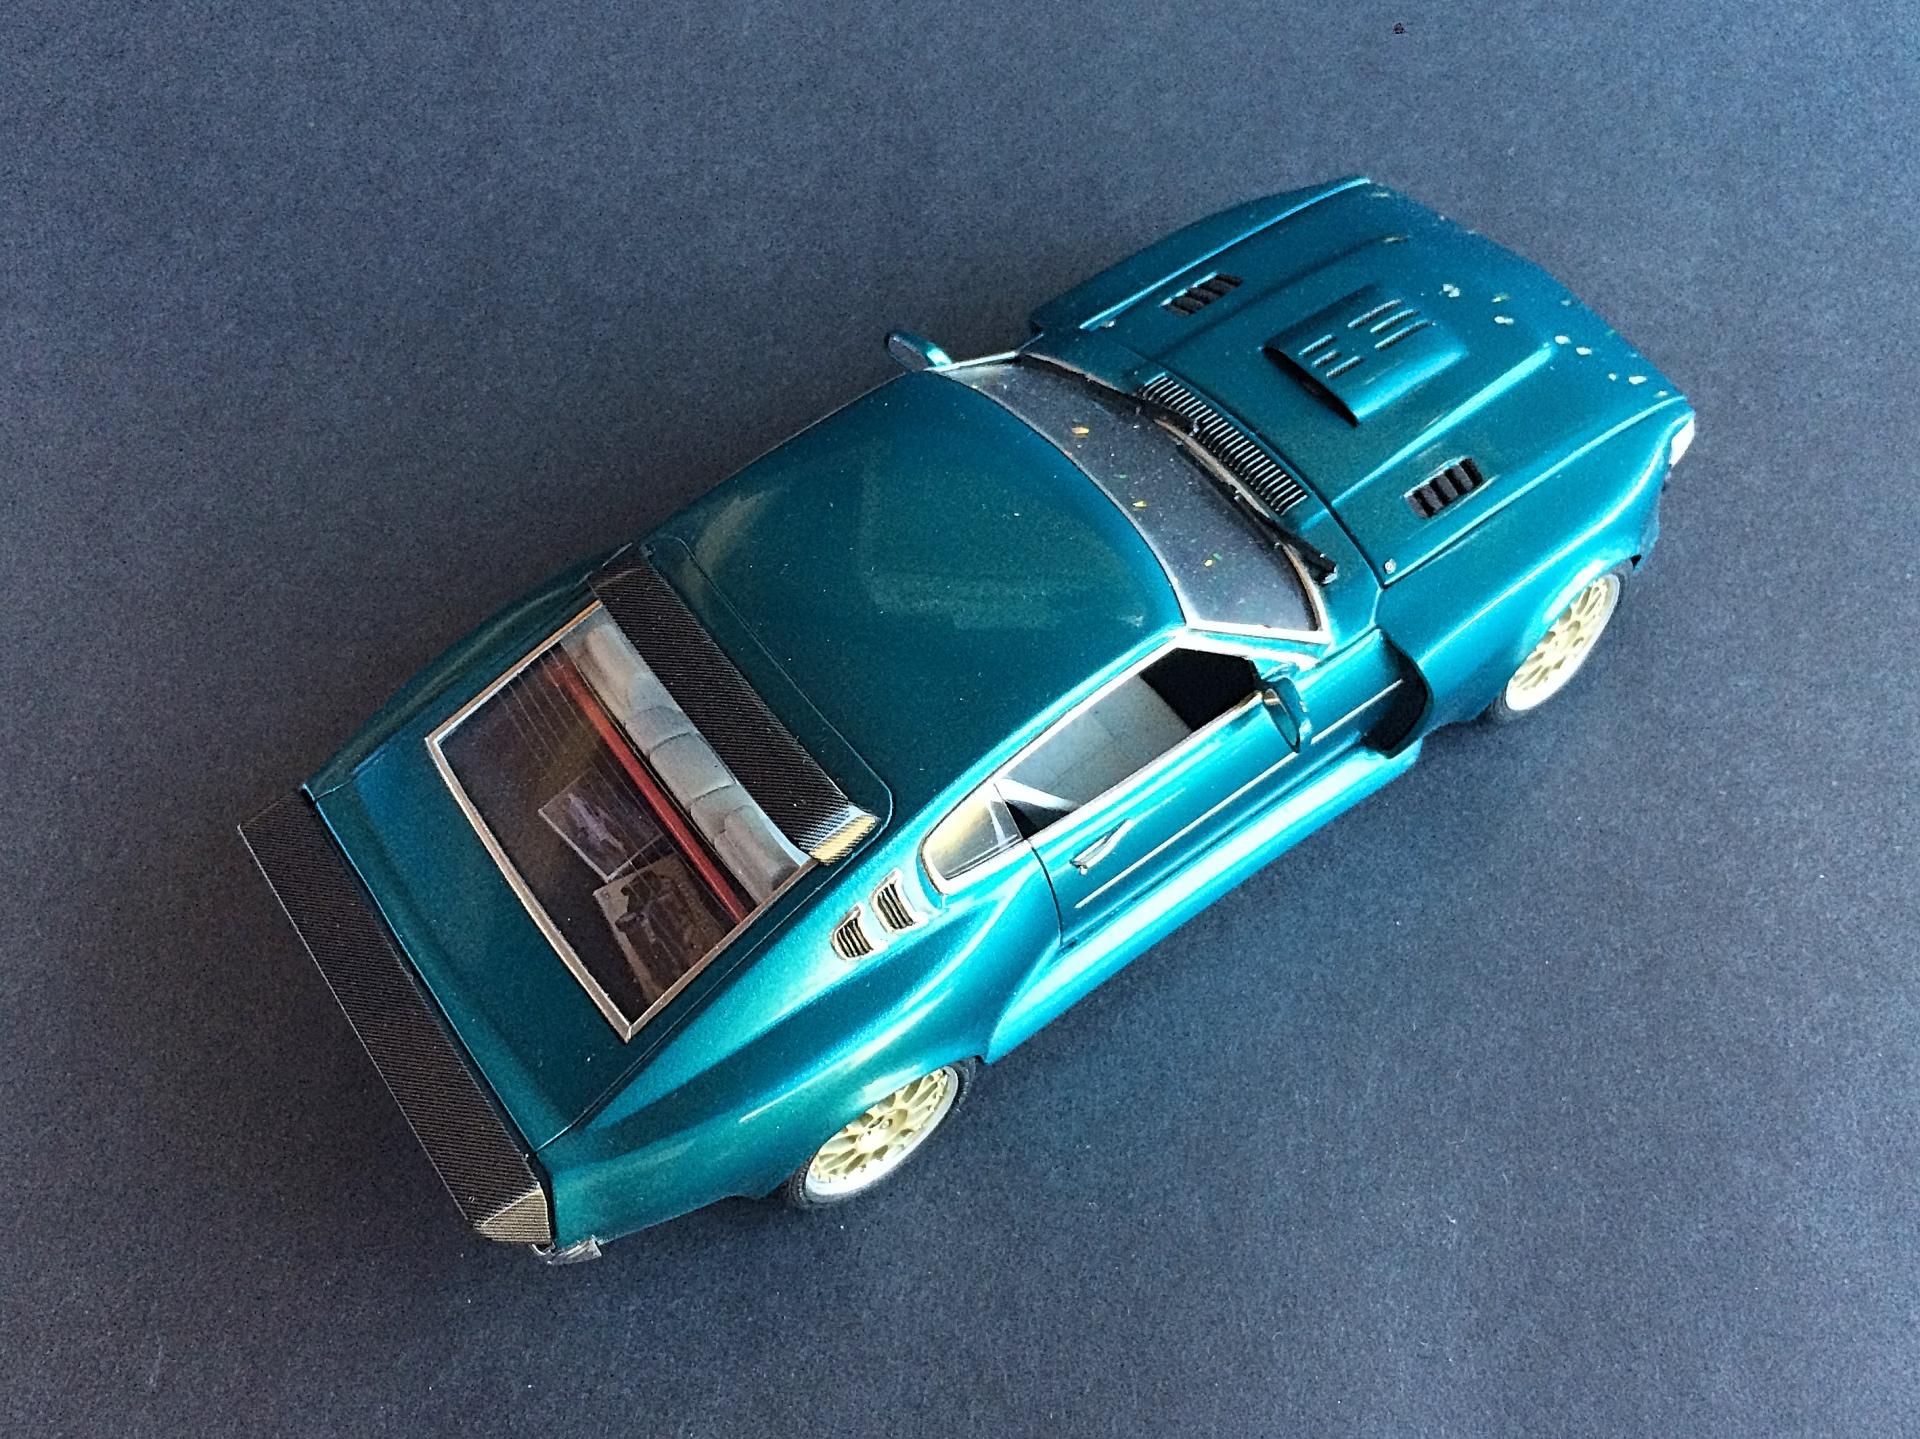
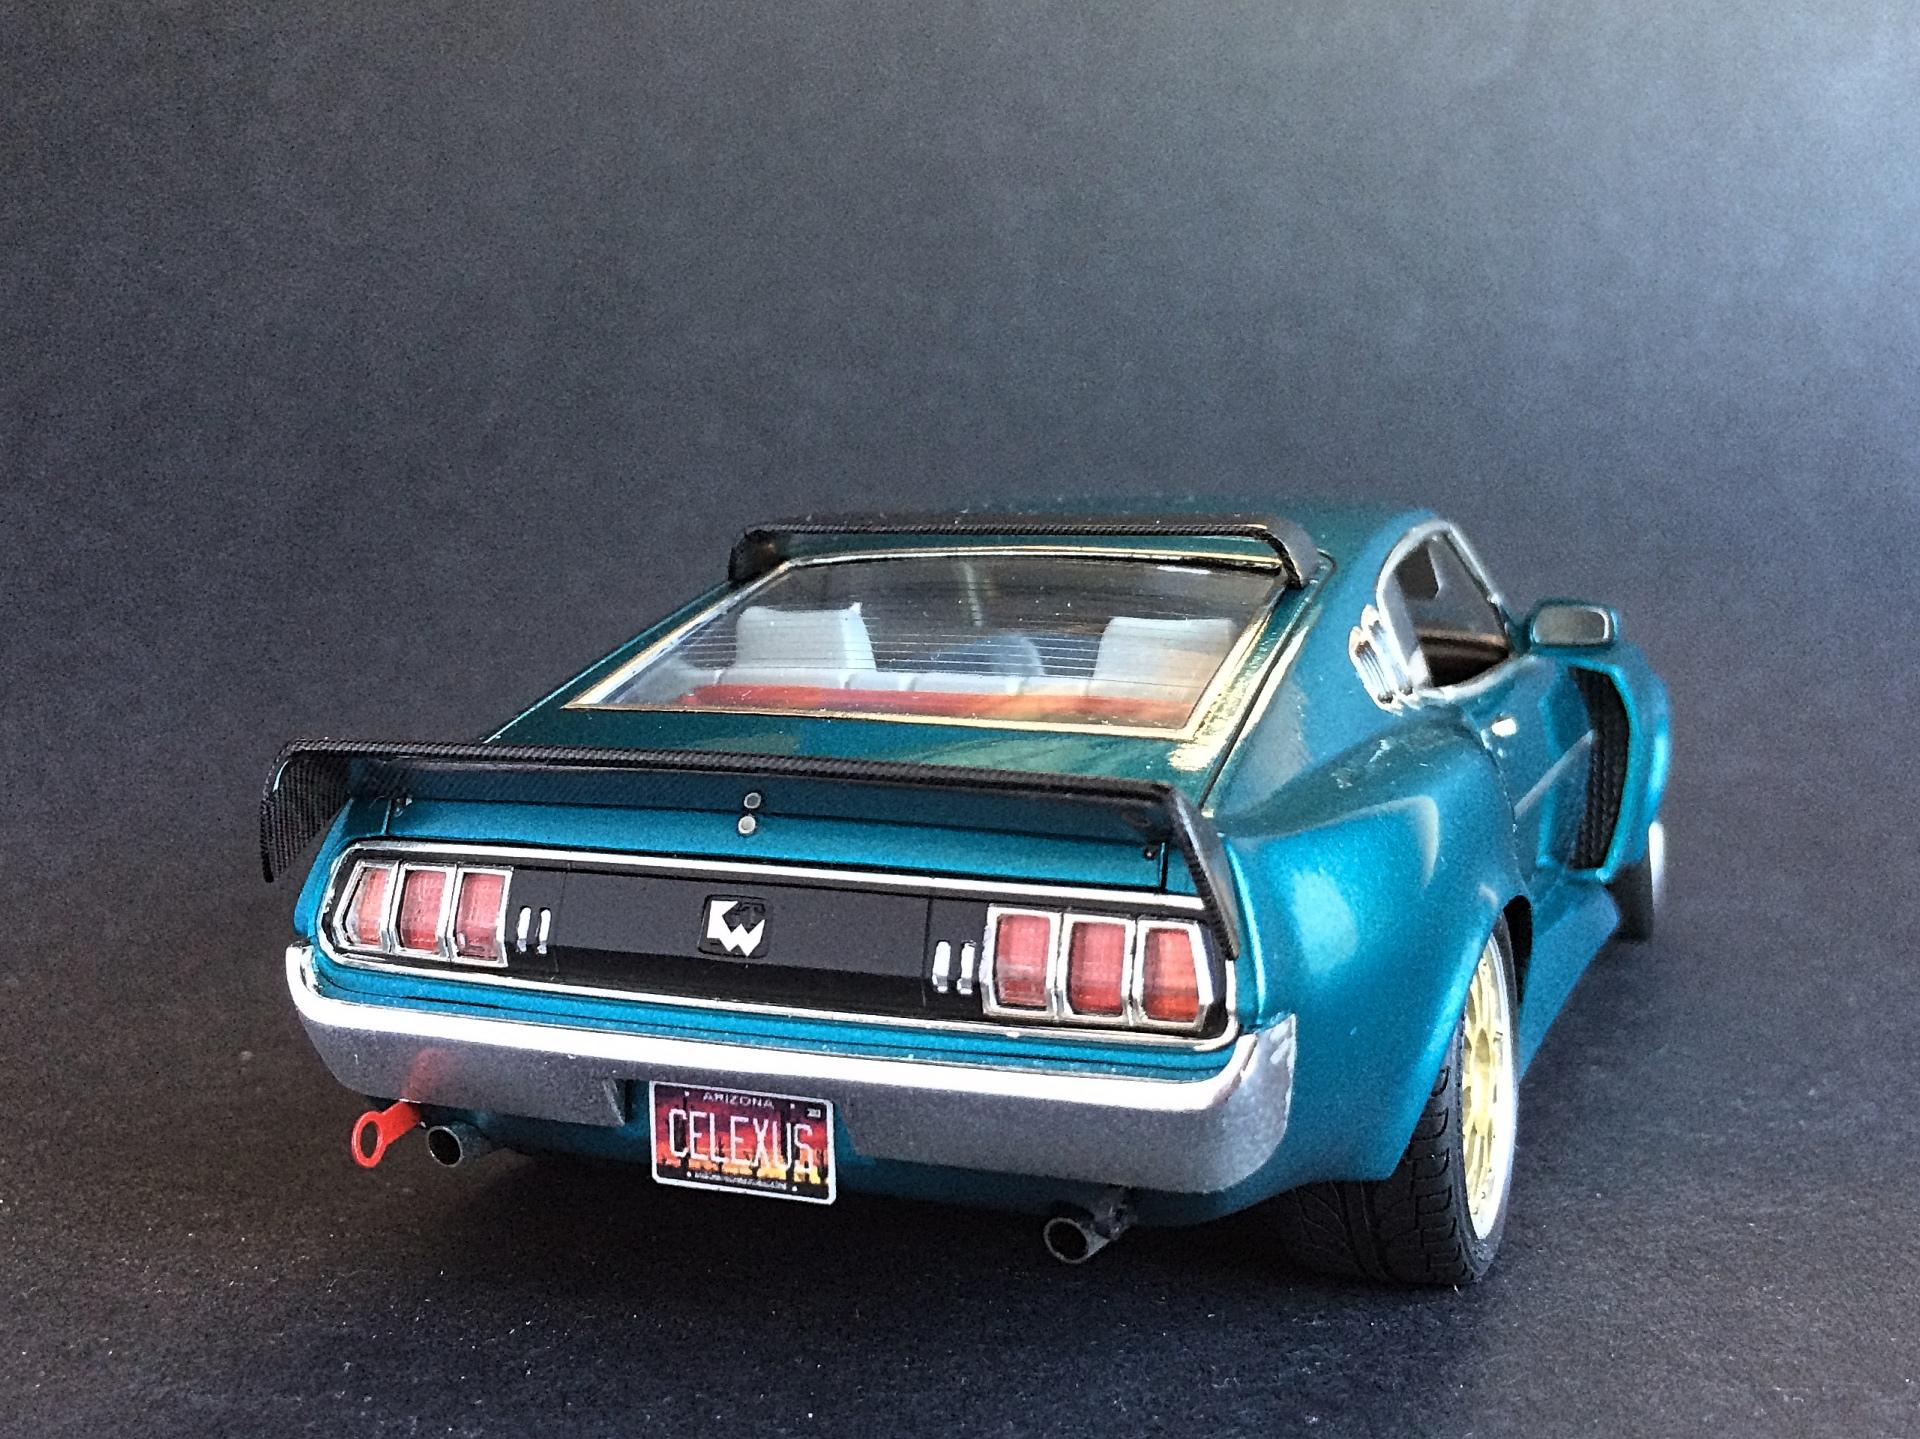
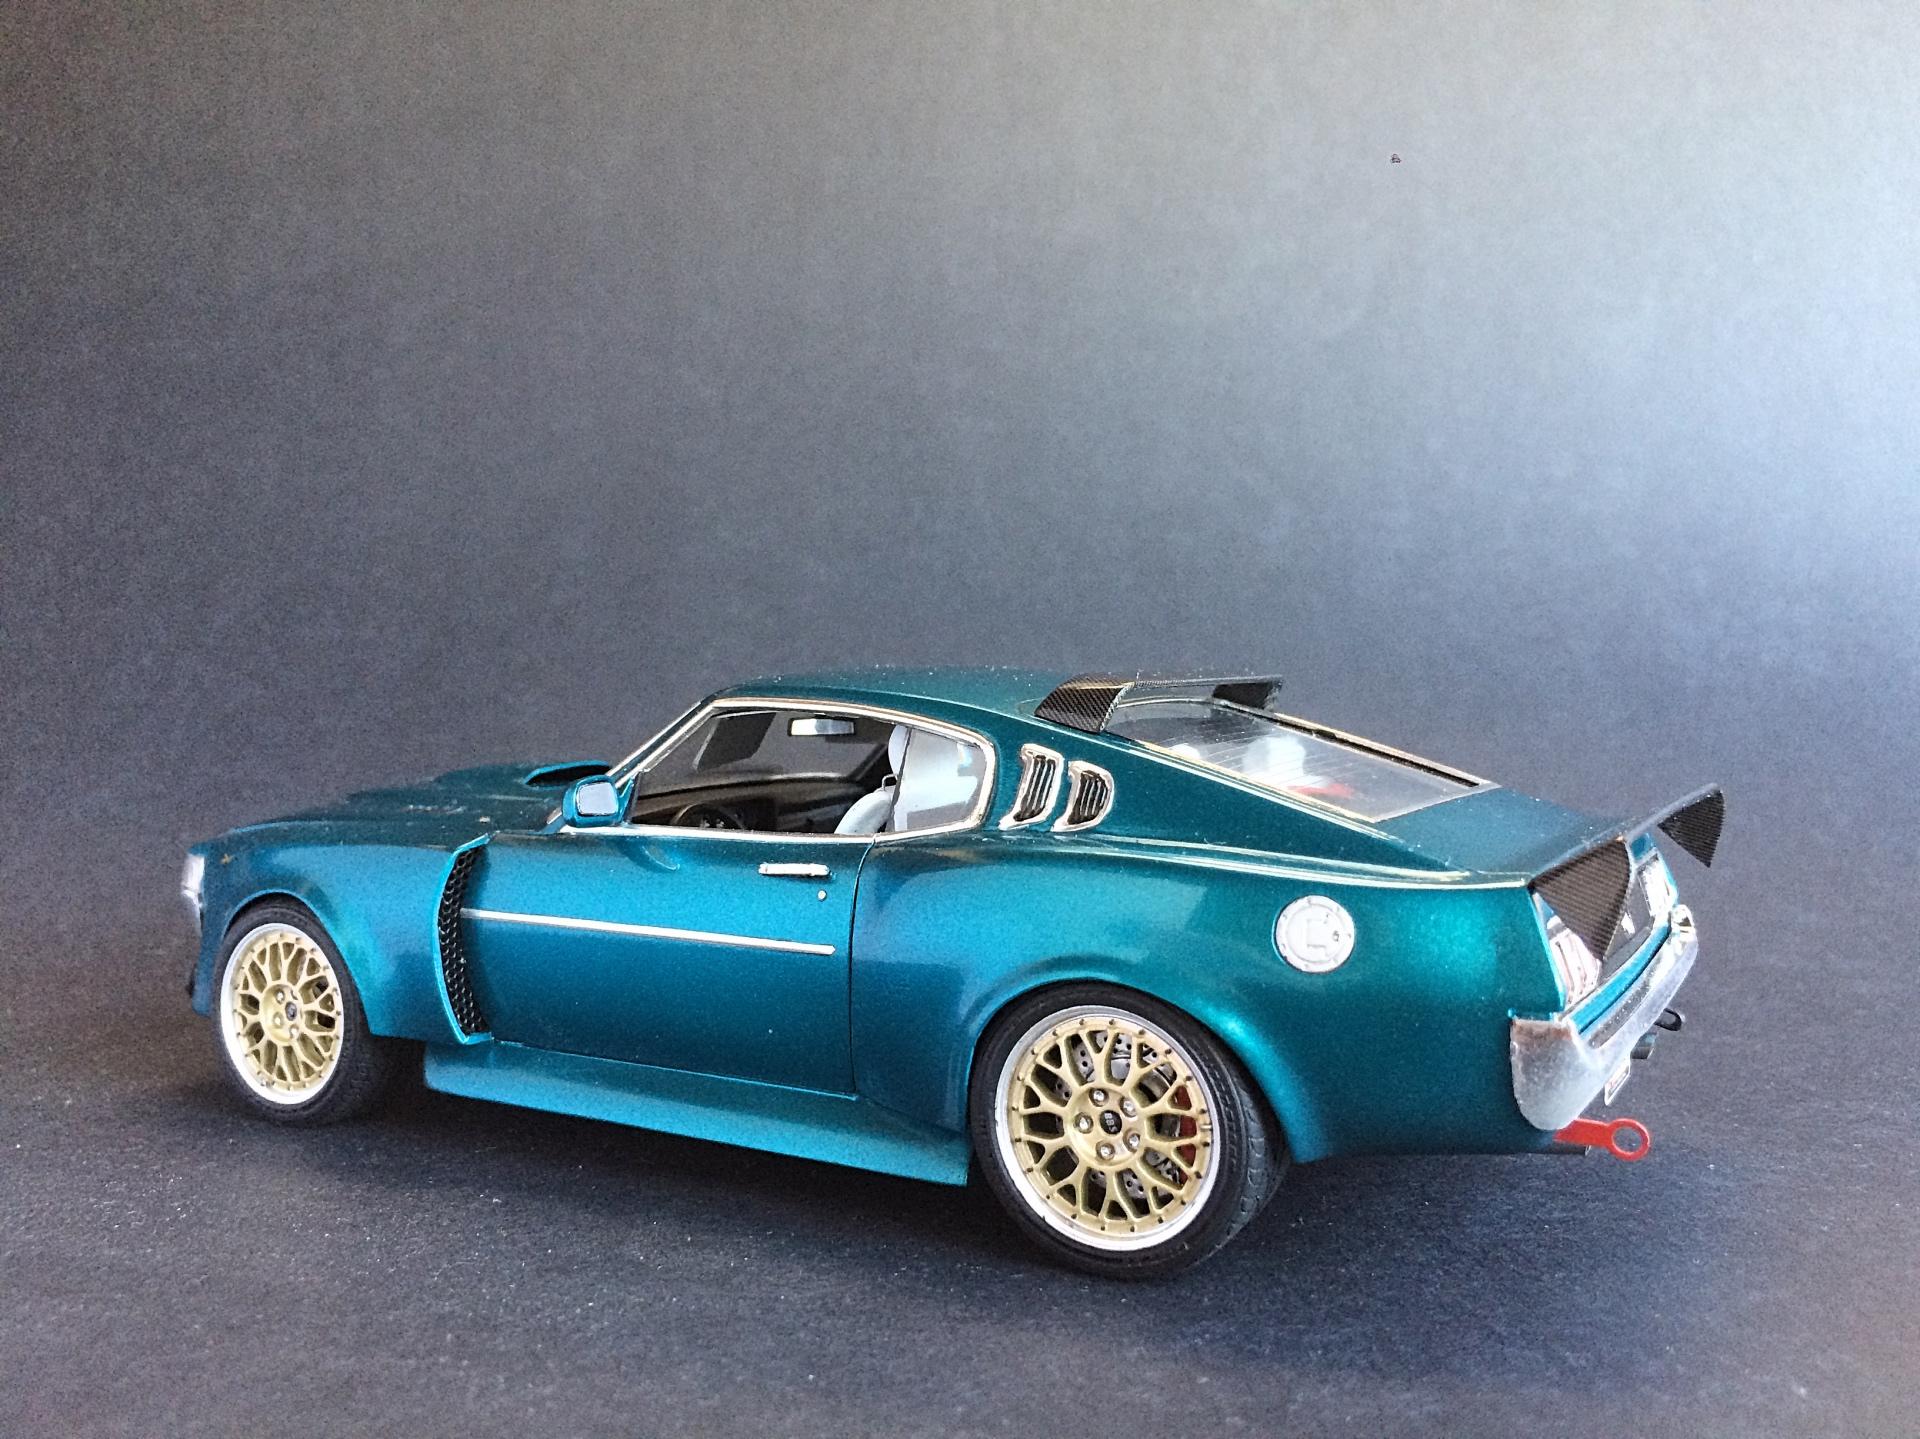
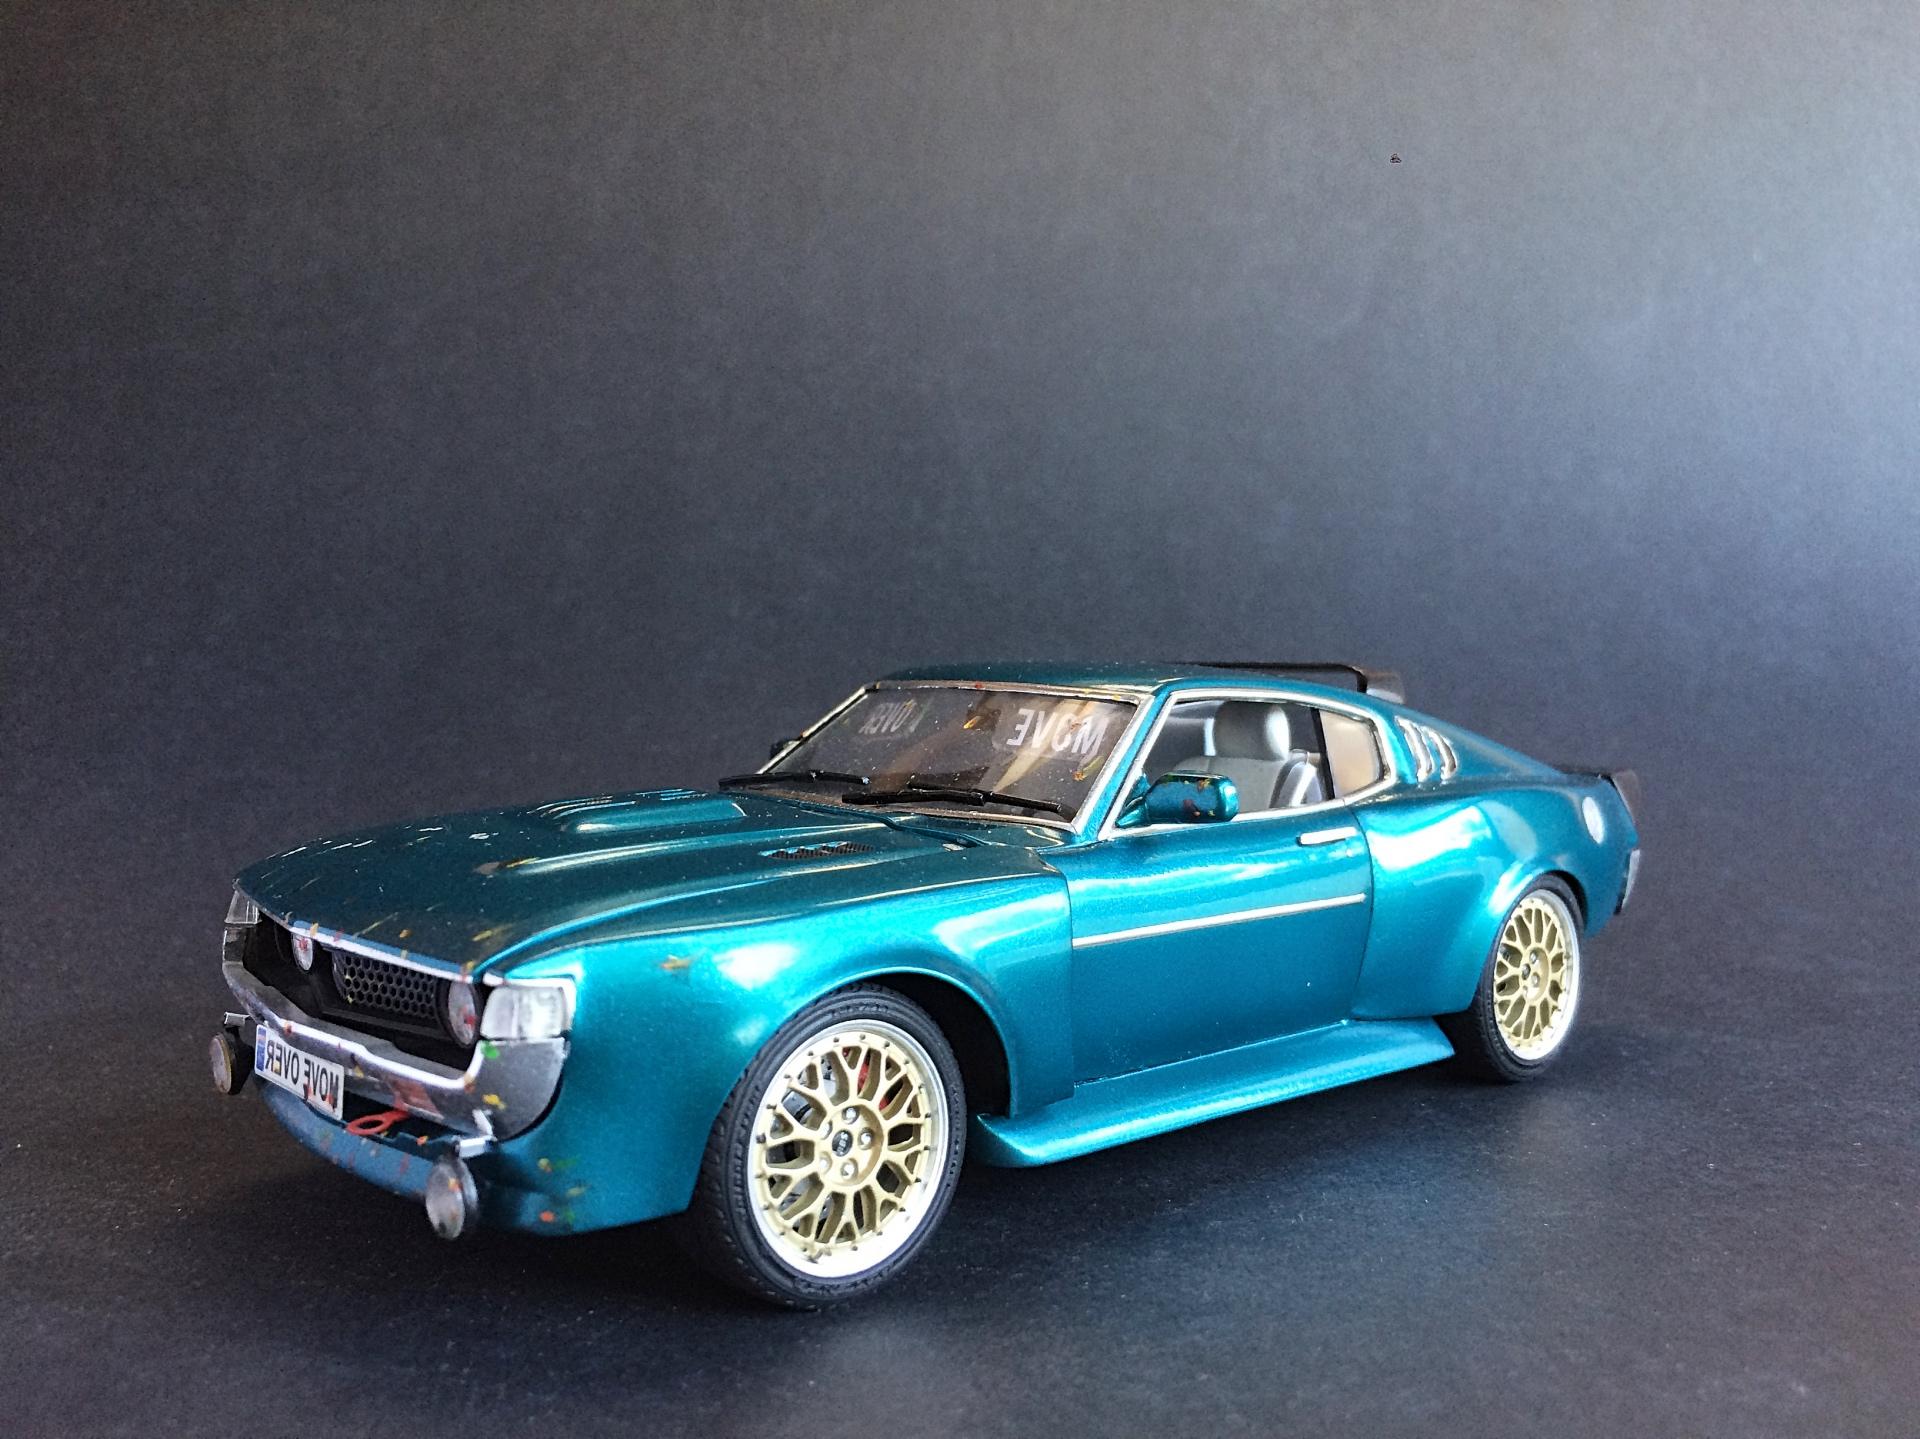
Kitbash of the Aoshima Toyota Celica GT2000 Liftback, and the Tamiya Toyota Celsior V8, chassis, and interior (Lexus LS400 in the USA), Celica + Lexus. WIP thread The V8 is very popular for street rodding Corollas, some Celicas have also been done. Had this idea since July 2003, started April 21 and finished in a little over 110 hours. The basic architecture of the two cars is similar, the sedan wheelbase was shortened about 5/8", Celica body widened about 5 MM each side. Not sure what class this would fit into at some contests, 'Tuners' are usually Japanese turbocharged 4 cylinders, 'Street Machines' are usually American cars with V8s, 'Customs' are usually Lead Sleds. ? The Aoshima came with the American Satco LHD dashboard. Wheels are a Fujimi set, that came with Brembo brakes. Nail 'polish' paint. There are some things that did not work out perfectly, but good enough for something different. I use a hot-wire to cut most of the time, in this case kept the jagged edge to simulate a weld line. Engine is mostly stock, exception was cutting the intake tract with accessories apart. Front has a Mercedes 190 airdam blended in, photo-etch grill, intake air filter is being missing headlight. I designed the moveable spoiler, the intent is have it go up when braking. Scanned and reduced kit boxes to scale. Cargo area is all scratch-built, including strut brace. This Celica was touted as the Japanese Pony Car, now that I modified the fenders and installed a V8, it looks the part. To hide some blemishes, have "weathered". Can scratch this off my 2020 Resolution list, #4. ?
-
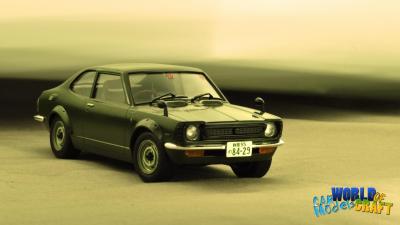
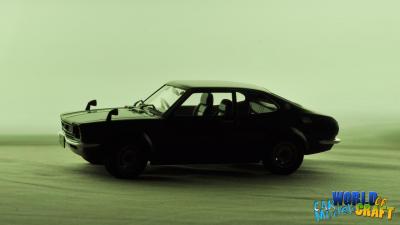
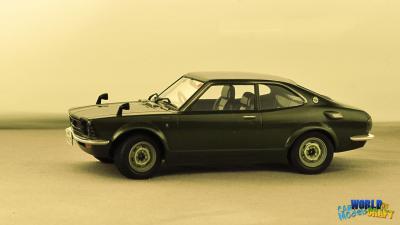
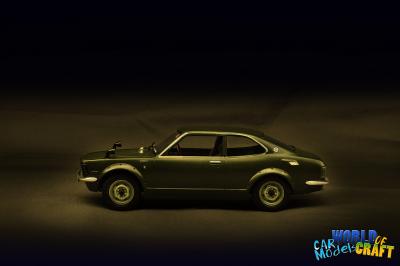
Hello, here is my newest build, its Toyota TE27 Levin from Fujimi kit.. I did spent week to build this since i wanted to finish it fast becouse there is model contest soon on next week, and i wanted to build something new to show up there. Its my second model show so far in my life time so im bit exited.. Not a big show, but still one to go. Ok about built and stuff i did for this.. Lowered chassis from front to get that stance look good. Aftermarket 13" ATS wheels with tires from this Fujimi kit. Interior got door handles etc, also there are some speakers and nice flag in back. Colors Olive drab and matt black with some Molotow touches, and also painted some wood treatment for steering wheel. Color is Tamiya TS Forest green, i guess it was for some Aston Martin, but suits well for about any car. Also made Japanese lincence plates to fit on US-size license plate frames Not muct time to make more on week but these i made to build this puppy. After all i had much fun while doing this, and i could build another with more time and maybe more details.. but here are the pictures.. Enjoy Cheers
-
Originally a Lindberg kit, now packaged under the AMT label, the 1/20 scale 1992 Toyota 4x4 Pickup should be available soon:
-
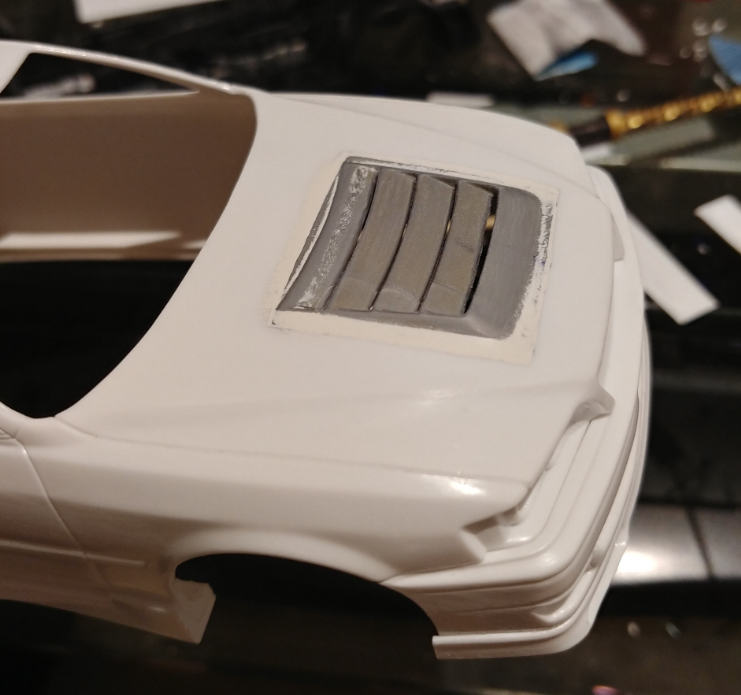
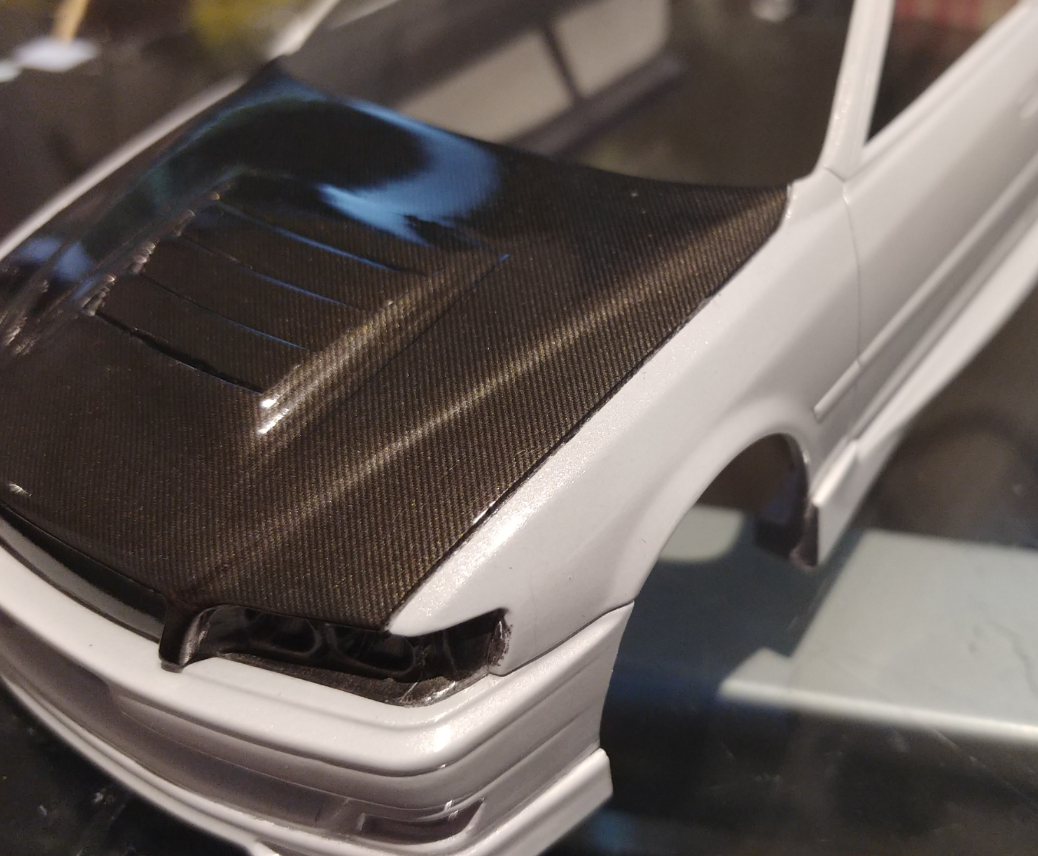
Hi All, I set myself a challenge, to complete a quick build before i go back to work in a weeks time. Below is my progress so far... The Kit in Question is the Aoshima Toyota Chaser. It is just a Curbside Kit, so shouldnt take that long to complete. My vision for this build is to be a JDM VIP car, So slightly modified exterior, and big Chrome wheels. The Wheels i intend on using are the SSR MS3, by Aoshima. First up, i prepped the body. removed any extra mould lines, and went to work on the bonnet. I decided i would make a custom vented bonnet using one from a R34 Ztune skyline that i stuffed up a few years back, but still had lying arround. I dremeld out the vents, and traced the outline onto the chaser. out came the 0.5mm drill to make a few pilot holes so i could get my saw in to cut the hole to match the vented piece. I used a few off-cuts of styrene sheets so i had something to glue it to underneath. Next i used some Tamiya White Putty and started to fill the gaps. Then the sanding process started. First up was some 360 Grit, then 600, then 1000. Next up was pimer. For this i used a Tamiya Grey surface primer can. I let the primer dry for an hour or so, and then sanded it back with some Tamiya sanding sponges up to 3000 grit, (probably not essential, but a few spots needed it. I wanted to paint this model in Tamiya TS45 Pearl White. Seeing as i used a grey primer, i decided to do a silver base coat, just so the white would show over it better. It turns out that the Pearl white, is a very thin colour, so it didnt really turn out white, but instead a light grey pearl. As it turns out i Love the colour better than the straight pear white, It is a very unique colour. I decided that i wanted to make the bonnet carbon fibre to accentuate the JDM style i was going for. I used some scale production carbon fiber sheets for this, and a lot of Micro set to work the decal into the complex shape of the vents. I was able to use one whole sheet for the bonnet, which i wasnt sure i would be able to do. After letting this sit for an hour or two to fully set, i continued onto the clear coat. Again i used some tamiya spray (TS13) I applied 2 light mist coats, followed by 2 heavier coats, then put it aside for around 24 hrs. The clear coat finish straight out of the can is not too bad, but there was a bit of orange peel. so out came the 3000 grit sanding sponge and i got to work levelling out the orange peel (wet sanding of course) I then used some meguires car polish compound to remove the scratches from the sanding, working in small rotating motions, then buff it off. Next step was some Auto Glym car polish to make the colour shine, again working in small circular motions. The final step was some Mothers Carnuba Wax, which helps seal in the polish, and makes the model an ease to remove dust from in the future. This whole paint correction process may seem a bit unnecessary, but the end result is truly fantastic. Tomorrow i will begin work on the chassis and post some progress shots. Thanks Nathan
-
So, this was sitting for a long time now, very much unfinished, becuase im still working on the rx7, which is still waiting for some sprays and clear coat but i still have high hopes with this!
- 3 replies
-
- tamiya
- unfinished
-
(and 1 more)
Tagged with:
-
Since I do not anticipate getting any others done this year, I thought I'd share pics of what I have accomplished. January Tamiya Toyota Celica GT-4 Aoshima 2000 Toyota Chaser JZX100 "Itasha" Aoshima Toyota Estima G March Fujimi 1999 Mazda RX7 Aoshima Laurel C33 April Monogram 1957 Ford Del Rio Wagon May AMT 1957 Ford Fairlane 500 Revell 1957 Ford Tudor Custom Thanks for looking!
-
My 3rd Build was going to be easy. i thought .... but it just seamed like it was fighting me especially the paint .had to redo much of it . and i did not end up where i had originally pictured it . it definately dident turn out to be a showcar (maybe a contender for a Complete restauration in the future. but never the less i got it done . this Corona has a custom interior with a rollcage. custom front and rear spoiler. and a mesh in the grill. the wheels are optional Mpc.s . im imaginating the car to be a Jdm/drift guy,s plaything / everyday driver . ´this build really pushed me to the point of allmost giving up when it just keept getting worse . but glad i dident even if its not perfect and the clear turned flat in some places. maybe its just a car on its way to becomming a so called Drift Missile car . im glad i had the struggle it just gives experience for next time . so here it is . this was the kit it was a old Otaki kit ..one of those motorized kits
-
Tamiya's New kit built straight out of the box. Some 1500 real cars produced, not all black, this is a factory color mixed in lacquer. Kit went together without any worries, though the decals were a little fussy. A word on the real car; exactly one real one is known to exist. I saw one in the lobby of the Toyota Motor Museum in Nagoya, Japan, and didn't know at the time that it was a replica built for Toyota's 50th Anniversary. The only real survivor was discovered in Siberia in poor shape, being used by a farmer for generations and endlessly repaired with whatever was on hand. It now lives in an auto museum in the Netherlands, unrestored...... Thanks for looking!
-
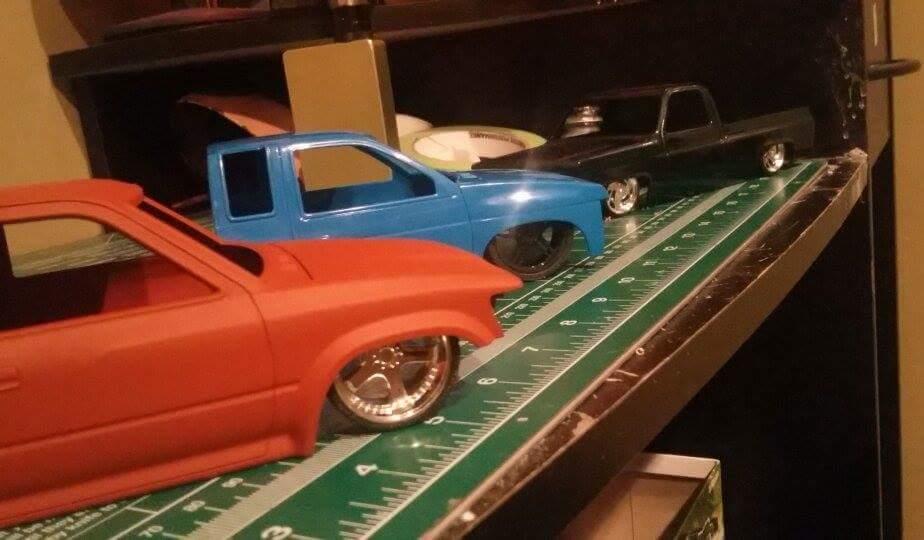
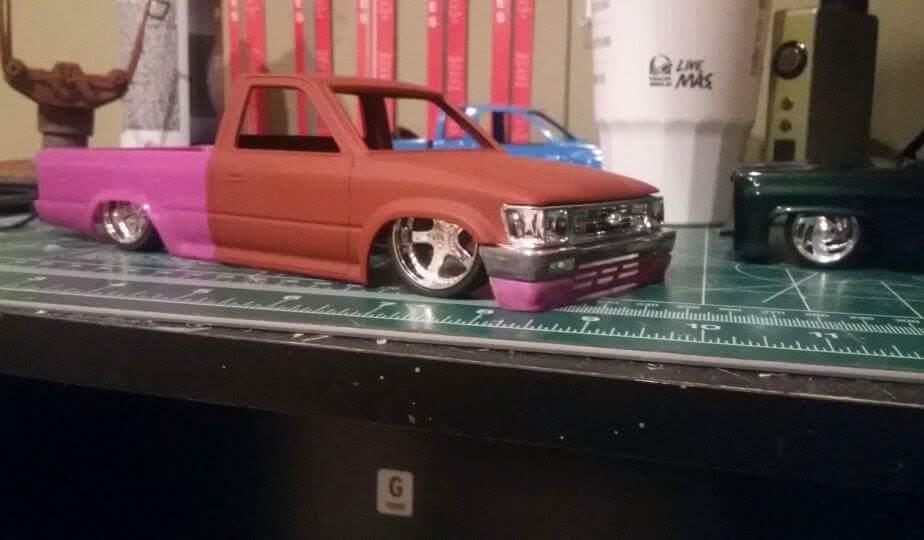
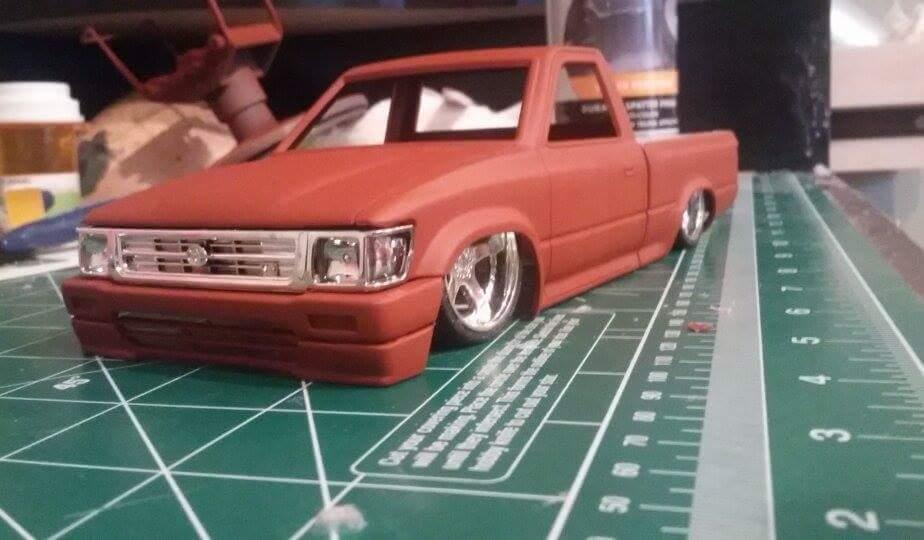
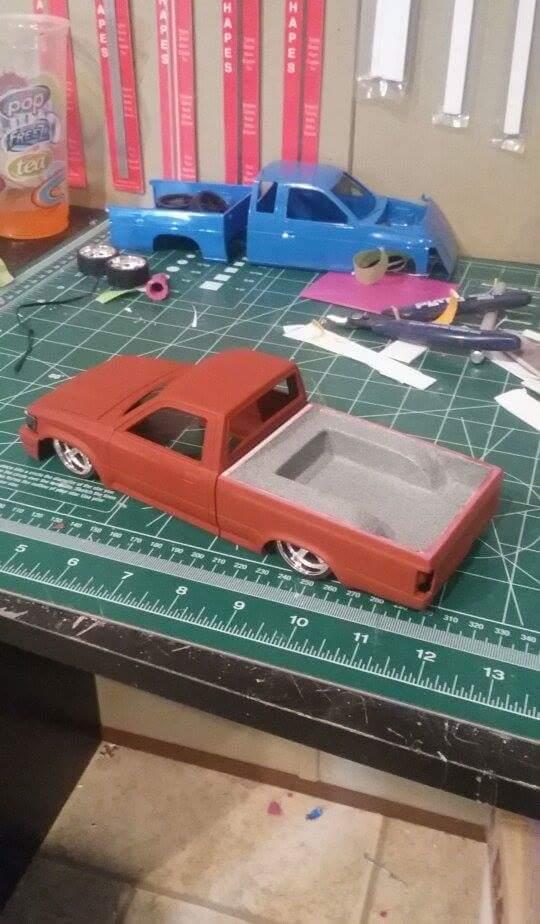
This is a 1/20 Toyota pickup I got from a good friend of mine since the 89-94 Toyota pickups are my favorite body style I have always wanted to build a real one. This build is exactly how I would want my real one body dropped on 18s, fully shaved, custom interior, molded tailgate and roll pan, custom interior. I would want it painted the brightest red I could find and grey interior. I would want to put in a sliding rag top aswell for those long summer days of skating down the strip with the music bumping my favorite hams so here goes my scale build of my dream truck I am now 24 hrs into the build and it's taking shape really quick my bed floor is complete and line x sprayed ready to be color matched most of my body work is already done and my tailgate is molded so let's see where this scale minitruck will take me
-

1970 Toyota Corona 1600 sl ( from otaki)
The Danish sprue wrangler posted a topic in WIP: Model Cars
going to slowly start a new project . this its the 1970 Toyota corona from Otaki . i dont yet know what i will be doing here . should it be box stock or Custom i have no idea about color yet could be anything ... now the interior sucks on this kit the seats are half sized . because i guess they liked to make these kits into slot-cars back then. so it has a battery compartment and room for a motor inside . and there are gears on the back axle . so there is some work in that if i choose to try and fix it the body is pretty nice on first glance. the doorhandle,s are hollow and corona emblems is molded on the side. but it does have some heavy mold lines to remove . and the chrome is awful allround .. oh and the instructions are missing from the kit . its an od kit witch i have not been able to find Any info on or even a single picture of online. shame i dont read japaneese then maybe .??? anyone know anything ??? your ideas or thoughts on this project are very welcome . -
"Itasha" means Pain car in Japanese. This could refer to the pain you feel when looking at it or the cost to your wallet after building it :-) Basically an Itasha car is one that is covered in pictures of Anime, Manga, and Pop star decals. Some look really cool. I think the one I built does. Thanks for looking!
-
-
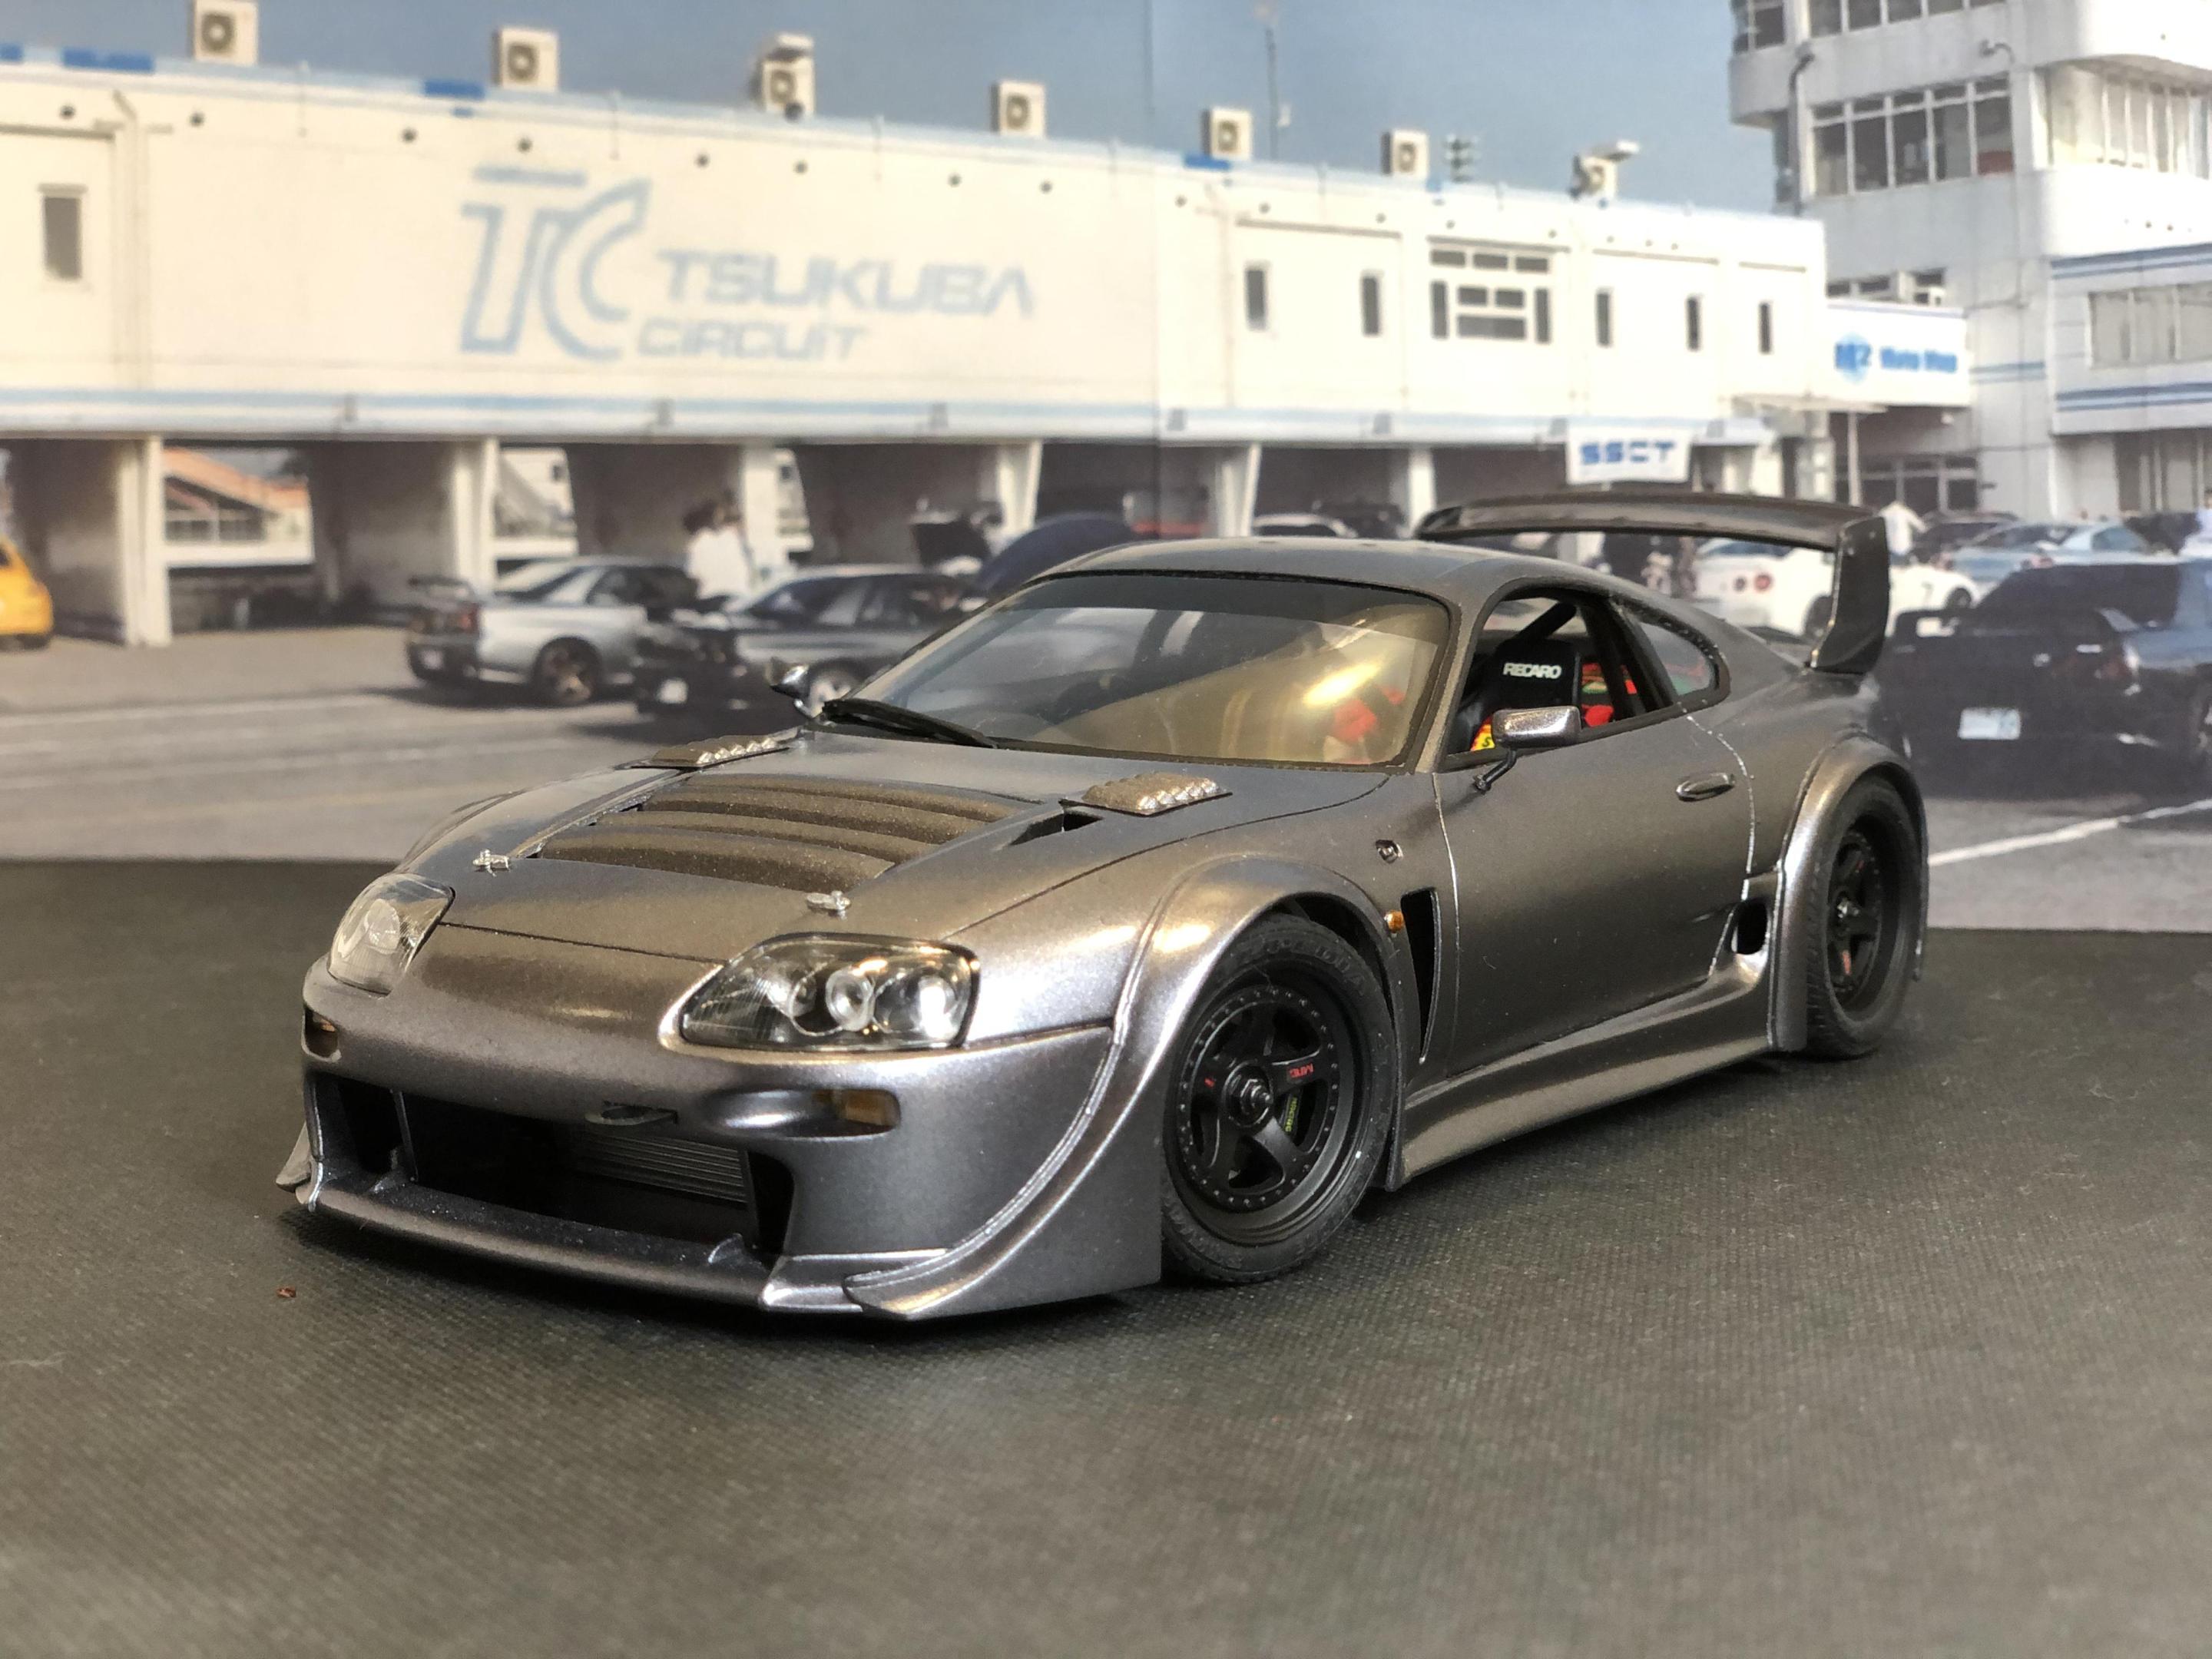
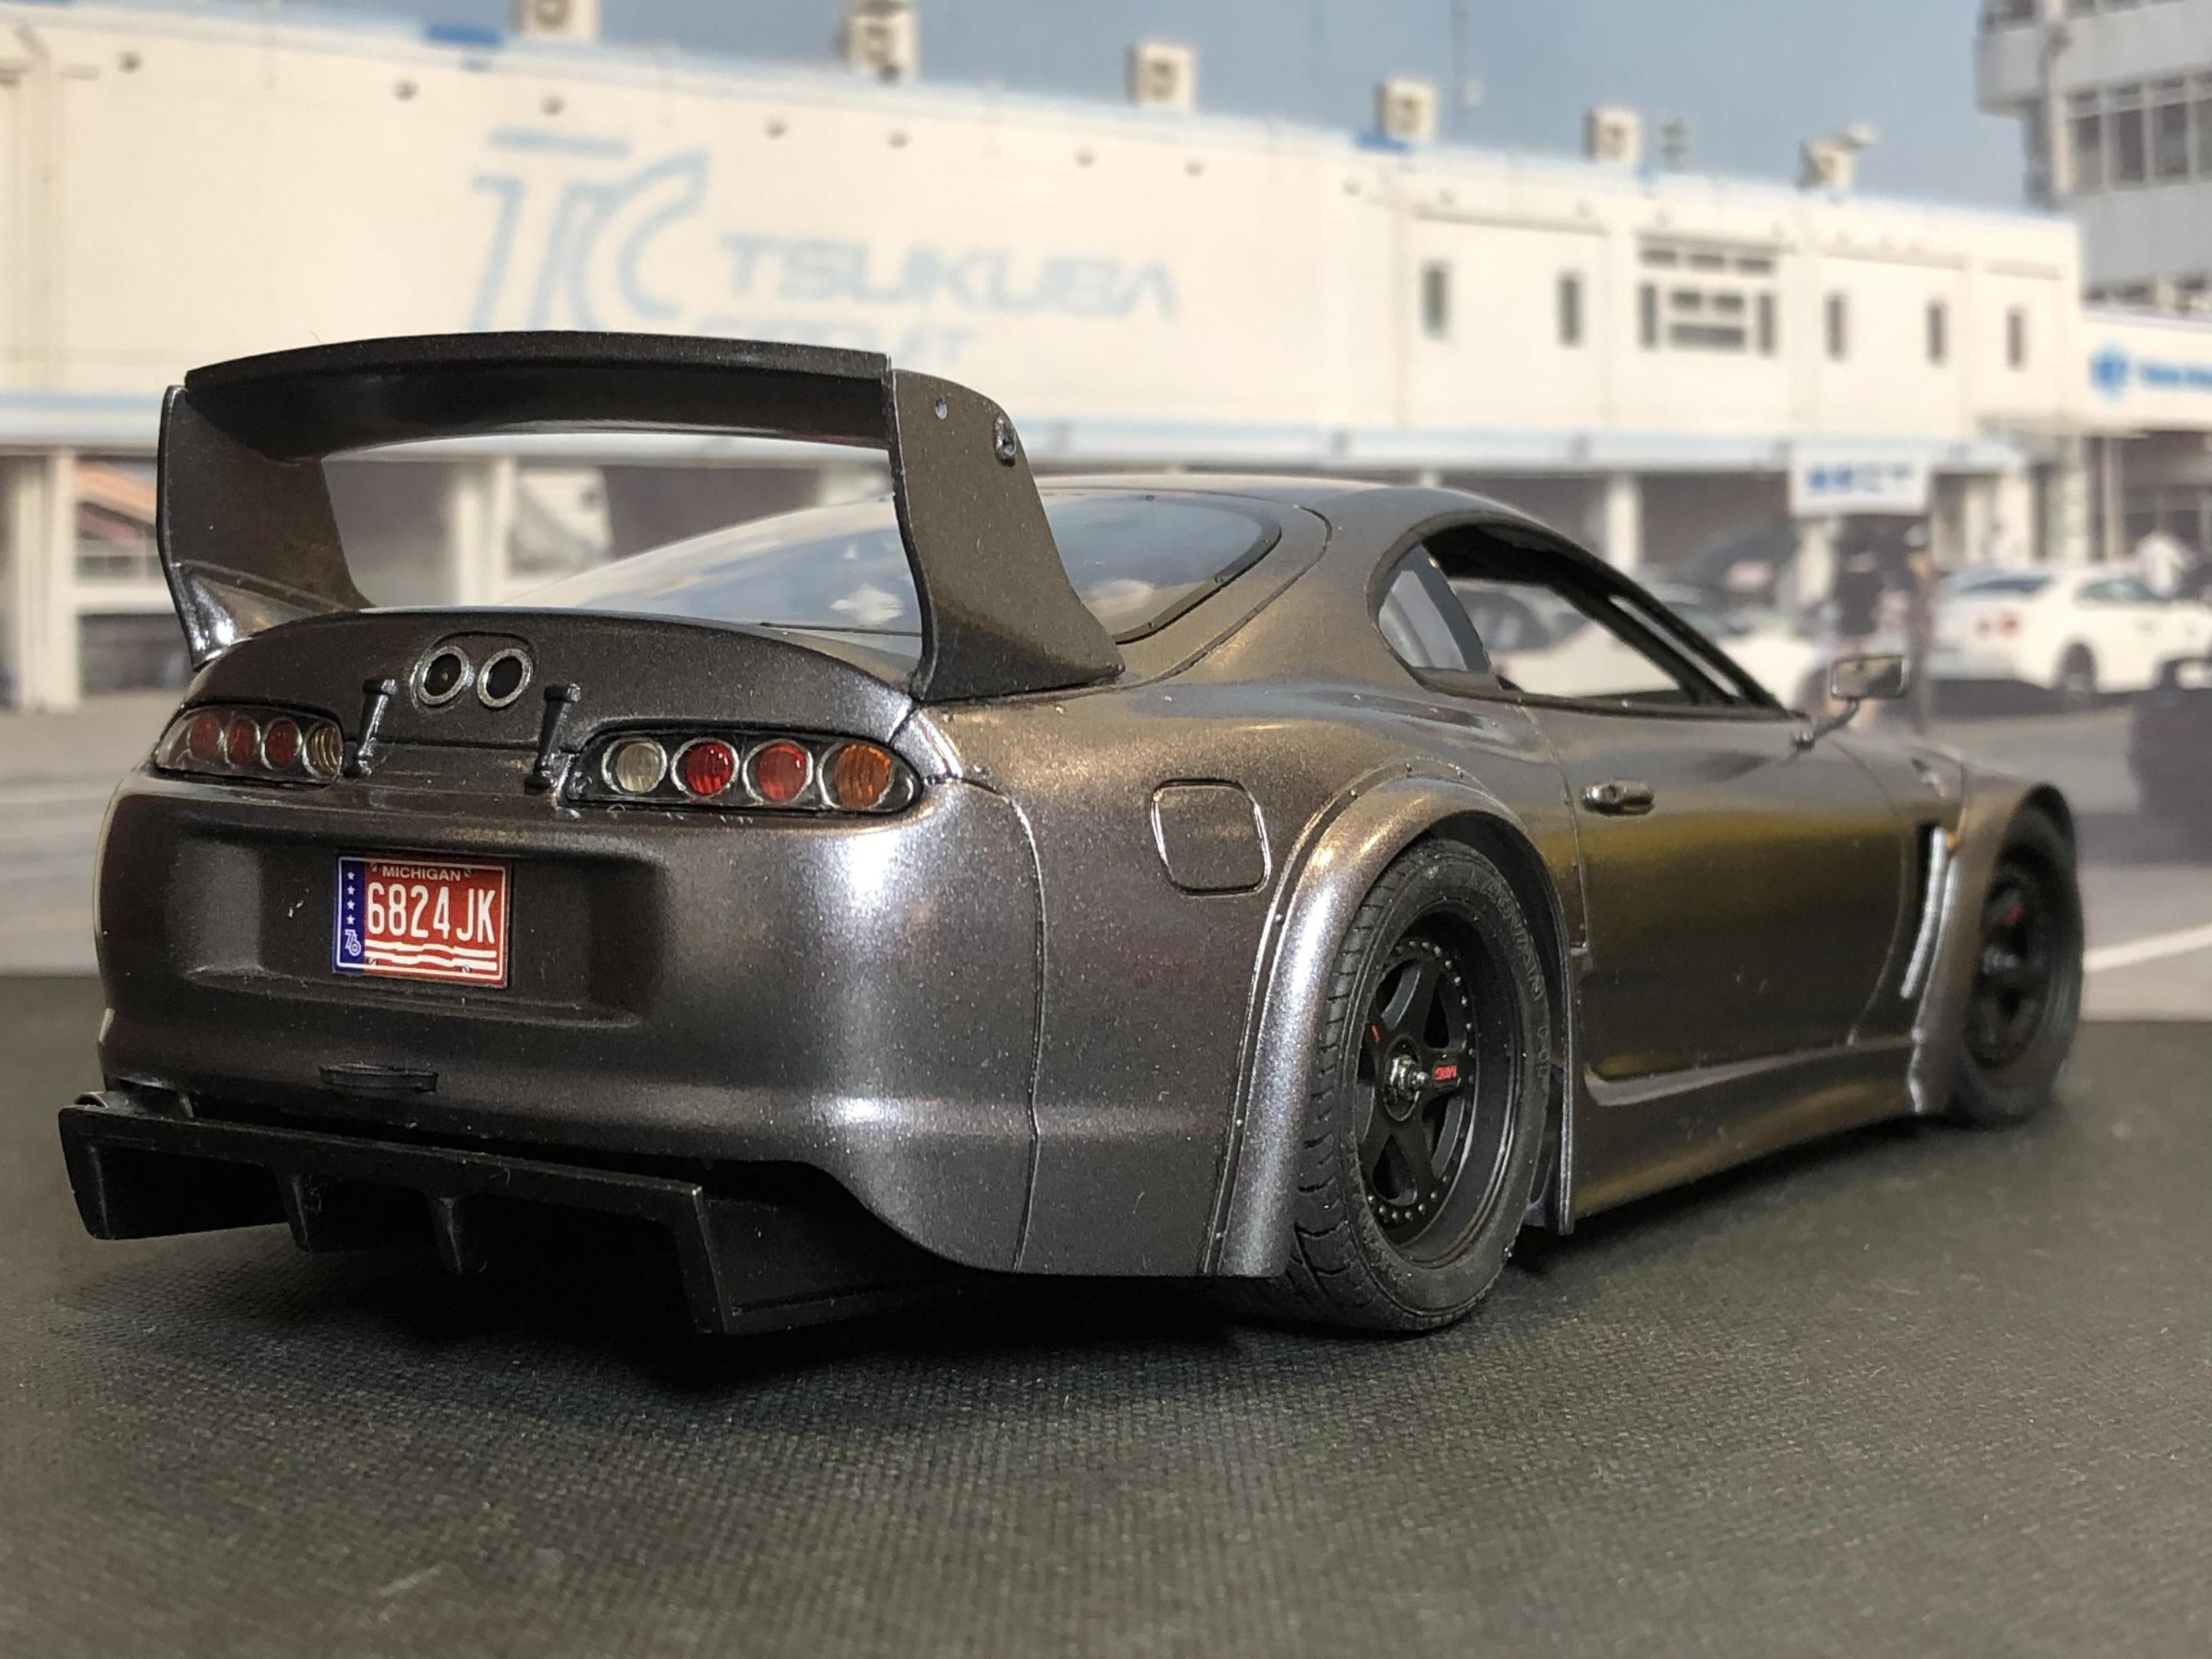
This is Fujimi's Supra from the Togue series. Its a curbside, and it has the worst chassis I've ever seen on a curbside. It looks worse than most toys, so I didn't even take a picture of it. This kit was issued in a few different forms, and you get a lot of optional extra pieces, such as mirrors, steering wheel, sunroofs, Recaro seats, roll cage and the option of lights up or down. I put the cage in, but removed it. It's positioned too far forward, and you cant fix it without removing the rear seats and fabbing the whole rear of the interior without the seats. The instructions don't tell you how to lower the car, but the parts are there. (similar to the late 80's AMT kits where you swapped sides with the struts, or shimmed them.) I had to clearance the inner fenders, though. This is also my first go at using aluminum tube for the exhaust. the kit came with aluminum exhaust tips, but it was rolled tube with a seam, and you had to cut them, and they looked kinda crappy.
-
-
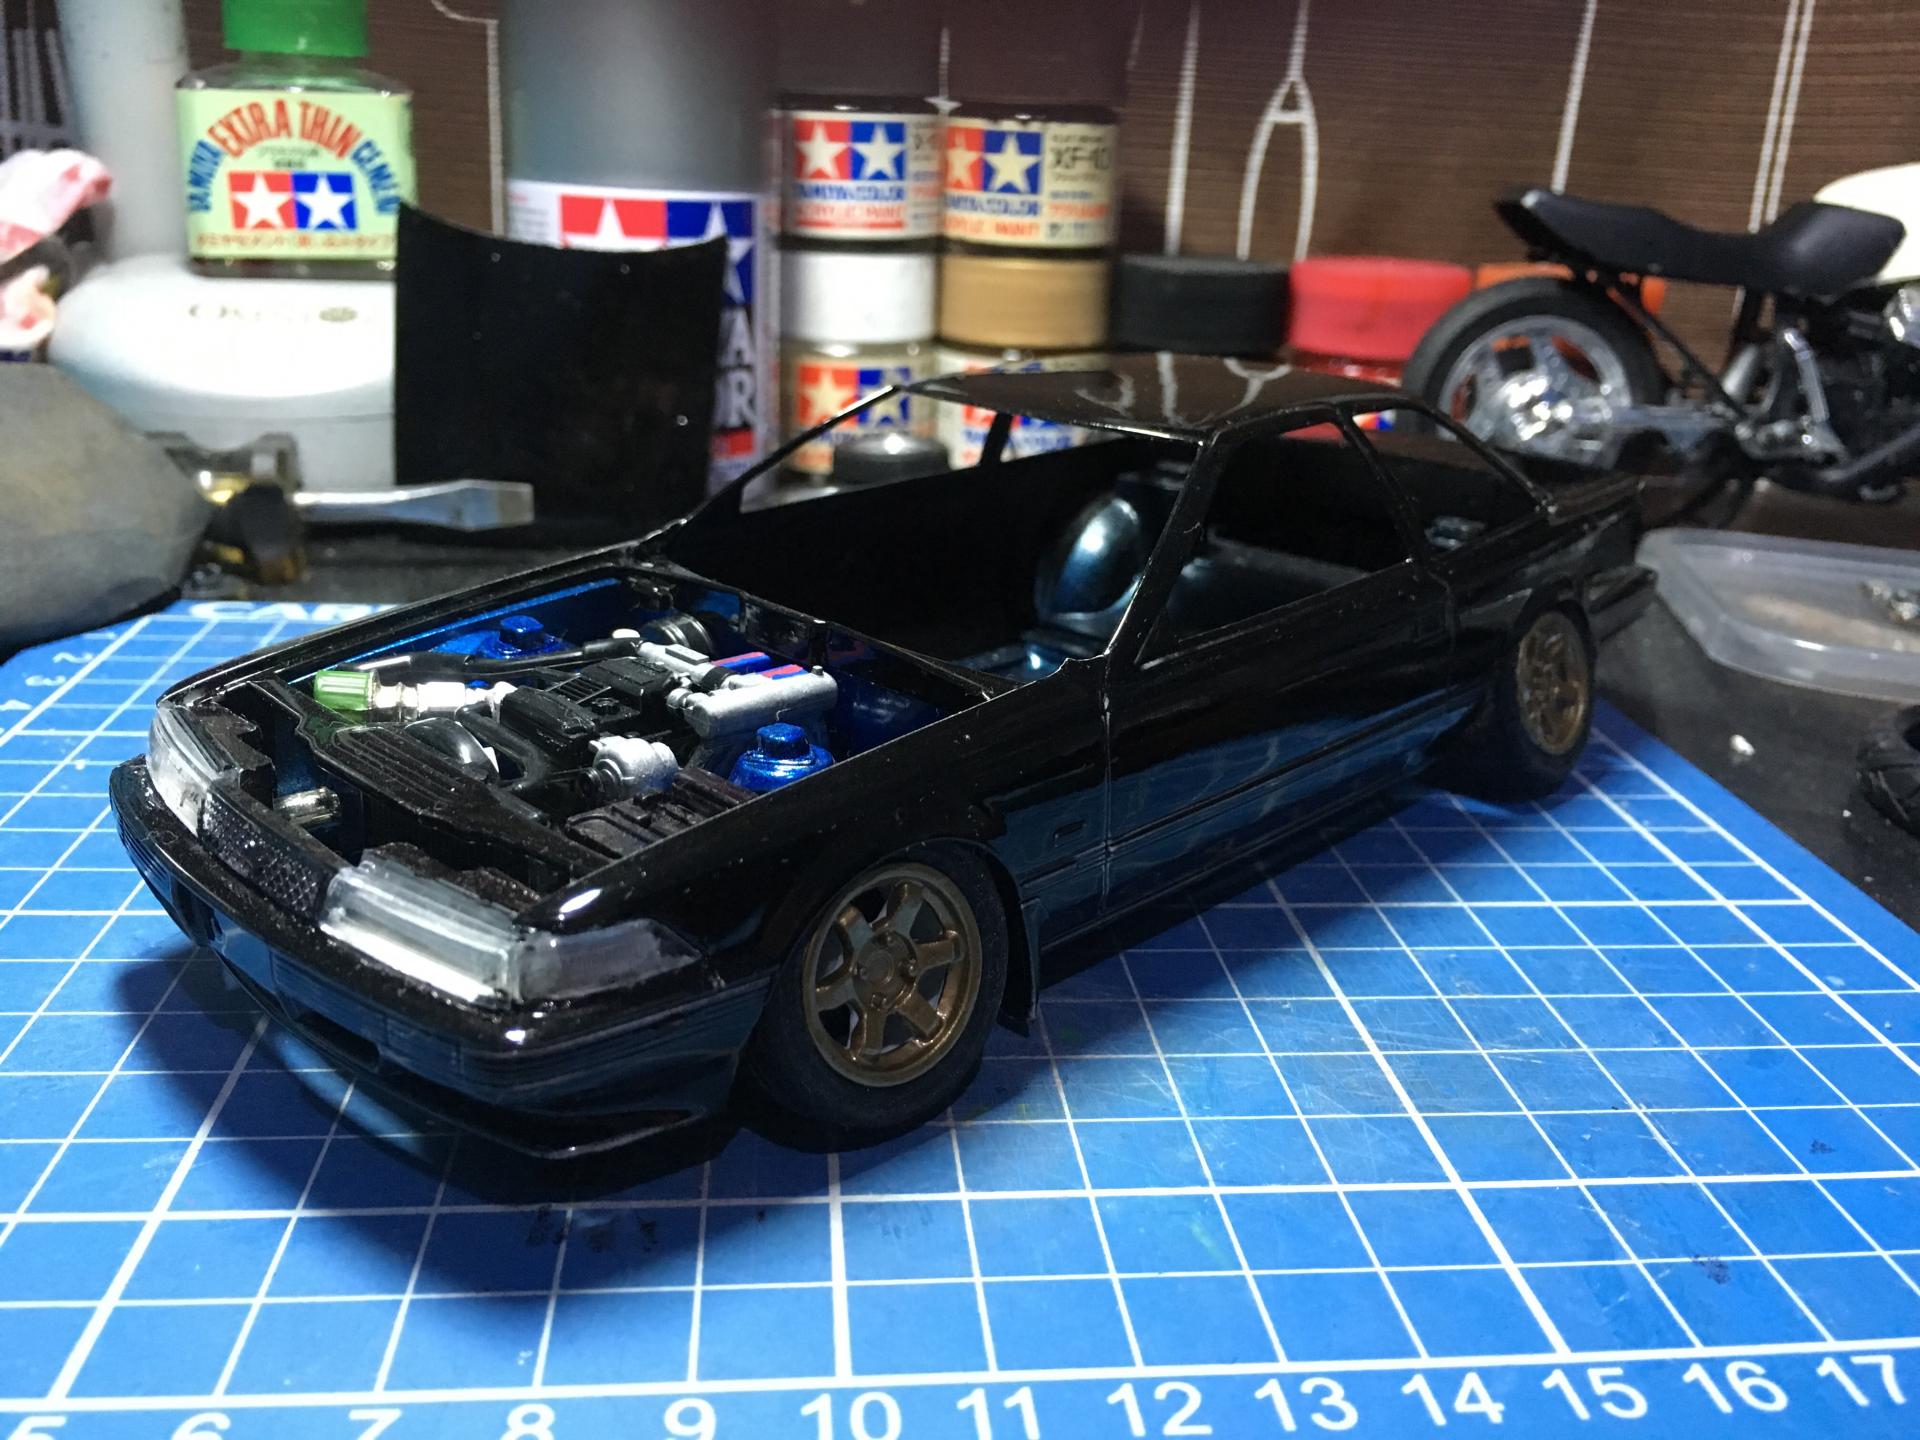
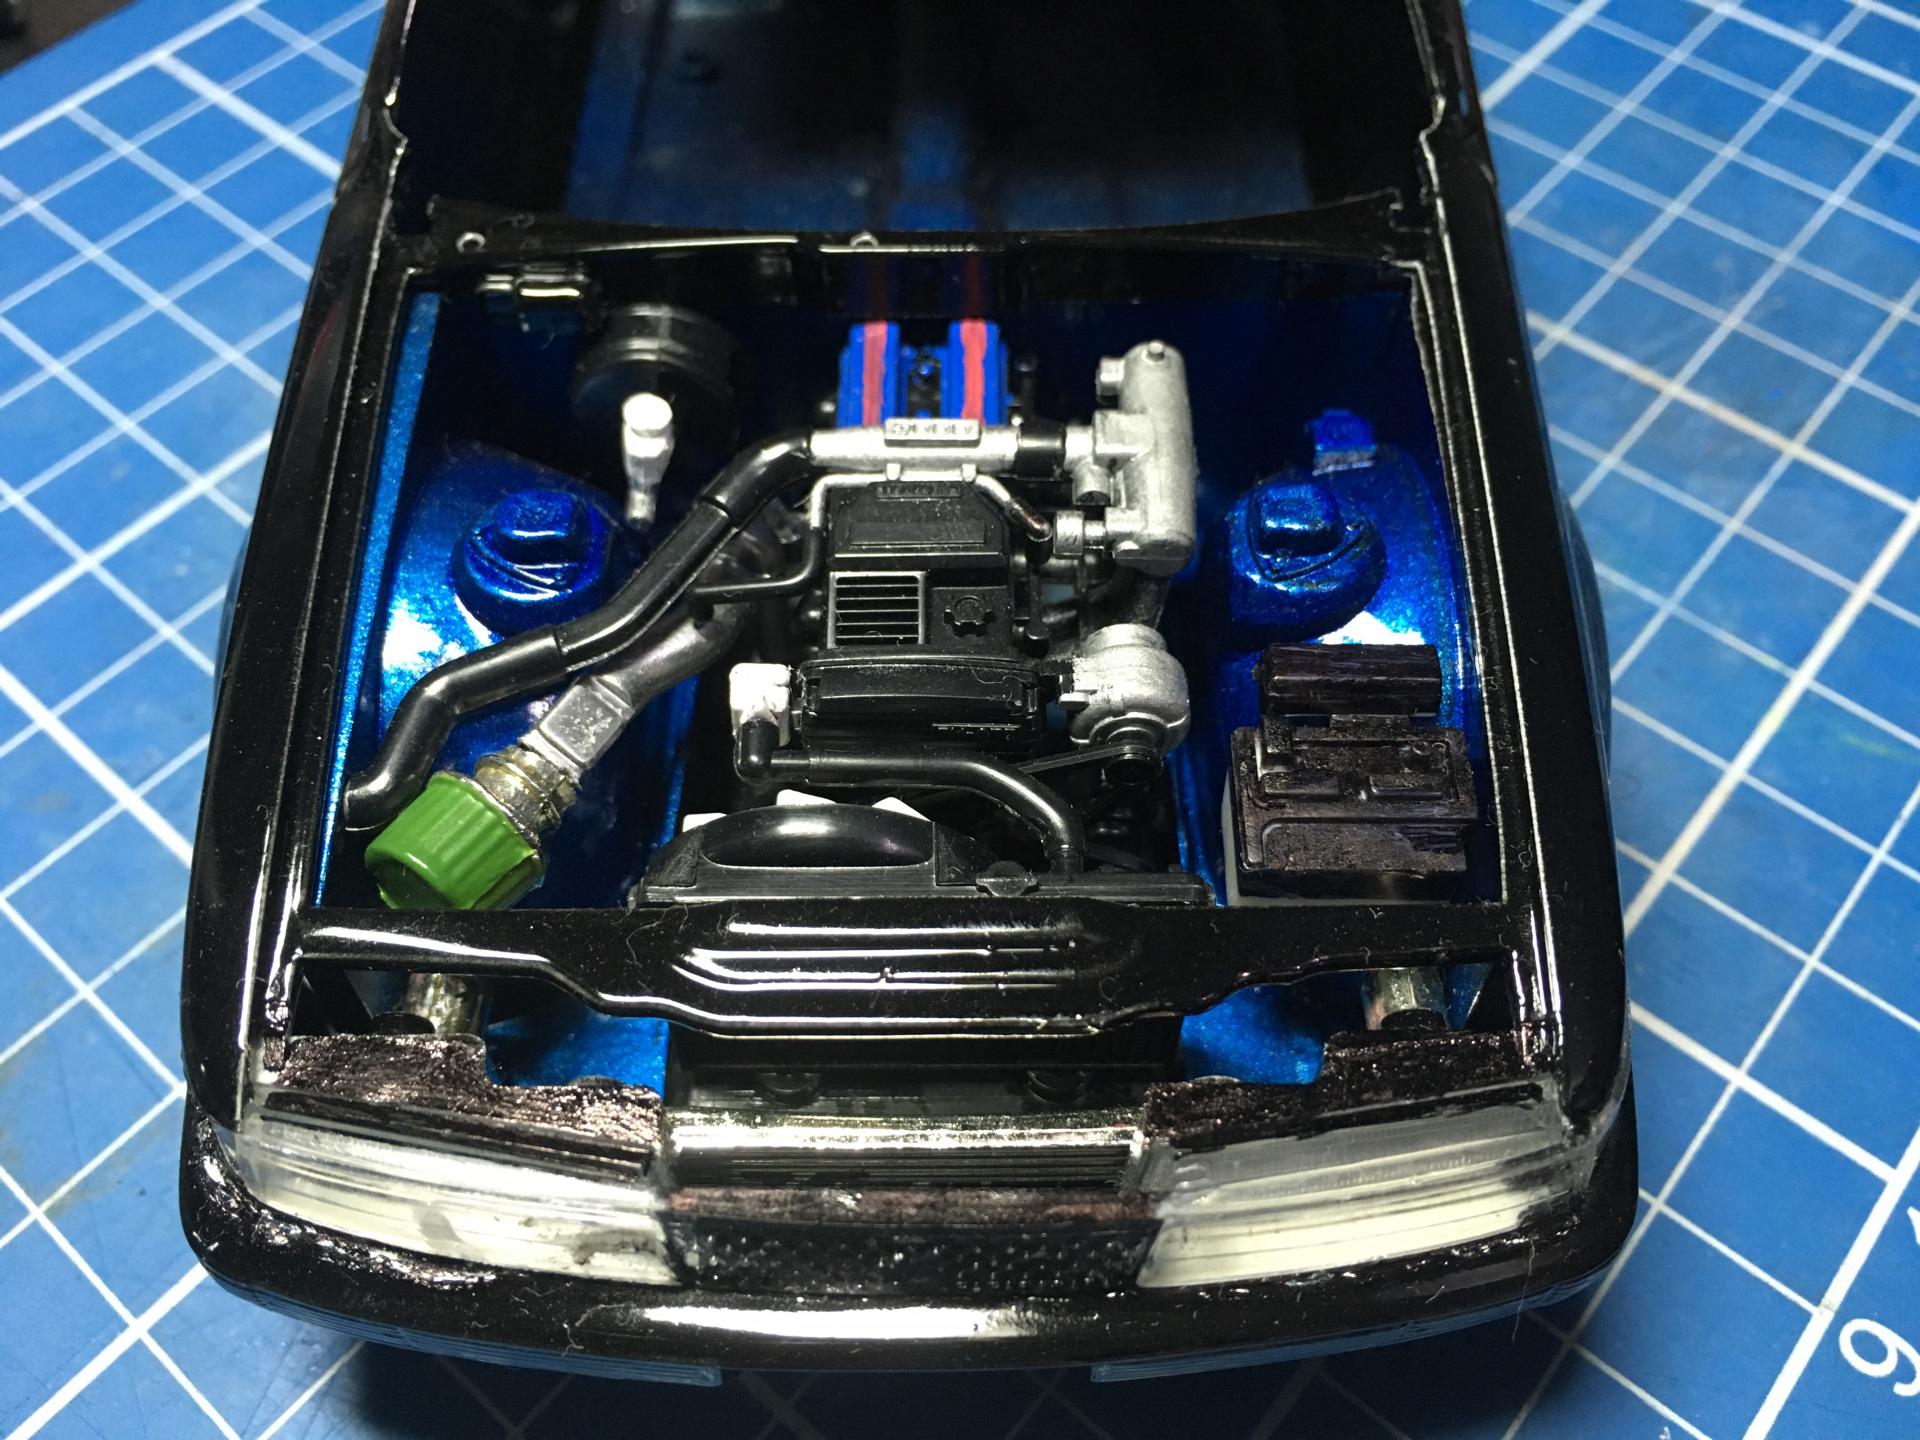
Along with my 64 Chevy Pickup I started this Tamiya Kit to give to a good friend. Its mostly stock but I had a old Castrol Supra kit so I stole the brakes and probably the seat and other random bits. I tried to fit the wheels but they are too wide and did not want to ruin anything by cutting and hacking it up. Thats beyond my skill level at the moment Some of these pics are not great because I was too lazy to use real camera, so just sent from phone. I love my Spray booth, it may be the only way I continue to work with the move coming in a few weeks. Lets hope it does the job assuming I can properly vent it out a window. 3 Coats of Tamiya pure white on top of 1 grey and 2 white coats of primer Engine is stock nothing fancy. Going to go back and do a few small touch ups. My hand is not as steady as I would like it to be. Assuming my buddy is happy with these wheels, this may be the final stance and fitment. *edit* after posting this I just realized I installed the brakes backwards... uhhggg Thanks for looking, more to come later
-
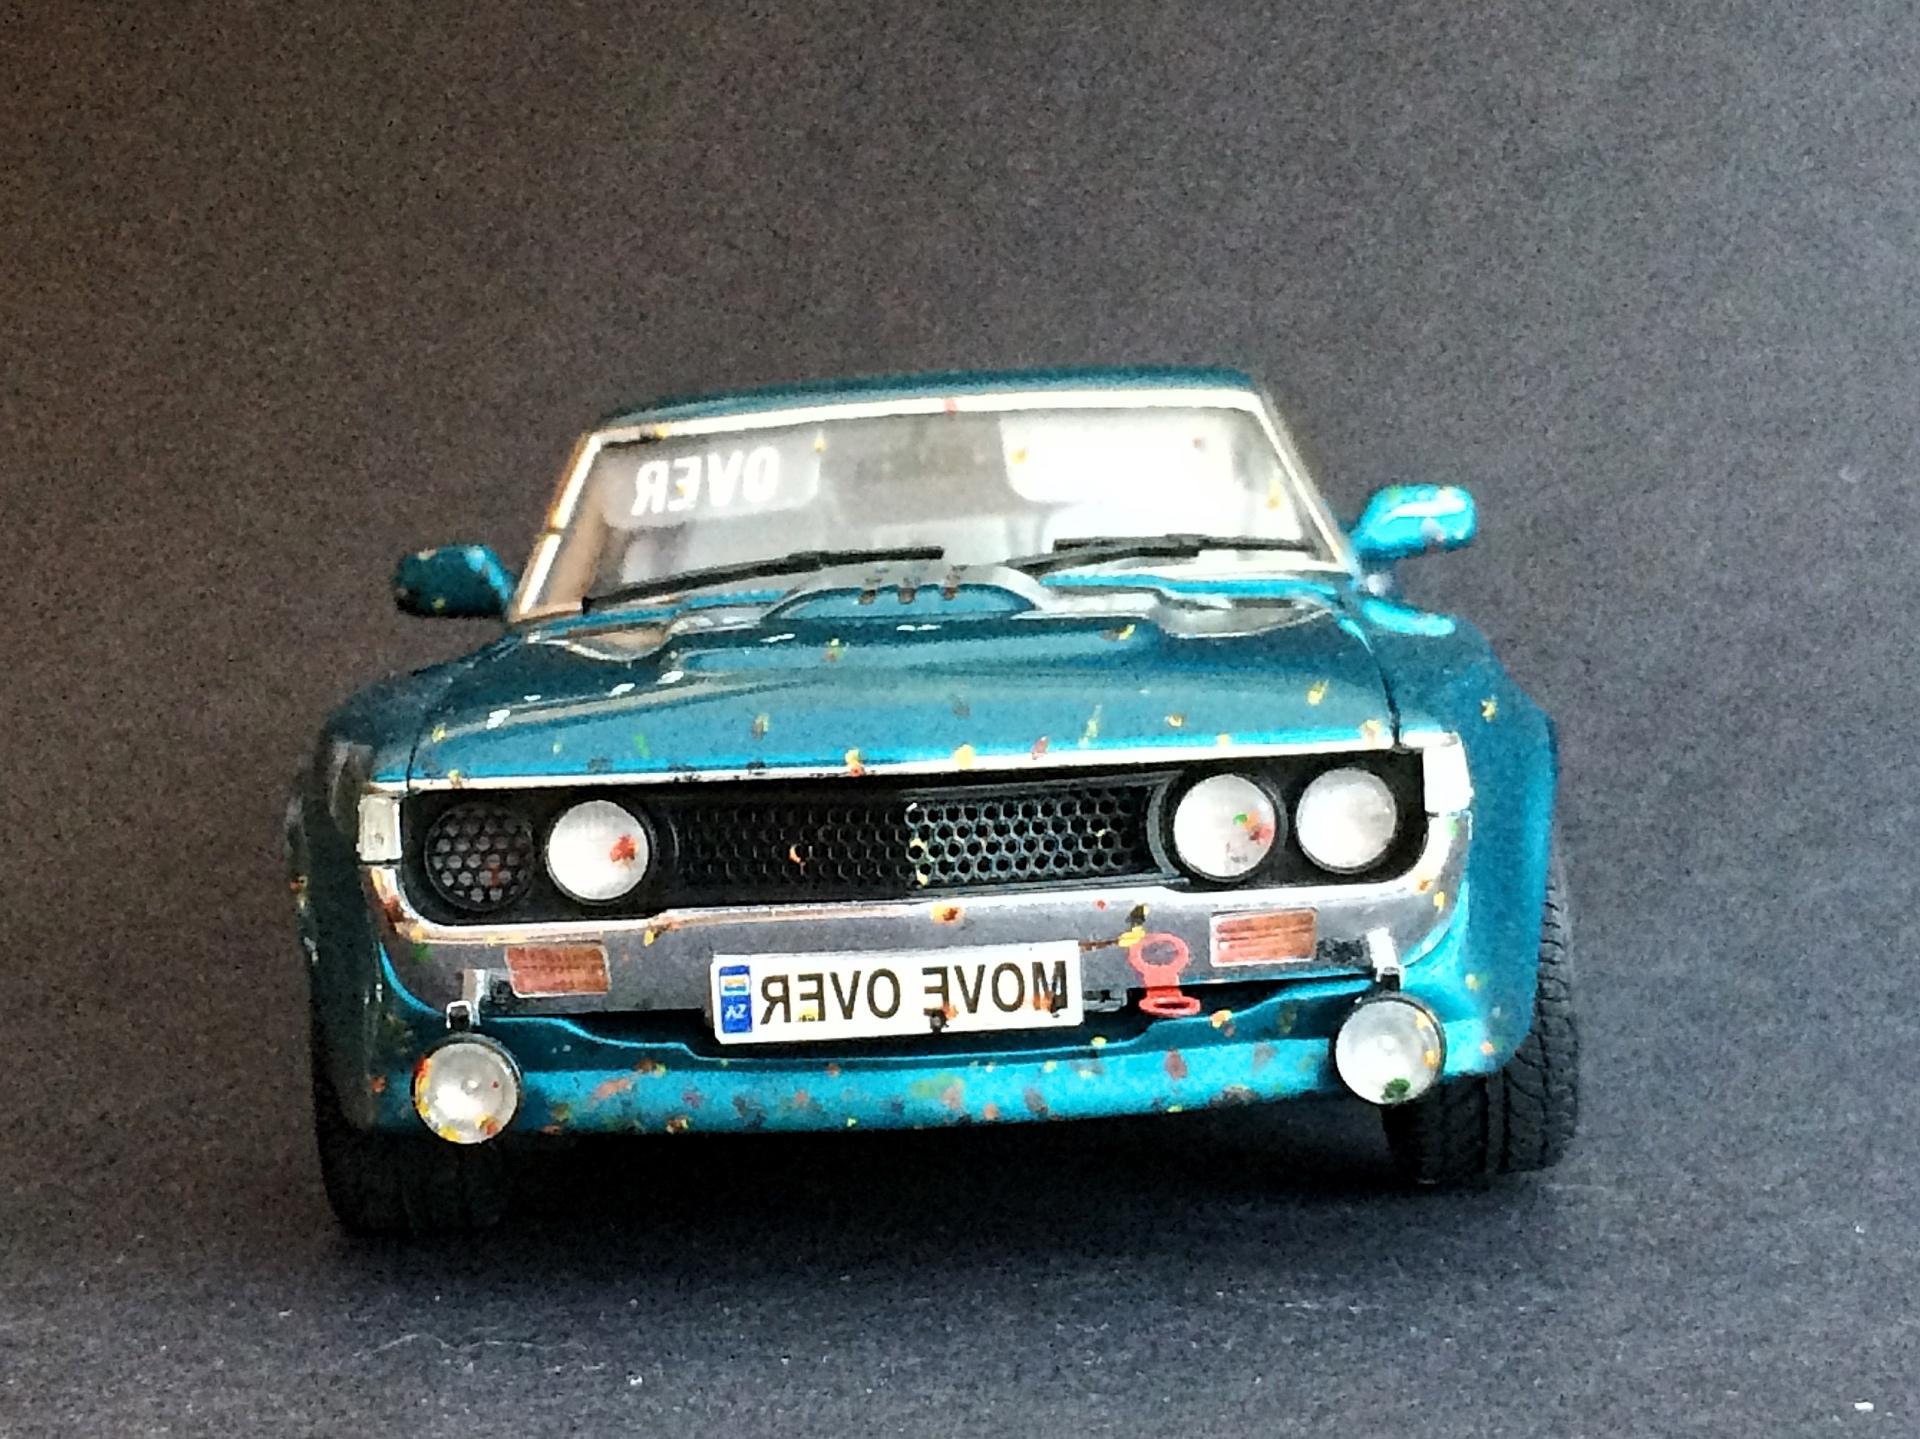
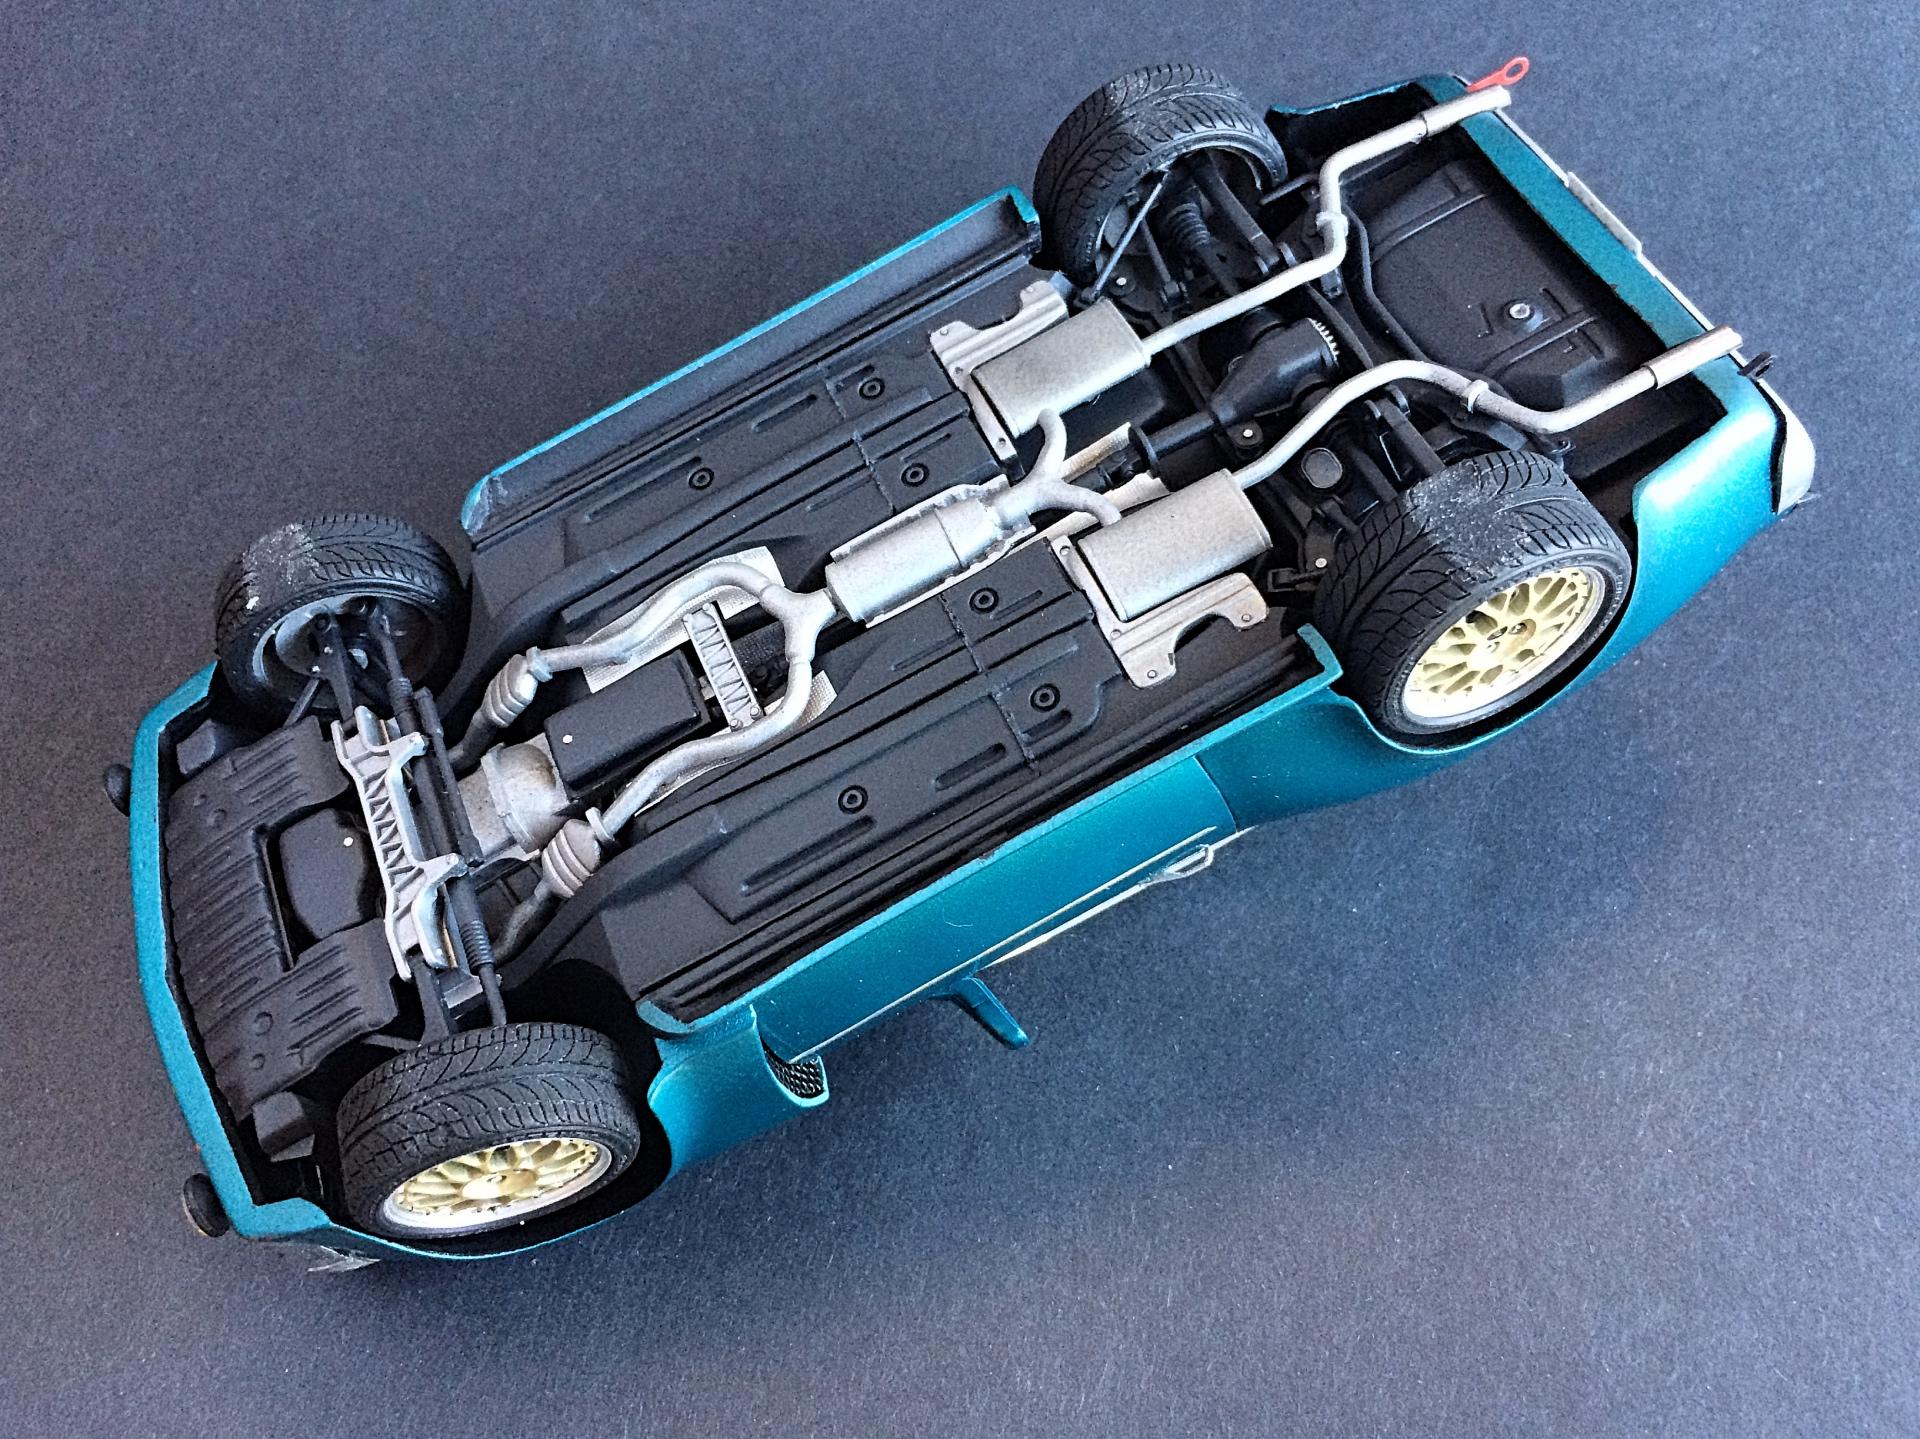
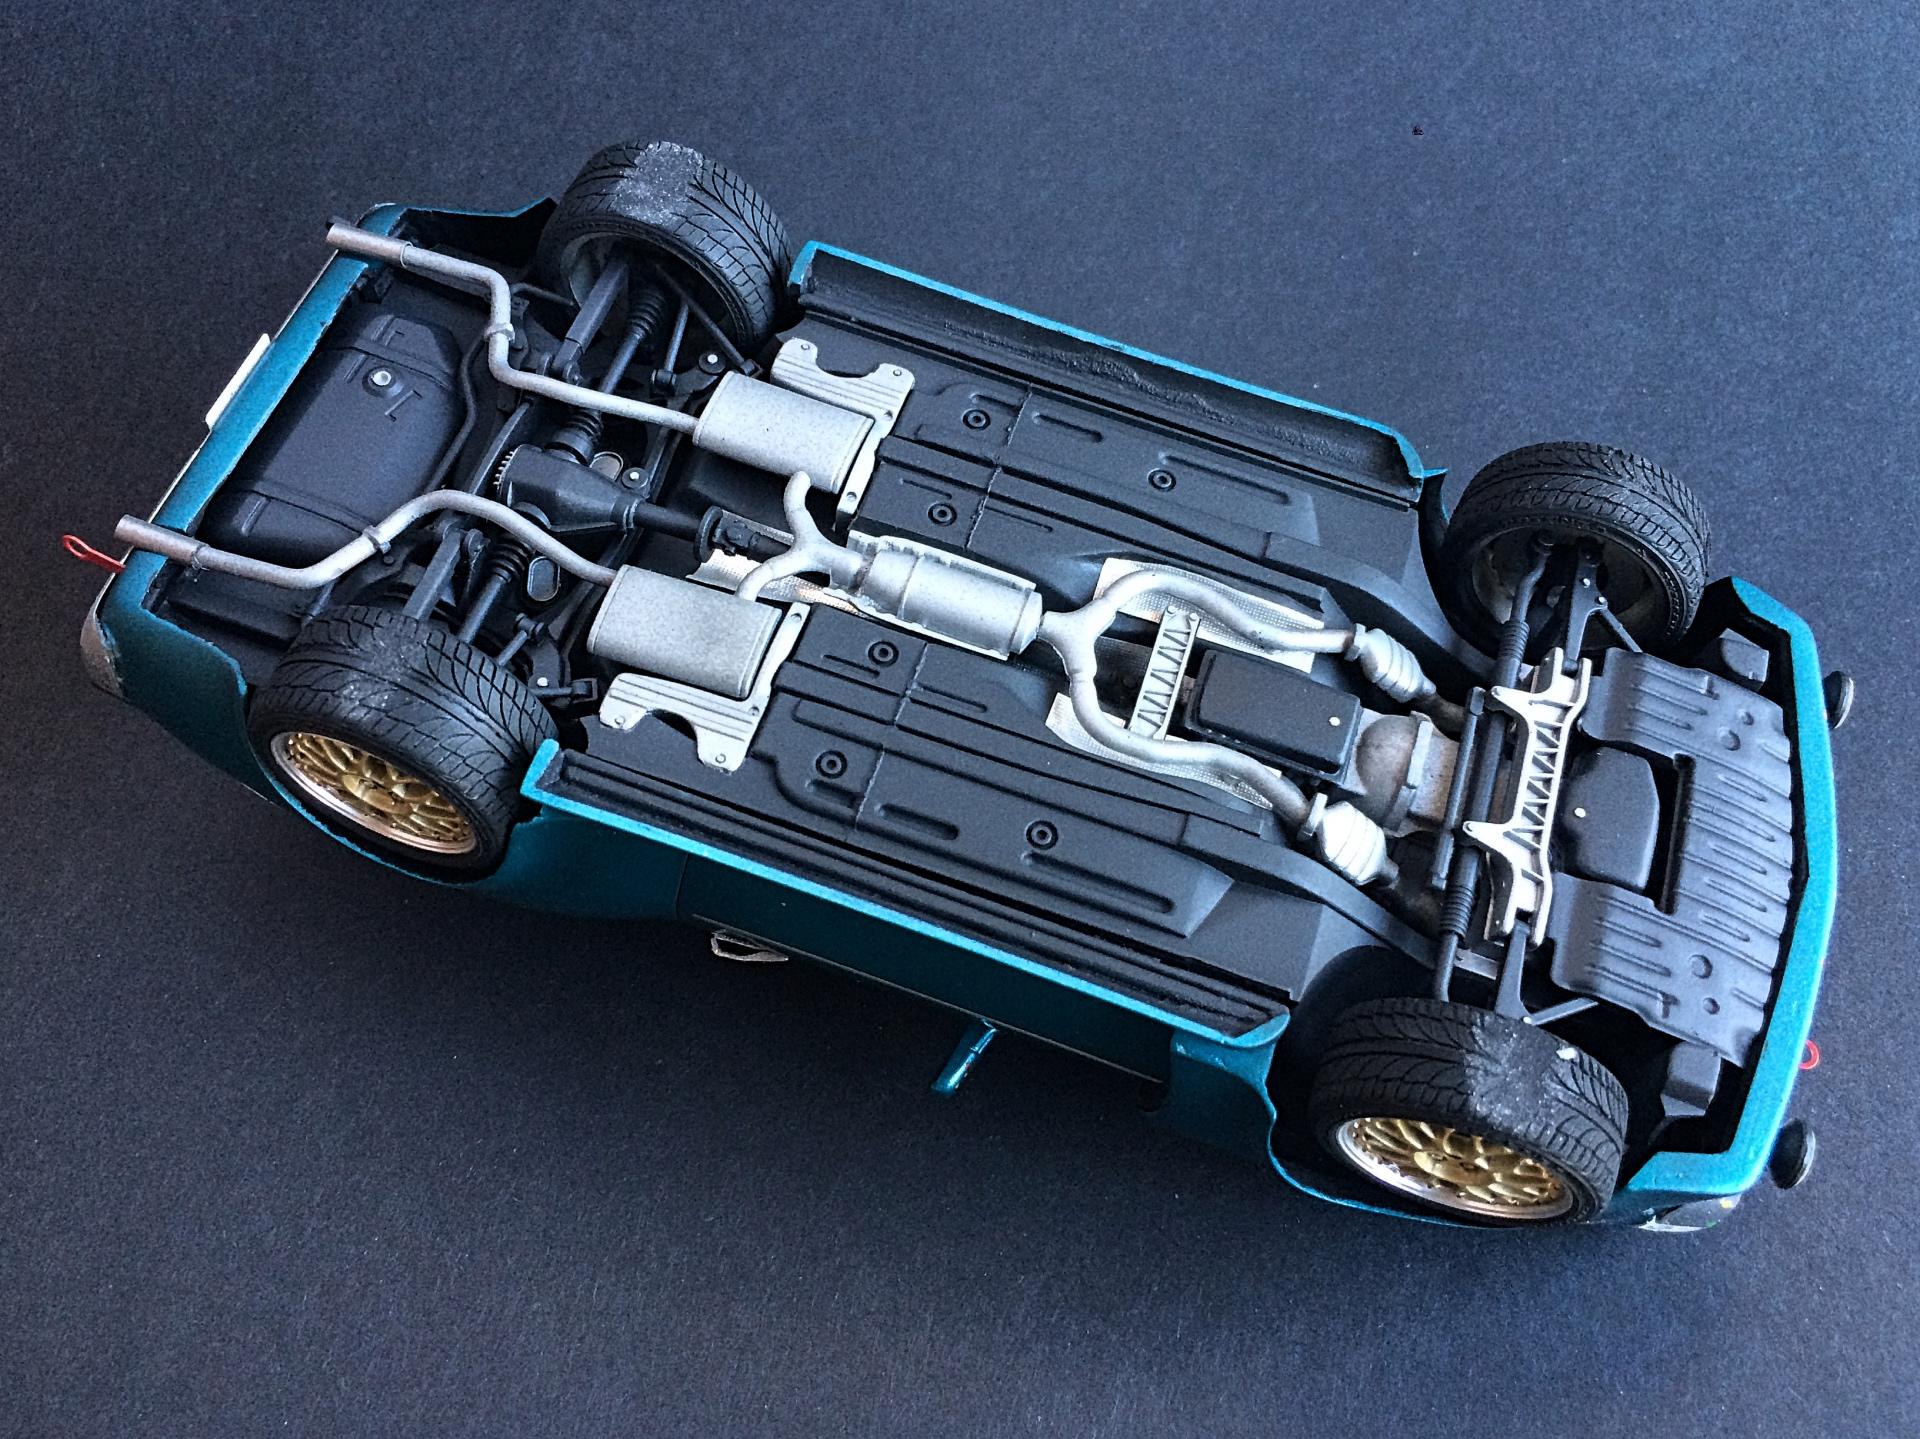
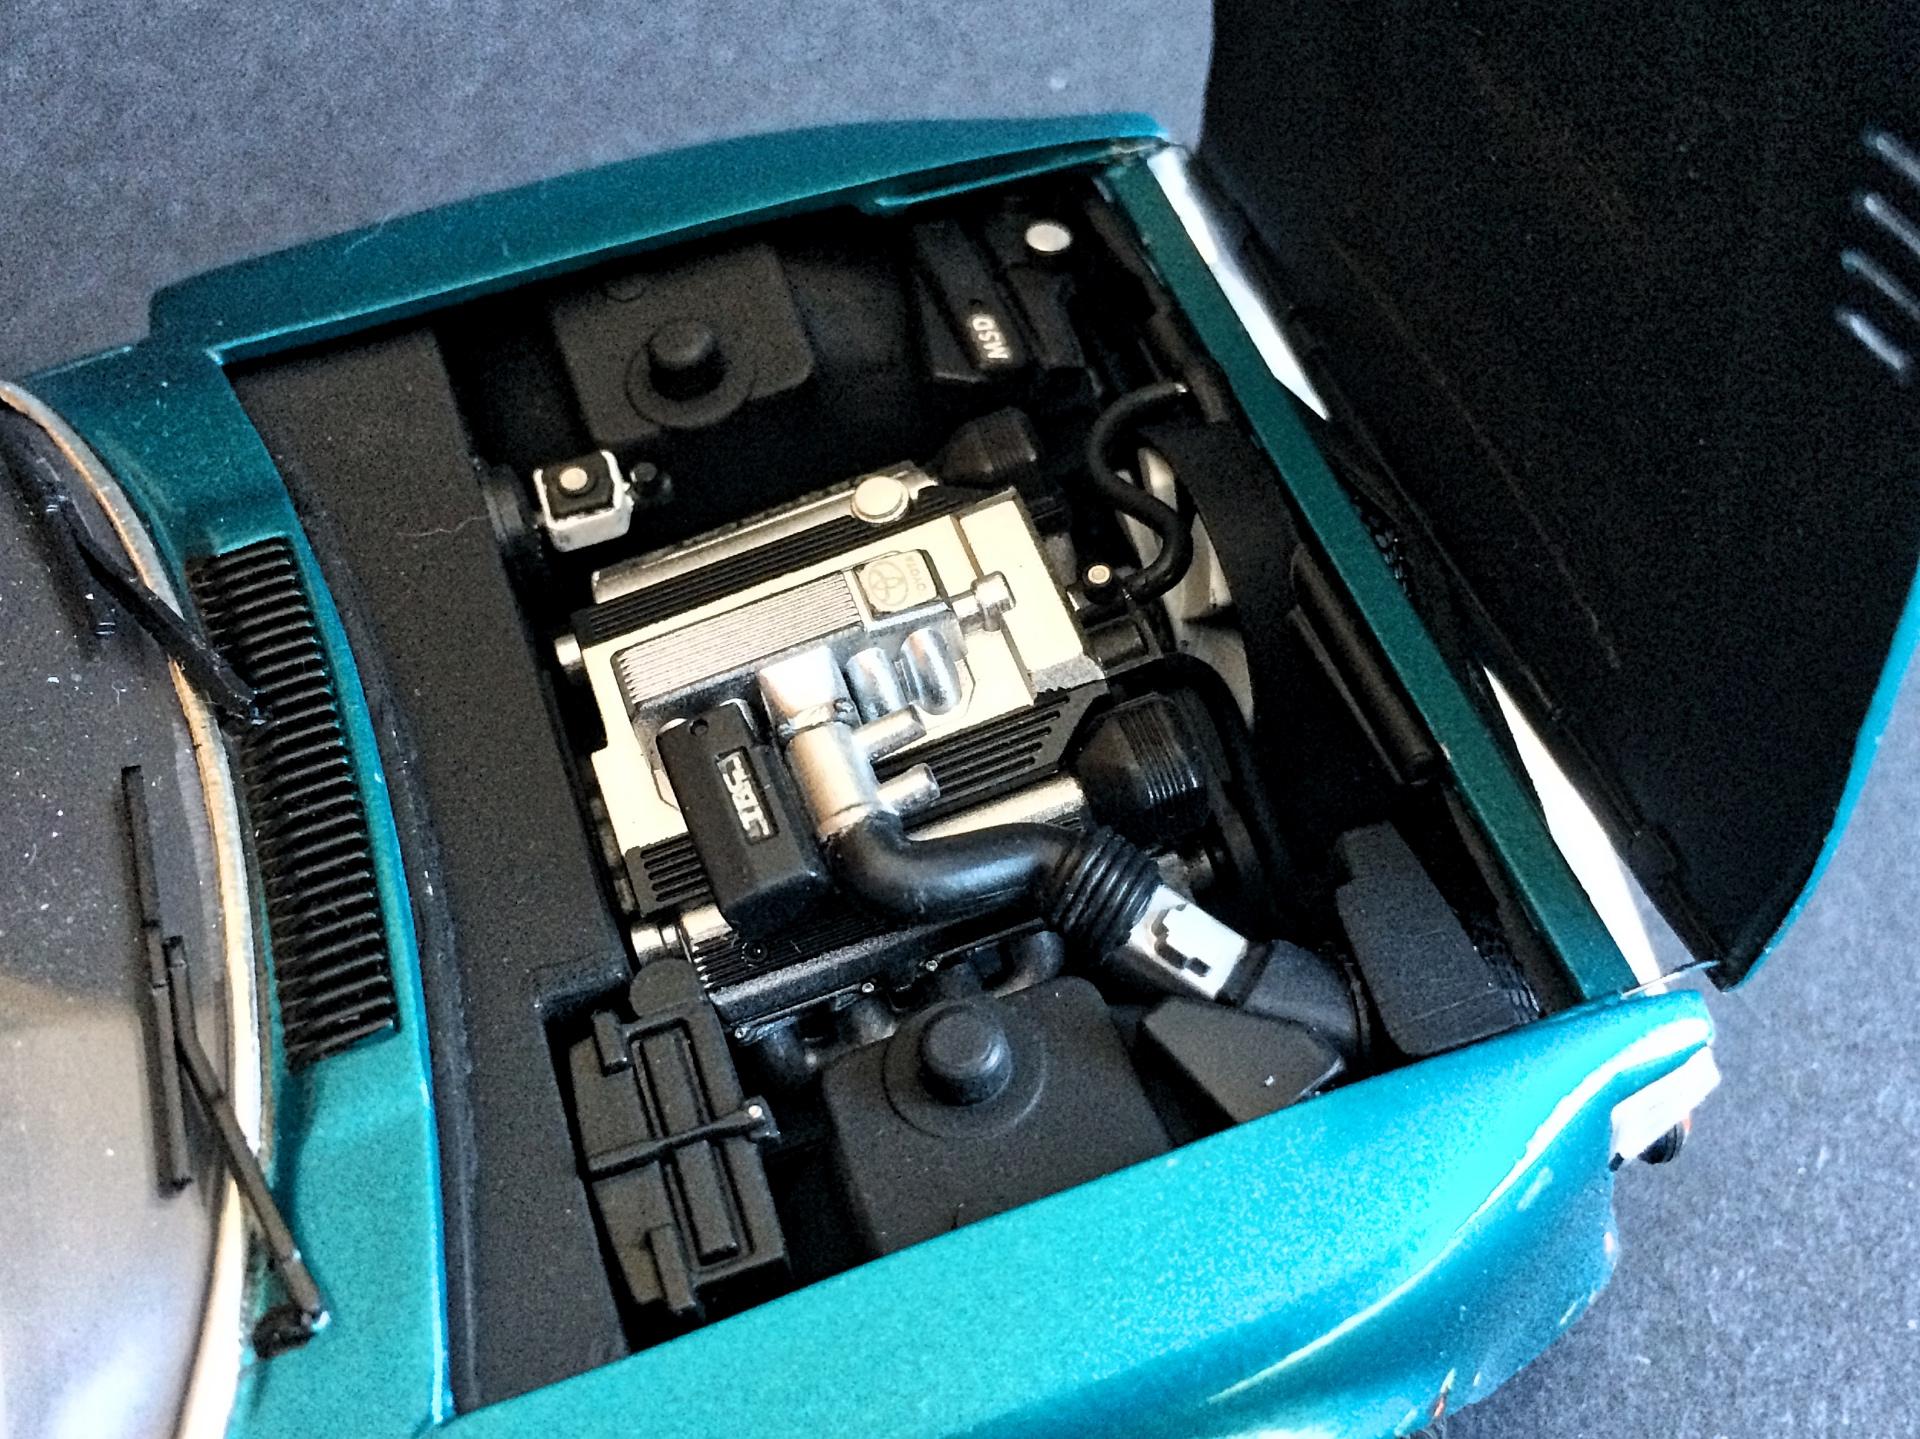
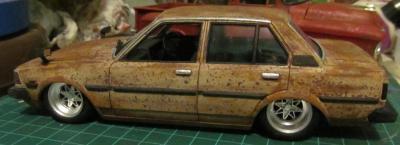
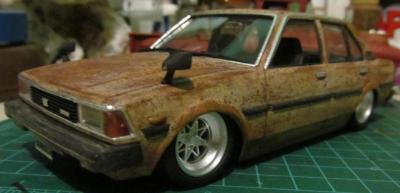
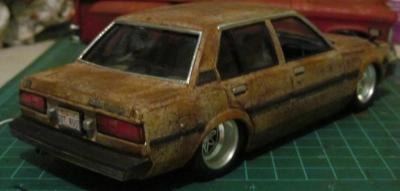
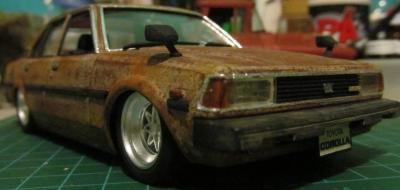
The 1:1 car I was going for... The finished product, weathered and ready for another run... Plates are just a hair bigger than I was looking for... ohh well.... TRD stickers on bumper.. "Free Candy Car Club" decal in window, along with vintage Japanese "experienced driver" logo in window...
-
This is a build of a friend of mine's car from our car club here in VA. He uses the car for daily driving as well as autocrossing, so I want to make it look real good. His car... Rattle can flat black... Should be pretty straightfoward.
- 6 replies
-
- Supercharged
- Toyota
-
(and 1 more)
Tagged with:
-
(well, not quite 50 years, but they look good together...) There's a family heritage running through this lot, and they look cool together! And these two share Toyota's passion for engineering and a roaring Yamaha heart beating under the bonnet... plus they look even cooler together! ;-P bestest, M.
